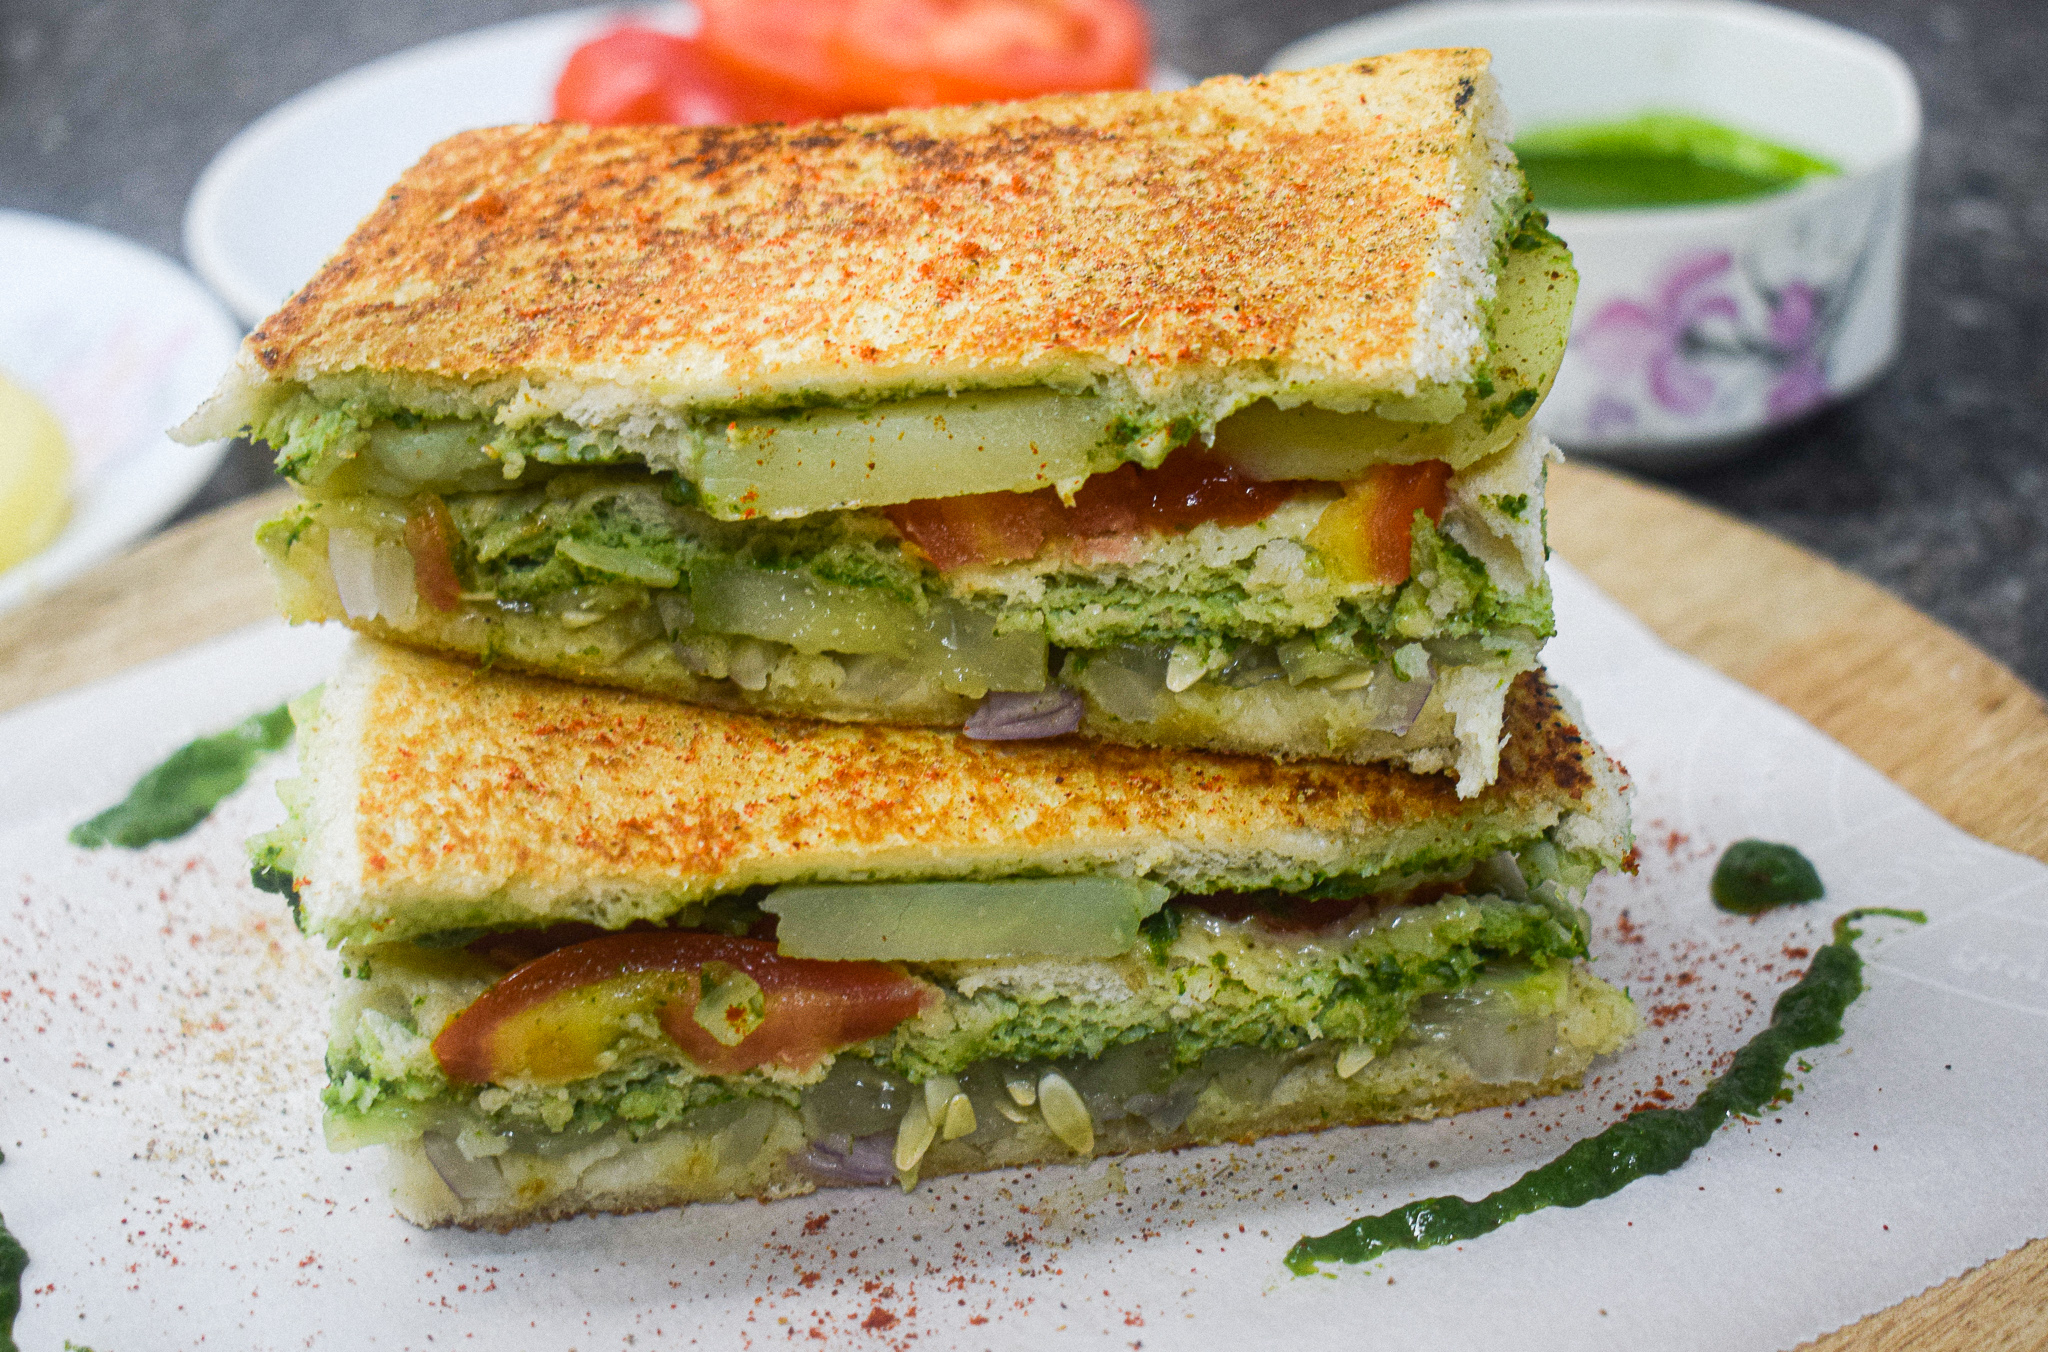
Bombay Sandwich

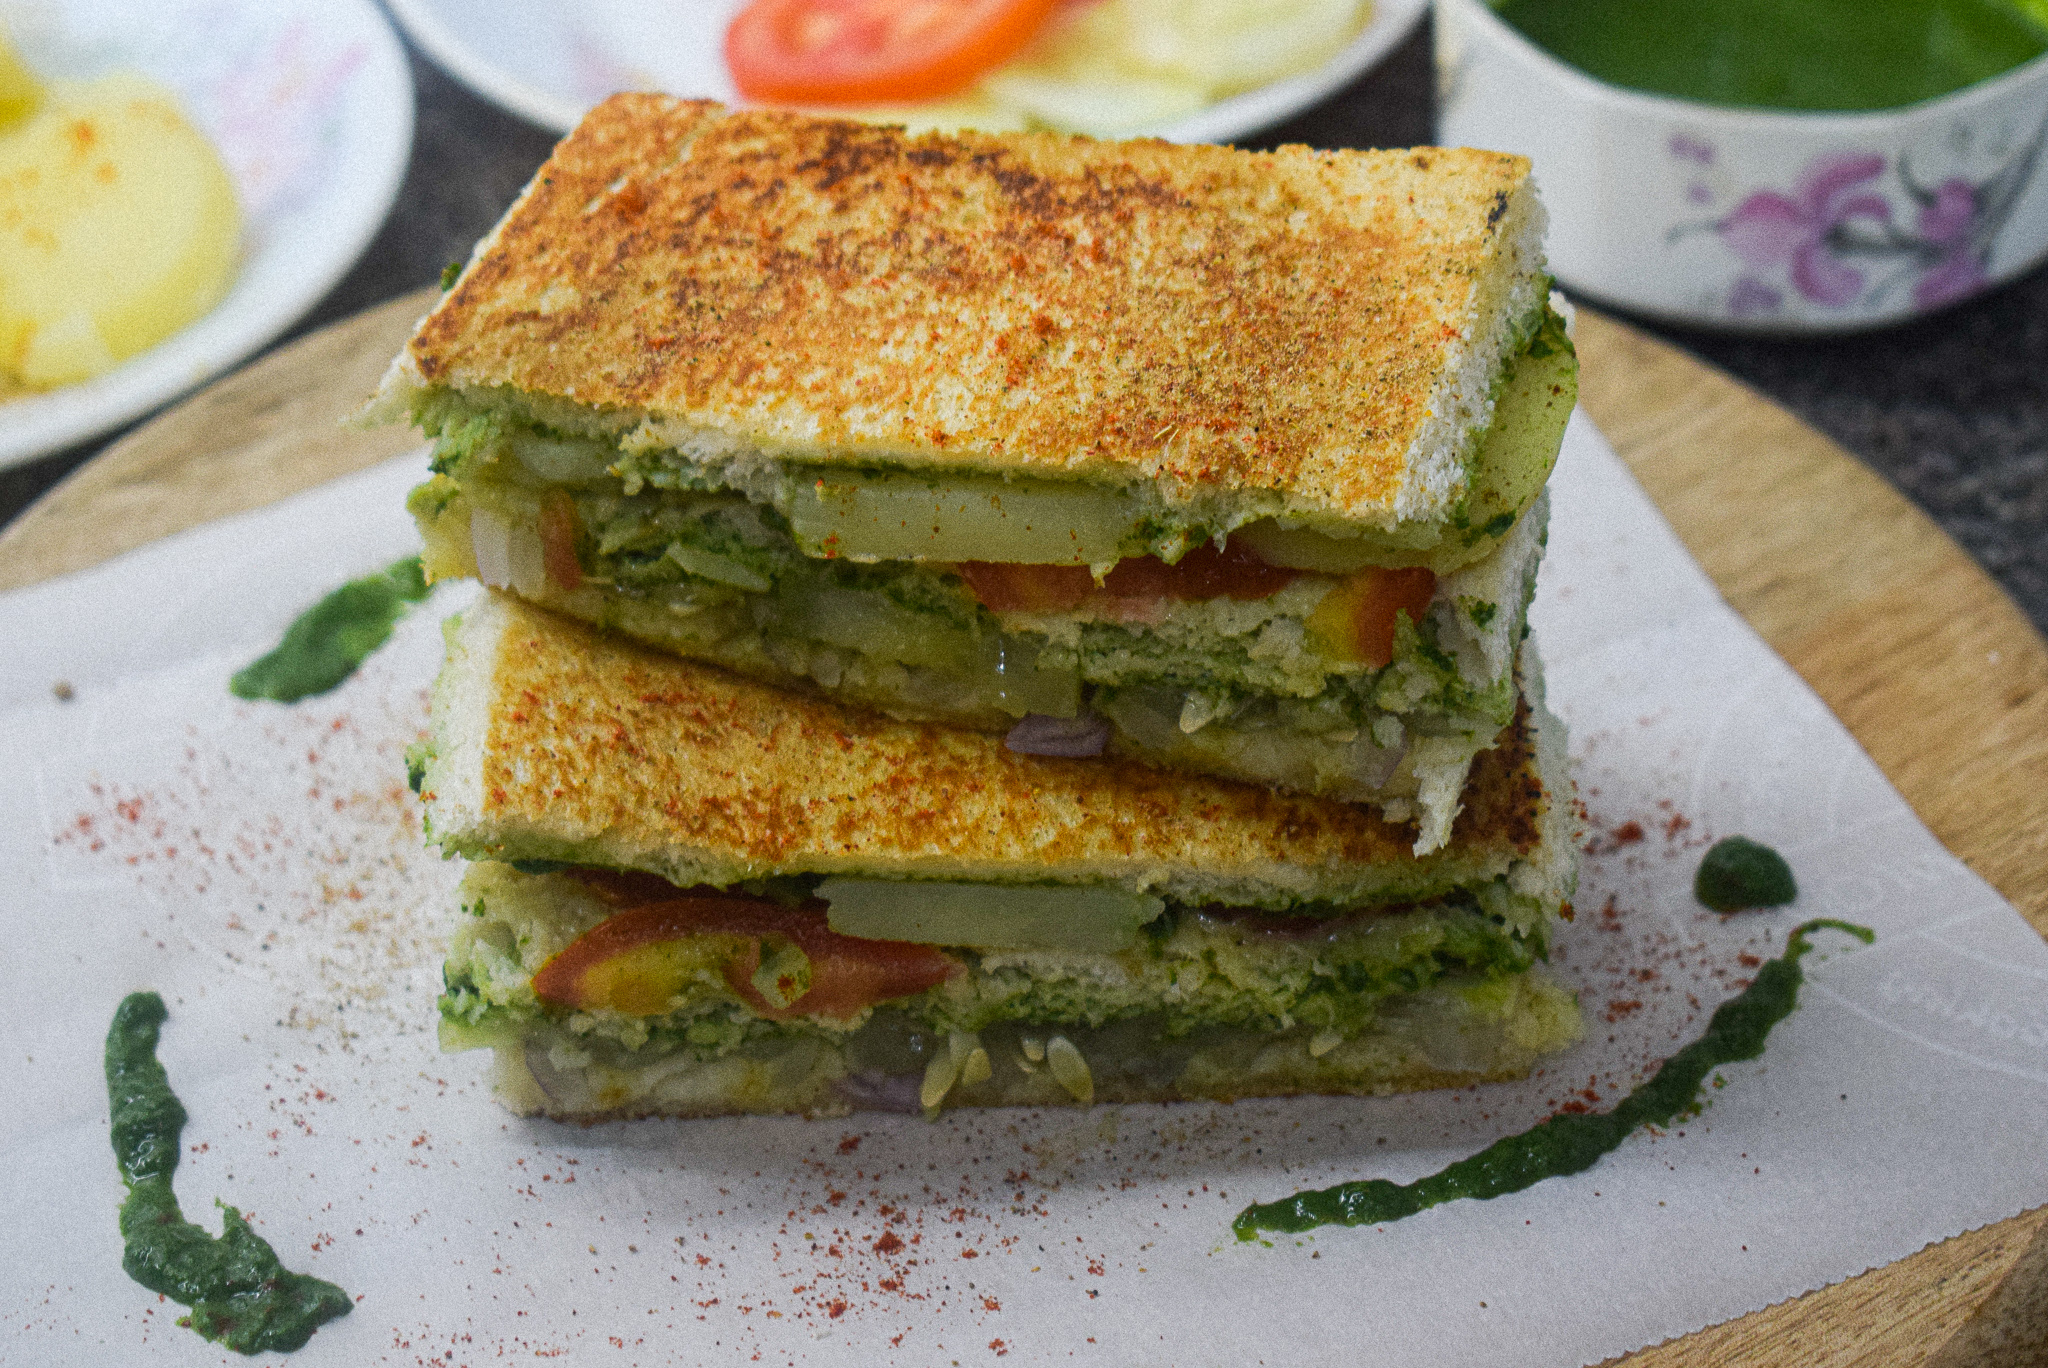
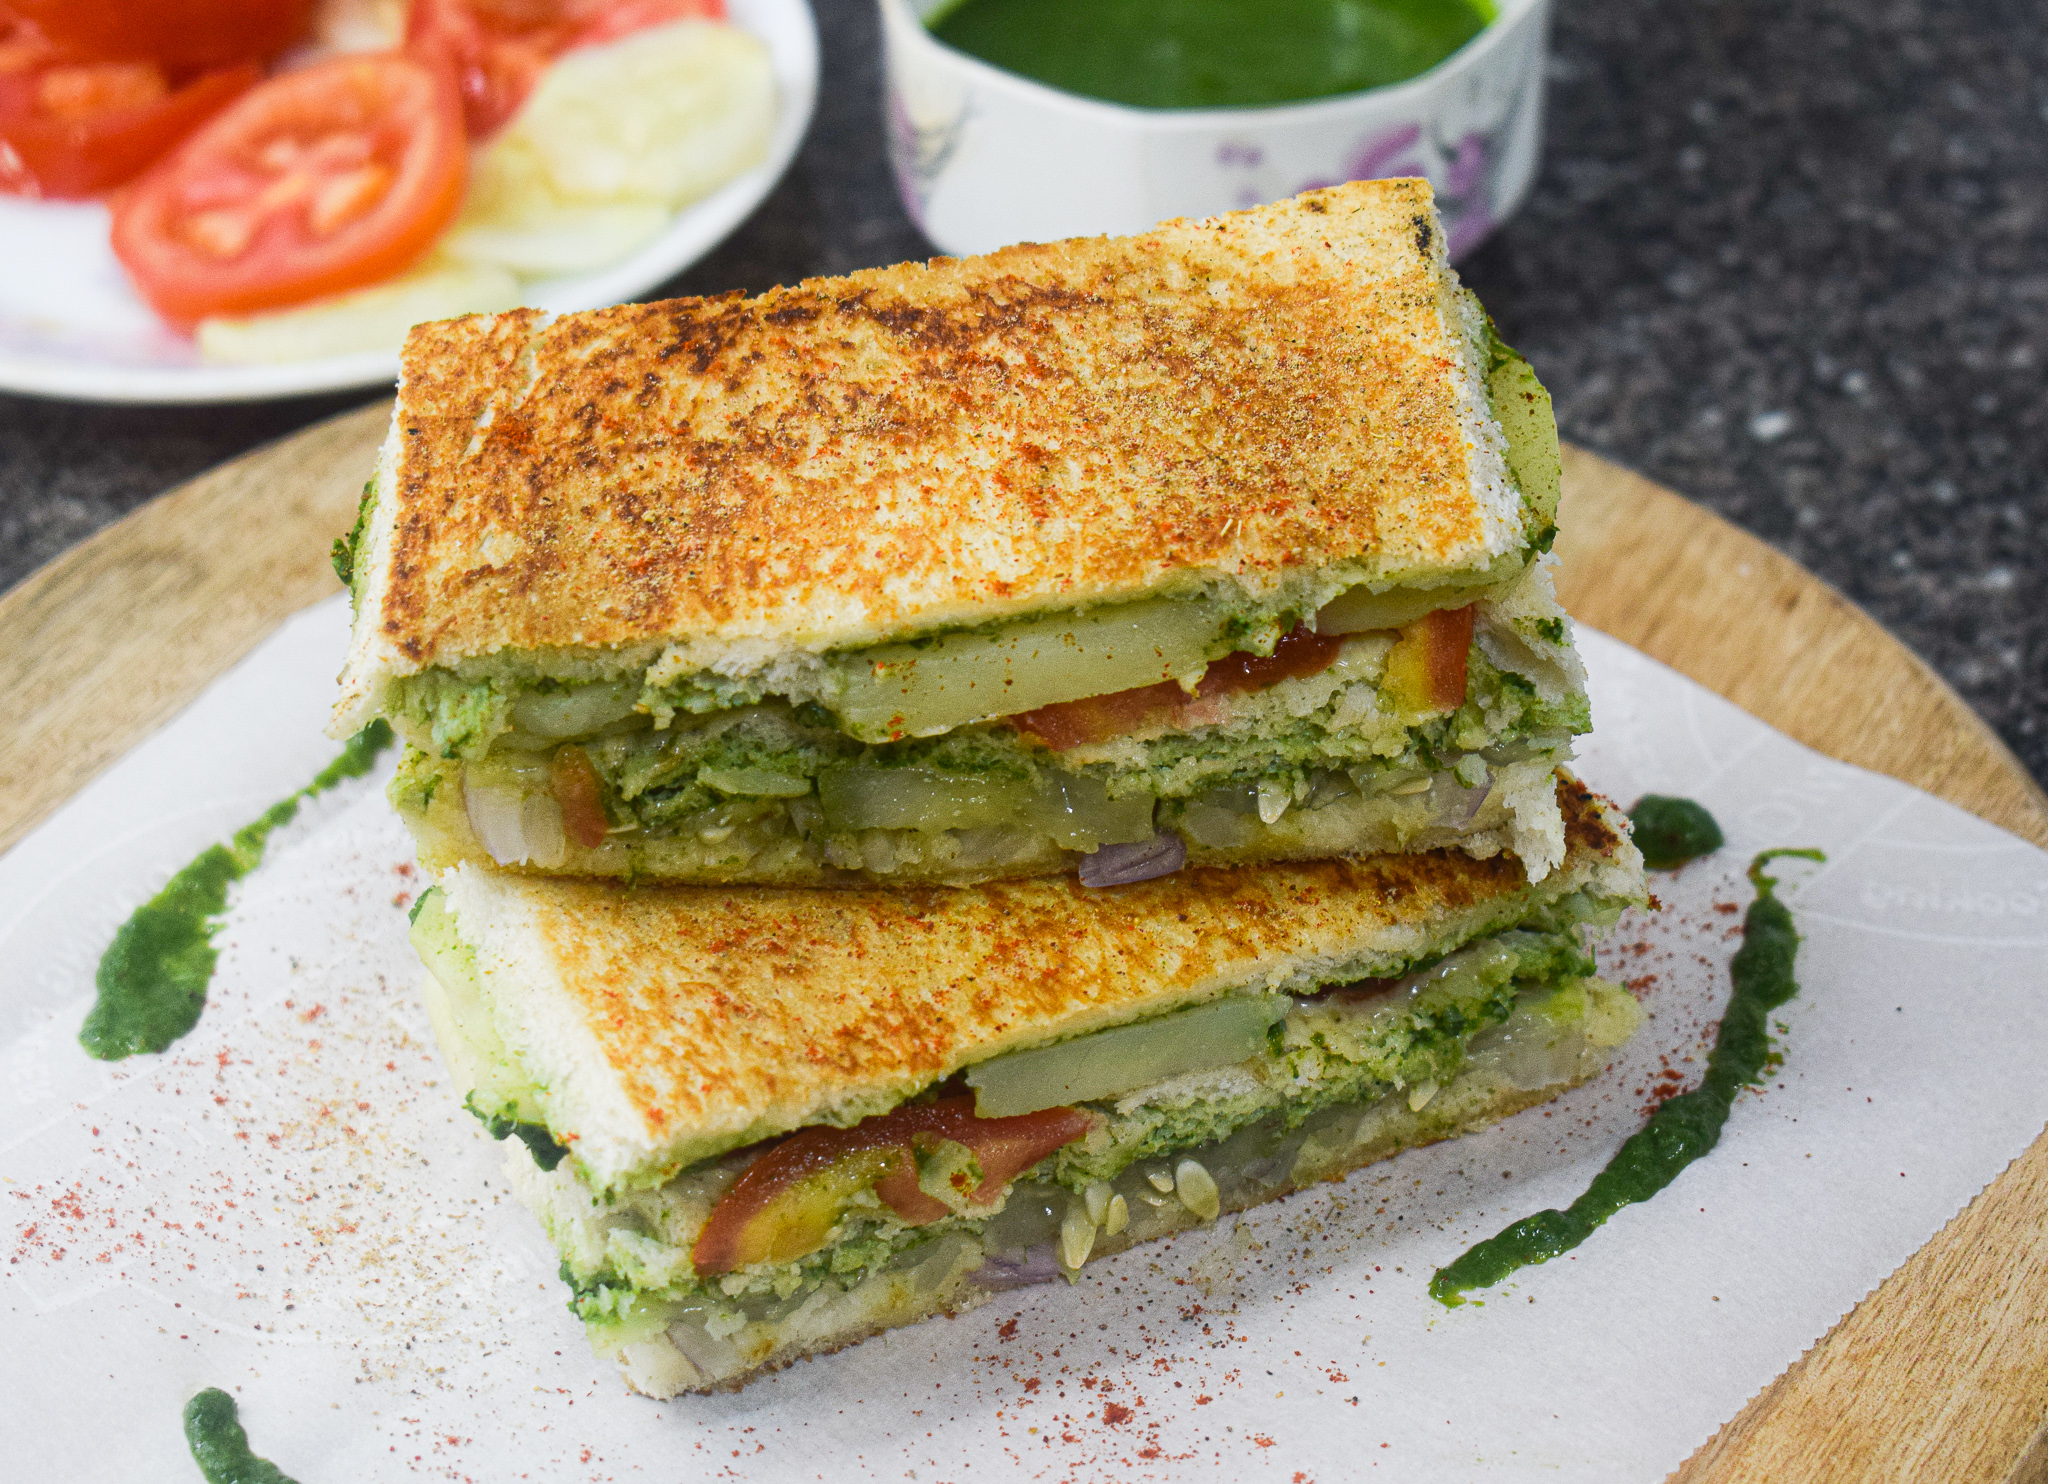
A crispy coating, green chutney filled sponge bread, layered with the crunch of fresh cucumber, tomatoes, onions and boiled potatoes – this homestyle version of Bombay sandwich is what makes for a perfect snack when hunger strikes. It is so easy to put together, and makes for a filling meal. I absolutely cannot get enough of this Bombay sandwich, and I resort to it very often. It is also very easy to assemble if you have all the ingredients lying in your fridge.

Keep that green chutney and sliced vegetables ready, and assemble this delicious sandwich in 5 minutes or less. I love grilling it slightly on my cast iron skillet before serving. But it tastes good even without it. The sev on the side is an option if you want it, I have kept mine simple here.
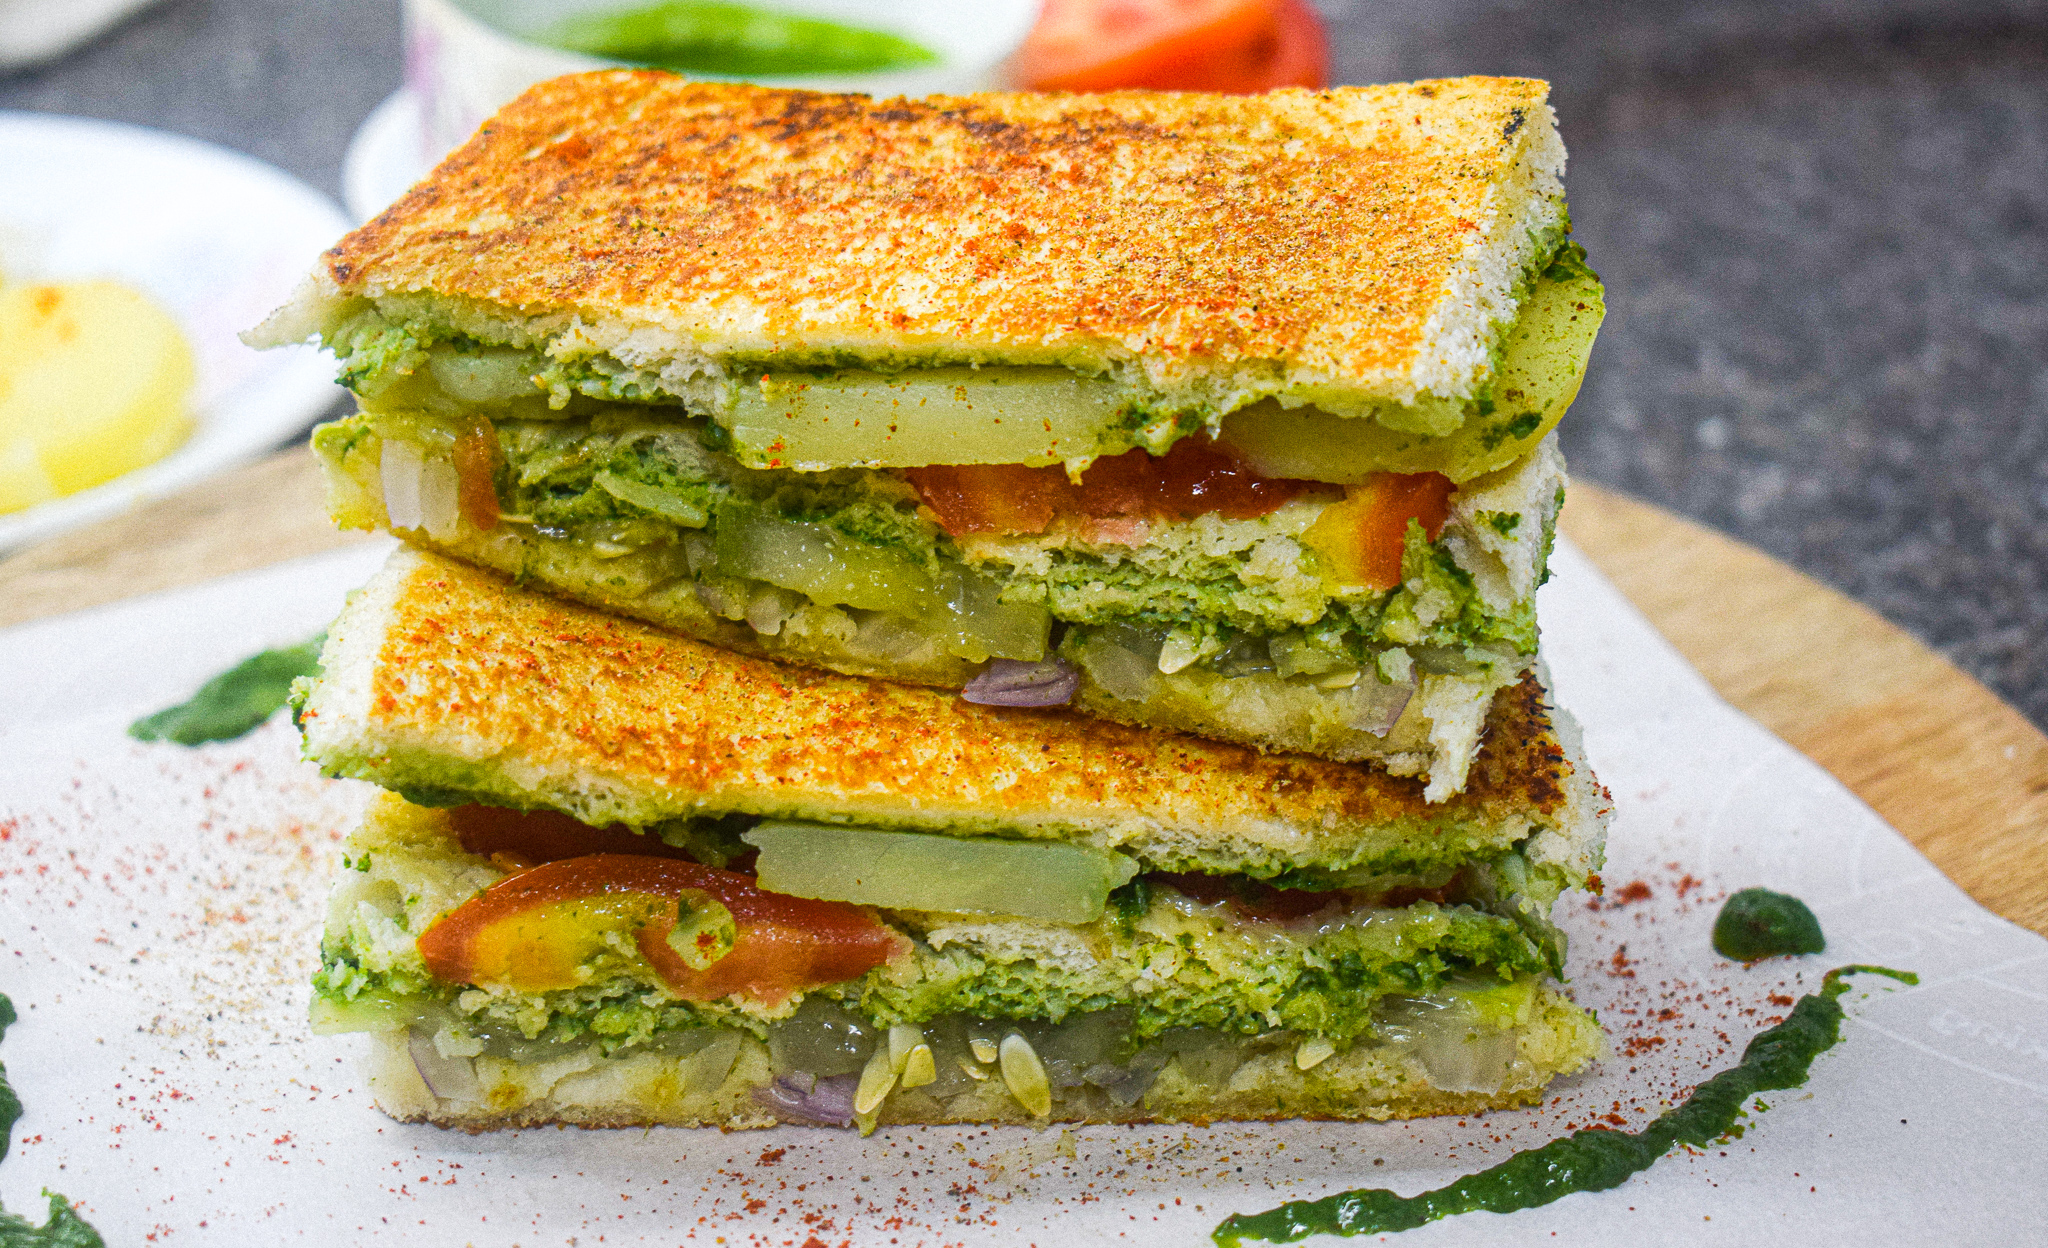
bombay sandwich

Hope you try out this easy and drop dead gorgeous version of a Bombay sandwich. This is how I make it. Simple, elegant and so wholesome!

Ingredients in this Bombay Sandwich

There are a few things to take care of to make this street style Bombay sandwich at home. Here are the ingredients to look at:

  • Use white bread for authentic taste

Bombay sandwich tastes best when made with white bread. You can use whole grain bread to make it healthier, but it won’t taste as authentic. But it is an option.

  • Chat masala

Chat masala is India’s umami and a must in this Bombay sandwich. Keep it ready for generous sprinkle. This sandwich combines chat masala with black salt to give it that extra street-style kick.

  • Softened butter

Softened butter is a major ingredient in this Bombay sandwich. The key is to have it at room temperature, so that you can easily spread it around with a butter knife. If you are planning to make this sandwich, take your butter out of the fridge at least 3-4 hours in advance.

  • Green chutney

Green chutney is every Indian household’s go-to way to spice meals up. This Bombay sandwich celebrates the desi green chutney by adding it to every layer of the bread. It’s made with a mixture of mint leaves, coriander leaves, ginger, garlic, salt, lime juice, green chillies and chaat masala. I have used coriander, but you can use a mix of coriander and mint just mint leaves.
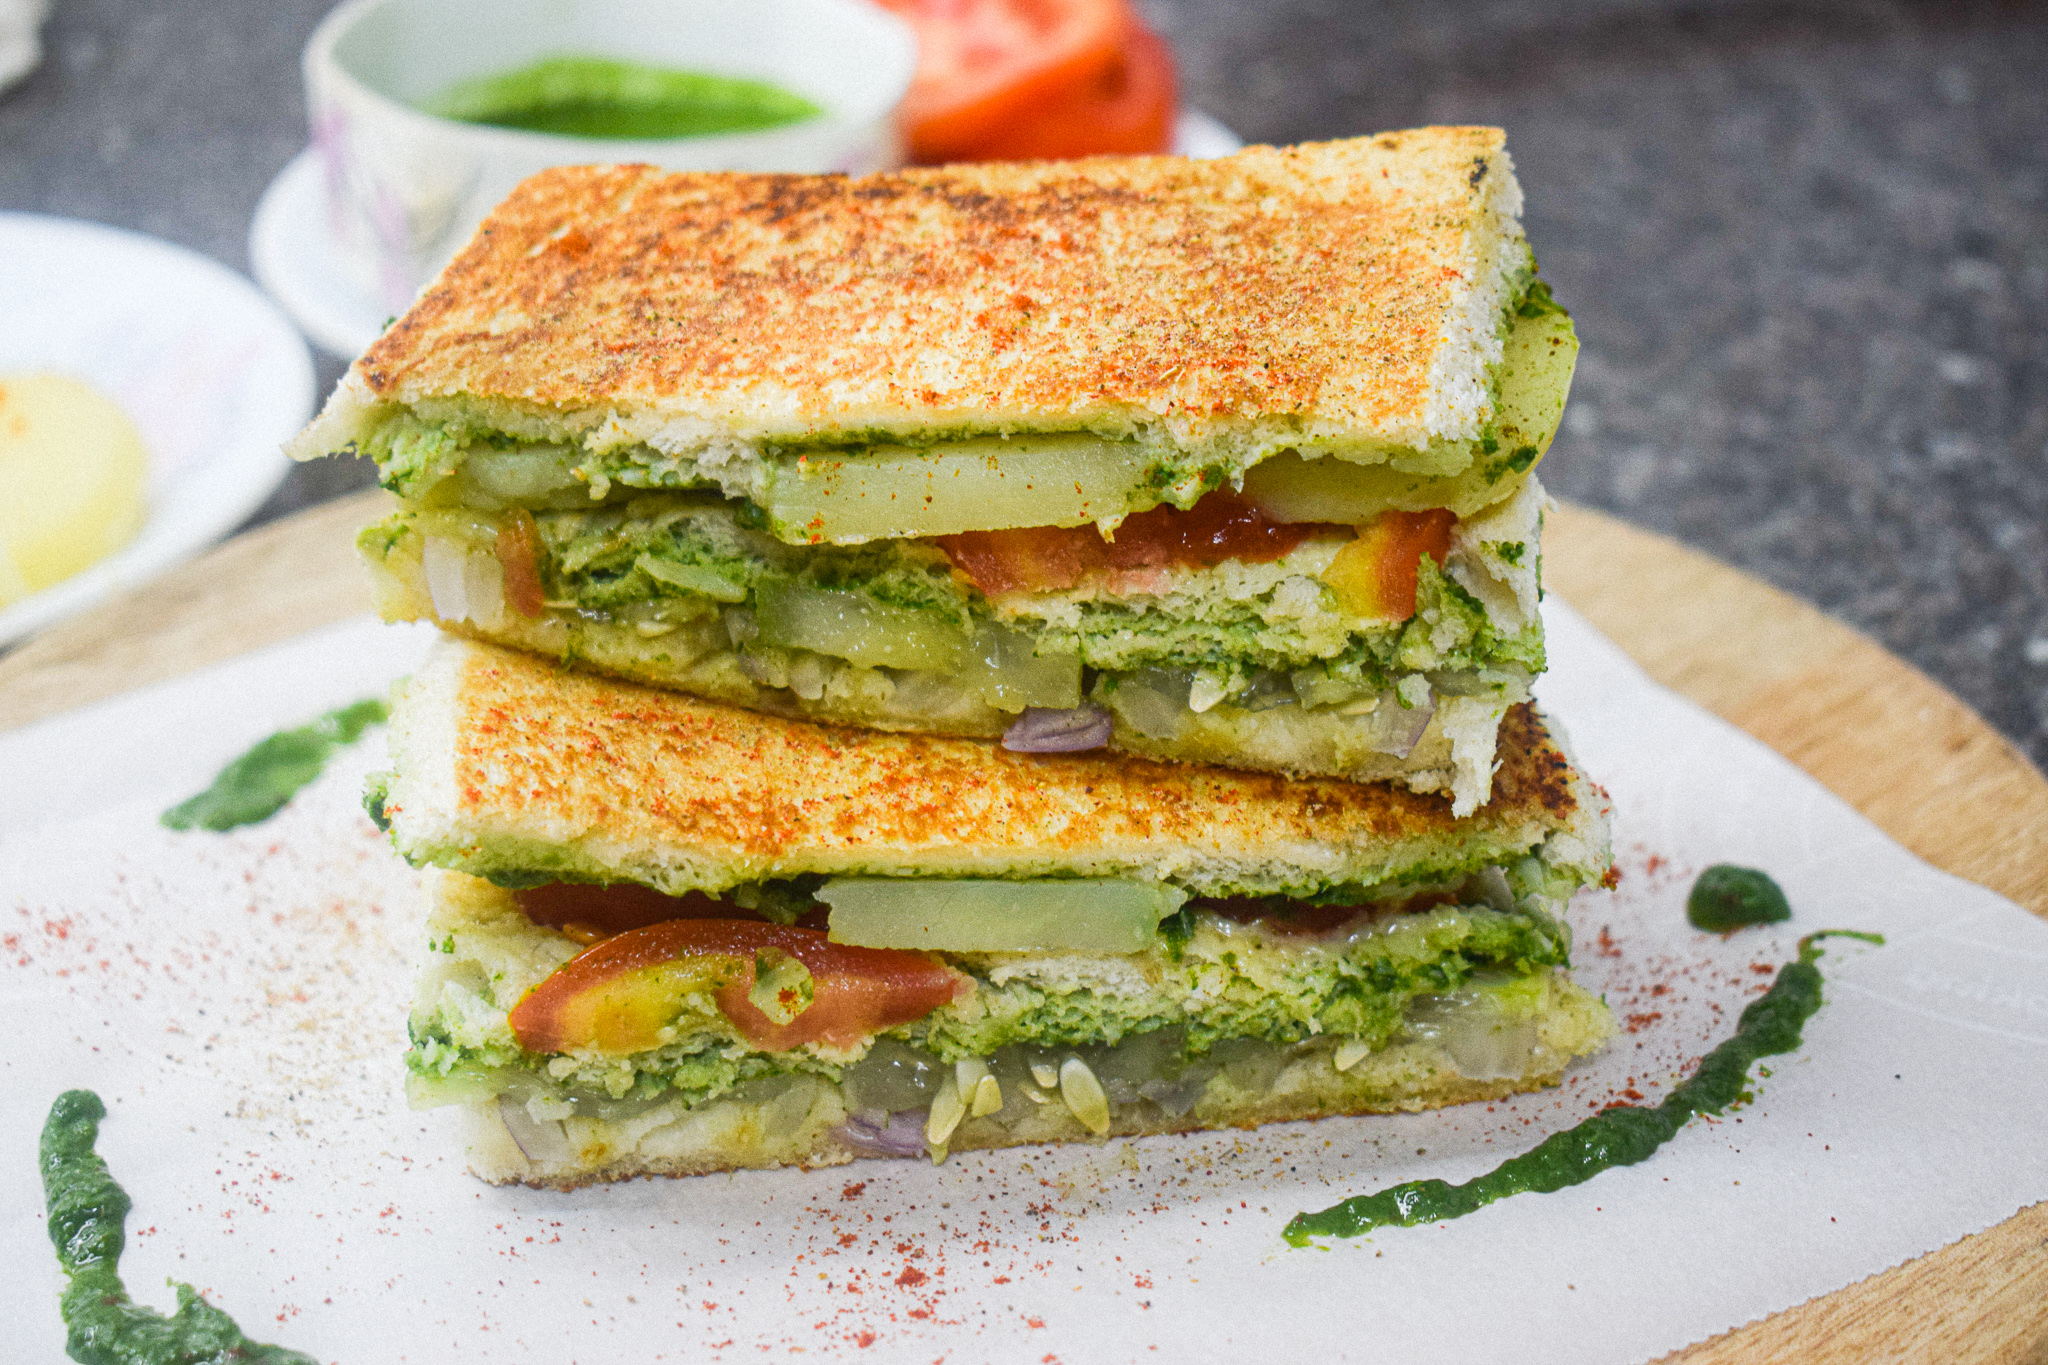
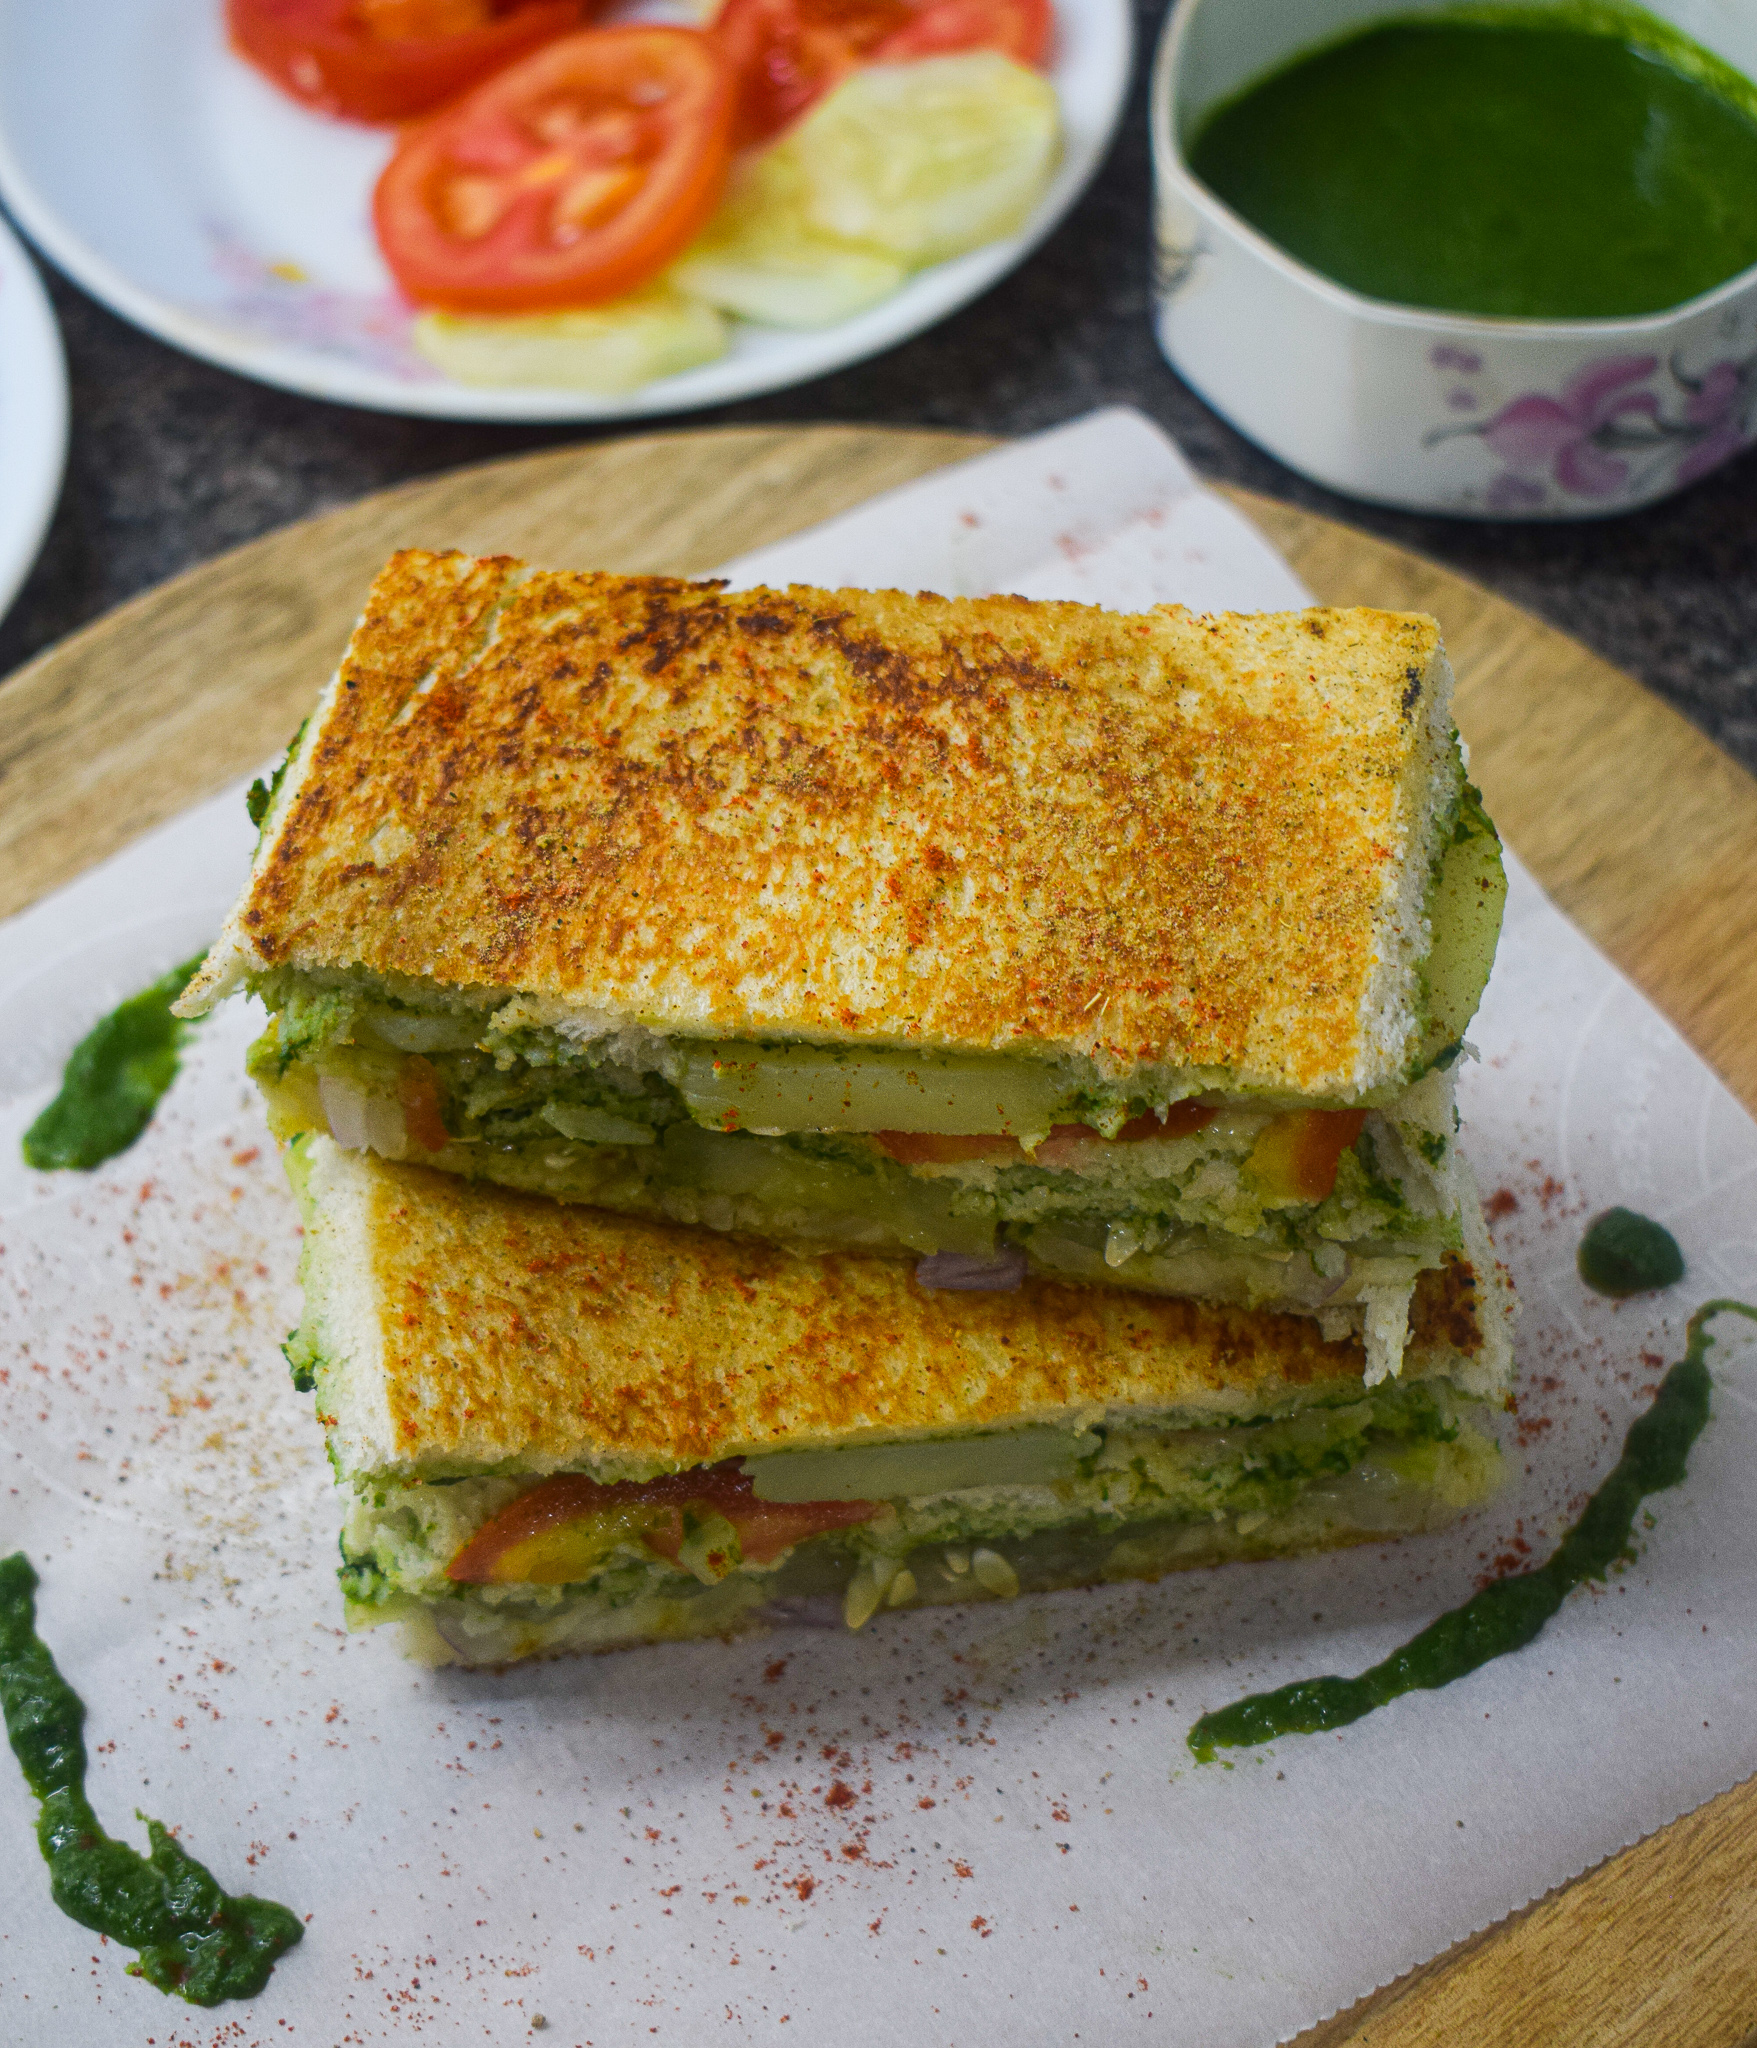
bombay sandwich

bombay sandwich

Here’s a look at the recipe:

Preparation time – 10 minutes

Cook time – 10 minutes

Serves – 2

[ingredients title=”Ingredients”]

For the green chutney:

  • 1 cup fresh coriander leaves (include the stems)
  • 1/2 inch ginger
  • 3-4 garlic cloves
  • 1 tsp chat masala
  • 2-4 green chillies (based on the level of heat you prefer)
  • 1 tbsp lime juice
  • 2 tbsp water

For the sandwich:

  • 3 slices of white bread
  • Softened butter
  • Cucumber slices (1/2 cucumber)
  • Tomato slices (1/2 tomato)
  • Sliced boiled potatoes (1 medium potato)
  • 1 tbsp chat masala
  • Black salt, to taste [/ingredients]

[directions title=”Directions”]

  1. To make the green chutney, combine all the ingredients and blend until smooth. You can adjust the level of heat or salt as per your preference. Set the chutney aside.
  2. Take three slices of jumbo white bread. Cut the edges off with a knife. Apply softened butter on each slice.
  3. Apply the green chutney generously on top of the butter on one slice. Top it off with sliced boiled potatoes and sliced tomatoes.
  4. Season with chat masala and black salt.
  5. Add the other layer of bread, with the butter side facing down. Add more green chutney on the other side of the second bread slice.
  6. Layer the second slice with sliced cucumbers and onion rings. Season with chat masala and black salt.
  7. Use the third slice to cover the sandwich. Press hard or keep a heavy pan on it to let it settle.
  8. You can enjoy it as it is, or grill it.
  9. For grilling, heat butter in a pan. Carefully place the sandwich and let it toast for a few minutes on one side till it turns crunchy. Keep the flame at medium.
  10. Apply butter on the top side of the sandwich. And then flip it to grill the other side till it turns golden brown and crunchy.
  11. Cut the sandwich into halves or quarters and enjoy! You can also use toothpicks to keep the sandwich and fillings in balance.
  12. If you want to serve it Bombay style, sprinkle some sev on top![/directions]
bombay sandwich

bombay sandwich

If you have any questions, feel free to reach out to me with a comment or connect with me on Instagram or Facebook. For all my videos, you can subscribe to me on YouTube.

Happy cooking!

 

Chilli Cheese Mushroom Toast

An easy to make, filling and delicious snacking option, this chilli mushroom toast recipe is addictive! It requires minimal ingredients and a good quality loaf of bread is a must! The cheese on top balances out all the flavours and adds that extra gooeyness. Mushrooms are cooked till they absorb all the flavours of the sauces, aromatics and spices. The addition of green capsicum adds that extra crunch as well as pop of green. It’s really one of my favourite recipes and I love to include this in my lazy brunch options on weekends.

This chilli mushroom toast also makes for a great appetiser option if you are planning to host soon. You can also put this delicious filling on small bruschettas and serve them to your guests. They are going to love it!

chilli cheese mushroom toast

The chilli element of these toasts are a combination of red chilli sauce and chilli flakes. The quantity of these two ingredients can be adjusted as per your preference. If you would like to make it extra hot, please add more.

chilli cheese mushroom toast

Here’s the recipe:

Preparation time – 10 minutes

Cook time – 20 minutes

[ingredients title=”Ingredients”]

  • 2 tbsp oil
  • A loaf of bread
  • 5 garlic cloves, finely chopped
  • 1 medium onion, finely chopped
  • Salt to taste
  • 1/2 tsp black pepper powder
  • 1 large tomato, finely chopped
  • 100 g button mushroom, finely chopped
  • 1/2 capsicum, finely chopped
  • 1 tbsp hot sauce/Schezwan sauce/red chilli sauce
  • 1 tsp Oregano
  • 1 tsp chilli flakes (adjust as per liking)
  • Melted butter (to layer the bread)
  • 1 cup Grated mozzarella cheese (adjust as per your liking) [/ingredients]

[directions title=”Directions”]

  1. Heat oil in a pan. Add the finely chopped garlic and stir for a minute on low flame. The garlic should release its aroma and flavour the oil.
  2. Add the finely chopped onions and stir for a few minutes till they turn brown and translucent.
  3. Once the onions are have softened, add the tomatoes and cook for another 2-3 minutes till the tomatoes melt. Add a splash of hot water to prevent it from sticking.
  4. Season with salt and black pepper powder. Mix well.
  5. Add the chopped mushrooms and chopped capsicum. Mix and cook for 3-4 minutes.
  6. For the heat, add a tablespoon of any chilli sauce. I have used a red chilli sauce here, also known as hot sauce.
  7. Season with some Oregano and chilli flakes. Mix everything well together.
  8. Cut the loaf of bread into bruschetta slices. Melt some butter and apply on the bread with a brush (see video for reference).
  9. Put a few spoons of the mushroom filling on top of the bread, followed by a generous topping of grated cheese.
  10. Toast it in the oven for 10 minutes till its hot and crunchy. Enjoy while its hot. [/directions]

chilli cheese mushroom toast

chilli cheese mushroom toast

Every bite of this cheesy, crunchy and garlicky chilli cheese mushroom toast is so delicious!

I hope you try out this delicious recipe. If you do, let me know how it turned out for you. If you have any questions, suggestions or feedback, please leave me a comment here. Or connect with me Instagram, Facebook or YouTube.

Happy toasting!


The Best Homemade Salsa Recipe

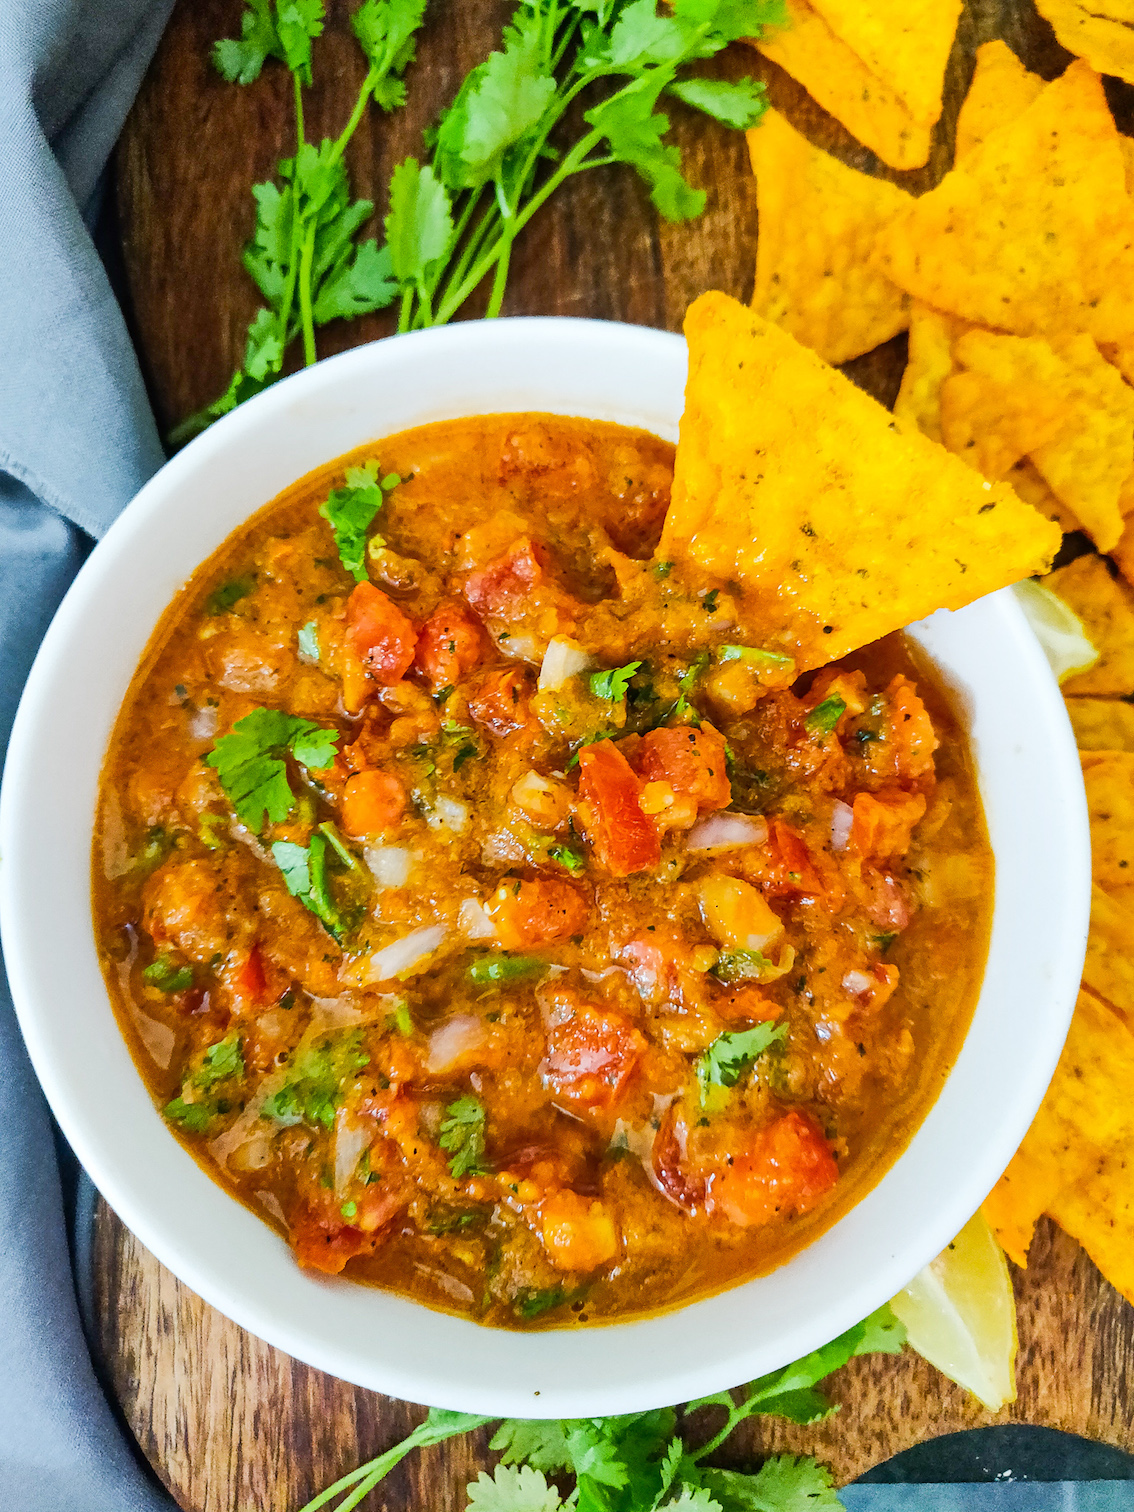
Are you ready to make the best salsa of your life? Once you make this salsa recipe, you will never go back to anything else. This salsa is really easy to make and requires just a handful of fresh ingredients – lime, cilantro, juicy fresh tomatoes – you know the drill. But the extra tricks just elevate it to a whole new level.

salsa recipe

salsa recipe

This salsa is saucy, crunchy and packed with tomatoes, all at the same time. The reason why you get so many textures is because this recipe is actually divided into two key steps, and both are merged in the end. The first step involves creating that jaw dropping sauce and the second step is assembling the raw tomatoes. Merging the two steps is what gives us a salsa recipe that is extremely flavourful and with a beautiful texture.

I have been making this for as long as I can remember. This is one salsa recipe that has been a favourite for years, and I make this every time I host. Spicy, sweet and so punchy, this salsa is refreshing and delicious, almost unreal. You will never buy salsa again as this is a recipe to keep forever. I had been tucking this in my heart for so long and finally sharing it here. It is super simple and barely requires any fancy ingredients. Just some of those juicy and ripe tomatoes can make magic happen! I hope you try this soon and fall in love with it. I can promise that it will make you a star host!

salsa recipe

Preparation time – 10 minutes

Cook time – 10 minutes

[ingredients title=”Ingredients”]

For the sauce

  • 4 ripe tomatoes, finely chopped
  • 1 cup finely chopped onions
  • 8-10 Italian basil leaves
  • 1 tbsp finely chopped garlic
  • 1 tbsp olive oil
  • One tbsp sugar
  • Two tbsp tomato puree
  • One green chilli, finely chopped
  • Salt to taste
  • 1 tsp black pepper powder
  • 1/2 tsp dried Oregano

For the final salsa

  • 2 finely chopped tomatoes
  • 1 tbsp lime juice
  • A handful of finely chopped coriander/cilantro
  • 1/2 cup finely chopped onions [/ingredients]

[directions title=”Directions”]

  1. Heat olive oil in a skillet or pan. Add the onion and mix for 2-3 minutes till the onions start to caramelise.
  2. Add the finely chopped garlic and stir for another minute.
  3. Finely chop the green chilli and add it to the pan. Mix well.
  4. Add the chopped tomatoes and cook for a few minutes till the tomatoes start to sweat and melt.
  5. Pour the tomato puree and stir well.
  6. For sweetness, add the sugar and mix well till the sugar dissolves completely.
  7. Season with salt, black pepper powder and dried oregano. Give it all a good mix.
  8. Garnish with fresh Italian basil leaves and stir for a few seconds. Turn the gas off and let the mixture cool down.
  9. Blend the mixture into a smooth paste. Set aside.
  10. In another bowl, add the chopped tomatoes, lime juice and chopped coriander. Add the blended paste to this and mix well. Your salsa is ready.
  11. Serve with chips or nachos. Enjoy! [/directions]

salsa recipe

salsa recipe

Every bite of this salsa with a nacho will knock your socks off! Make it over the weekend and enjoy something different and wildly popular when you host at home the next time. You can store this salsa for 2-3 days and enjoy it in sandwiches as well. It is quite multipurpose!

I hope you try out this salsa recipe. If you do, let me know how it turned out for you. If you have any questions, suggestions or feedback, please leave me a comment here. Or connect with me Instagram, Facebook or YouTube.

Happy hosting!

Italian Fish Cakes

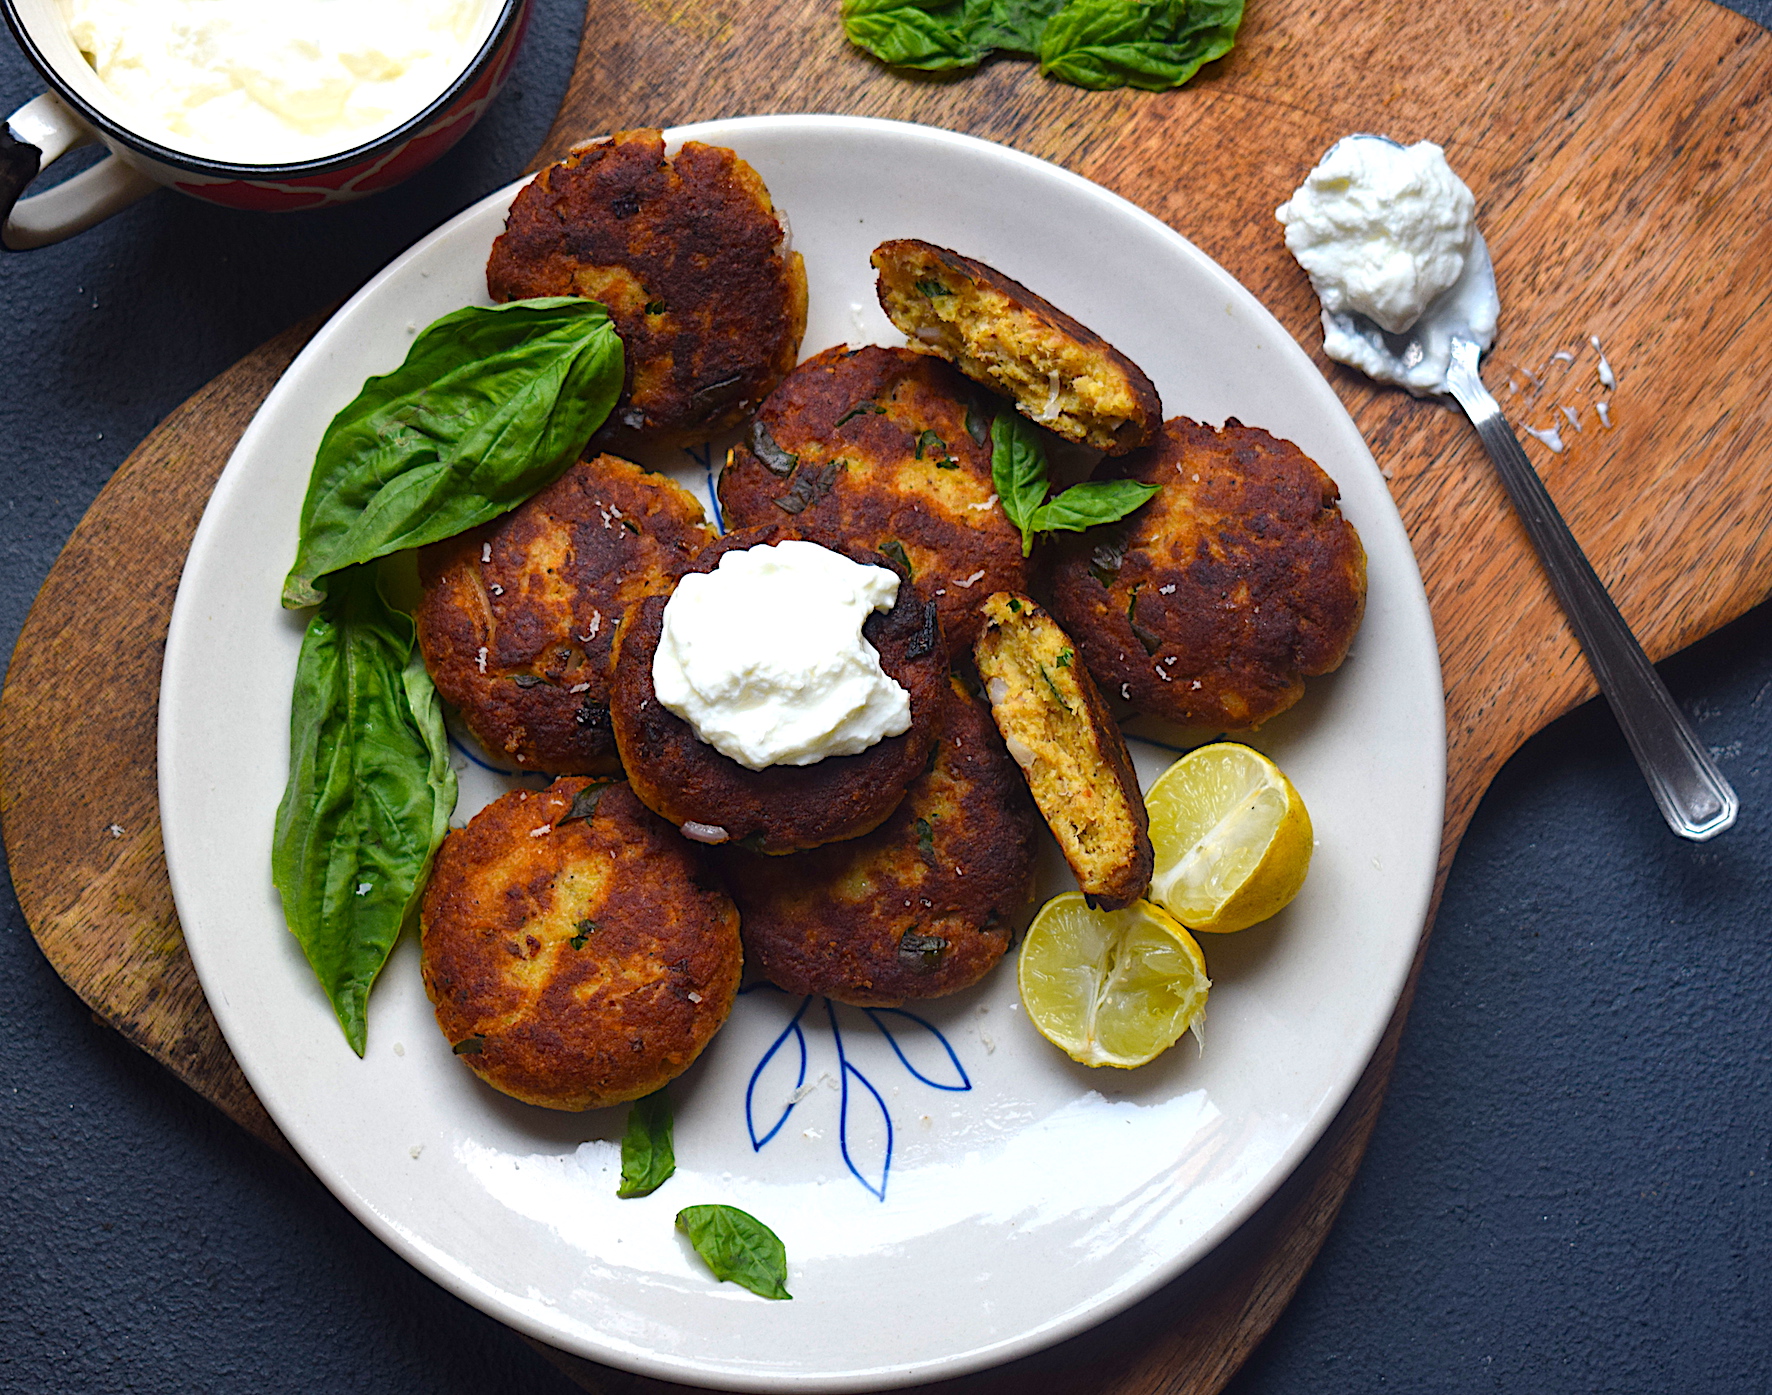
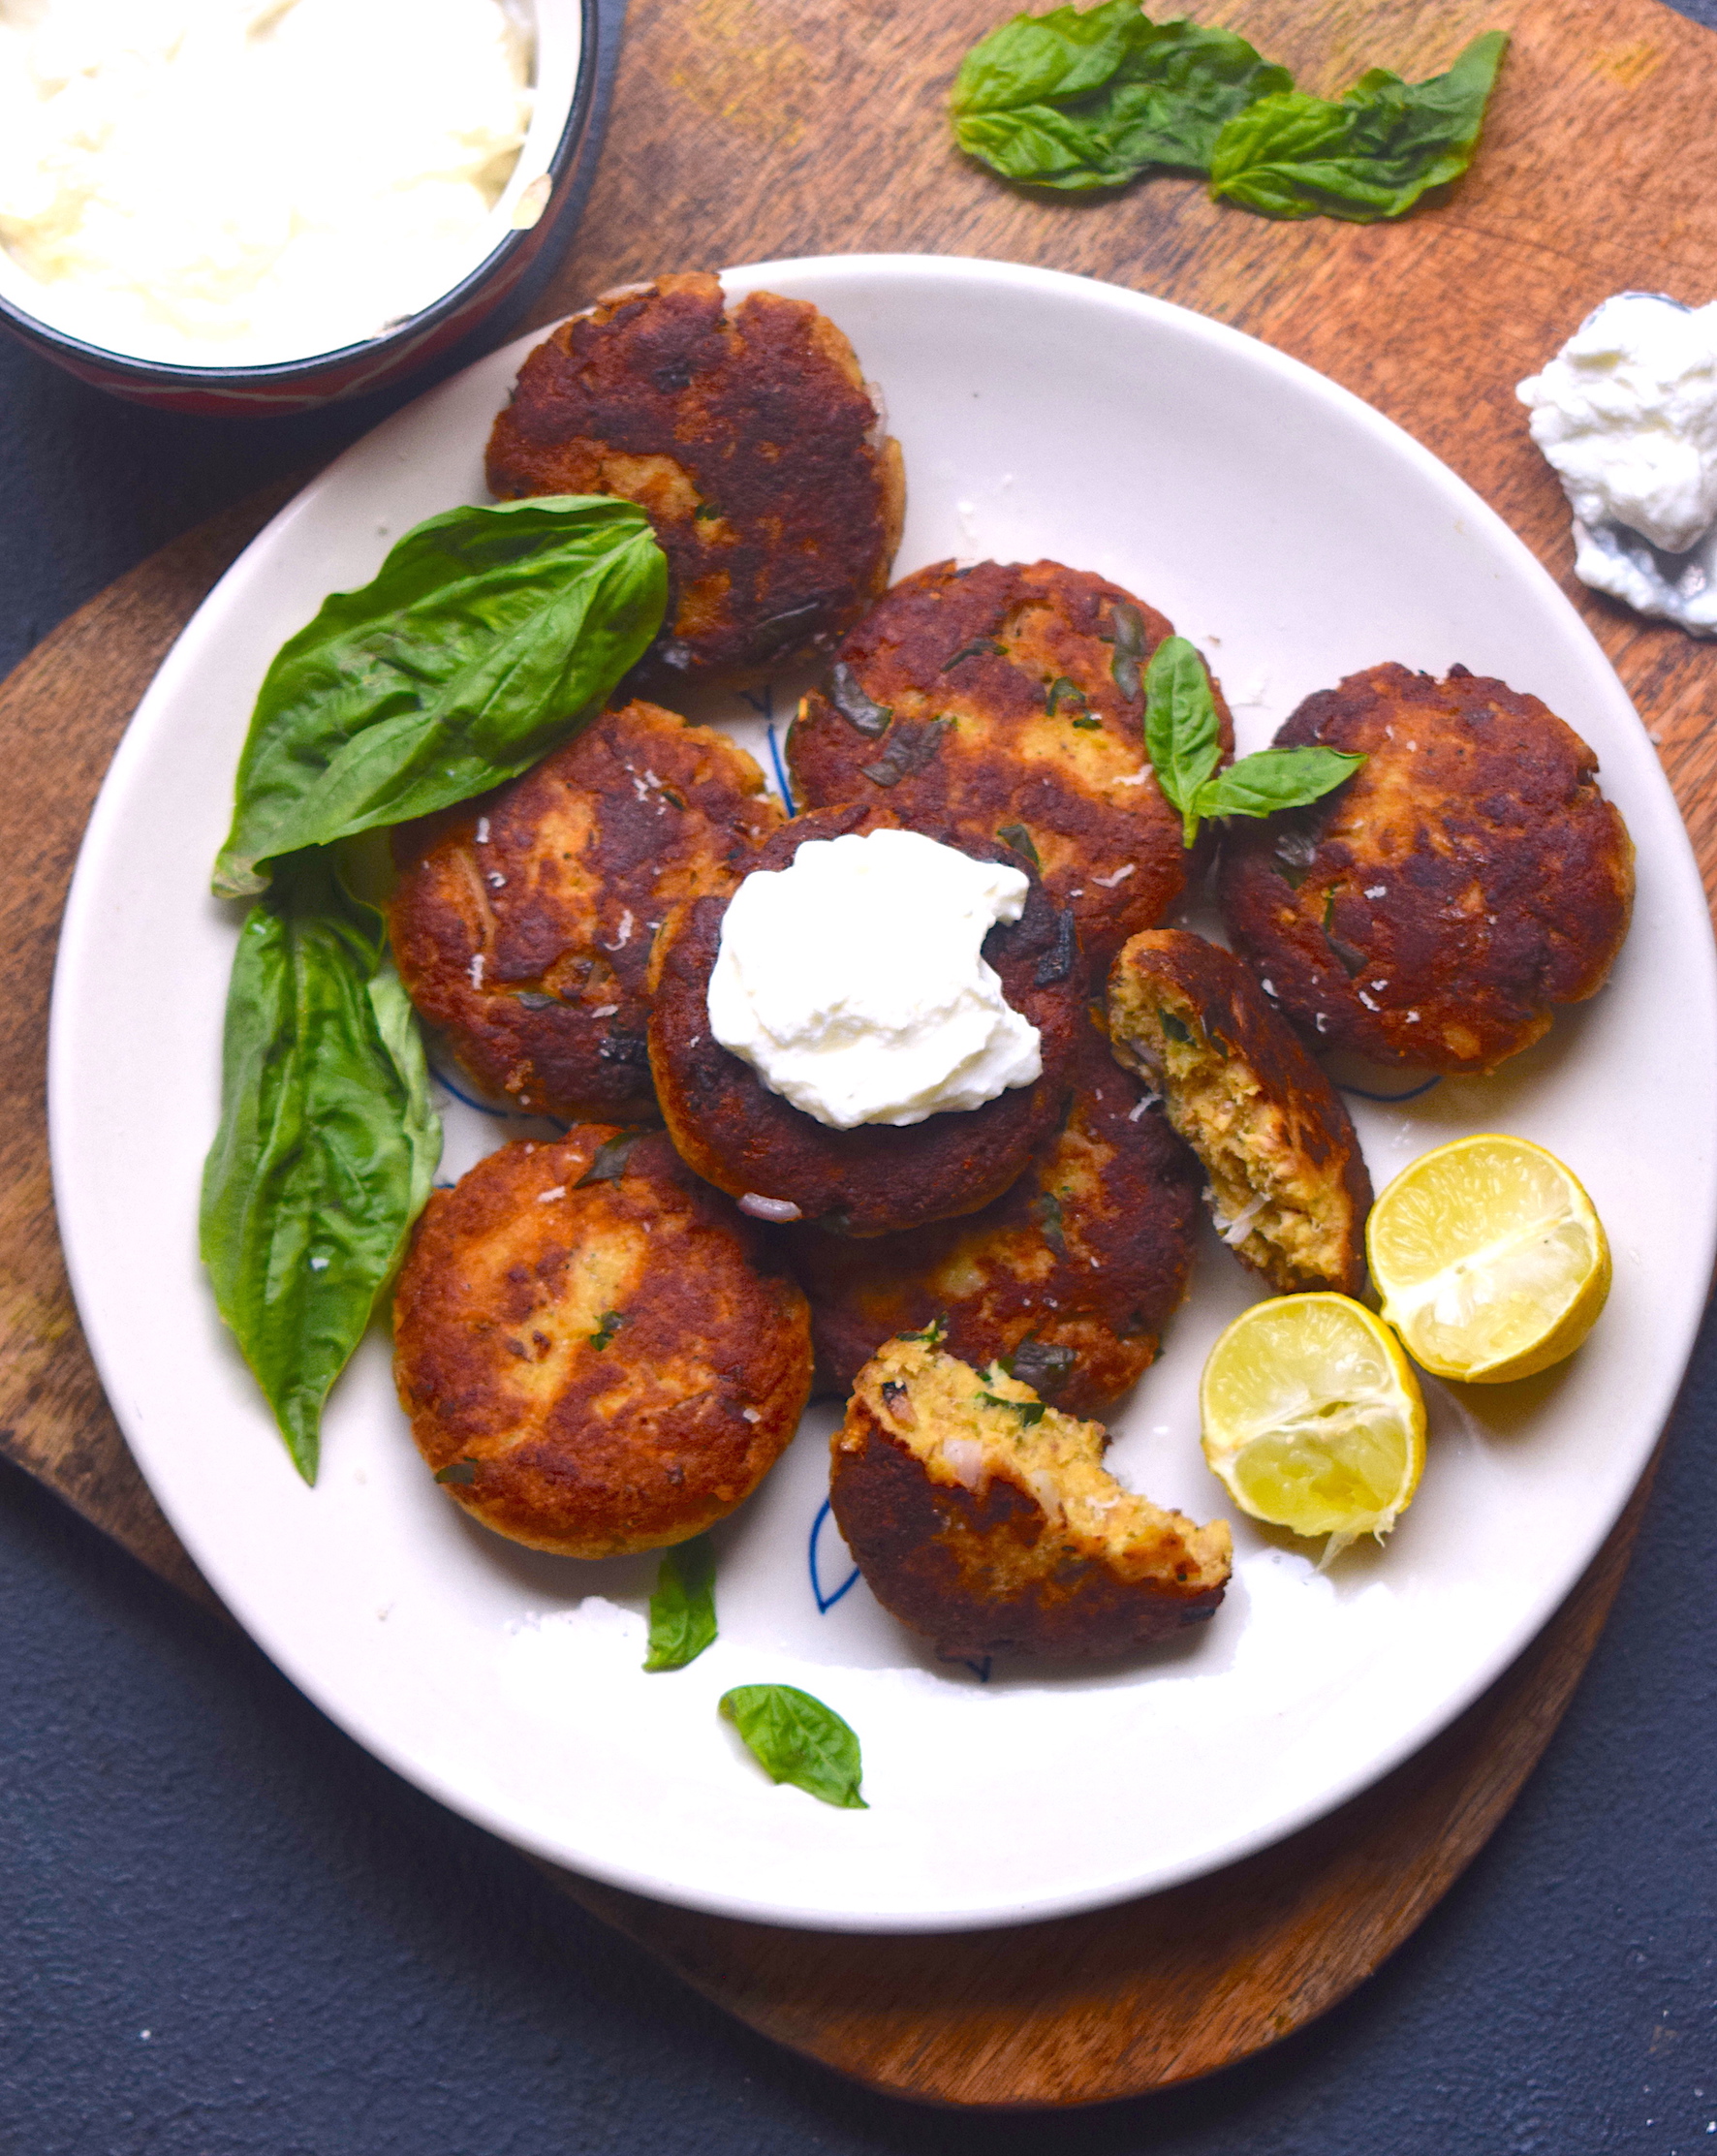
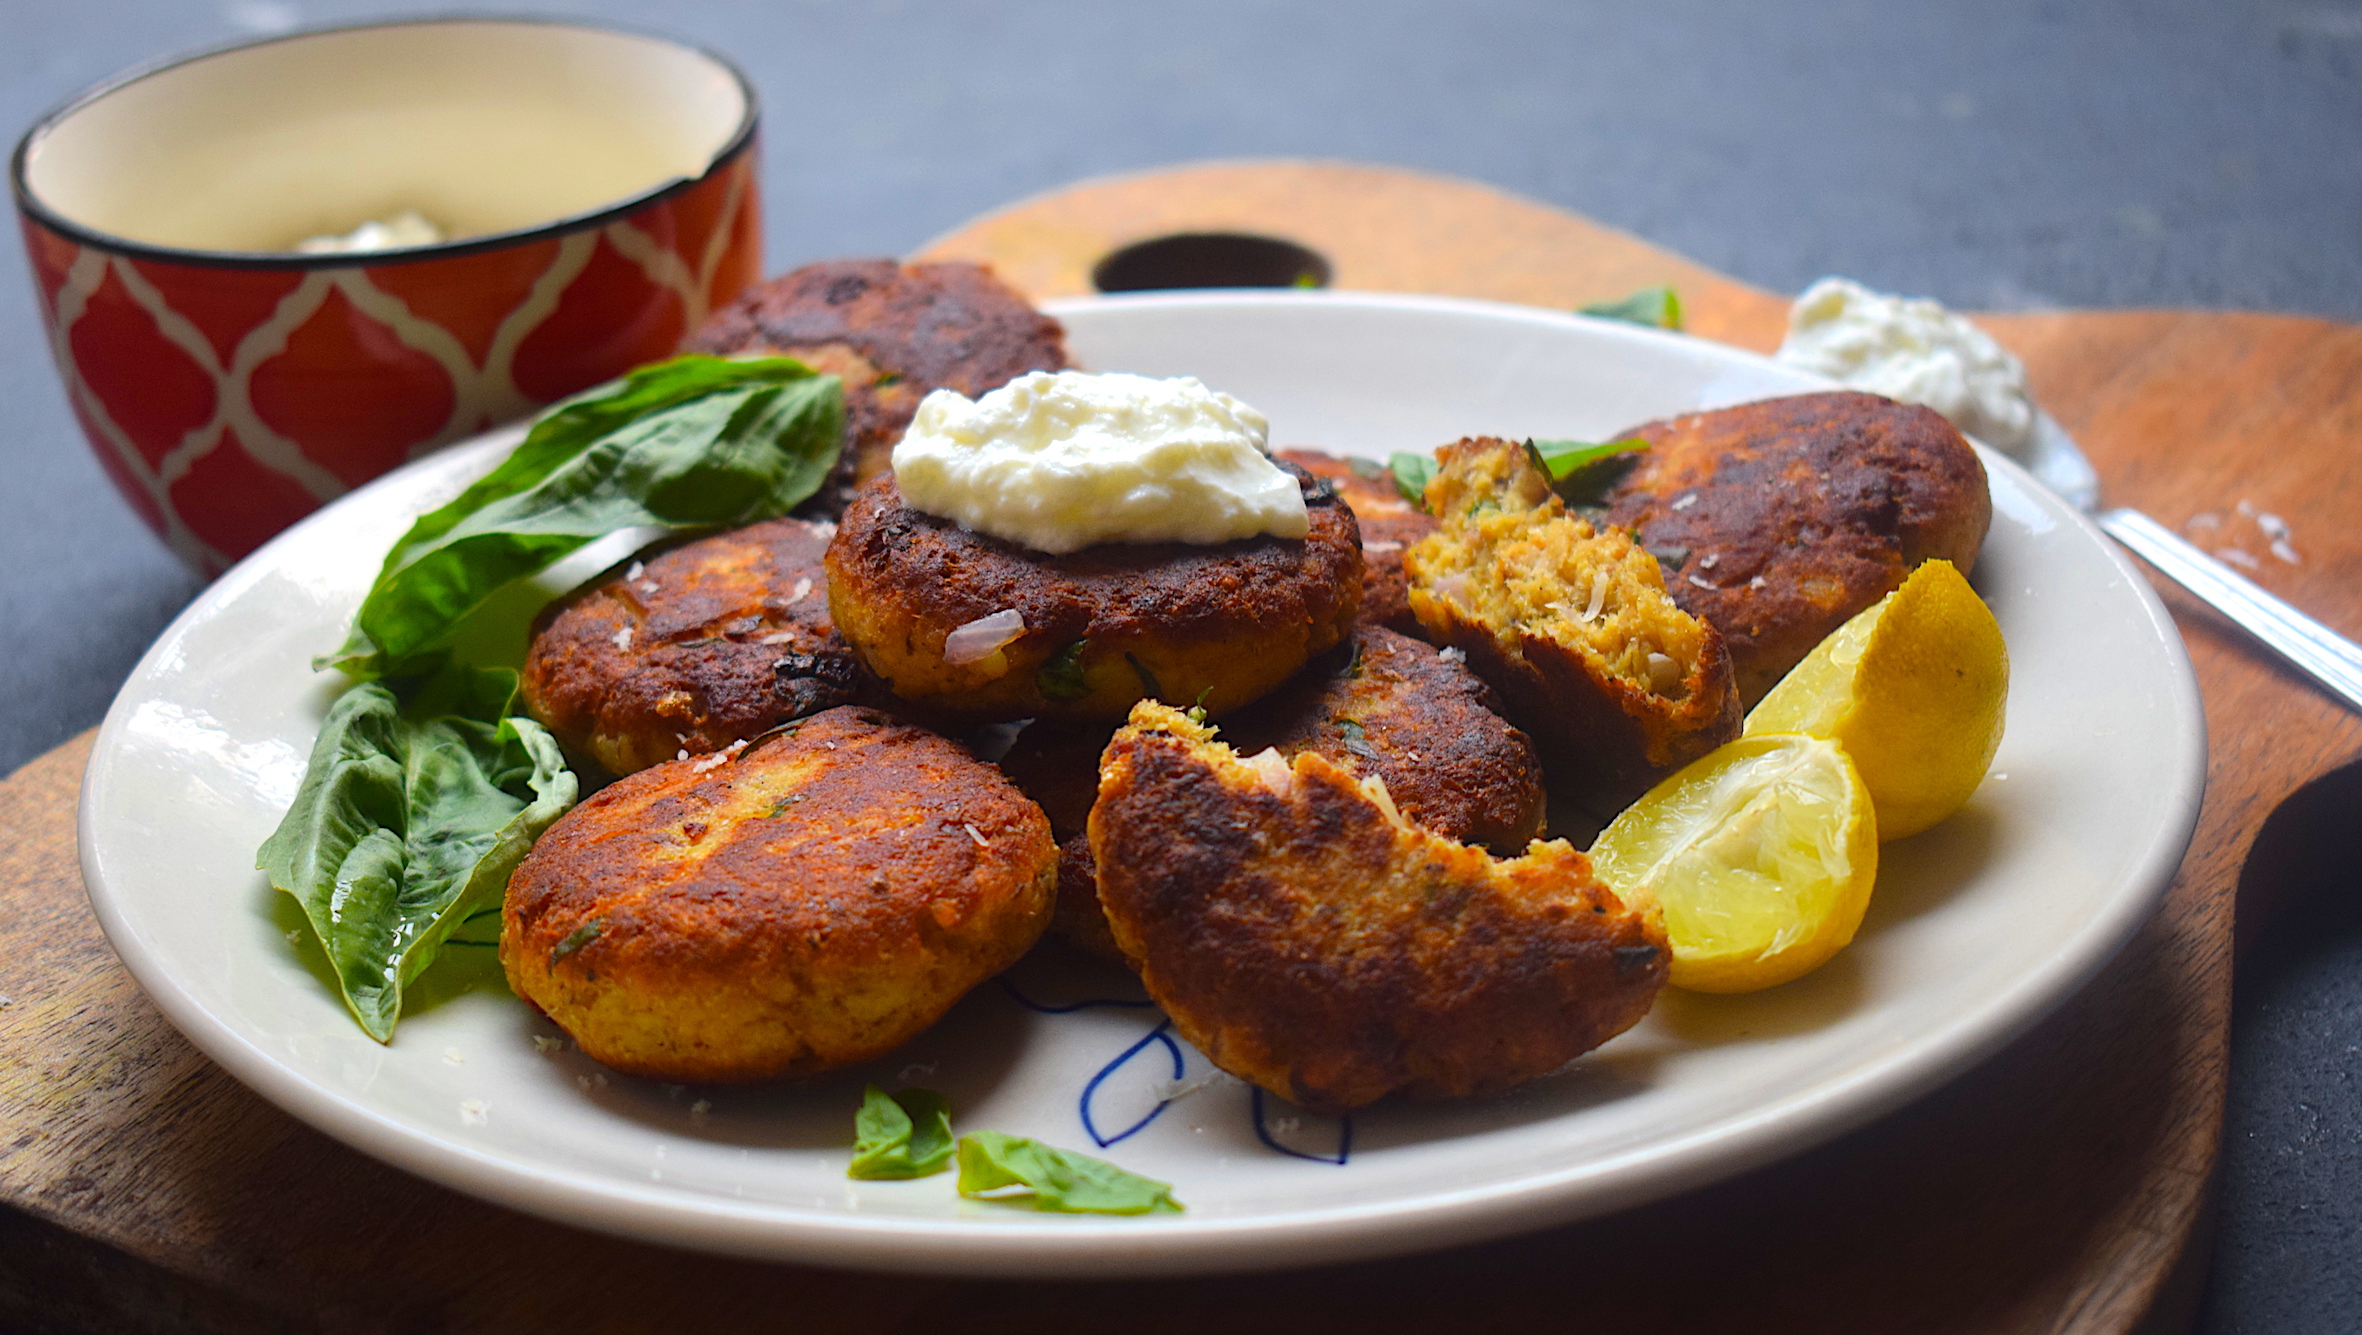
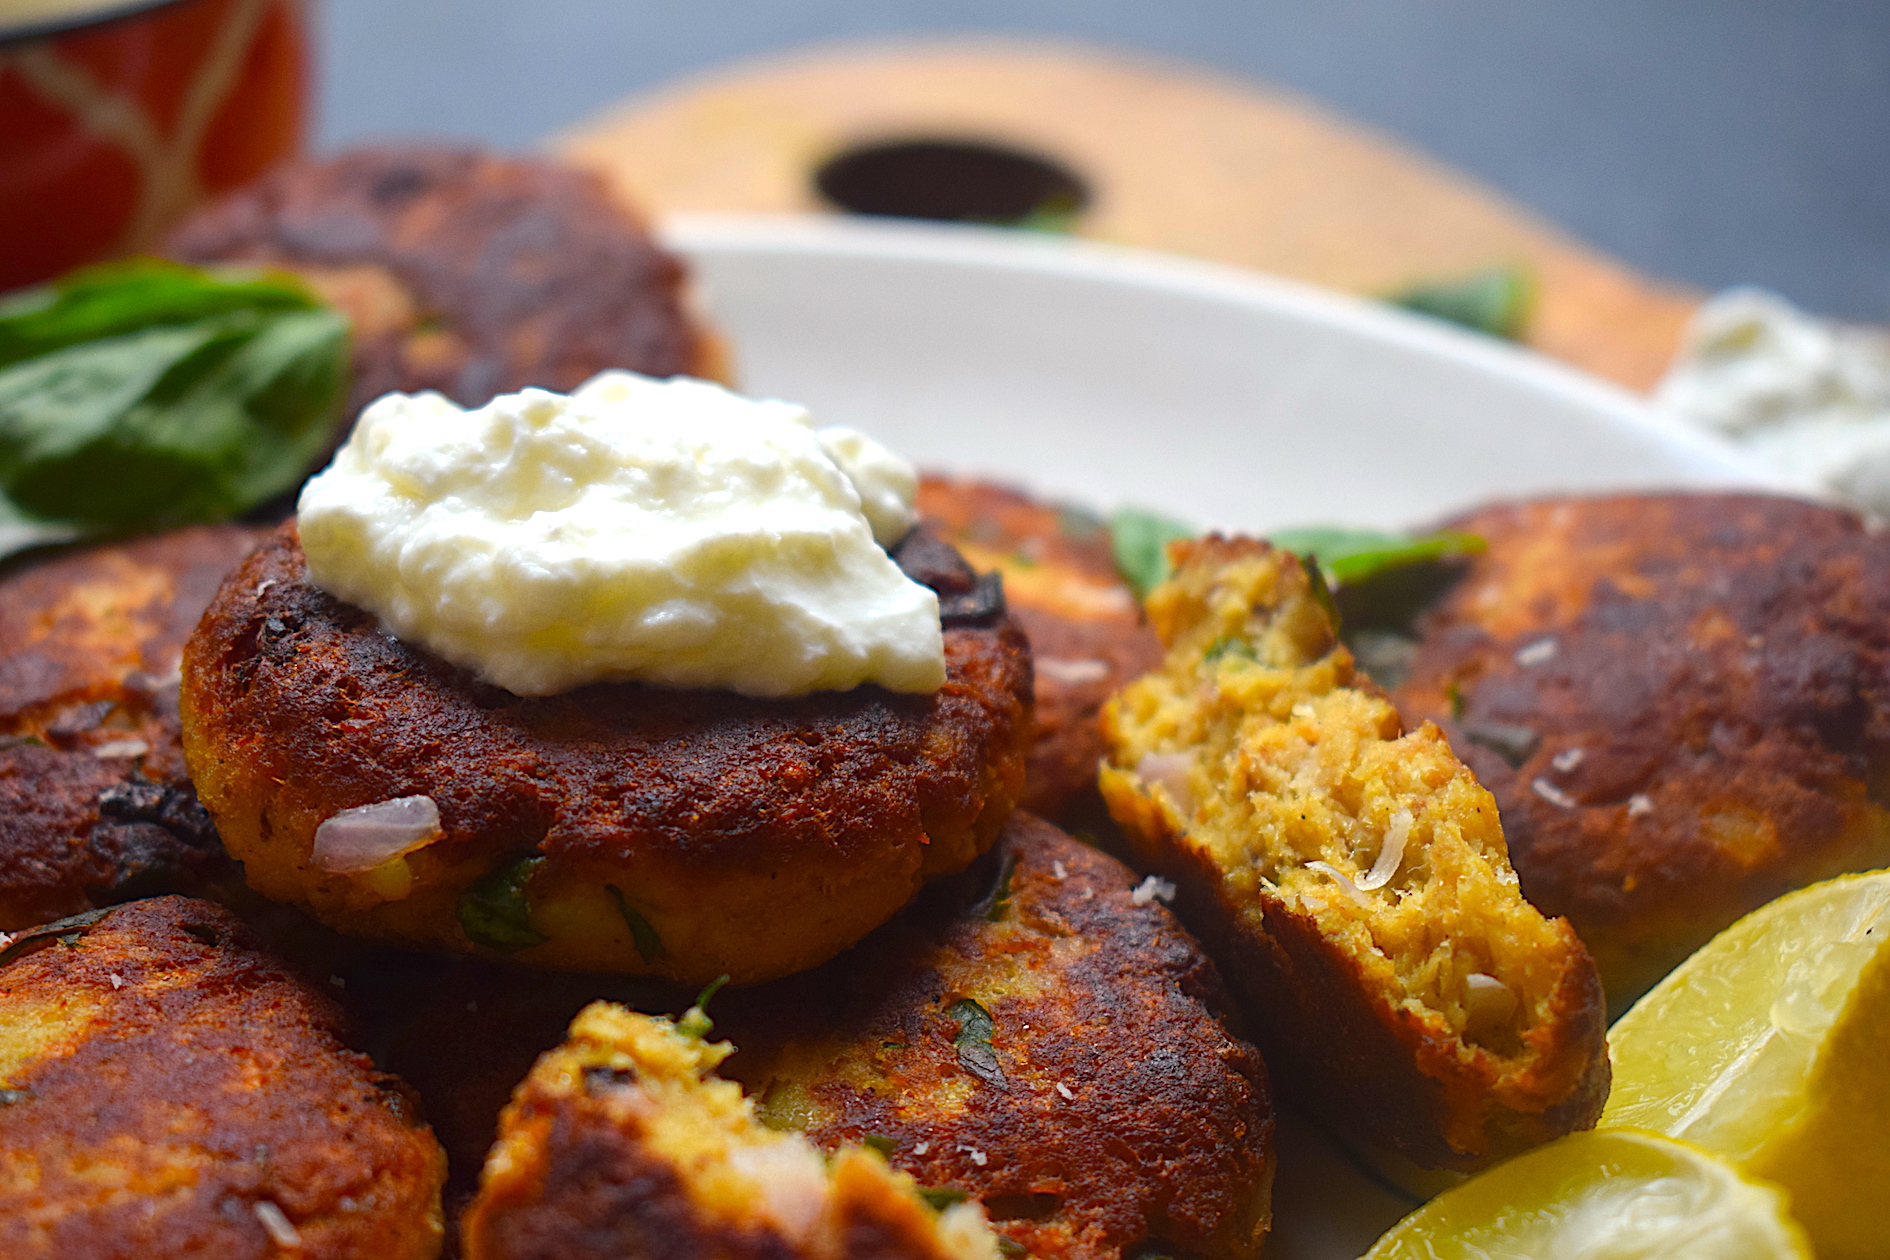
These Italian style fish cakes with Parmesan cheese and basil as the heroes served alongside a delicious yogurt dip is the perfect appetizer option for a get-together. Soft, fragrant, mushy and perfectly cooked, these fish cakes are every fish lover’s dream. This homemade version is so much better than anything you get out there. Try it for yourself and see the difference!

fish cakes

You can substitute tuna in this recipe if you prefer. I have used basa fillet. Since this is an Italian version, it has to involve some good amount of cheese! Over here, I have used Mozzarella and Parmesan, and these two ingredients just elevate the recipe to a whole new level.

fish cakes

Preparation time – 30 minutes

Cook time –  30 minutes

Serves – 4 people

[ingredients title=”Ingredients”]

  • Basa fish fillet, 800 gms
  • 500 g potatoes
  • 1 onion, finely chopped
  • 50 g Italian basil leaves
  • 4 garlic cloves, finely chopped
  • 1 tbsp black pepper powder
  • 1 egg
  • 100 g Mozzarella cheese, grated
  • 80 g Parmesan cheese, grated
  • 50 g breadcrumbs
  • 50 g butter
  • Sunflower oil, for shallow frying
  • 2 lemons
  • Salt to taste [/ingredients]

[directions title=”Directions”]

  1. Thoroughly wash and pat dry the basa fillet pieces. Heat water in a saucepan, add salt to it and bring it to a boil. Add the basa fillets to it and let it cook in water for ten minutes, till soft.
  2. Take the fish fillet pieces out of the water carefully and set them aside to cool. Put them on paper towels so that the excess water gets sucked into it.
  3. Peel the potatoes and cut them into 2cm chunks. Cook them in salted boiling water for ten minutes. Once done, set them aside.
  4. Mash the potatoes till there are no lumps. Add the boiled fish to it and combine it together.
  5. Beat in the egg into the mash.
  6. Season with salt and pepper. Make sure you taste it before you add more salt. Mix well.
  7. Add the finely chopped garlic and onion into the mash.
  8. Add chopped Italian basil leaves to the mix.
  9. Add the Mozarella and Parmesan cheese to the mash and give it a nice mix.
  10. Once everything is combined well, add the breadcrumbs and give it one last mix with a spatula. Be gentle.
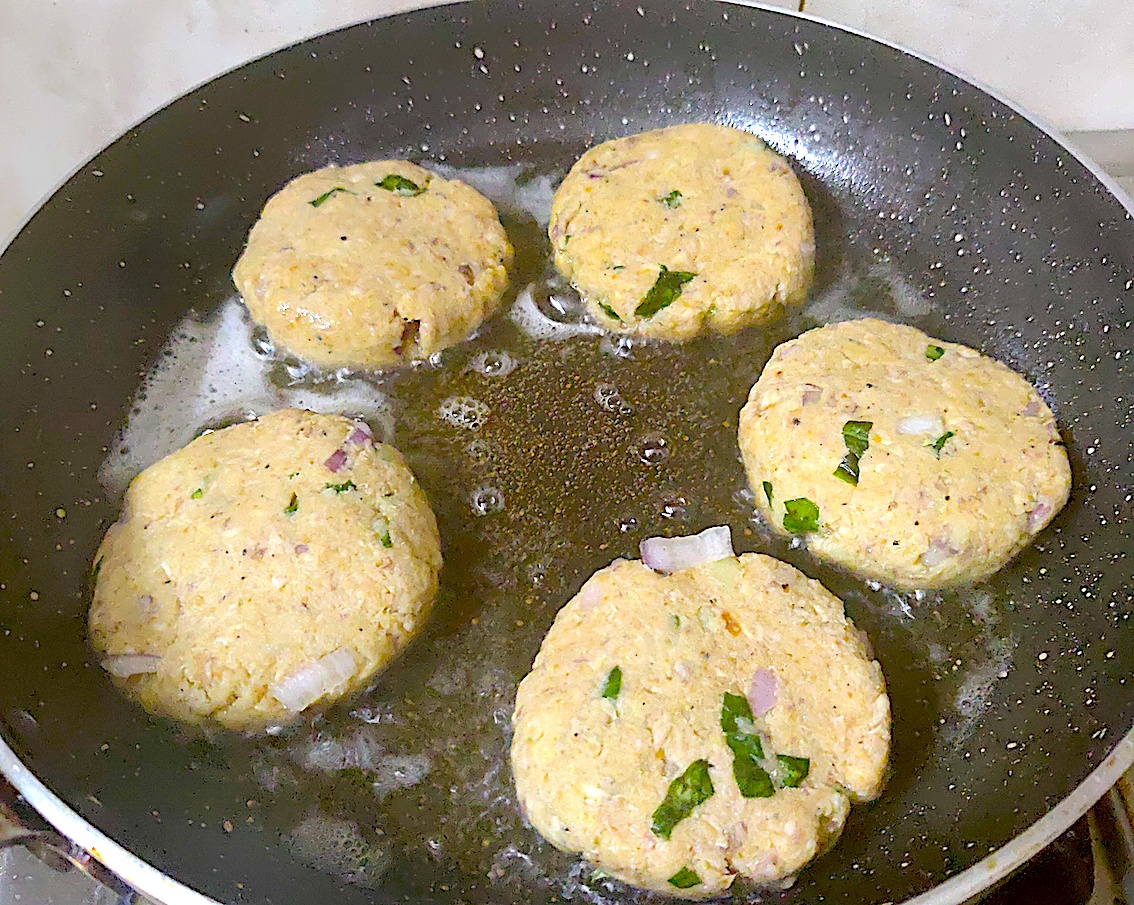
  11. Make round shaped cakes or tikkis, or any shape you desire.

fish cakes

11. Freeze the fish cakes in the freezer for at least ten minutes. You can also cover them up and freeze them for longer, frying as and when needed.

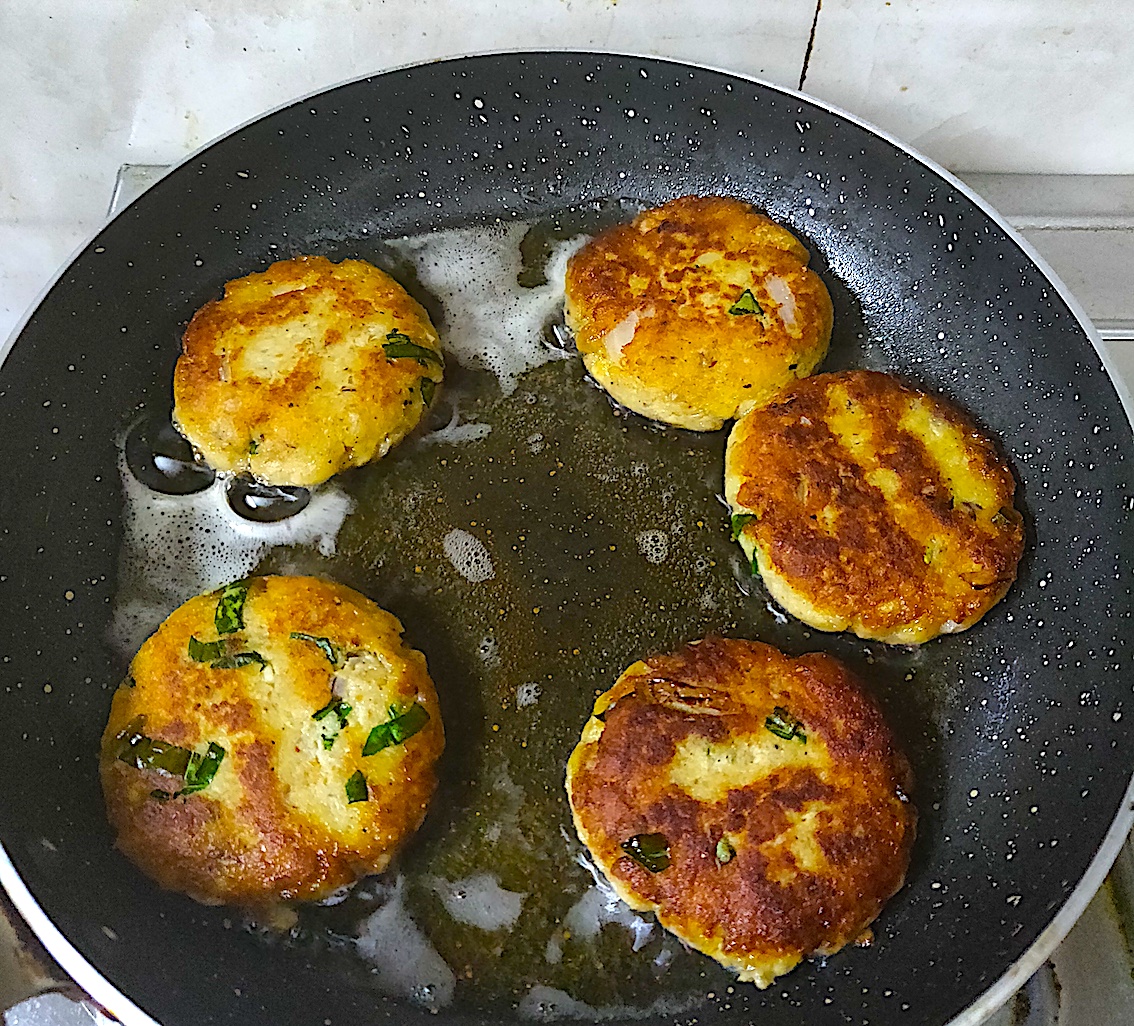
12. Heat oil and butter in a pan. Shallow fry the cakes in the pan, about five minutes on each side till golden brown and crispy.

fish cakes

fish cakes

13. Serve on a plate with a generous drizzle of lemon juice on top.

14. Pat with a dollop of hung curd dip and some rocket leaves on top. [/directions]

fish cakes

fish cakes

I hope you try out this easy and delicious Italian fish cakes recipe for yourself. If you do, let me know how it turned out for you.

If you have any questions, suggestions or feedback, please leave me a comment here. Or connect with me Instagram, Facebook or YouTube.

Happy cooking!