Dhaba Style Dal Fry

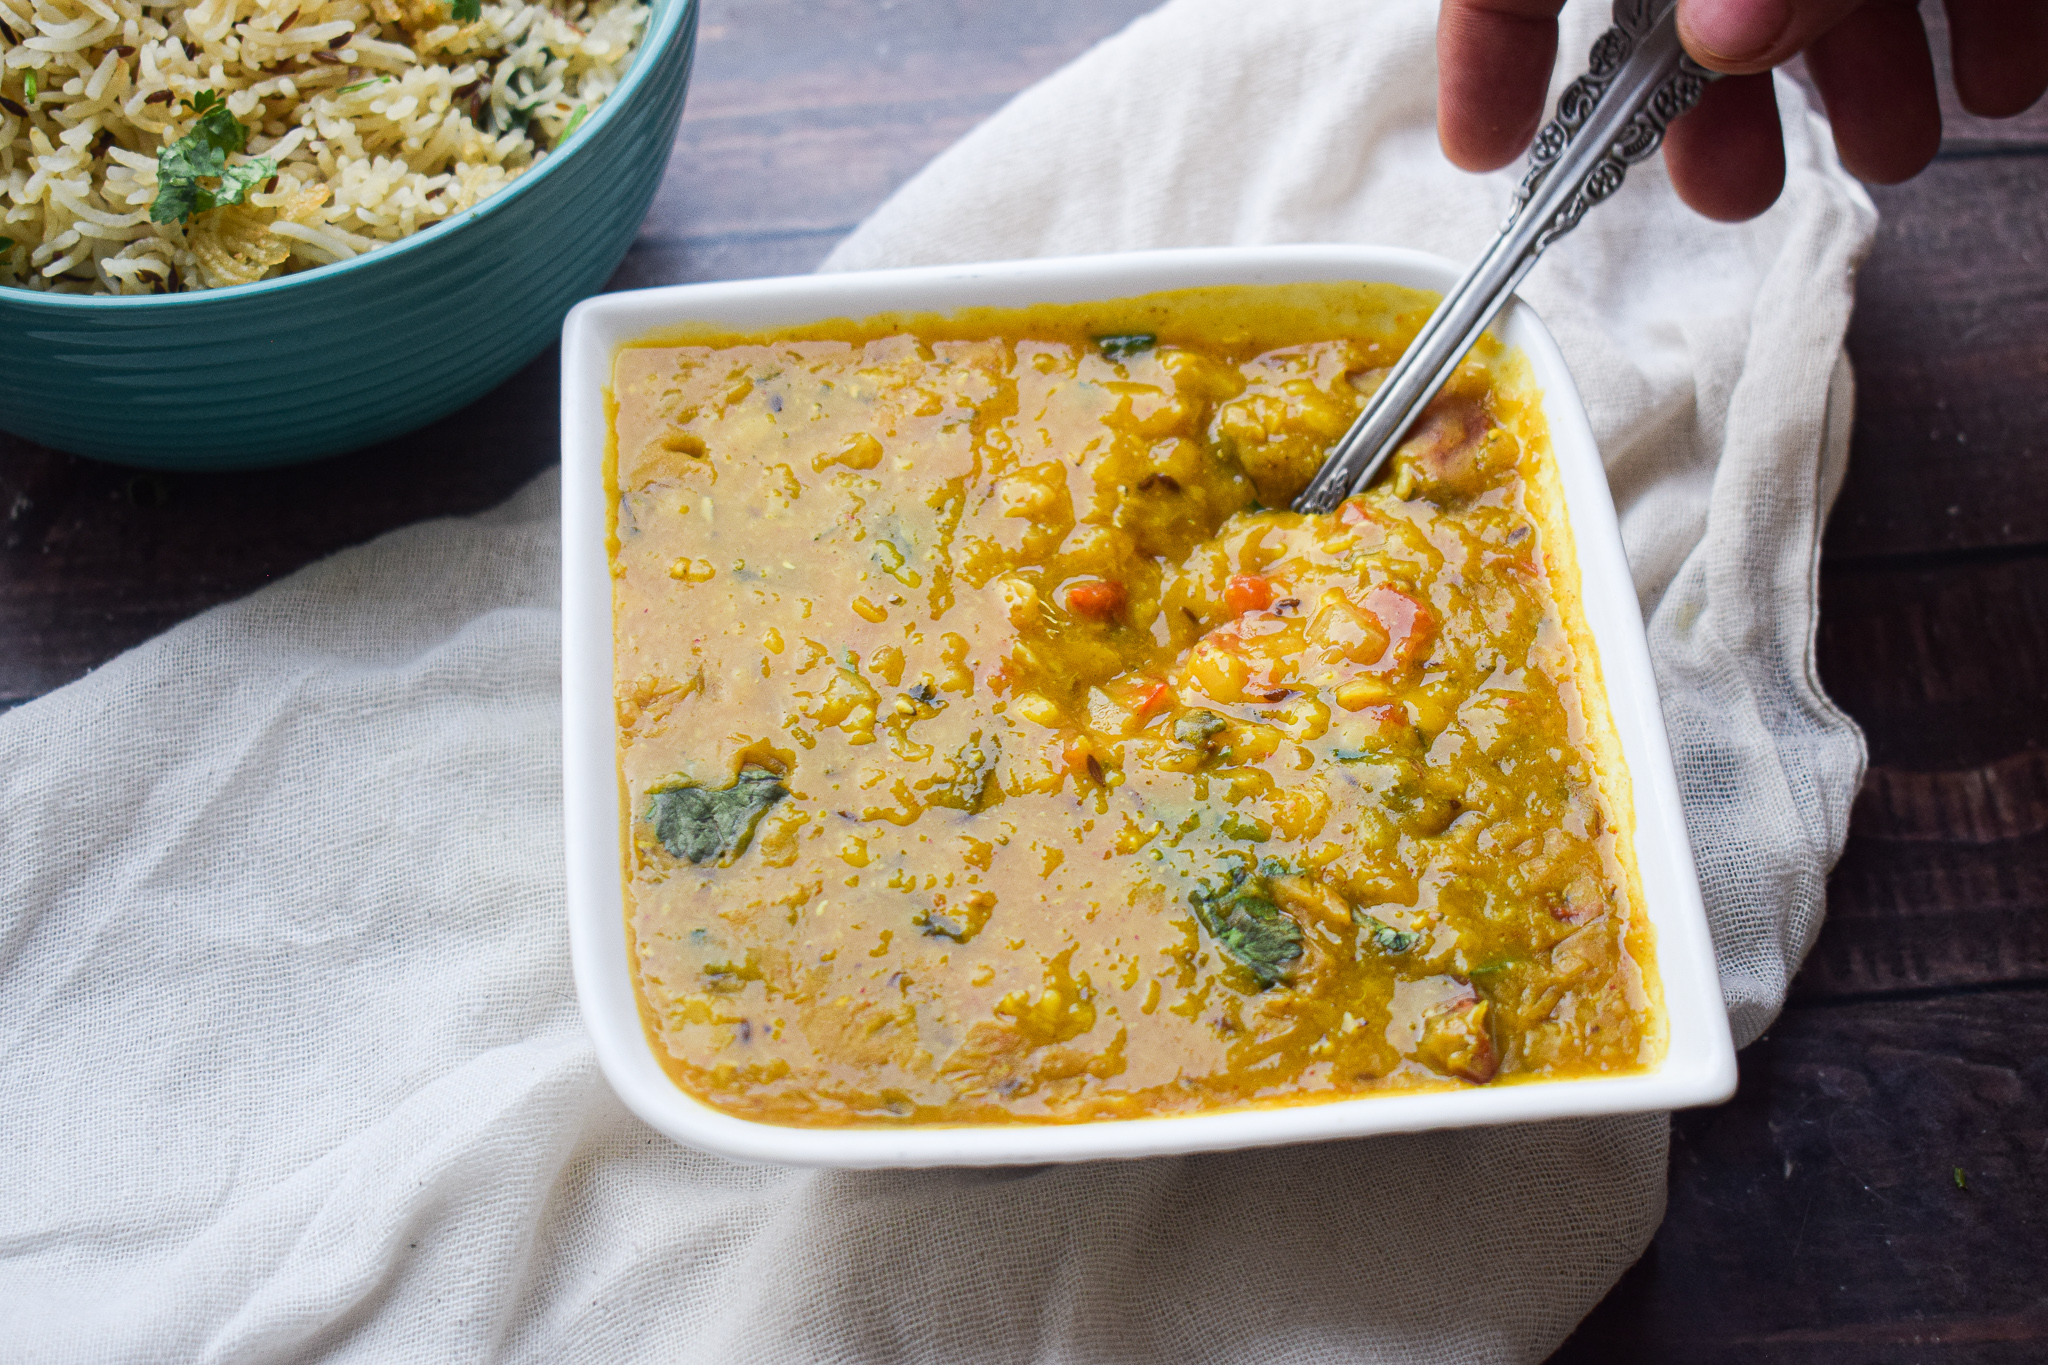
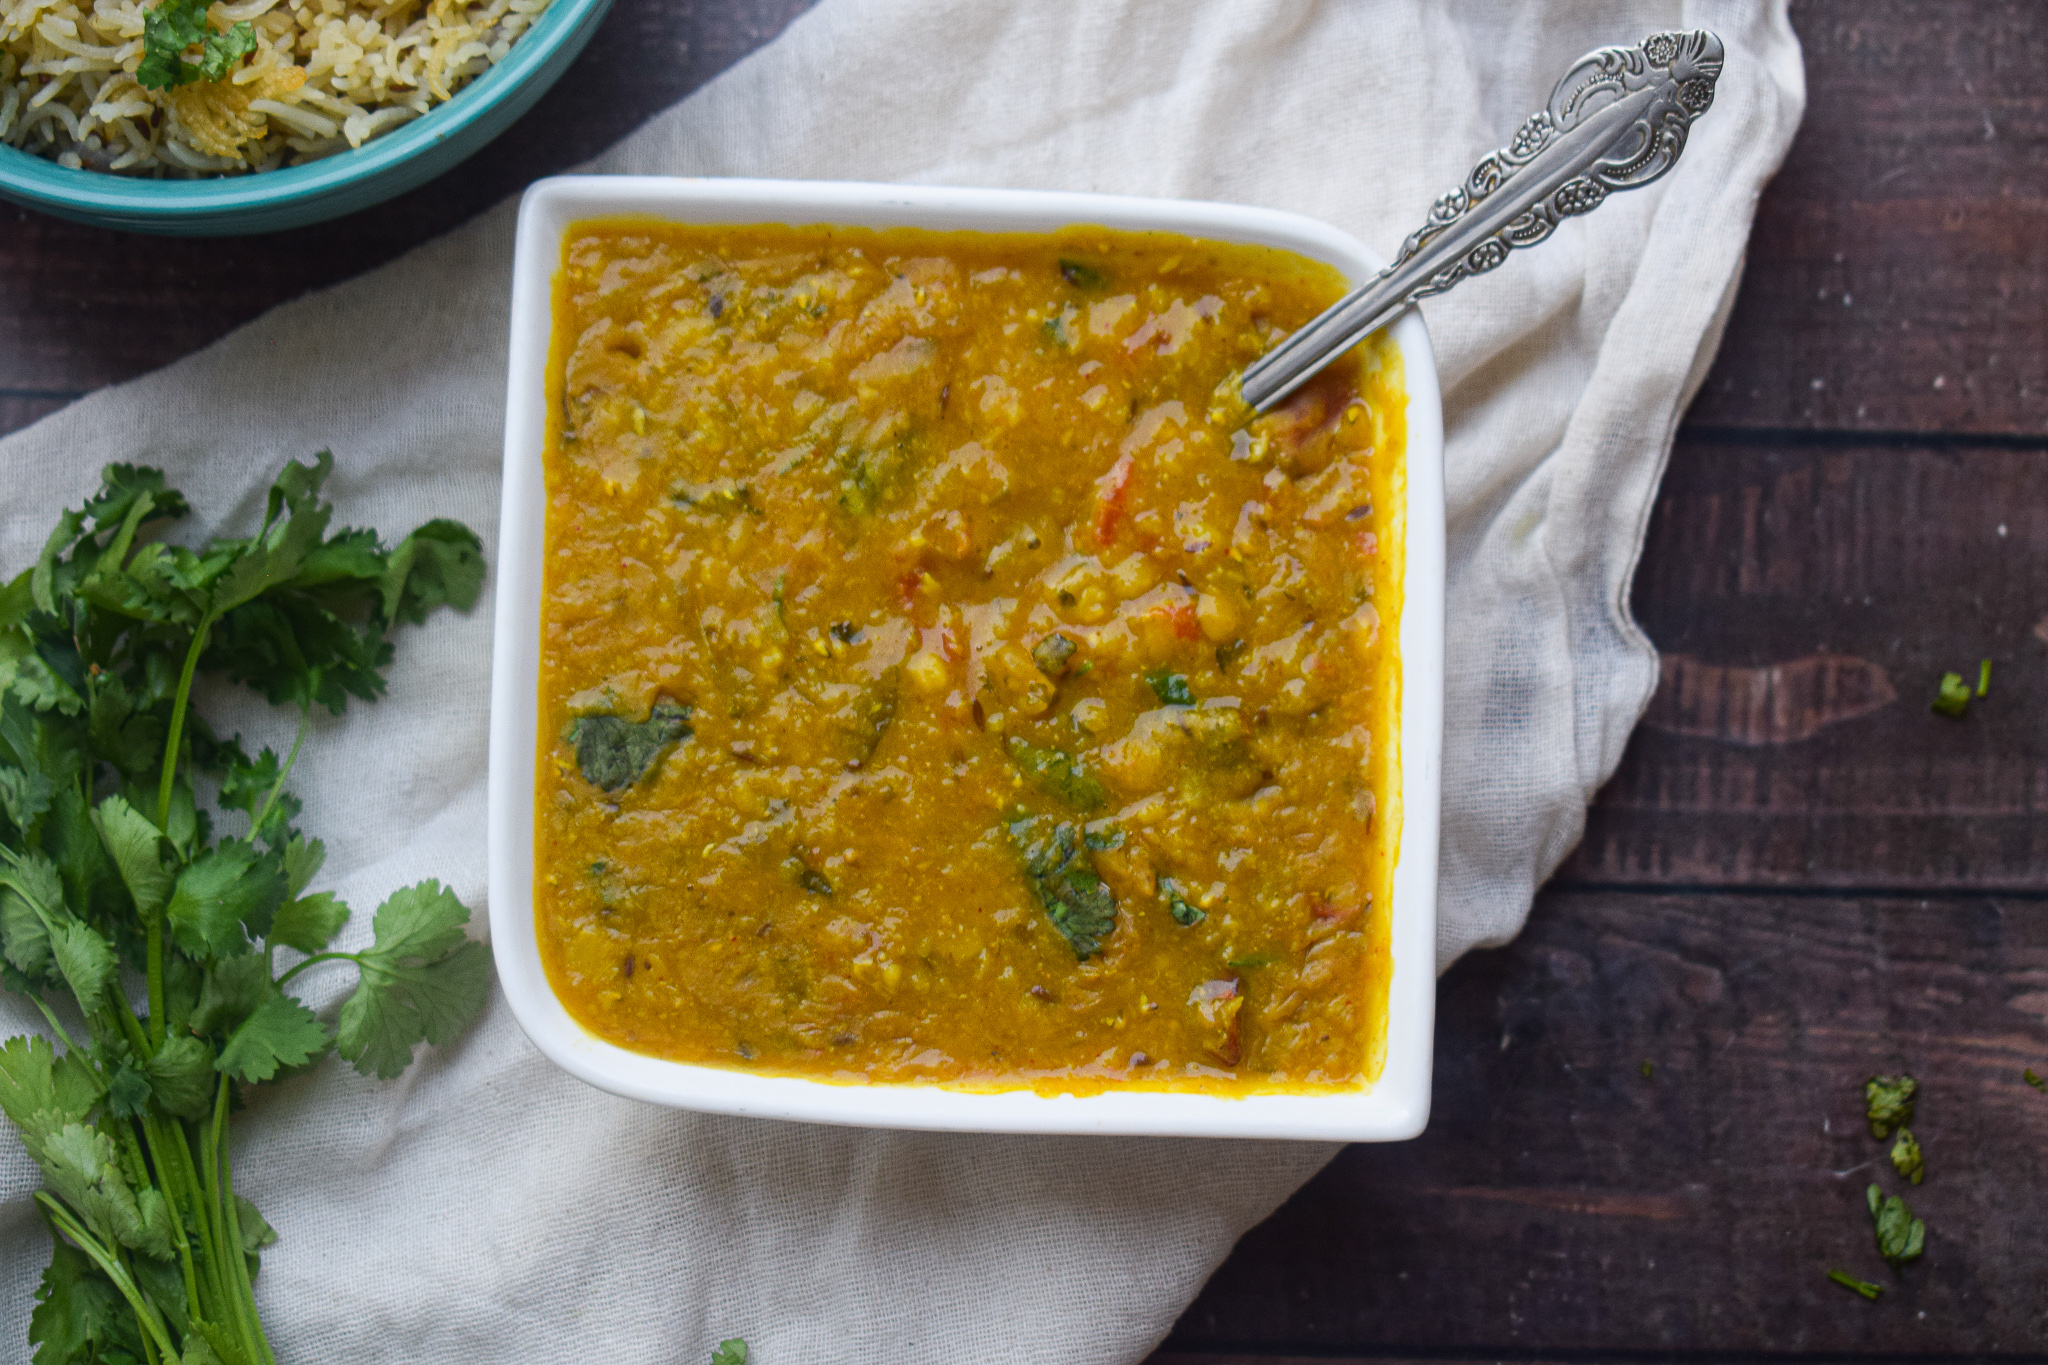
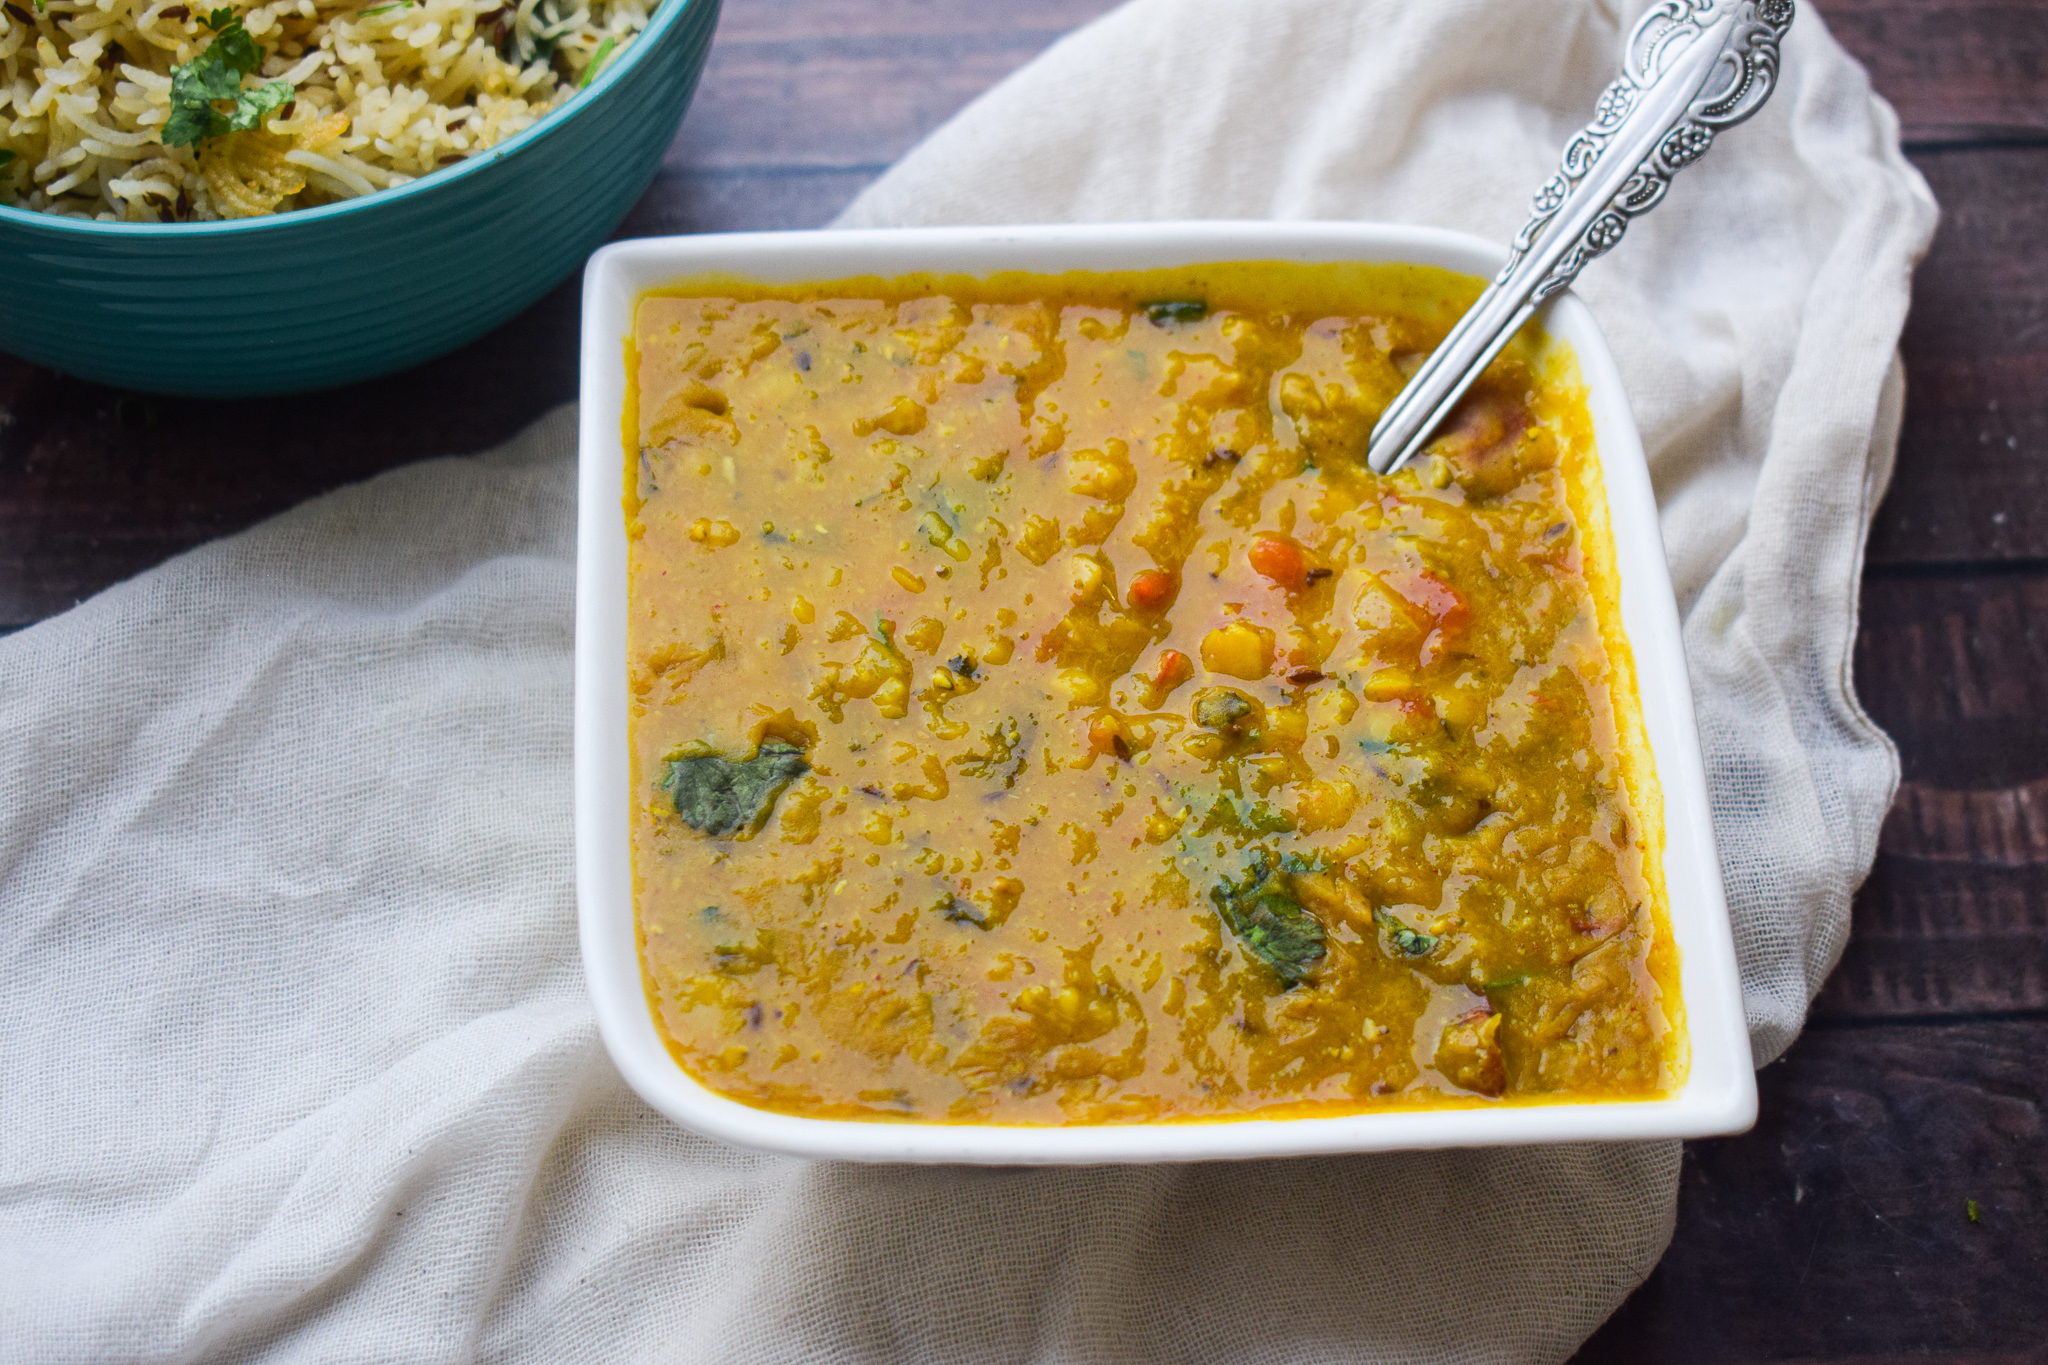
If you are a fan of dhaba style dal fry, this is the recipe for you. This Dhaba Style Dal Fry recipe will refresh the memories you had at a dhaba on the side of highway during your road trips. This Dhaba Style Dal Fry consists of three types of lentils, making it super healthy and also imparting individual flavours into the curry. This dal goes best with some hot butter roti or paratha or jeera rice and green chilies. It is so flavourful that it can be enjoyed perfectly well as a soup, all by itself. 
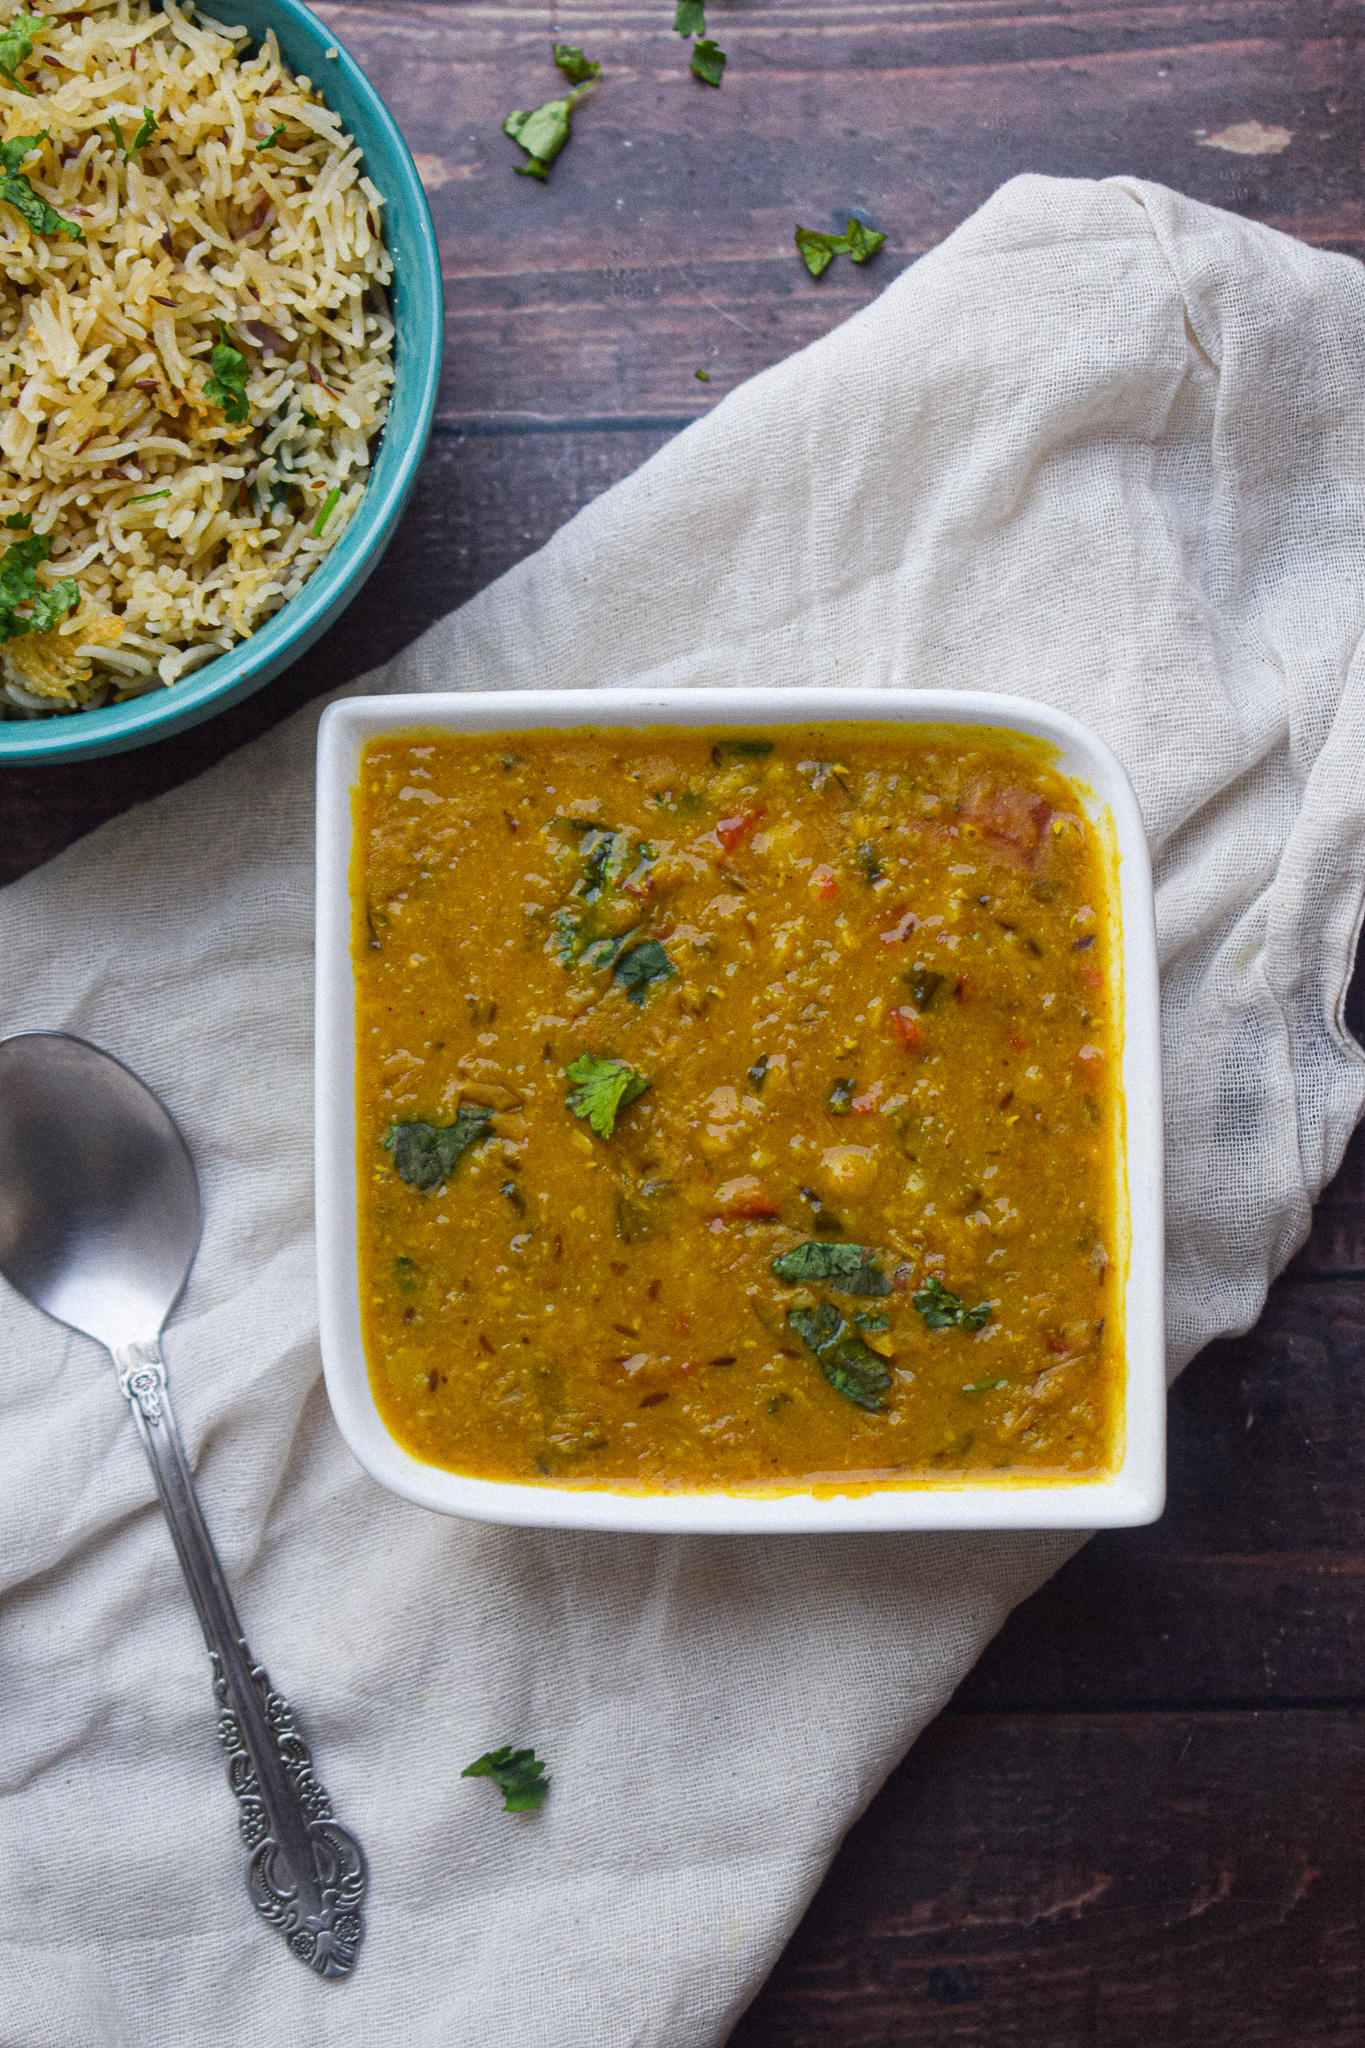
dhaba style dal fry

dhaba style dal fry

This dal fry is made with a mix of three lentils – arhar/toor/yellow dal, Masoor dal and moong dal. The earthy and nutty flavours of these dals complement the ghee tempering beautifully. 

Preparation time – 40 minutes

Cook time – 30 minutes

Serves – 4 people

[ingredients title=”Ingredients”]

  • ¼ cup arhar/toor/yellow dal
  • ¼ cup moong dal
  • ¼ cup Masoor dal
  • 2.5 cups of water for pressure cooking the pulses
  • 1 tsp salt for the pressure cooker (adjust as per taste if needed)
  • 1 tsp turmeric powder for the pressure cooker
  • 3 tbsp oil or ghee
  • ¼ tsp heeng or asafetida 
  • 1 tbsp cumin seeds/jeera
  • 2 dried red chilies
  • 1 cup finely chopped onions
  • 1 tbsp ginger garlic paste
  • 1 cup finely chopped tomatoes
  • 1 tbsp coriander powder
  • 1 tsp cumin powder
  • 1 tsp Kashmiri red chilli powder
  • ¼ tsp dry mango powder/amchur powder
  • 1 cup hot water 
  • 1 tbsp kasuri methi / dried fenugreek leaves
  • Salt to taste
  • Fresh coriander leaves for garnish
  • 1 tbsp ghee for garnish (optional) [/ingredients]

[directions title=”Directions”]

  1. In a bowl, add in your three types of pulses – arhar / toor, moong and Masoor dal.
  2. Pour plenty of water in the bowl and rinse the pulses thoroughly by rubbing a handful at a time between your fingers.
  3. Once clean, soak in sufficient water for at least 30 minutes. Soak it overnight to accelerate the process.
  4. Now, drain and transfer the soaked dal in a pressure cooker.
  5. Add water into the pressure cooker.
  6. Season it with some salt and turmeric powder and mix well.
  7. Close the lid with the whistle and set it on heat.
  8. Pressure cook for 4 whistles on medium heat.
  9. In a wide pan, heat some oil / ghee.
  10. Once the oil is hot, add the dried red chilies and the cumin seeds and let it crackle.
  11. Now, add in the finely chopped onions to the pan and fry it, stirring occasionally.
  12. Once the onions are halfway done, i.e. translucent, add in the heeng / asafetida.
  13. Fry the onions till they turn golden.
  14. Add in the freshly ground ginger garlic paste and fry for another few minutes.
  15. Once the raw aroma of the ginger and garlic disappear, and the onions start browning, it is time to add in your finely chopped tomatoes.
  16. Sauté the tomatoes for a few minutes then start adding the dry spices – coriander powder, cumin powder, Kashmiri red chili powder and dry mango / amchur powder.
  17. Fry the masalas for a few minutes to cook them properly.
  18. Now, add in the hot water to the pan. The hot water will help homogenize the mixture.
  19. Add in the kasuri methi or dry fenugreek leaves and mix really well.
  20. Cover the tempering and cook on low flame for 8 minutes.
  21. After 8 minutes, most of the water is evaporated and the tomatoes have become mushy, just like we want them.
  22. Give it a good stir then season with salt according to taste.
  23. Now, add the pressure cooked dal to the pan and mix it very well till it is well combined with the tempering.
  24. Add hot water to adjust the consistency as per your preference.
  25. Cook the dal for a few minutes.
  26. Finish it off with a generous handful of coriander leaves and a tbsp. of ghee. You can also add in a pinch of garam masala in order to round up the flavours, but I didn’t feel the need to. [/directions]
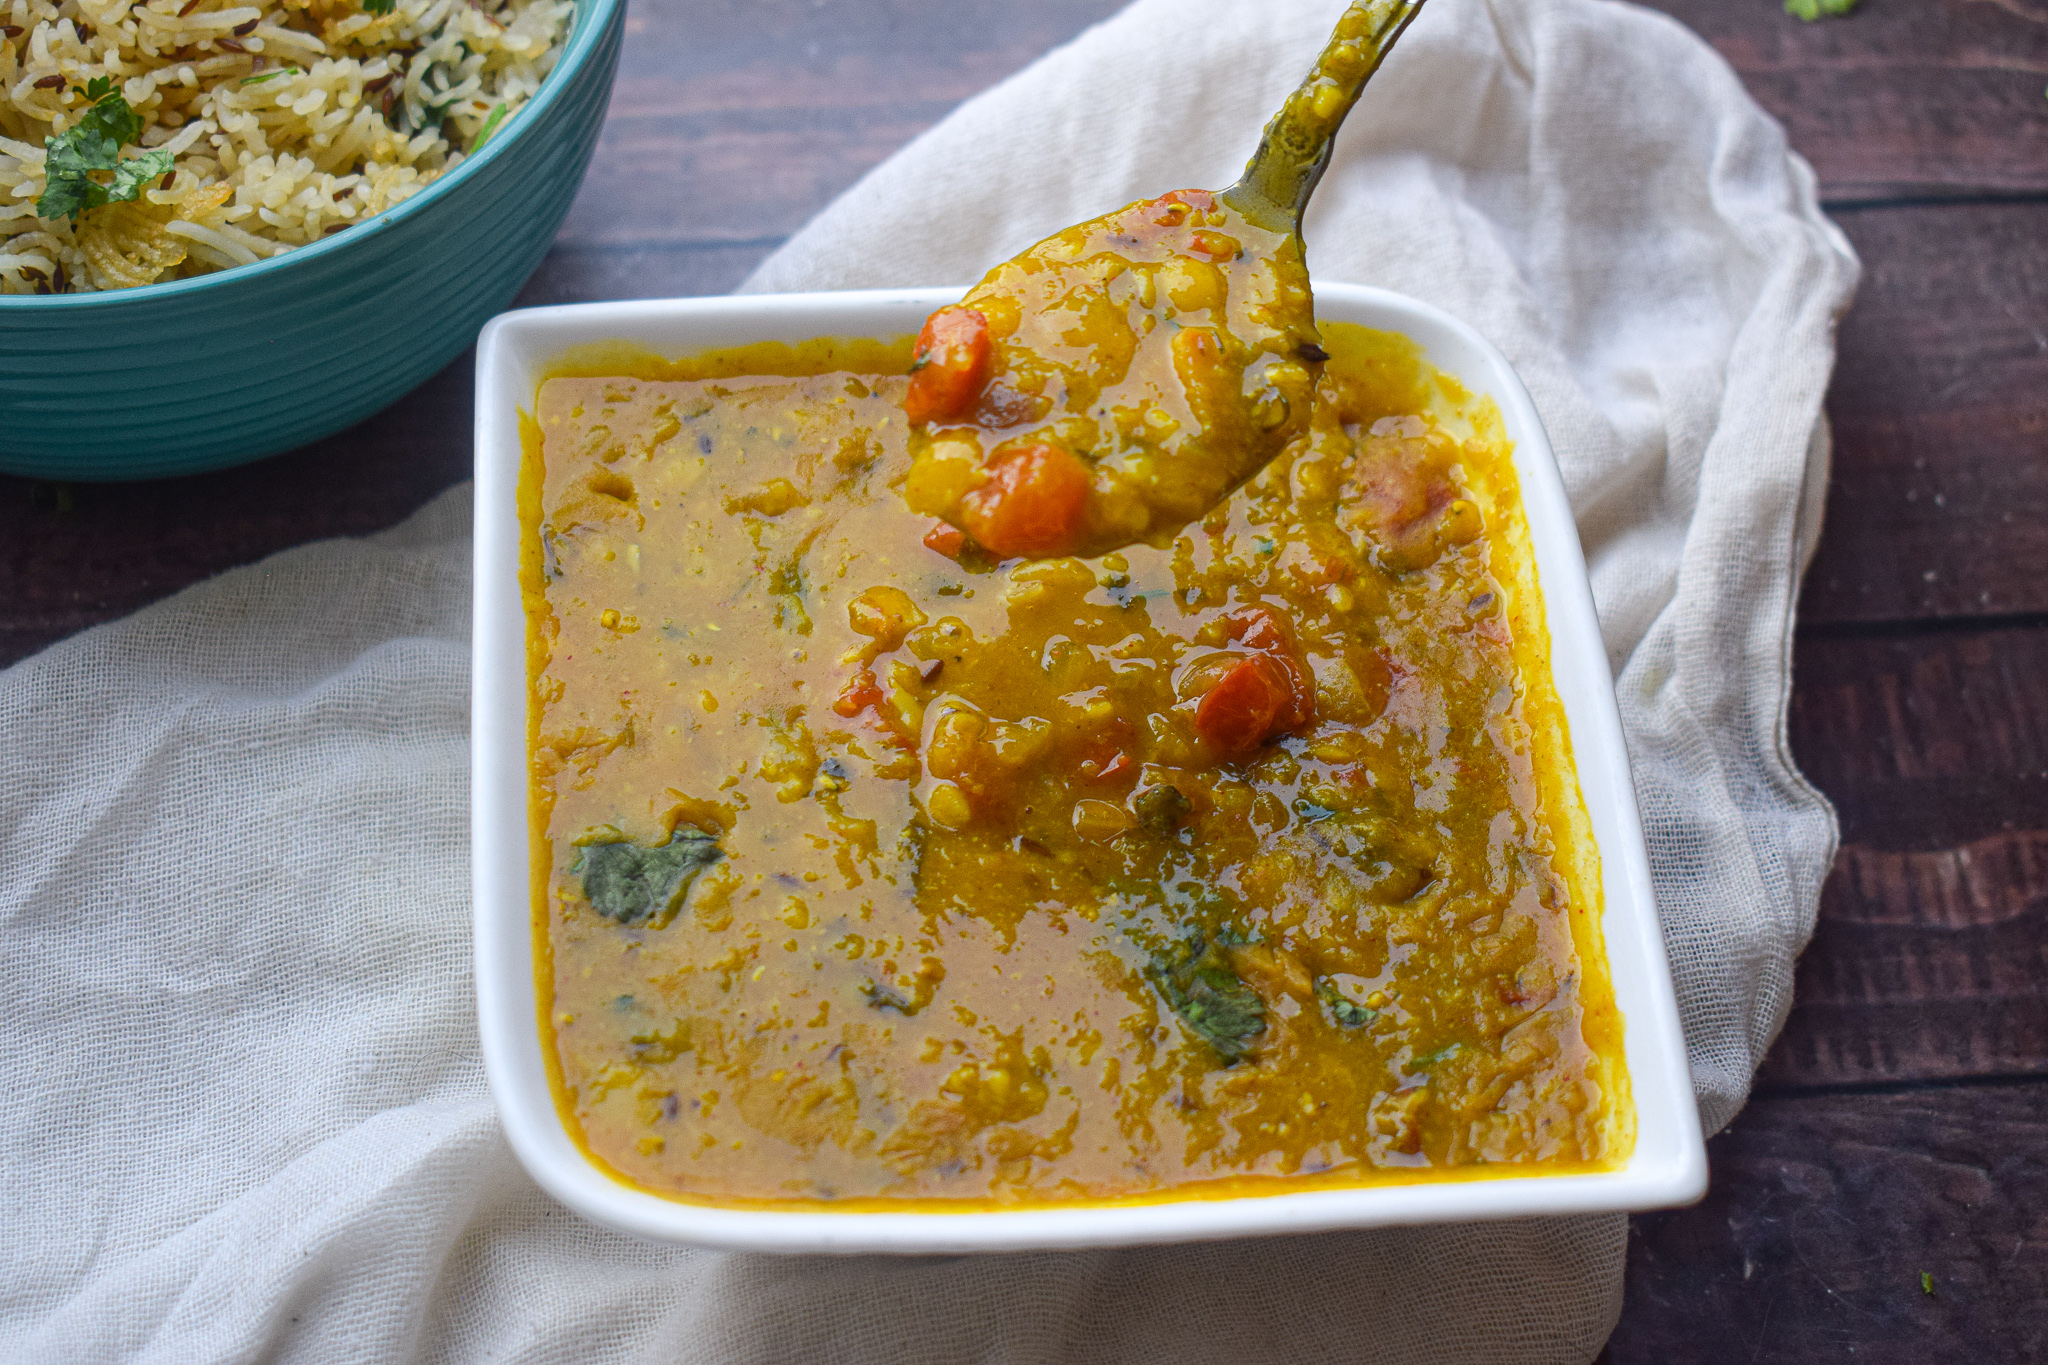
dhaba style dal fry

dhaba style dal fry

And there, you have the healthier, yummier version of your favourite Dhaba style dal fry. Serve it hot with some parathas, sliced onions and a squirt of lemon juice and you are set. This is a MUST try recipe for everyone as it can very easily be inculcated in every day cooking. You will love it!

Feel free to reach out for feedback, suggestions or connect with me on Instagram or Facebook. Subscribe to my YouTube channel for all my videos and upcoming recipes.

Chilli Cheese Mushroom Toast

An easy to make, filling and delicious snacking option, this chilli mushroom toast recipe is addictive! It requires minimal ingredients and a good quality loaf of bread is a must! The cheese on top balances out all the flavours and adds that extra gooeyness. Mushrooms are cooked till they absorb all the flavours of the sauces, aromatics and spices. The addition of green capsicum adds that extra crunch as well as pop of green. It’s really one of my favourite recipes and I love to include this in my lazy brunch options on weekends.

This chilli mushroom toast also makes for a great appetiser option if you are planning to host soon. You can also put this delicious filling on small bruschettas and serve them to your guests. They are going to love it!

chilli cheese mushroom toast

The chilli element of these toasts are a combination of red chilli sauce and chilli flakes. The quantity of these two ingredients can be adjusted as per your preference. If you would like to make it extra hot, please add more.

chilli cheese mushroom toast

Here’s the recipe:

Preparation time – 10 minutes

Cook time – 20 minutes

[ingredients title=”Ingredients”]

  • 2 tbsp oil
  • A loaf of bread
  • 5 garlic cloves, finely chopped
  • 1 medium onion, finely chopped
  • Salt to taste
  • 1/2 tsp black pepper powder
  • 1 large tomato, finely chopped
  • 100 g button mushroom, finely chopped
  • 1/2 capsicum, finely chopped
  • 1 tbsp hot sauce/Schezwan sauce/red chilli sauce
  • 1 tsp Oregano
  • 1 tsp chilli flakes (adjust as per liking)
  • Melted butter (to layer the bread)
  • 1 cup Grated mozzarella cheese (adjust as per your liking) [/ingredients]

[directions title=”Directions”]

  1. Heat oil in a pan. Add the finely chopped garlic and stir for a minute on low flame. The garlic should release its aroma and flavour the oil.
  2. Add the finely chopped onions and stir for a few minutes till they turn brown and translucent.
  3. Once the onions are have softened, add the tomatoes and cook for another 2-3 minutes till the tomatoes melt. Add a splash of hot water to prevent it from sticking.
  4. Season with salt and black pepper powder. Mix well.
  5. Add the chopped mushrooms and chopped capsicum. Mix and cook for 3-4 minutes.
  6. For the heat, add a tablespoon of any chilli sauce. I have used a red chilli sauce here, also known as hot sauce.
  7. Season with some Oregano and chilli flakes. Mix everything well together.
  8. Cut the loaf of bread into bruschetta slices. Melt some butter and apply on the bread with a brush (see video for reference).
  9. Put a few spoons of the mushroom filling on top of the bread, followed by a generous topping of grated cheese.
  10. Toast it in the oven for 10 minutes till its hot and crunchy. Enjoy while its hot. [/directions]

chilli cheese mushroom toast

chilli cheese mushroom toast

Every bite of this cheesy, crunchy and garlicky chilli cheese mushroom toast is so delicious!

I hope you try out this delicious recipe. If you do, let me know how it turned out for you. If you have any questions, suggestions or feedback, please leave me a comment here. Or connect with me Instagram, Facebook or YouTube.

Happy toasting!


Asian Style Vegetables in Oyster Sauce

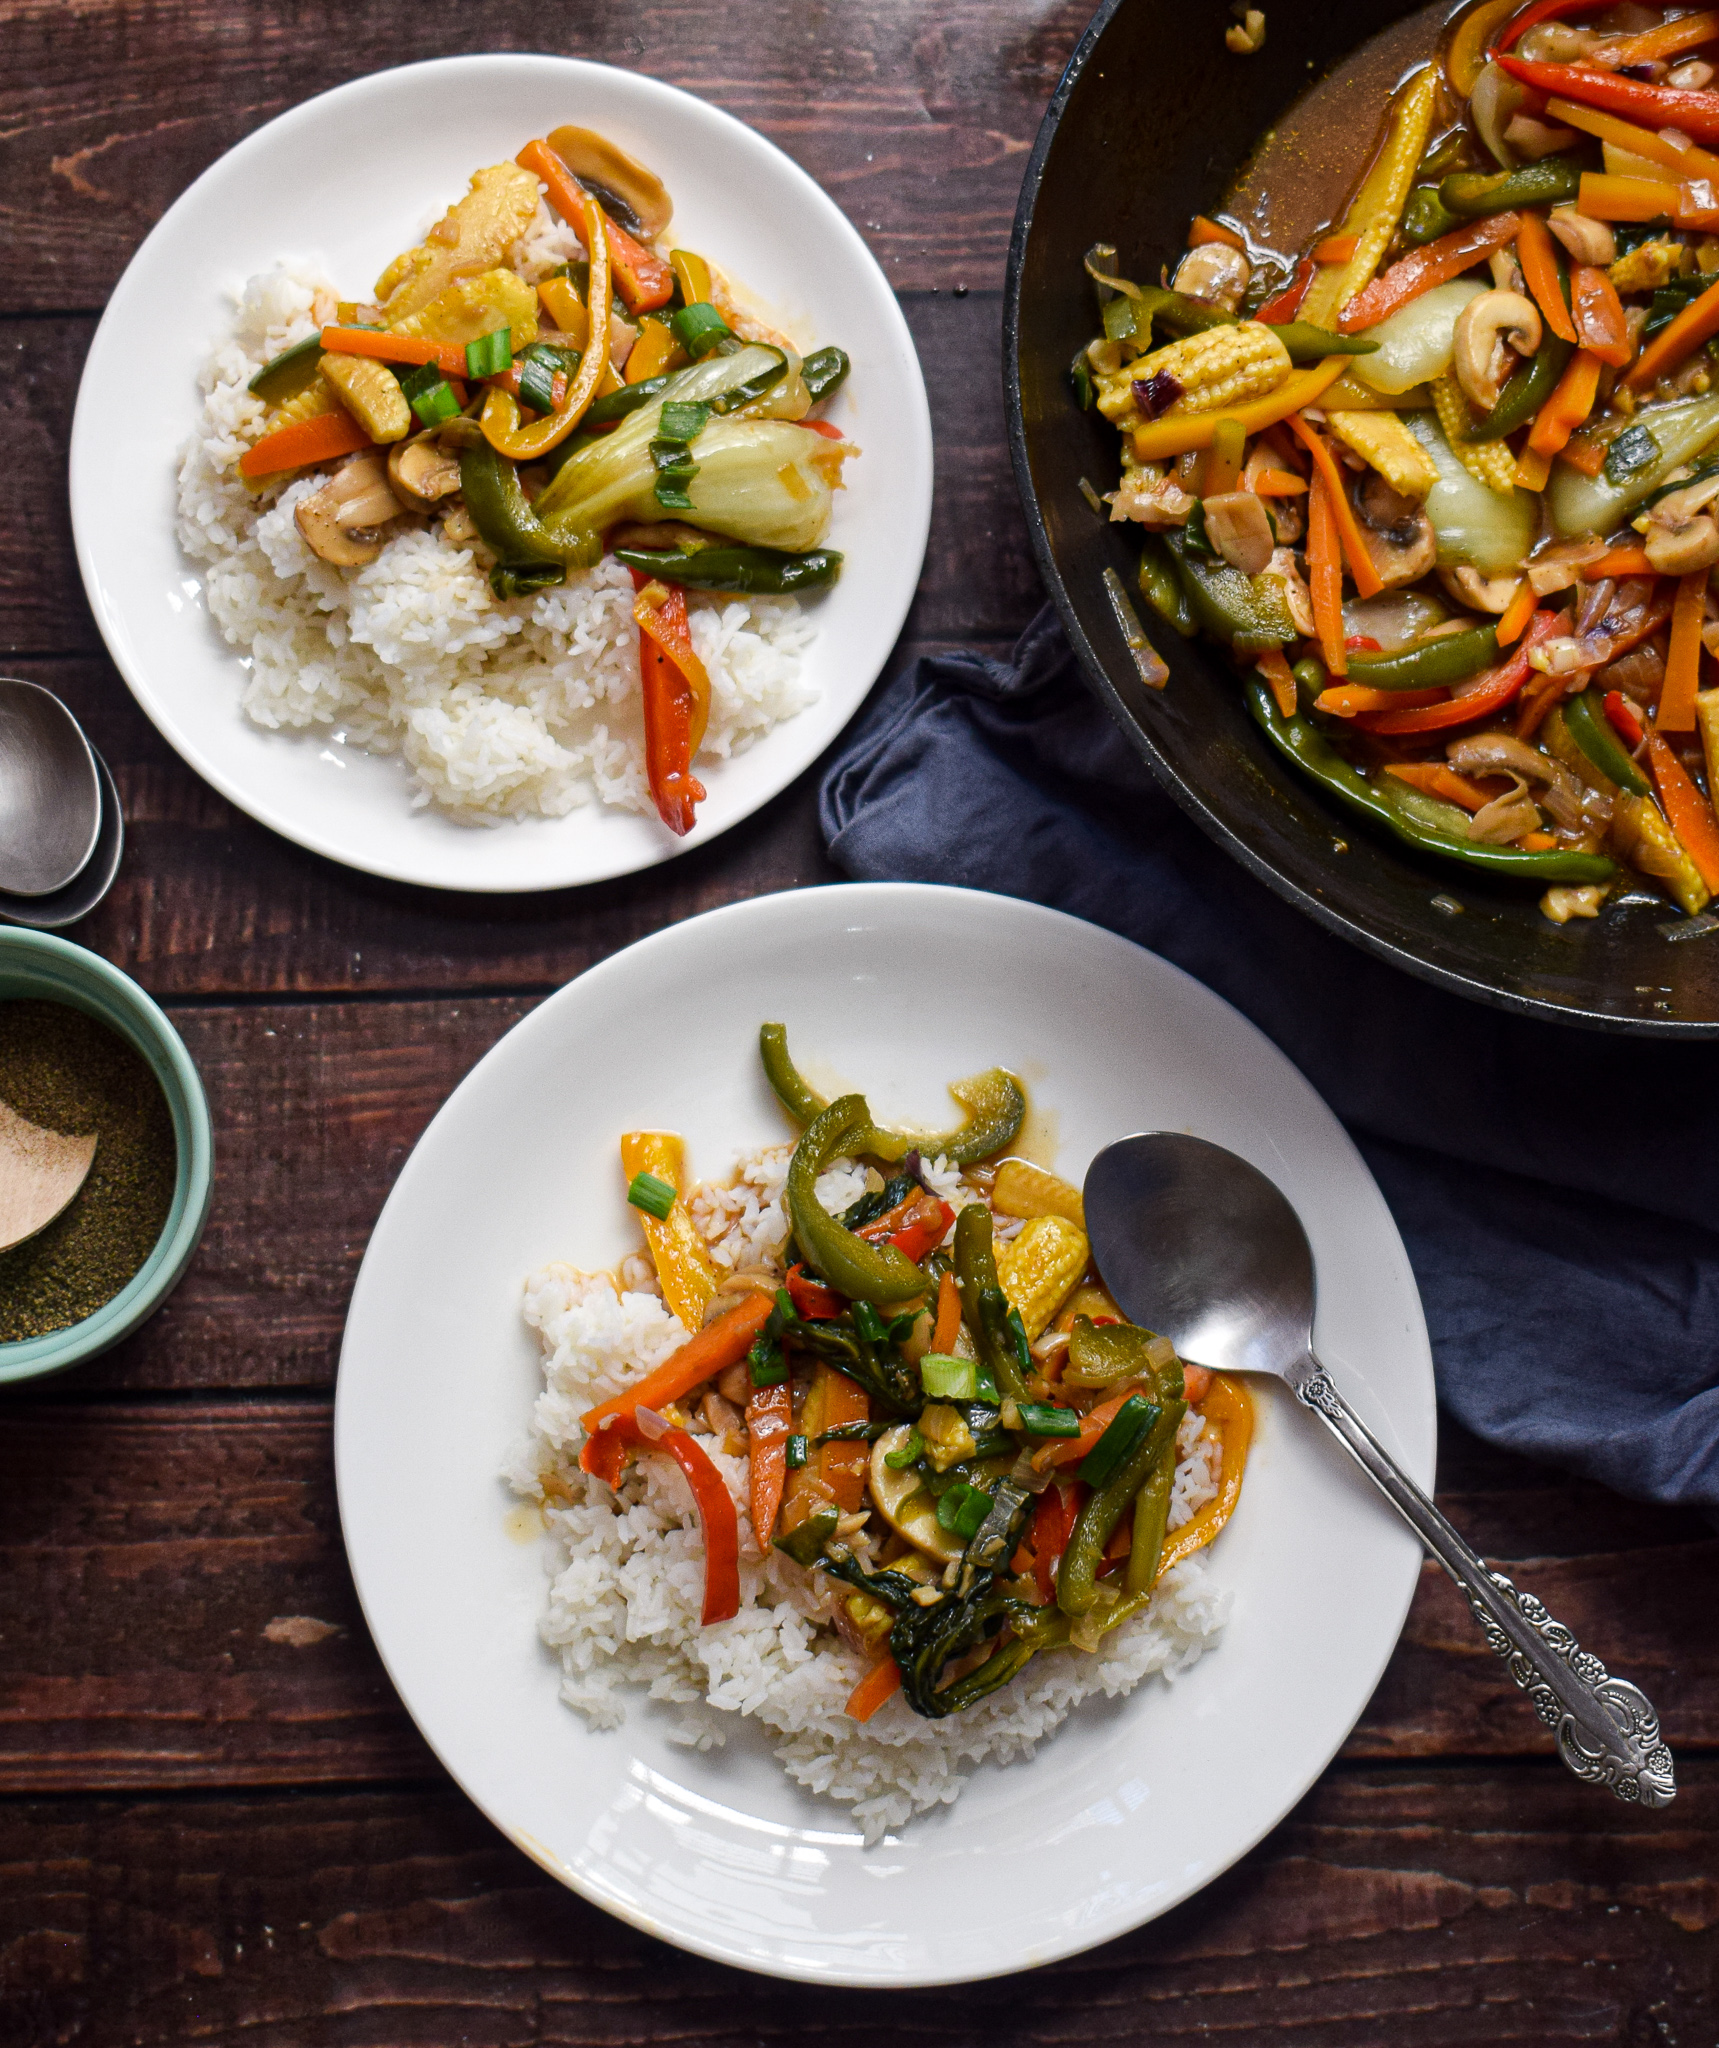
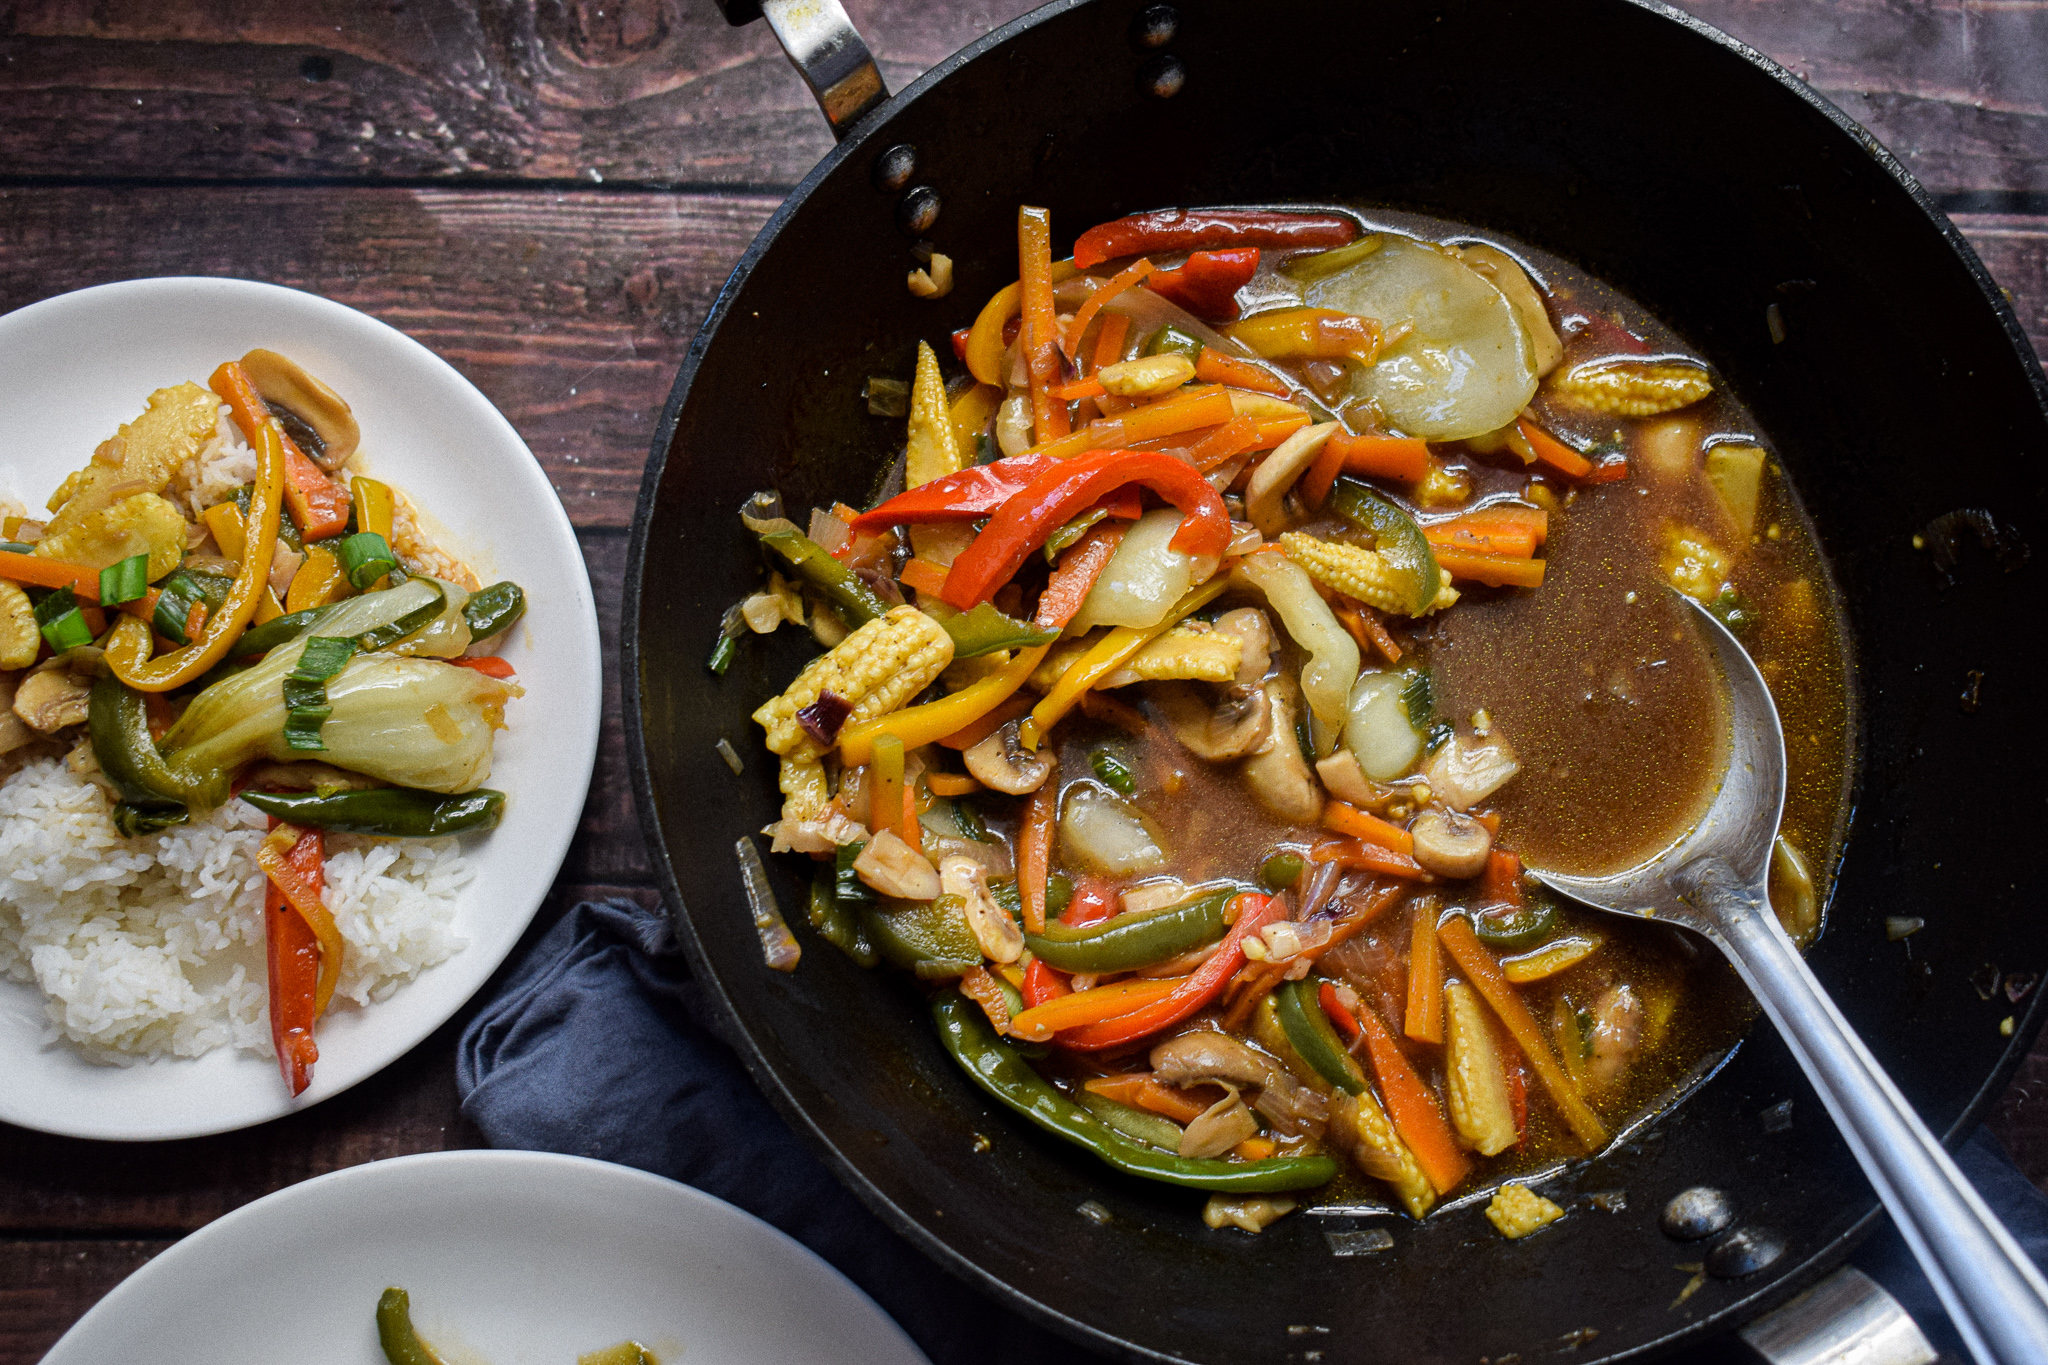
I love eating my vegetables and here is a treasured way to do that. An easy, simple and absolutely stunning preparation of vegetables in oyster sauce, this recipe is a weeknight favourite. Pair it up with some jasmine rice and you will have a wholesome, healthy and luscious meal in 30 minutes cook time.

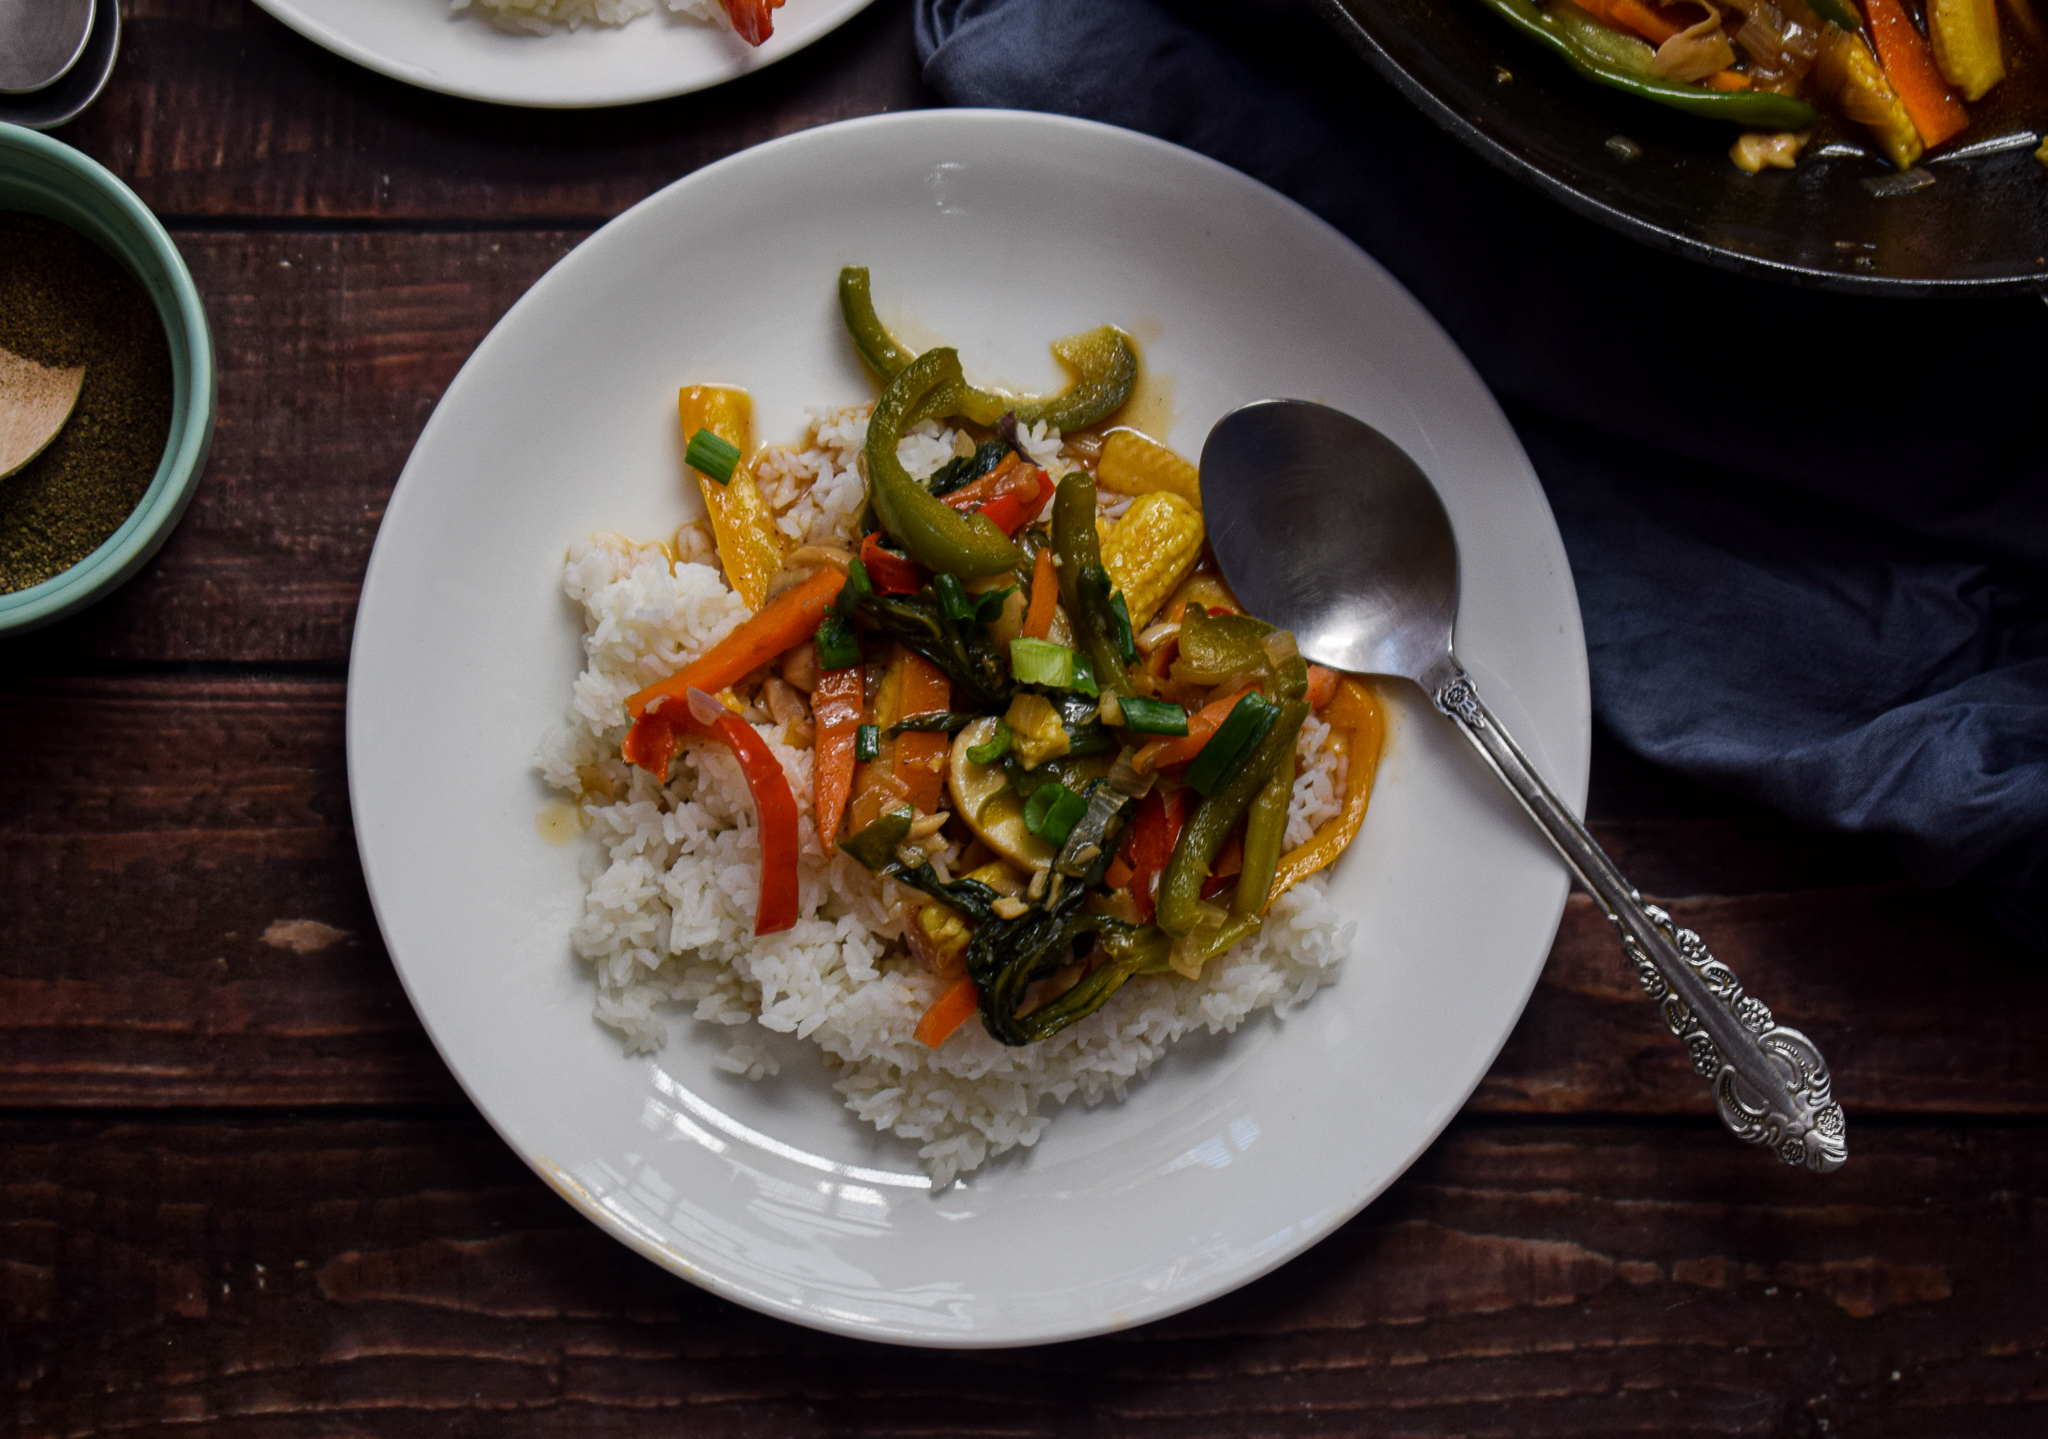
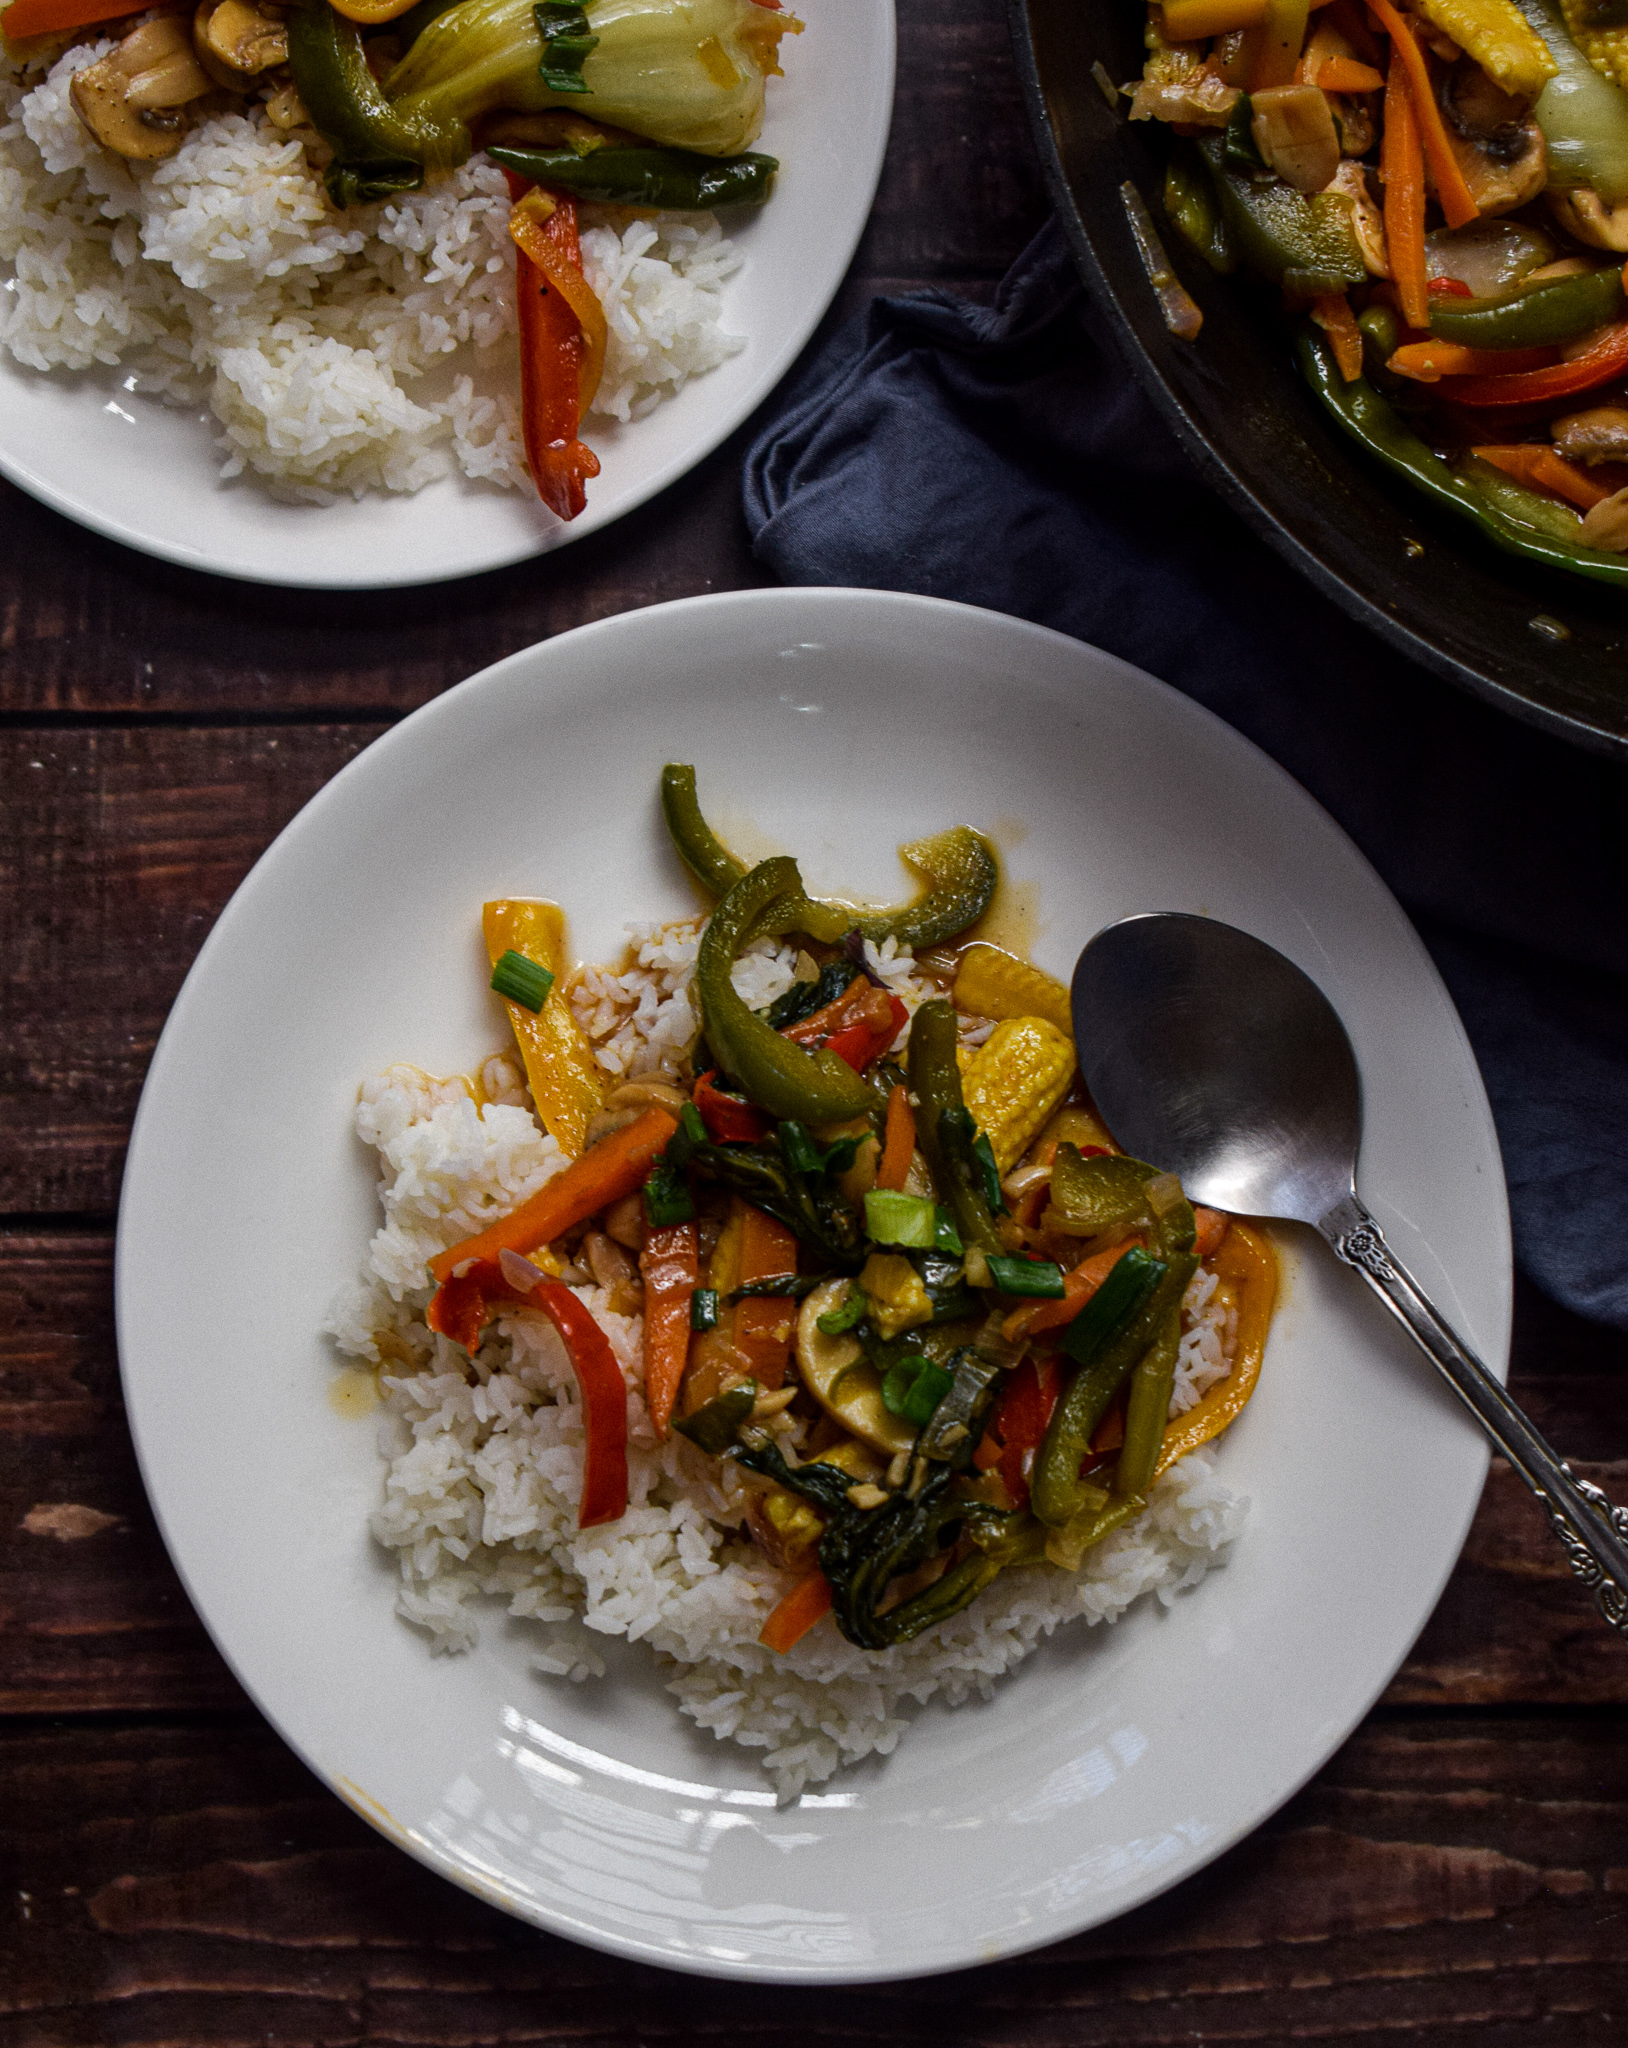
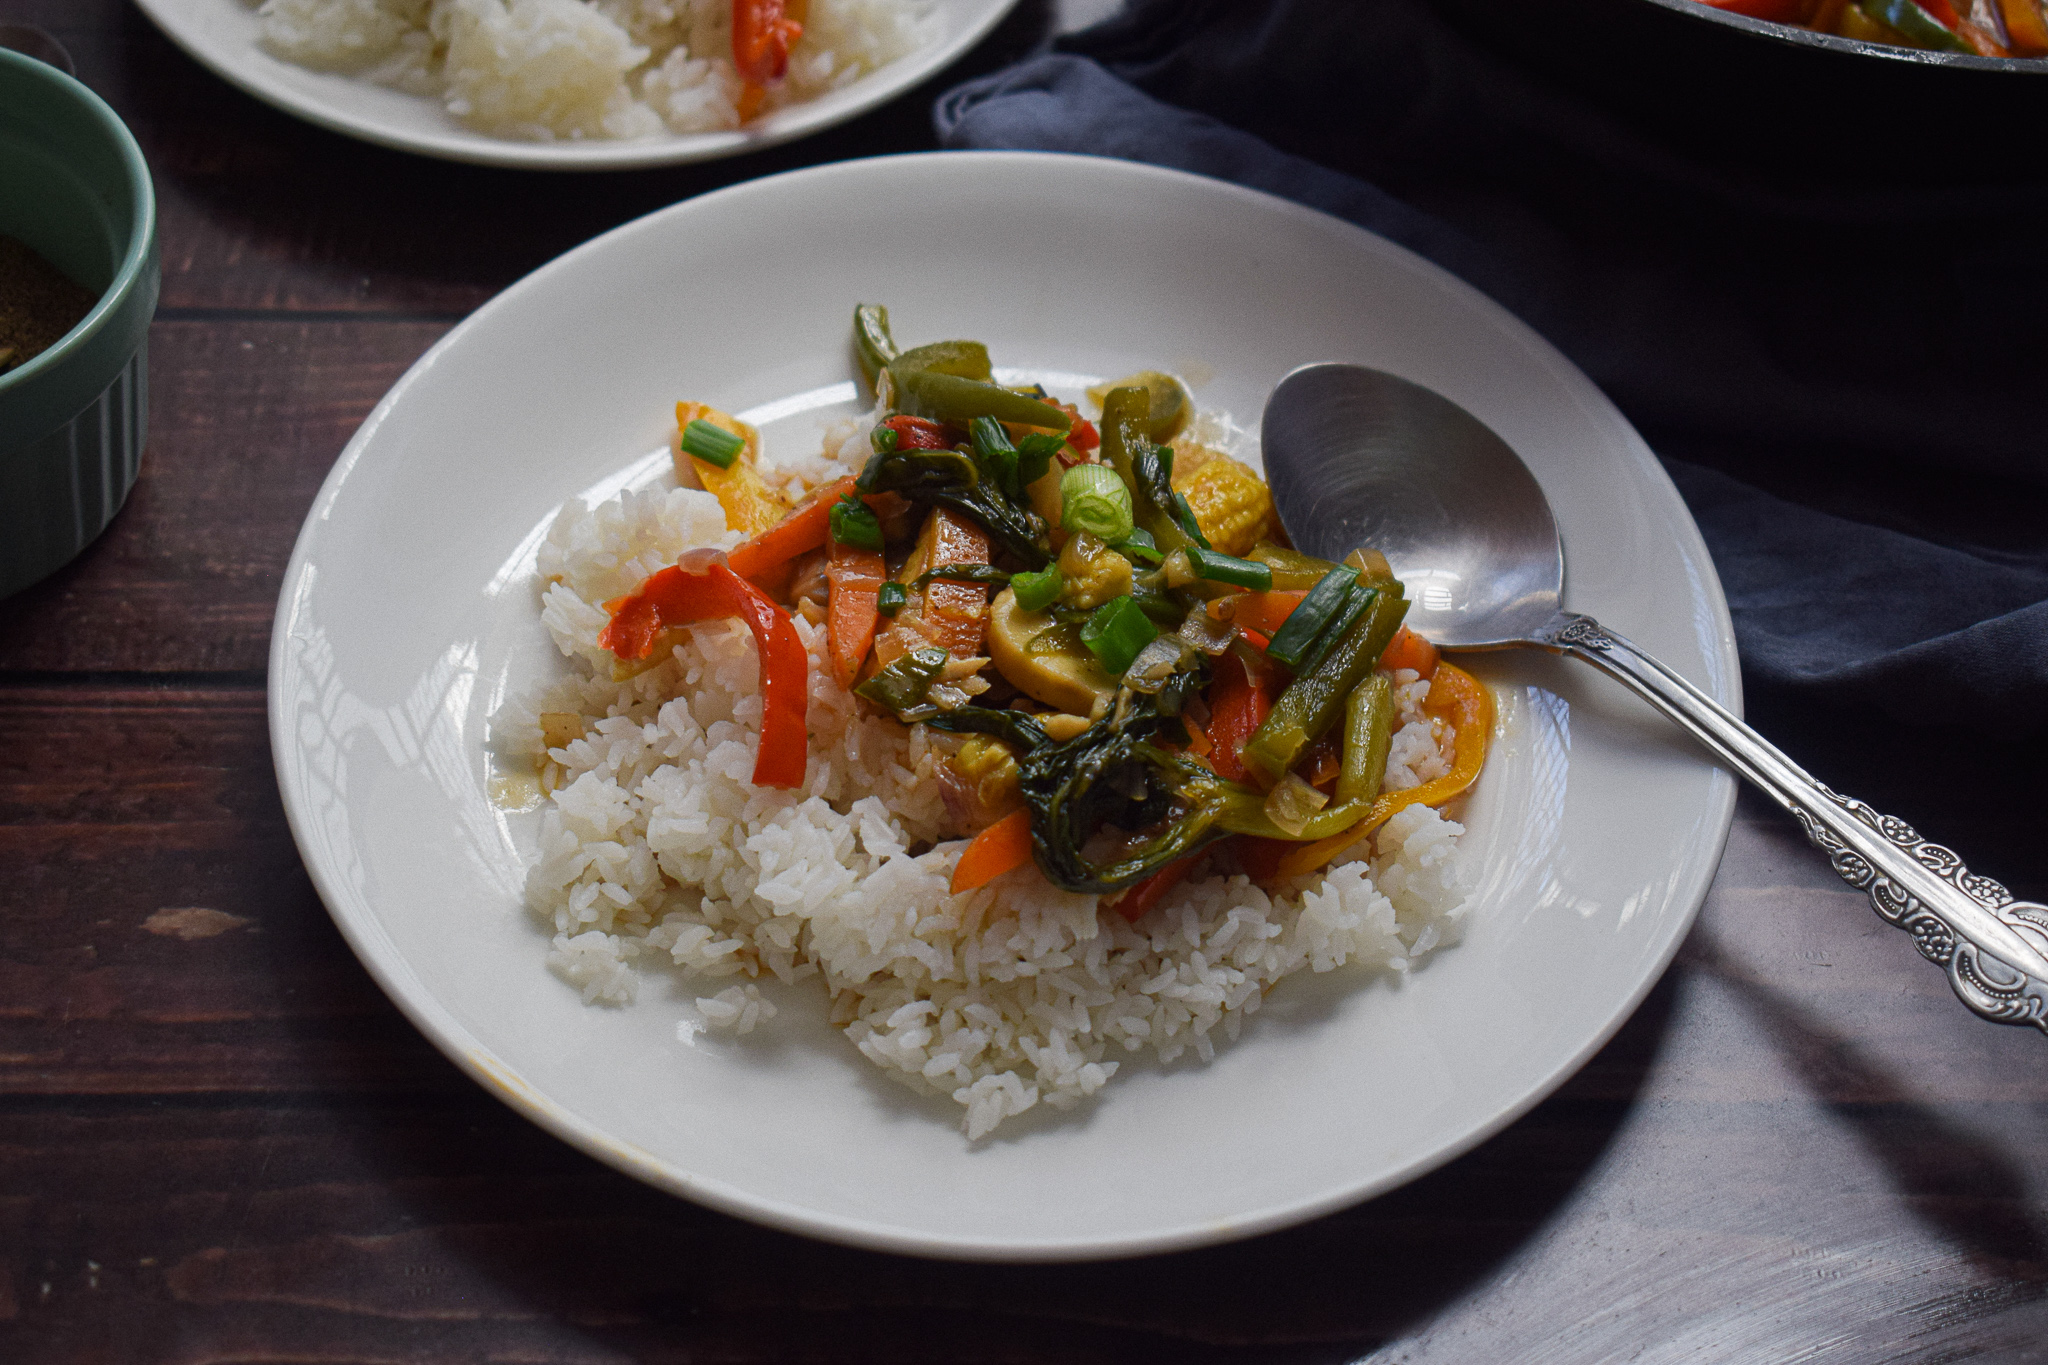
vegetables in oyster sauce

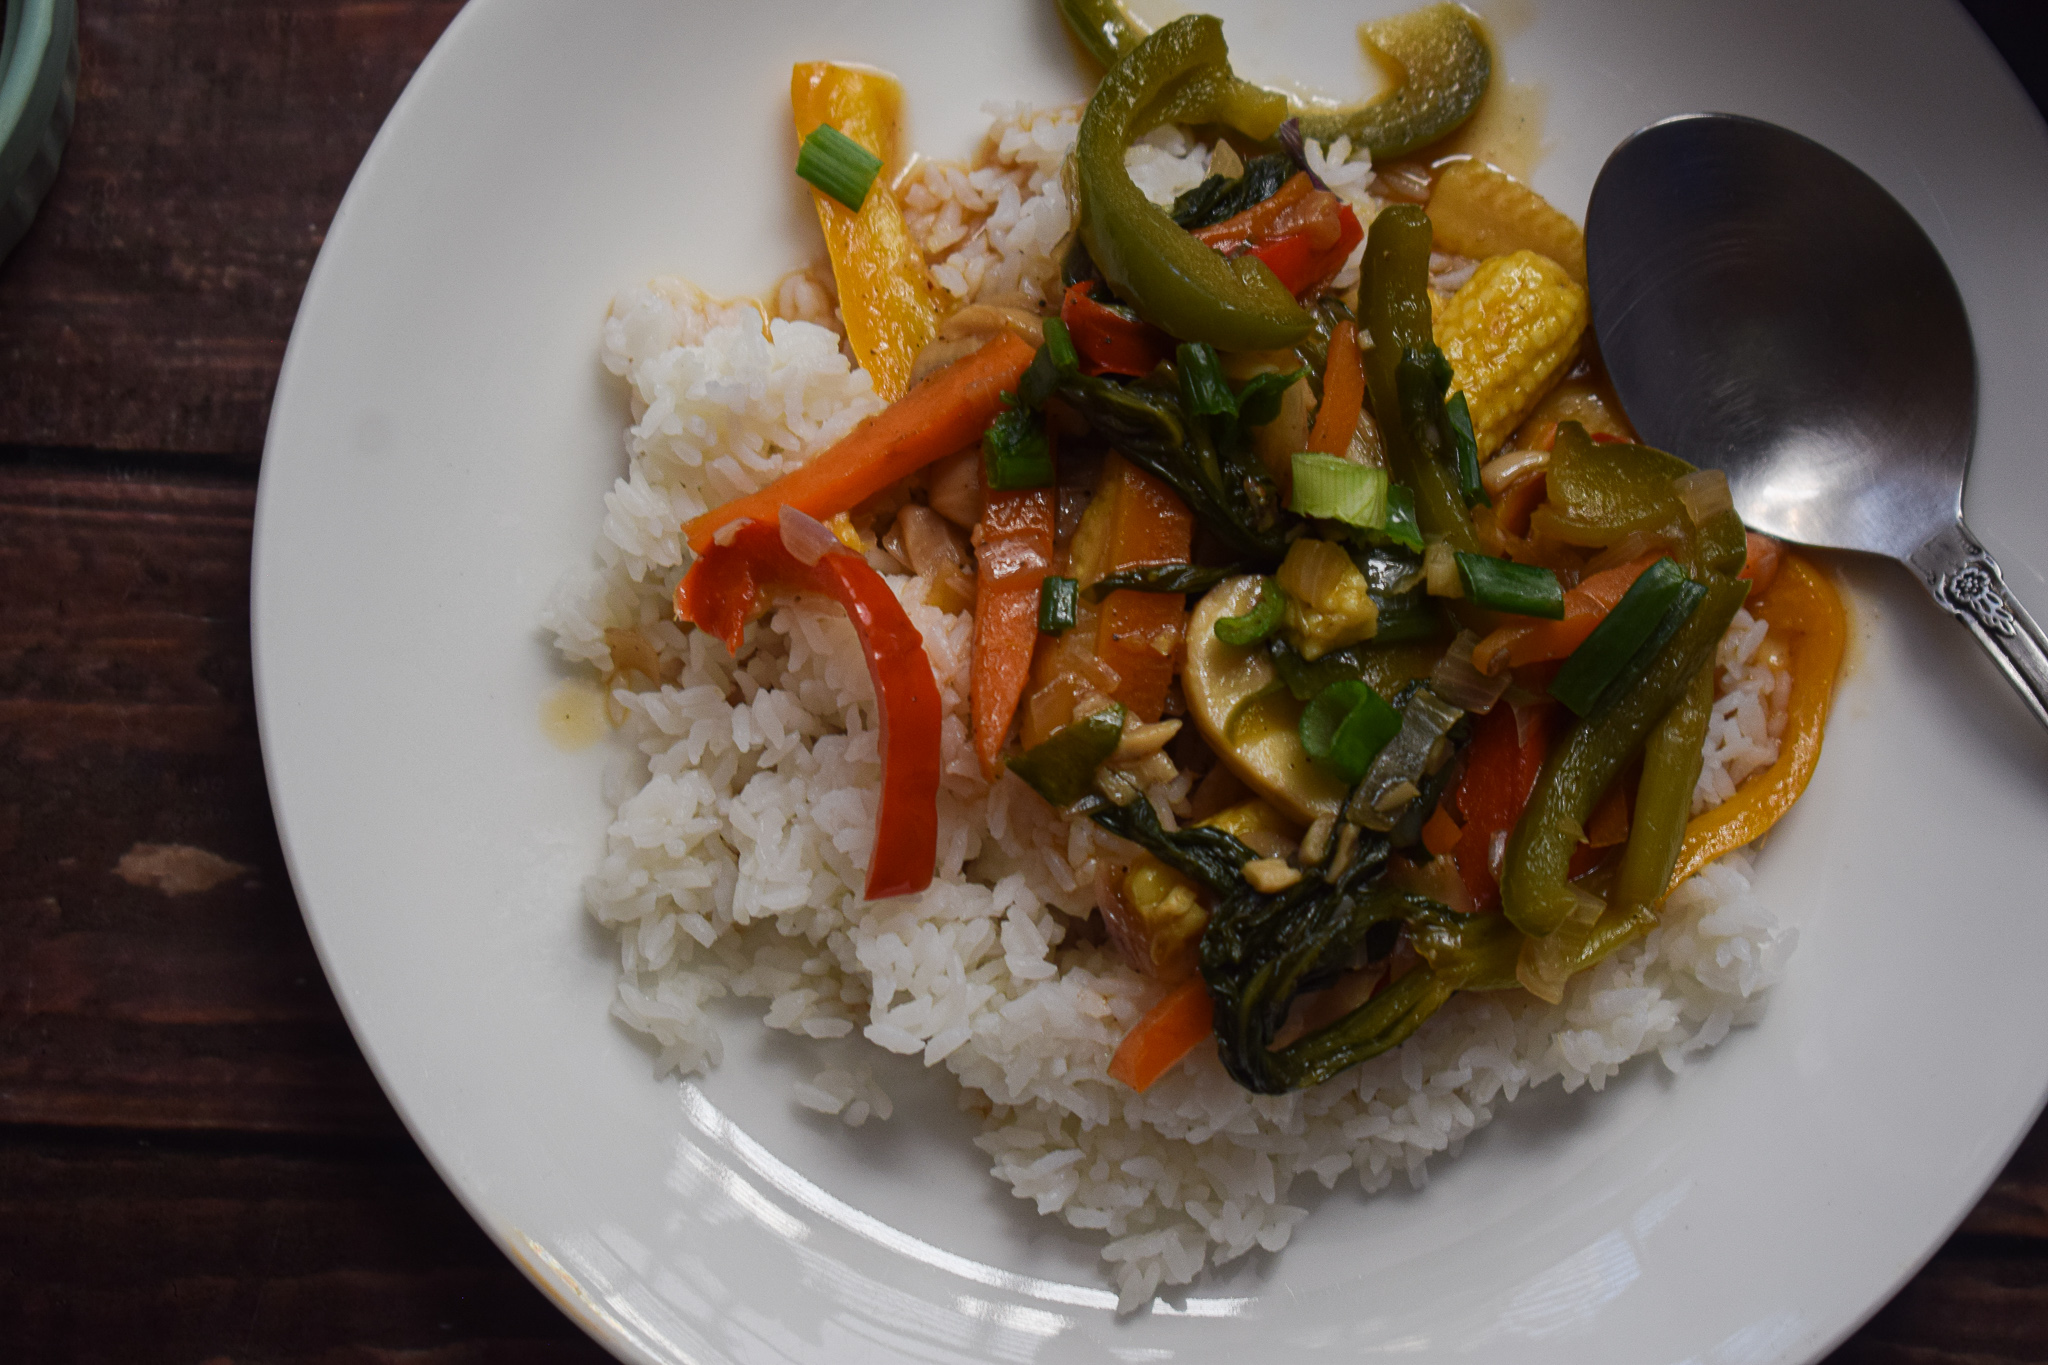
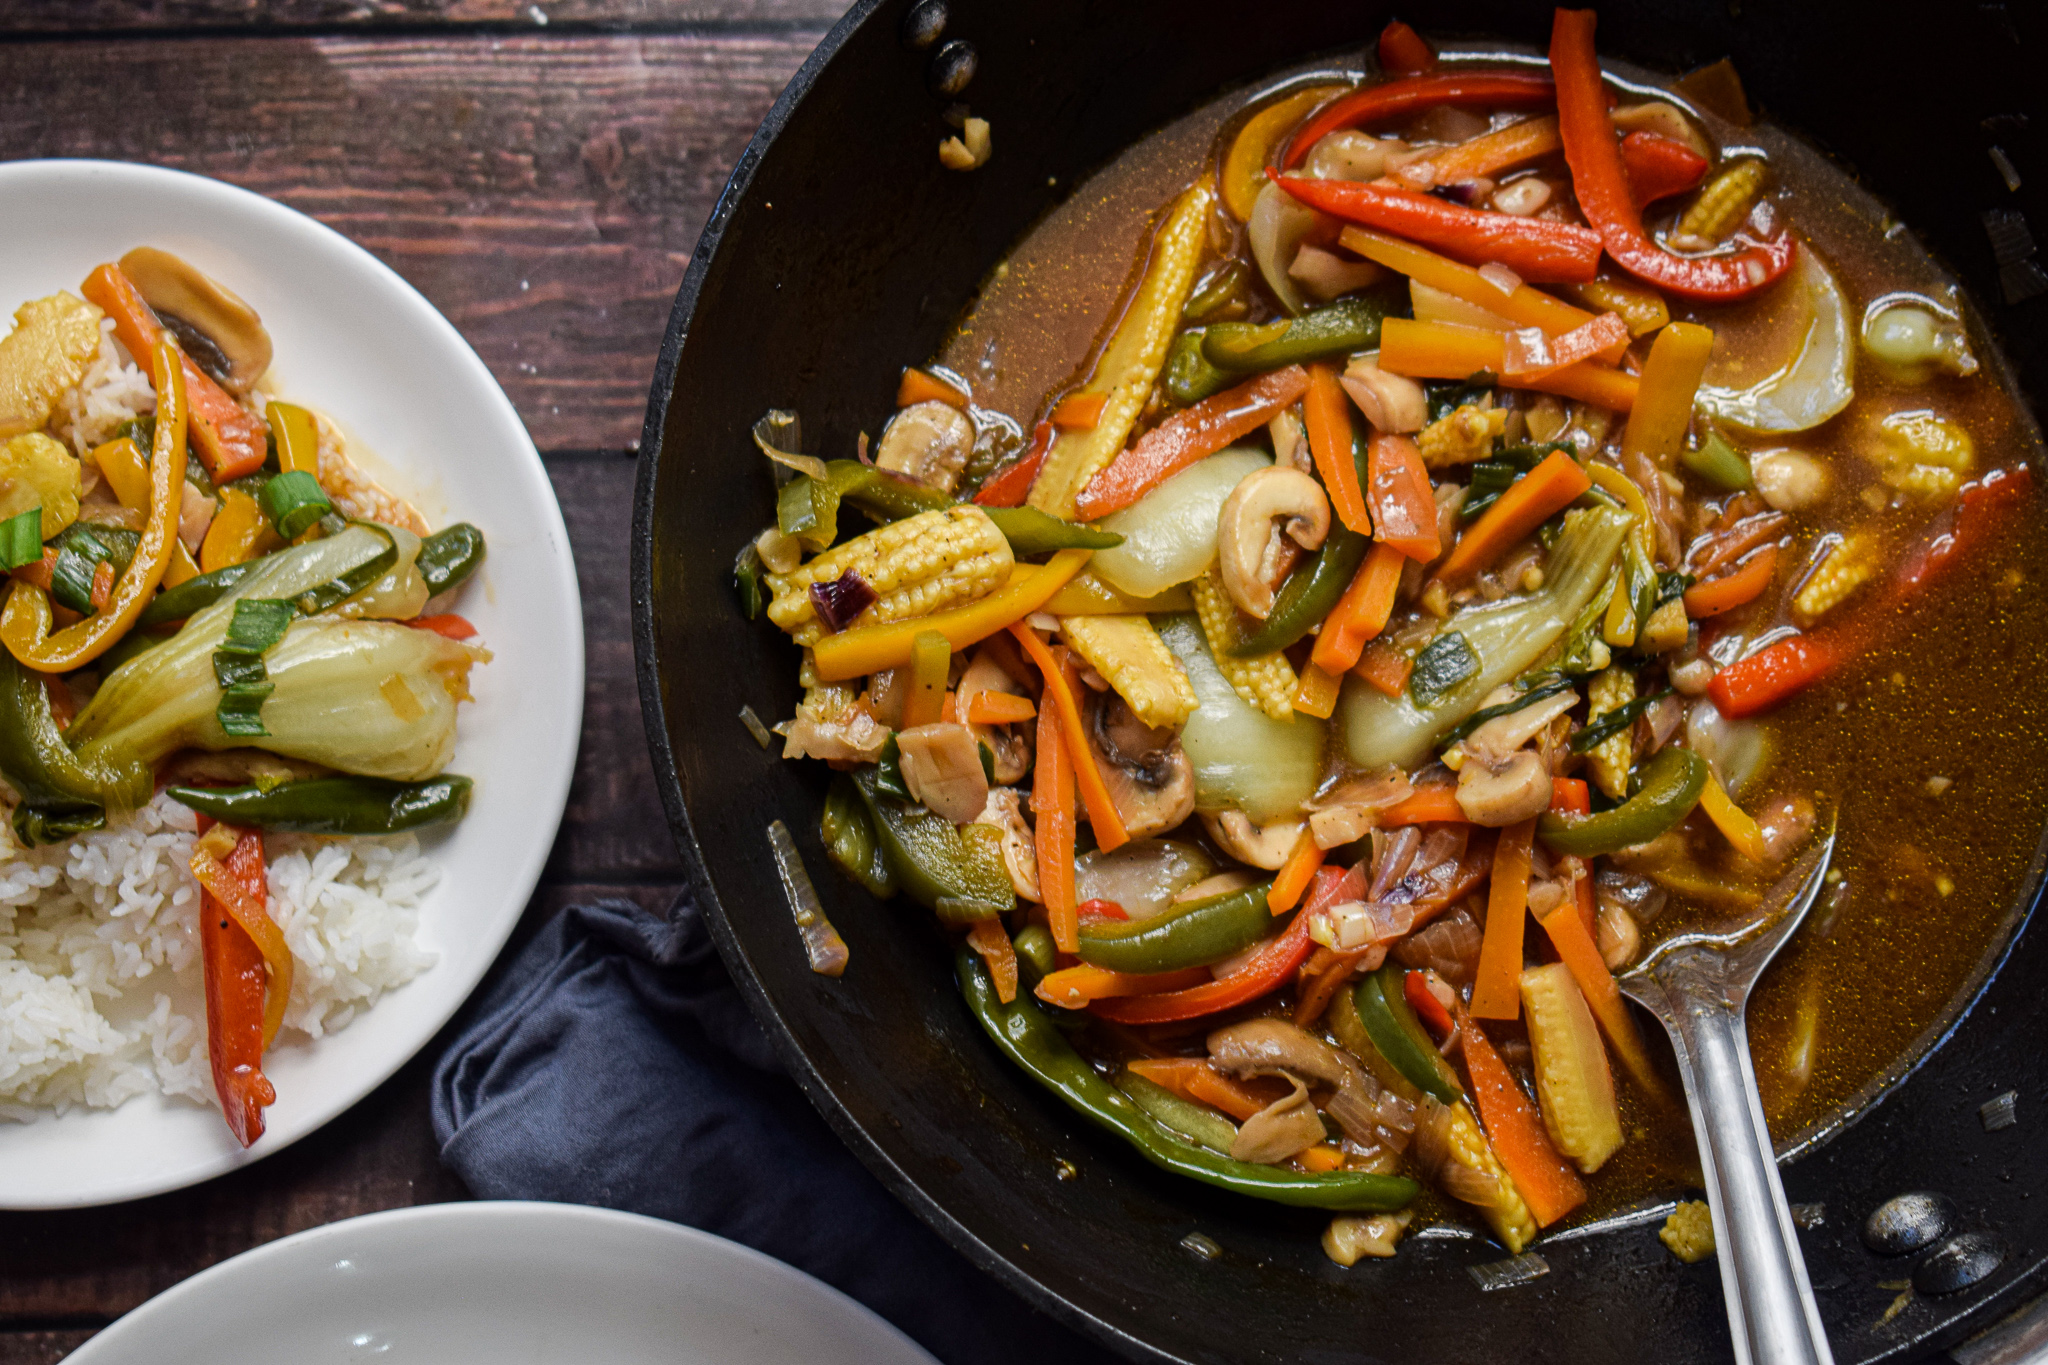
The beauty of this recipe lies in its innate simplicity. It just involves cutting up those colourful and nutritious vegetables, mixing up some basic Asian sauces and bringing it all together in a wok. There is no secret ingredient, technique or trick. Anybody can pull this off. I have had people tell me in the lockdowns how this recipe helped them eat their vegetables when they were too scared to consume meat. This vegetables in Oyster sauce preparation is an easy hack to relish vegetables in a beautiful stock that is healthy and nutritious.

vegetables in oyster sauce

vegetables in oyster sauce

Since the vegetables are the key ingredients in this preparation, I have chosen naturally sweet vegetables that can add a lot of crunch and flavour to the dish. The red and yellow bell peppers add colour and sweetness, the baby corn and carrots add their own crunch and sweet flavour and the mushrooms add an earthy flavour. The sauces are soy and Oyster sauce. If you’d like to make this vegan, you can opt for vegan variations of Oyster sauce or use any other Asian sauce like Schezwan or Red Chilli. This recipe is highly customisable basis your preferences.

vegetables in hot garlic sauce

Let’s take a look at the ingredients and procedure to make this delicious recipe – Vegetables in Oyster Sauce :

Preparation time – 20 minutes

Cook time – 30 minutes

Serves – 4 people

[ingredients title=”Ingredients”]


  • 30 ml vegetable oil (2 tbsp approx.)
  • 15 ml sesame oil (1 tbsp approx.)
  • 15 g finely chopped garlic (1 tbsp approx.)
  • 10 finely chopped ginger (3/4 tbsp approx.)
  • 80 g finely chopped onions (2/3 cup approx.)
  • 110 g sliced carrots
  • Red bell pepper, sliced – 100g
  • Green capsicum, sliced – 100g
  • Yellow bell pepper, sliced – 100g
  • Baby corn, sliced – 100g
  • Button mushroom – 100g
  • Bokchoy – 150g
  • 4 whole green chillies
  • Salt to taste
  • 12g black pepper powder
  • Oyster sauce – 15 ml(1 tbsp approx.)
  • Red chilli sauce – 15 ml (1 tbsp approx.)
  • Dark soy sauce – 30 ml (2 tbsp approx.)
  • Balsamic vinegar – 15 ml (1 tbsp approx.) (Substitute – while vinegar)
  • 1 tbsp cornflour
  • 1 cup hot water
  • Chopped spring onion greens for garnish [/ingredients]

[directions title=”Directions”]

  1. Chop all the vegetables and keep ready.
  2. Heat oil in a hot wok.
  3. Toss in the ginger and garlic and stir on high heat for ten seconds.
  4. Add the chopped onions and stir till they turn translucent. Do not brown.
  5. Once the onions are translucent, add the carrots, green capsicum, red bell pepper, yellow bell pepper and baby corn. Stir all this on high heat for 2-3 minutes.
  6. Add the mushrooms, bokchoy and whole green chillies and stir them into the mix.
  7. Season with salt and black pepper powder.
  8. Pour the Oyster sauce, soy sauce, red chilli sauce and vinegar. Mix well and let it all assimilate into the vegetable mix.
  9. Mix 1 tbsp cornflour in one cup hot water. Add this to the gravy and stir well.
  10.  Boil the mixture till you get your desired consistency.
  11. Garnish with fresh spring onions greens.
  12. Serve hot over rice. [/directions]

vegetables in oyster sauce

vegetables in oyster sauce

vegetables in oyster sauce

Every bite of this delicious vegetables in Oyster sauce will instantly comfort you! I hope you try out this recipe soon.If you do, let me know how it turned out for you.

If you have any questions, suggestions or feedback, please leave me a comment here. Or connect with me Instagram, Facebook or YouTube.

Happy cooking!

Pressure Cooker Chana Masala

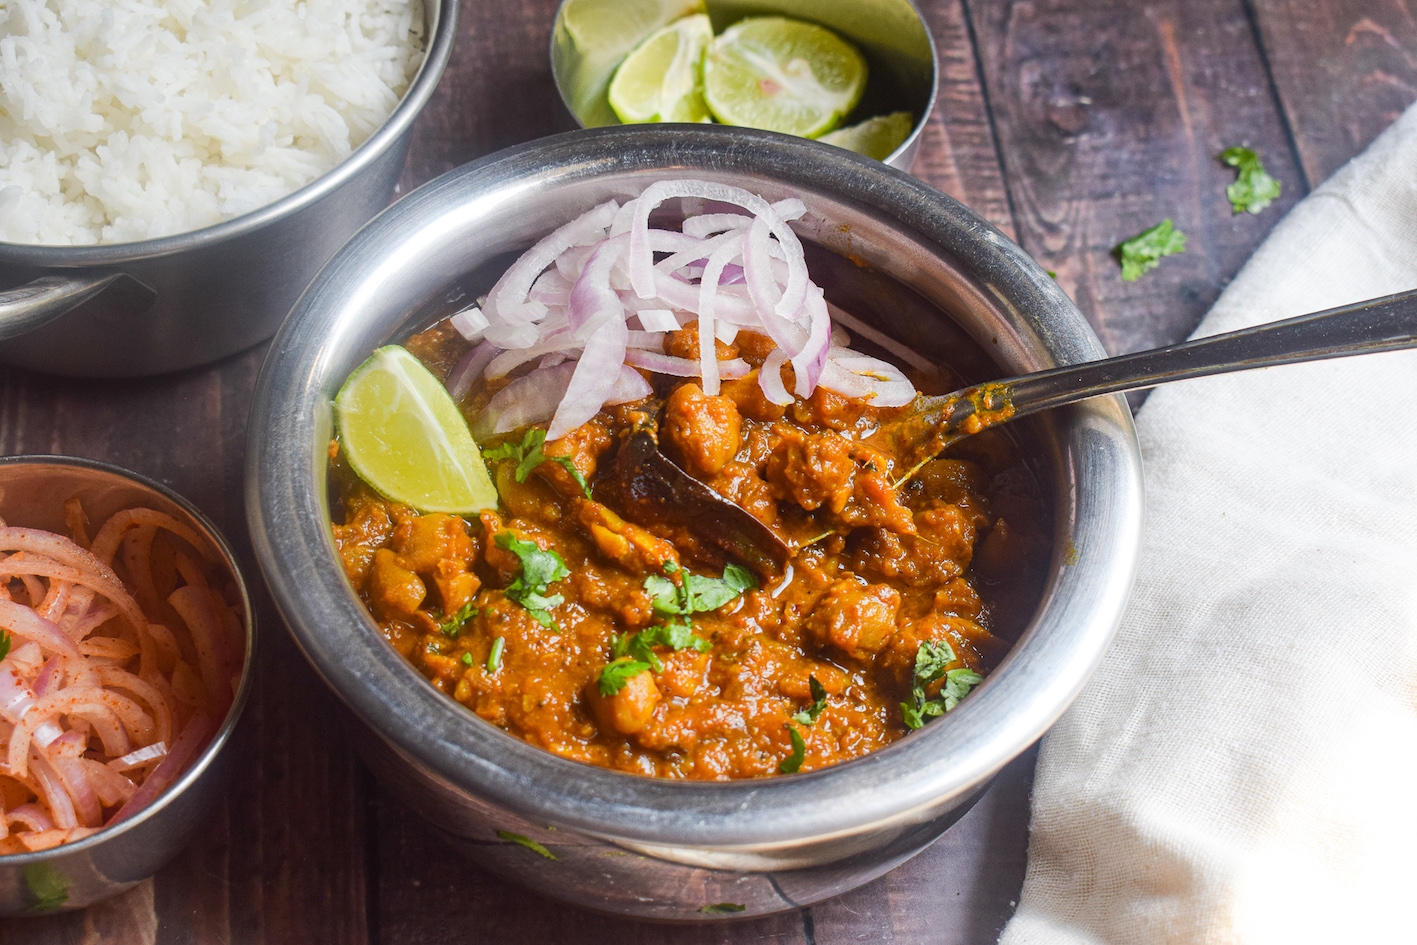
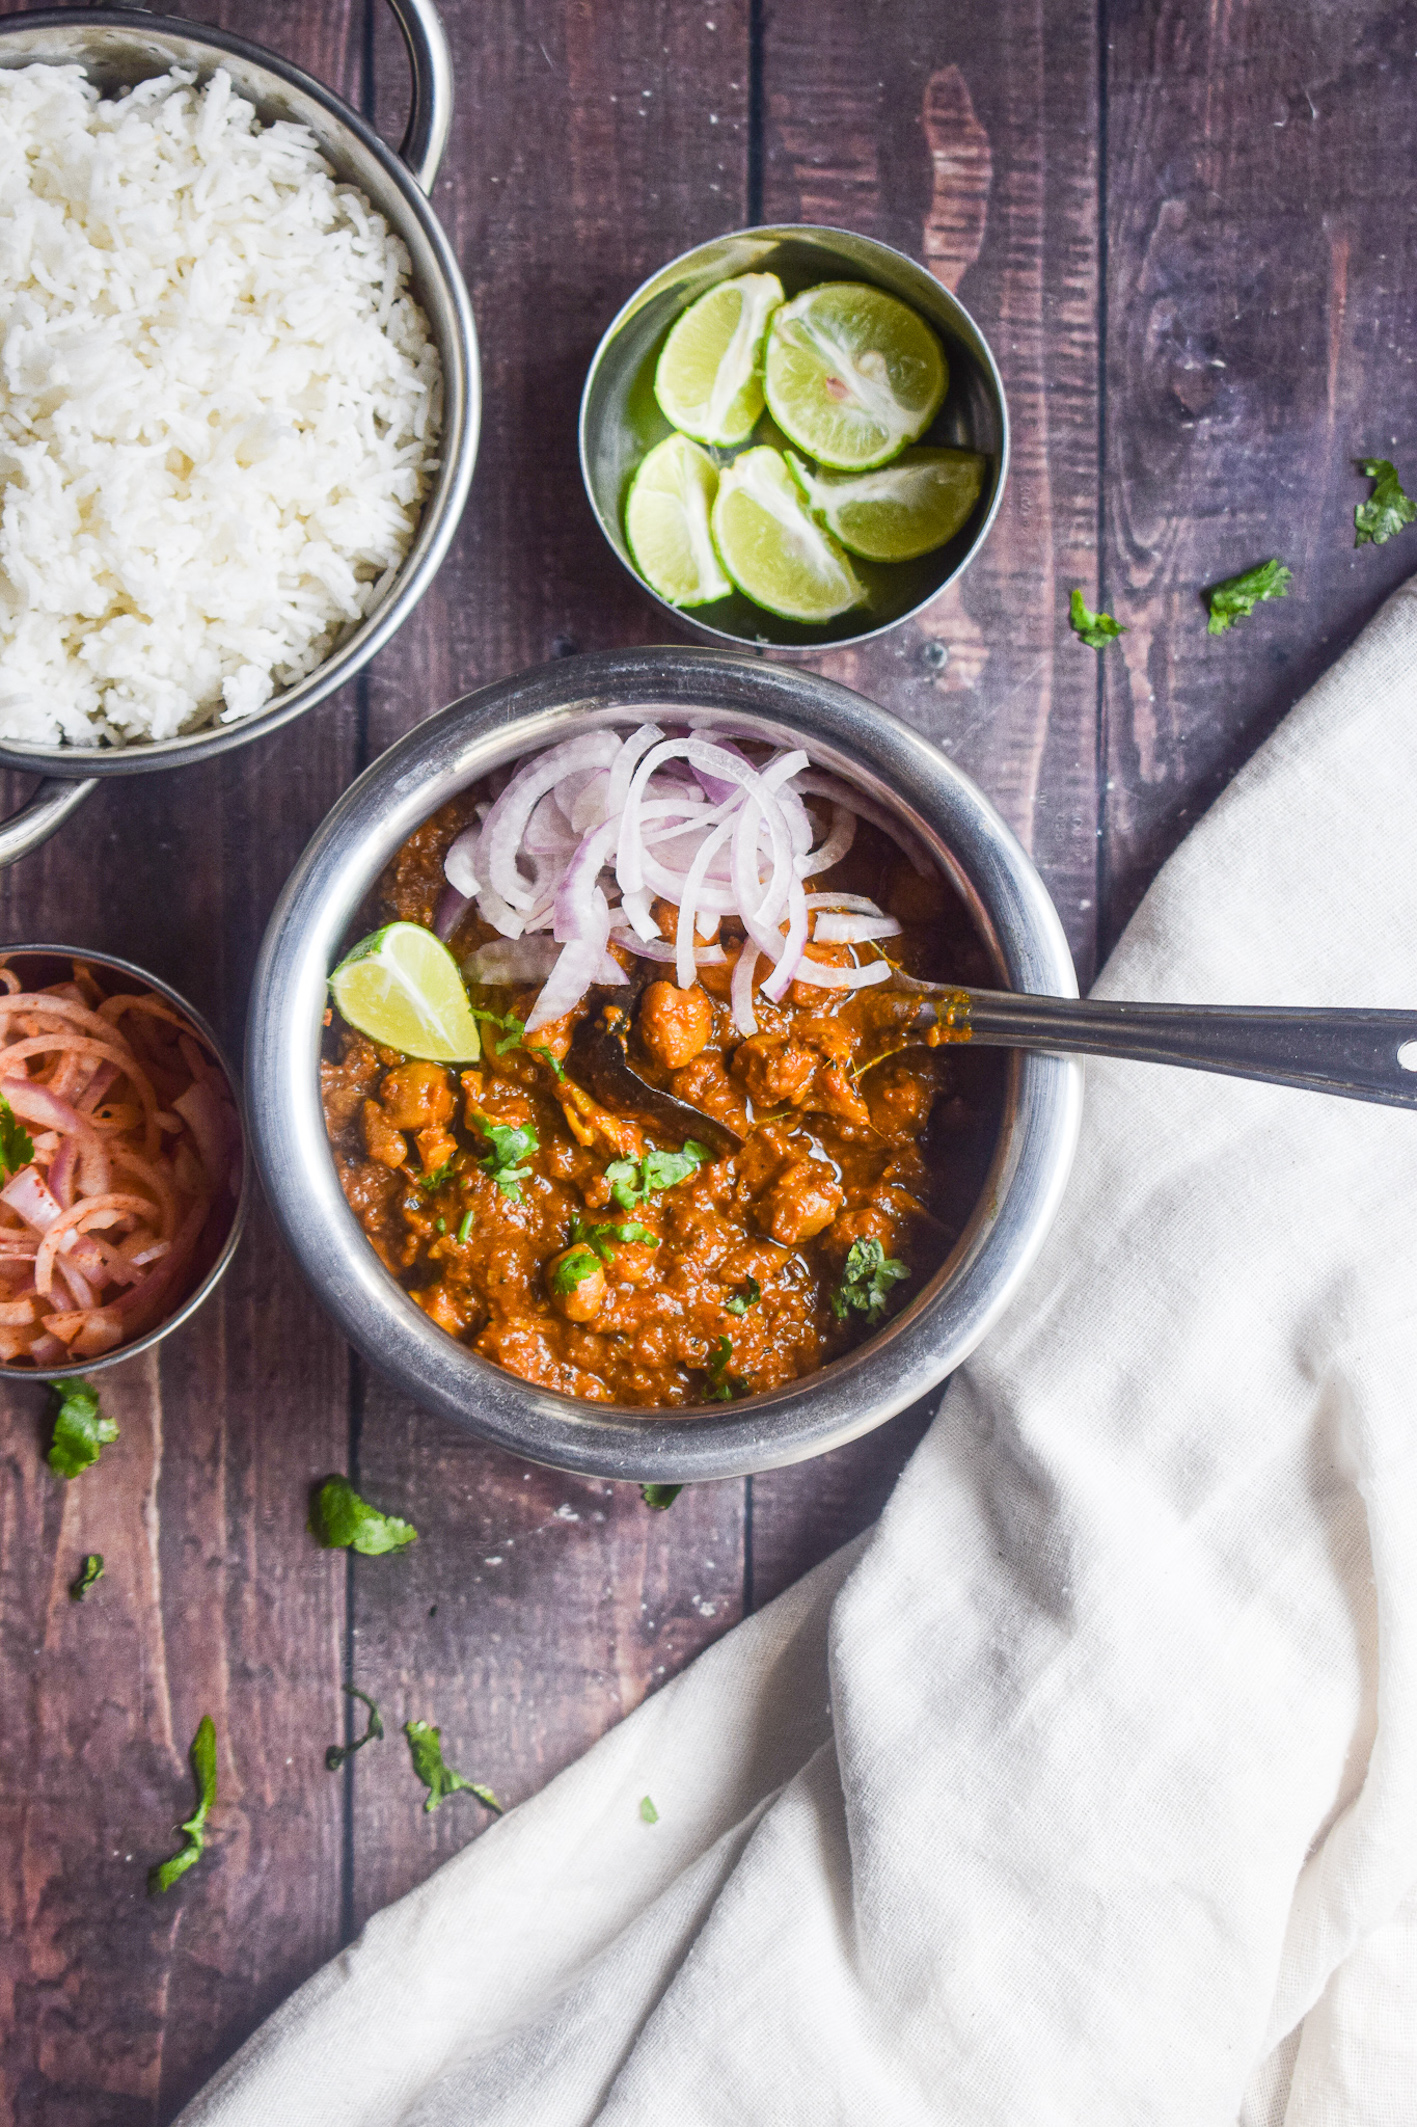
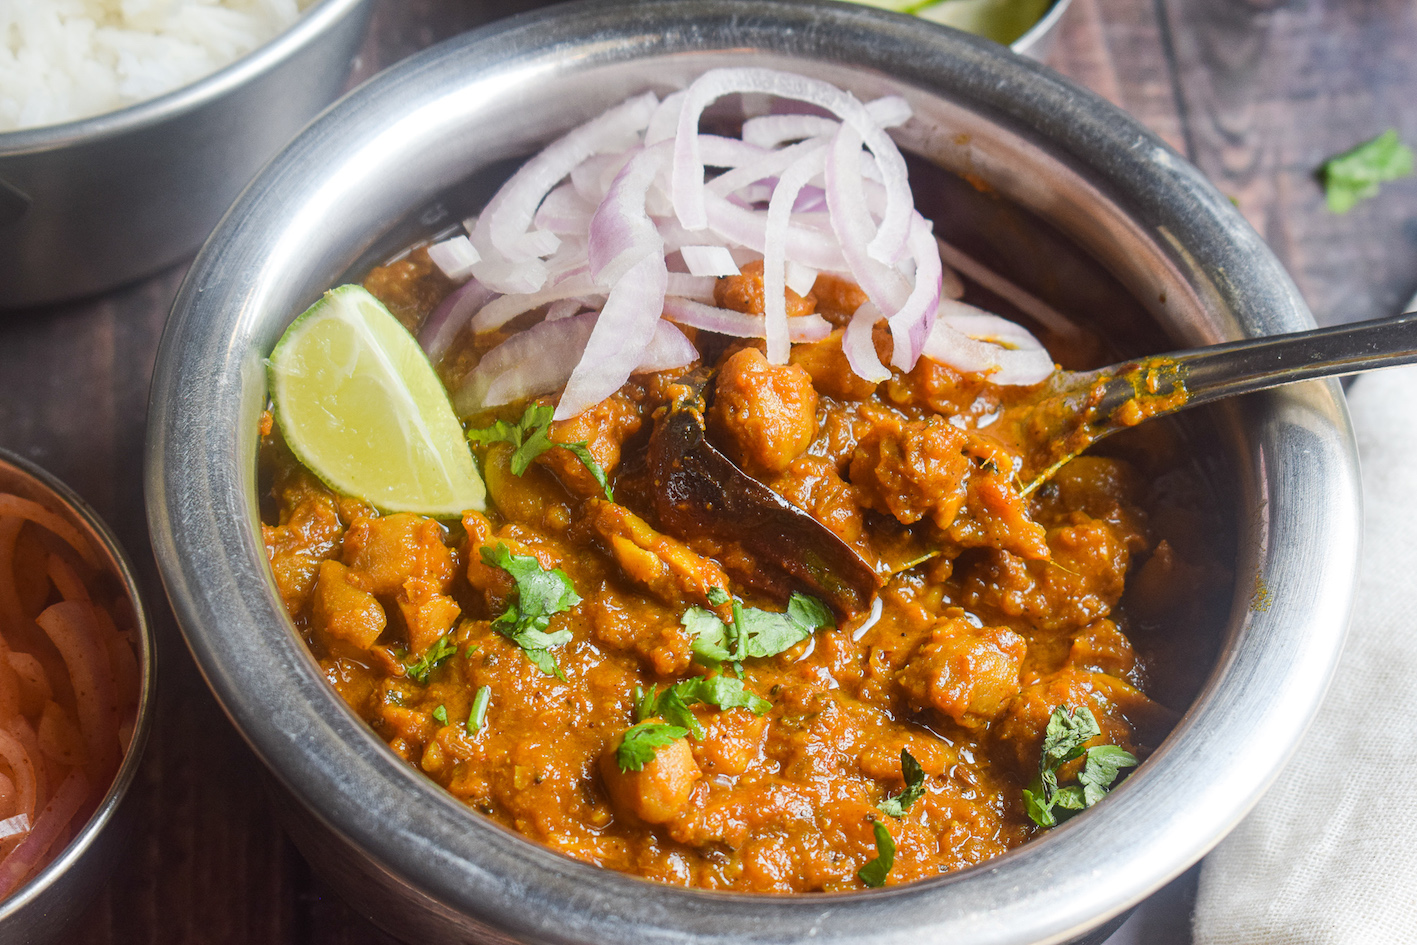
Here’s a pressure cooker chana masala recipe that is full-proof, easy and insanely delicious! It all comes together in one pot, i.e. the pressure cooker. And that tempering in the end elevates the recipe to another new level, so do not skip on the tempering! This pressure cooker chana masala recipe does not require you to boil the chickpeas separately and add it to the curry. Instead, we make the masala or the base of the curry in the pressure cooker, add the soaked chickpeas to it and let it whistle till it’s soft and absorbs all the flavours.

pressure cooker chana masala

pressure cooker chana masala

While this version of chana masala is very easy to pull off, it does come with a tiny handbook of tips and tricks. For instance, the beautiful colour of this chana masala is not because of the addition of any colours or tea leaves. It’s just a method of cooking that I learned from my grandmother-in-law. It literally opened my eyes to a technique of cooking that I knew, but never really paid attention to! Read on to know what that trick is. Besides the colour, there are also a tons of tips that I will share on the timing of cooking, the temperatures to cook at, and other little nuggets of information that you can use to elevate your chana masala to a level of utmost deliciousness. Let’s begin.

Tips to Make the Perfect Chana Masala

Colour

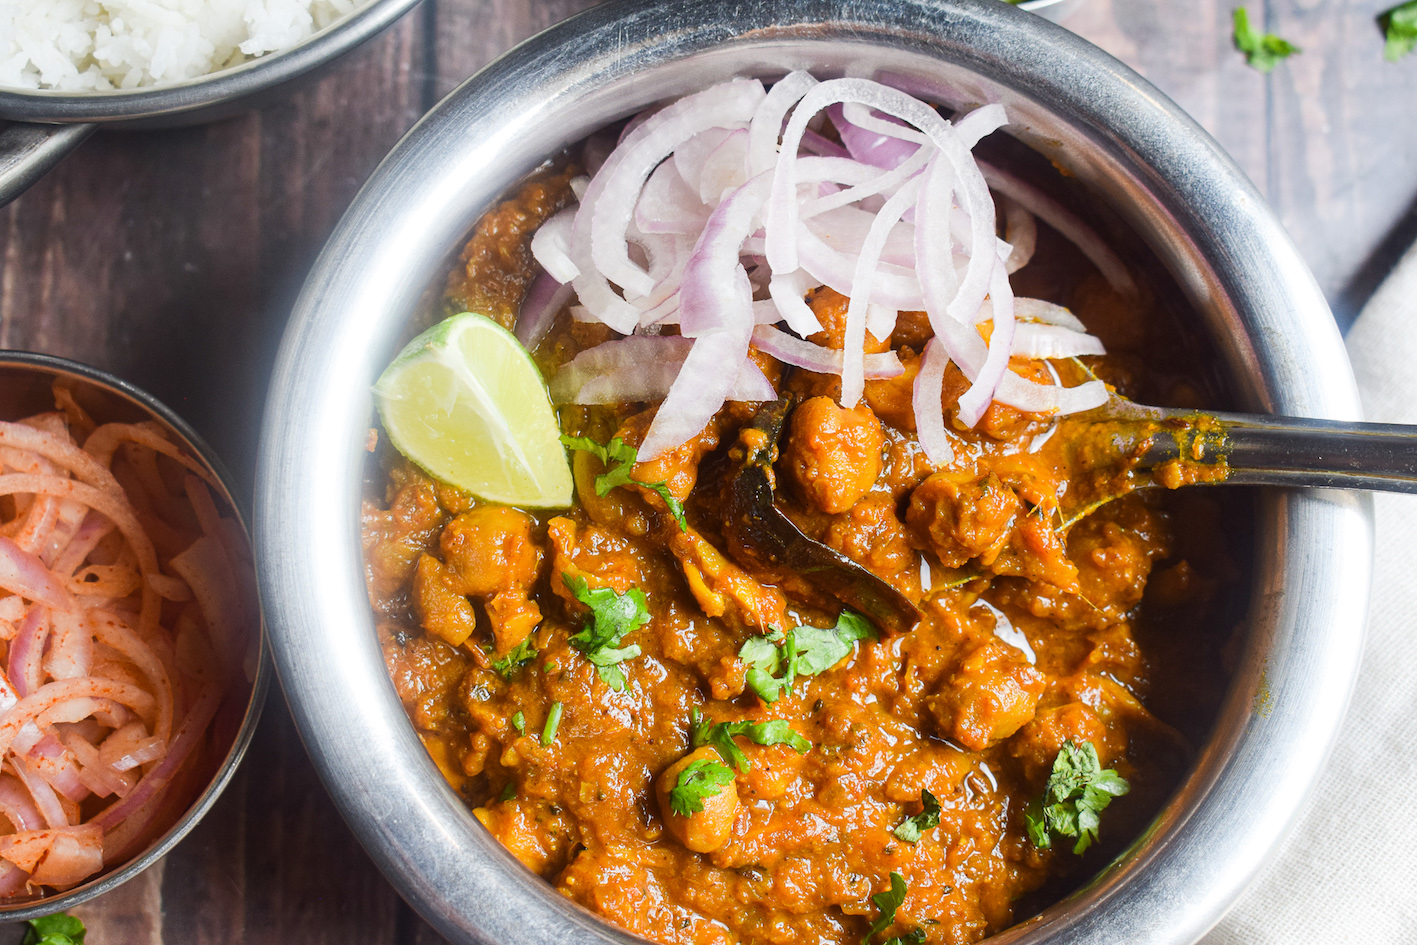
Most of the chana masalas in restaurants have a deep brown colour that gets us drooling at the very first sight. For the longest time, I thought that brown colour comes from soaking the chickpeas in tea bags. While that is the case and I do have a recipe with the same technique, it’s not a necessary thing to do to get the deep brown colour. In fact, you do not need anything other than the normal ingredients to get it brown colour! The trick lies in the way you cook your onions. Yes, you read that right.

pressure cooker chana masala

The method you use to fry the onions can make or break your chana masala. The trick is to have them finely chopped and cook them in medium flame till they are completely brown. This is a slightly time consuming process and you will have to spend anywhere between ten to fifteen minutes to achieve this stage. But the effort will be so worth it because of the results you’ll get. So have a little bit of patience while you deal with your onions and see how it gives a sensational colour to your final chana masala.

Timing

To get the perfect chana masala that tastes outstanding, it is important to know the timing of adding ingredients, and the duration of their cooking. I have already explained the timing for the onions. But we also add a lot of other ingredients to make the base of the curry. A crucial ingredient here is the fresh tomato puree. Because the puree is made from fresh tomatoes, it is raw and needs its own time to cook. This makes it extremely crucial for us to cook it to perfection before we add the chickpeas to it.

pressure cooker chana masala

How do we know if the tomatoes are cooked? When the oil starts to release from the edges of the masala pasta, the tomatoes turn into a thick base and there is no aroma of anything raw in the air. When you achieve these three outcomes, you know your tomatoes are ready.

Chickpeas

For this particular version of chana masala, we only have to soak the chickpeas overnight. There is no need to boil them separately and add them to the masala base. Everything happens in one pot, in this case – the pressure cooker. We cook the chickpeas for a long time on medium flame in the pressure cooker and the whistles do their own magic. What we end up getting is a scrumptious curry along with the softest chickpeas that absorb all the flavours of the ingredients.

Tempering

Tempering is very essential in this chana masala recipe. Without the tempering, the recipe will be incomplete. It is the tempering in the end that makes this chana masala the best version you will ever make! So make sure you do not skip on this delicious tadka!

pressure cooker chana masala

Now that you know the most important aspects of nailing this pressure cooker chana masala, let’s dive straight into the ingredients and procedure for the recipe.

Preparation time – 20 minutes

Cook time – 40 minutes

Serves – 5 people

[ingredients title=”Ingredients”]

  • 1 cup chickpeas, soaked overnight
  • 1/4 cup mustard oil
  • 1 1/2 cups finely chopped onions
  • 1/4 tsp asafoetida
  • 1/2 tsp carrom seeds
  • 1 tsp cumin seeds
  • 2 cardamoms
  • 1 inch cinnamon stick
  • 2 cloves
  • 1 tsp cumin powder
  • 2 tsp garlic paste
  • 1 tbsp ginger paste
  • Salt to taste
  •  1/2 tsp turmeric powder
  • 1 tsp coriander powder
  • 1/2 tsp Kashmiri red chilli powder
  • 1 1/2 cups fresh tomato puree
  • 4 cups hot water
  • 1/2 tsp raw mango powder
  • 2 tbsp Kasuri methi (dried fenugreek leaves)
  • 1/2 tsp garam masala

For the tempering:

  • 2 tbsp ghee
  • 3 dried red chillies
  • 1 tsp cumin seeds
  • 10-12 strips of julienne ginger
  • 1/4 tsp Kashmiri red chilli powder [/ingredients]

[directions title=”Directions”]

  1. Soak the chickpeas overnight in room temperature water. Drain, rinse and set aside.
  2. Heat oil in a pressure cooker. Once the oil starts to smoke gently, turn the heat to low. Temper with cumin seeds, carrom seeds, asafoetida, cardamom, clove and cinnamon stick. Give it a good mix.
  3. Add the onions and fry on medium heat till they transform from a translucent colour to a deep brown colour. This step is very important and can take anywhere between 10-15 minutes.
  4. The aim is to allow the onions to brown without burning them. This step will help us achieve a deep brown colour in the final curry.
  5. Once the onions are deep brown, add the ginger and garlic paste. Stir till the raw aroma disappears. Do not burn and keep a check on the flame.
  6. Season with salt, turmeric powder, cumin powder, coriander powder, Kashmiri red chilli powder and raw mango powder.
  7. Cook the masalas well.
  8. Pour the fresh tomato puree into the masala and stir well. Cook this for another 8-10 minutes till the rawness of the tomatoes is gone and oil starts to release from the sides. Add a splash of water if necessary.
  9. Add the soaked chickpeas to this spice base and coat them well.
  10. Pour 4 cups of hot water and mix.
  11. Season with some Kasuri methi and garam masala.
  12. Close the lid of the pressure cooker and allow one whistle on high flame. Turn the flame to medium at cook the chickpeas for 20 minutes. The number of whistles will vary according to the pressure cooker you’re using. 20 minutes is a good time to ensure the chickpeas are soft.
  13. Once done, let the pressure cooker release its steam automatically. Prepare the tadka or the tempering only once you open the lid of the cooled down cooker.
  14. For the tempering, heat ghee in a tadka pan. Once the ghee smokes up, turn off the flame and add the dried red chillies, cumin seeds, julienne ginger and Kashmiri red chilli powder. Give it a quick mix with a spoon and immediately add it to the chana masala. Mix well and we are done!
  15. Serve the chana masala with some onions, rice, puris, parathas or bhaturas! Enjoy! [/directions]

pressure cooker chana masala

pressure cooker chana masala

It’s almost unbelievable how good this pressure cooker chana masala tastes. It is a recipe I am definitely proud of and I want you to try it at-least once. Trust me, you will not be able to stop eating this!

I hope you try this delicious pressure cooker chana masala super soon. If you have any doubts, comments, or feedback, please reach out to me in comments or my social media handles.

Find me on Instagram – www.instagram.com/slurrpilicious

Find me on Facebook – www.facebook.com/slurrpilicious

Find me on Youtube – https://www.youtube.com/channel/UCA-cJoo27OLSCswI4sy6lzA?

Happy cooking!


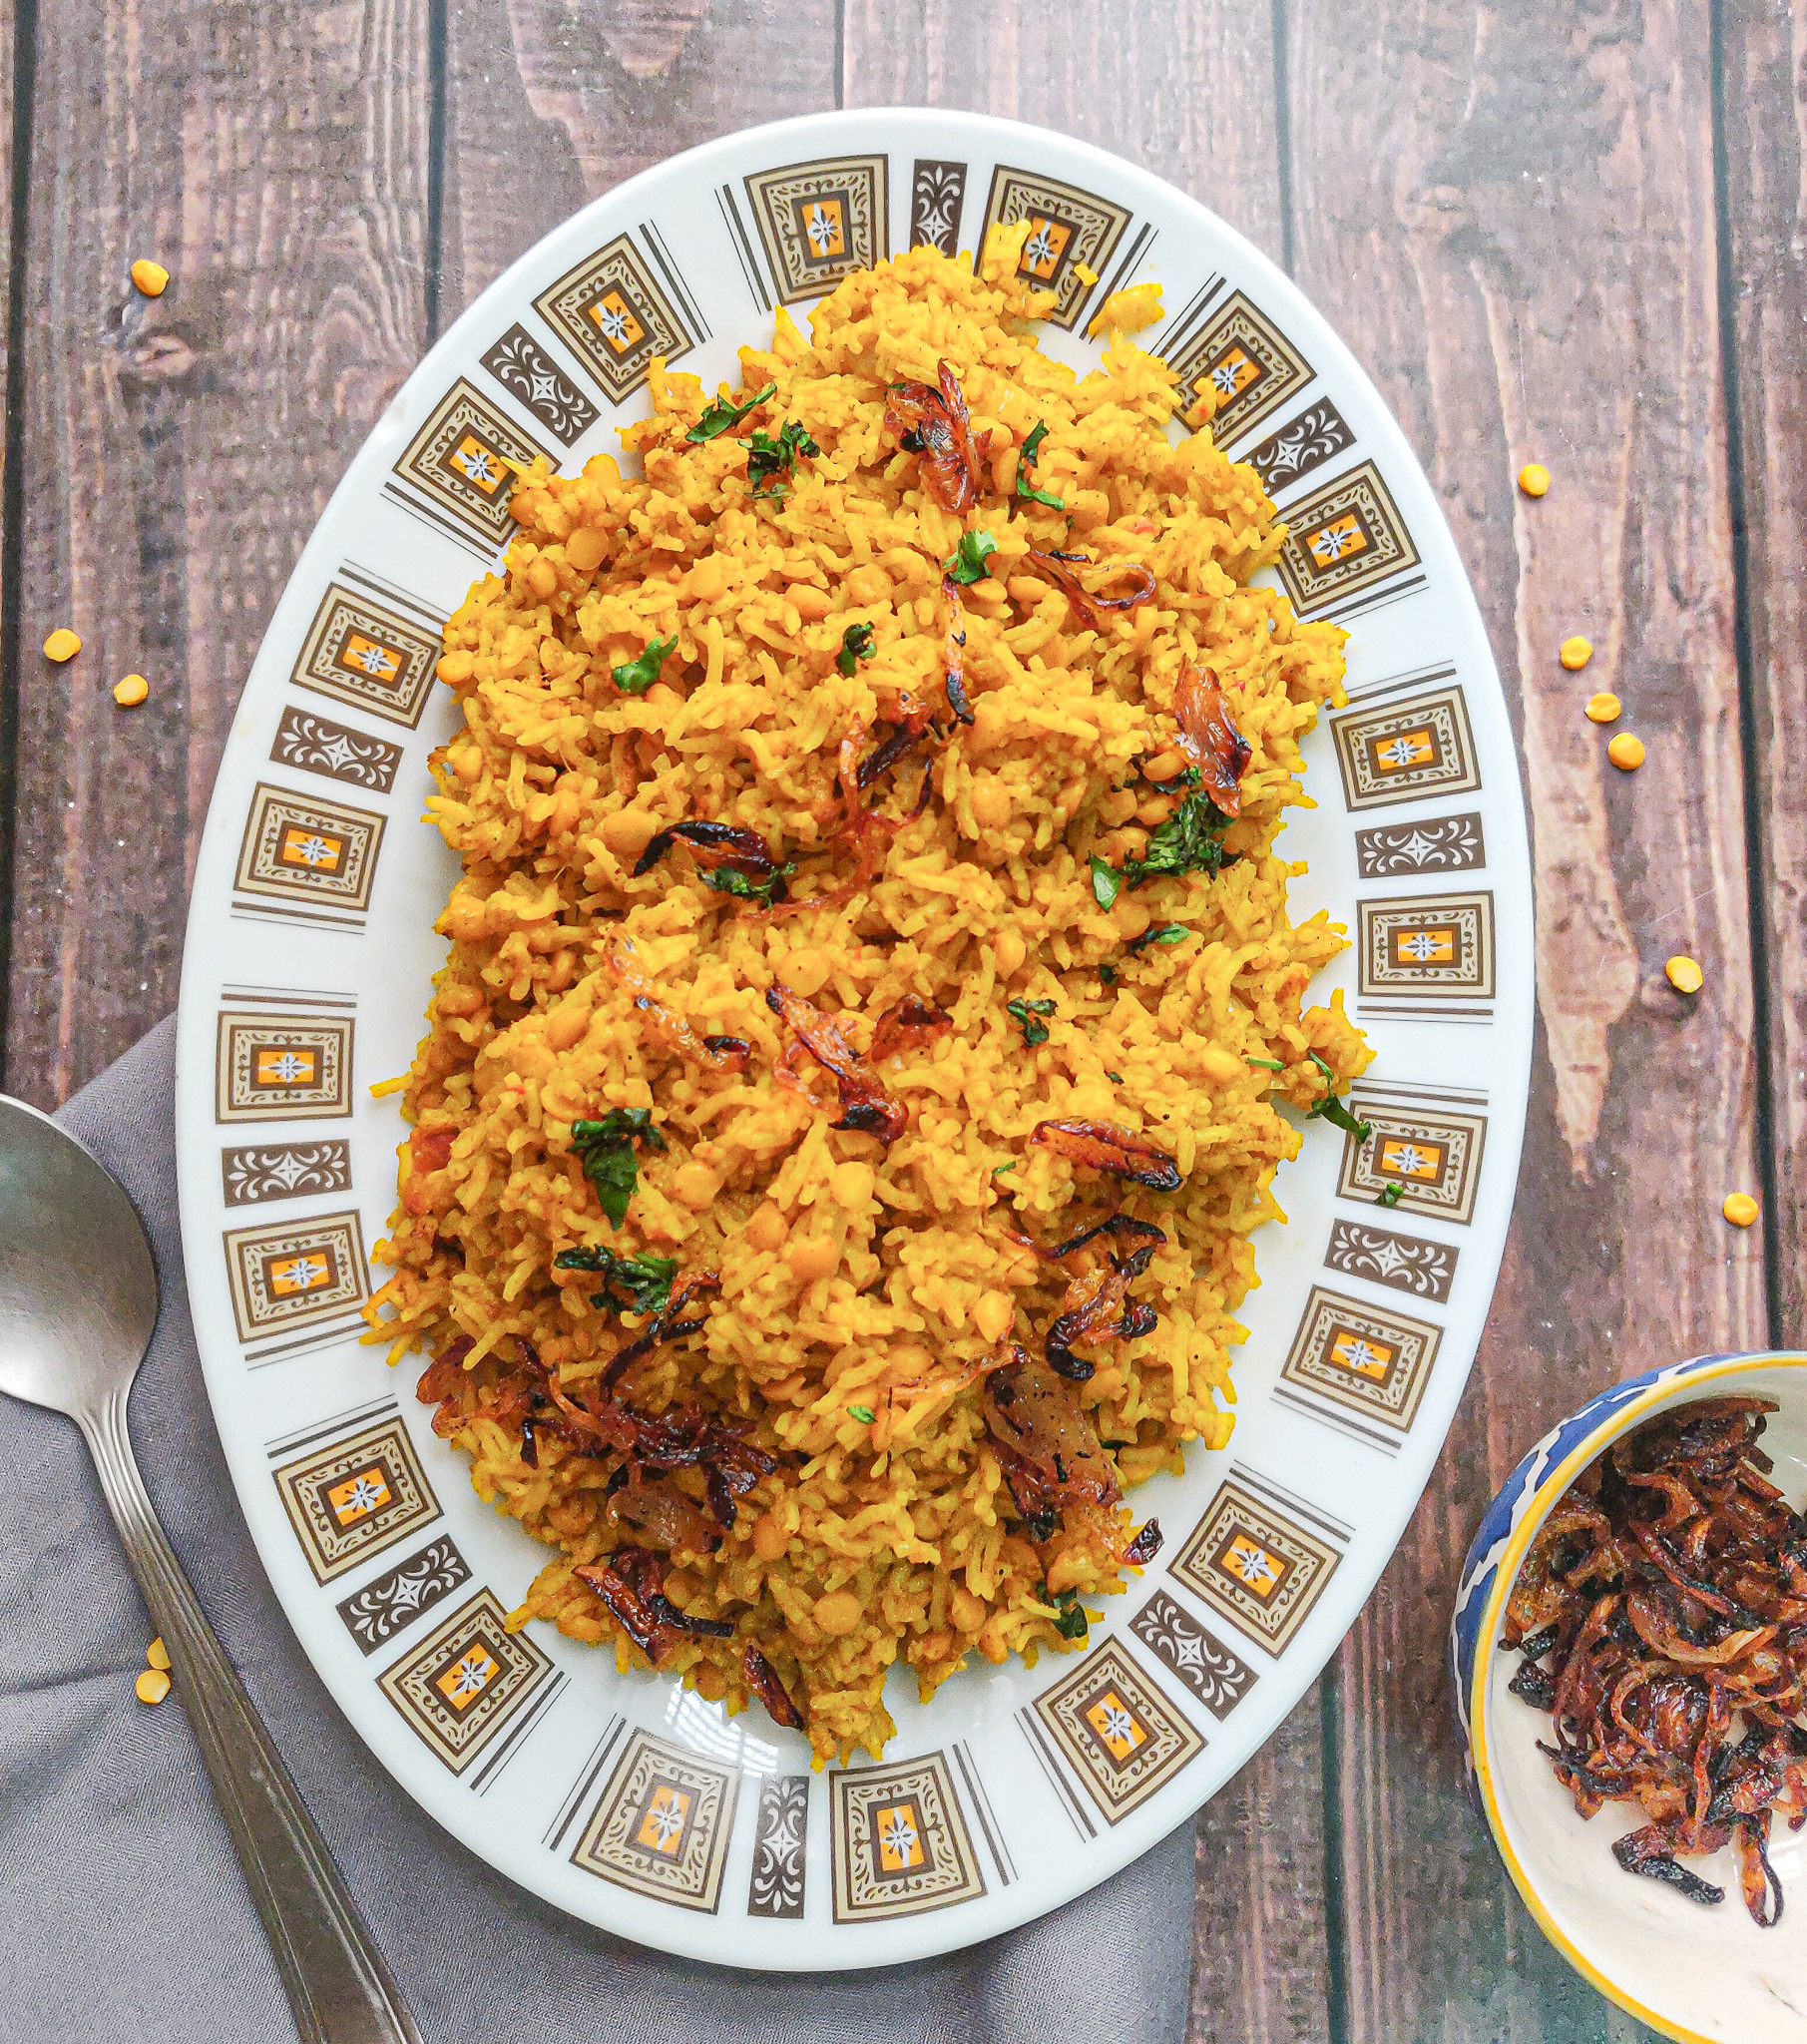
Chana Dal Pulao

It’s lockdown day 5738821 and peak summers isn’t helping. With all of us being homebound and going on with our worklives from home, we are also facing an increasing burden of domestic work. I have been getting a lot of messages on my Instagram lately where you all are asking me to add more easy recipes that do not take much time, are delicious and can be made in large batches. So here I am adding another personal recipe from my own kitchen that has saved me a lot of time, especially in this lockdown.

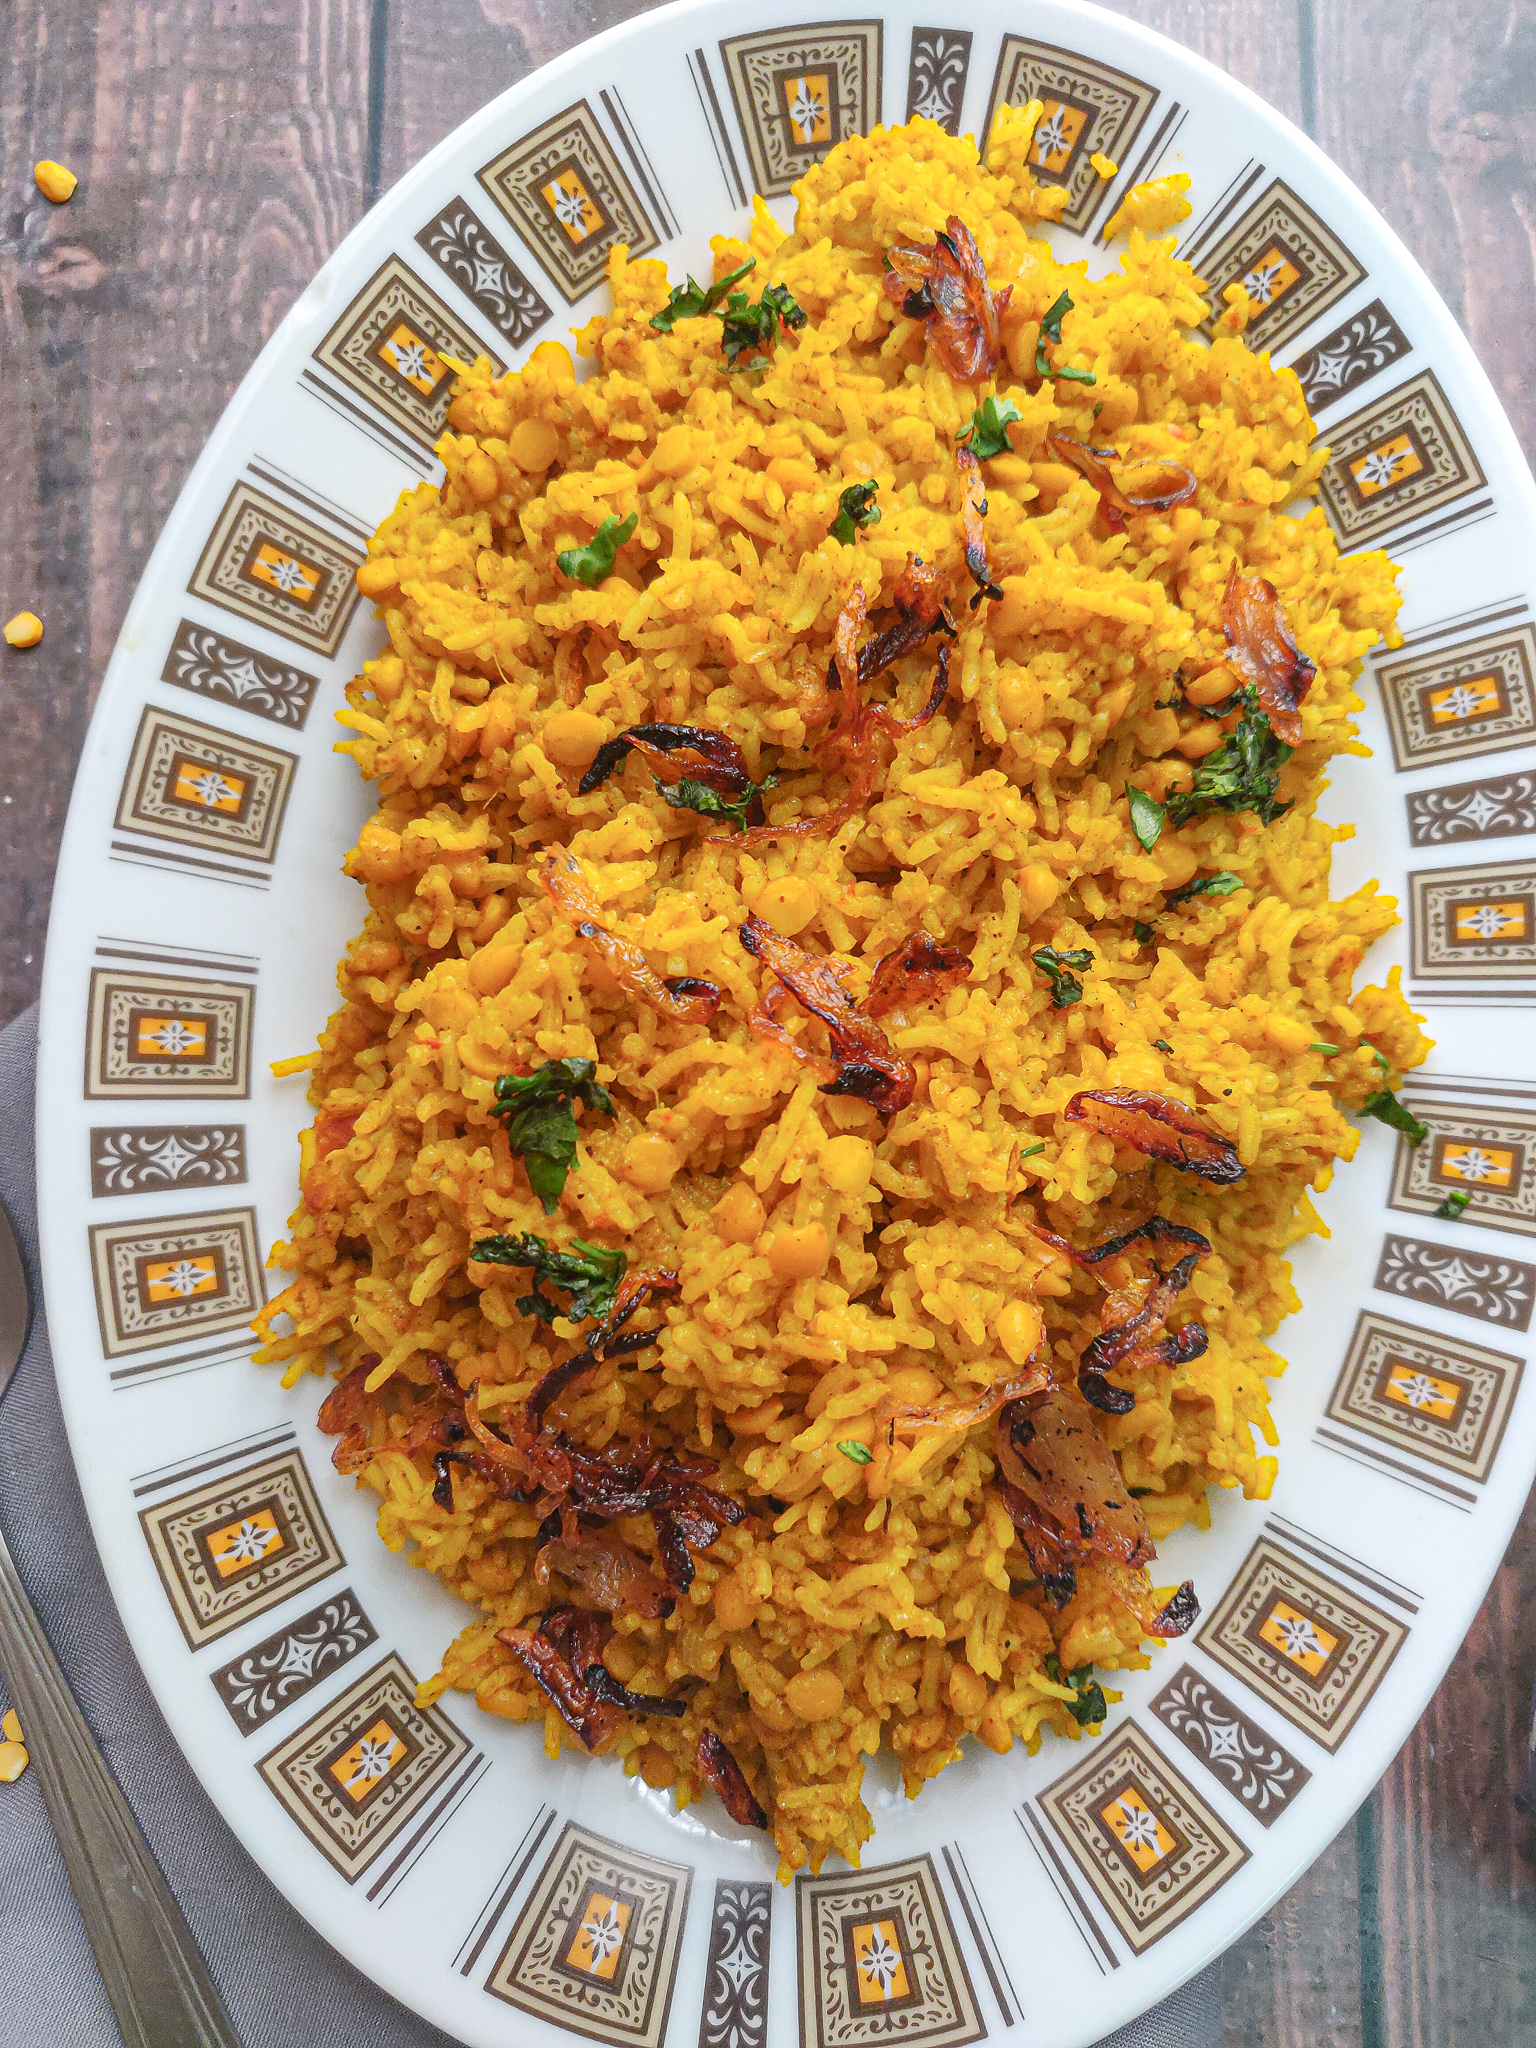
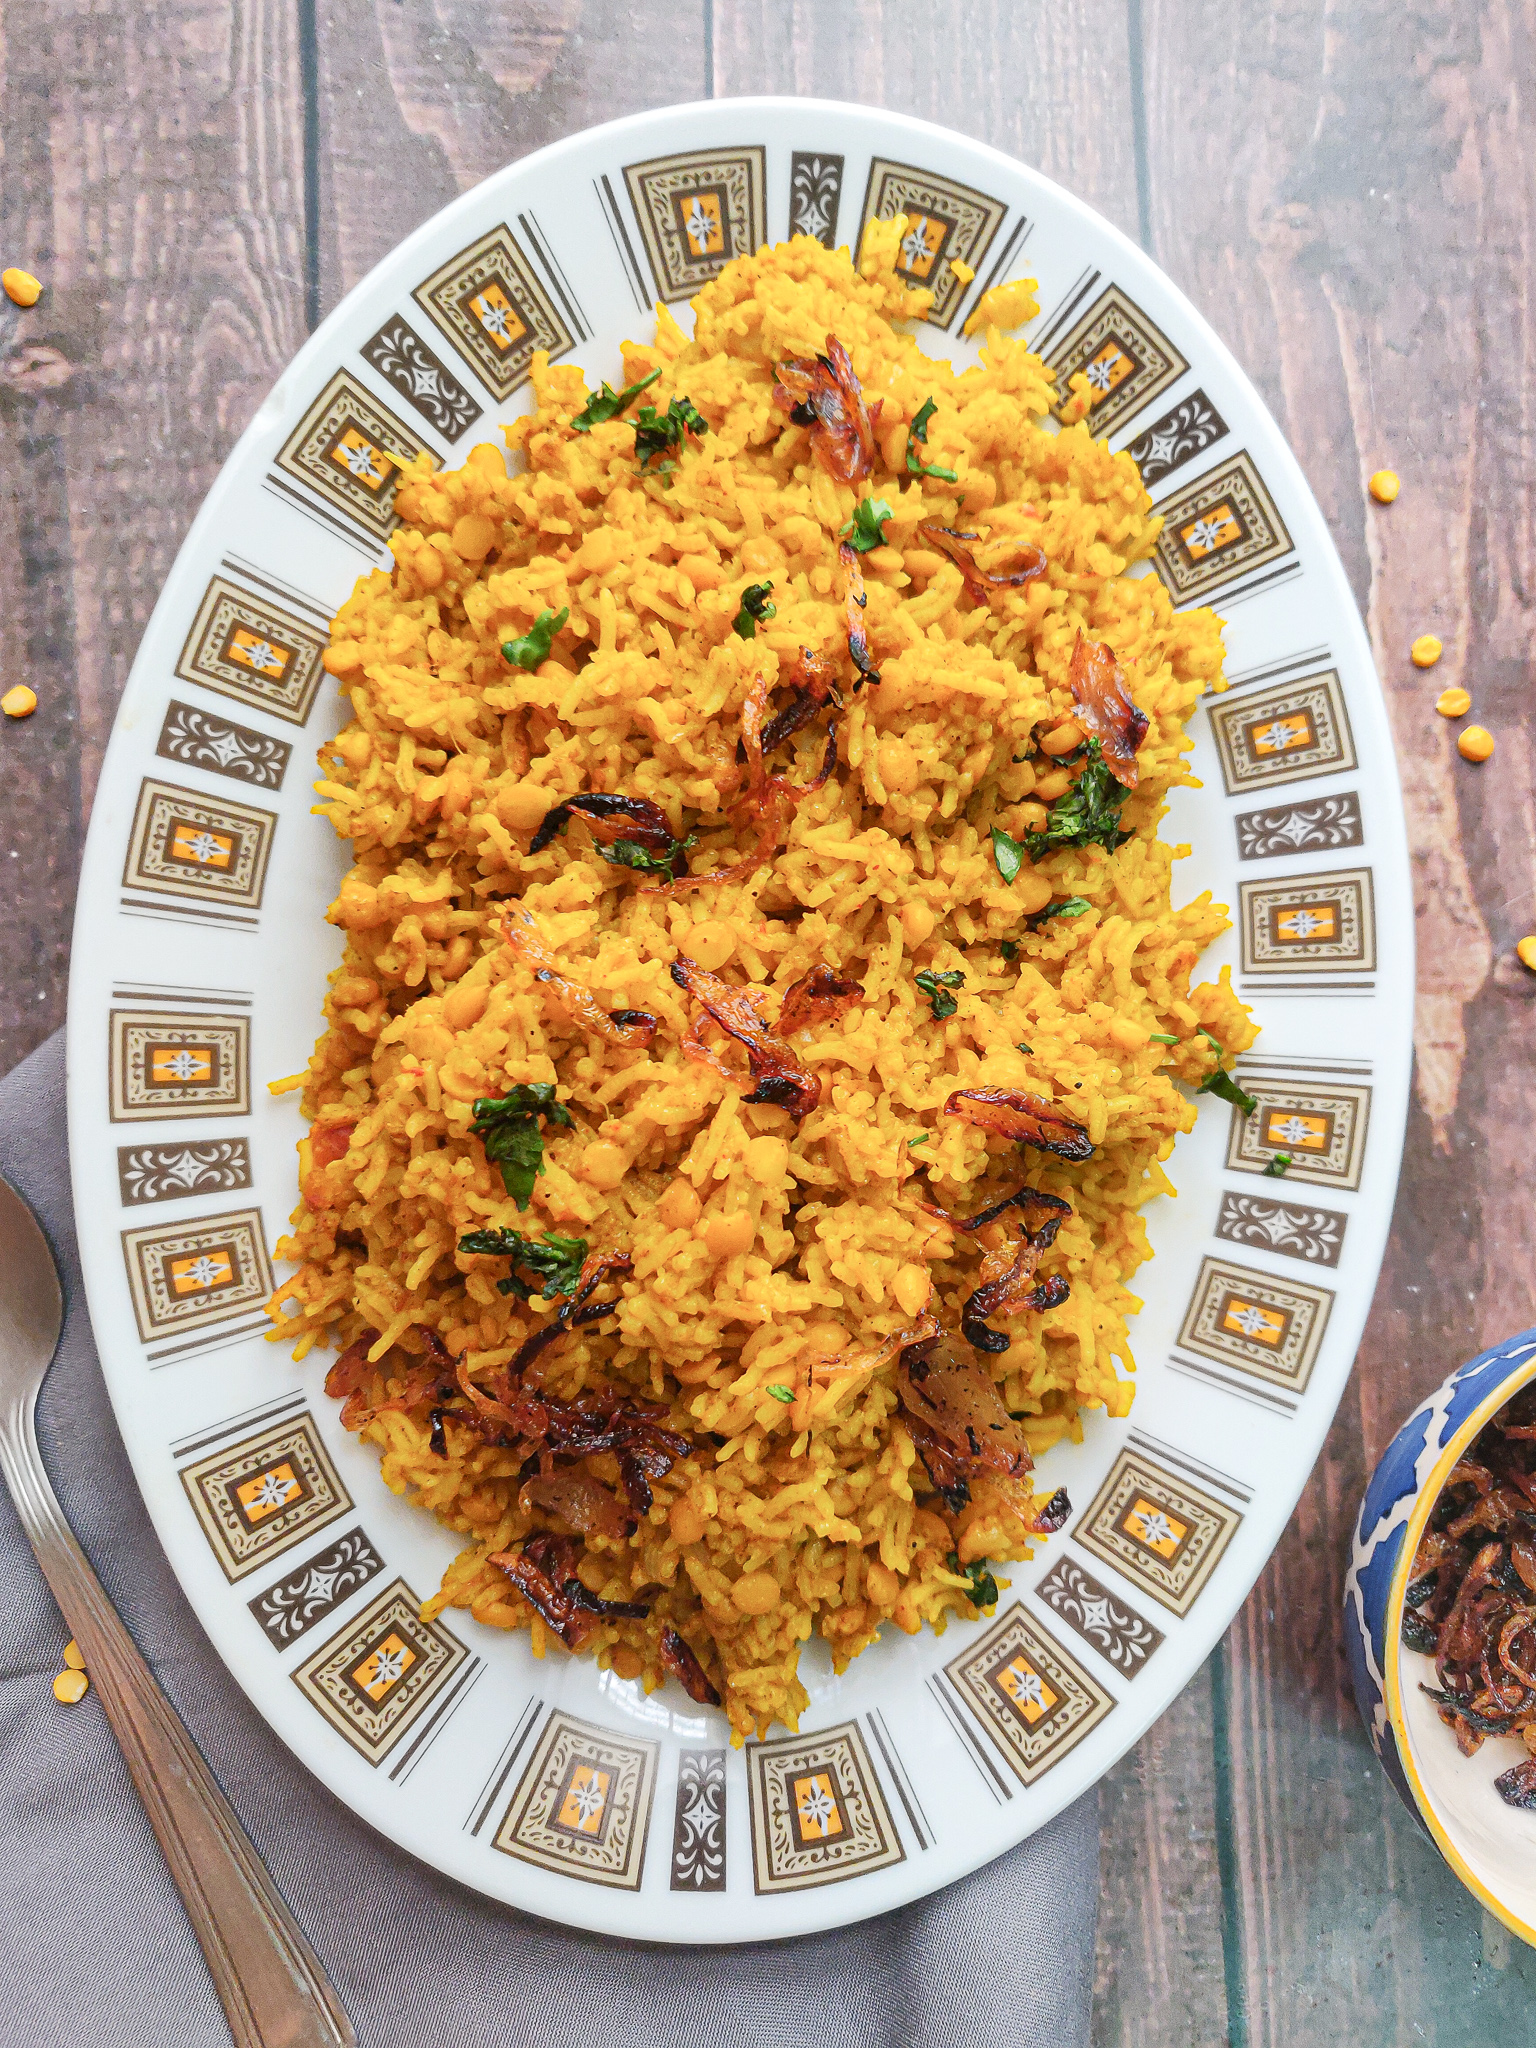
This chana dal pulao is extremely flavourful and delicious and will fill you up. I usually make a large batch that easily goes for two meals (we are three people). Having food ready in the fridge for the next meal is a different kind of relaxation, right? I completely understand the hassle of cooking everyday and sometimes we just don’t feel like going through that ordeal again. And peak summers does not really help in any case. So here is a one pot rice recipe that you will defintely love if you are also someone looking for easy meal options for yourself and those you live with.

chana dal pulao

While this recipe is easy, it does require some preparation in advance. Here’s what you need to keep ready before you start making the pulao.

  • Soak the rice – This step is very crucial to get rice that is fluffy and light. Wash the rice thoroughly under running water at least 5-6 times till the water that drains out is crystal clear. This step is very important as it helps to ensure that all the excess starch is removed so that you get rice that is fluffy and also not too heavy. Pro tip – Do not waste the starchy water. It is full of nutrients. Use it to water your plants. Once your rice is washed, soak the rice in clean water for 30 minutes to one hour. Till step will ensure that the rice fluff up to its maximum potential.
  • Boil your chana dal – To reduce the cook time of the pulao, we will have to keep the chana dal or split chickpeas ready. Wash the chana dal and soak them in water for 2 hours. Once they are soft, boil them in a pressure cooker for five to six whistles till they are soft (and not mushy).

chana dal pulao

Here’s the recipe.

[ingredients title=”Ingredients”]

  • 1 1/2 cups basmati rice
  • 1 1/2 cups chana dal (split chickpeas)
  • 1 cup finely chopped onions
  • 3 tbsp vegetable oil
  • 2 cardamoms
  • 2 cloves
  • 1/2 inch cinnamon stick
  • 1 cup fresh coriander leaves, roughly chopped
  • 5 garlic cloves
  • 1 inch ginger
  • 2/3 cup fresh tomato puree
  • Salt to taste
  • 1 tbsp coriander powder
  • 1 tbsp cumin powder
  • 1 tsp turmeric powder
  • 1 tsp Kashmiri red chili powder
  • 1/2 tsp black pepper powder
  • 1/3 cup whisked curd
  • 1 tsp garam masala [/ingredients]

[directions title=”Directions”]

  1. Wash and soak the rice for 30 minutes.
  2. Wash the chana dal and soak them in water for 2 hours. Once they are soft, boil them in a pressure cooker for five to six whistles till they are soft.
  3. Make a paste of the ginger, garlic and coriander with about three tablespoons of water.
  4. Heat oil in a skillet or pot. Temper with cardamom, cloves and cinnnamon.
  5. Add the finely chopped onions and saute till they turn translucent and golden brown.
  6. Pour the ginger, garlic and coriander paste and cook on medium flame till you see the oil release from the sides.
  7. Add the fresh tomato puree and mix well. Cover and cook for a few minutes till rawness disappears and oil splits from the masala.
  8. Uncover the skillet and give it all a good mix. Season with Kashmiri red chili powder, coriander powder, black pepper powder, cumin powder, turmeric powder and salt. Mix well.
  9. Add the boiled chickpeas and mix well till it gets coated well with the masala. Add two cups of hot water. Cover and let it cook till the dal comes to a luscious gravy.
  10. Add the soaked rice and gently mix everything together. Add two more cups of hot water and some garam masala. Mix and cover and cook for 30 minutes on the lowest flame possible.
  11. Check the rice after 30 minutes. Turn off the gas and let it rest undisturbed for another 15 minutes.
  12. Garnish with fried onions and fresh coriander.
  13. Serve hot with some raita and salad. [/directions]

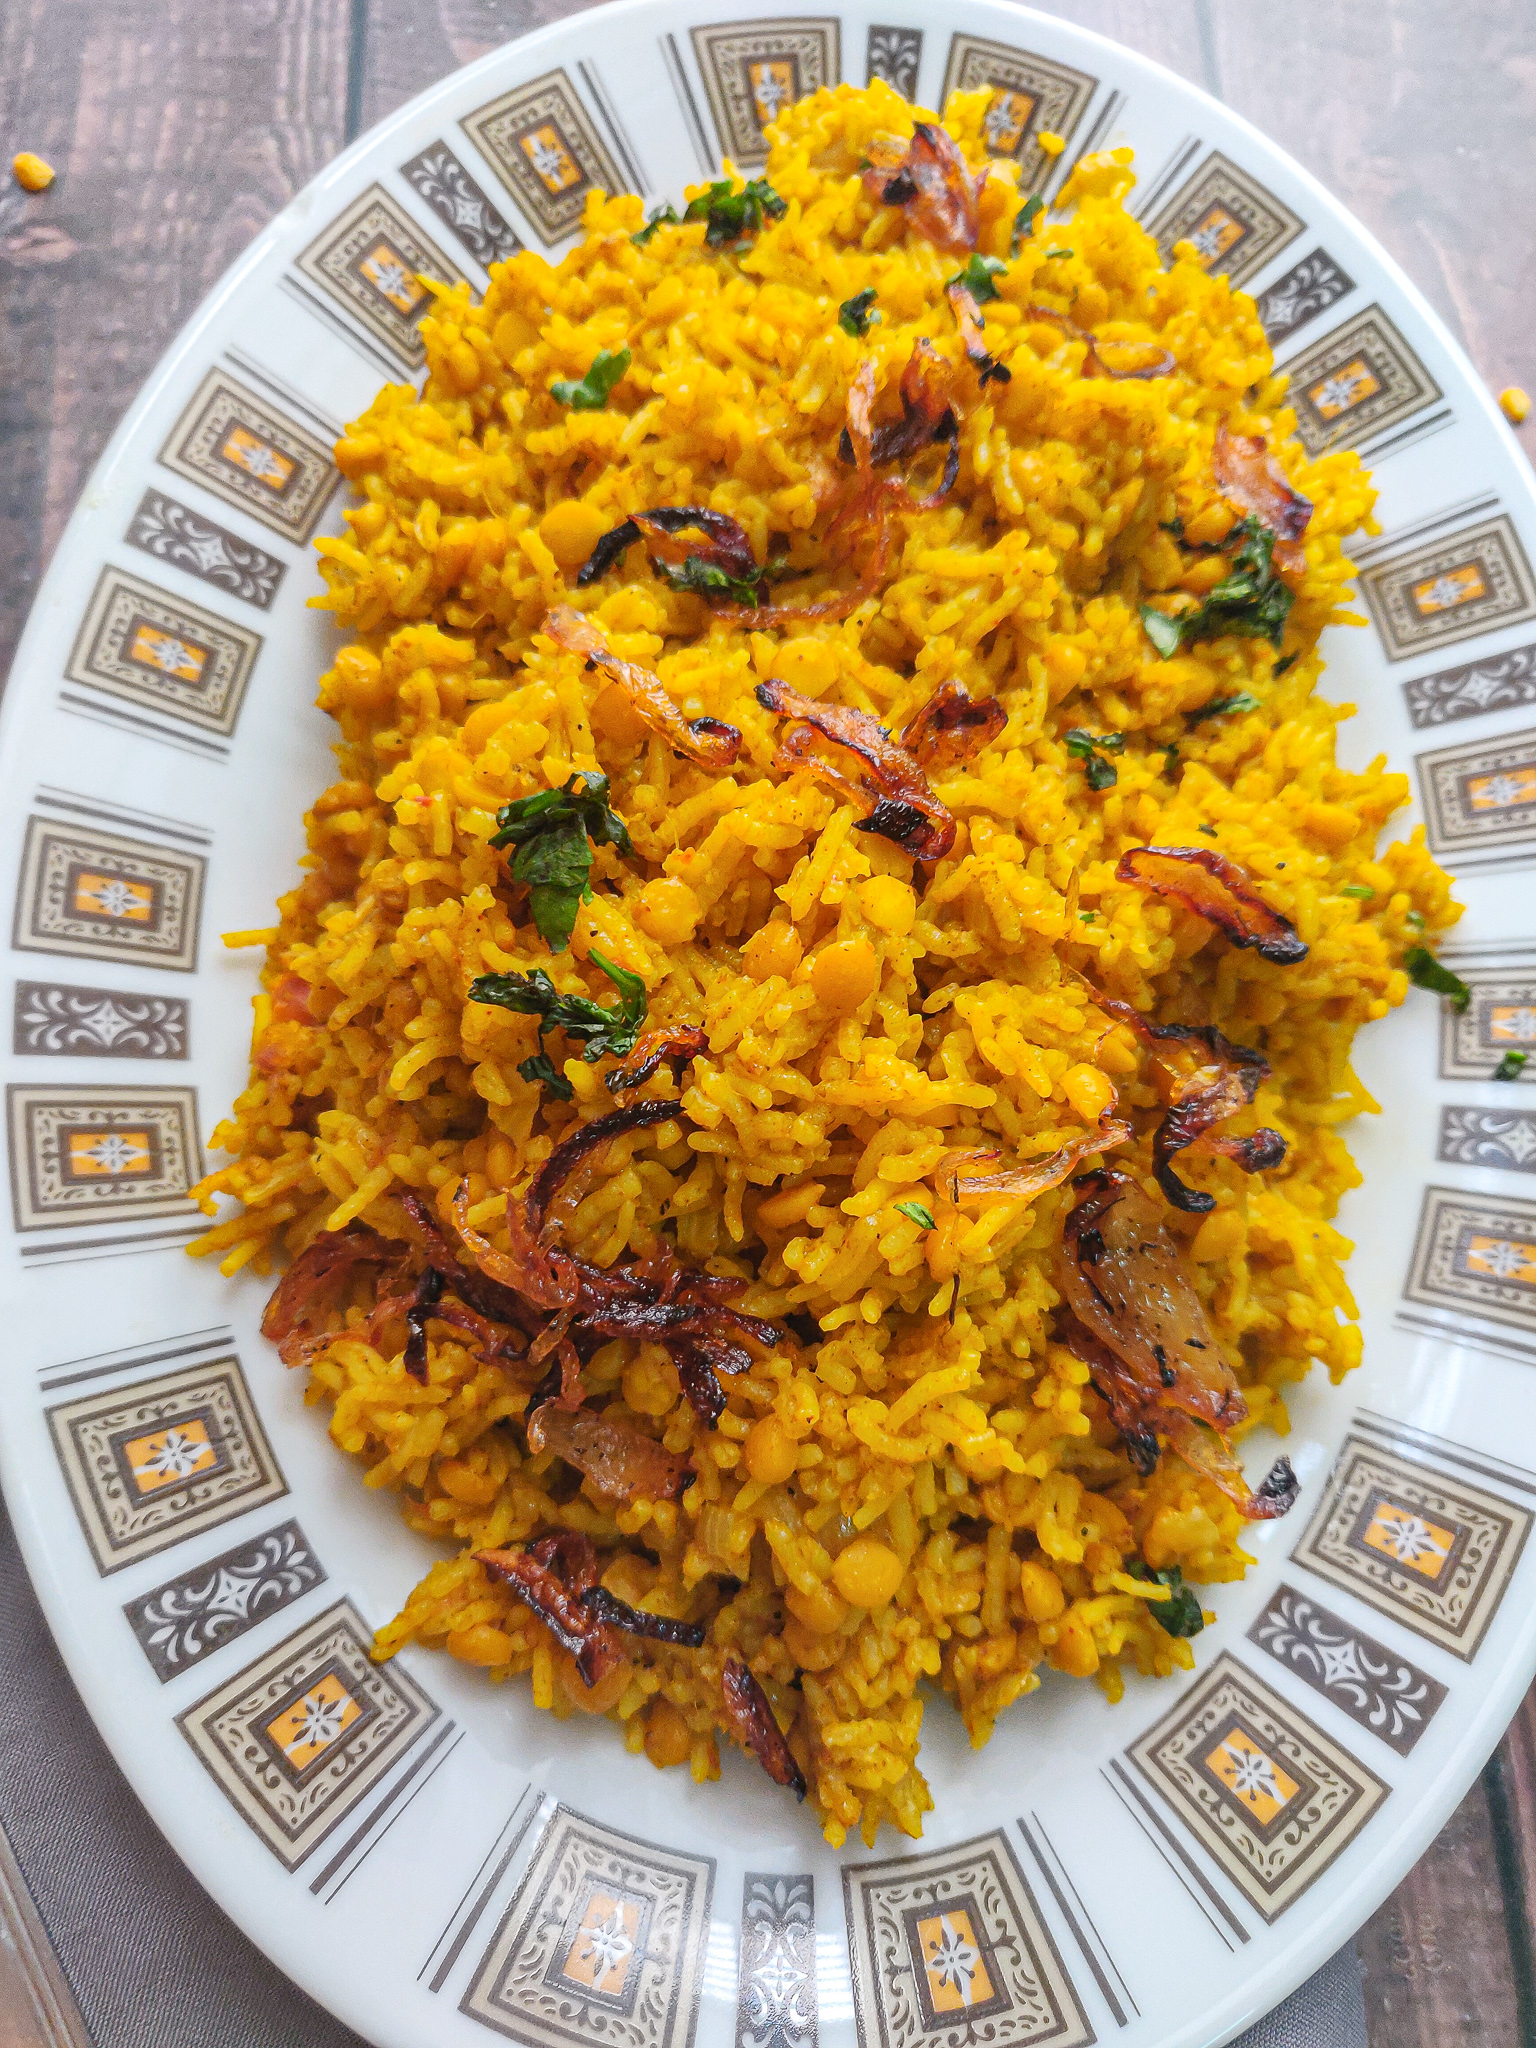
chana dal pulao

chana dal pulao

I hope you try this chana dal pulao super soon! If you have any doubts, comments, or feedback, please reach out to me in comments or my social media handles.

Find me on Instagram – www.instagram.com/slurrpilicious

Find me on Facebook – www.facebook.com/slurrpilicious

Find me on Youtube – https://www.youtube.com/channel/UCA-cJoo27OLSCswI4sy6lzA?

Happy cooking!

Rajma Masala

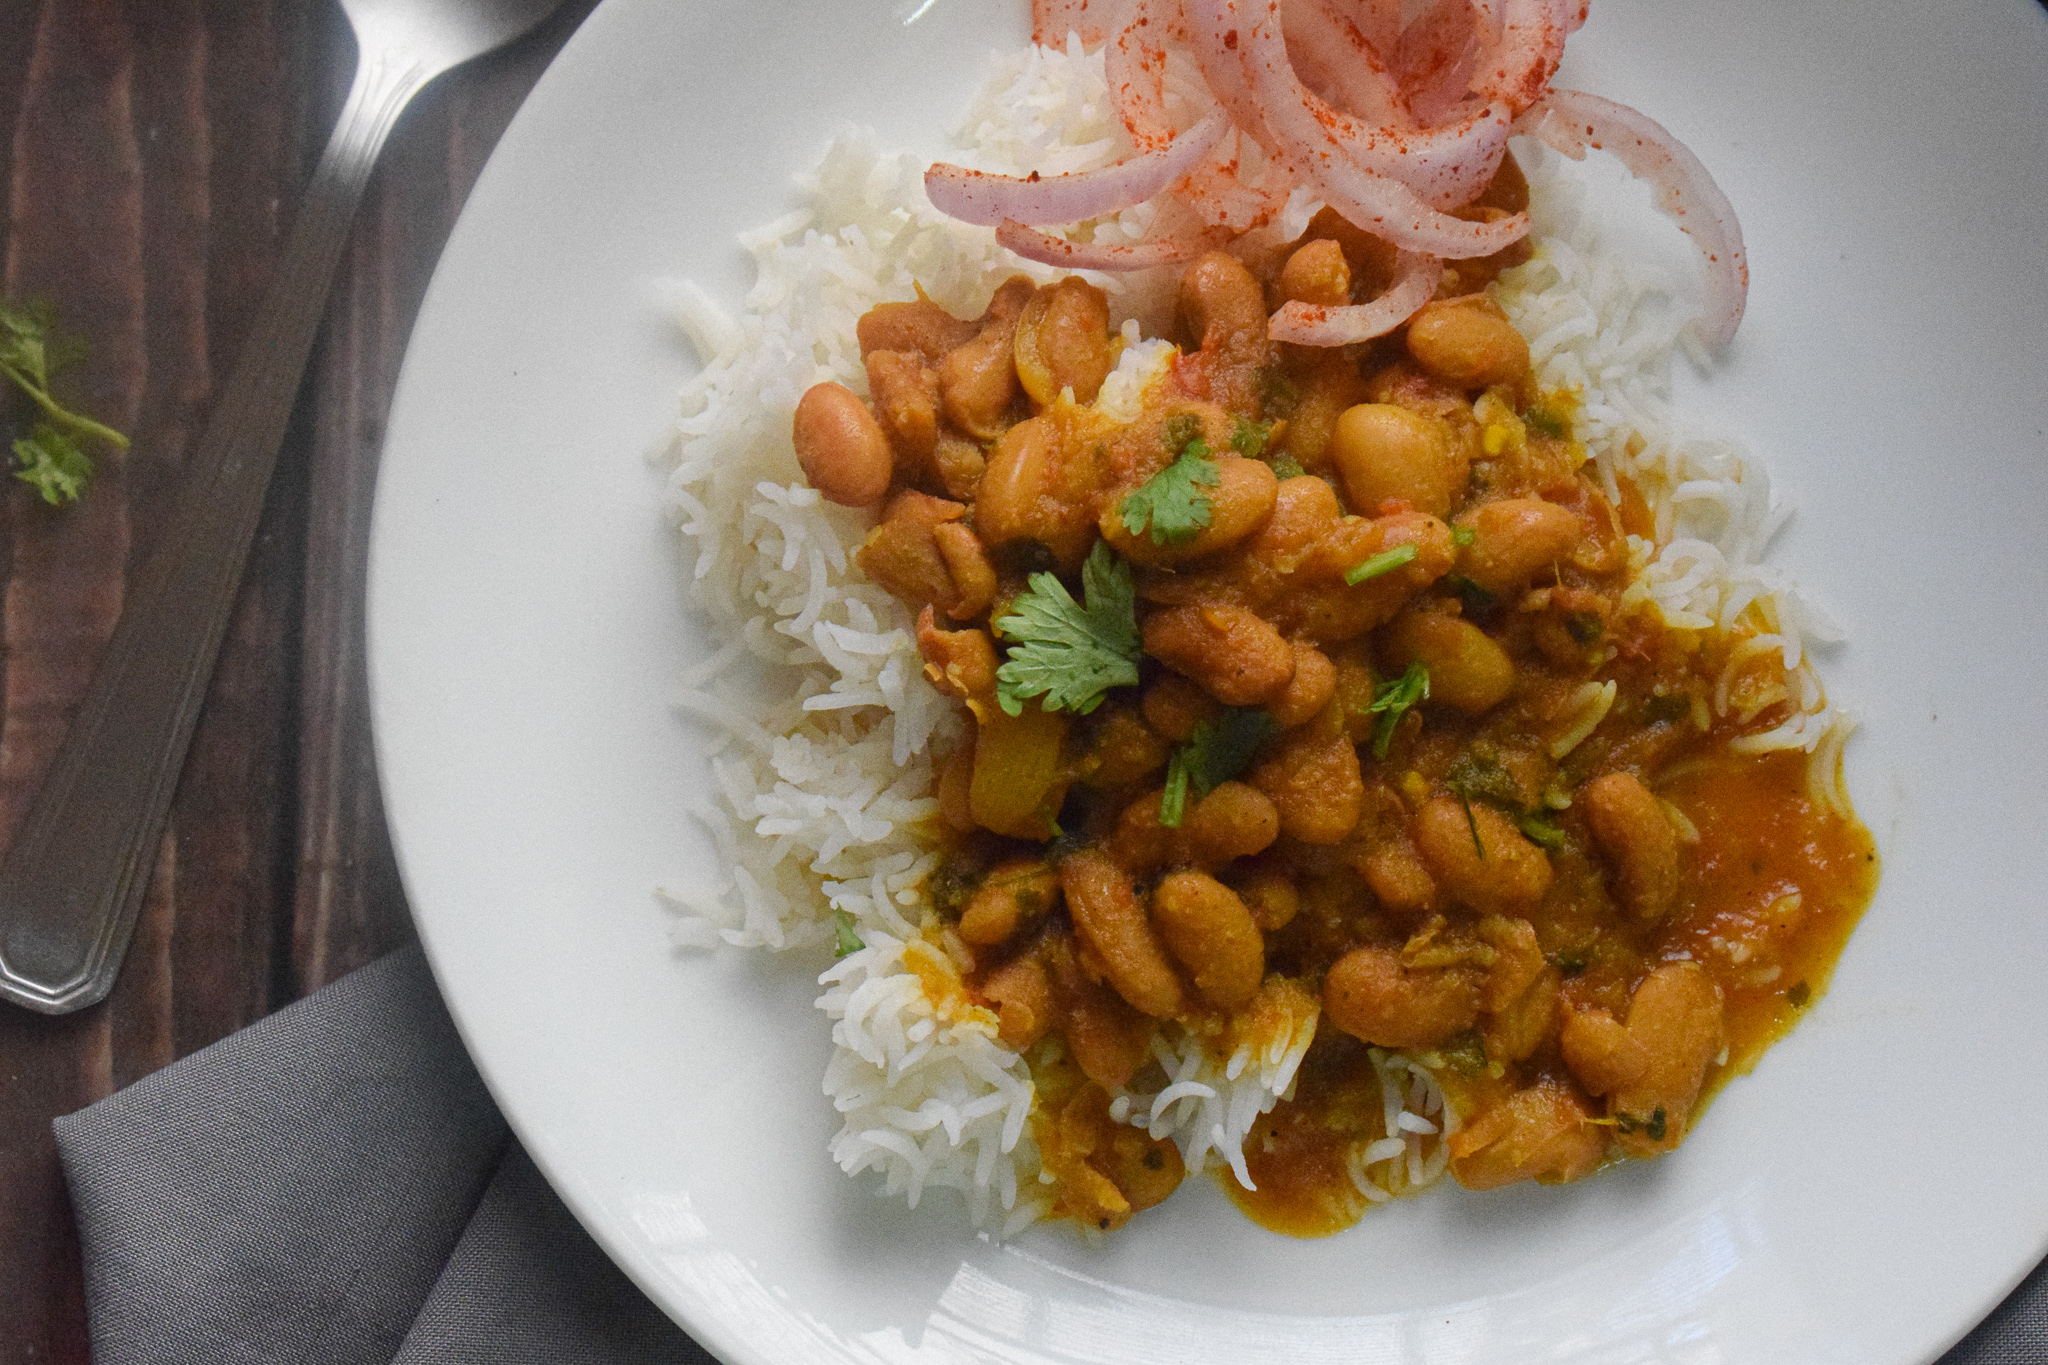
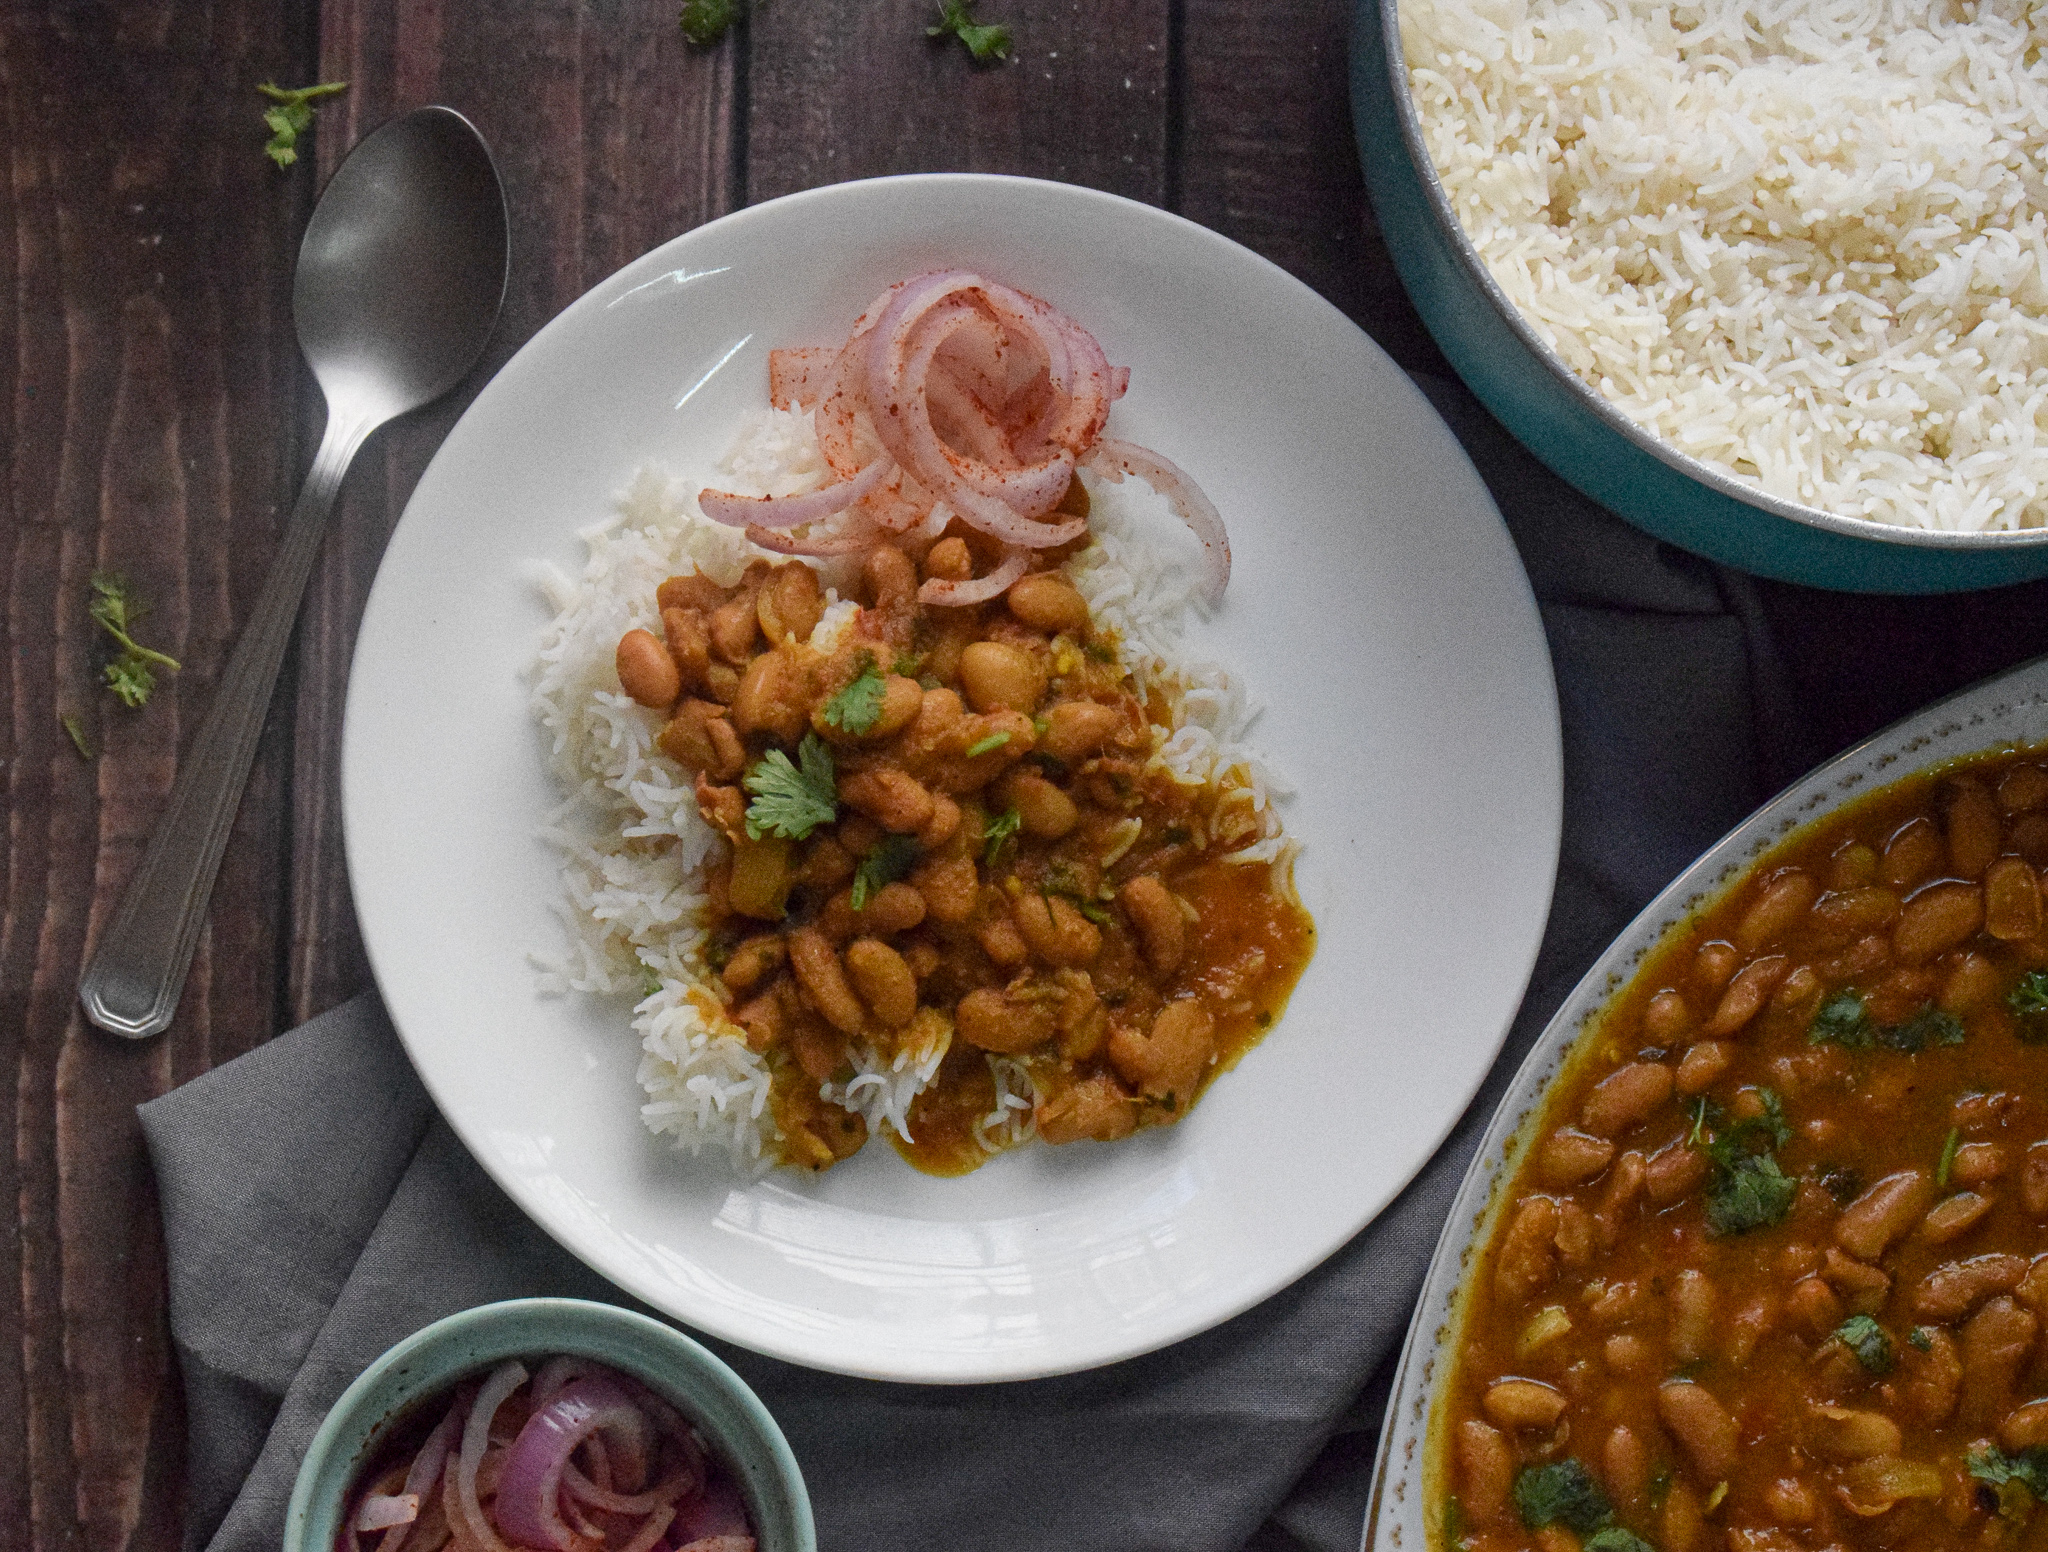
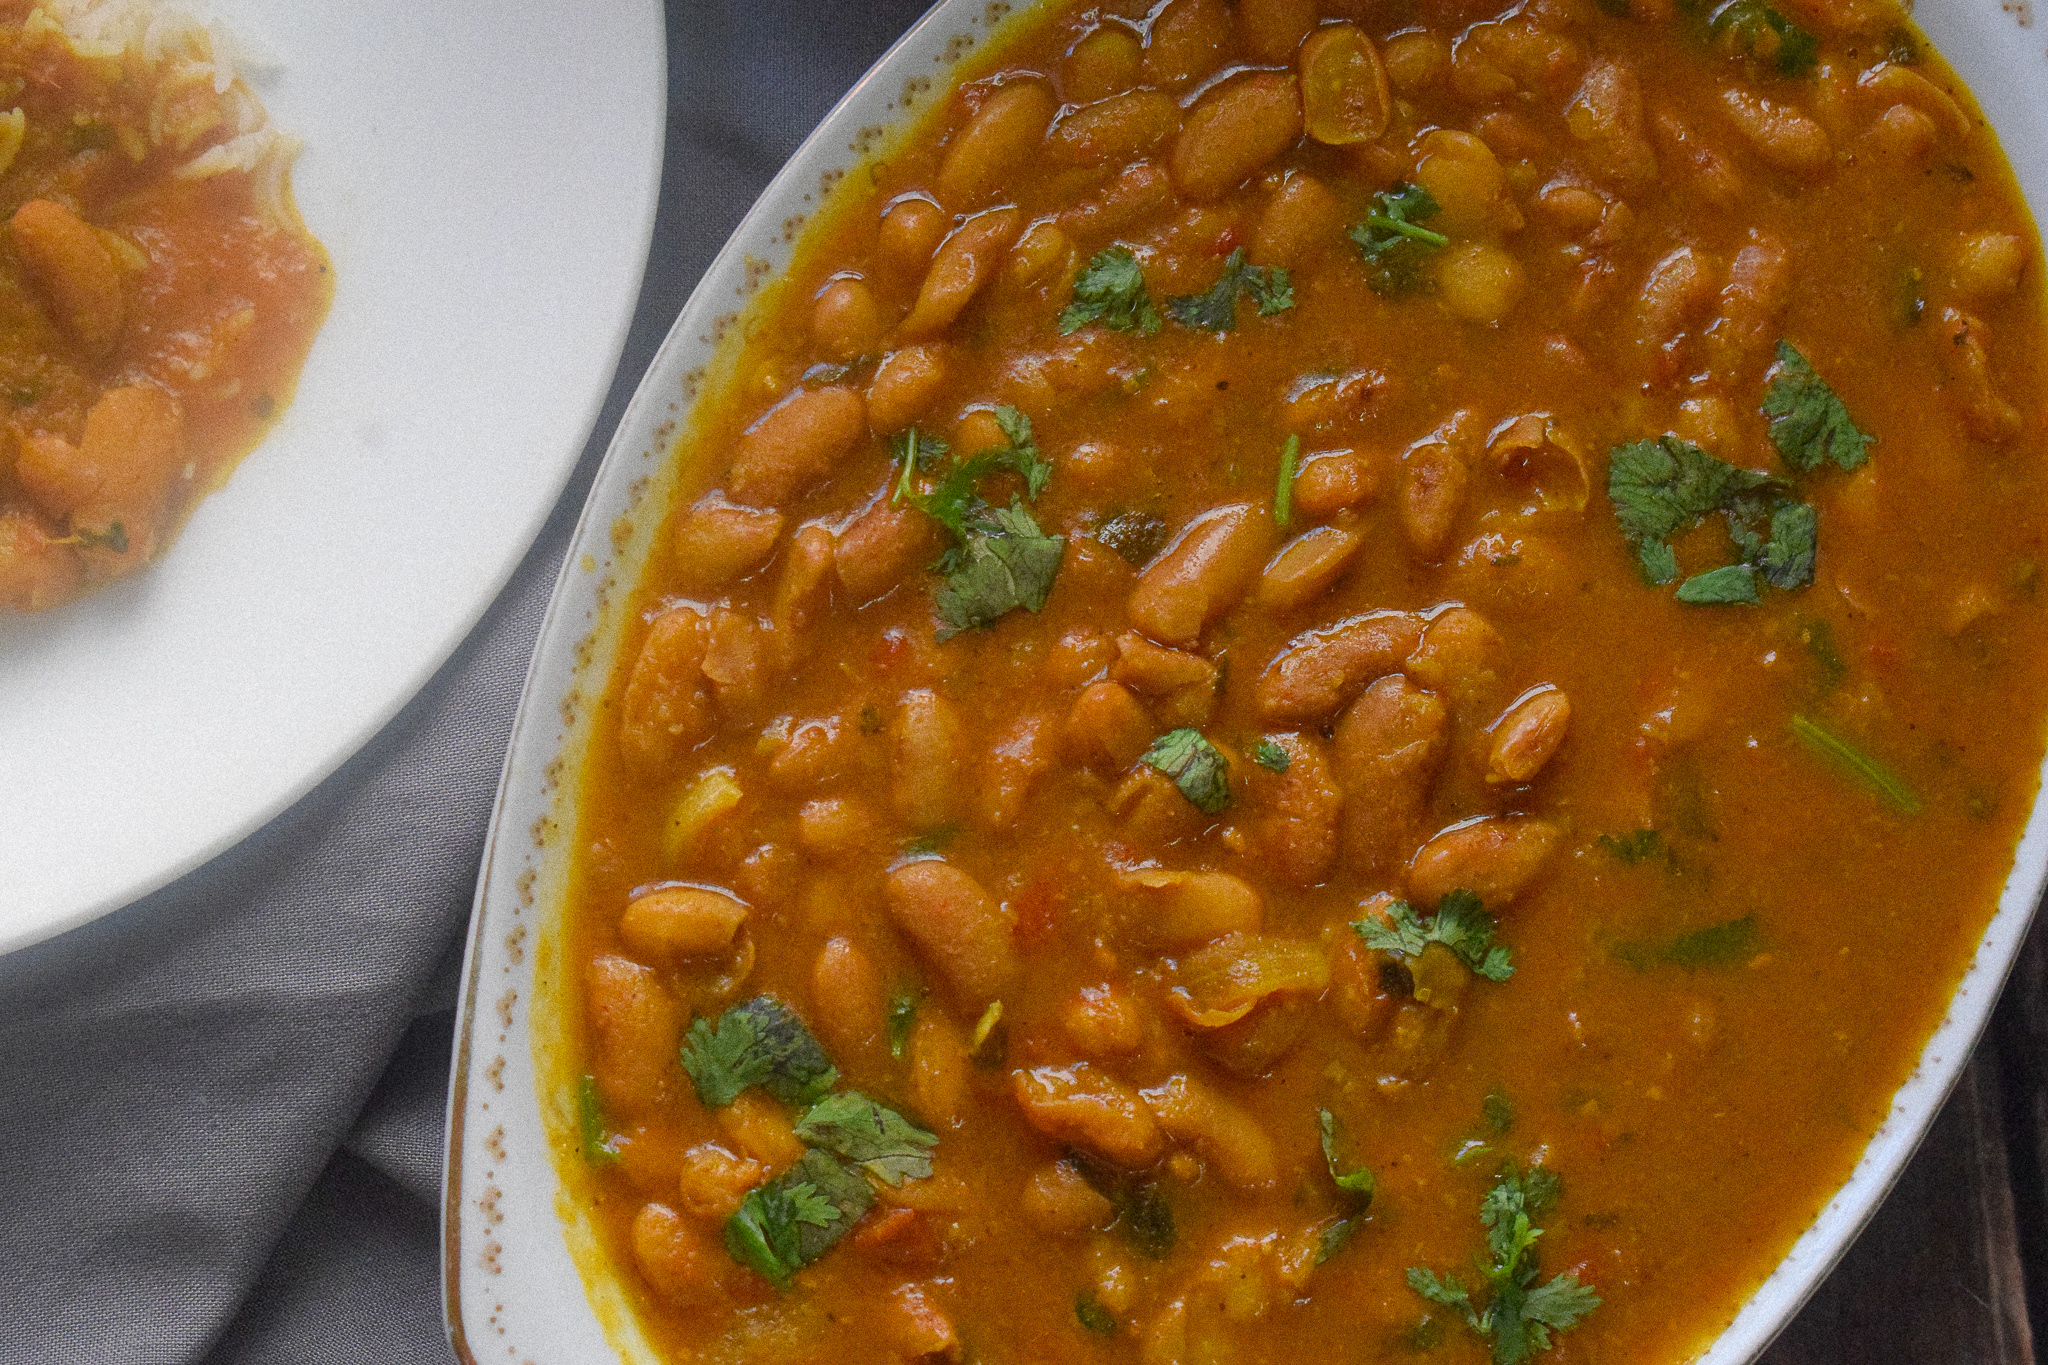
Rajma Masala is one of my most favorite comfort foods of all time. It wasn’t always this way. I never even thought about rajma or kidney beans while growing up because it was never a major part of my diet. Assamese people consume rajma once in a while and we mostly have it with rotis. Savoring it with rice has only been recent.

My first exposure to proper Rajma Masala was when I moved to Delhi for my studies. I used to live as a paying guest in a house and rajma masala with rice or rajma chawal used to be the highlight of our Sunday meals. At first, I really didn’t get it as the definition of Sunday comfort meals for me comprised of so many things (including generous portions of fish and meat). Classmates in college would also fondly talk about this combination and the idea was non-relatable to me. I could not romanticize rajma chawal as comfort food.

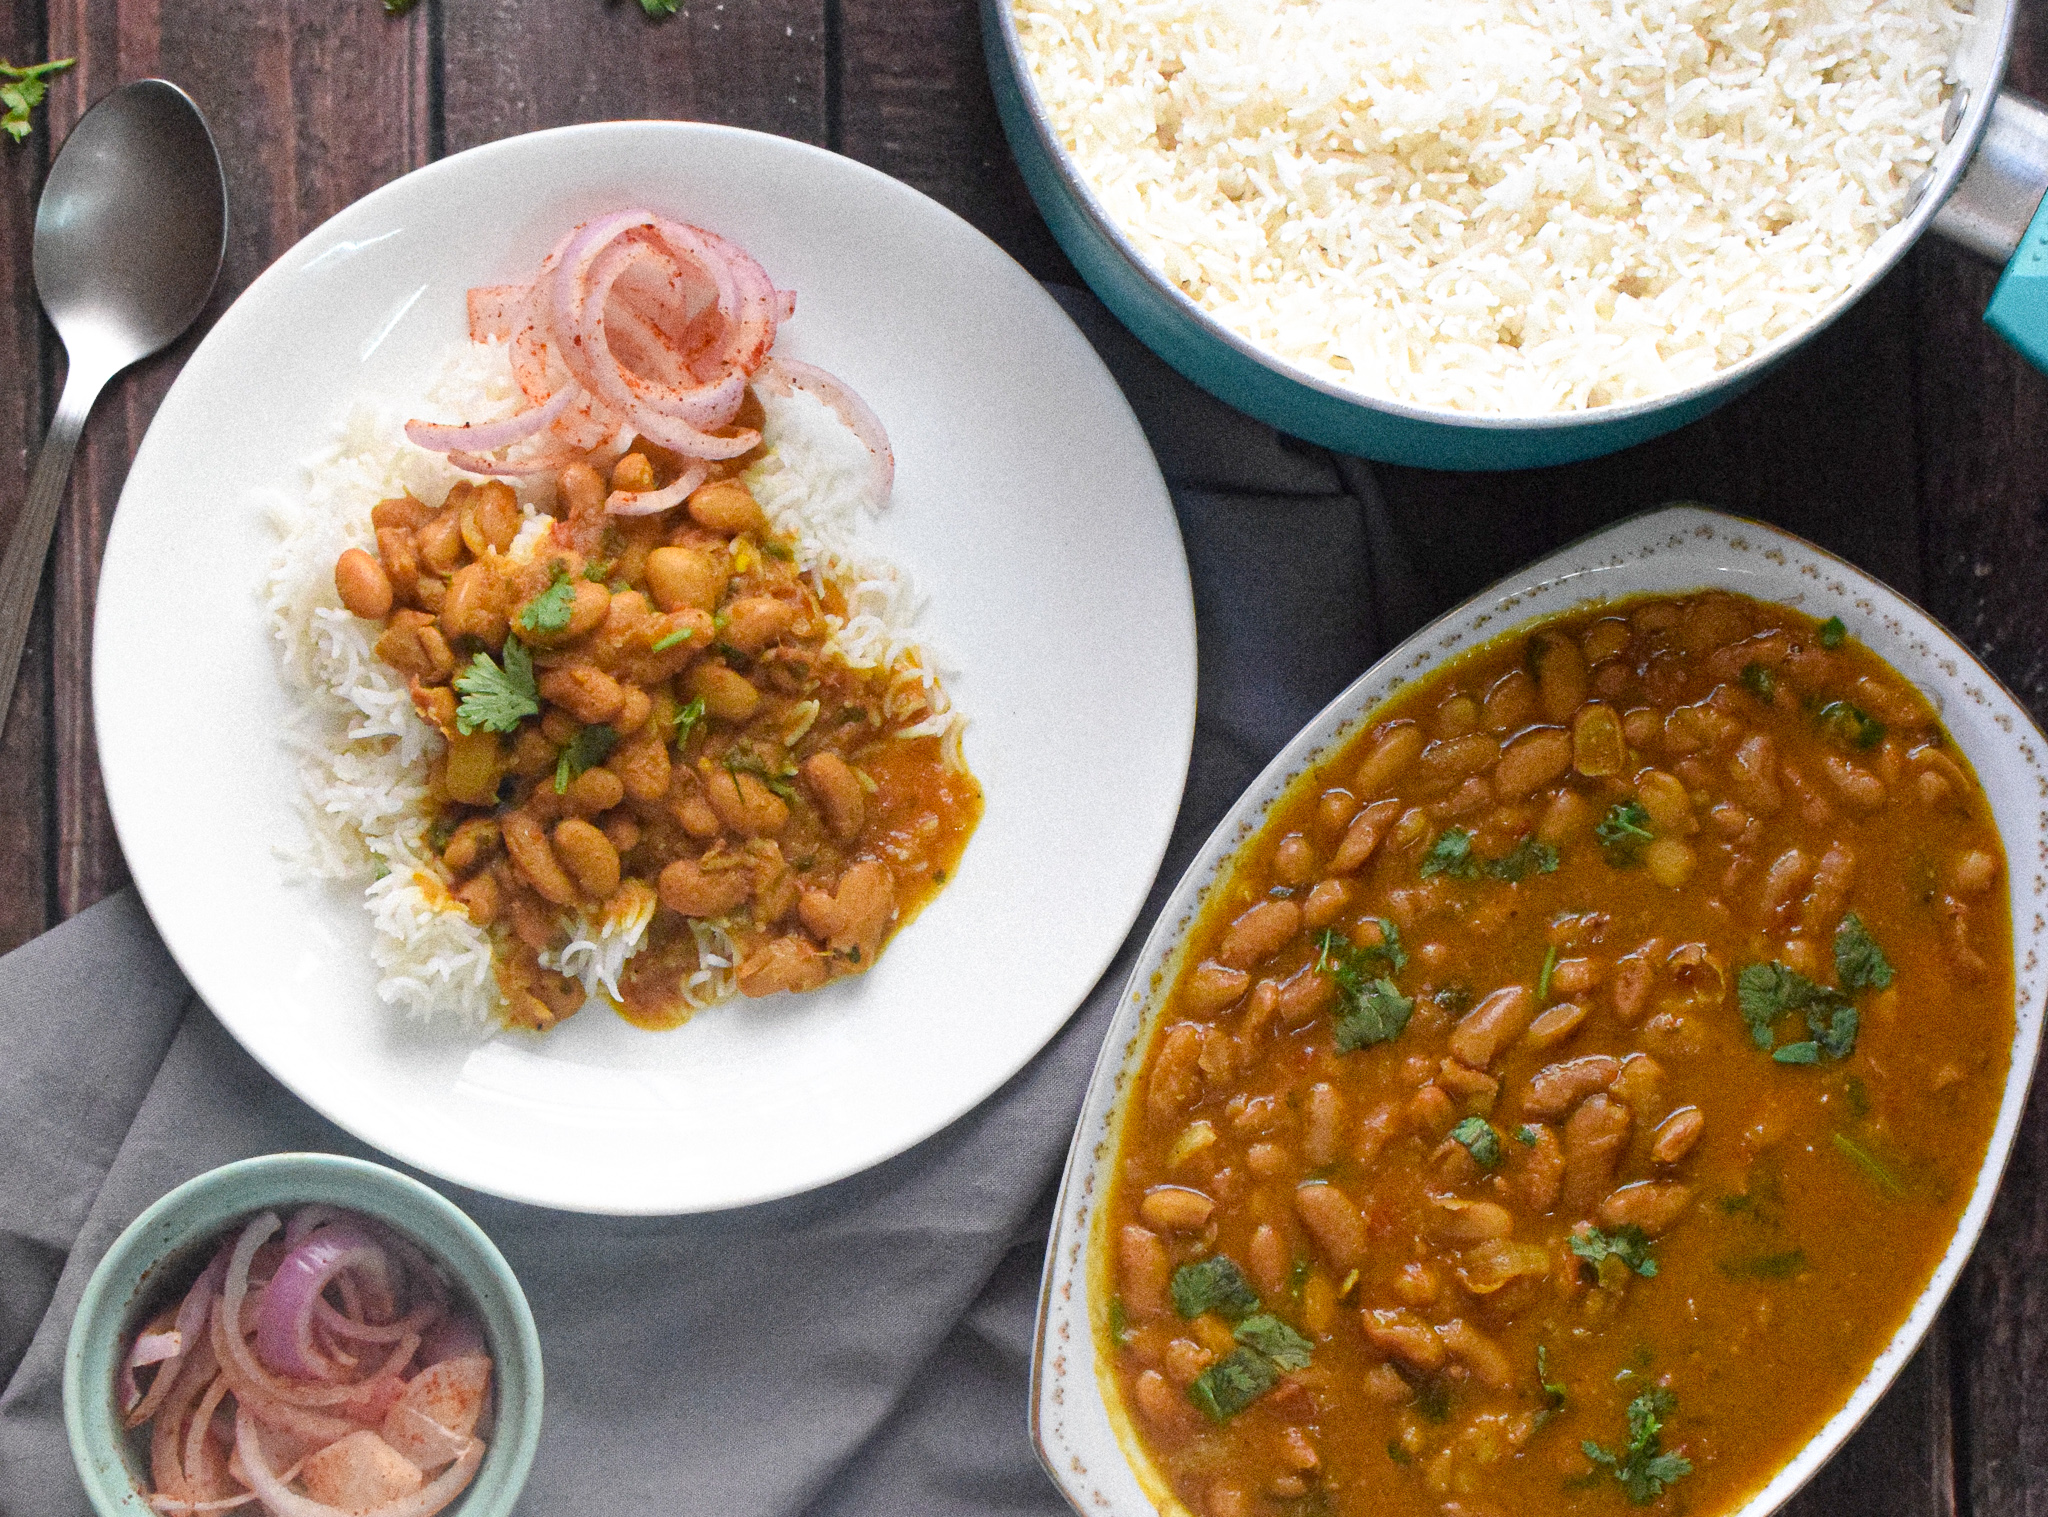
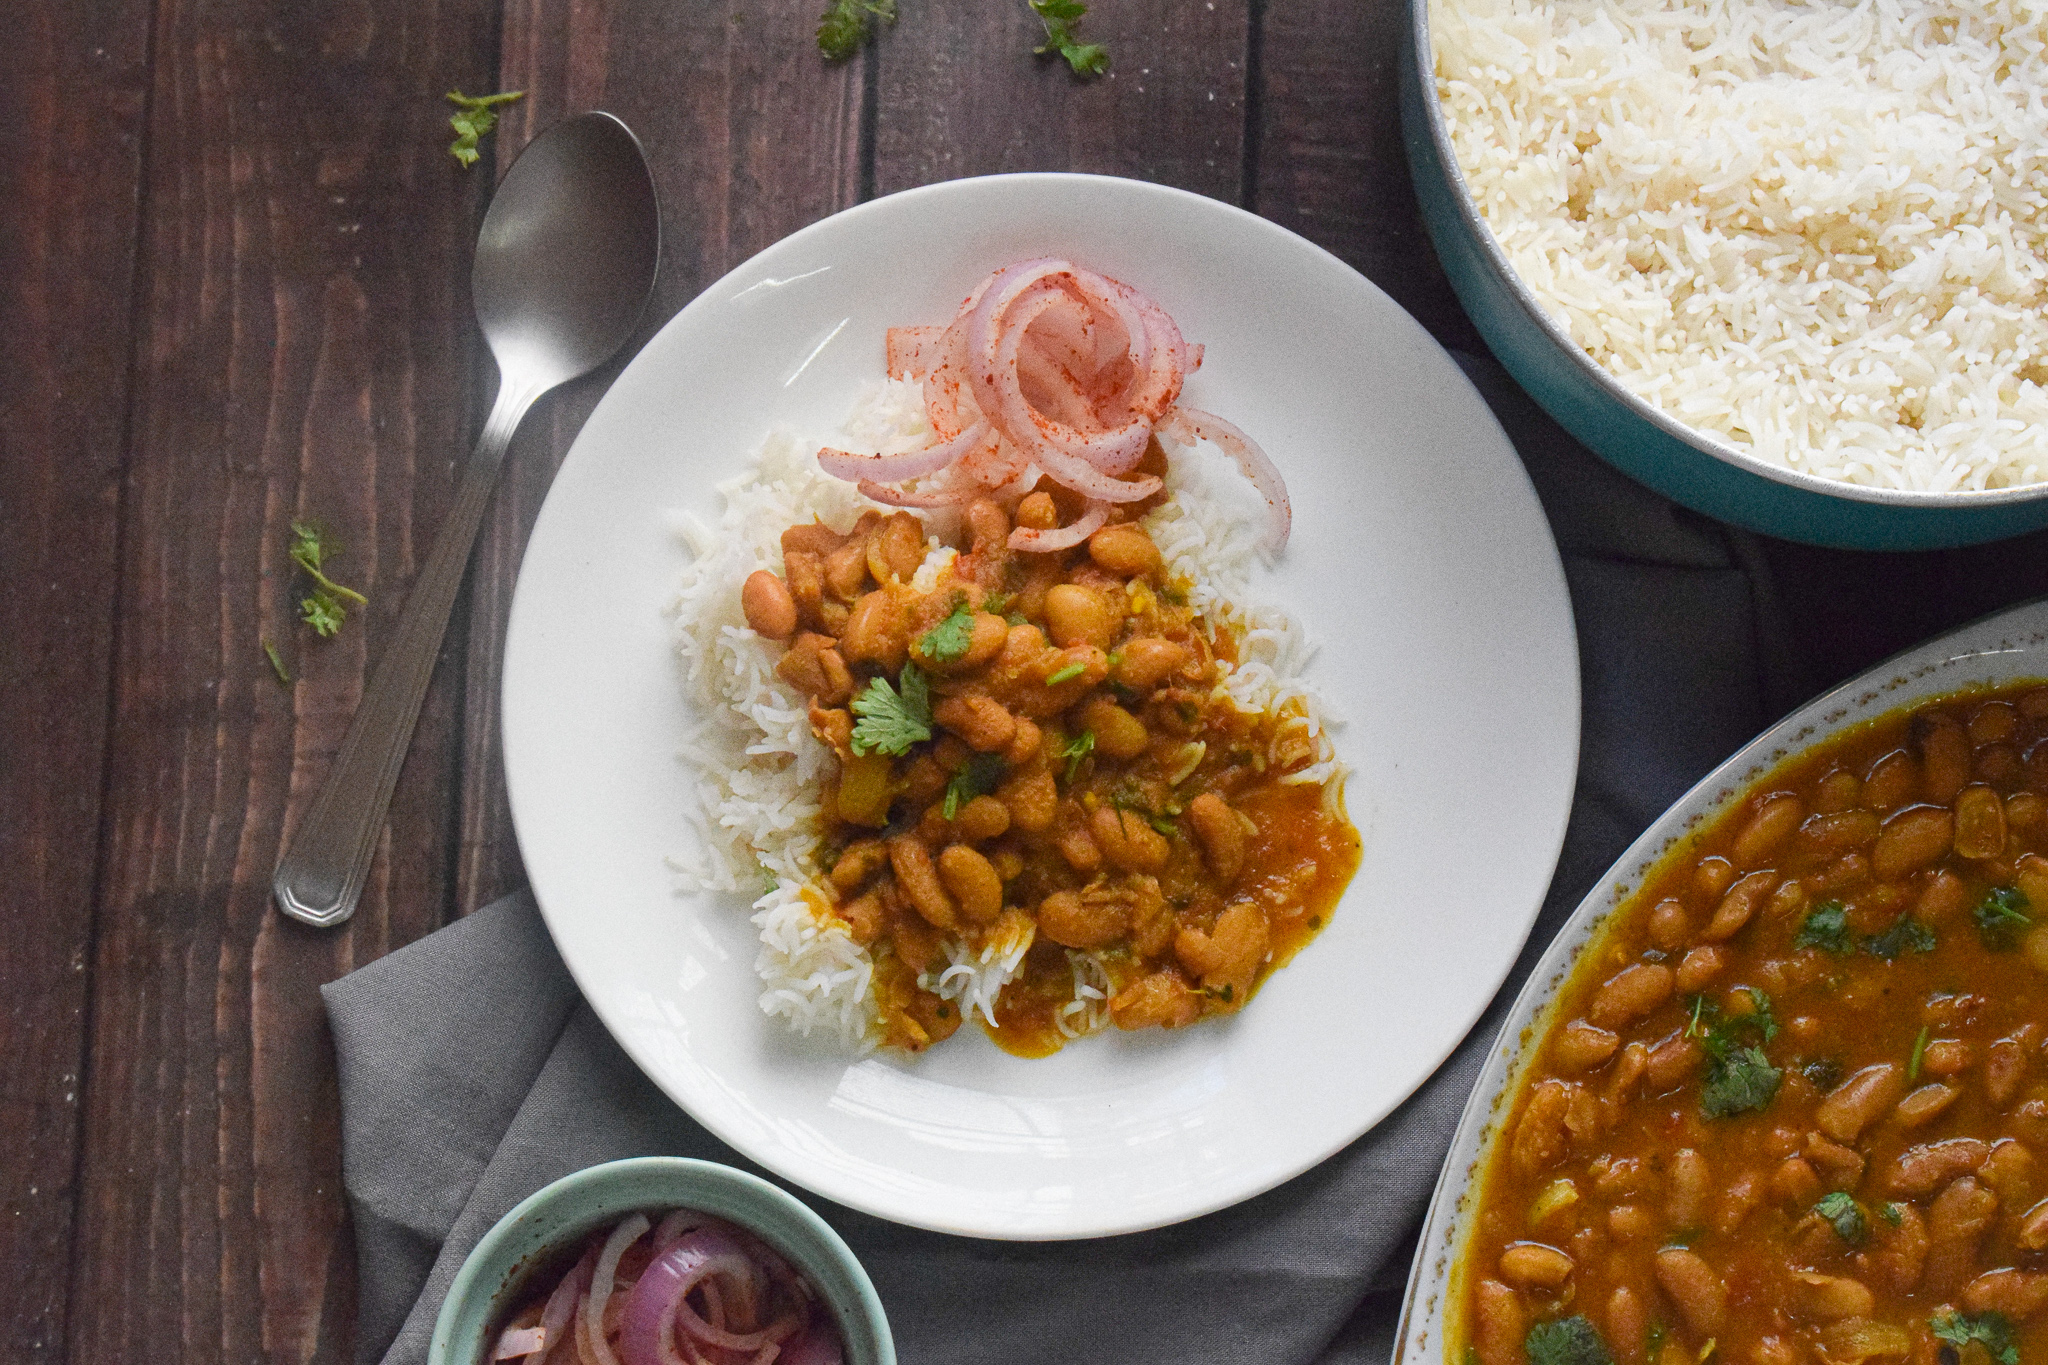
rajma masala

Fast forward a decade later, I have started to love this combination. Also, you need to know how to make the perfect rajma masala to fall in love with it. I clearly wasn’t having good ones in my college days. But the rajma at a good dhaba or a north Indian eatery made me slowly realise why people love it so much. And I found the best rajma is found in people’s homes in Delhi. Friends moms and grandmoms who had magic in their hands. I could not crack the code for many years. I kept practicing for a long time until I finally cracked the code to the perfect rajma masala.

rajma masala

How To Make The Perfect Rajma Masala

So here I am sharing the perfect rajma masala recipe for you. This one is very close to my heart and this is how I make it. Here are some tips and tricks that I can give from my learning of this beautiful recipe.

  • Soak the rajma or kidney beans

It is important that you soak the kidney beans or rajma overnight. This step ensures that the cooking time of the beans becomes lesser and removed the possibility of having them raw in the curry. Soaking the kidney beans helps to fluff them up so that they bloom beautifully in the morning.

  • Season well

It is very important that you season the rajma and water well with salt when you boil them. And the amount of salt has to be enough for all the kidney beans to soak it as well as the broth to have a lot of flavors. It will ensure that each bite is seasoned and not bland when you add the boiled kidney beans to the masala.

  • Use fresh spices

A lot of spices go into the making of this rajma masala that lends it a distinct set of flavors, aroma, and taste. To get the best out of this recipe, I recommend you keep your spices as fresh as possible. By fresh I mean get the whole spices and grind them at home instead of using store-bought masalas. Trust me, there is nothing simpler you can do to make your food taste stunning every single time. This is the best tip for making any recipe taste gorgeous! I make a big batch of spices every month at my home – be it cumin, coriander, or garam masala! The fresh spices elevate the taste and quality of recipes to a whole new level.

  • Cook the masala well

This base of this rajma masala is a mixture of onions, tomatoes, ginger, garlic, and some wonderful spices. Everything is ground to a paste and to make sure the rawness fades completely. it’s important to be a little patient and cook the masala through. This requires 15-20 minutes of slow cooking until you see the oil release from the sides. The last thing you want in your rajma is an undercooked tomato base. A little investment in terms of time, but the results are absolutely worth it.

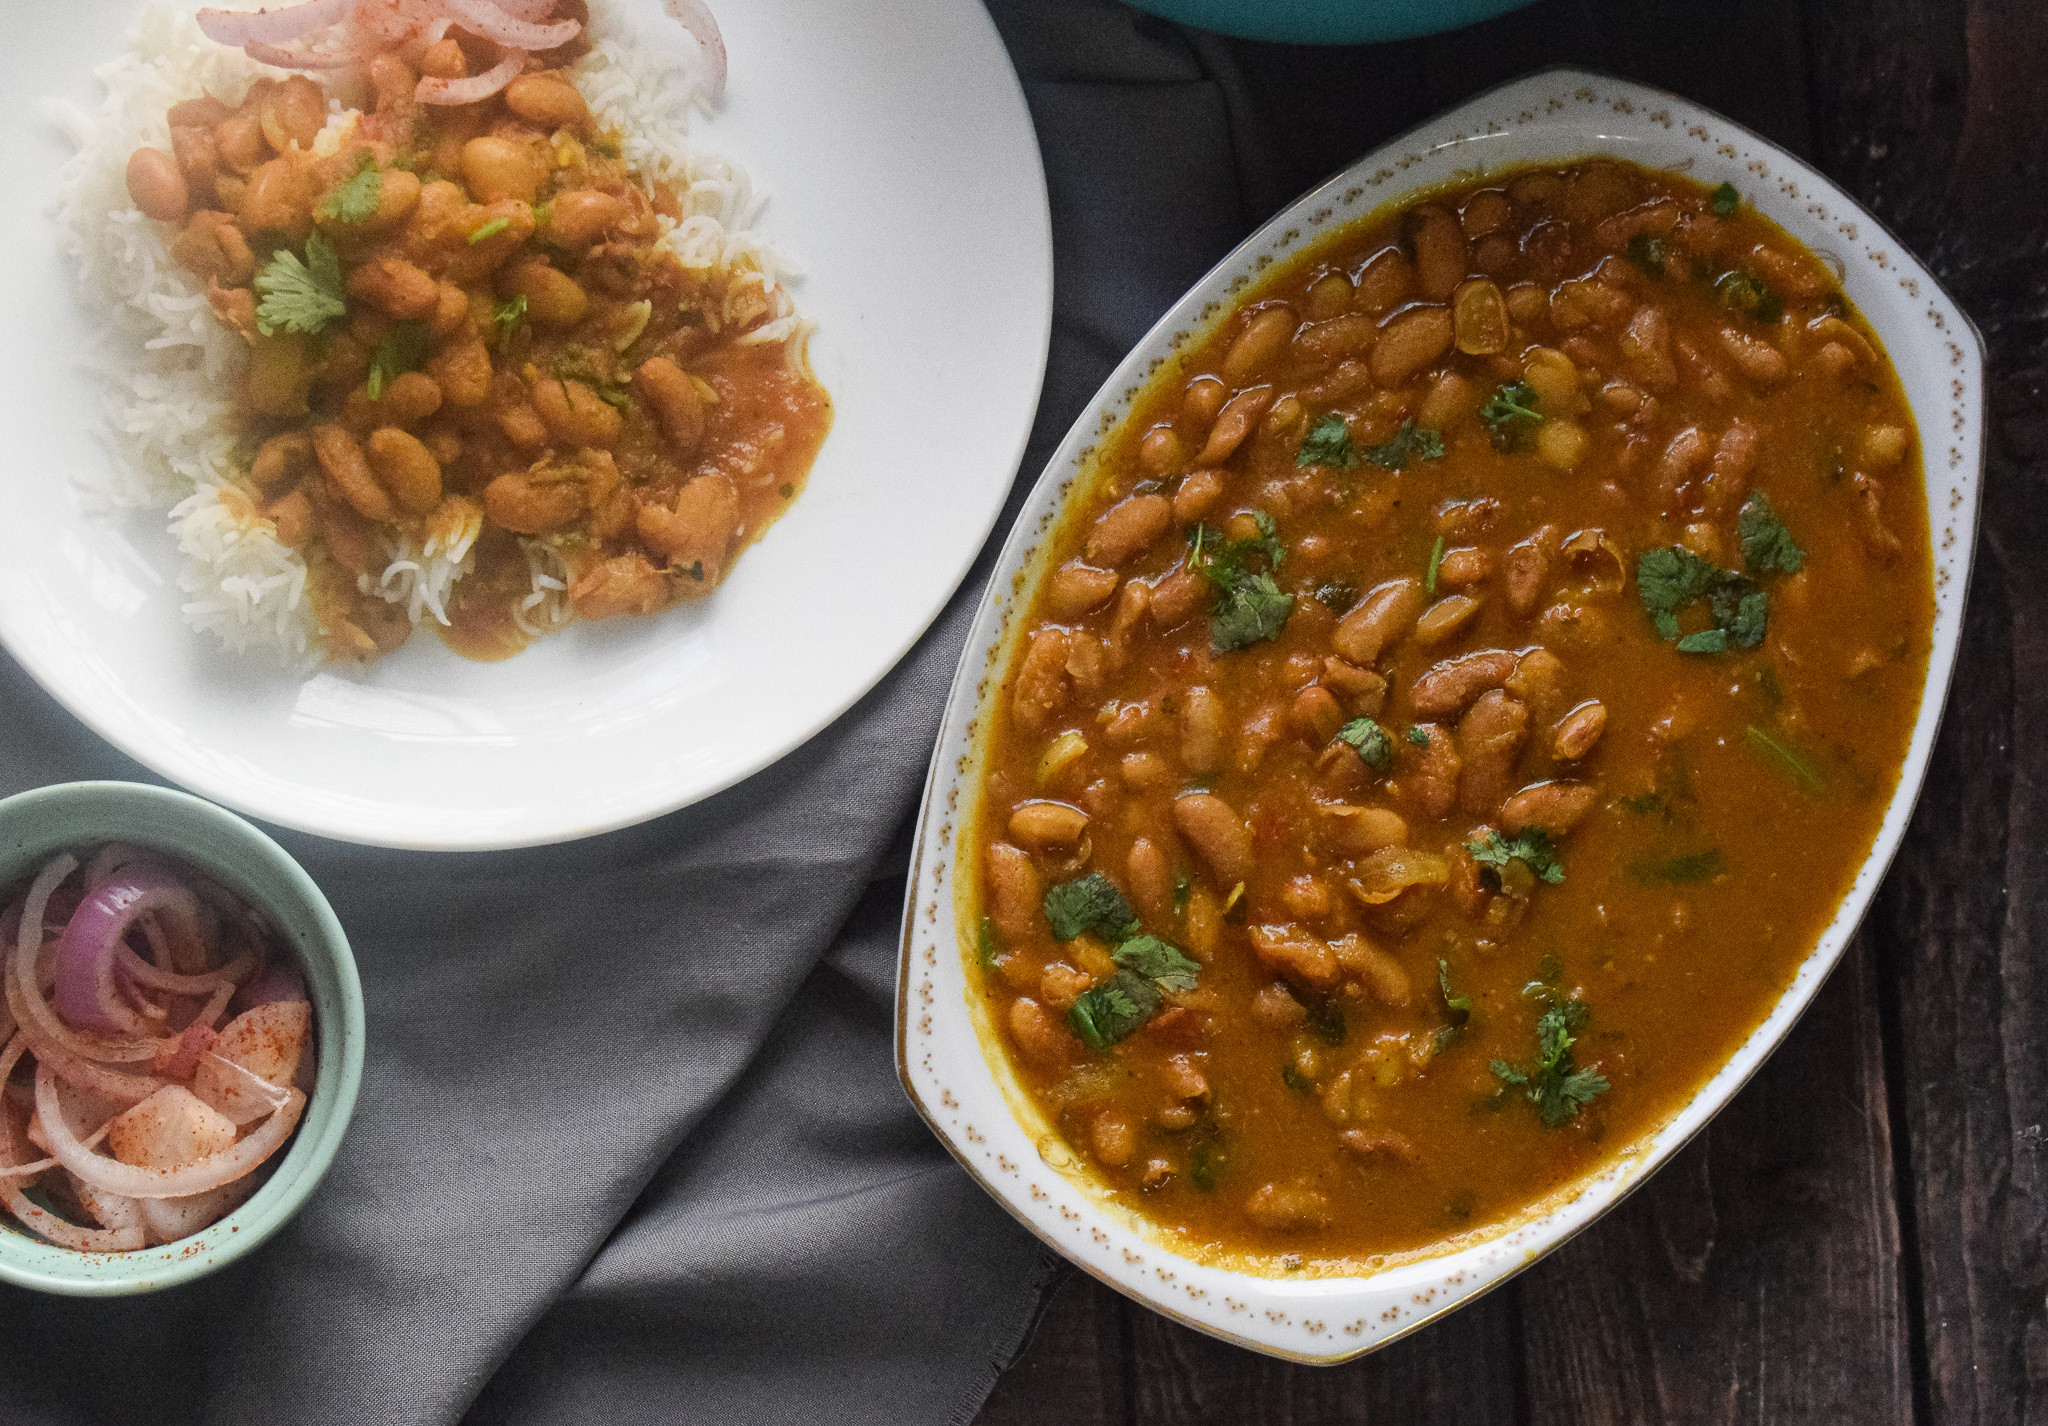
rajma masala

rajma masala

Techniques in making this version of Rajma Masala

In this particular version of rajma masala, there are four steps.

  1. Step 1 – Boiling the soaked rajma with salt and water in a pressure cooker.

  2. Step 2 – Making the masala in a kadhai

  3. Step 3 – Mixing the masala with the boiled rajma in the pressure cooker

  4. Step 4 – Cooking the rajma for two more whistles in the pressure cooker

These steps ensure you can get a thick and luxurious curry, that is packed with flavors and taste. I have been making rajma this way for many years now after having tried many other ways. And I have always found it to be the tastiest!

So without any further delay, let’s get straight to the recipe:

Preparation time – 30 minutes

Cook time – 60 minutes

Serves – 8

[ingredients title=”Ingredients”]

  • 2 cups rajma/kidney beans
  • 1 bay leaf (optional)
  • 1 1/2 tbsp salt (for boiling the rajma)
  • A liter of water
  • 2 medium onions
  • 4 medium ripe tomatoes
  • 1-inch ginger
  • 4 garlic cloves
  • 1 green chili
  • 3 tbsp mustard oil
  • Salt to taste
  • 1/2 tbsp coriander powder
  • 1/2 tbsp cumin powder
  • 1/2 tsp black pepper powder
  • 1/2 tsp amchur/dry mango powder
  • 1 tsp turmeric powder
  • 1/2 tsp Kashmiri red chili powder
  • 1 tsp garam masala
  • Kasuri methi, a handful
  • Fresh coriander for garnish
  • 1 tbsp ghee for garnish [/ingredients]

[directions title=”Directions”]

  1. Soak the rajma is enough water and leave them overnight (12-15 hours). Wash and drain.
  2. Make a paste of the onions, ginger, and chili.
  3. Grind the tomatoes to a paste.
  4. In a pressure cooker, add the soaked rajma, a liter of water and a bay leaf. Cook for 8-10 whistles. Let the pressure release on its own.
  5. Heat oil in a kadhai or skillet. Add the onion paste and saute for a few minutes.
  6. Add the ginger-garlic and chili paste and saute on medium to low flame till the raw aroma disappears.
  7. Season the masala with salt, cumin powder, coriander powder, black pepper powder, turmeric powder, and dry mango powder. Saute on low heat.
  8. Add a splash of water to prevent the masalas from sticking.
  9. Pour the tomato paste and stir. Cook on high heat for two minutes.
  10. Reduce the flame to low, cover, and let it simmer on low heat for 15 minutes.
  11. Take the lid off and check if the oil is separating from the masala. If yes, switch off the flame and trasfer the masala to the pressure cooker. Stir.
  12. Add some garam masala and kasuri methi. Stir well and cook for another two whistles.
  13. Once the pressure is released, open the lid of the pressure cooker. Give one last stir to the rajma masala.
  14. Garnish with a dollop of ghee and fresh coriander.
  15. Serve hot with jeera rice, plain rice or pulao. [/directions]

rajma masala

rajma masala

If you have any questions, feel free to reach out to me with a comment or connect with me on Instagram or Facebook. For all my videos, you can subscribe to me on YouTube.

Happy cooking!

Vegan Coriander Rice

With most of us in quarantine, we are all cooking a lot more in our kitchens and looking for ways to maximise the time we spend in the kitchen. Be it one-pot meals or easy recipes that can be made in large batches, the need for easy and healthy cooking has never been more. So I thought of doing my bit by sharing really easy and simple means which come together in no time, but also add a lot of cheer to the mind in these tough times. Here is an easy coriander rice recipe that remains a favorite in these times and I thought I should share the joy with all of you too.

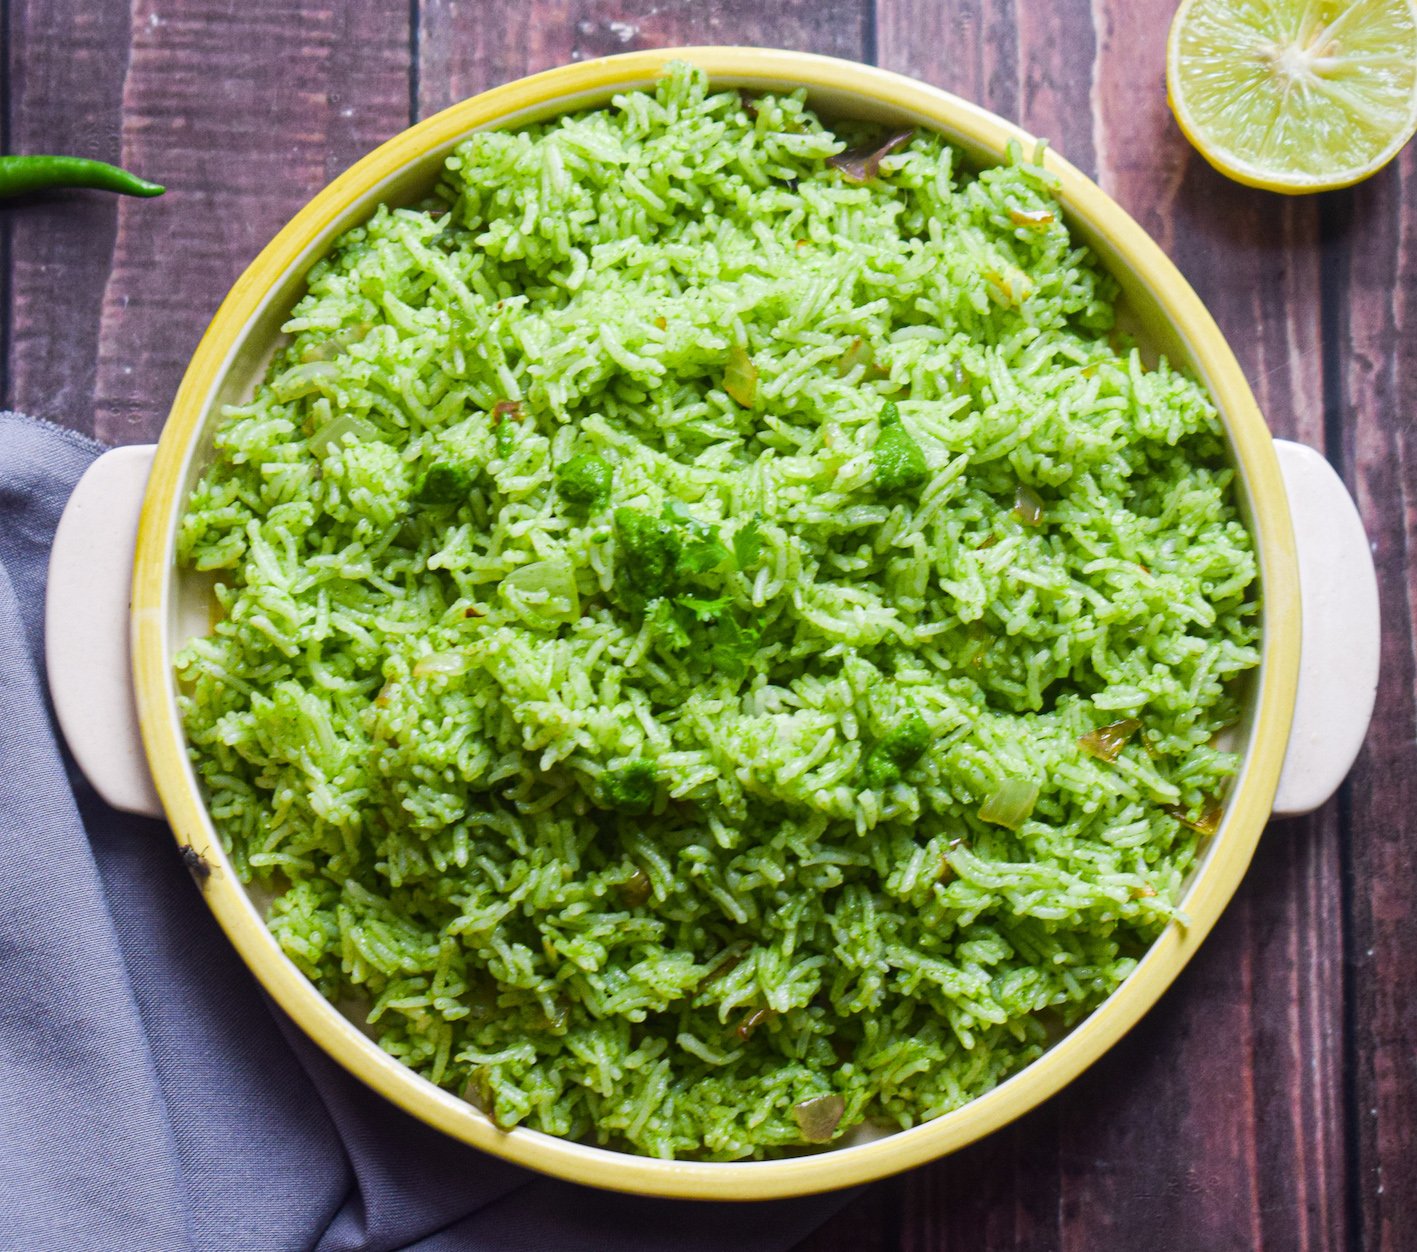
coriander rice

I honestly cannot emphasize enough on the brilliance of this simple recipe. Easy, local, economical and so delicious, this vegan coriander rice is such a great way to jazz up the regular white rice we have all been eating these days. It has so much flavour and freshness and uses just a handful of ingredients that are mostly available in Indian households. If you want to add some extra comfort to your meals, I would urge you to try this recipe.

The best part about this coriander rice is how you can use all the coriander lying in your house in one go, without wasting the stems. The maximum flavour comes from those stems so never ever throw them away while searching for the leaves. Spicy, sweet, tangy and filling, this rice can be made in big batches and served as a great side dish. I really hope you try it soon and love it as much as I do. You can also add some mint to this if you have or use a mixture of mint and coriander.

coriander rice

Hope you try this recipe and love it as much as I do.

coriander rice

Preparation time – 15 minutes

Cook time – 15 minutes

Serves – 4

[ingredients title=”Ingredients”]

  • 1 bunch fresh coriander leaves (about 60g)
  • 2 green chillies
  • 2 garlic cloves
  • 3 tbsp olive oil
  • Salt to taste
  • 1 large onion, finely chopped
  • 2 tbsp vegetable oil
  • Juice of half a lemon
  • 1 tbsp sugar
  • 5 tbsp water
  • 5 cups cooked white rice [/ingredients]

[directions title=”Directions”]

  1. Clean and pat dry the fresh coriander. Cut it just above the tip of the roots. We will use the stems and leaves to make the chutney.
  2. In a grinder, pack in the coriander, garlic, salt, chillies, olive oil and water. Grind to form a smooth paste. Set aside.
  3. Heat vegetable oil in a pan. Add the onion. Saute till they turn brown and translucent.
  4. Add the cooked white rice and gently mix on low heat.
  5. Season the rice with salt. Mix well in low heat.
  6. Once the rice seperate from each other, add the coriander chutney to it. Mix gently. Keep the flame on low at all times.
  7. Mix till everything combines well. Check for salt and sugar, add more if you desire as per your taste.
  8. Serve hot! [/directions]

coriander rice

For more such delightful food, follow me on Facebook, Instagram, and YouTube.

15 Minute Vegetable Fried Rice

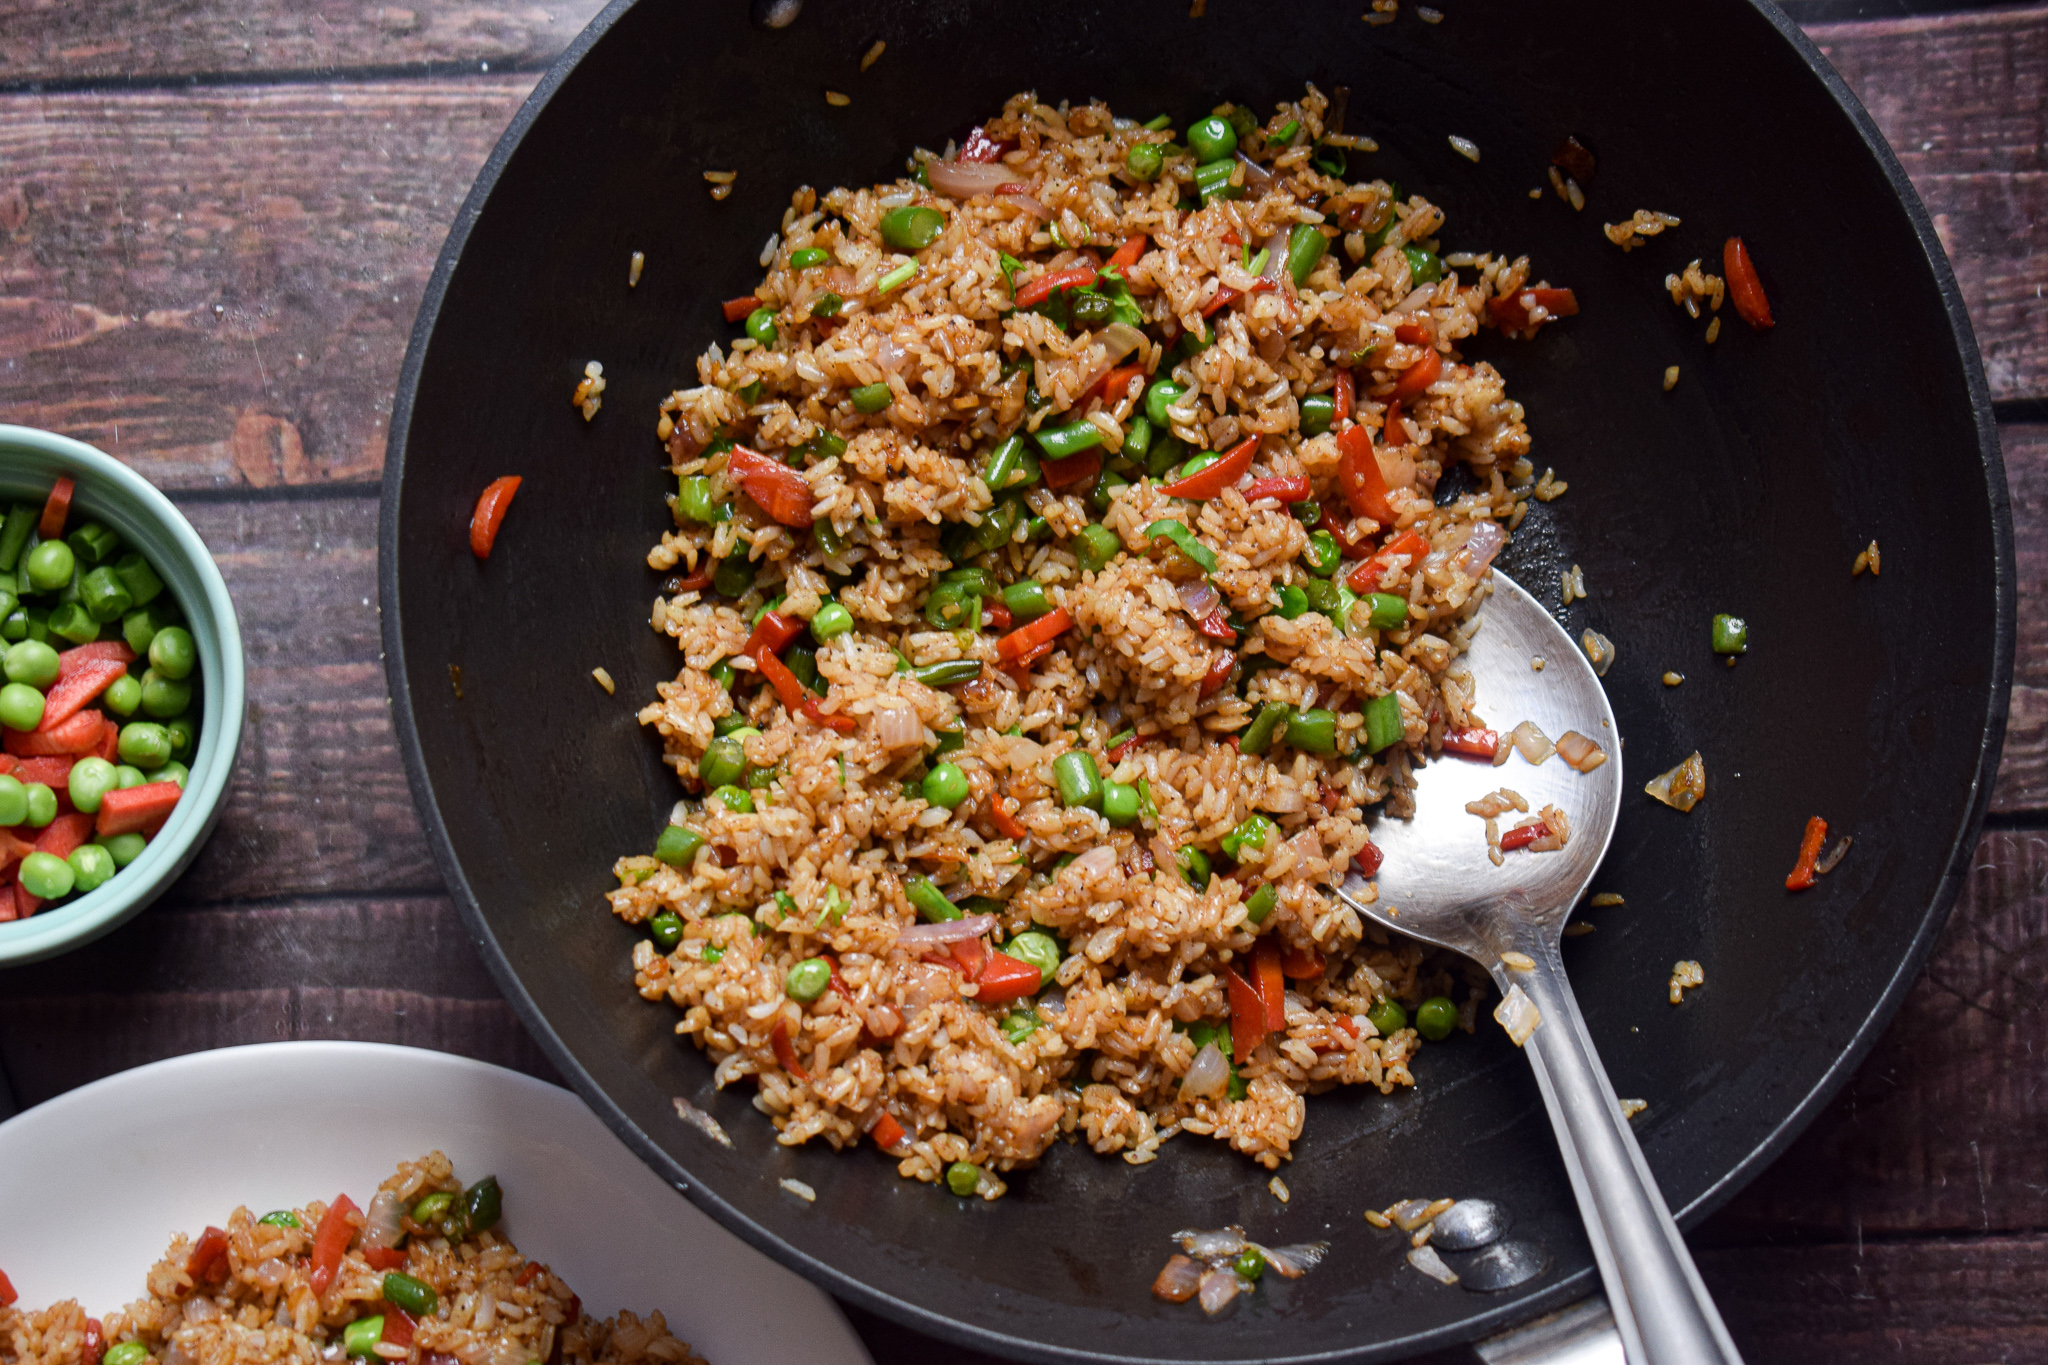
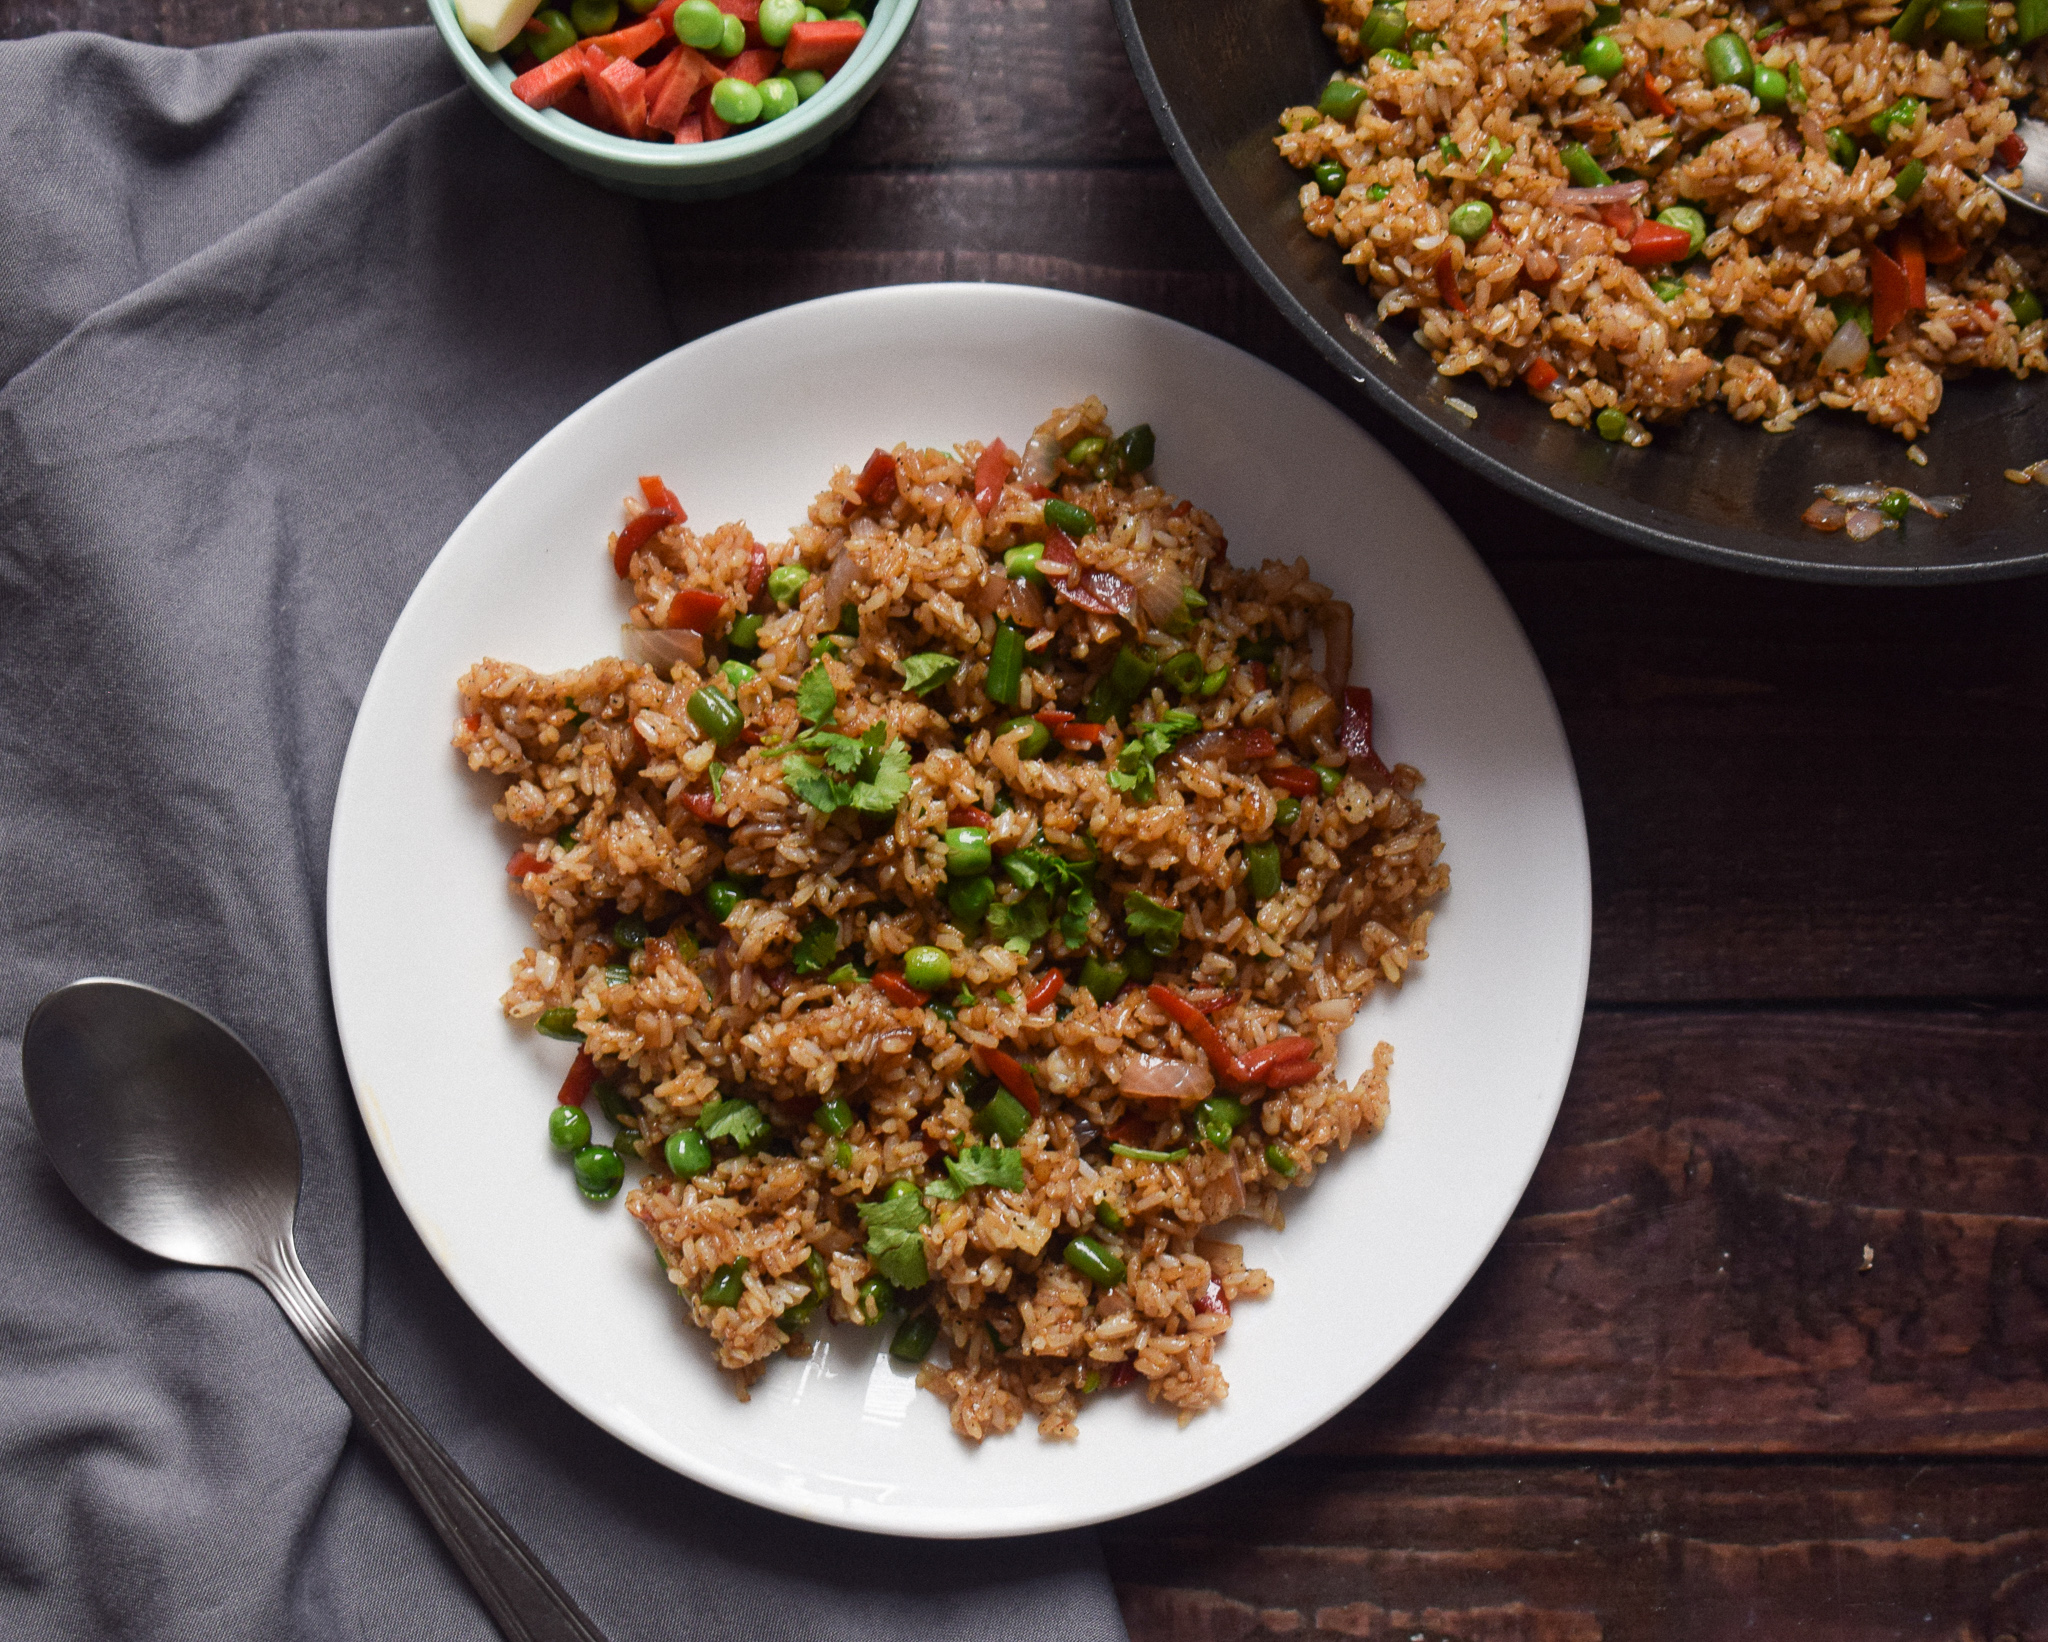
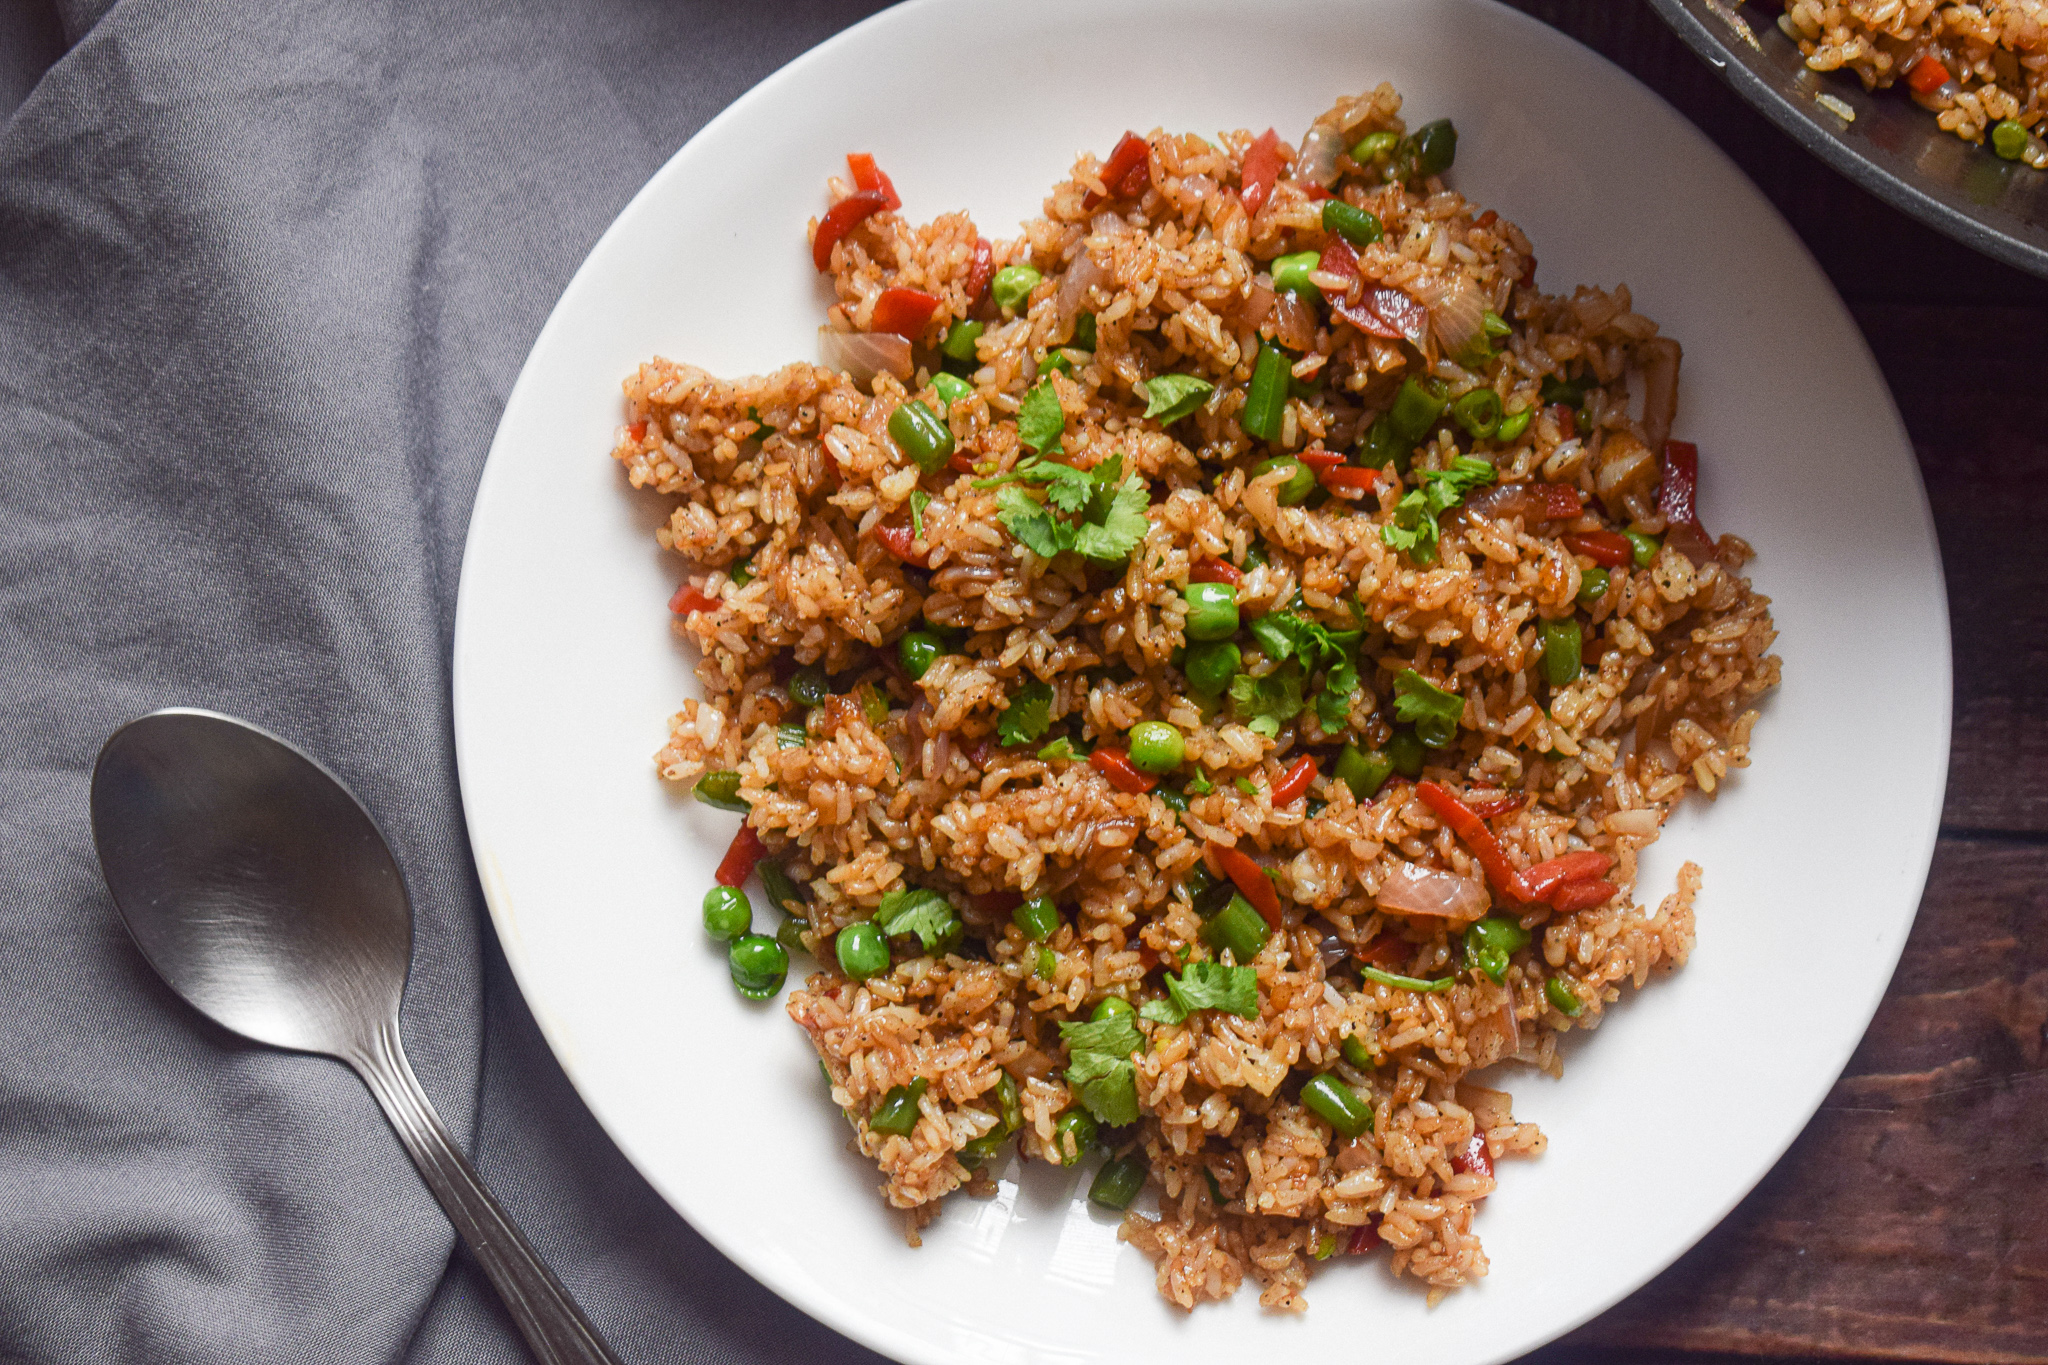
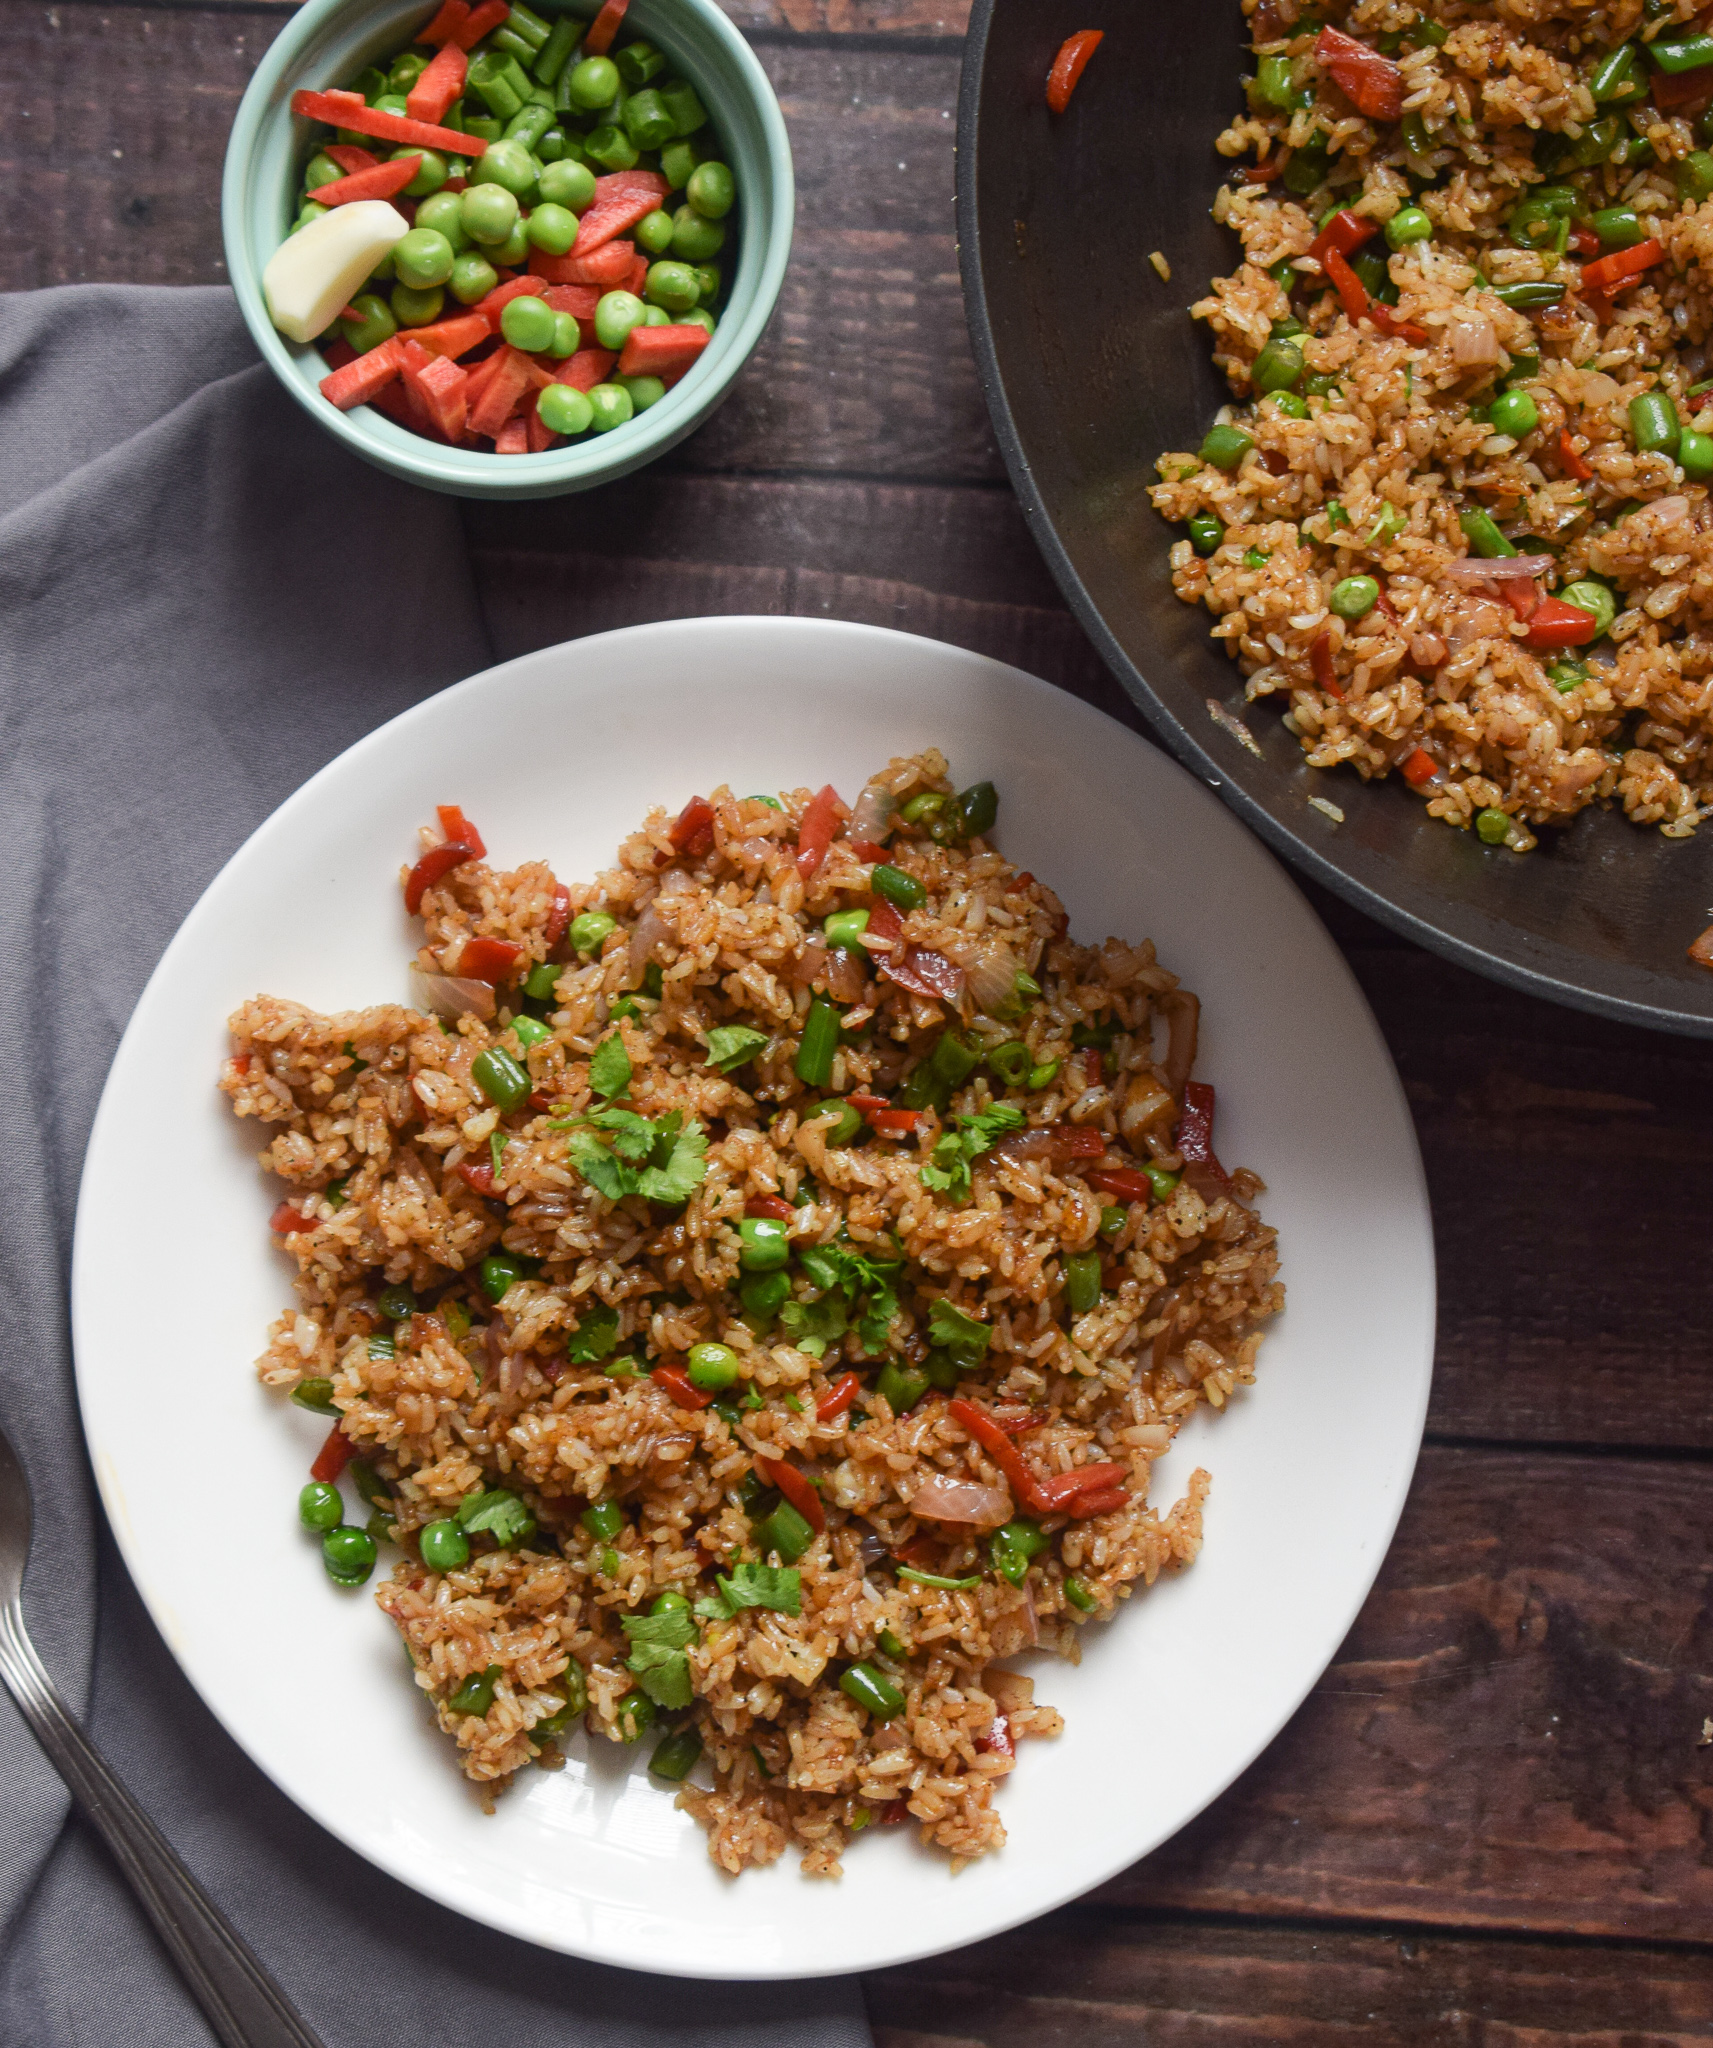
Here’s an easy way to whip up dinner in 15 minutes, while also ensuring you eat your vegetables. This vegetable fried rice is one of my go-to recipes every other day and I can never get enough of it.

The best part about this recipe is its ease and highly customisable option. You can make a large batch and add eggs, chicken or more vegetables of your choice. This vegetable fried rice uses the most minimal ingredients and is as simple as it can get. The it’s beauty lies in the freshness of its ingredients.

How to make the perfect fried rice every time

Fried rice might be a simple dish but it requires a few things done right every single time. The best kind of vegetable fried rice are those where each grain of rice is separate and cooked to perfection. Nobody likes a soggy plate of fried rice, nor does one want half cooked rice bites in their spoon. Apart from that the way the vegetables are cooked also matter a lot! They cannot be soggy or raw – just the right amount of crunch.

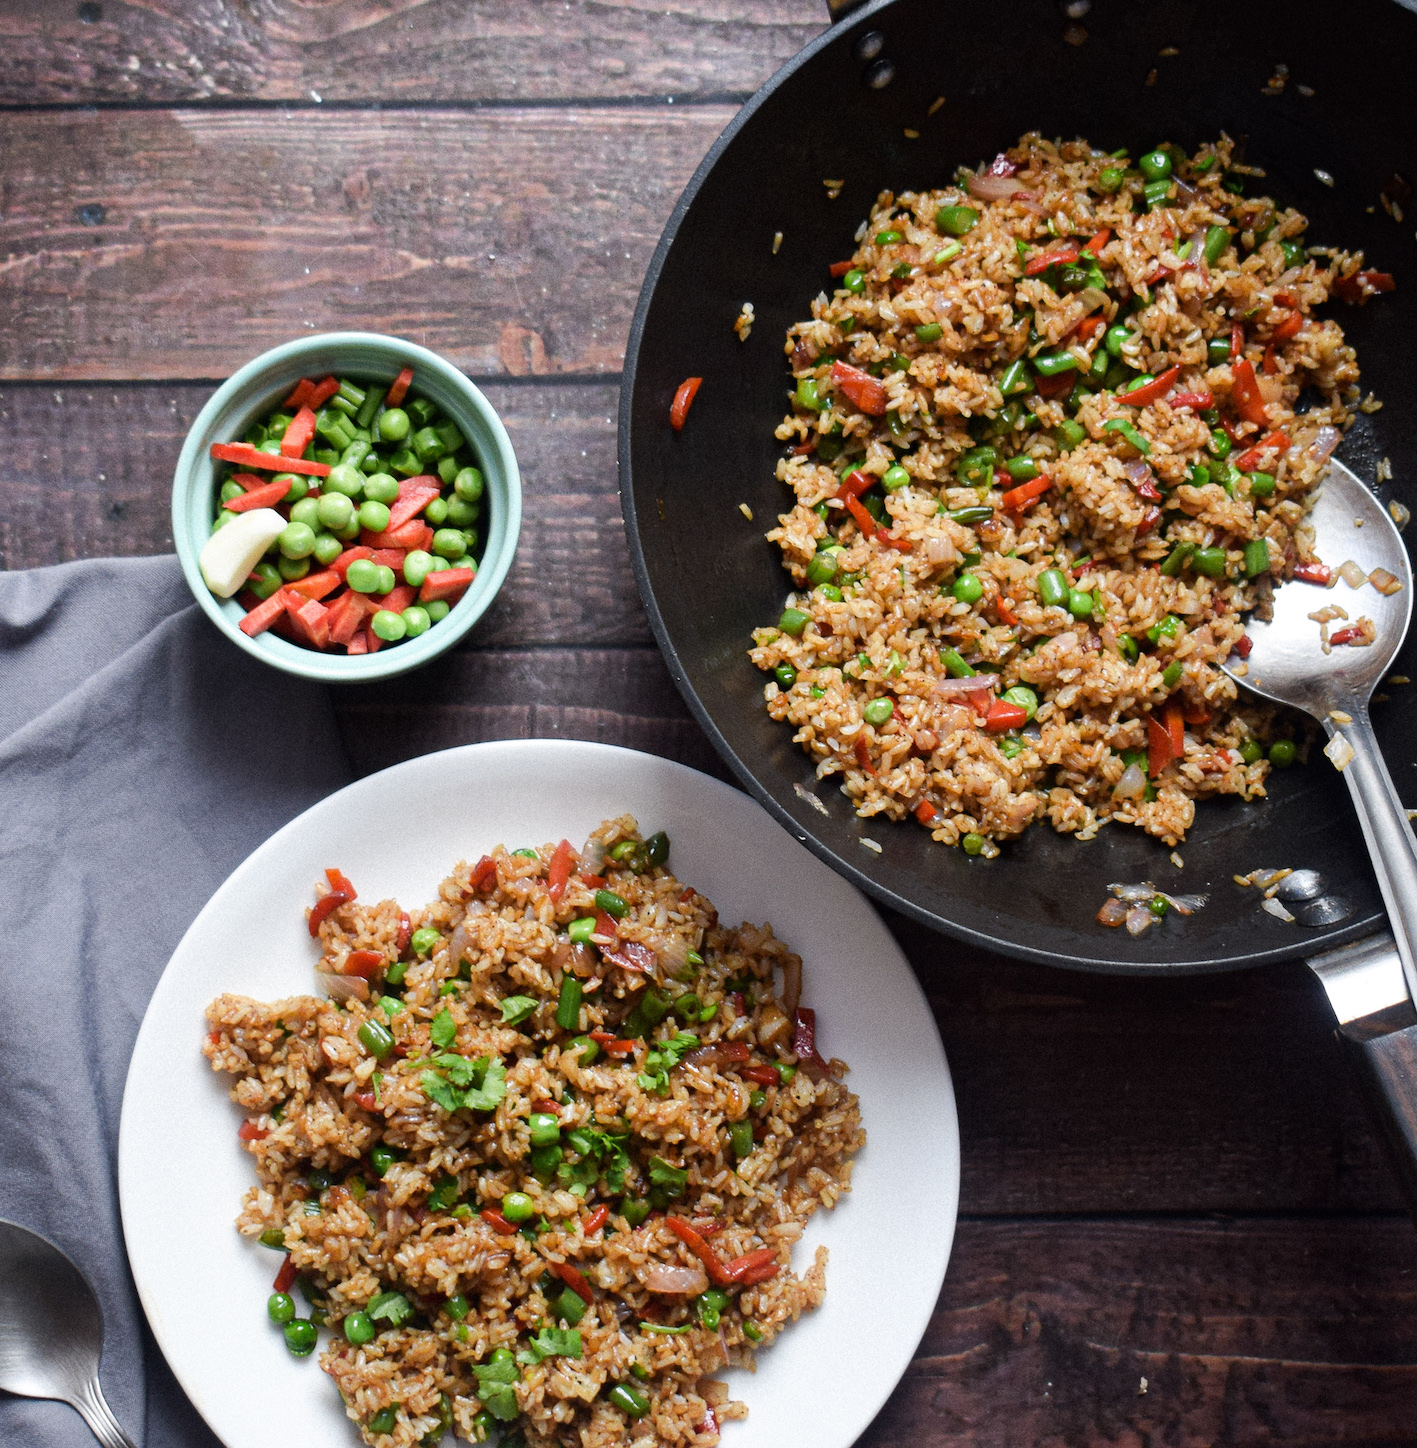
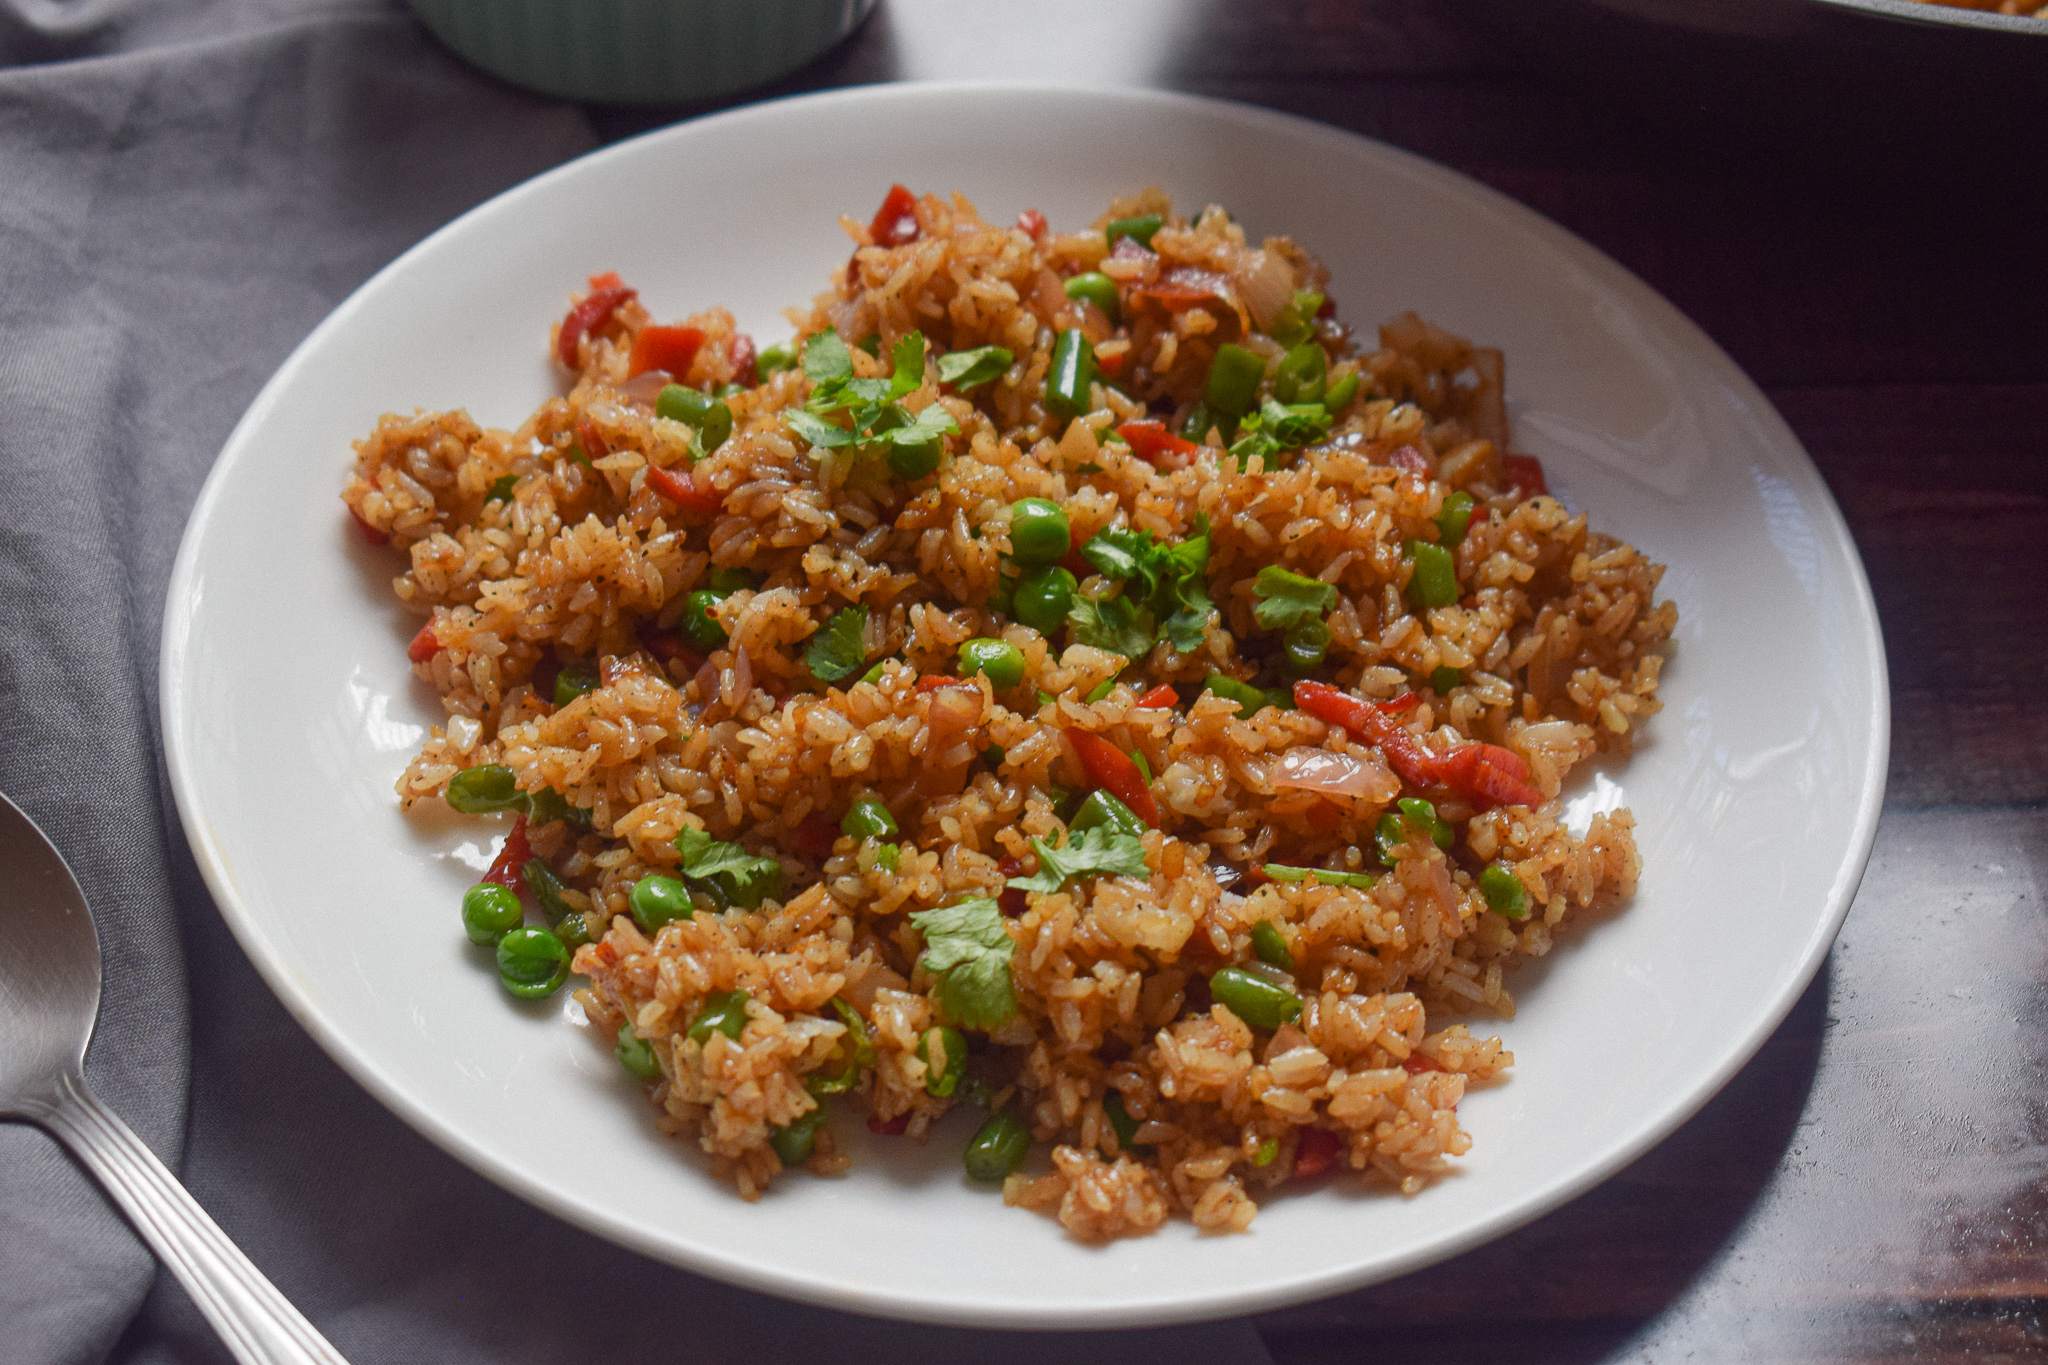
vegetable fried rice

vegetable fried rice

Here are some of the tips you might want to follow to make that perfect fried rice every single time.

  • Always use a wok for making fried rice because it helps is faster and uniform cooking.
  • Make sure your wok is really hot before you add oil and other ingredients.
  • Make sure the vegetables you add are chopped finely so that they can cook quickly.
  • The rice that you add to any fried rice should always be cold. Otherwise, it will stick to the wok and become lumpy. It’s best to use a day old rice.
  • If you add any protein like chicken or shrimp, cook them before you add the vegetables.
  • Add the soy sauce and vinegar just before you remove the wok from the gas stove.
  • Always garnish in the end after turning the gas off.

vegetable fried rice

vegetable fried rice

Cooking the perfect rice for frying

In this recipe, I have used joha rice, which is a flavourful small grained rice found in Assam, India. It is starchy and has a beautiful fragrant. You can use jasmine rice too. The quality of rice can really change the game. If you do not have jasmine rice, you can use any small grain rice available near you – broken basmati is a great choice!

vegetable fried rice

For small grained rice, wash them thoroughly under runnign water till the water is clear. Once they are thoroughly washed, add them to a pan, instant pot or a pressure cooker. If you are using 1 cup rice, use 1.5 cups of water to cook it. And once cooked, keep the rice covered for 10-15 minutes after turning off the gas. Keep the rice in the fridge overnight, and use it the next day for making fried rice.

Why this vegetable fried rice?

  • Delicious and super easy!
  • Healthy and quick
  • Better than takeout
  • You need 15 minutes to make this
  • Made with bare minimum pantry essentials.
  • Highly customizable!
  • Can be made in large batches.

vegetable fried rice

Preparation time – 15 minutes

Cook time – 15 minutes

Serves – 3

[ingredients title=”Ingredients”]

  • 30 ml vegetable/sesame oil
  • 2 slit green chillies (optional, add it if you like spicy food)
  • 100 g onions, finely chopped
  • 15 g garlic, finely chopped
  • 80 g carrots, chopped
  • 80 g green beans, chopped
  • 80 g fresh green peas
  • Salt to taste
  • 4 g black pepper powder
  • 150 g cooked white rice
  • 30 ml dark soy sauce
  • Coriander/spring onion greens for garnish [/ingredients]

[directions title=”Directions”]

  1. Heat oil in a wok. Let it smoke.
  2. Temper the oil with slit green chillies (optional).
  3. Add the chopped onions and fry till it starts to brown and becomes translucent.
  4. Add the sliced garlic and saute till its rawness fades.
  5. Next, add the beans, carrots, and peas and saute for about a minute or two on medium flame. Do not overcook the vegetables as they need to remain crunchy.
  6. Season with salt and pepper.
  7. Add the boiled and cold rice to the mixture. Mix well till the rice is heated through and everything gets mixed together perfectly.
  8. Pour in the soy sauce and mix well until every grain of the rice gets stained in the sauce.
  9. Garnish with fresh herbs – coriander or spring onion greens – whatever you have available!
  10. Serve with cucumbers and tomatoes on the side. [/directions]

vegetable fried rice

I hope you try this version of vegetable fried rice! Super simple and easy. Please feel free to add more vegetables or any protein of your choice.

If you have any questions, feel free to reach out to me with a comment or connect with me on Instagram or Facebook. For all my videos, you can subscribe to me on YouTube.

Related recipe – 30 Minute Stir Fry Noodles

Happy cooking!

Whole Wheat Masala Paneer Puris

I am a big fan of puris. Though in Assam we have luchis, which are lighter and fluffier flatbreads, I don’t mind puris as well. India serves its people so many varieties of puris. Spinach, masala, potatoes – there is something for everyone! But have you ever heard of masala paneer or cottage cheese puri?

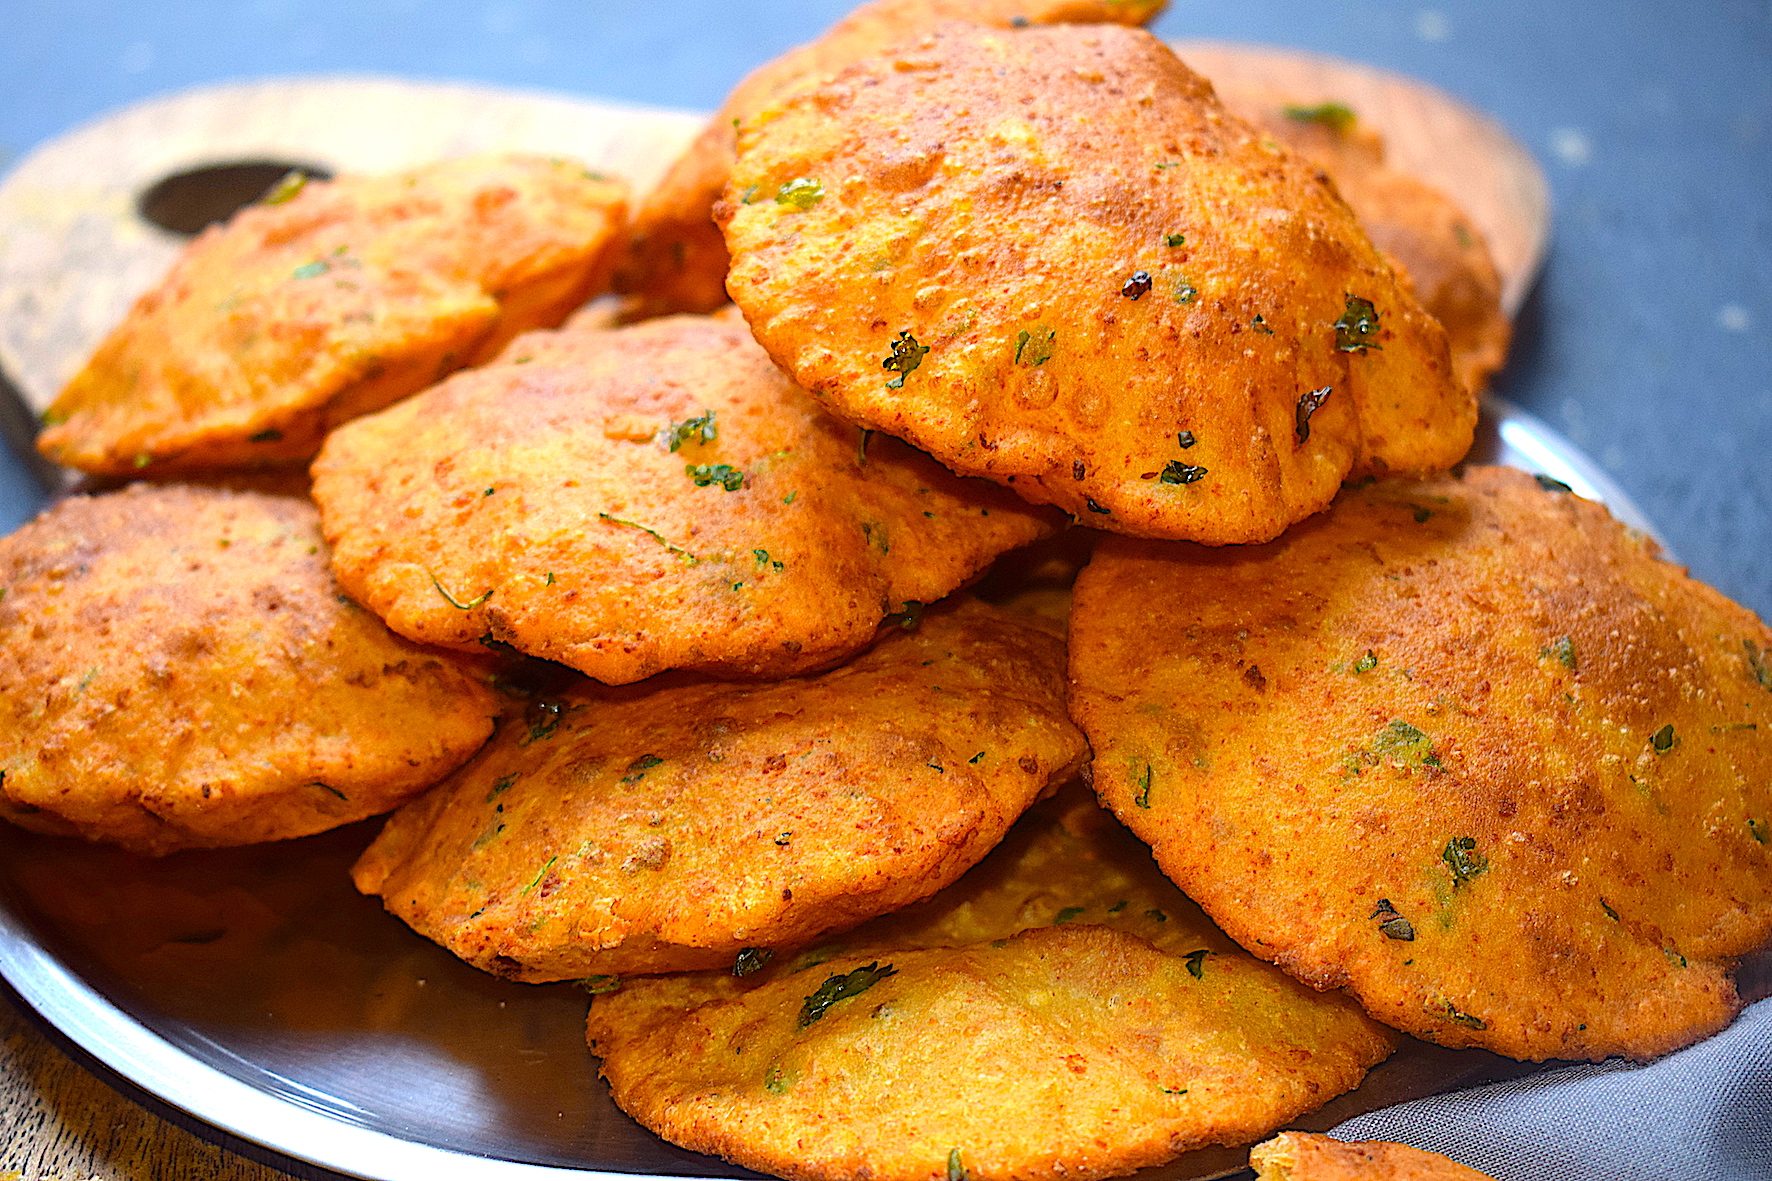
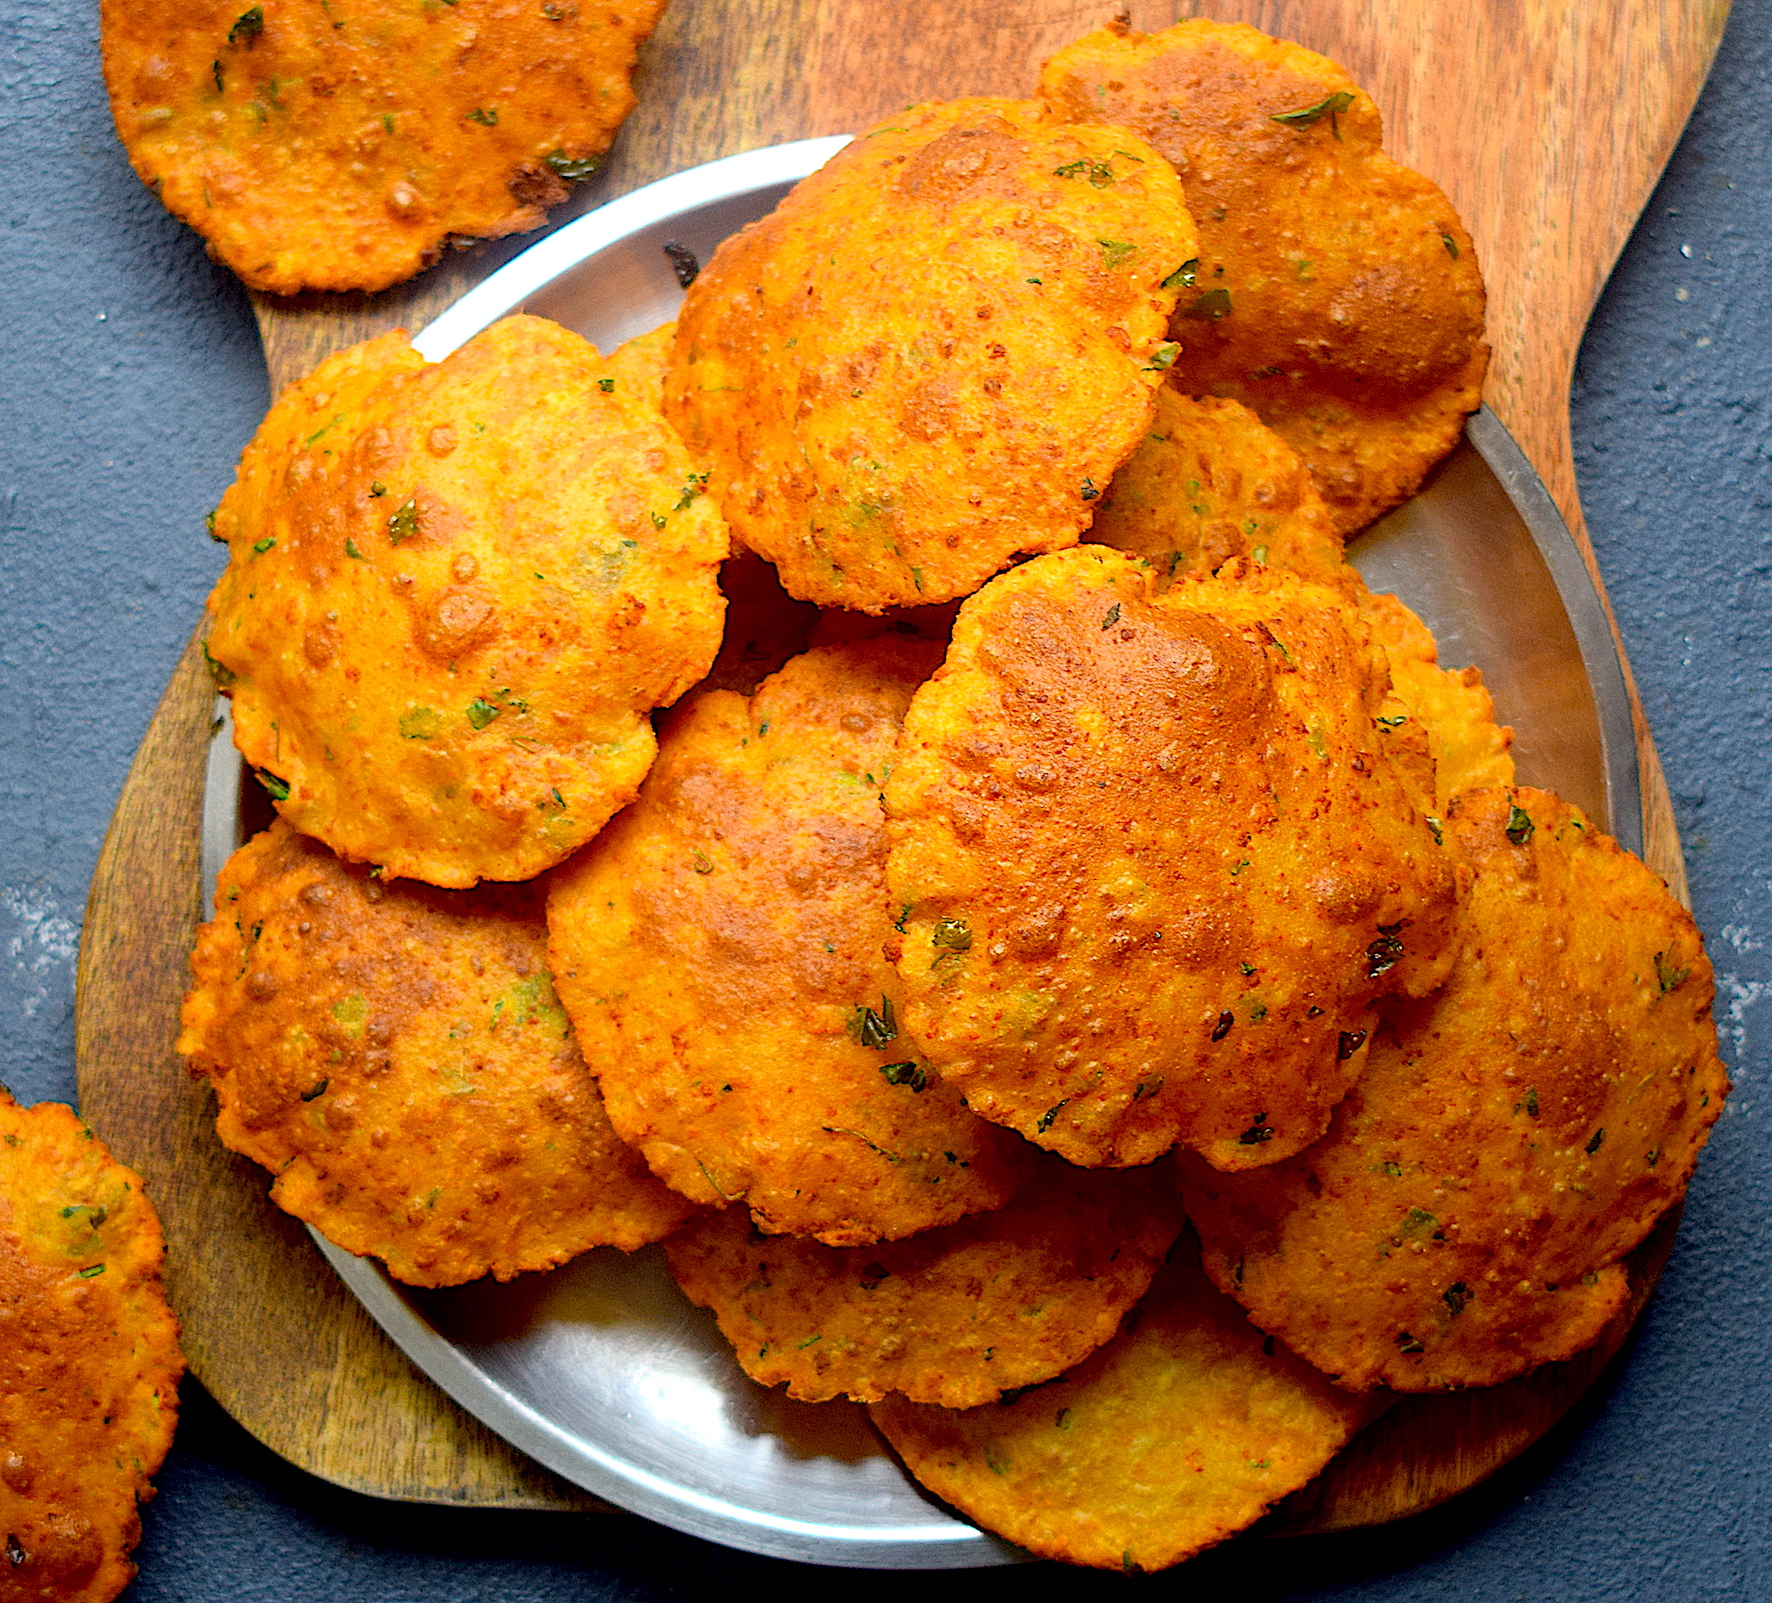
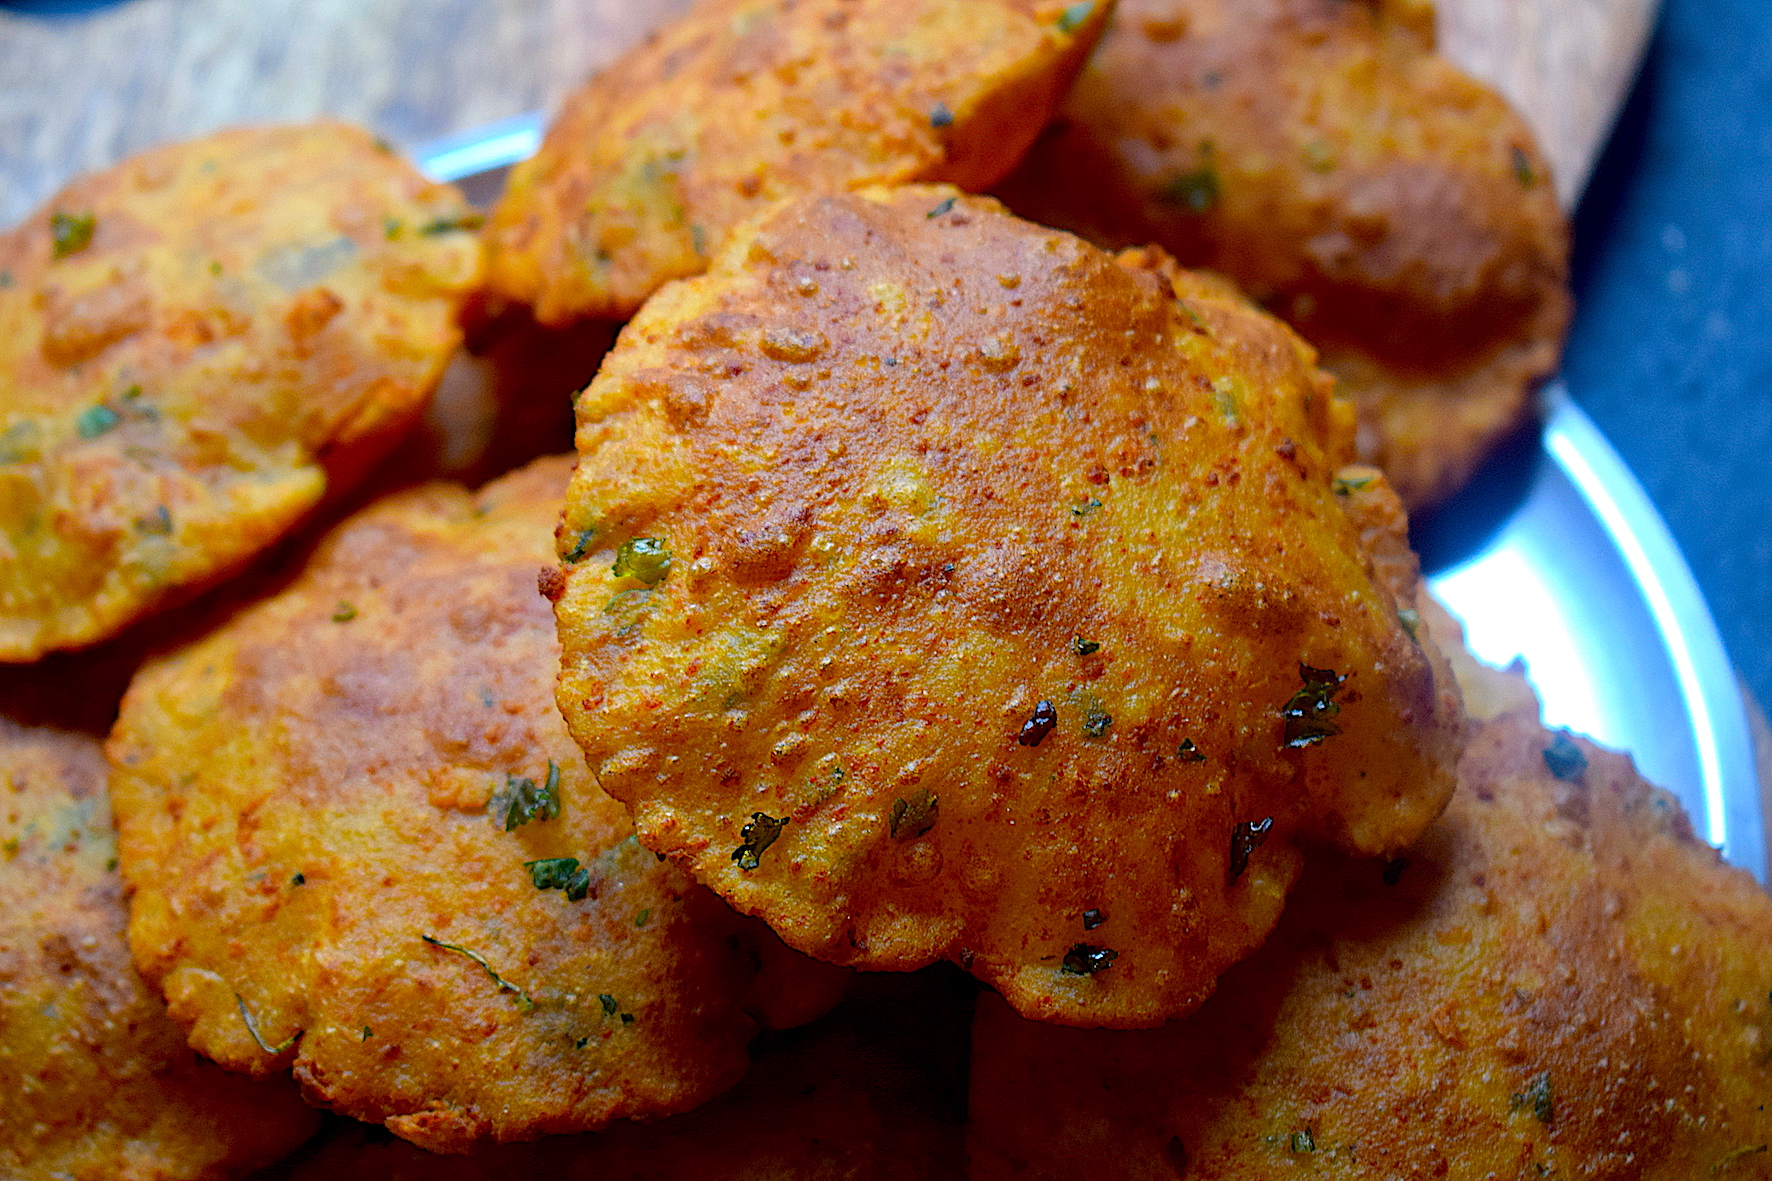
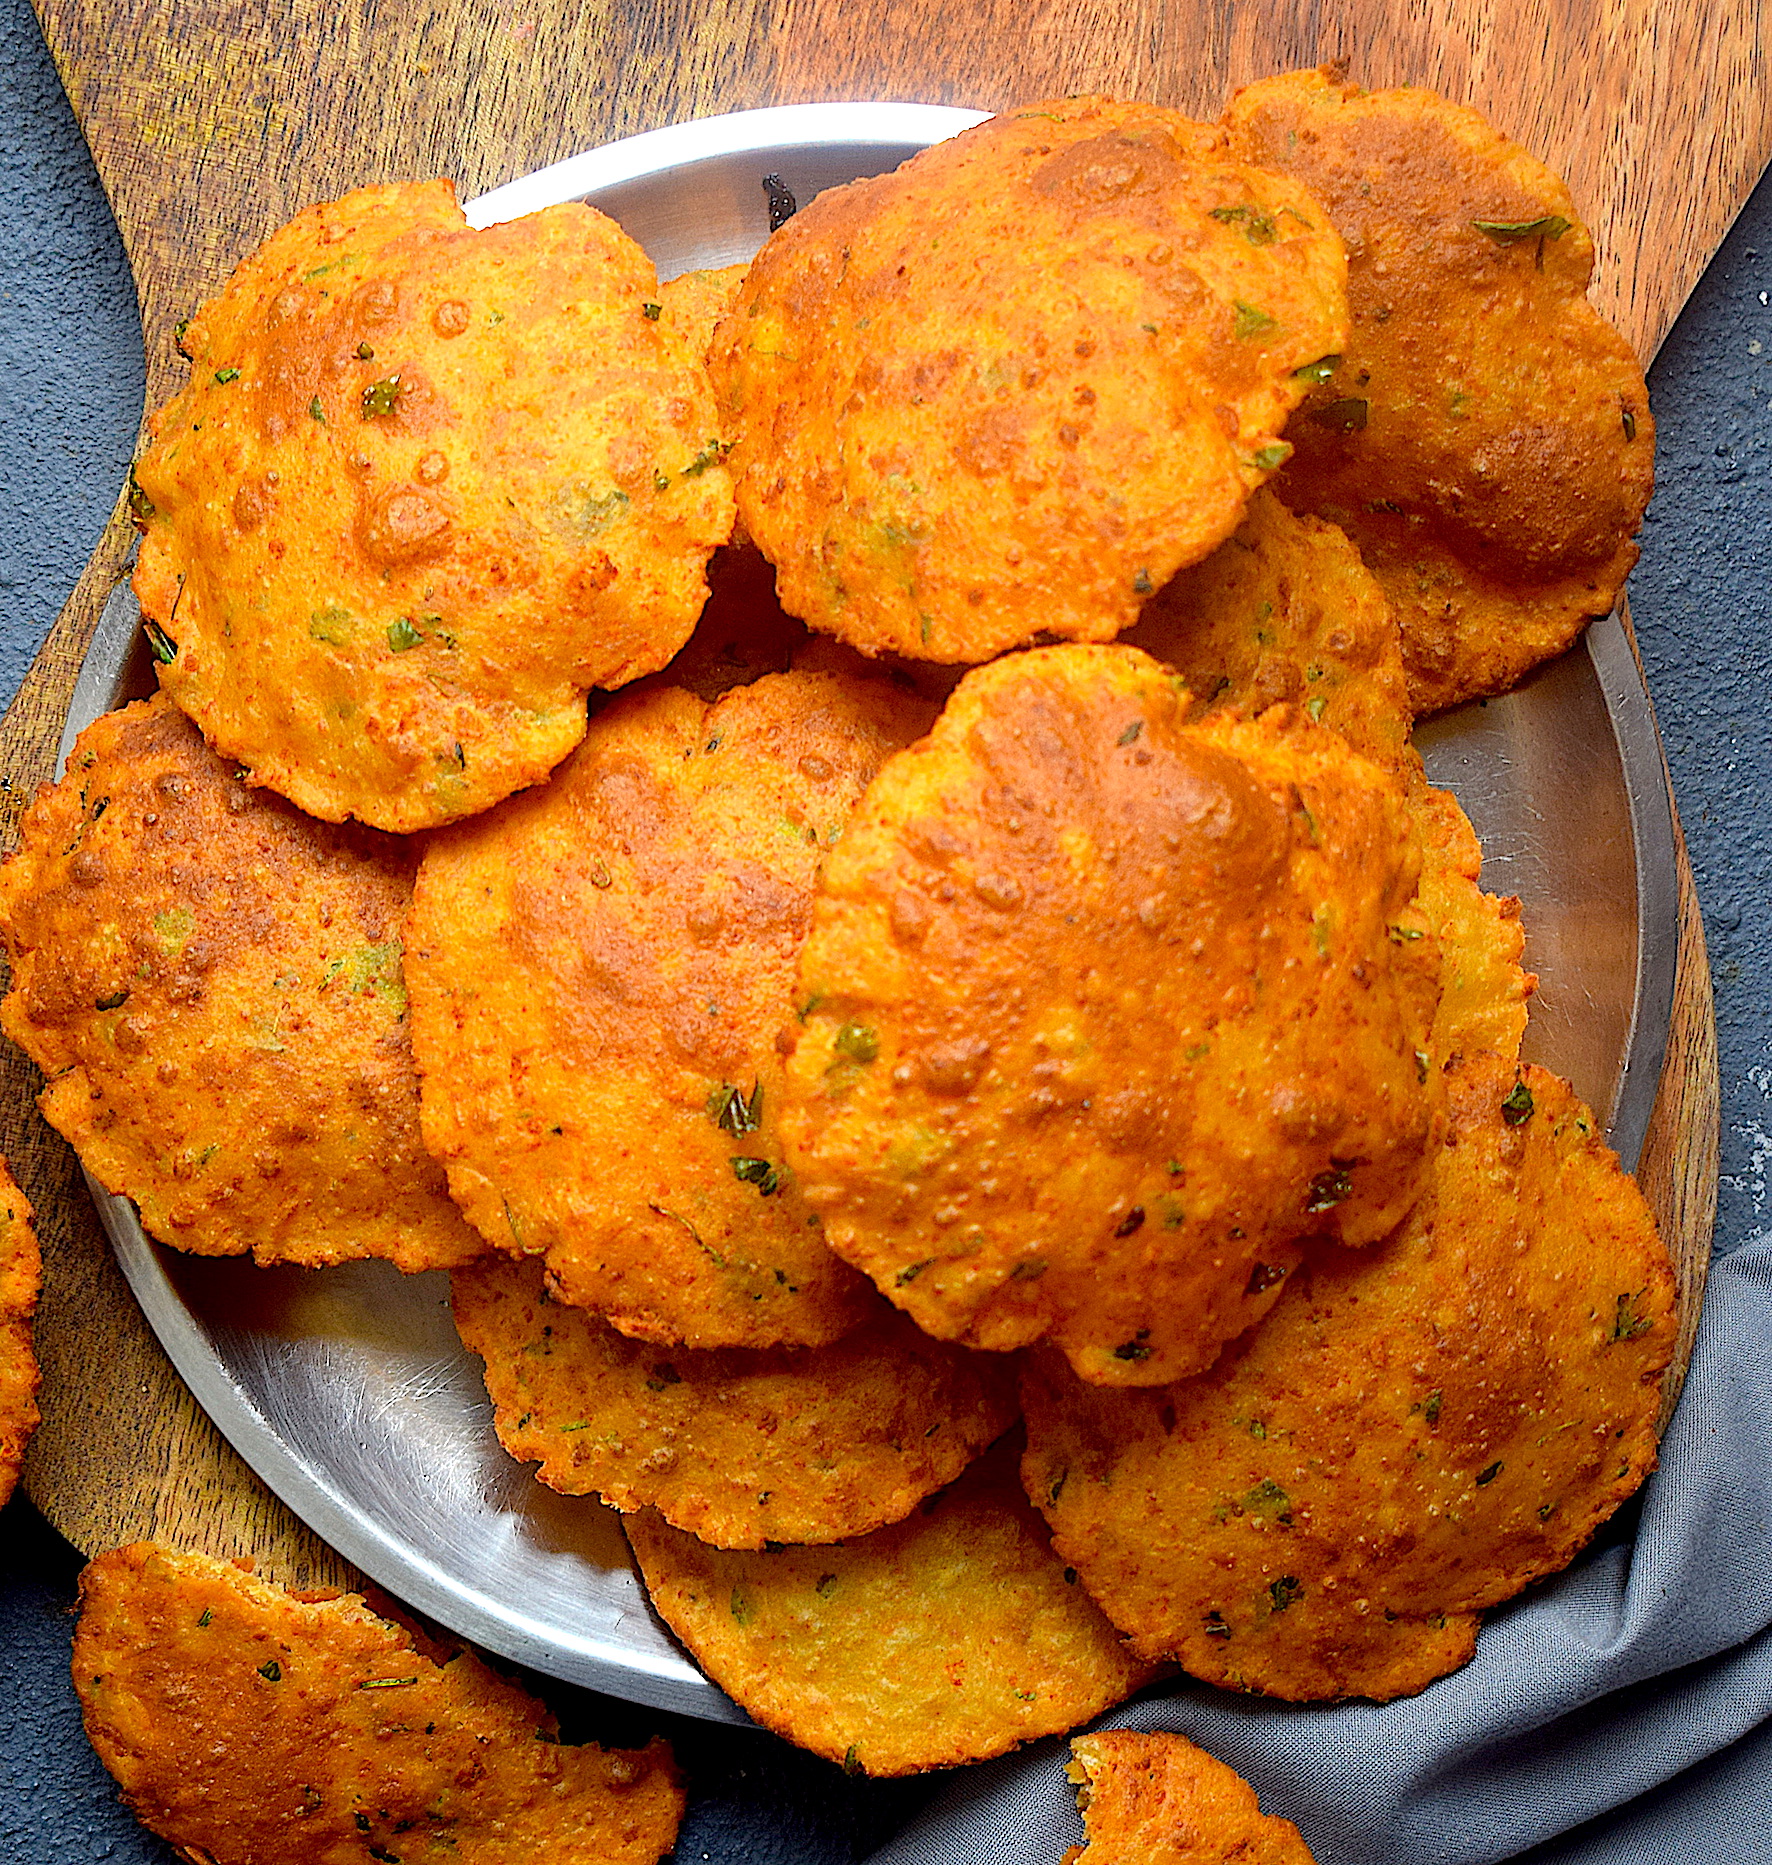
whole wheat paneer puris

whole wheat paneer puris

Well, I had not either till I experimented with these whole wheat paneer puris one day. The results were so fabulous that it took me by surprise. These puris are not just yummy, but so crunchy and perfect. It is just one of my best discoveries and it will blow you away too, I promise.

So let’s get straight to the recipe without any delay:

Preparation time – 30 minutes

Cook time – 20 minutes

Serves – 3-4 people

[ingredients title=”Ingredients”]

  • 250 g whole wheat flour (atta)
  • 1 tbsp ghee
  • 200 g paneer (cottage cheese)
  • 2 tsp Kashmiri red chili powder
  • 50 g coriander leaves, finely chopped
  • 2 tsp carrom seeds (ajwain)
  • 1 tsp garam masala
  • Salt to taste
  • 2 tbsp Kasuri methi or dried fenugreek leaves
  • Water for kneading
  • Refined oil for deep frying [/ingredients]

[directions title=”Directions”]

  1. Grate the paneer and add it to the whole wheat flour in a mixing bowl. Mix the two together gently with your fingers, forming a light crumble.
  2. Add the ghee and mix it well with the flour.
  3. Mix the salt, carrom seeds, red chili powder, fenugreek seeds, chopped coriander leaves and garam masala to the flour and paneer mix. Combine everything well with your hands.
  4. Add water at room temperature, little by little, till a soft dough is formed. Add water in intervals, to ensure the dough doesn’t get too sticky. You will not need too much water because the cottage cheese will release some water into the dough as well.
  5. Once the dough is ready, rub it with some oil on all sides. Cover and keep it aside for 30 minutes.
  6. Make small rounds with the dough. Roll them out with a rolling pin into small puris. Don’t make them too thick or thin.
  7. Heat oil in a kadhai. The oil should be enough that the puri gets completely immersed in it.
  8. Once the oil is hot, fry the puris. Press it with your cooking spoon and let the puri get immersed in the oil. Flip the puri and cook both sides.
  9. Enjoy hot and crispy with chole, raita, subzi or gobble them up just like that! [/directions]

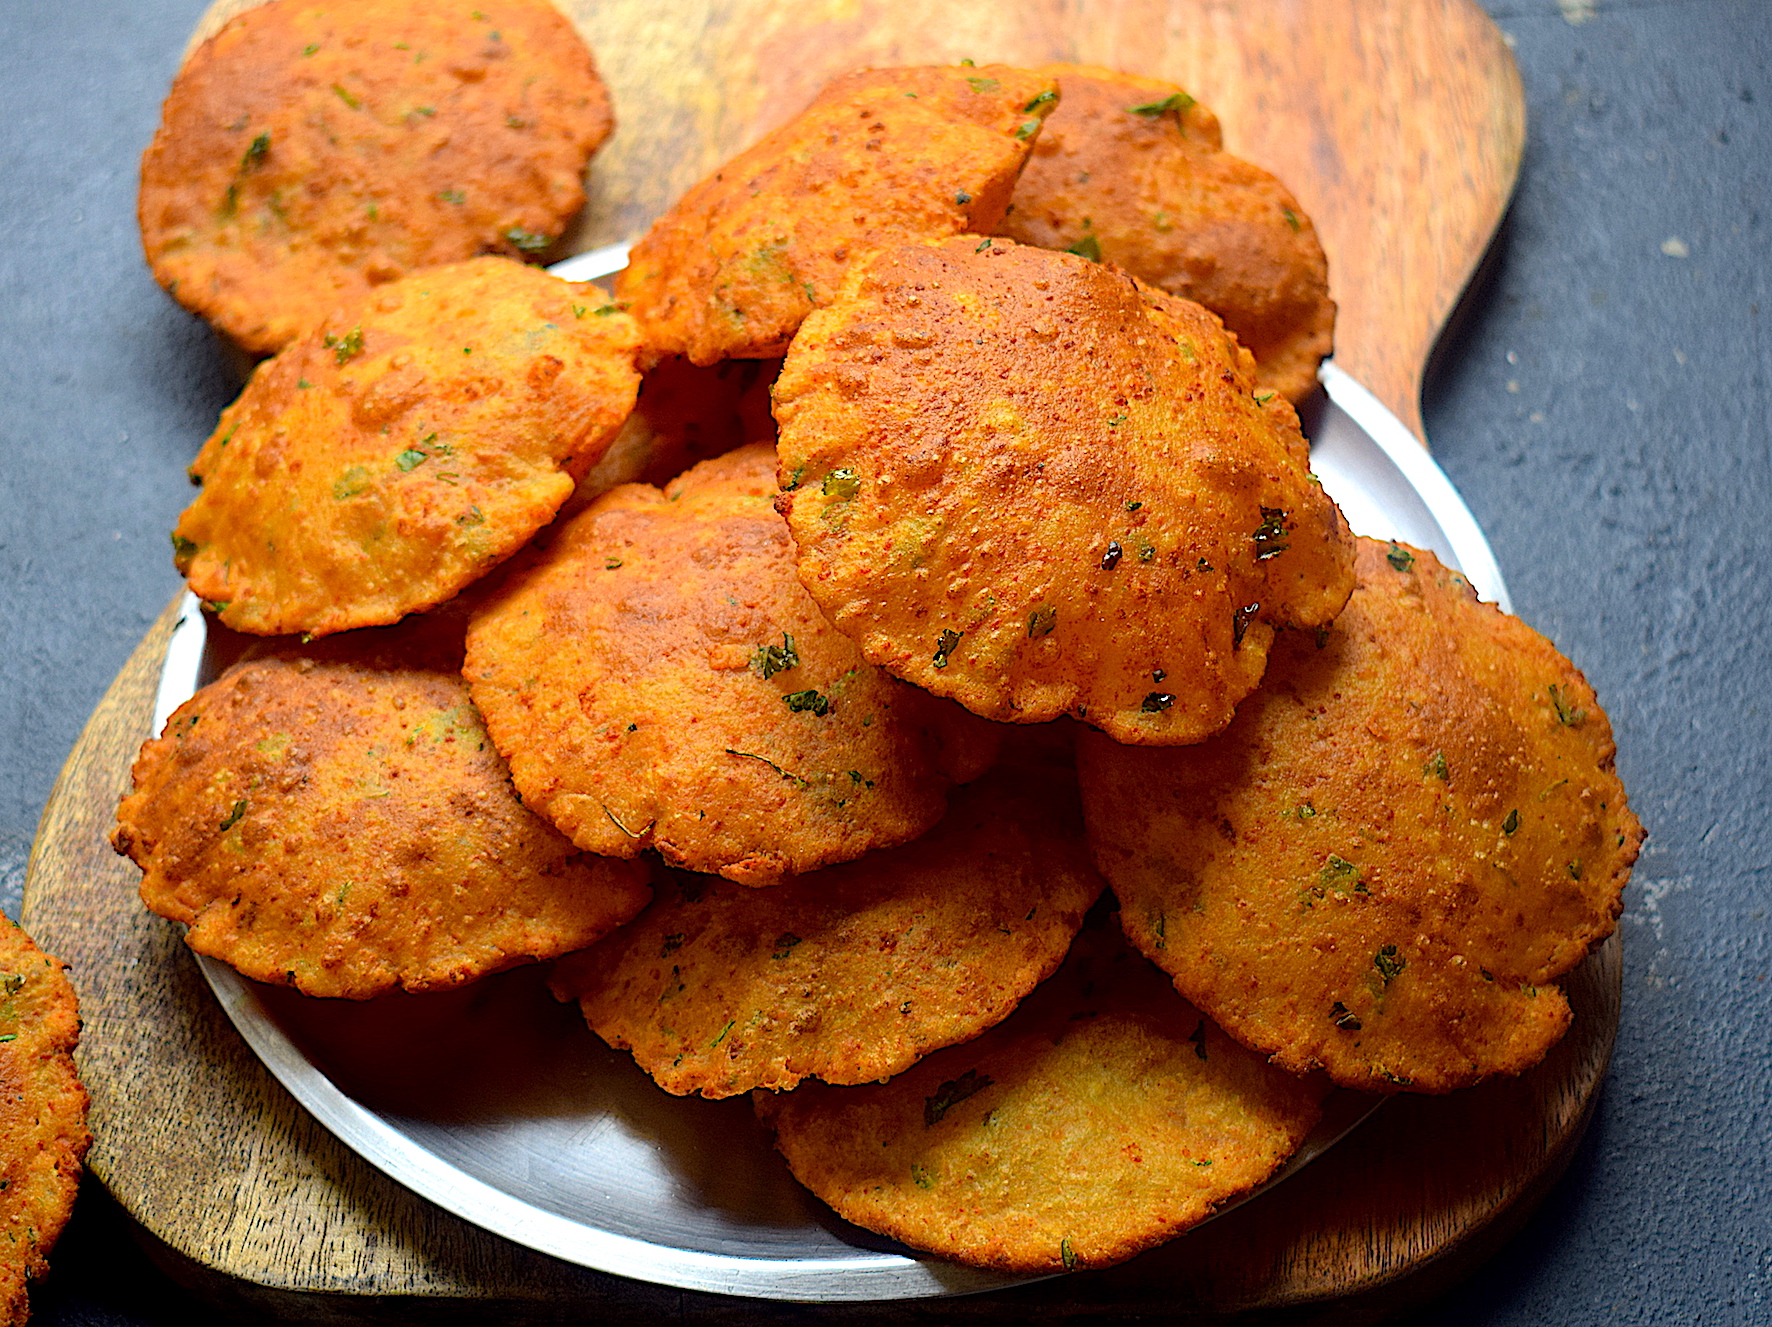
whole wheat paneer puris

whole wheat paneer puris

whole wheat paneer puris

For more such delightful food, follow me on Facebook, Instagram, Twitter, and YouTube.

If you are new to the kitchen or are confused about what to buy for my recipes/kitchen tools, I can help. I have curated a special list that you can order right from Amazon and get the best products for your kitchen. Click here to explore.

whole wheat paneer puris

And as always, happy cooking! <3

Malai Matar Mushroom

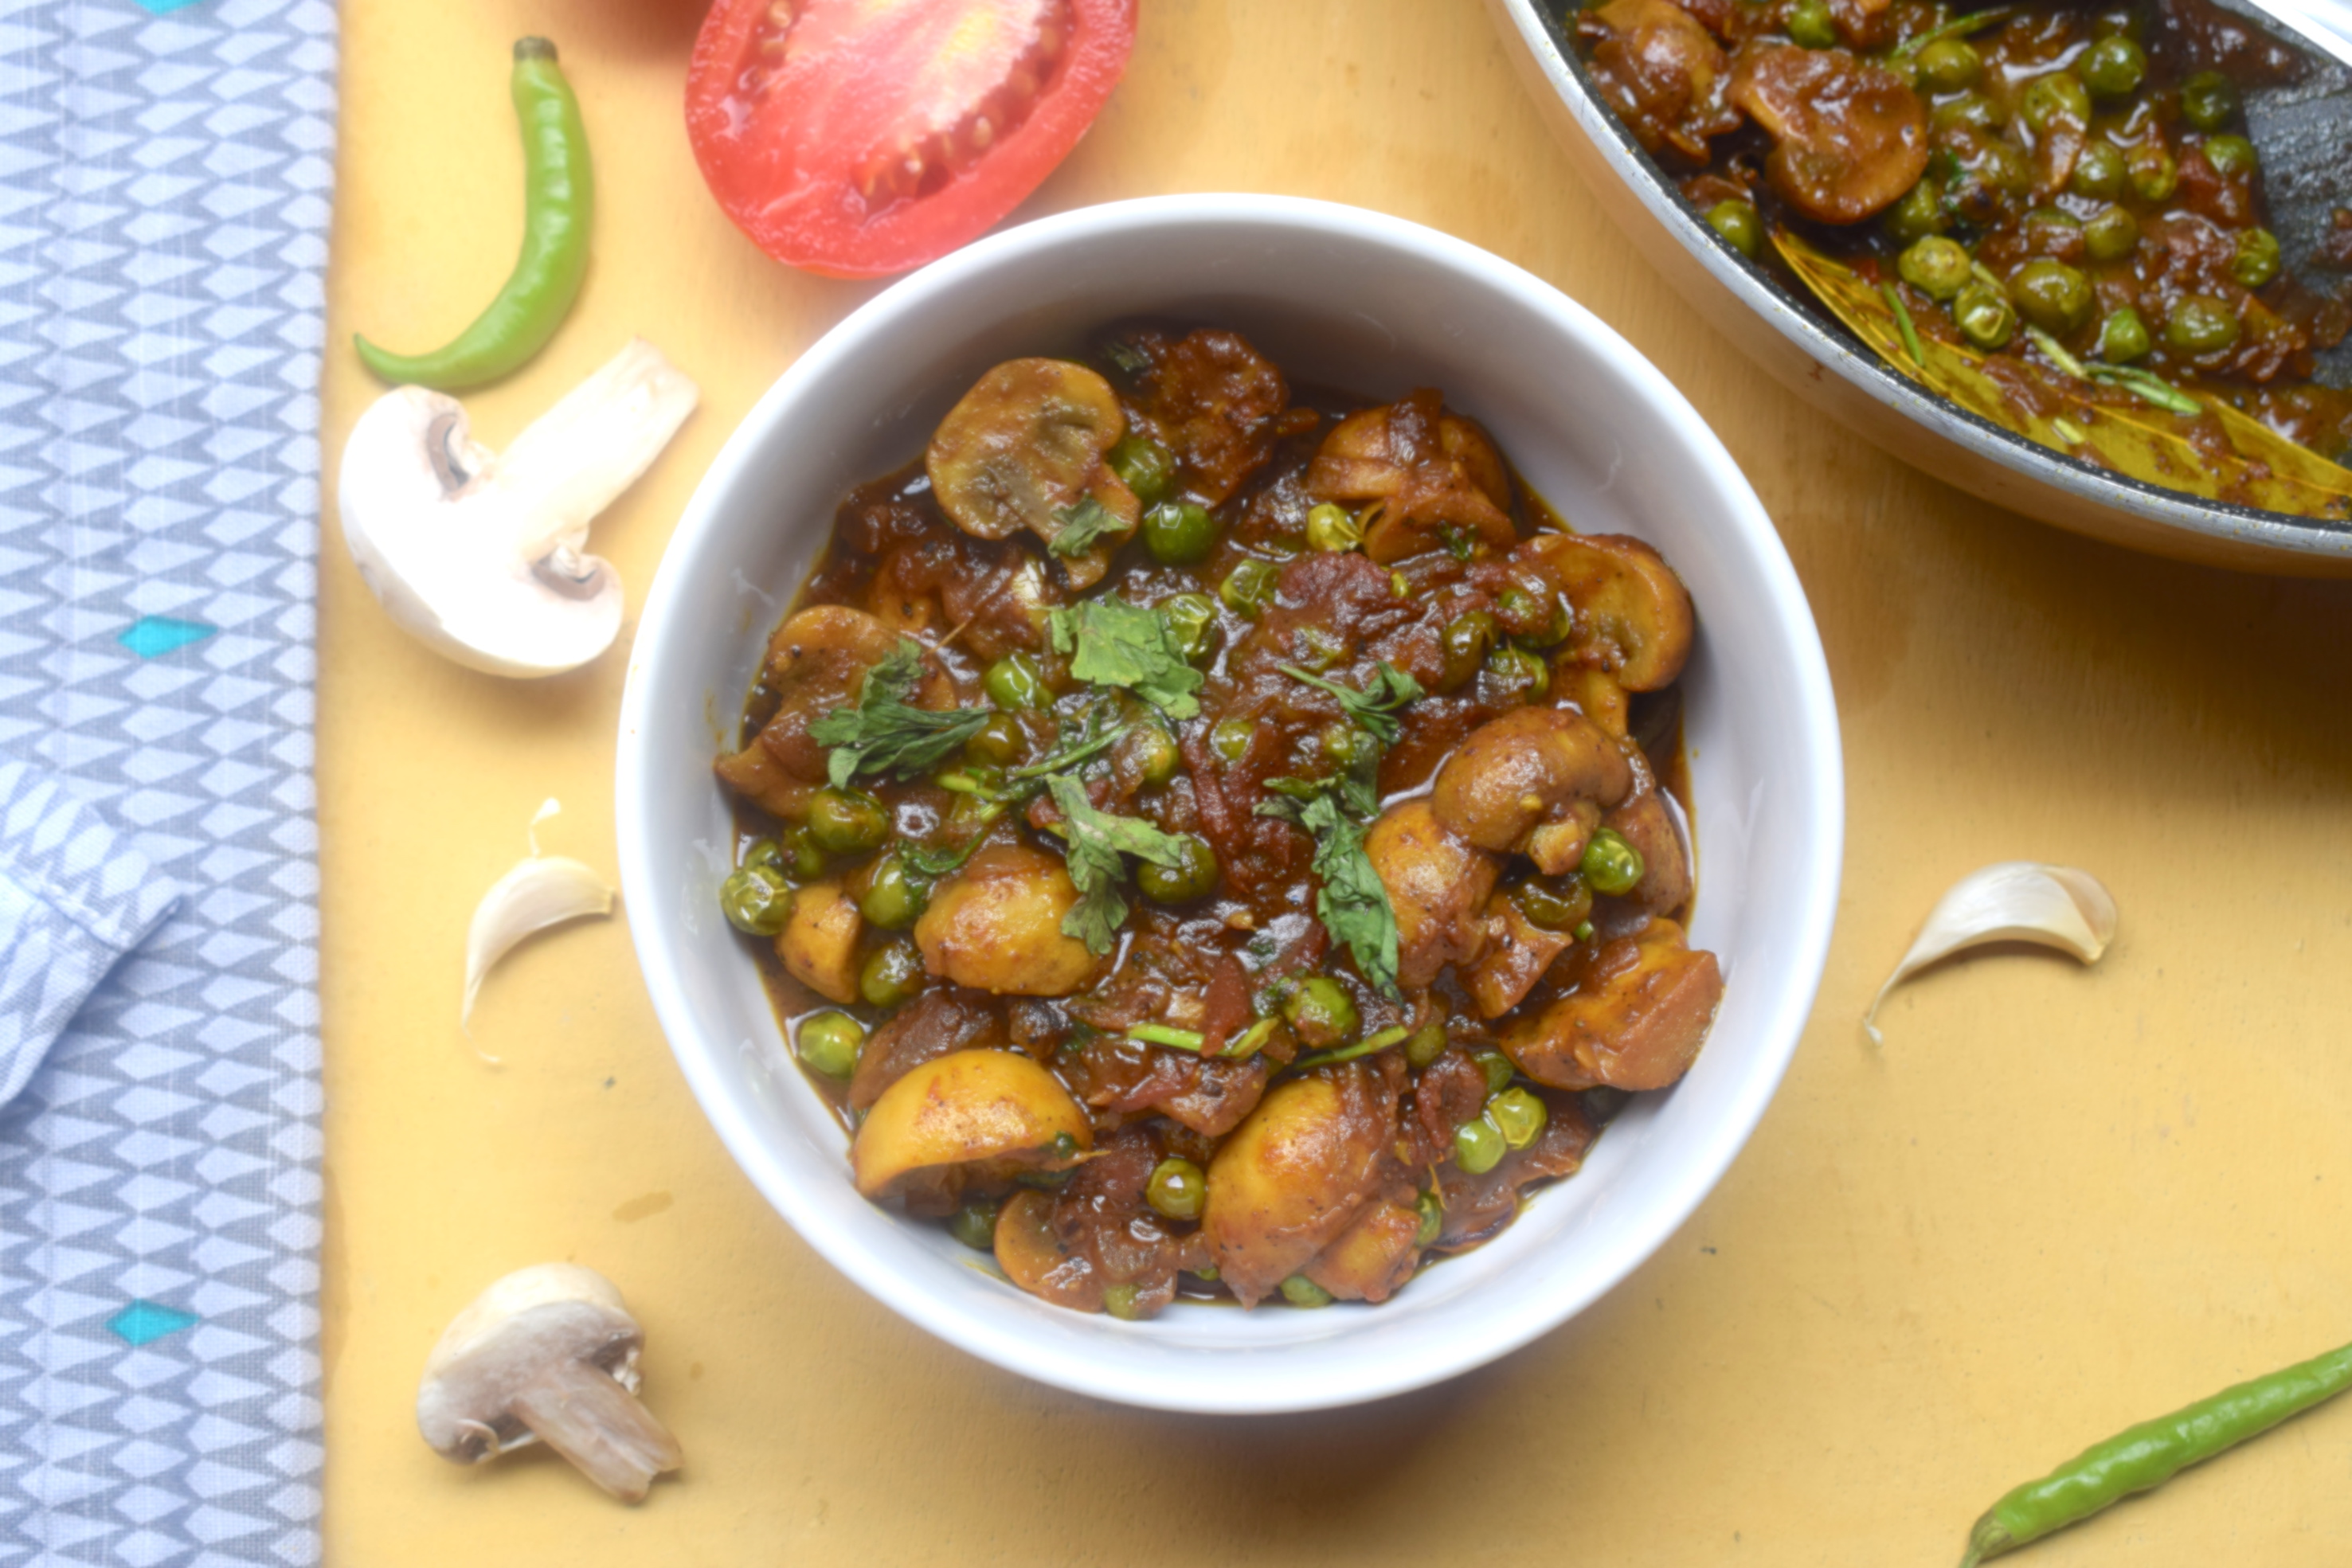
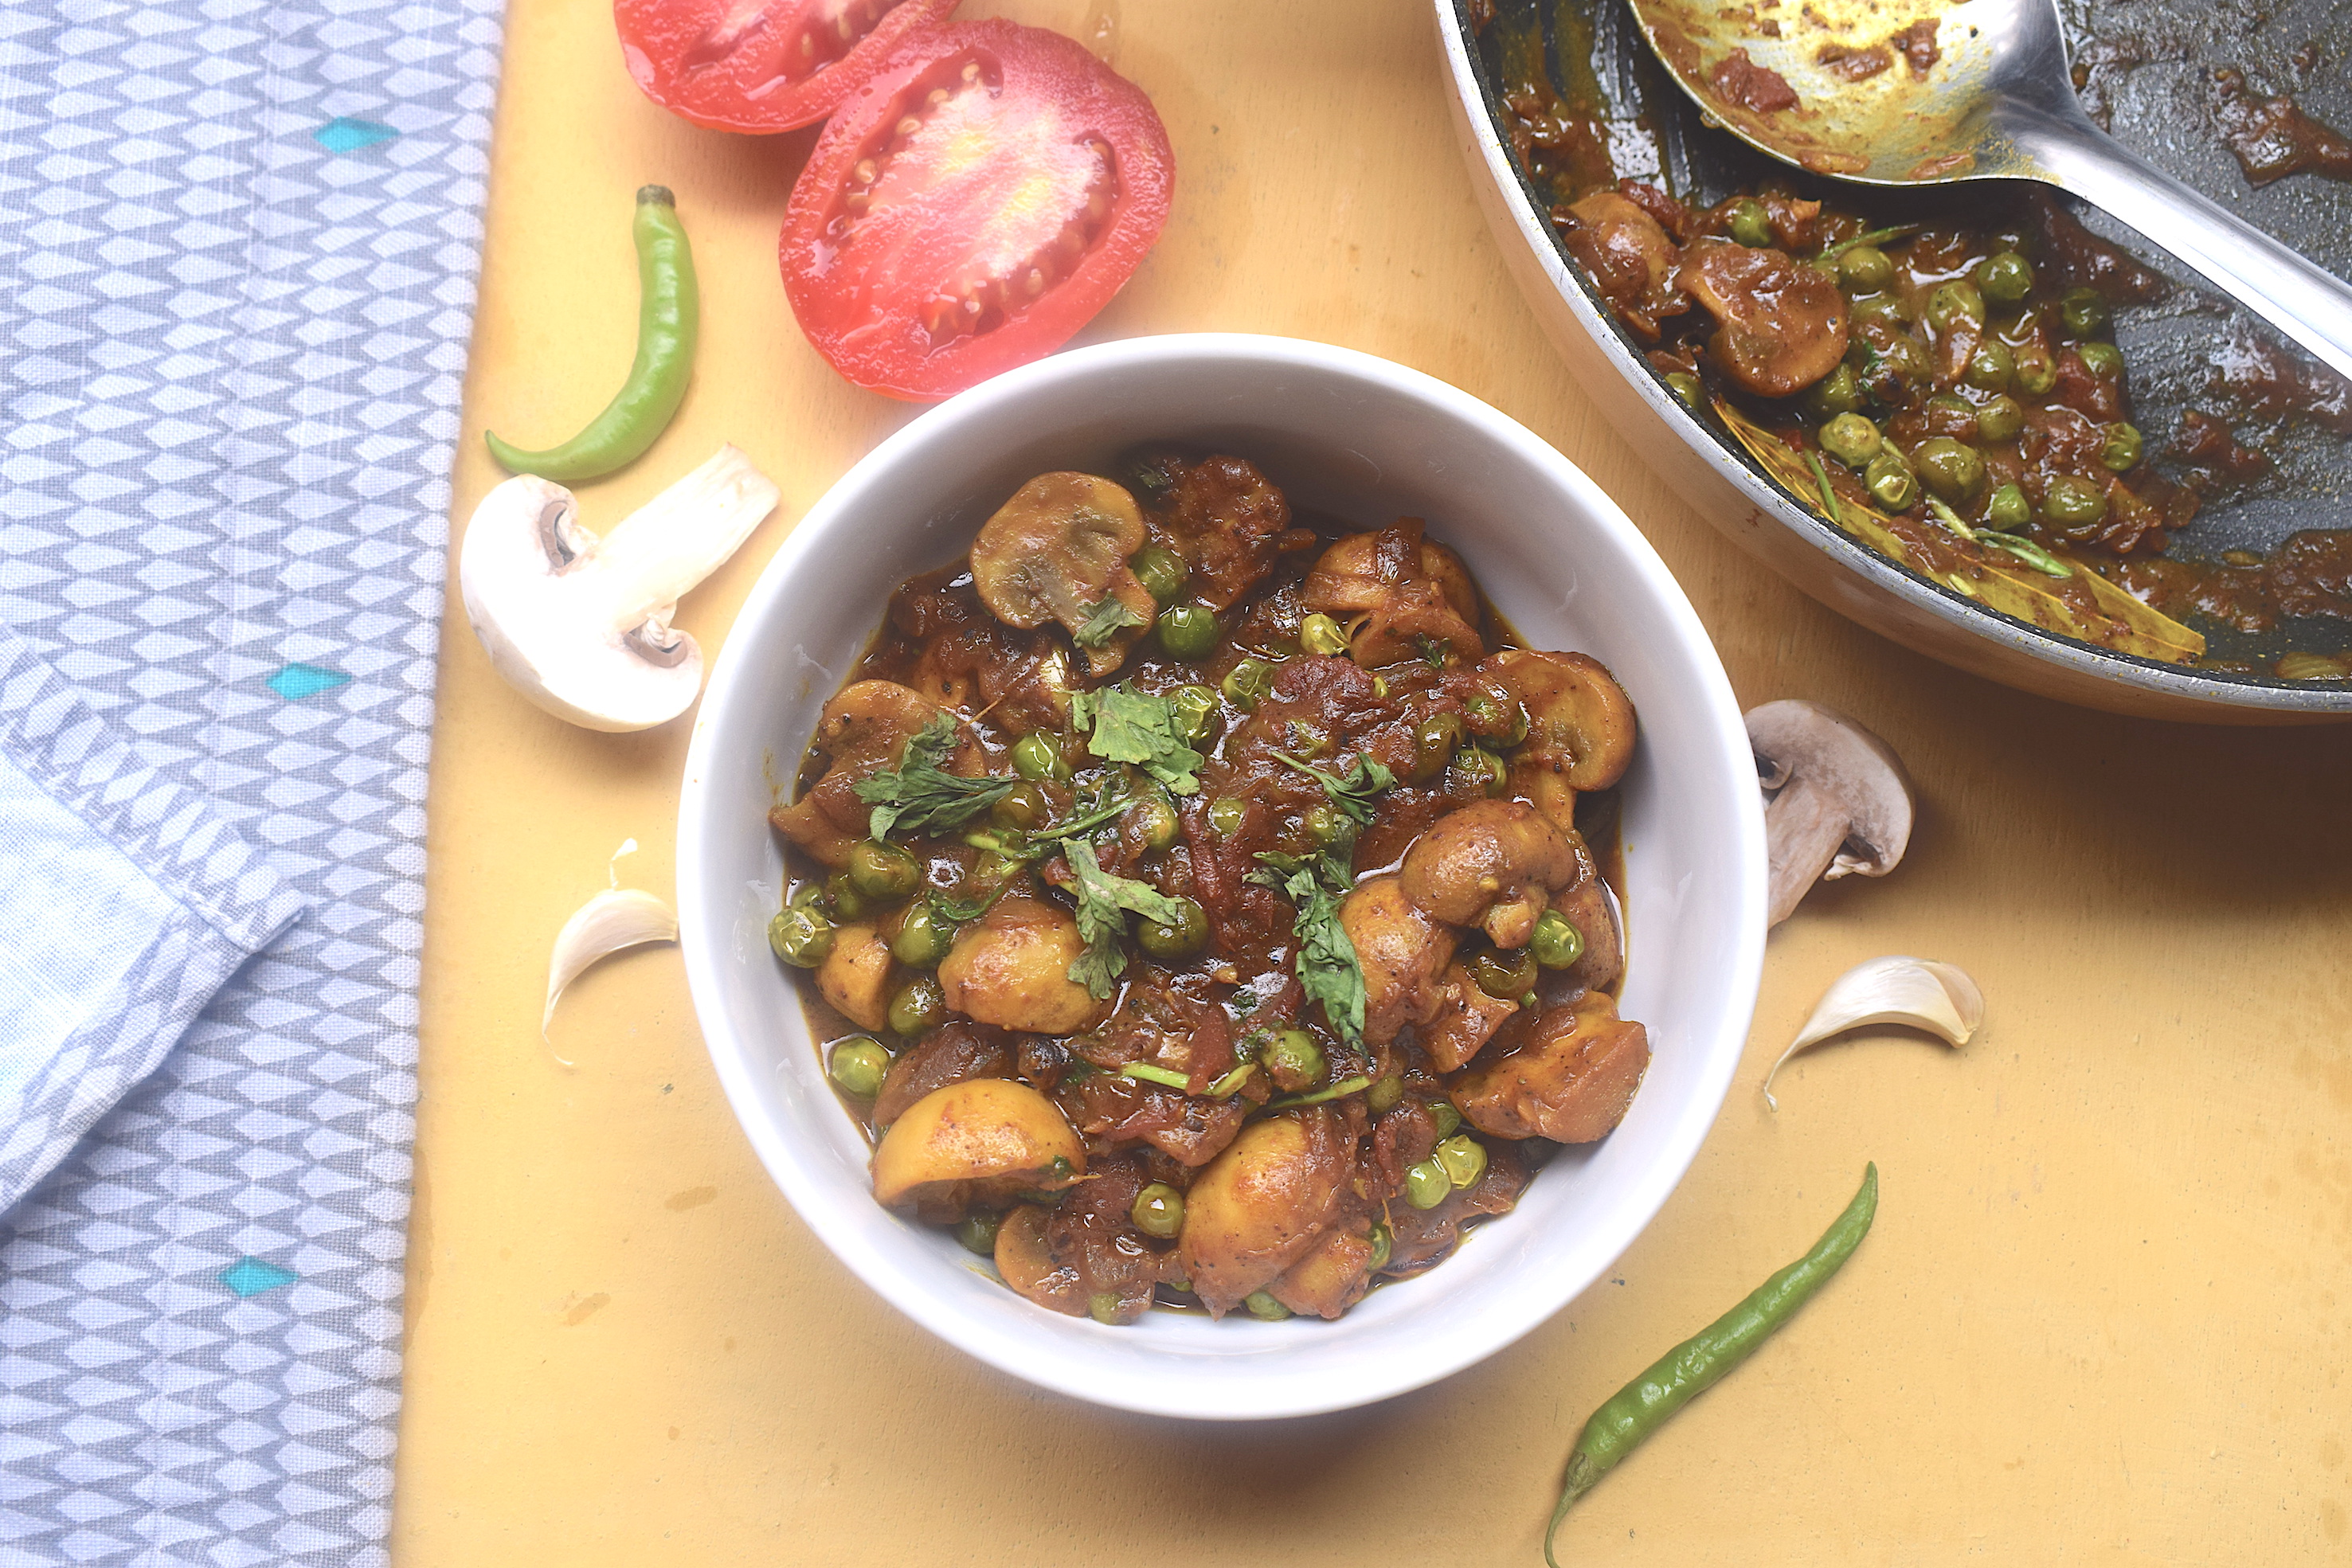
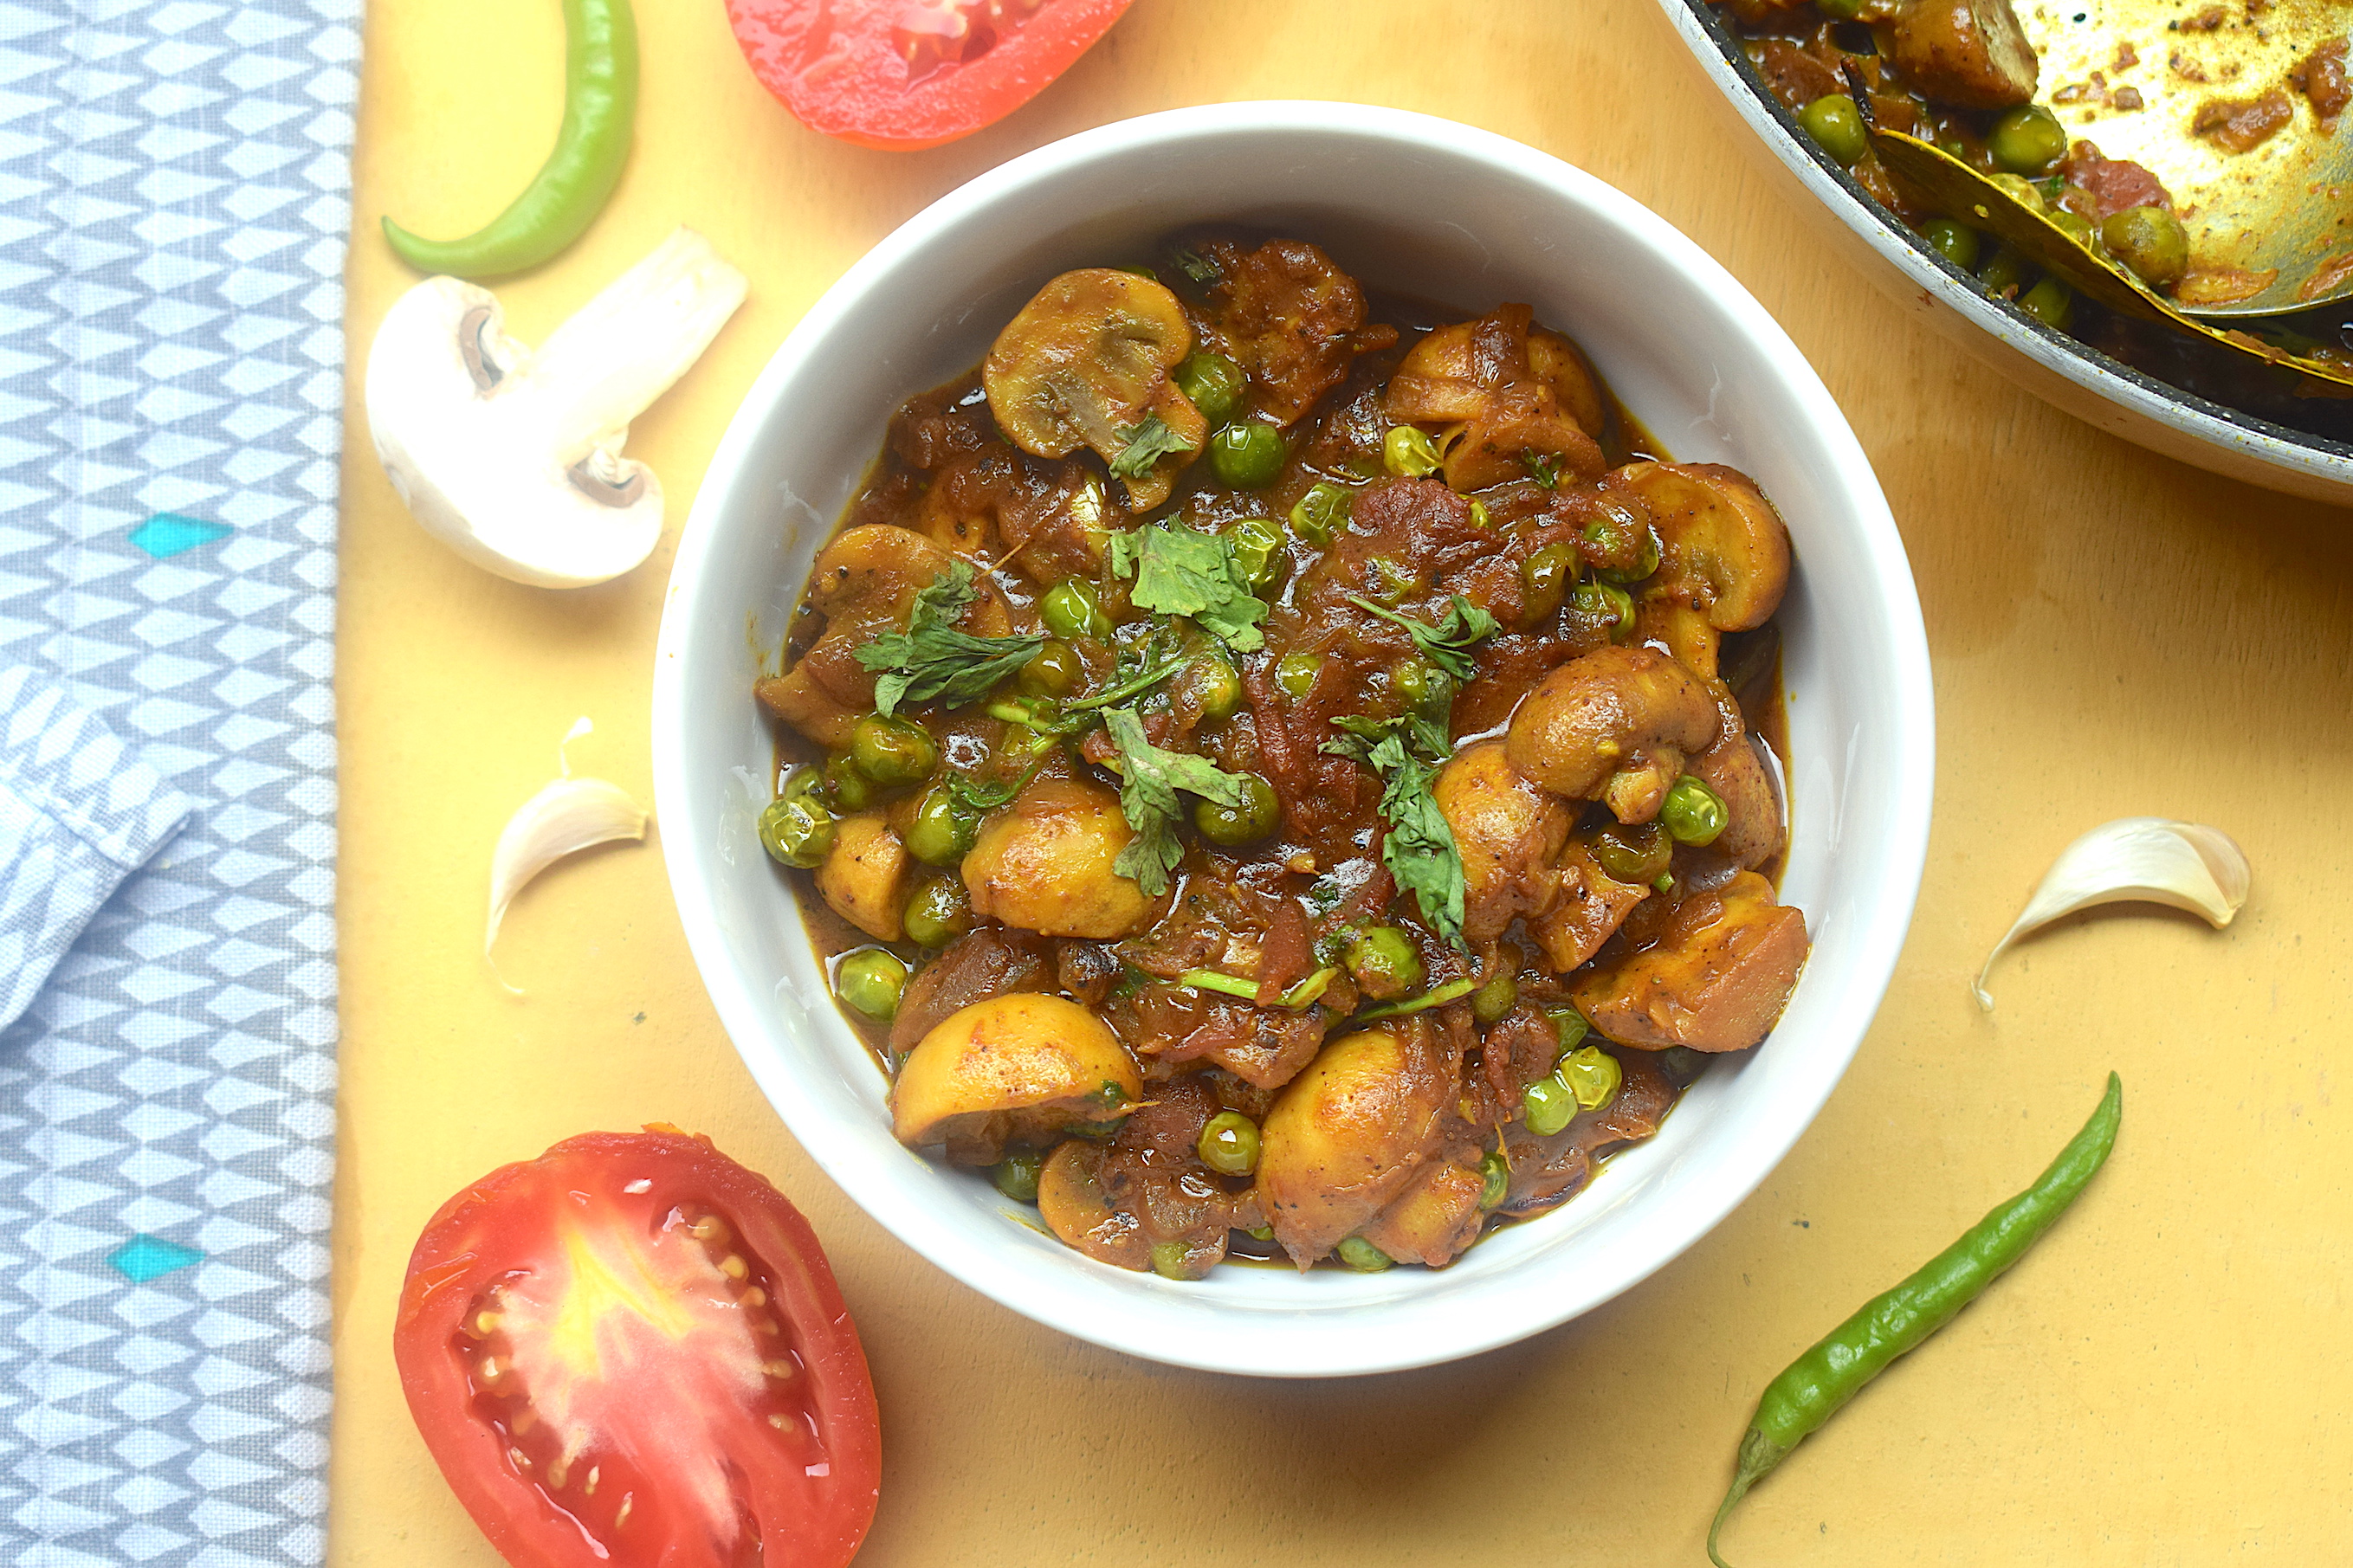
Mushrooms are something I somehow always manage to have in my refrigerator. What’s not to like about them? They are worth devouring, cook in minutes, are low in calories and high in nutrition! And let’s not forget how versatile they are. Mushrooms go with pasta, eggs, pizza toppings, lasagnas,…the list is endless. Perhaps this is why most of my veg recipes, irrespective of cuisine has mushrooms in it.

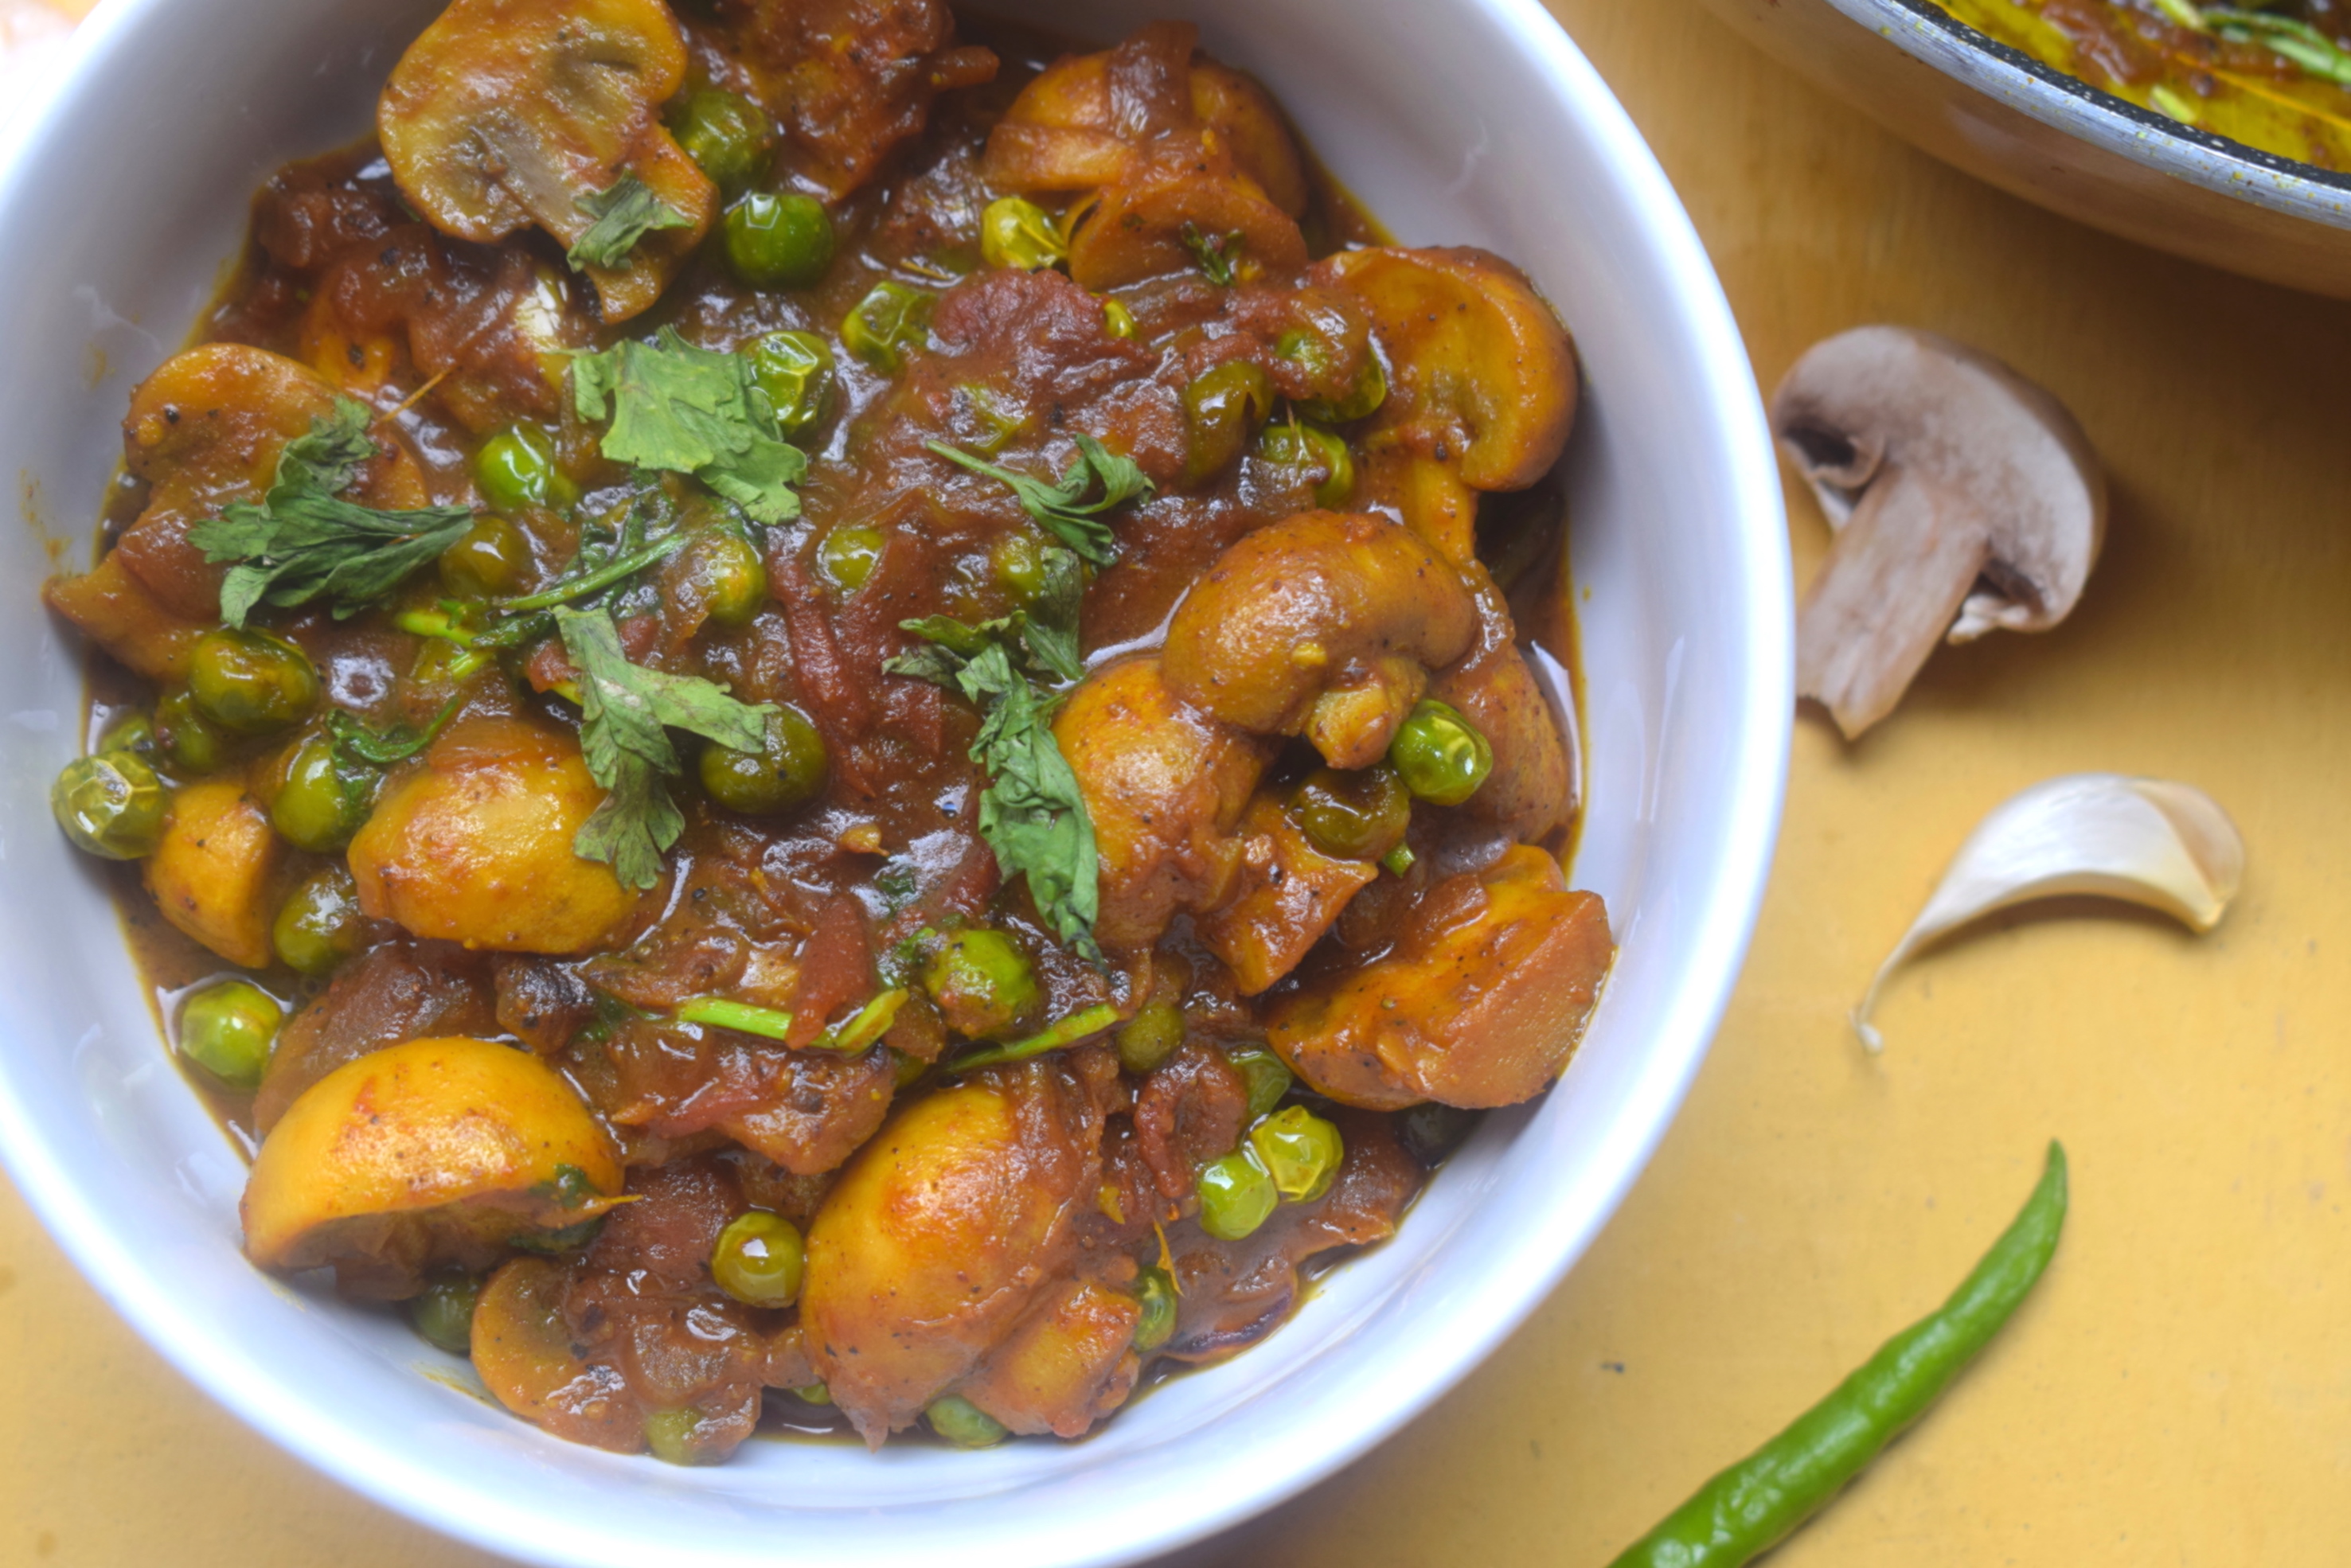
veg recipes

But using mushroom might get tricky when it comes to Indian food. The options most of us are open to are also very limited, with the usual masala mushroom, mushroom do-piaza etc. Honestly, I am not a very big fan of mushroom in Indian gravies. Except for this semi gravy of malai matar mushroom which I am about to share here.

The secret to this veg recipe is that it is not as heavy as one might imagine it to be. This version is in fact very light, as it involves the addition of coconut milk which gives it a creamy texture. The other masalas are the usual onions, ginger, garlic, chilies, lots of tomatoes and the standard spices that go into Indian gravies. The prep time is also very less, and it makes for a great and quick dinner recipe, served hot with some flaky parathas.

veg recipes

The peas I have used here are fresh. I do not champion using frozen peas (or anything frozen for that matter). Because the peas are fresh and raw, I add them first and cook them through before adding the mushroom. This is because if you add the peas and mushrooms together, the latter will actually start melting since it takes just about ten minutes to cook. It is also important to use big chunks of mushroom into the gravy as it will anyways shrink down to half its size after cooking. I always use button mushrooms in Indian cooking. It is easily available and it has its own crunch that I feel goes well in Indian cooking.

Preparation time – 15 minutes

Cooking time – 30 minutes

Serves – 3

[ingredients title=”Ingredients”]

  • 250 g button mushrooms, each cut in half
  • 200 g fresh peas
  • 2 large onions, finely chopped
  • 2 green chilies, slit in half
  • 1 tbsp ginger garlic paste
  • 1 tsp sugar
  • 2 tbsp cooking oil
  • 2 bay leaves
  • 1 tsp turmeric powder
  • 1 tsp black pepper powder
  • 1 tsp cumin powder
  • 2 medium tomatoes, finely chopped
  • 100 ml thick coconut milk
  • 1 tsp fresh garam masala
  • Freshly chopped coriander leaves for garnish
  • Salt to taste [/ingredients]

[directions title=”Directions”]

  1. Heat oil in a kadhai. Add the bay leaves, followed by the finely chopped onions. Saute the onions till they turn brown.
  2. Add the sugar to the onions. The sugar will help the onions cook faster, add a caramelized taste and also give a dazzling brown color to the recipe. Add the slit green chilies into this and saute for another two to three minutes in medium flame.
  3. Next, add 1 tsp of fresh ginger garlic paste. Fry this till the raw aroma of the ginger and garlic disappears.
  4. Season with salt, turmeric powder, black pepper powder and cumin powder. Cook the mixture thoroughly till all the spices and condiments come together and there is no rawness left.
  5. Finely chop two medium tomatoes and add them once the onions are cooked and assimilated well with the spices. Cook the tomatoes for another five minutes till they merge into perfect harmony with the onions. Add a splash of water if required.
  6. Wash the peas thoroughly and add it to this onion and tomato mixture. Since the peas are raw, we need to cook them through before adding the rest of the ingredients. Saute the peas for a few minutes with the onions and tomatoes.  The tomatoes will release more water of its own, which can be a base for the peas to cook in.
  7. Once the peas are 70 percent cooked, add the button mushrooms. Gently saute the mushrooms into the rest of the mixture. Make sure each mushroom gets coated in the masalas in the kadhai.
  8. After a while, the oil will start to separate from the mixture in the kadhai. This is when you need to add the coconut milk. Give it a gentle stir. Cover and cook this on low heat for ten minutes.
  9. Remove lid after ten minutes, and give it a light stir. Season with some fresh garam masala and coriander before taking it off the heat. Enjoy with some hot parathas or rotis.

[/directions]

This is a semi gravy version. Based on the consistency you’d like, you can add some water to get a gravy version as well. But in my experience, this subzi tastes best when slightly dry.

veg recipes

veg recipes

I hope you like this preparation and add it to your collection of Indian veg recipes. Do let me know how it turns out for you. I will be happy to answer any questions you might have about this or any other recipe. Just drop in a comment or write to me at slurrpilicious@gmail.com
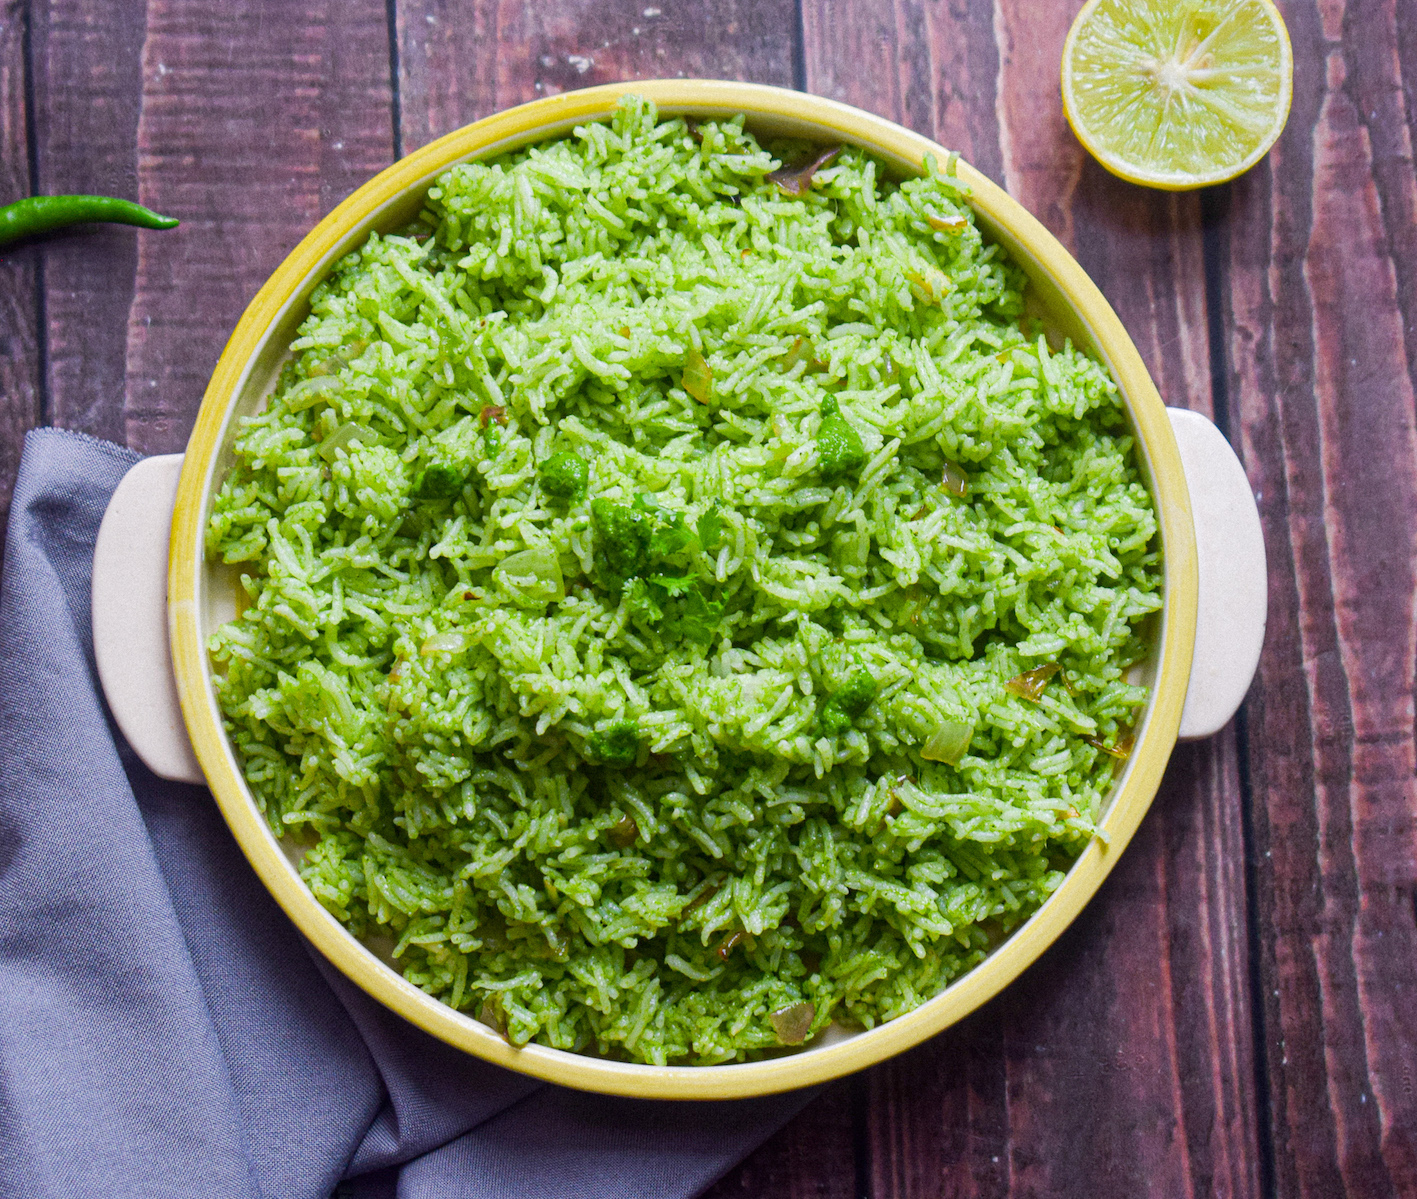
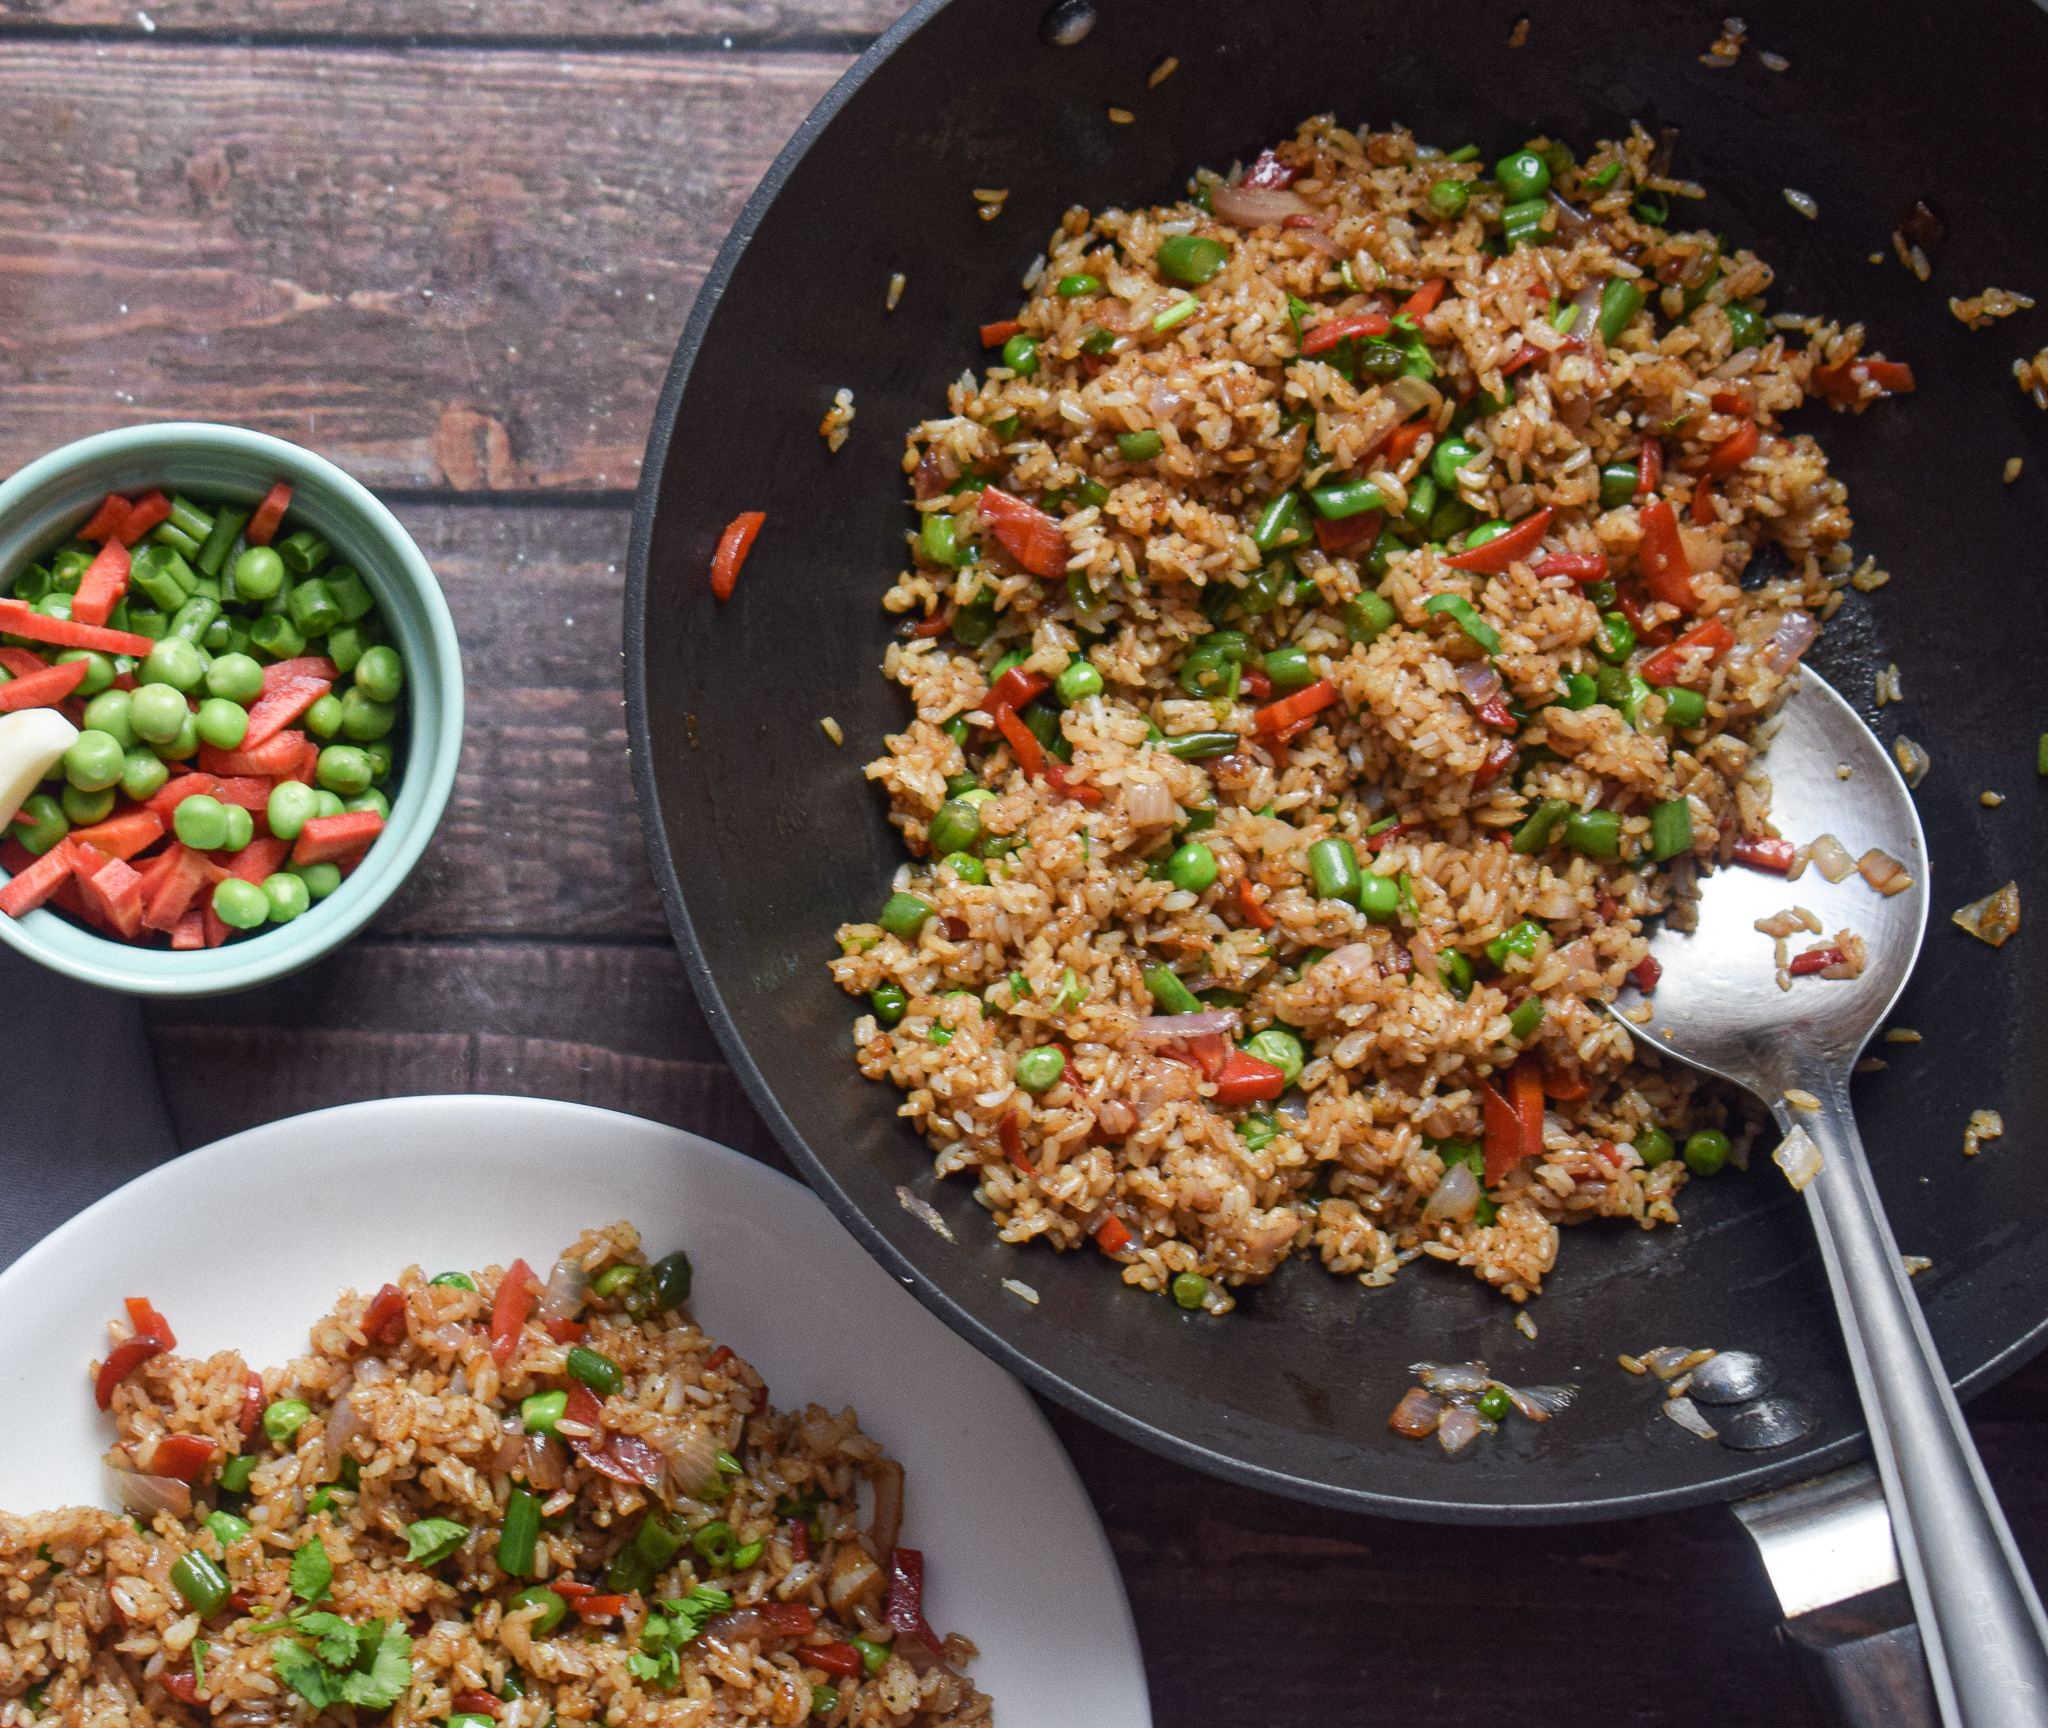
I hope you try out this malai matar mushroom recipe soon.If you do, let me know how it turned out for you.

If you have any questions, suggestions or feedback, please leave me a comment here. Or connect with me Instagram, Facebook or YouTube.

Happy cooking!