One-Pot Asian Chicken and Rice

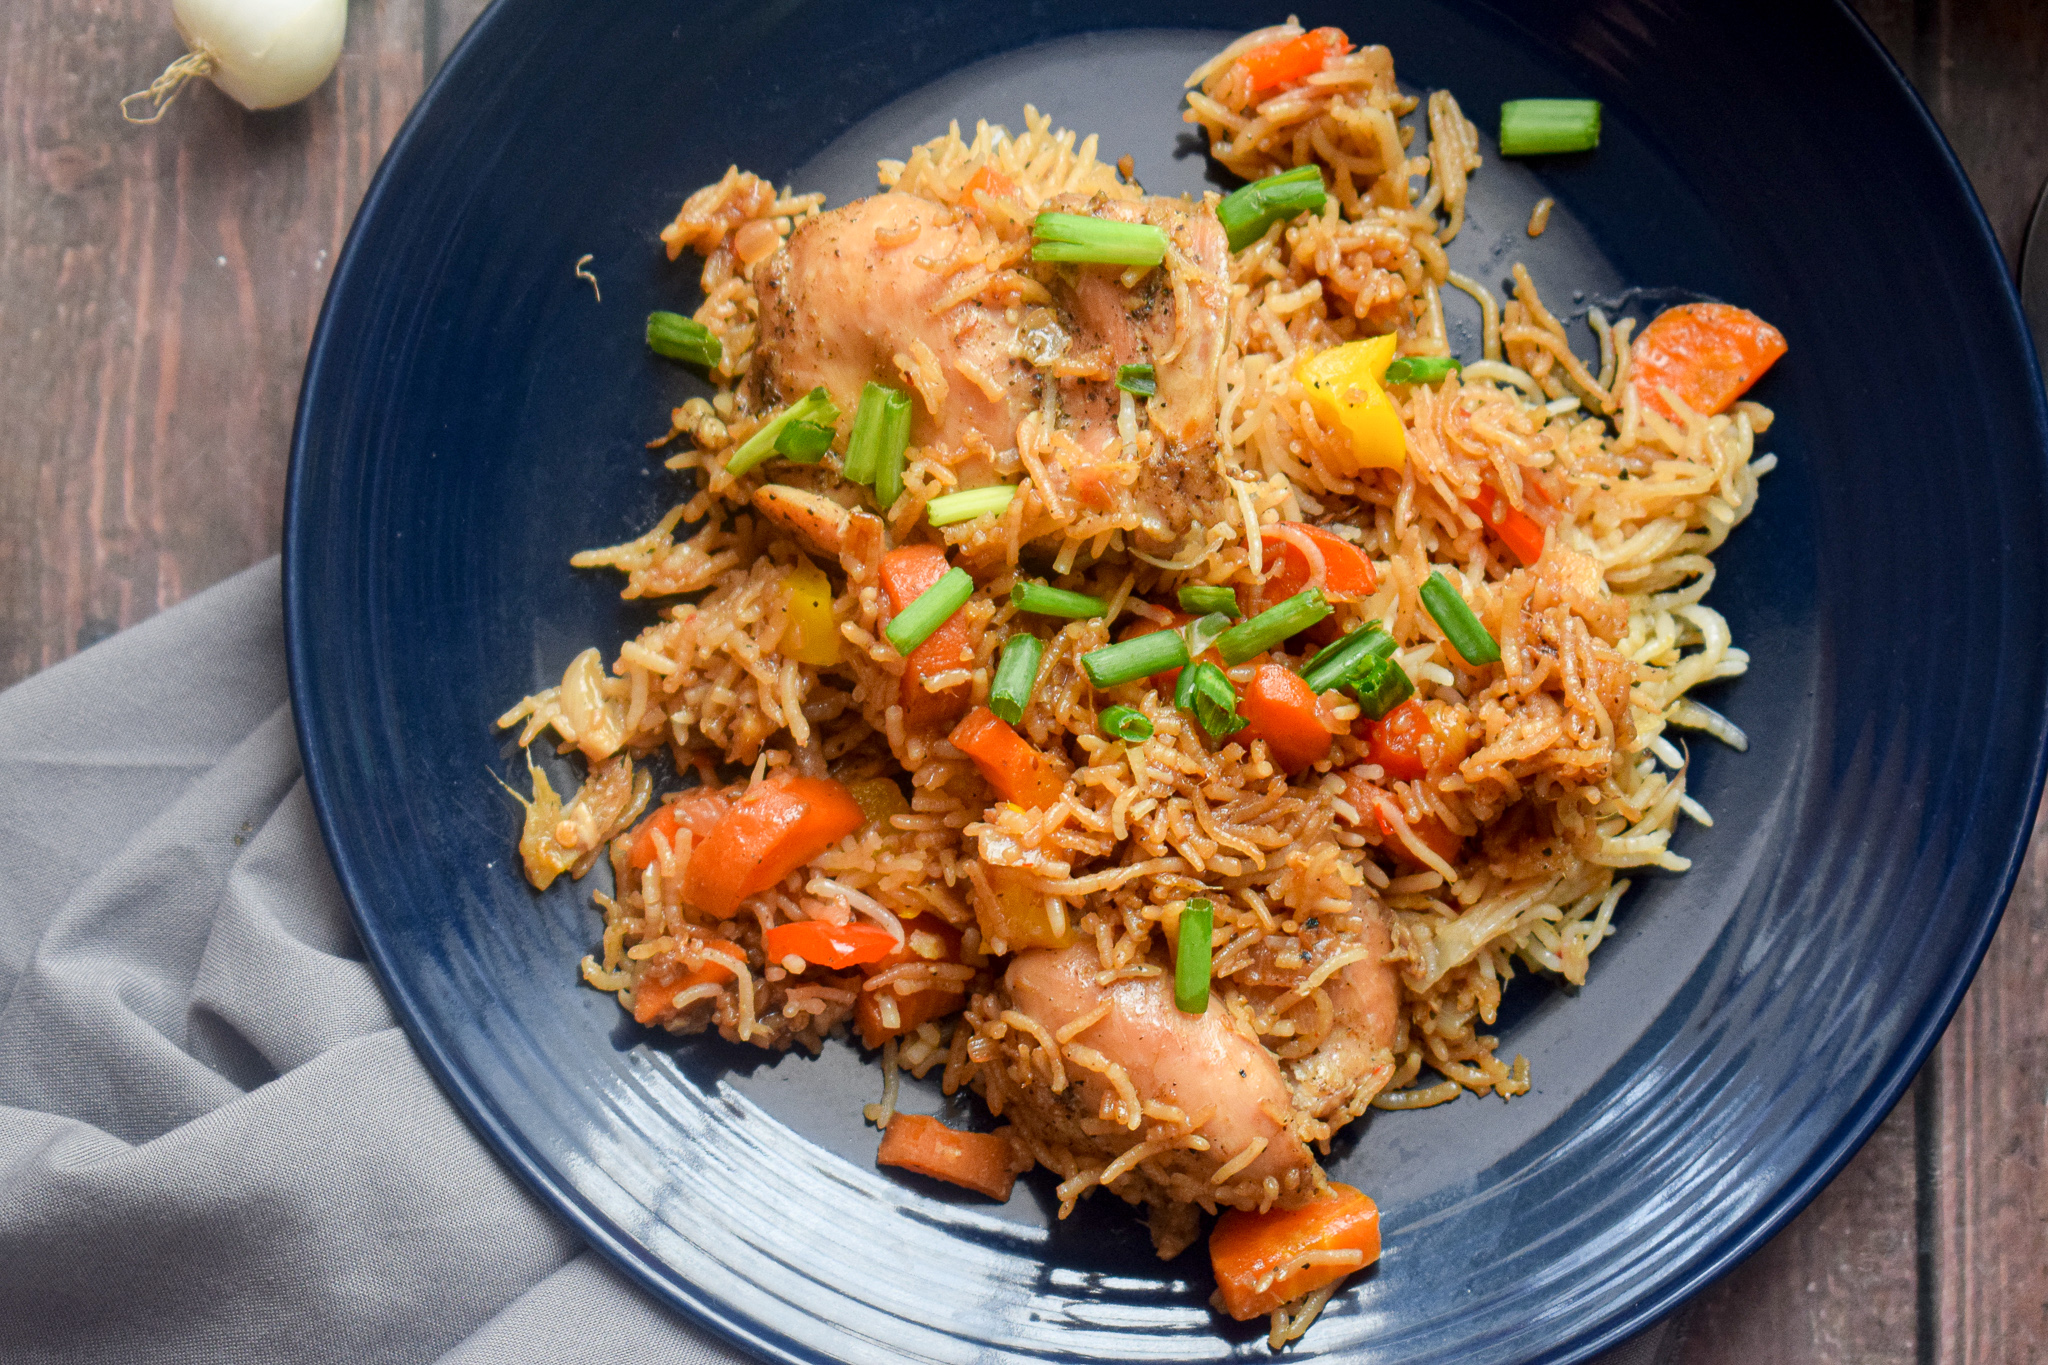
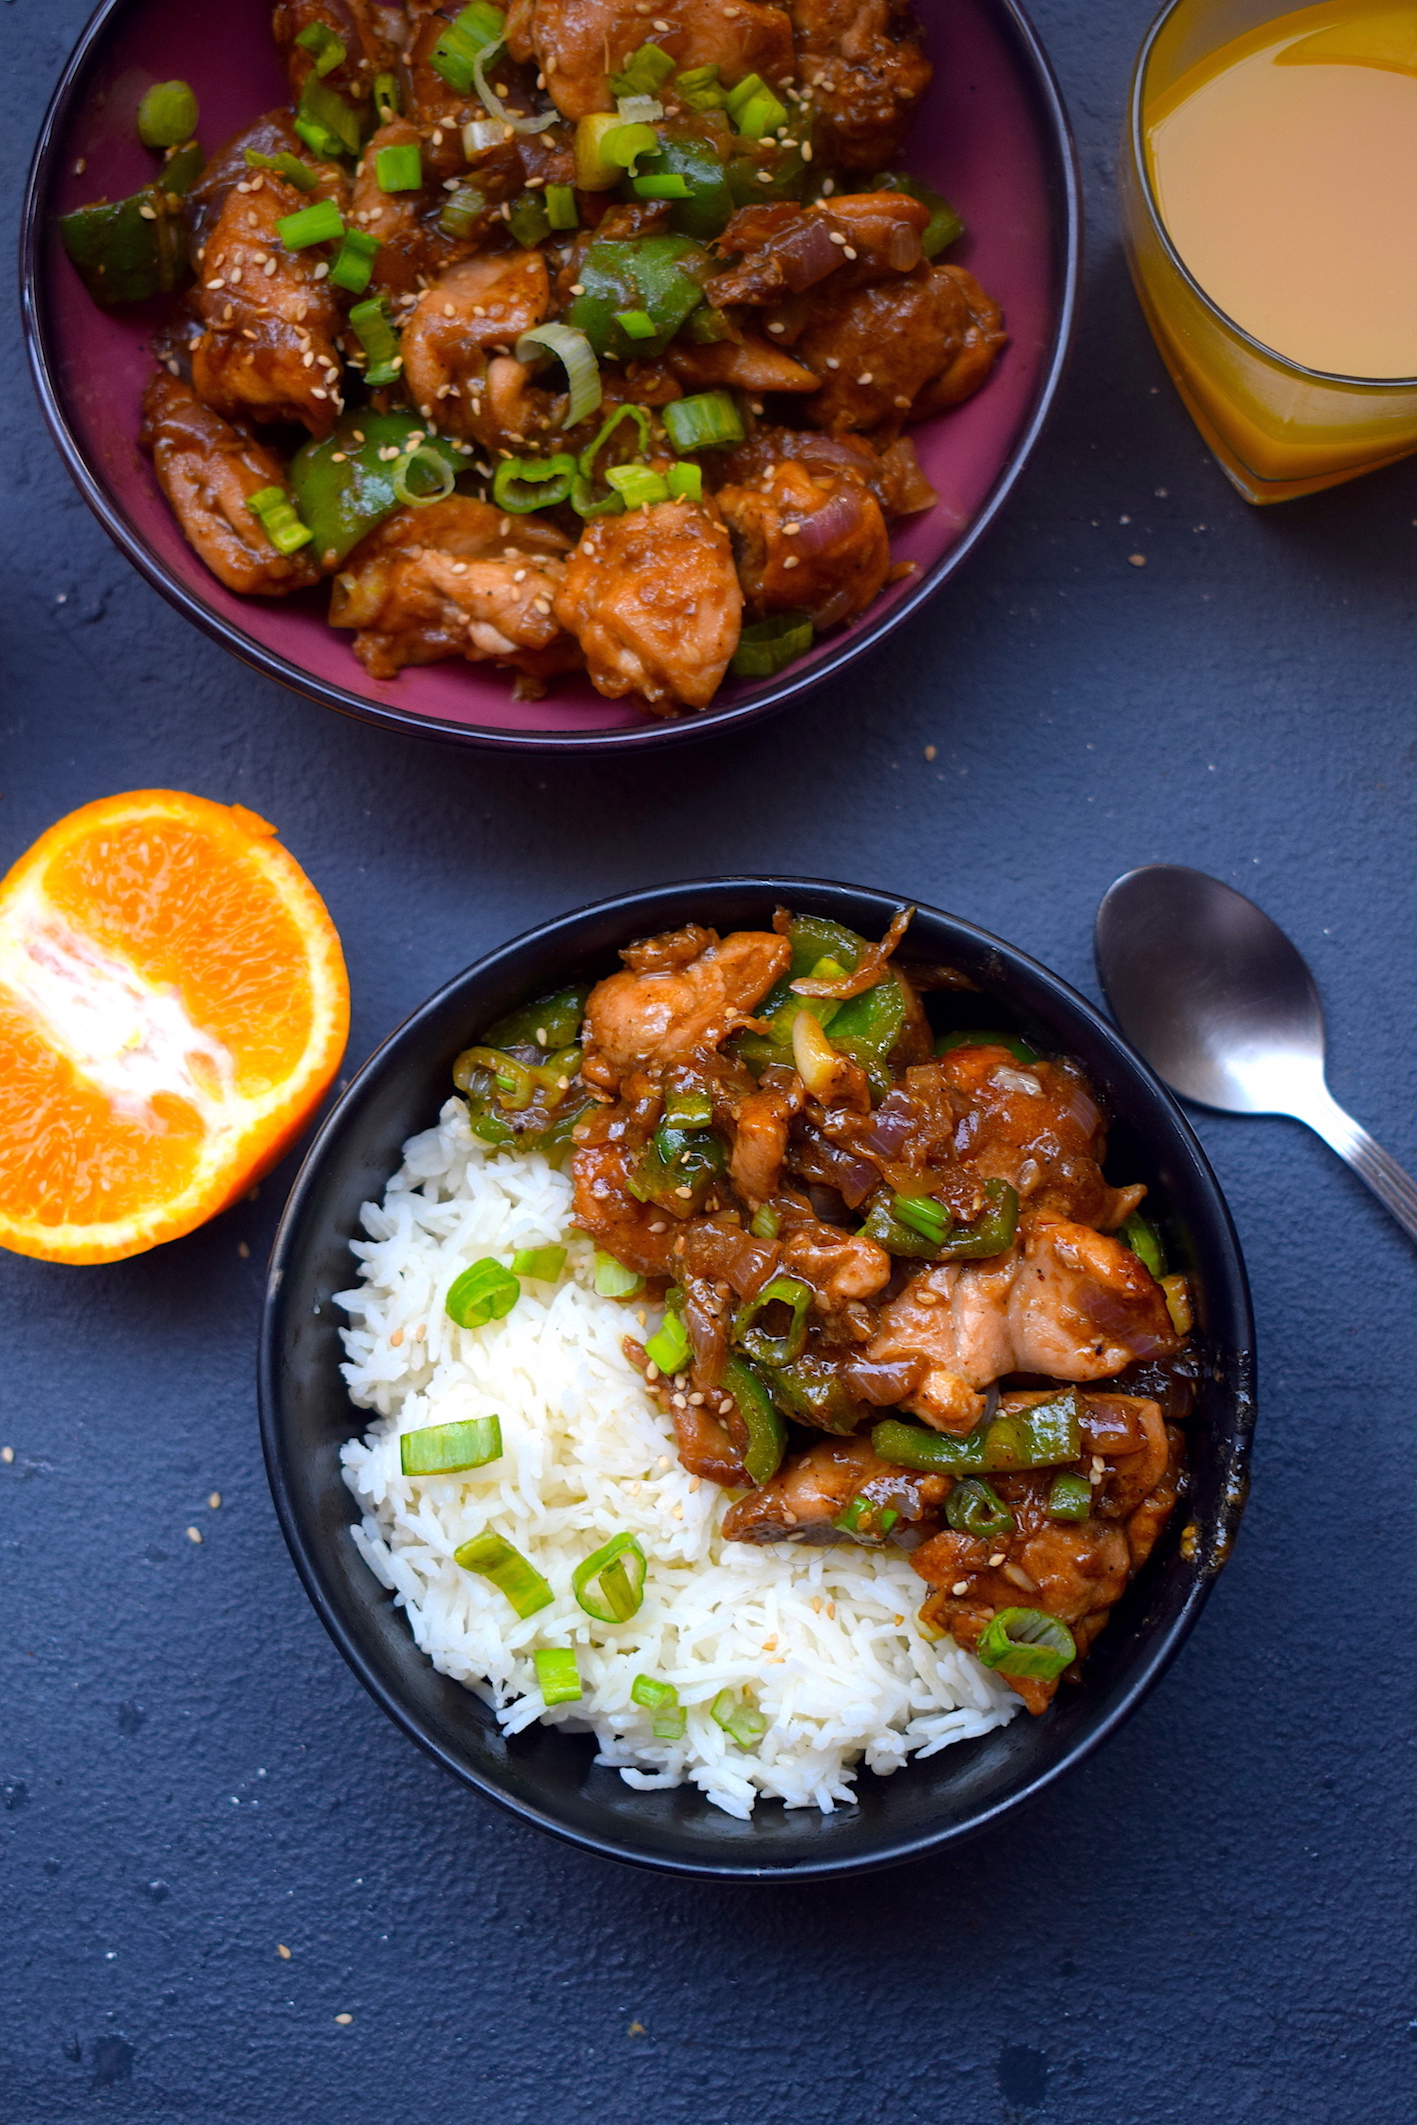
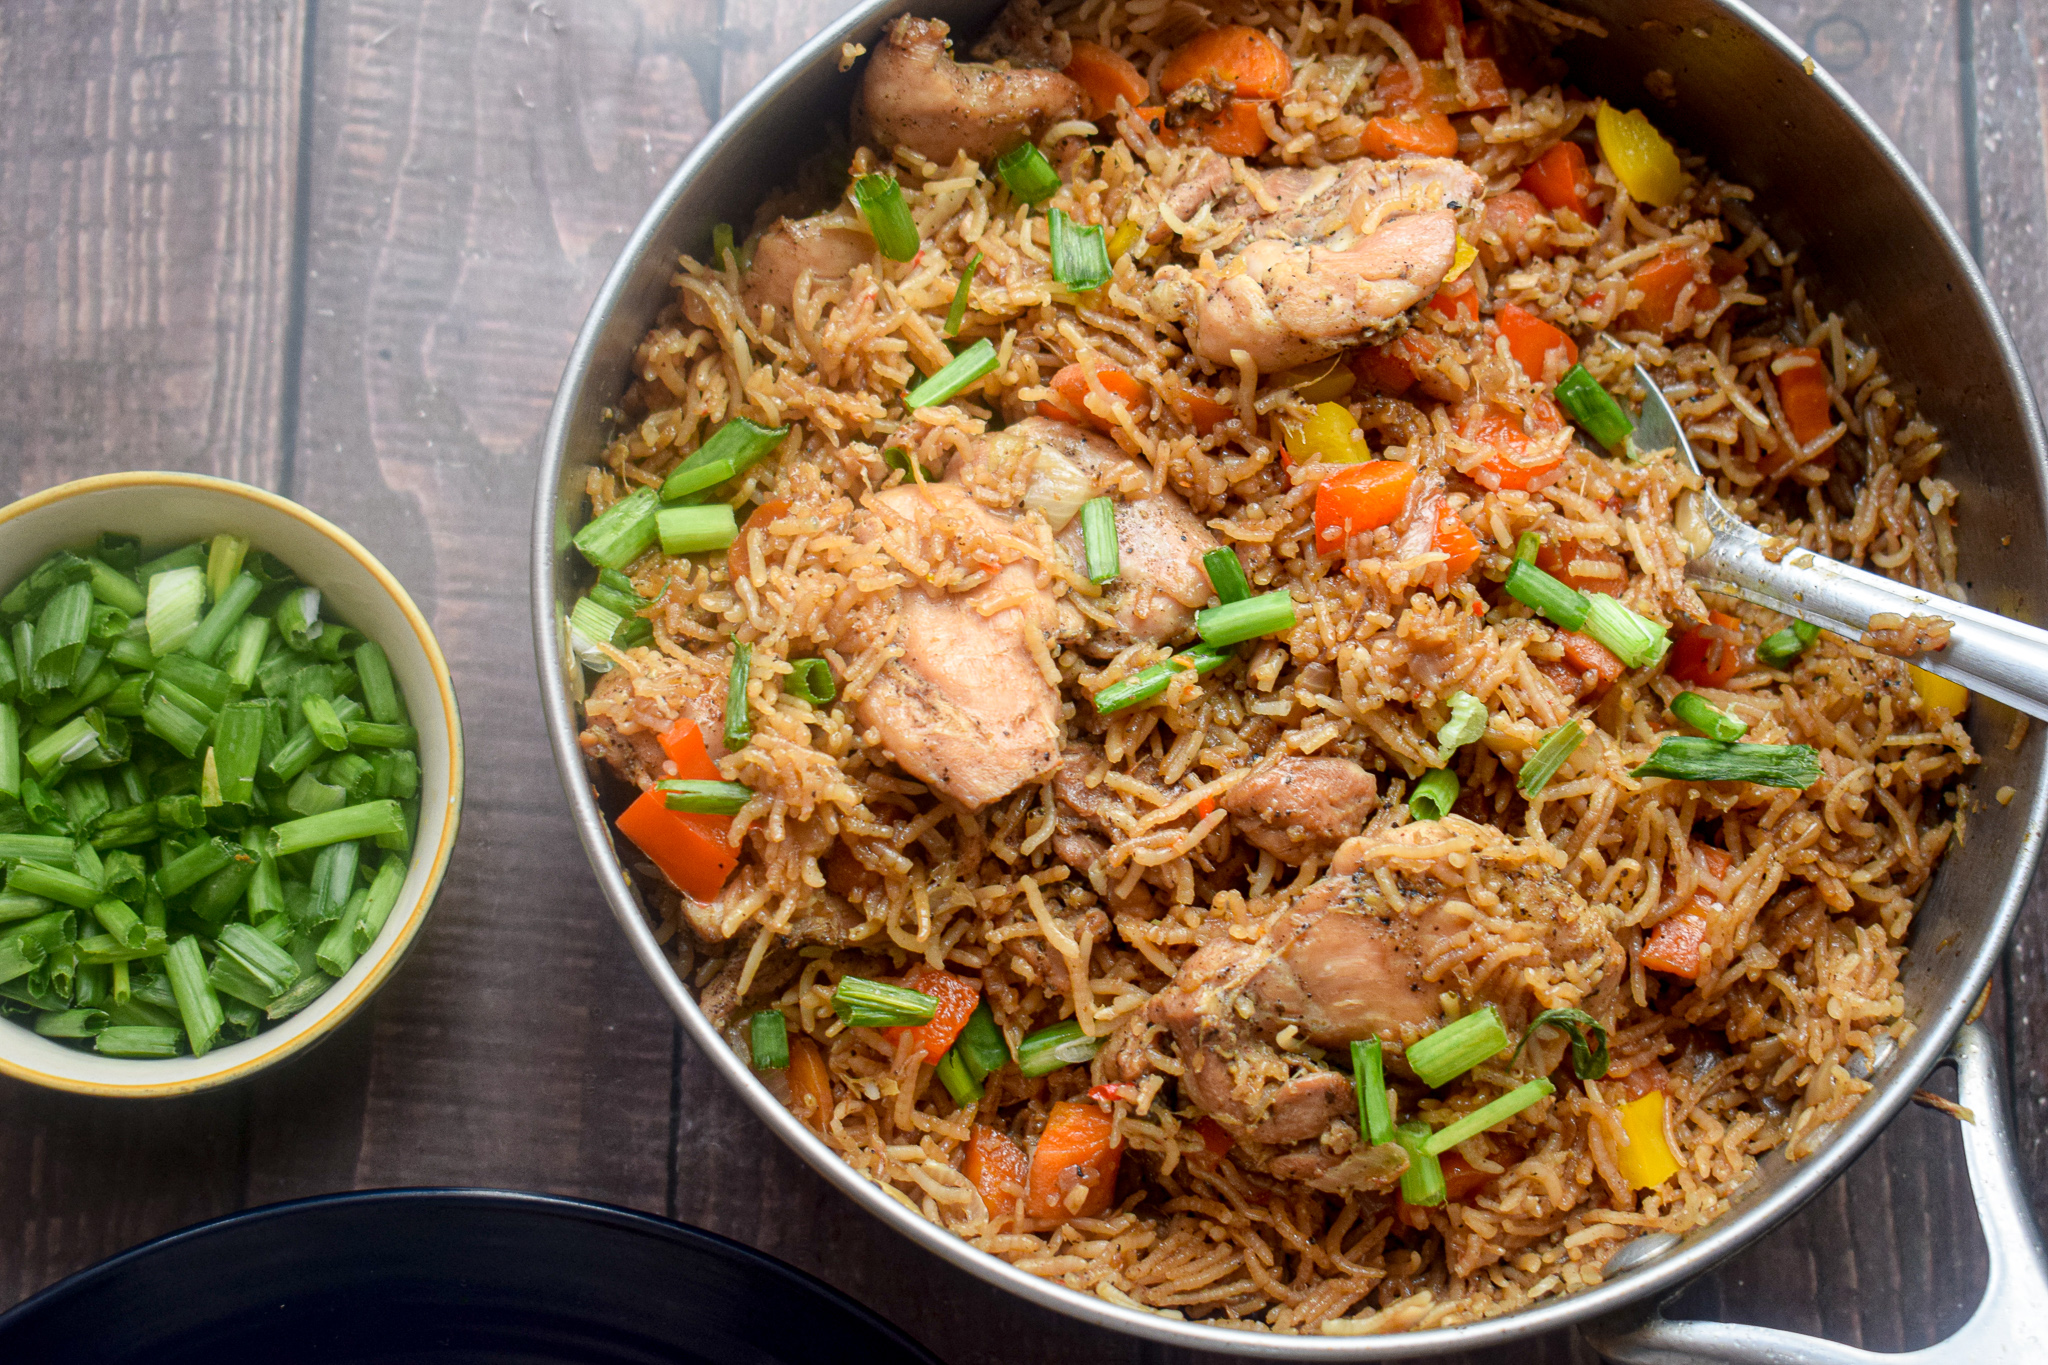
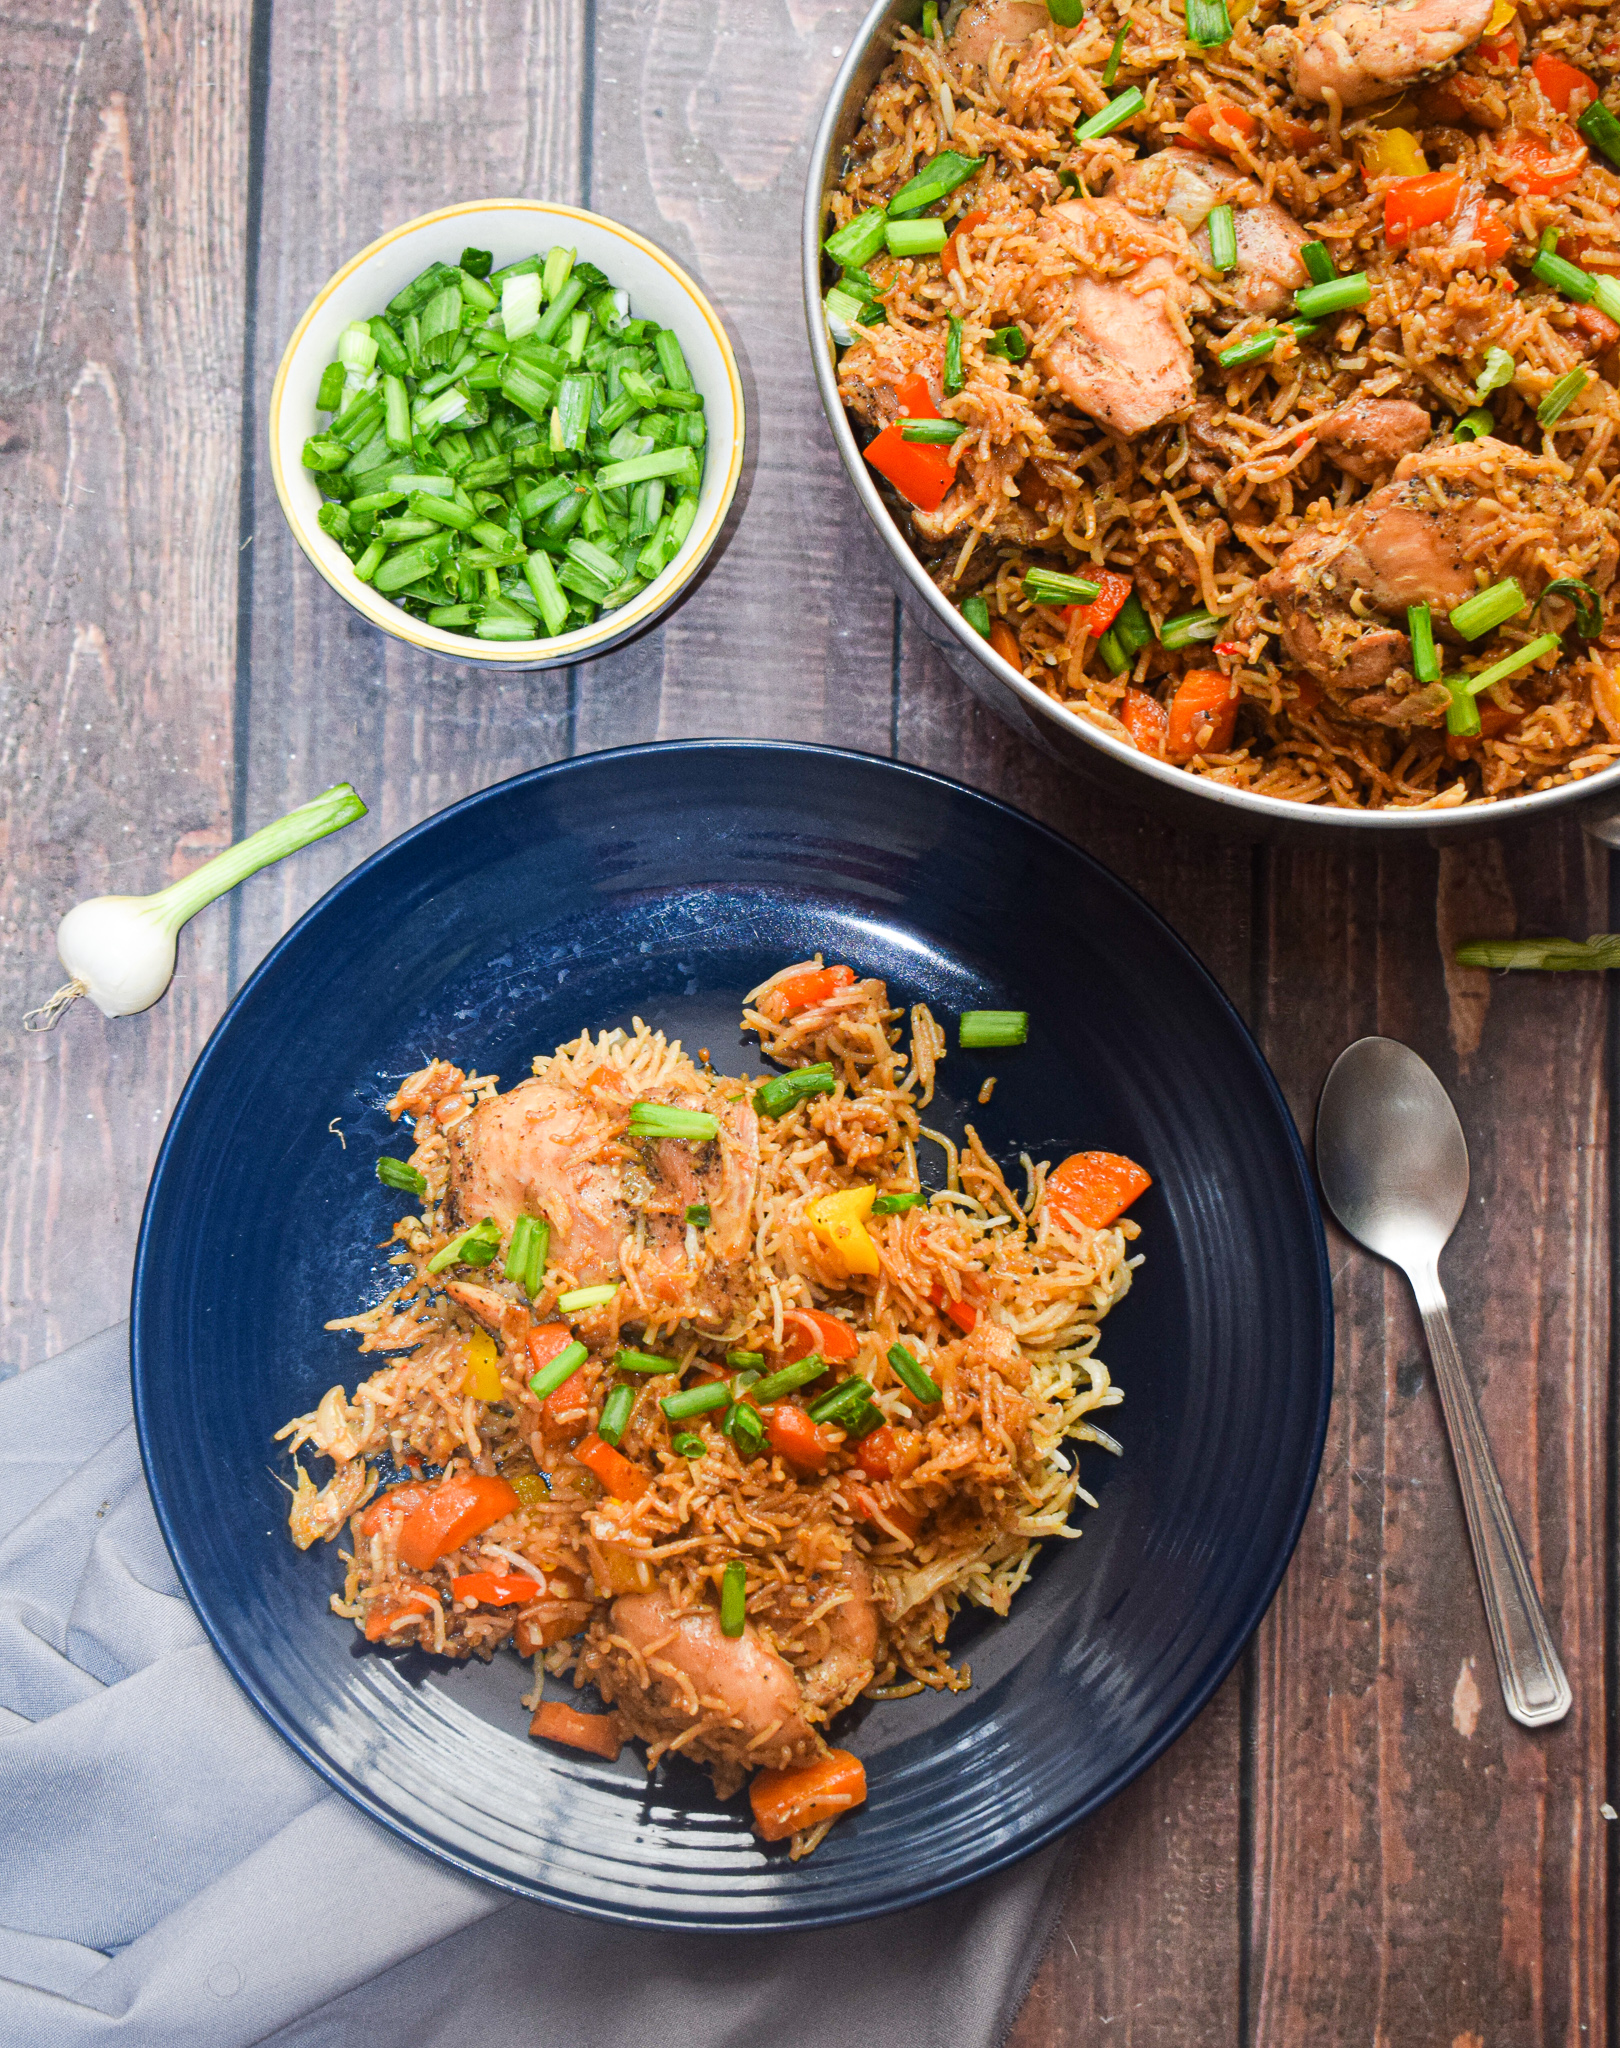
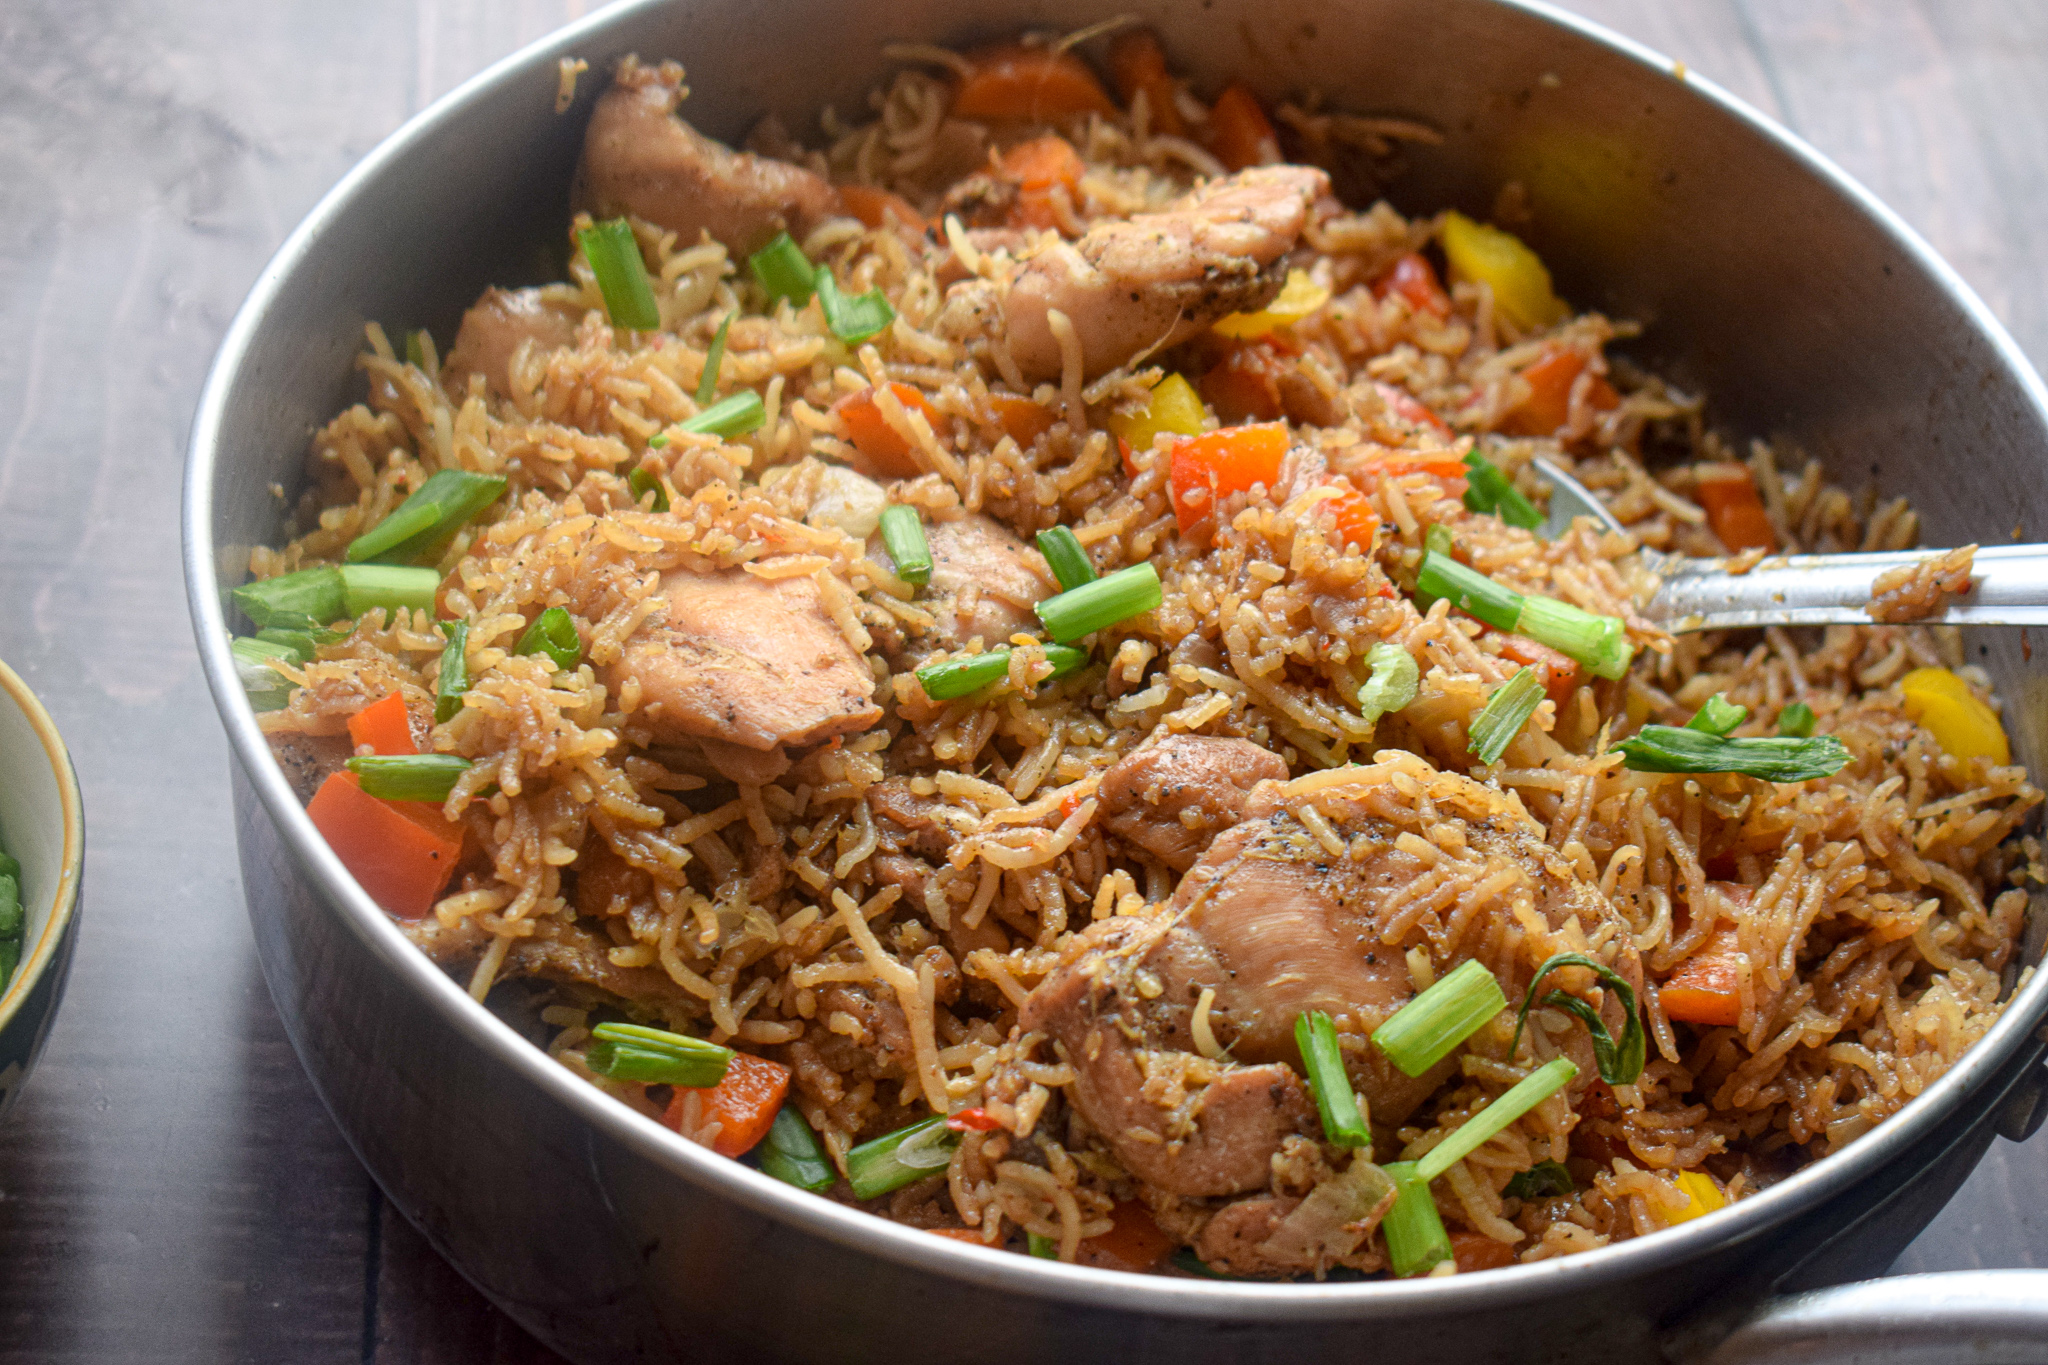
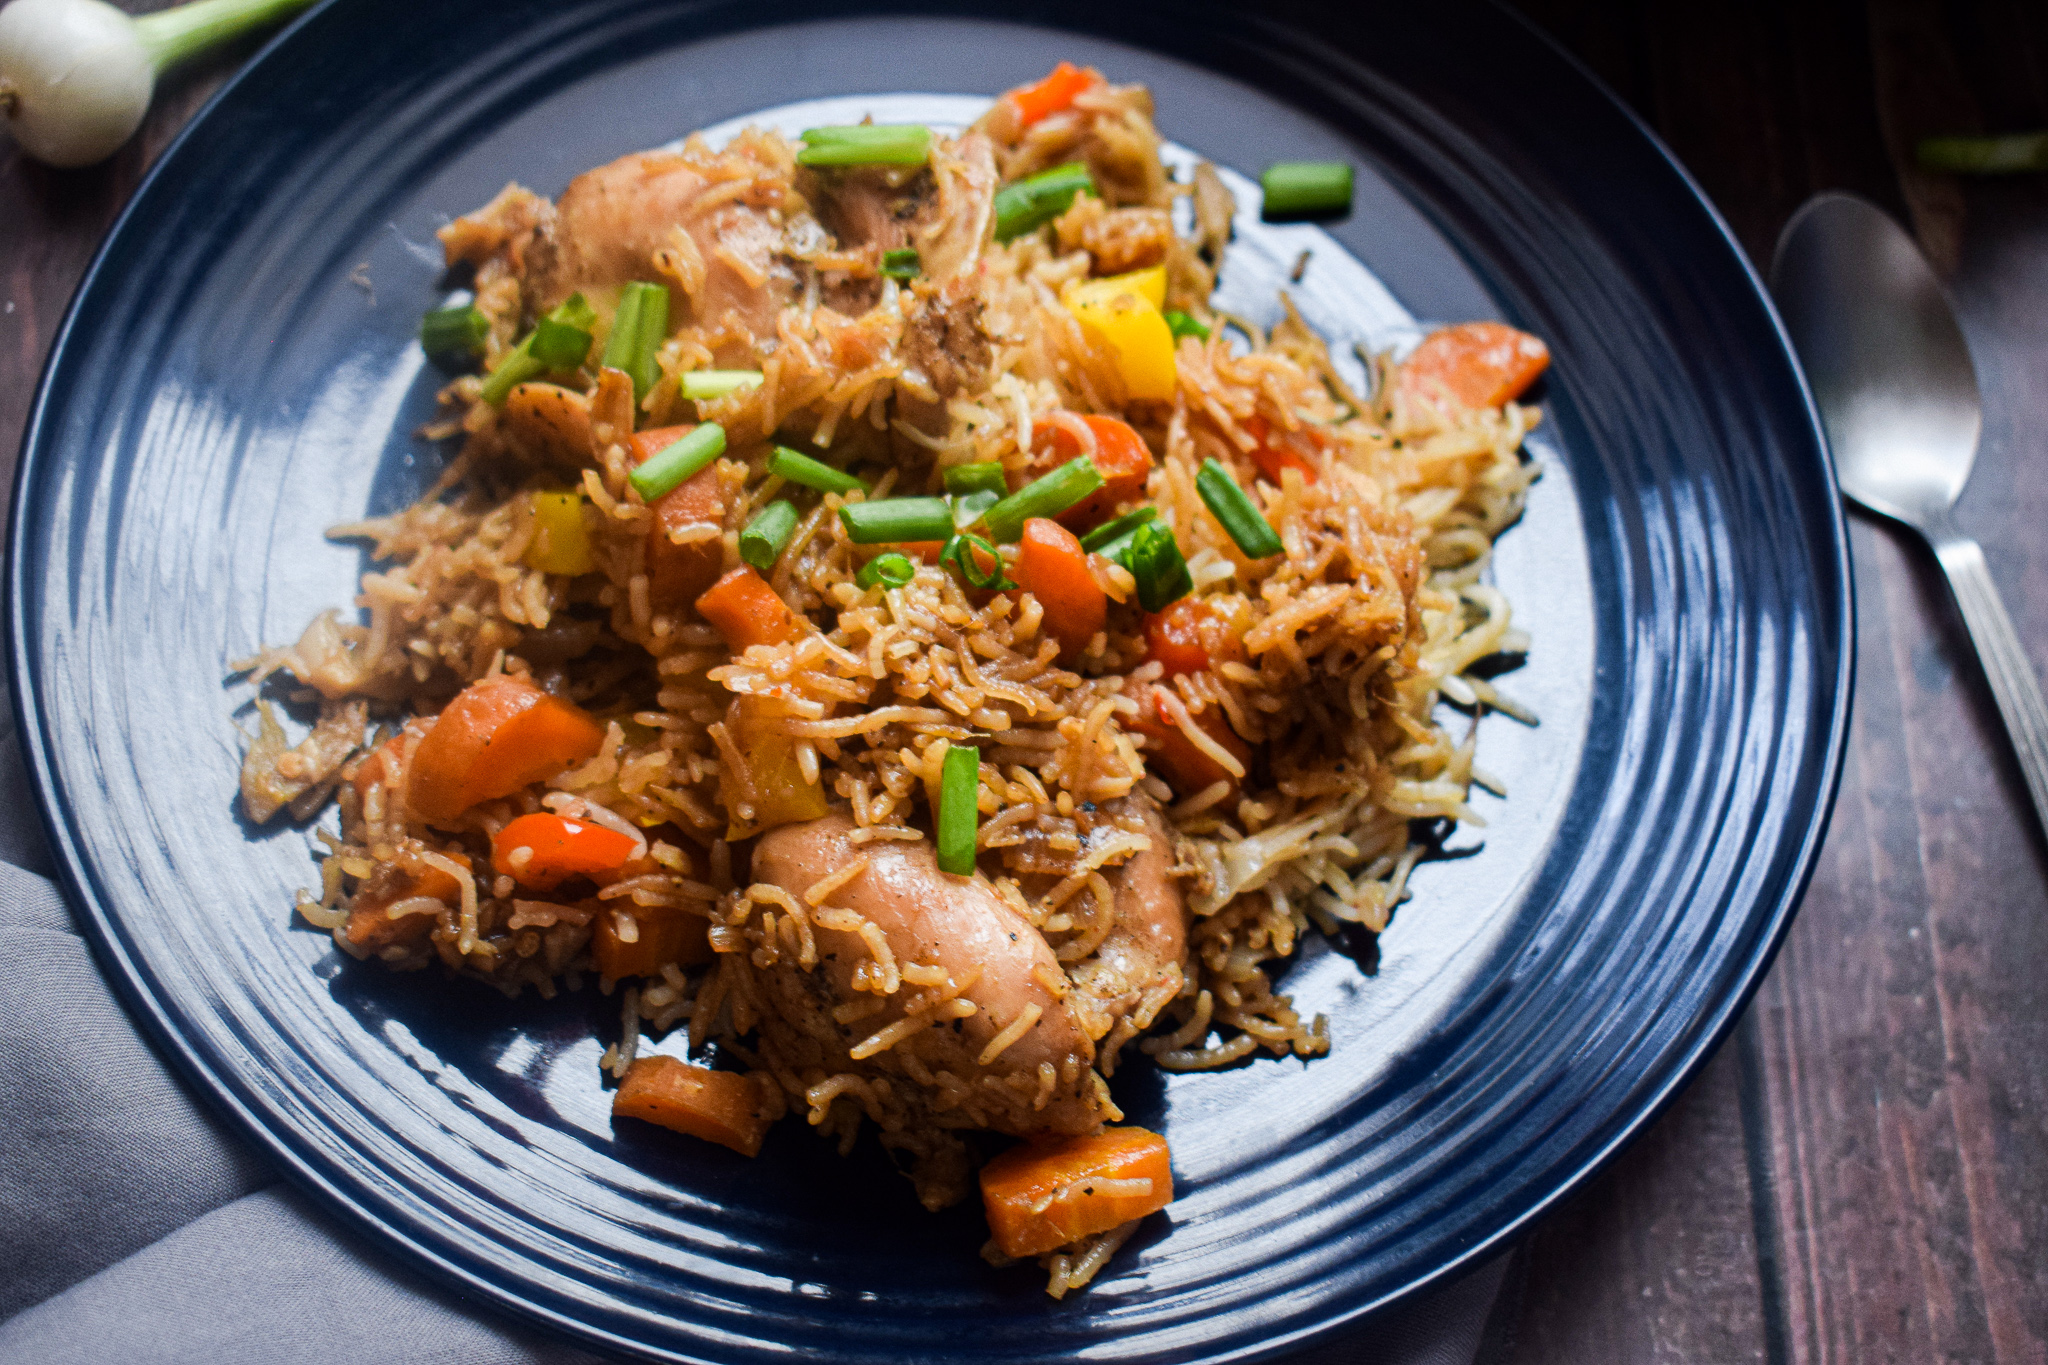
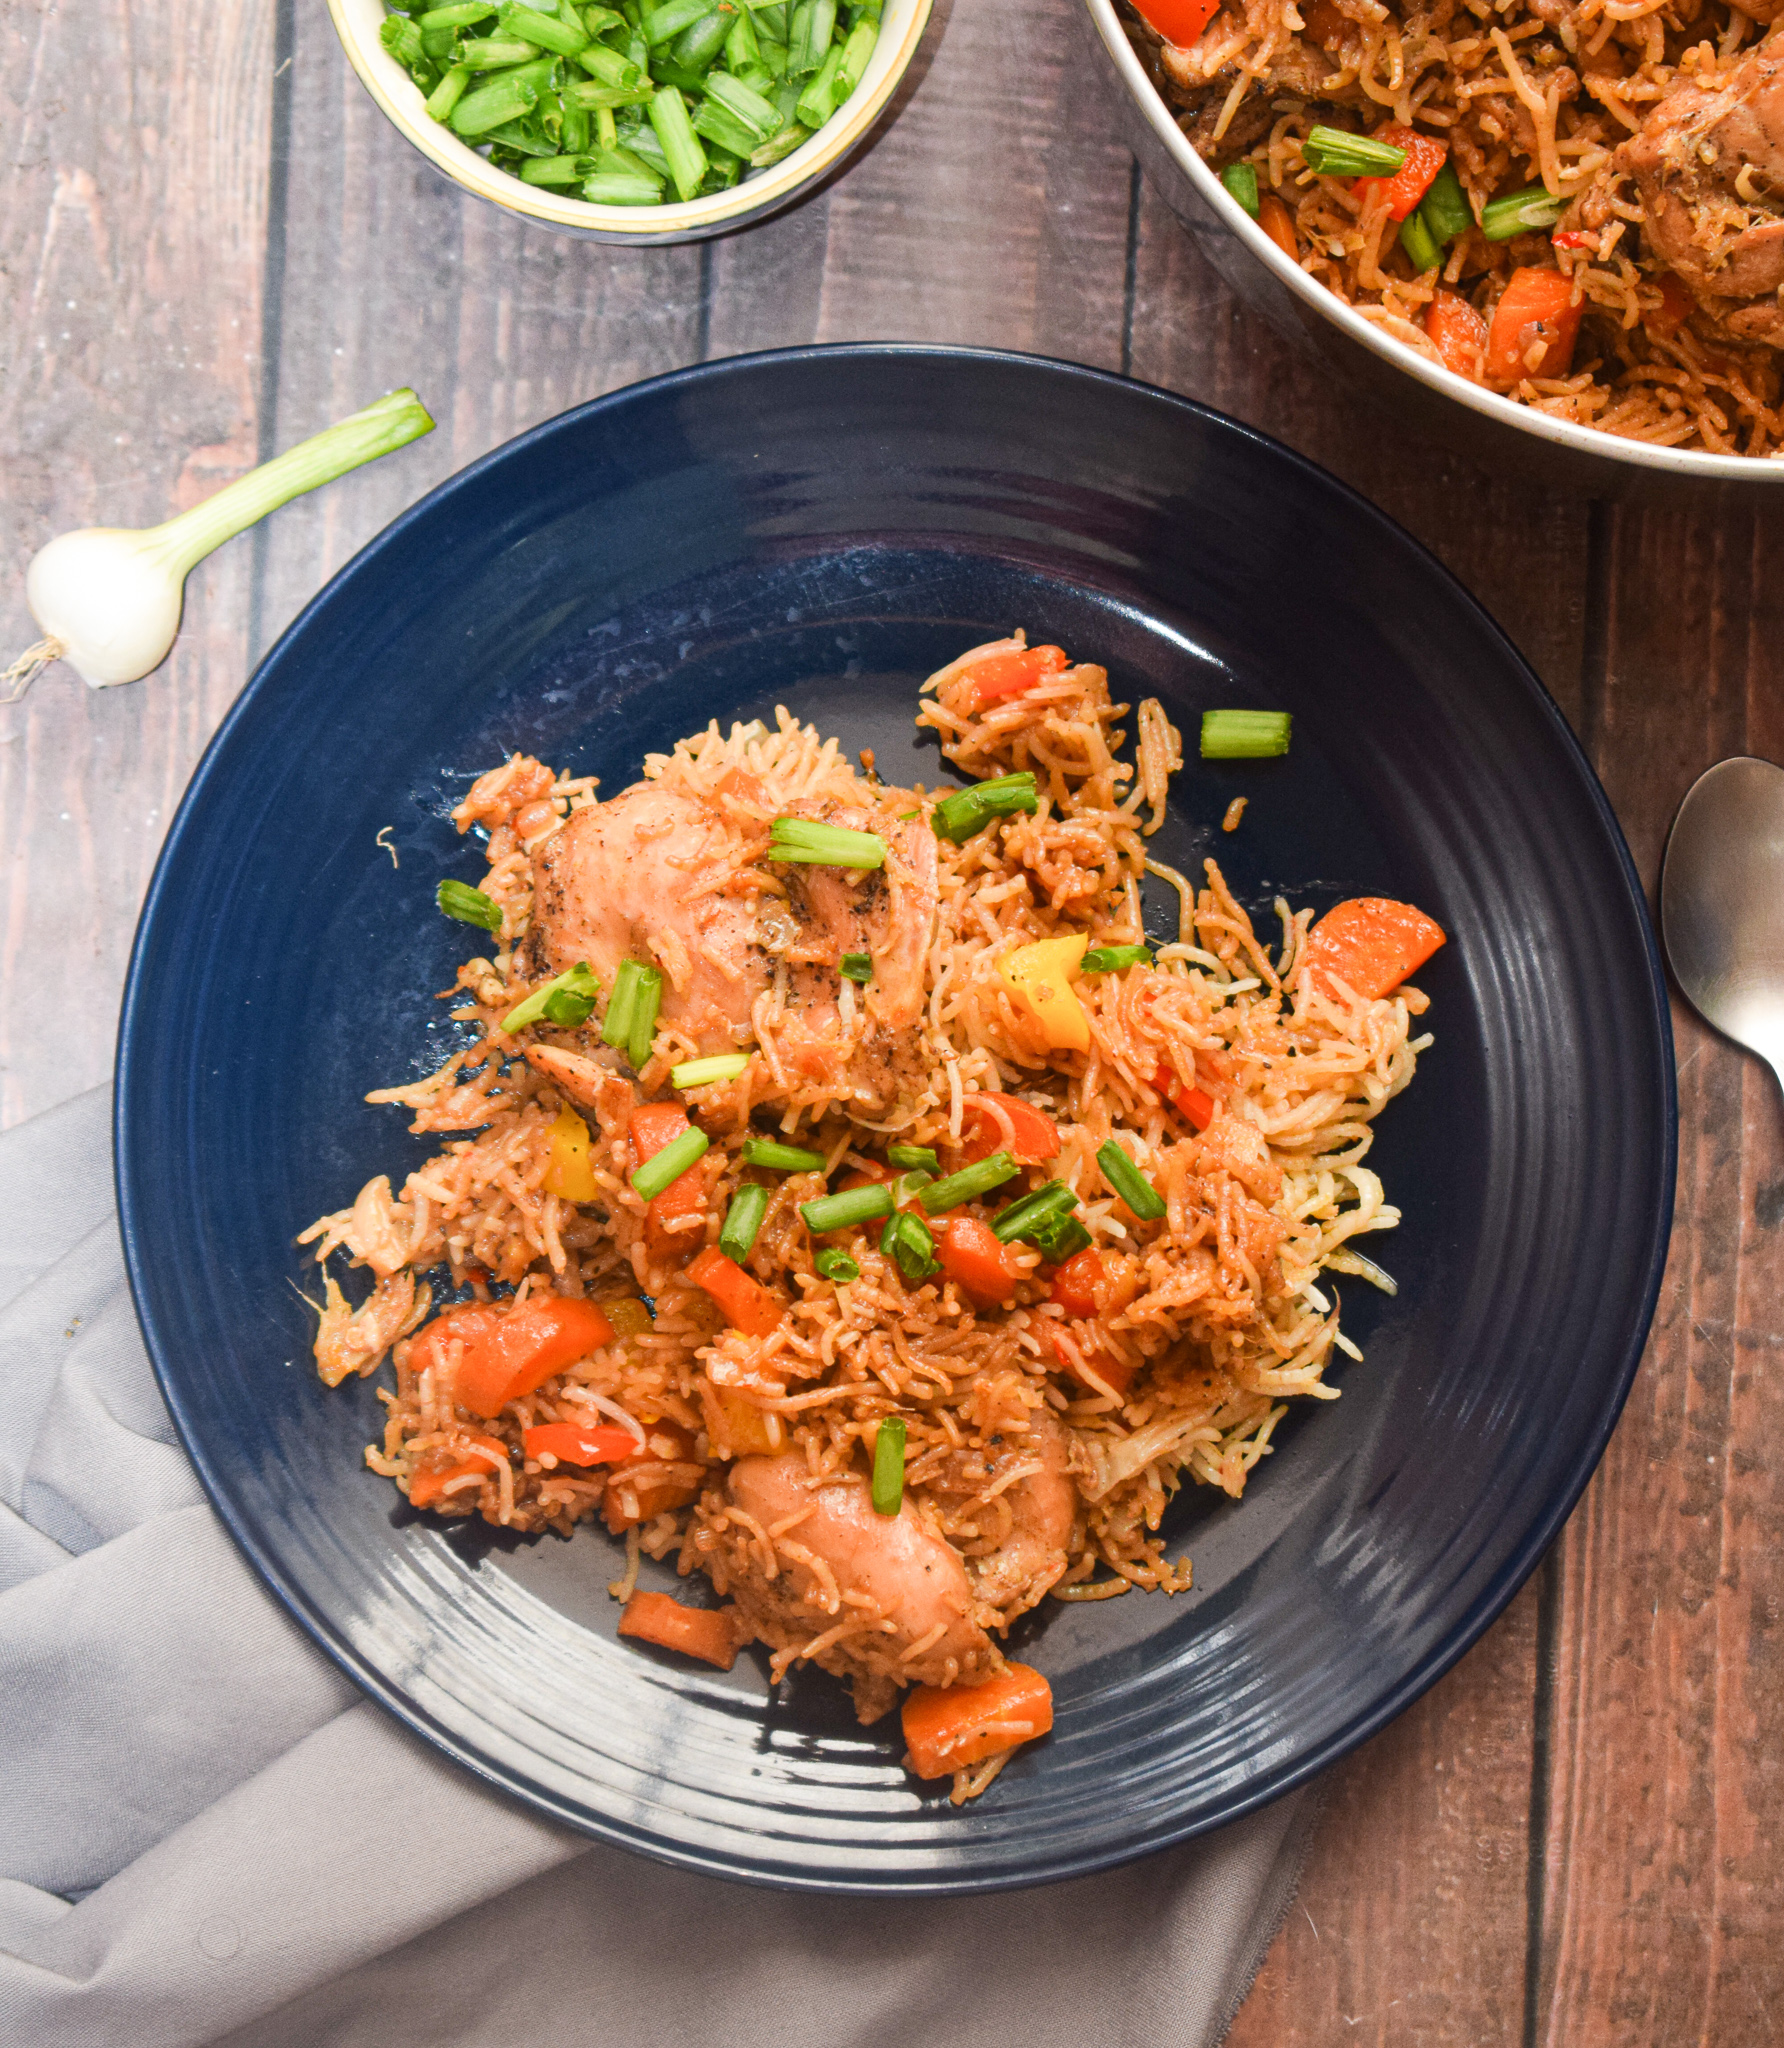
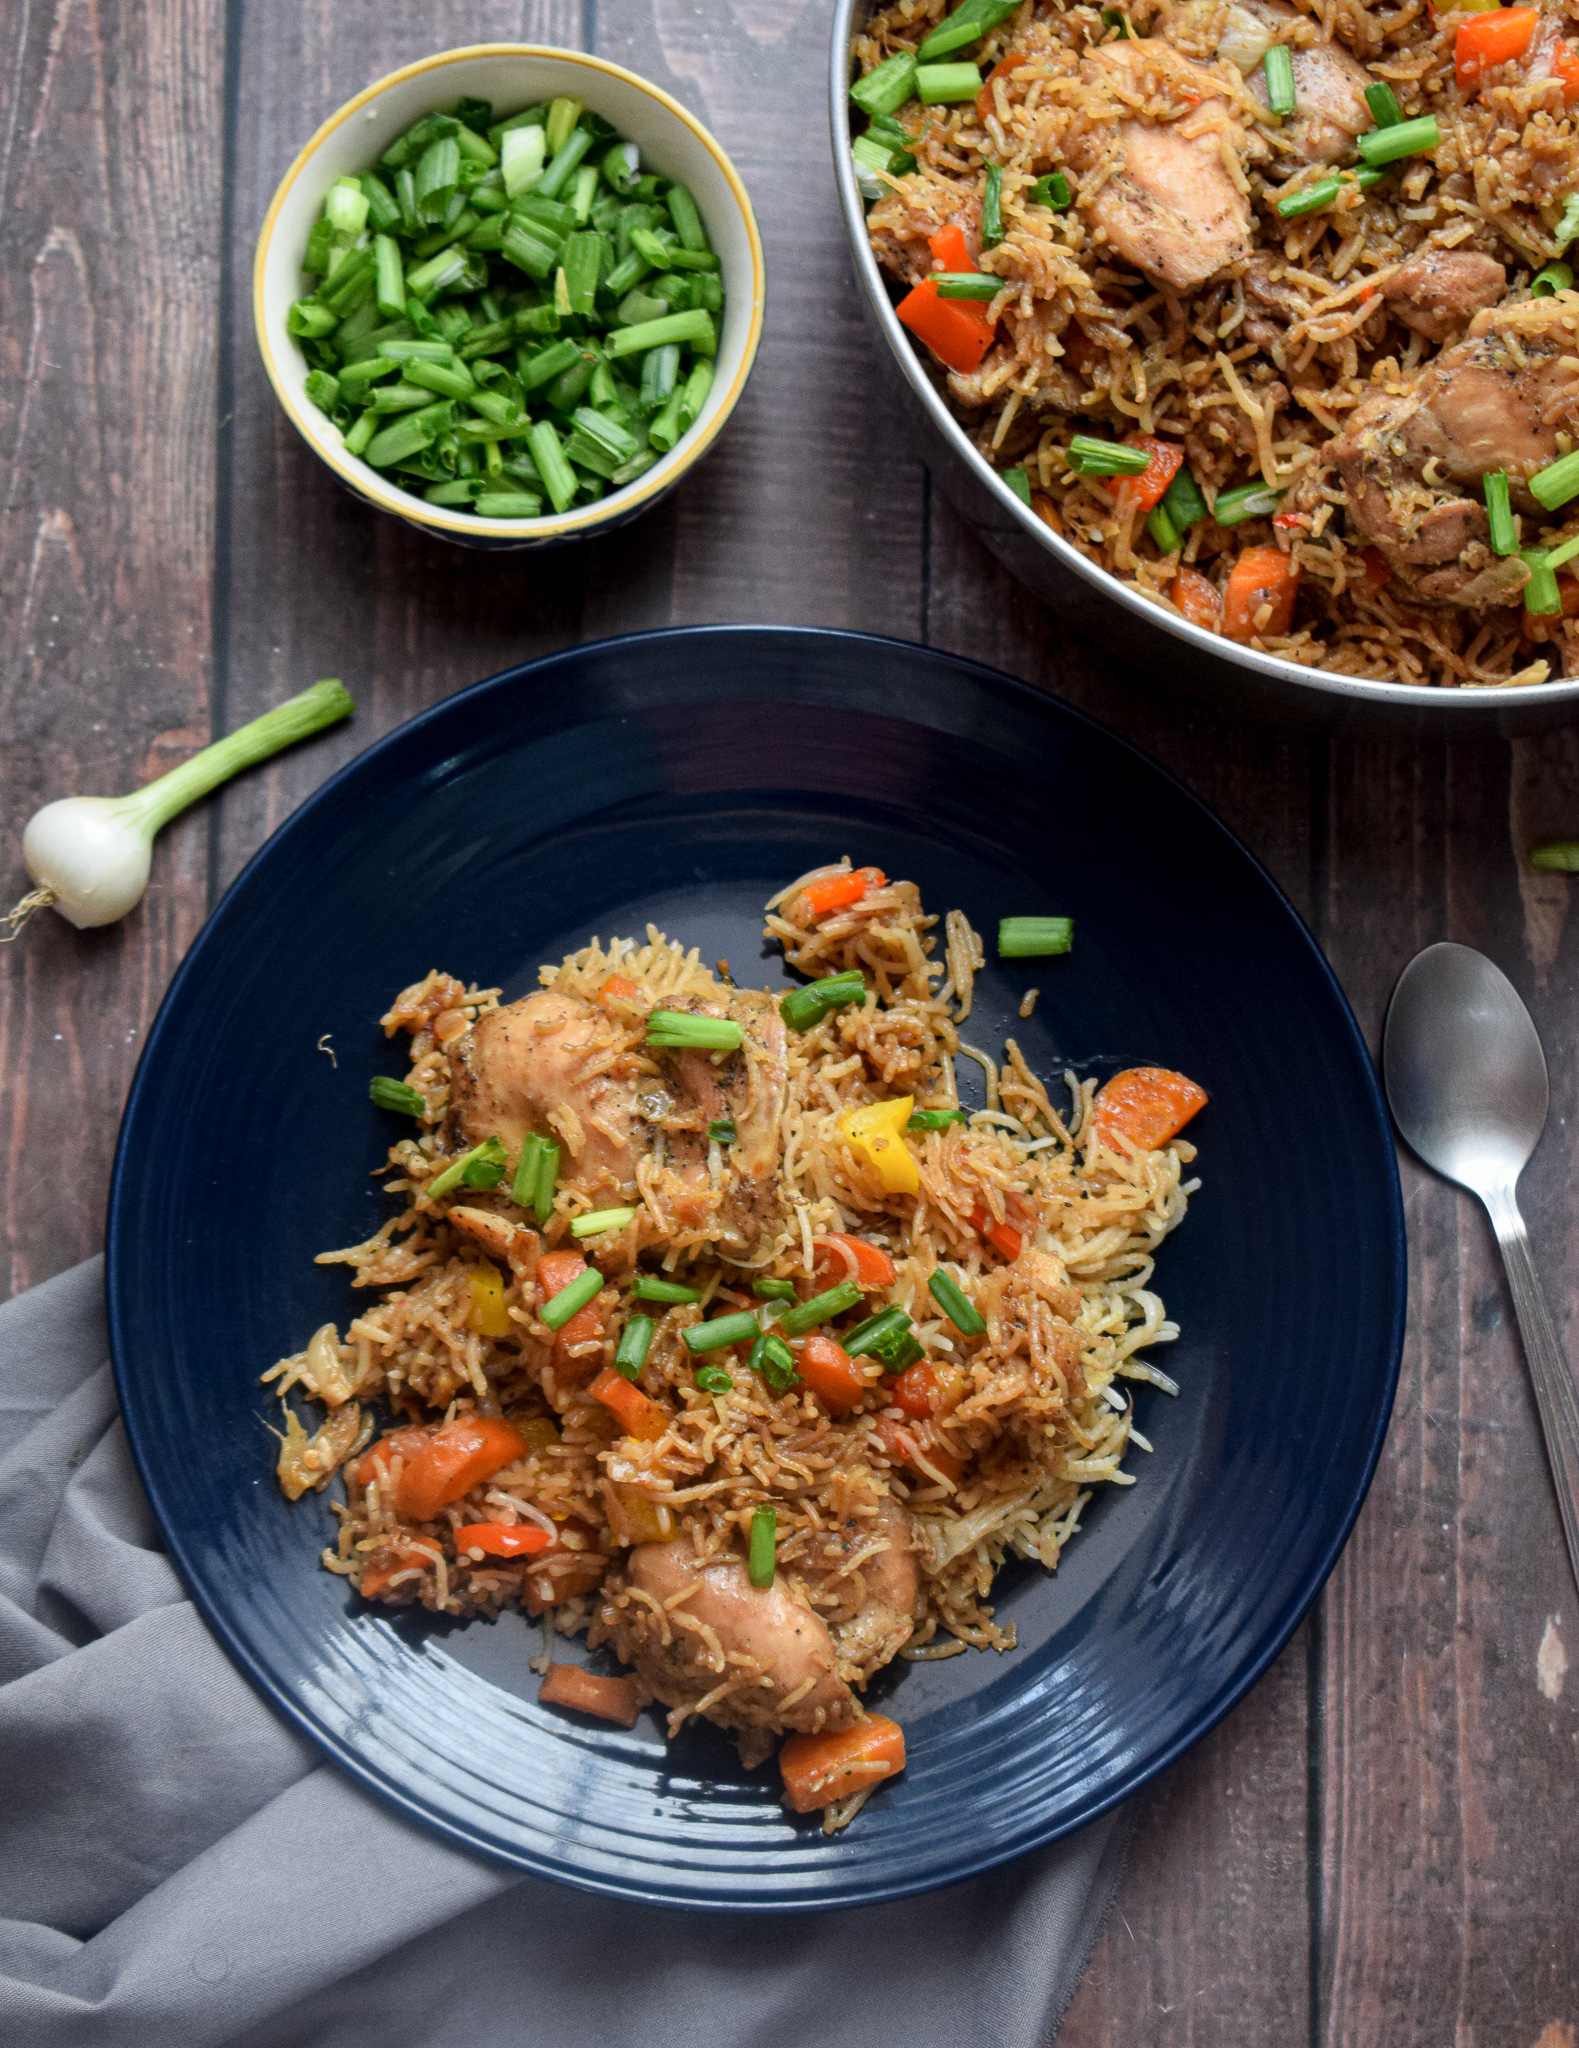
How about a one-pot meal with Asian flavours? Succulent and perfectly seasoned bites of boneless chicken thighs on a bed of delicious and appetising rice with some sweet vegetables? This one-pot Asian chicken and rice truly tastes like a dream. I developed this recipe during this lockdown when the family craved for pan Asian food at home. Since time was limited and work kept piling up, I thought of this way of working for just one recipe that would combine a lot of flavours. And the results were so spectacular that I had to share it here.
asian chicken and rice

asian chicken and rice

This Asian chicken and rice comes together real quick and with some basic Asian pantry essentials. I love adding vegetables to this meal as it makes it complete. It’s a quick and easy hack to satiate those pan Asian cravings we all have from time to time.

The secret to the power packed flavours in this recipe lies in its simple seasoning and fresh ingredients. Lots of aromatics and black pepper powder are used to marinate the succulent pieces of chicken. I have used boneless chicken thighs as they work really well in such recipes and remain moist and juicy throughout. The chicken pieces are first fried in the pan, and then added to the beautiful rice, vegetables and sauces towards the end. The whole mix is left to get slow cooked on the lowest flame possible and allowed a few more minutes of rest. The result is fluffy and separate grains of rice in a delicious sauce that is impeccable.

Making that perfectly fluffy rice

  • Soaking

For this pulao, find yourself the best quality long grained basmati rice. Wash the rice thoroughly with water till its clear. Next, soak it for exactly 30 minutes in room temperature water. After that, strain the water and keep the rice as dry as possible. I used a sieve to release the water and keep it undisturbed. Do not soak for more than 30 minutes as the rice will become too wet and will cook very fast, and end up sticking to each other. Soaking for longer duration might also break the rice. Soaking is an essential pre-requisite to get the perfectly fluffy rice that you see in this egg pulao.

  • Correct water quantities

Next is the perfect amount of water for the rice to cook. I have added the exact measurements for this recipe, but the usual and easy rule to follow is – For every cup of rice that you use, use half cup more water than that. For example, if you use 1 cup of rice, use 1.5 cups of water. If you use 2 cups of rice, use 2.5 cups of water. And the water should always be hot if you’re making the rice in a pot. Otherwise, the temperature difference might ruin the rice. This rule applies only if you soak the rice for 30 minutes before cooking it.

  • Low flame and rest

Lastly, perfectly fluffy rice is always cooked in low flame. If you’re making rice in a pot, make sure you cover and cook it in the lowest flame possible. And once its done, do not serve immediately. Turn off the gas and let it rest for another 10-15 minutes. This will give the perfect edge to the rice and make it bloom to its best ability.
asian chicken and rice

asian chicken and rice

Let’s take a look at the ingredients.

Preparation time – 30 minutes

Cook time – 40 minutes

Serves – 5

[ingredients title=”Ingredients”]

For the chicken marination:

  • 600 g boneless chicken thighs
  • 2 tbsp ginger garlic paste
  • Salt to taste
  • 1 tbsp black pepper powder

For the rice

  • 1 1/2 cups long grained rice
  • 2 tbsp oil (vegetable/olive)
  • 1 cup finely chopped onions
  • 2 cups roughly chopped carrots
  • 1/2 cup roughly chopped red bell pepper
  • 1/2 cup roughly chopped yellow bell pepper
  • Salt to taste
  • 1 tsp ginger garlic paste
  • 1/4 tsp black pepper powder
  • 2 cups hot water
  • 3 tbsp sweet chilli sauce
  • 1 tbsp Oyster sauce
  • 2 tbsp dark soy sauce
  • Chopped spring onion greens for garnish [/ingredients]

[directions title=”Directions”]

  1. Wash the rice thoroughly under running water till all excess starch is drained. Soak in water for 30 minutes.
  2. Wash and pat dry the boneless chicken thighs with a paper towel. Rub the chicken pieces with salt, black pepper powder and ginger garlic paste. Mix really well and set it aside for ten minutes till you chop the vegetables.
  3. Heat oil in a pan. Add the marinated chicken pieces and fry till they turn crispy from the sides. Cook the chicken for seven to eight minutes and set them aside once done.
  4. In the same skillet or pot, add the finely chopped onions. Fry them for a few minutes till they start to get translucent and brown on the sides.
  5. Once the onions are caramelised, add some ginger garlic paste and fry till the raw aroma of the paste dissipates.
  6. Add the carrots and stir for a minute.
  7. Gently add the soaked rice to the pan and mix. Do not break the grains.
  8. Season with salt and black pepper powder.
  9. Pour the Asian sauces – sweet chilli sauce, Oyster sauce and dark soy sauce. Mix well.
  10. Add 2 cups of hot water and once it starts to boil, add the fried chicken pieces on top.
  11. Cover and cook on lowest flame possible for 20 minutes.
  12. Lift the lid in 30 minutes and add the bell peppers on top. Do not disturb the rice. Cover and cook on lowest flame for another ten minutes.
  13. Check the rice with a fork. Turn the flame off and let the rice rest for another 15 minutes.
  14. Serve hot after garnishing with some spring onion greens. [/directions]
asian chicken and rice

asian chicken and rice

I hope you try this one pot Asian chicken and rice super soon! If you have any doubts, comments, or feedback, please reach out to me in comments or my social media handles.

Find me on Instagram – www.instagram.com/slurrpilicious

Find me on Facebook – www.facebook.com/slurrpilicious

Find me on Youtube – https://www.youtube.com/channel/UCA-cJoo27OLSCswI4sy6lzA?

Happy cooking!
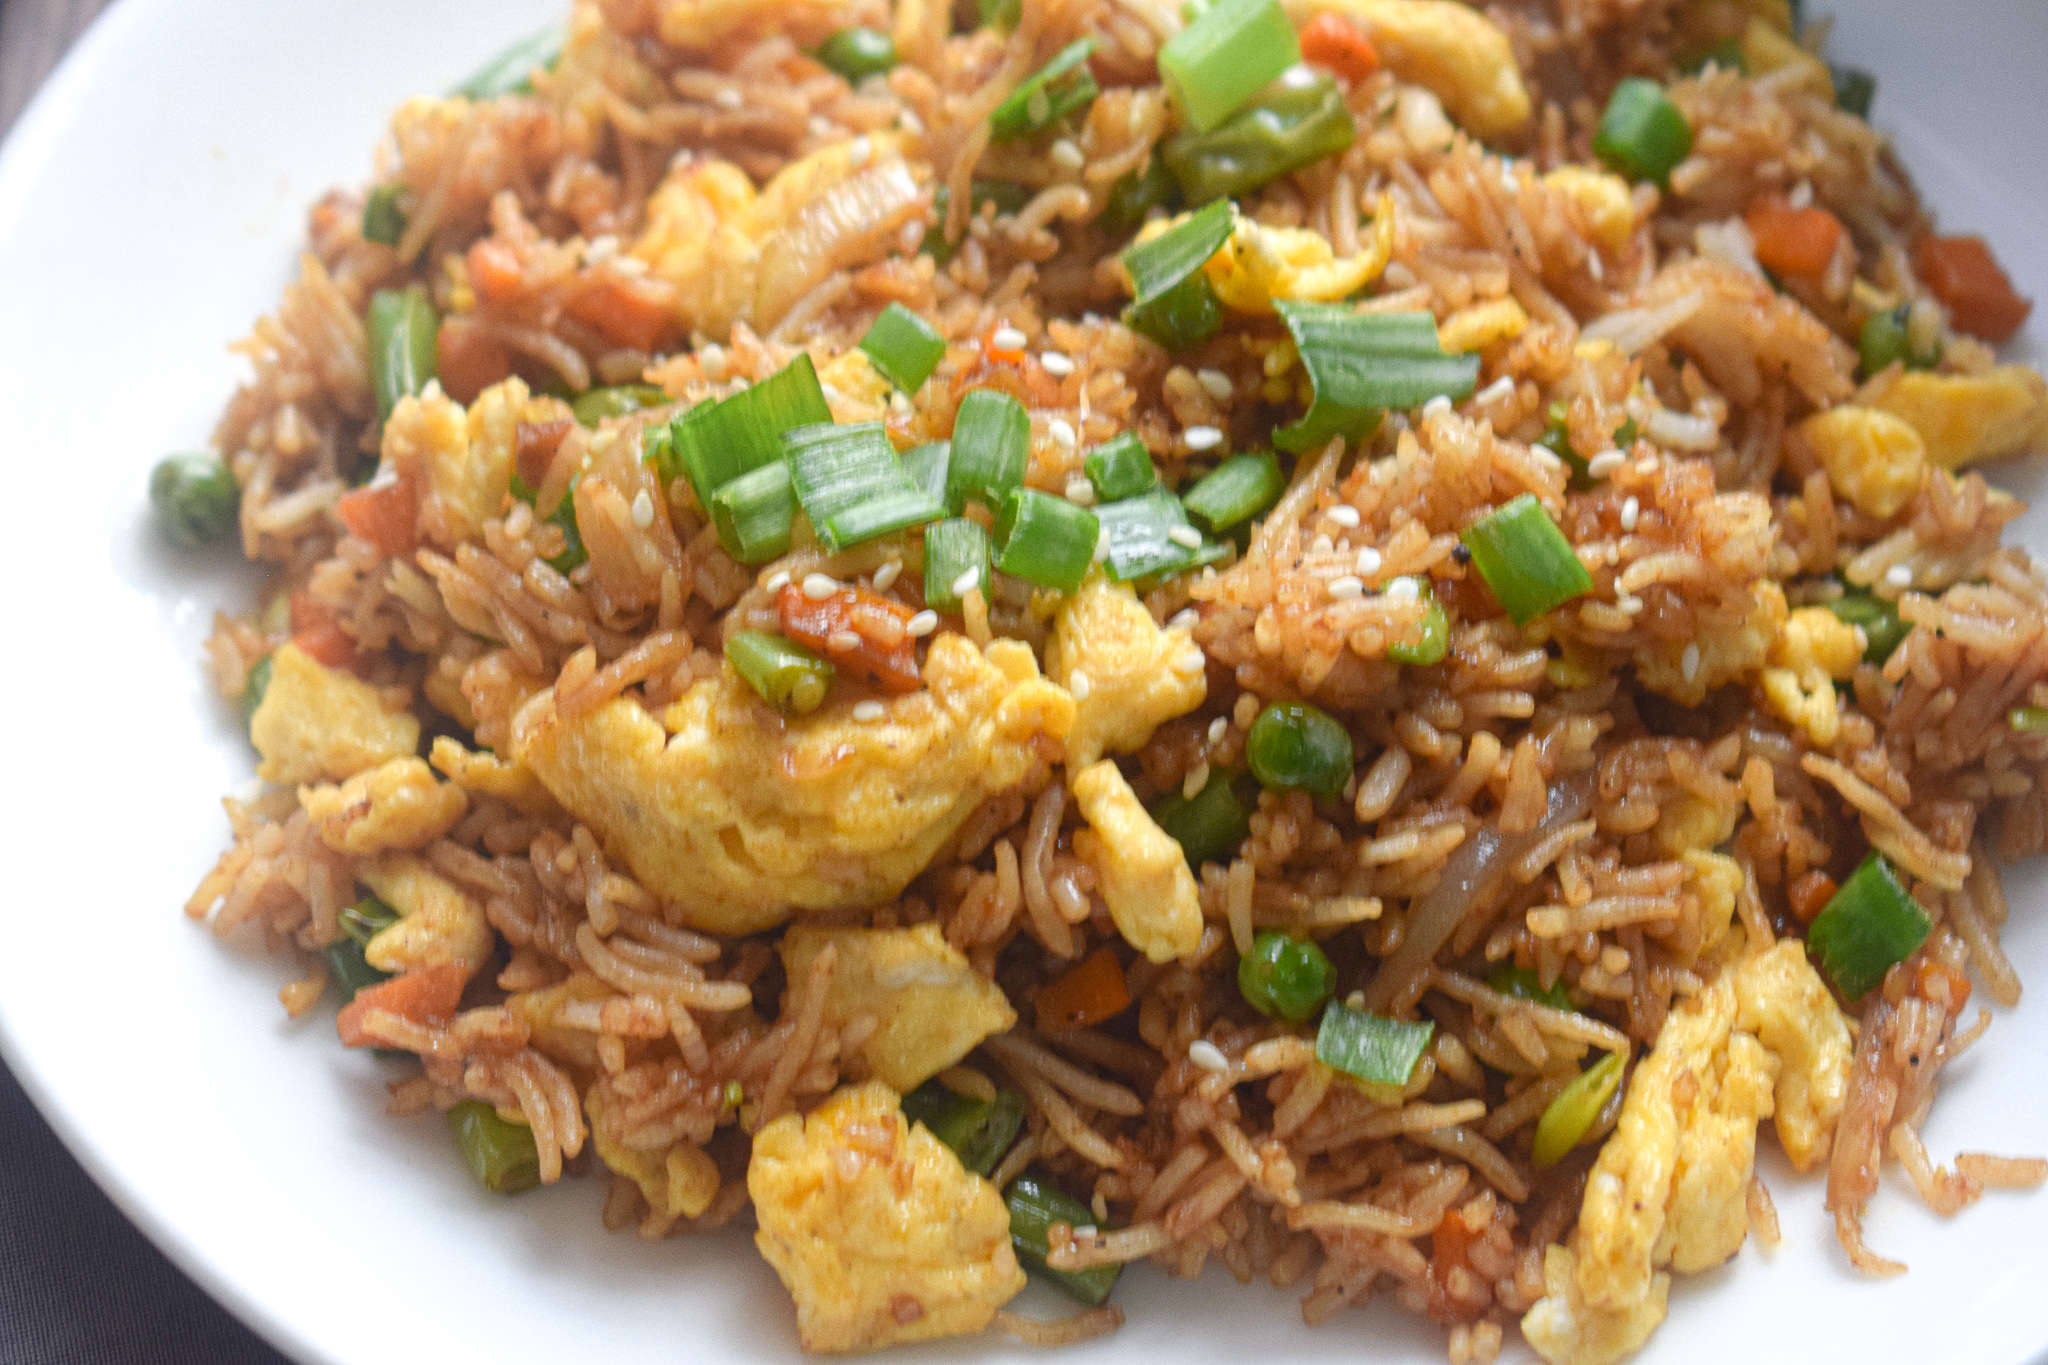
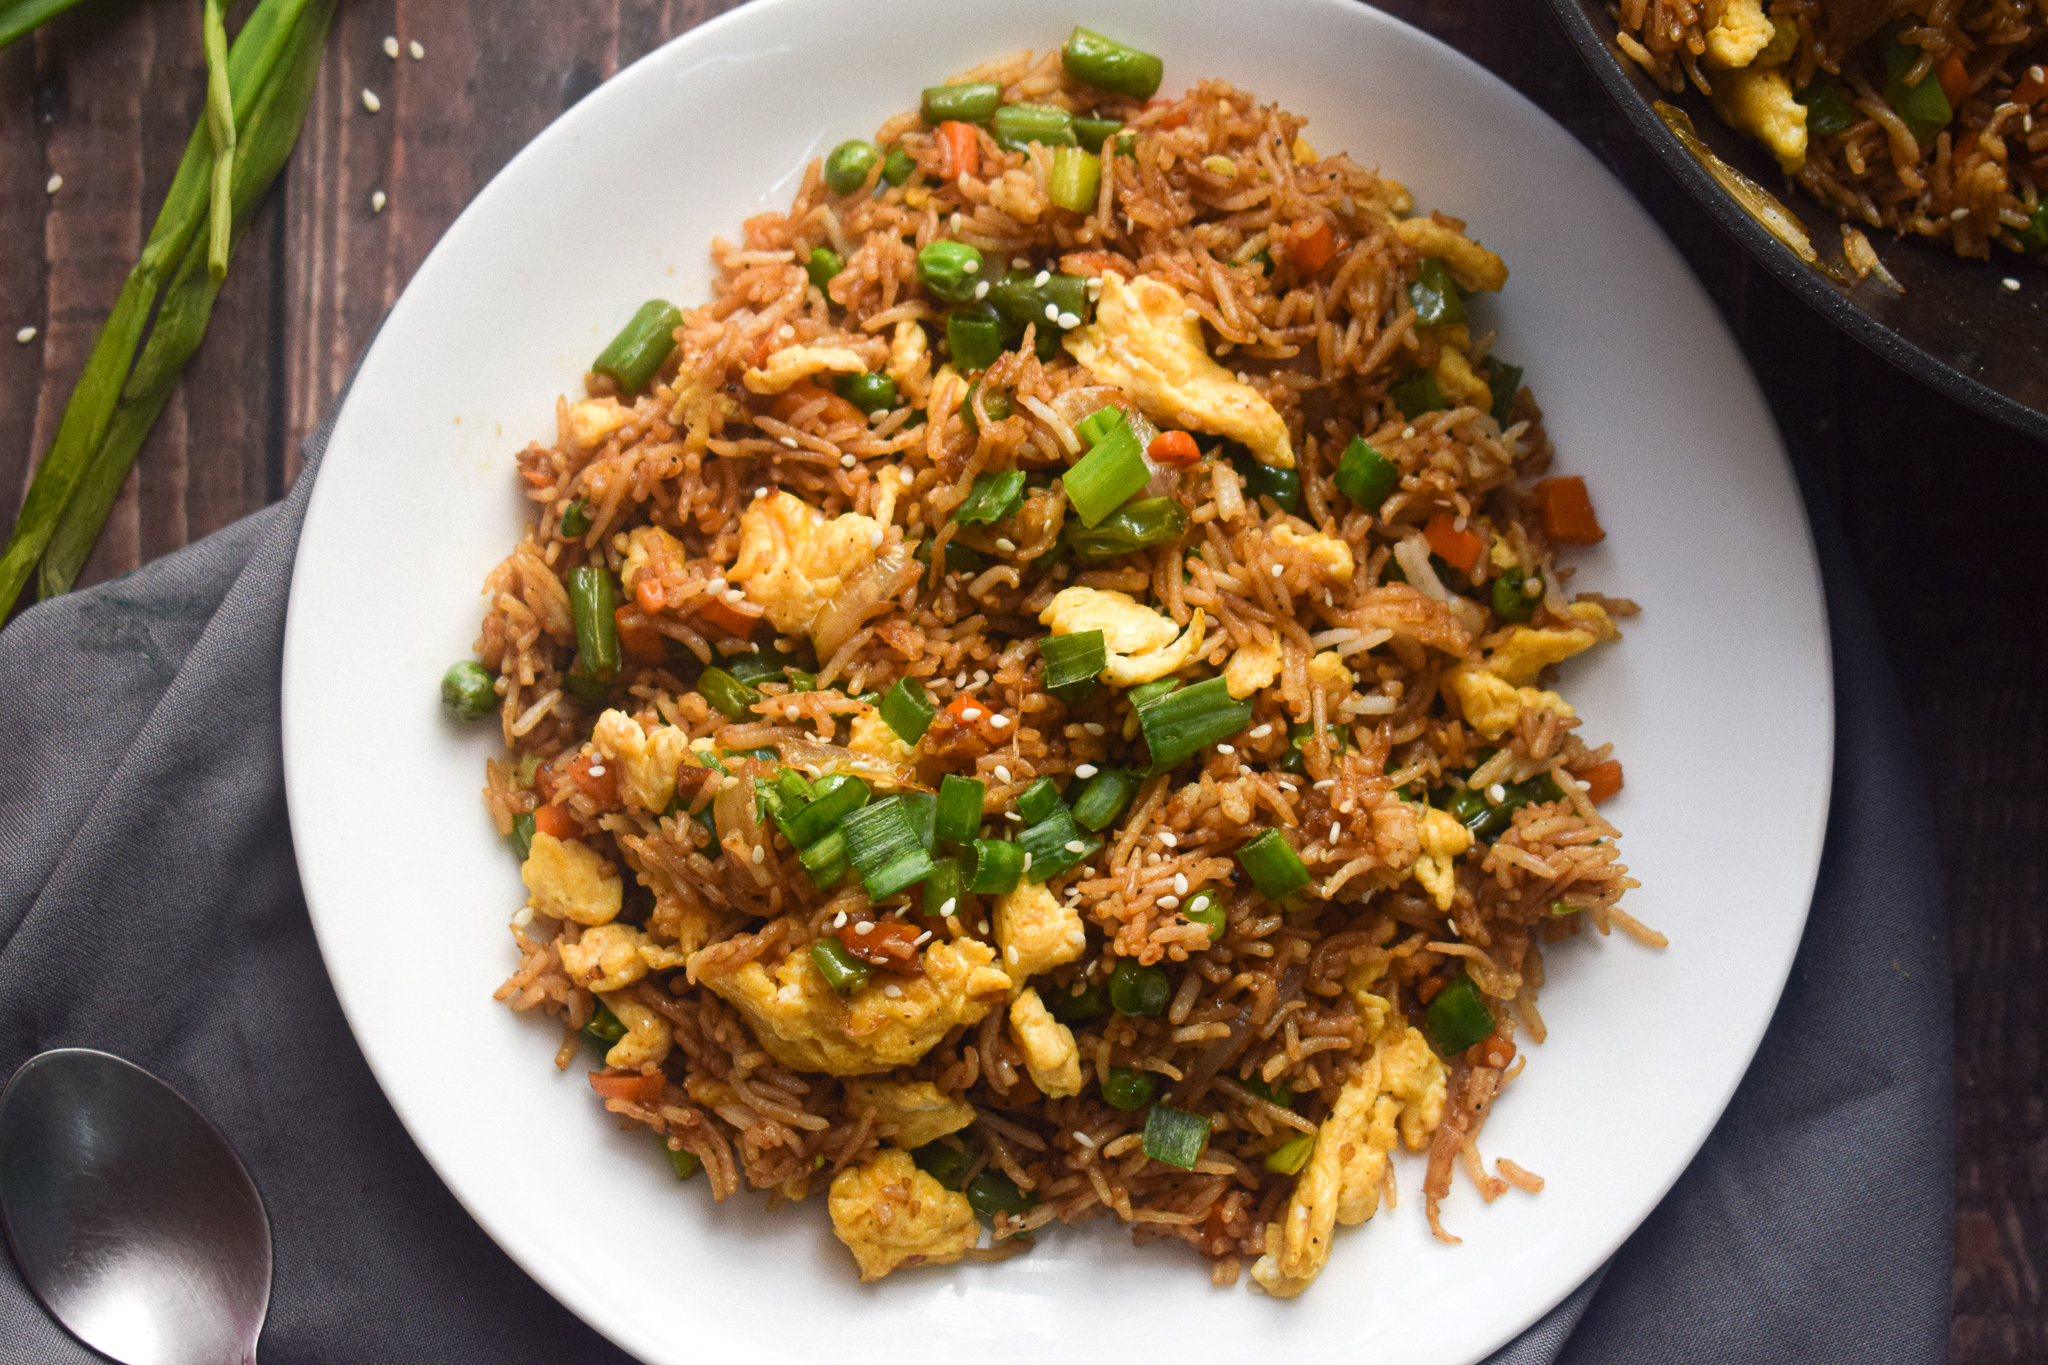
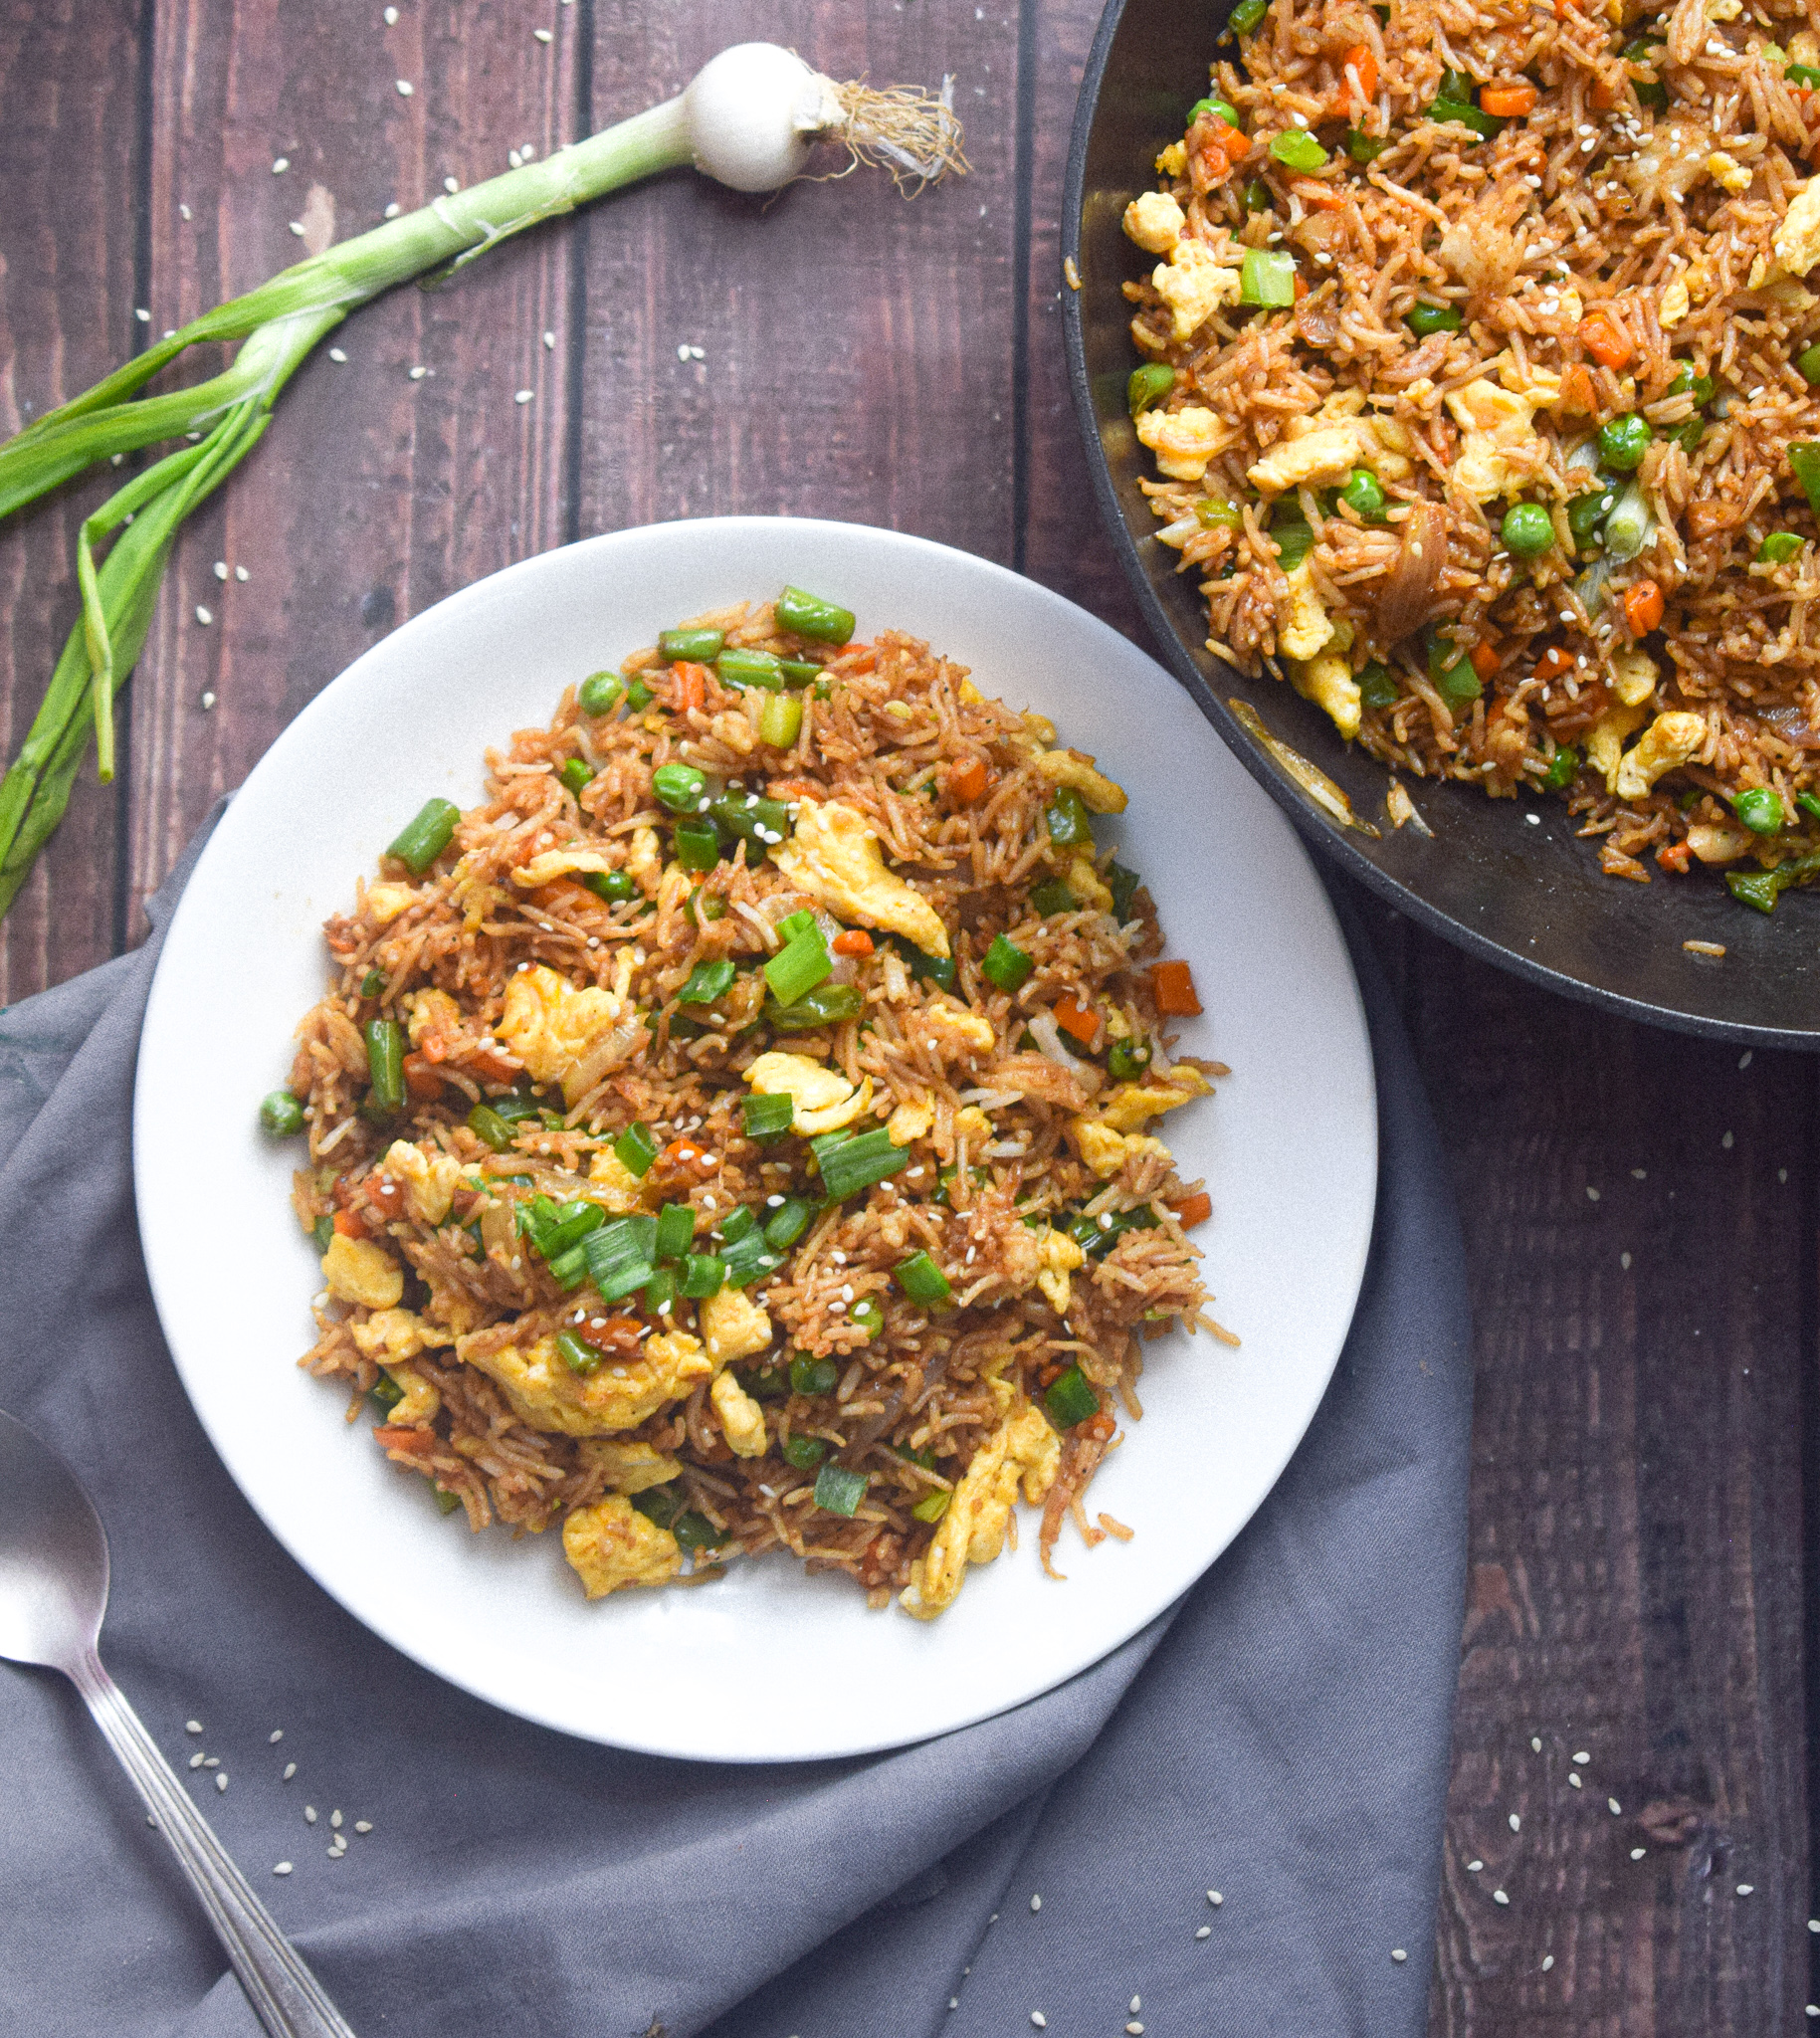
The Best Egg Fried Rice

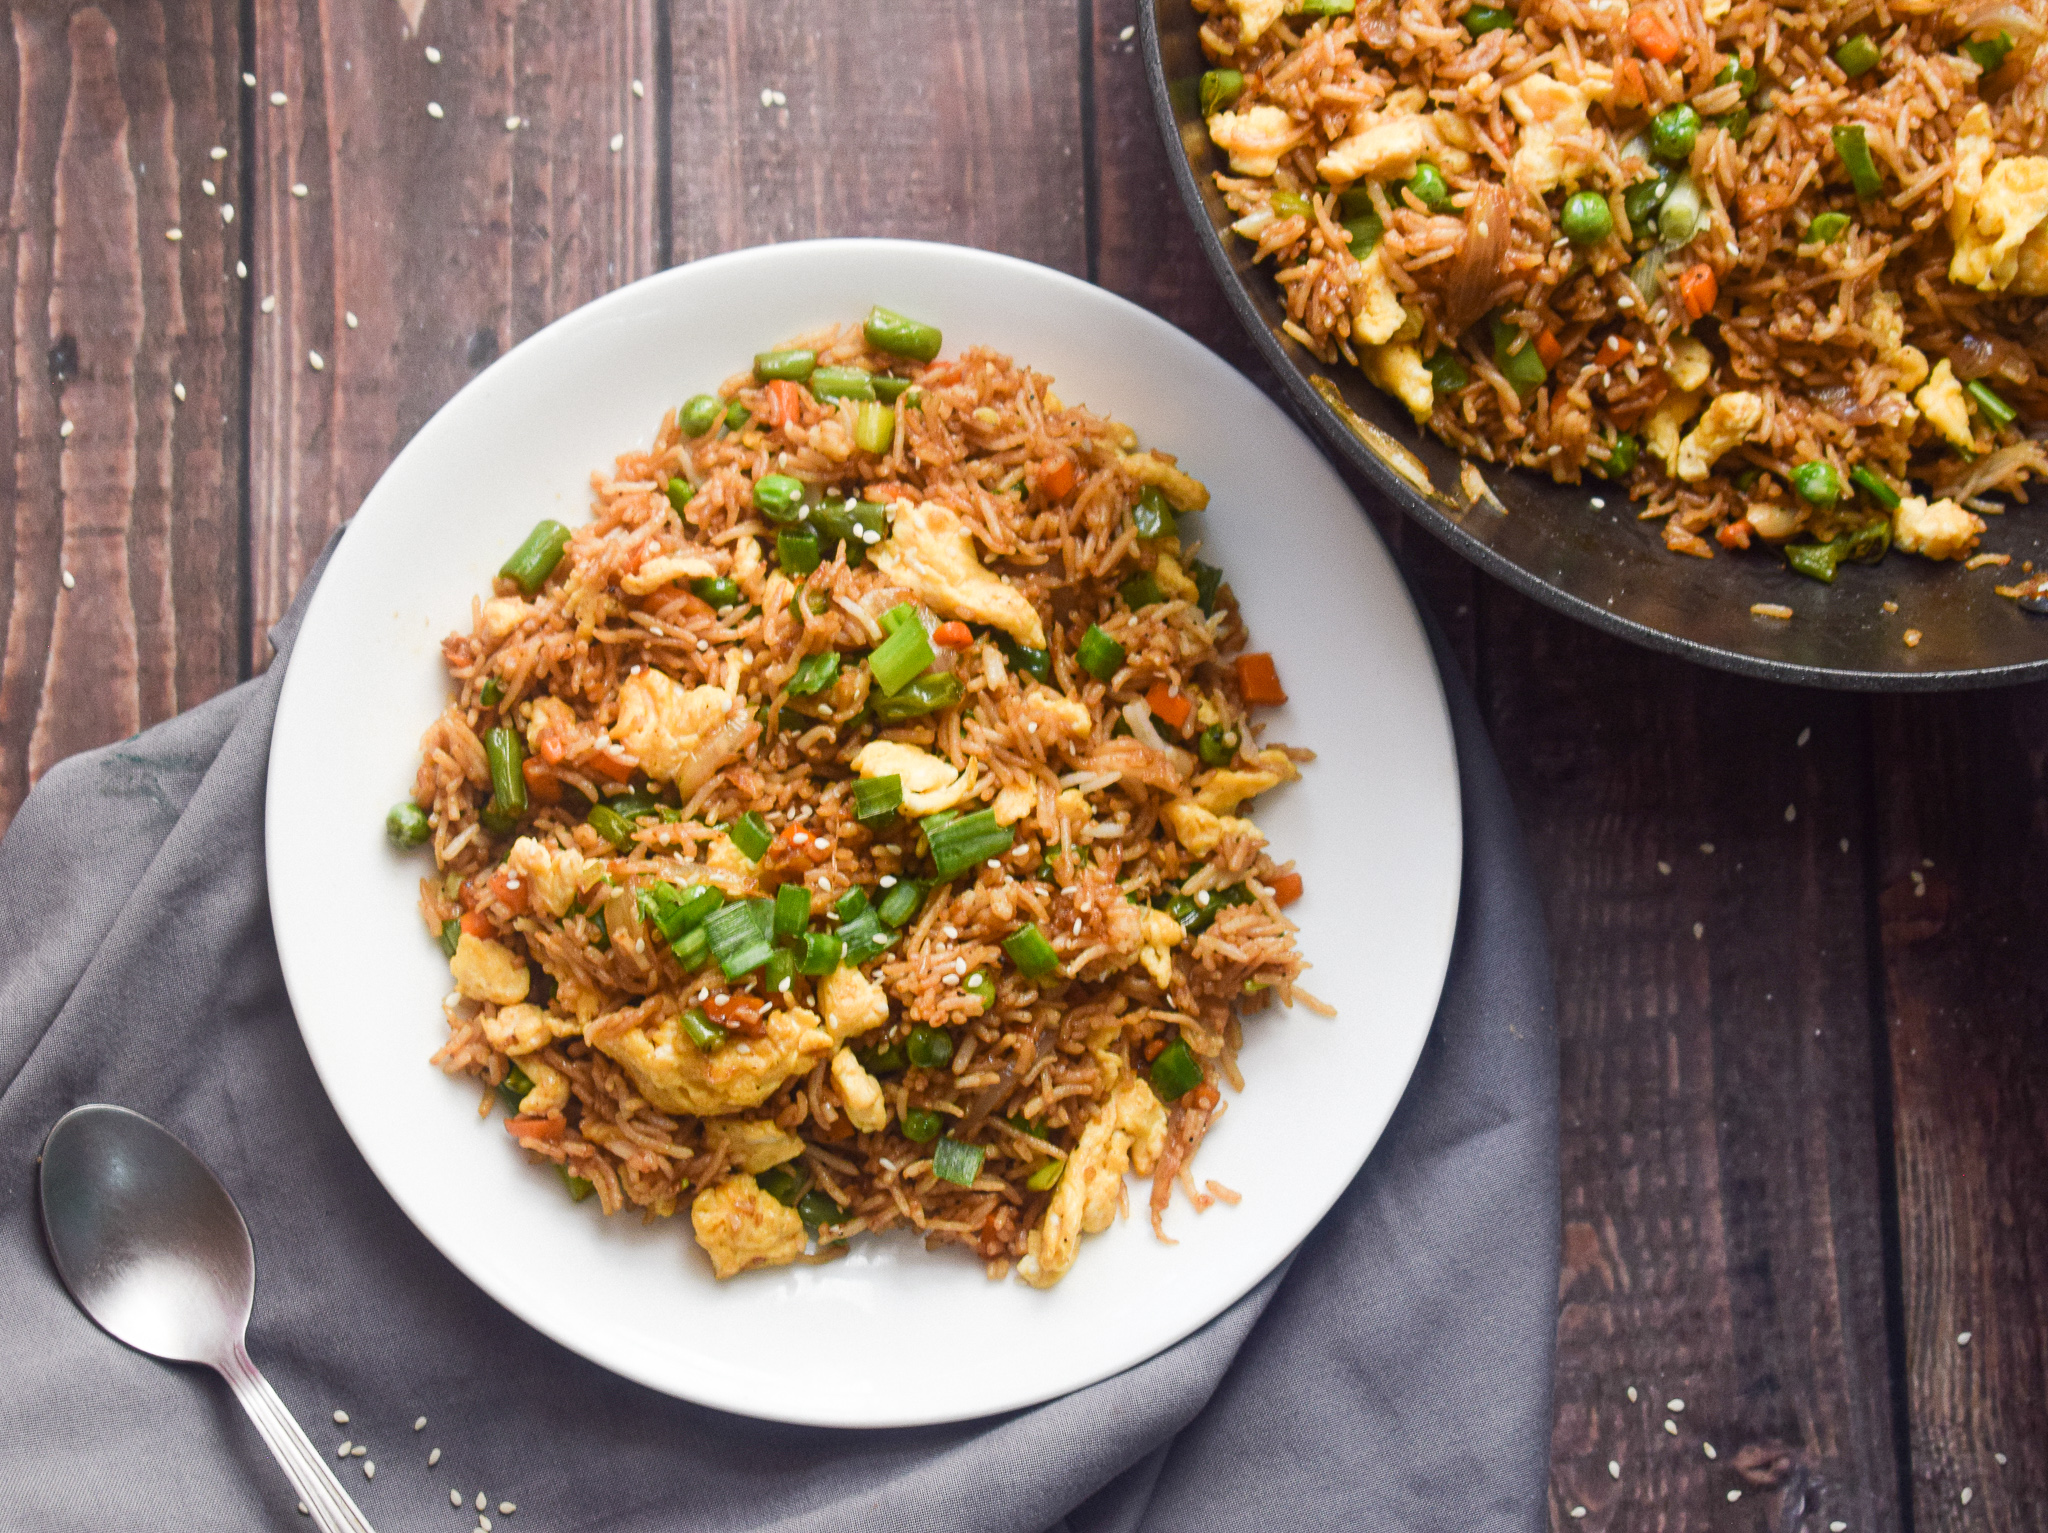
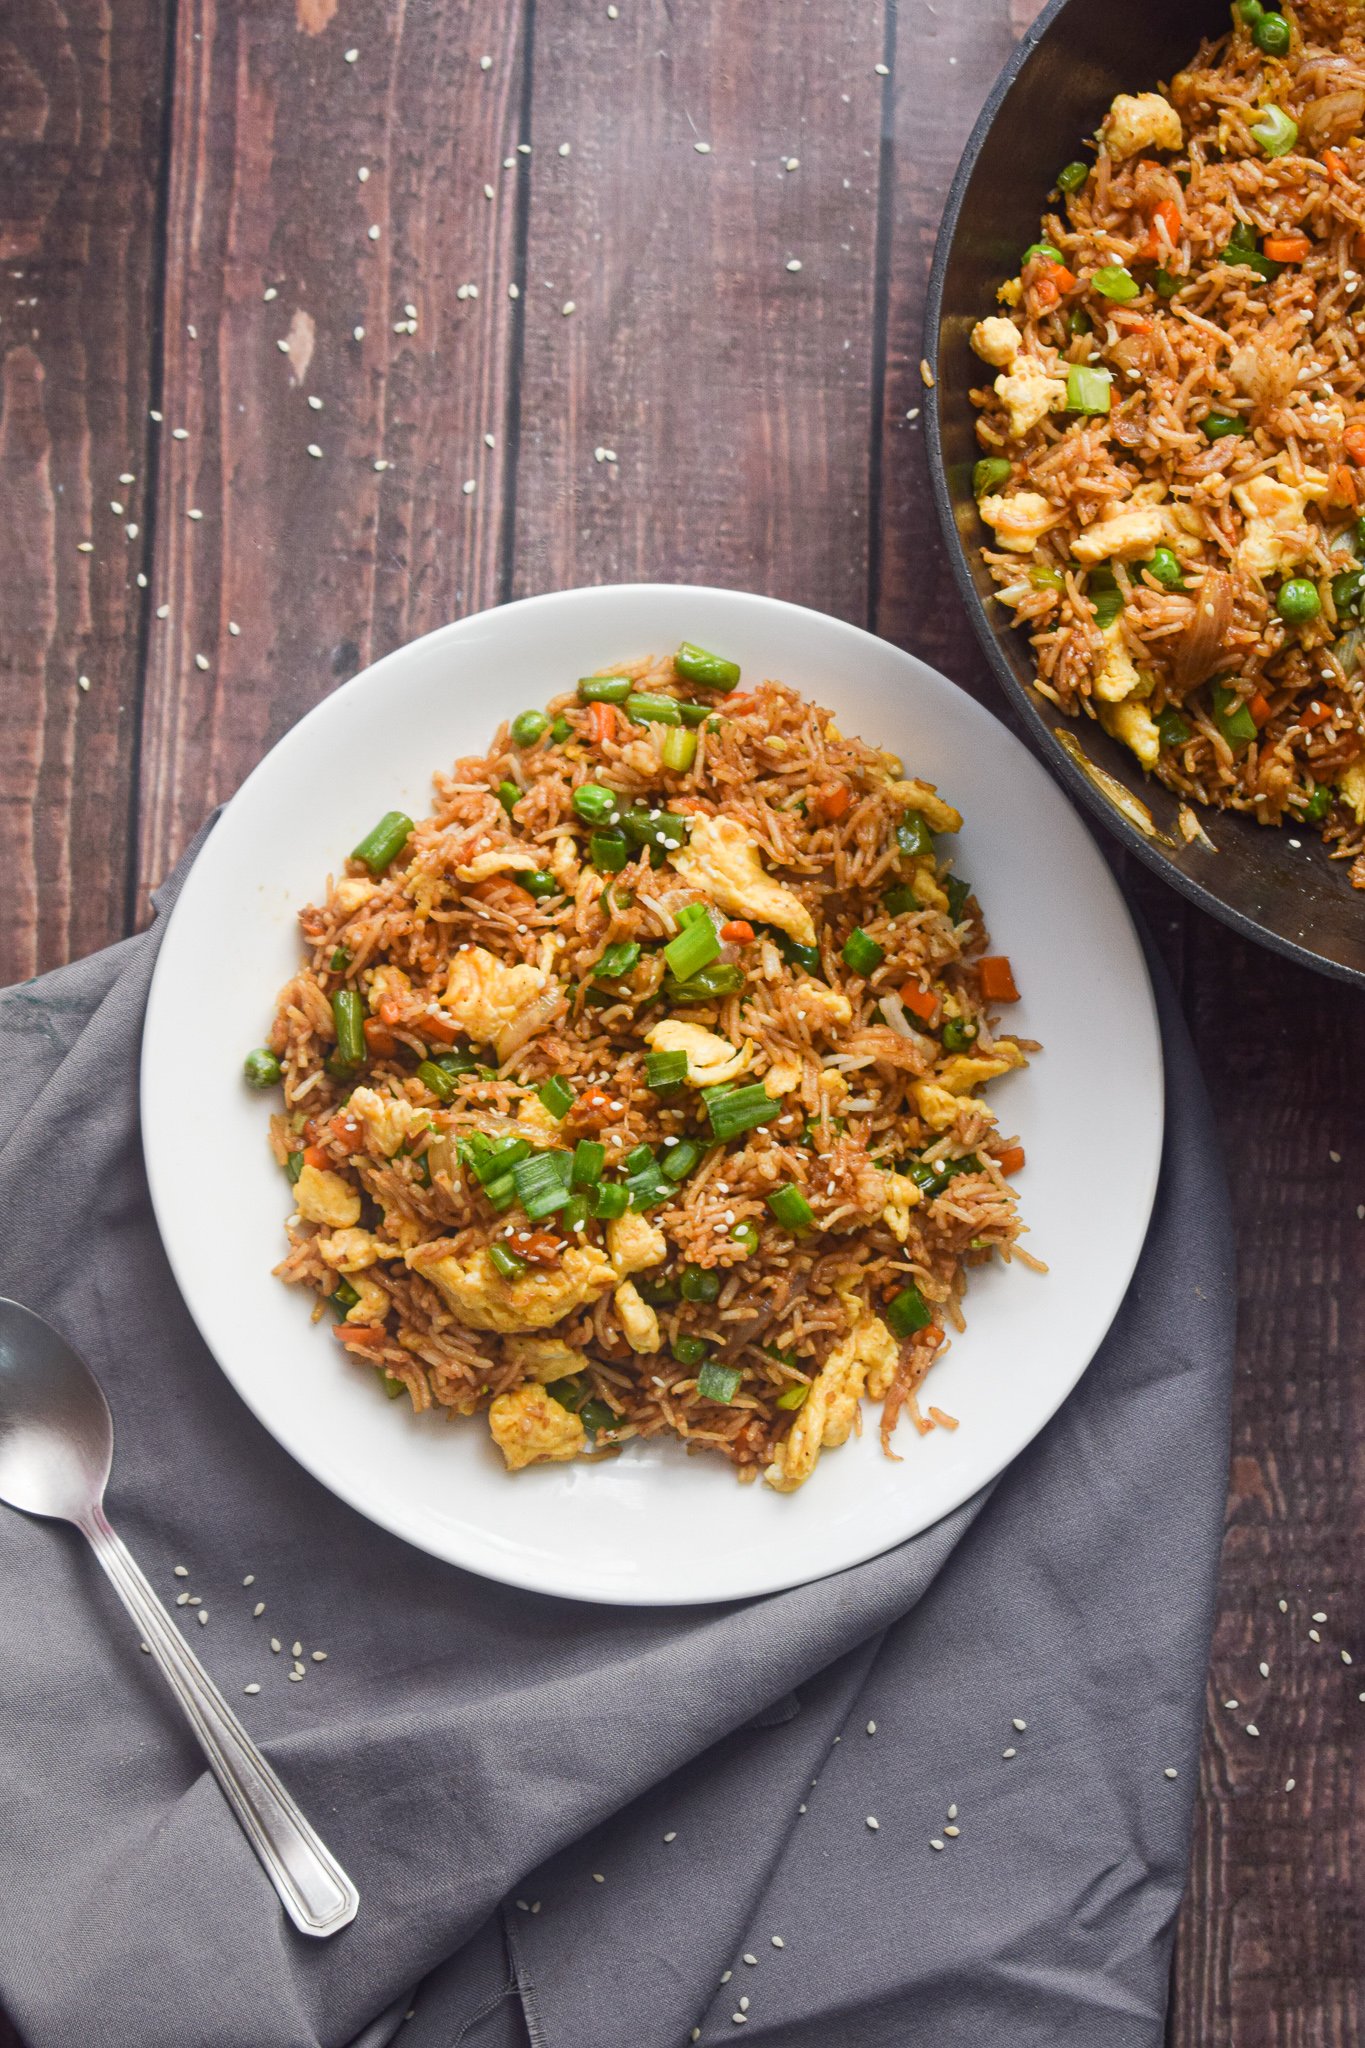
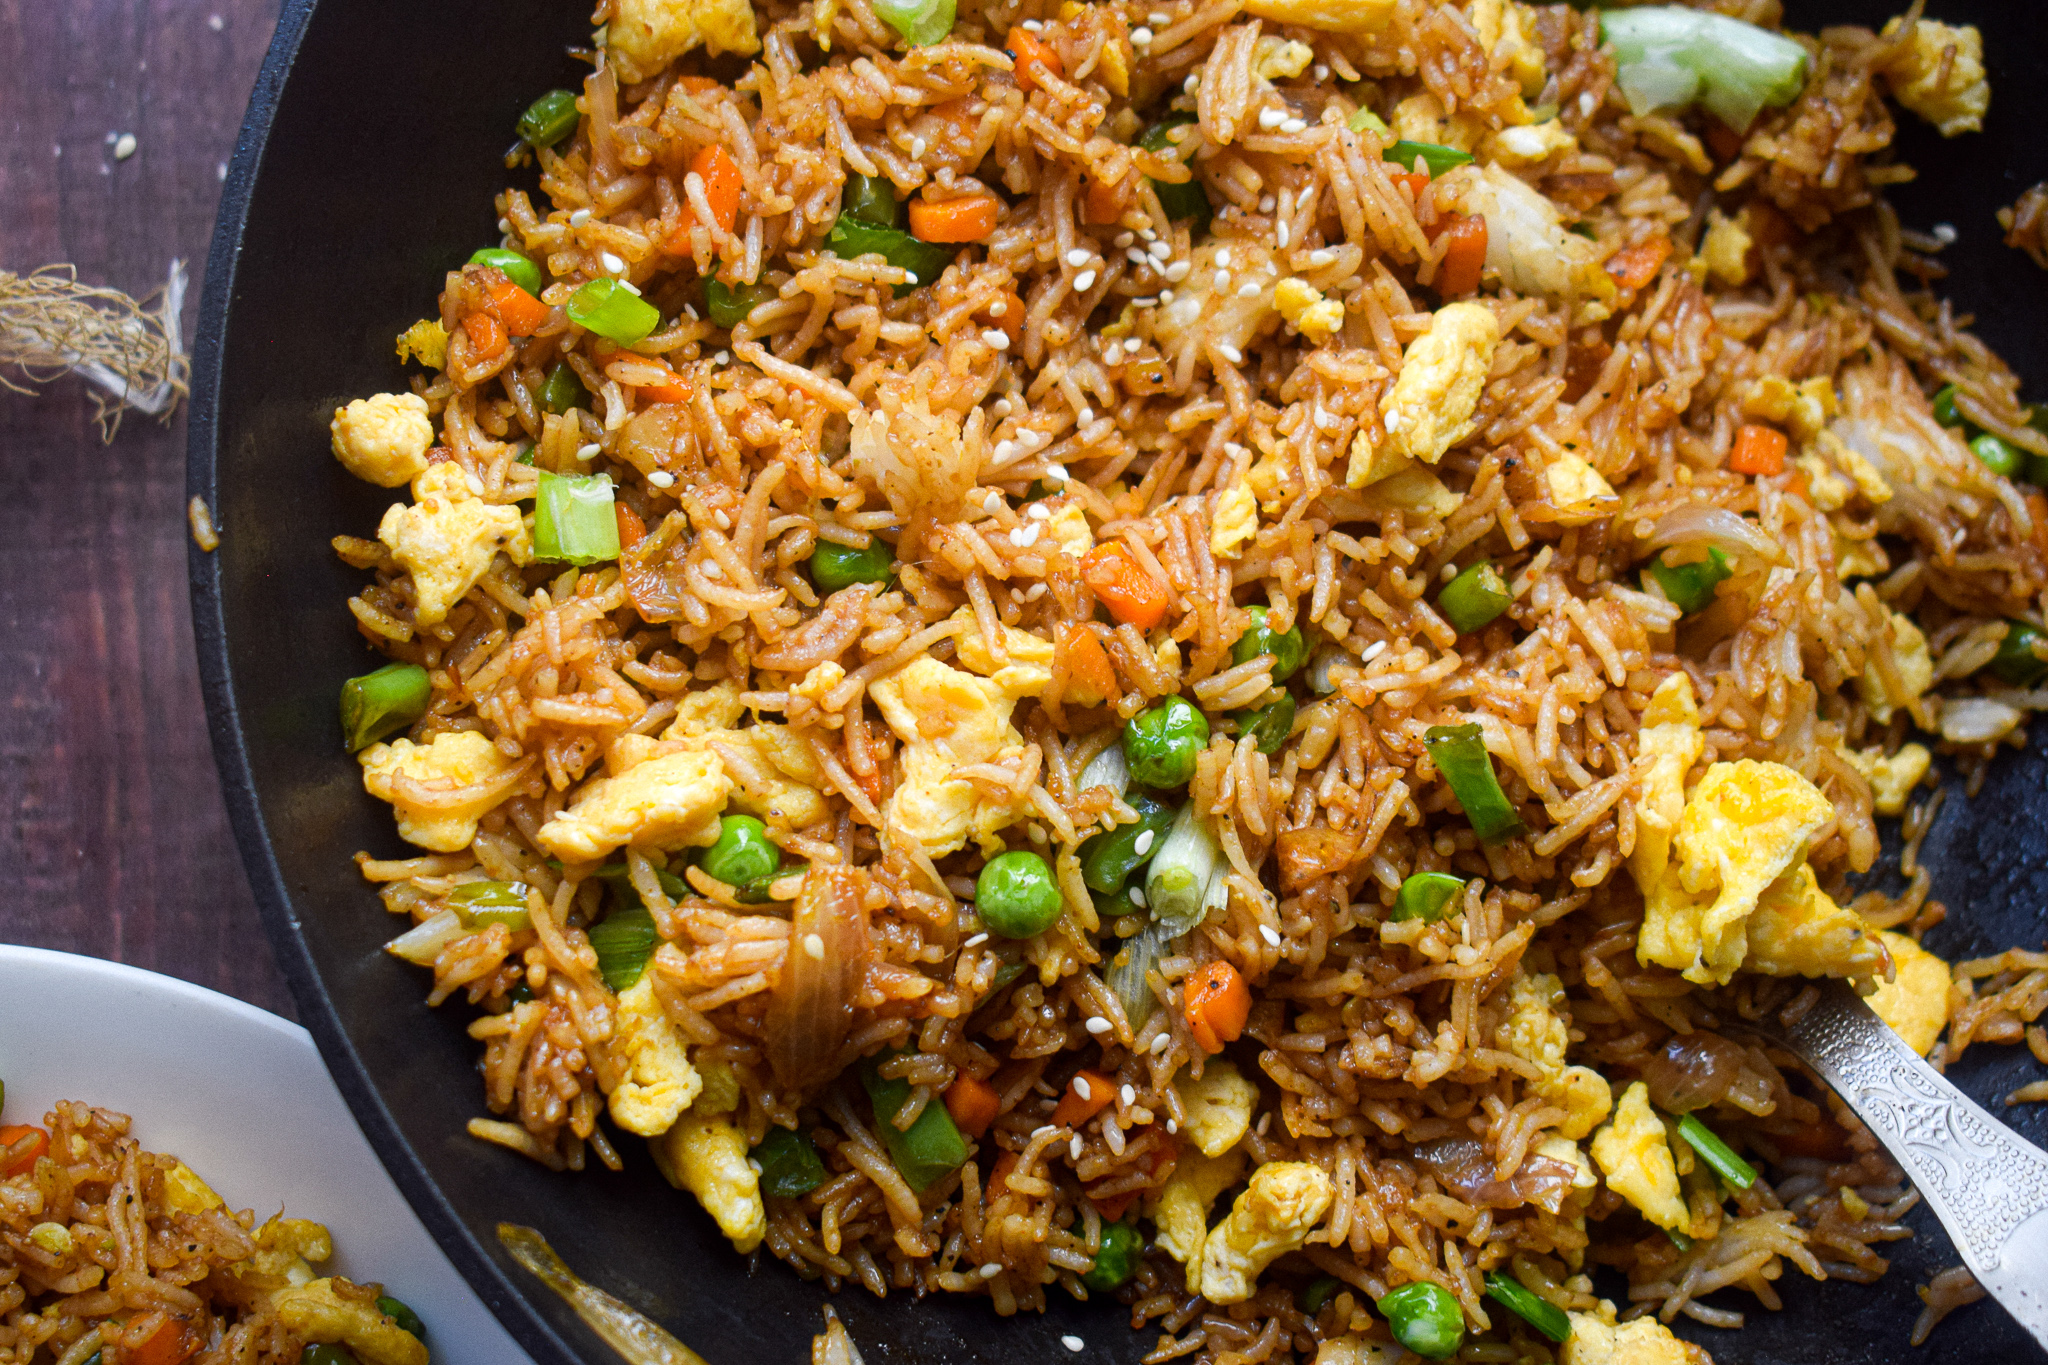
I know how much you guys love easy recipes. I am a big fan too! I love meals that require very little time and effort, yet give delicious and nutritious results. Because compromising on taste just for easy is a big no-no! So here I am to share with you all my go-to egg fried rice recipe that is better than takeaway! Why better? Because it is definitely fresh, and you can control the amount of oil, sugar, and vegetables! I love adding lots of colour in the form of vegetables and this way I ensure my body gets to eat them. And those eggs are a super fluffy and delicious addition to fried rice that is a sea of exciting flavours.

egg fried rice

How To Make Delicious Egg Fried Rice Every Single Time

Before we begin, let me share with you some tips on how to make the best egg fried rice every single time. Following these simple rules will help you understand the nuances of good and homemade fried rice and those additional tips and tricks will enhance the taste and flavor even more.

– Keep everything in arm’s reach

You must have seen how quickly the takeaway guy tosses fried rice and noodles for you, right? The reason why the cook moves so fast is that’s how fried rice needs to be made. The steps move really fast when making fried rice, so it’s best to keep all the ingredients right next to you because any kind of delay will hamper the results.

– A really hot wok

A wok works best for fried rice because it’s easier to toss everything together, and also the deep pan makes frying super quick. Make sure you get your wok really really hot before you add the oil and the rest of the ingredients. This will ensure you get the tastiest texture in the vegetables and because you will have to move really fast, you won’t burn anything.

– A day-old rice

The rice you use to make fried rice should be cold and at least a day old. If you add hot rice to the pan, it will stick and become all mushy because of the excess moisture. Using a day old rice helps the rice to disintegrate better and also separates the grains. If your rice has got clumped up in the refrigerator, use your hands or a fork to untangle it before you cook it in the wok.

Why this version of Egg Fried Rice?

  • Delicious and super easy!
  • Healthy and quick
  • Better than takeout
  • You need 20 minutes to make this
  • Made with basic Chinese pantry essentials.
  • Highly customizable!
  • Top it off with toasted sesame seeds for extra crunch.

egg fried rice

egg fried rice

Preparation time – 15 minutes

Cook time – 15 minutes

Serves – 3

[ingredients title=”Ingredients”]

  • 4 cups cooked white rice
  • 4 eggs
  • 3 tbsp vegetable oil
  • 1 tbsp sesame oil
  • 1 green chilli, slit in half
  • 1/2 cup onions
  • 1 tbsp ginger, very finely chopped
  • 1 1/2 tbsp garlic, very finely chopped
  • 1 cup green beans, finely chopped
  • 1 cup carrots, finely chopped
  • 1/2 cup fresh green peas
  • 1 tbsp Oyster sauce
  • 2 tbsp dark soy sauce
  • Salt to taste
  • 1 tsp black pepper powder
  • 1 tbsp red chilli sauce/Sriracha
  • Spring onion greens, for garnish
  • White sesame seeds, for garnish [/ingredients]

[directions title=”Directions”]

  1. In a bowl, mix the Oyster sauce and soy sauce together. Set aside.
  2. Break four eggs into a bowl. Season with salt and a pinch of pepper. Whisk for a minute.
  3. Heat a tablespoon of oil in a wok. Add the beaten eggs and scramble them gently. Disintegrate the pieces. Keep them soft, do not overcook. Set aside.
  4. In a fresh wok, add two tablespoons of vegetable oil and one tablespoon of sesame oil.
  5. Add a slit green chili while the oil gets hot. This helps infuse the oil with the flavor of the chili.
  6. Once the oil heats up and starts to smoke, add the onions. Saute on high heat for a few seconds.
  7. Add the finely chopped ginger and garlic and saute for a few seconds on high heat.
  8. Next, add the vegetables and continuously stir for 2-3 minutes. The idea is to cook the vegetables till it remains crunchy and its sides start to brown a little.
  9. Season with salt and pepper. Stir well.
  10. Add the hot sauce. Mix.
  11. Time to add the rice and the Oyster and soy sauce mixture. Mix very well ensuring each grain of the rice coated in all the sauce, without any lumps.
  12. Once the rice is done, add the fried eggs and give it one last mix.
  13. Garnish with spring onion greens and white sesame seeds.
  14. Serve hot and enjoy! [/directions]

egg fried rice

egg fried rice

If you have any questions, feel free to reach out to me with a comment or connect with me on Instagram or Facebook. For all my videos, you can subscribe to me on YouTube.

Related recipe – 30 Minute Stir Fry Noodles

Happy cooking!
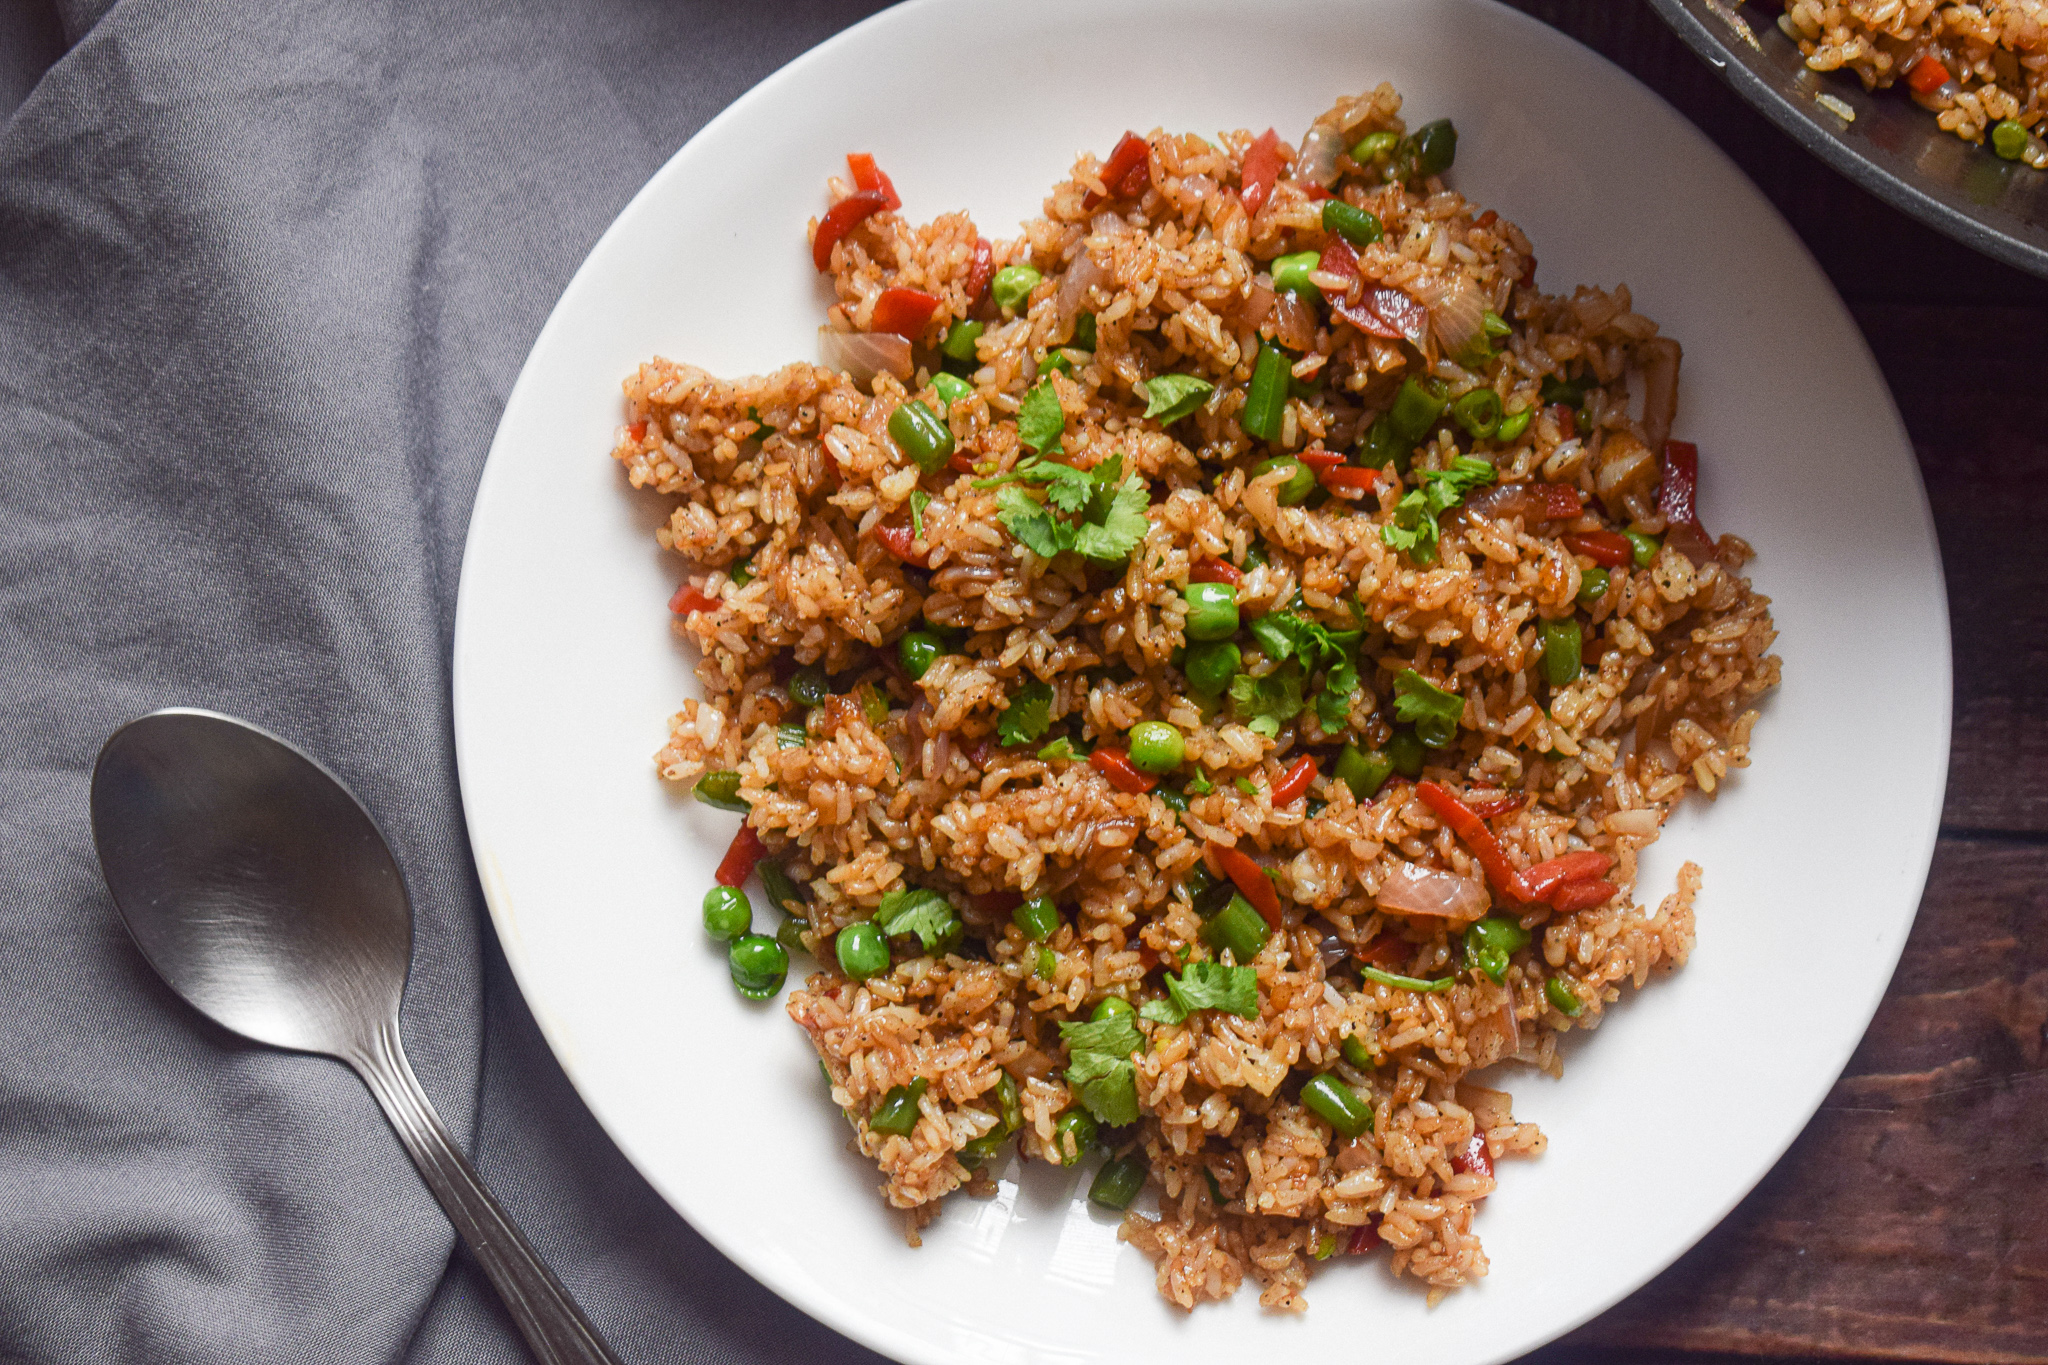
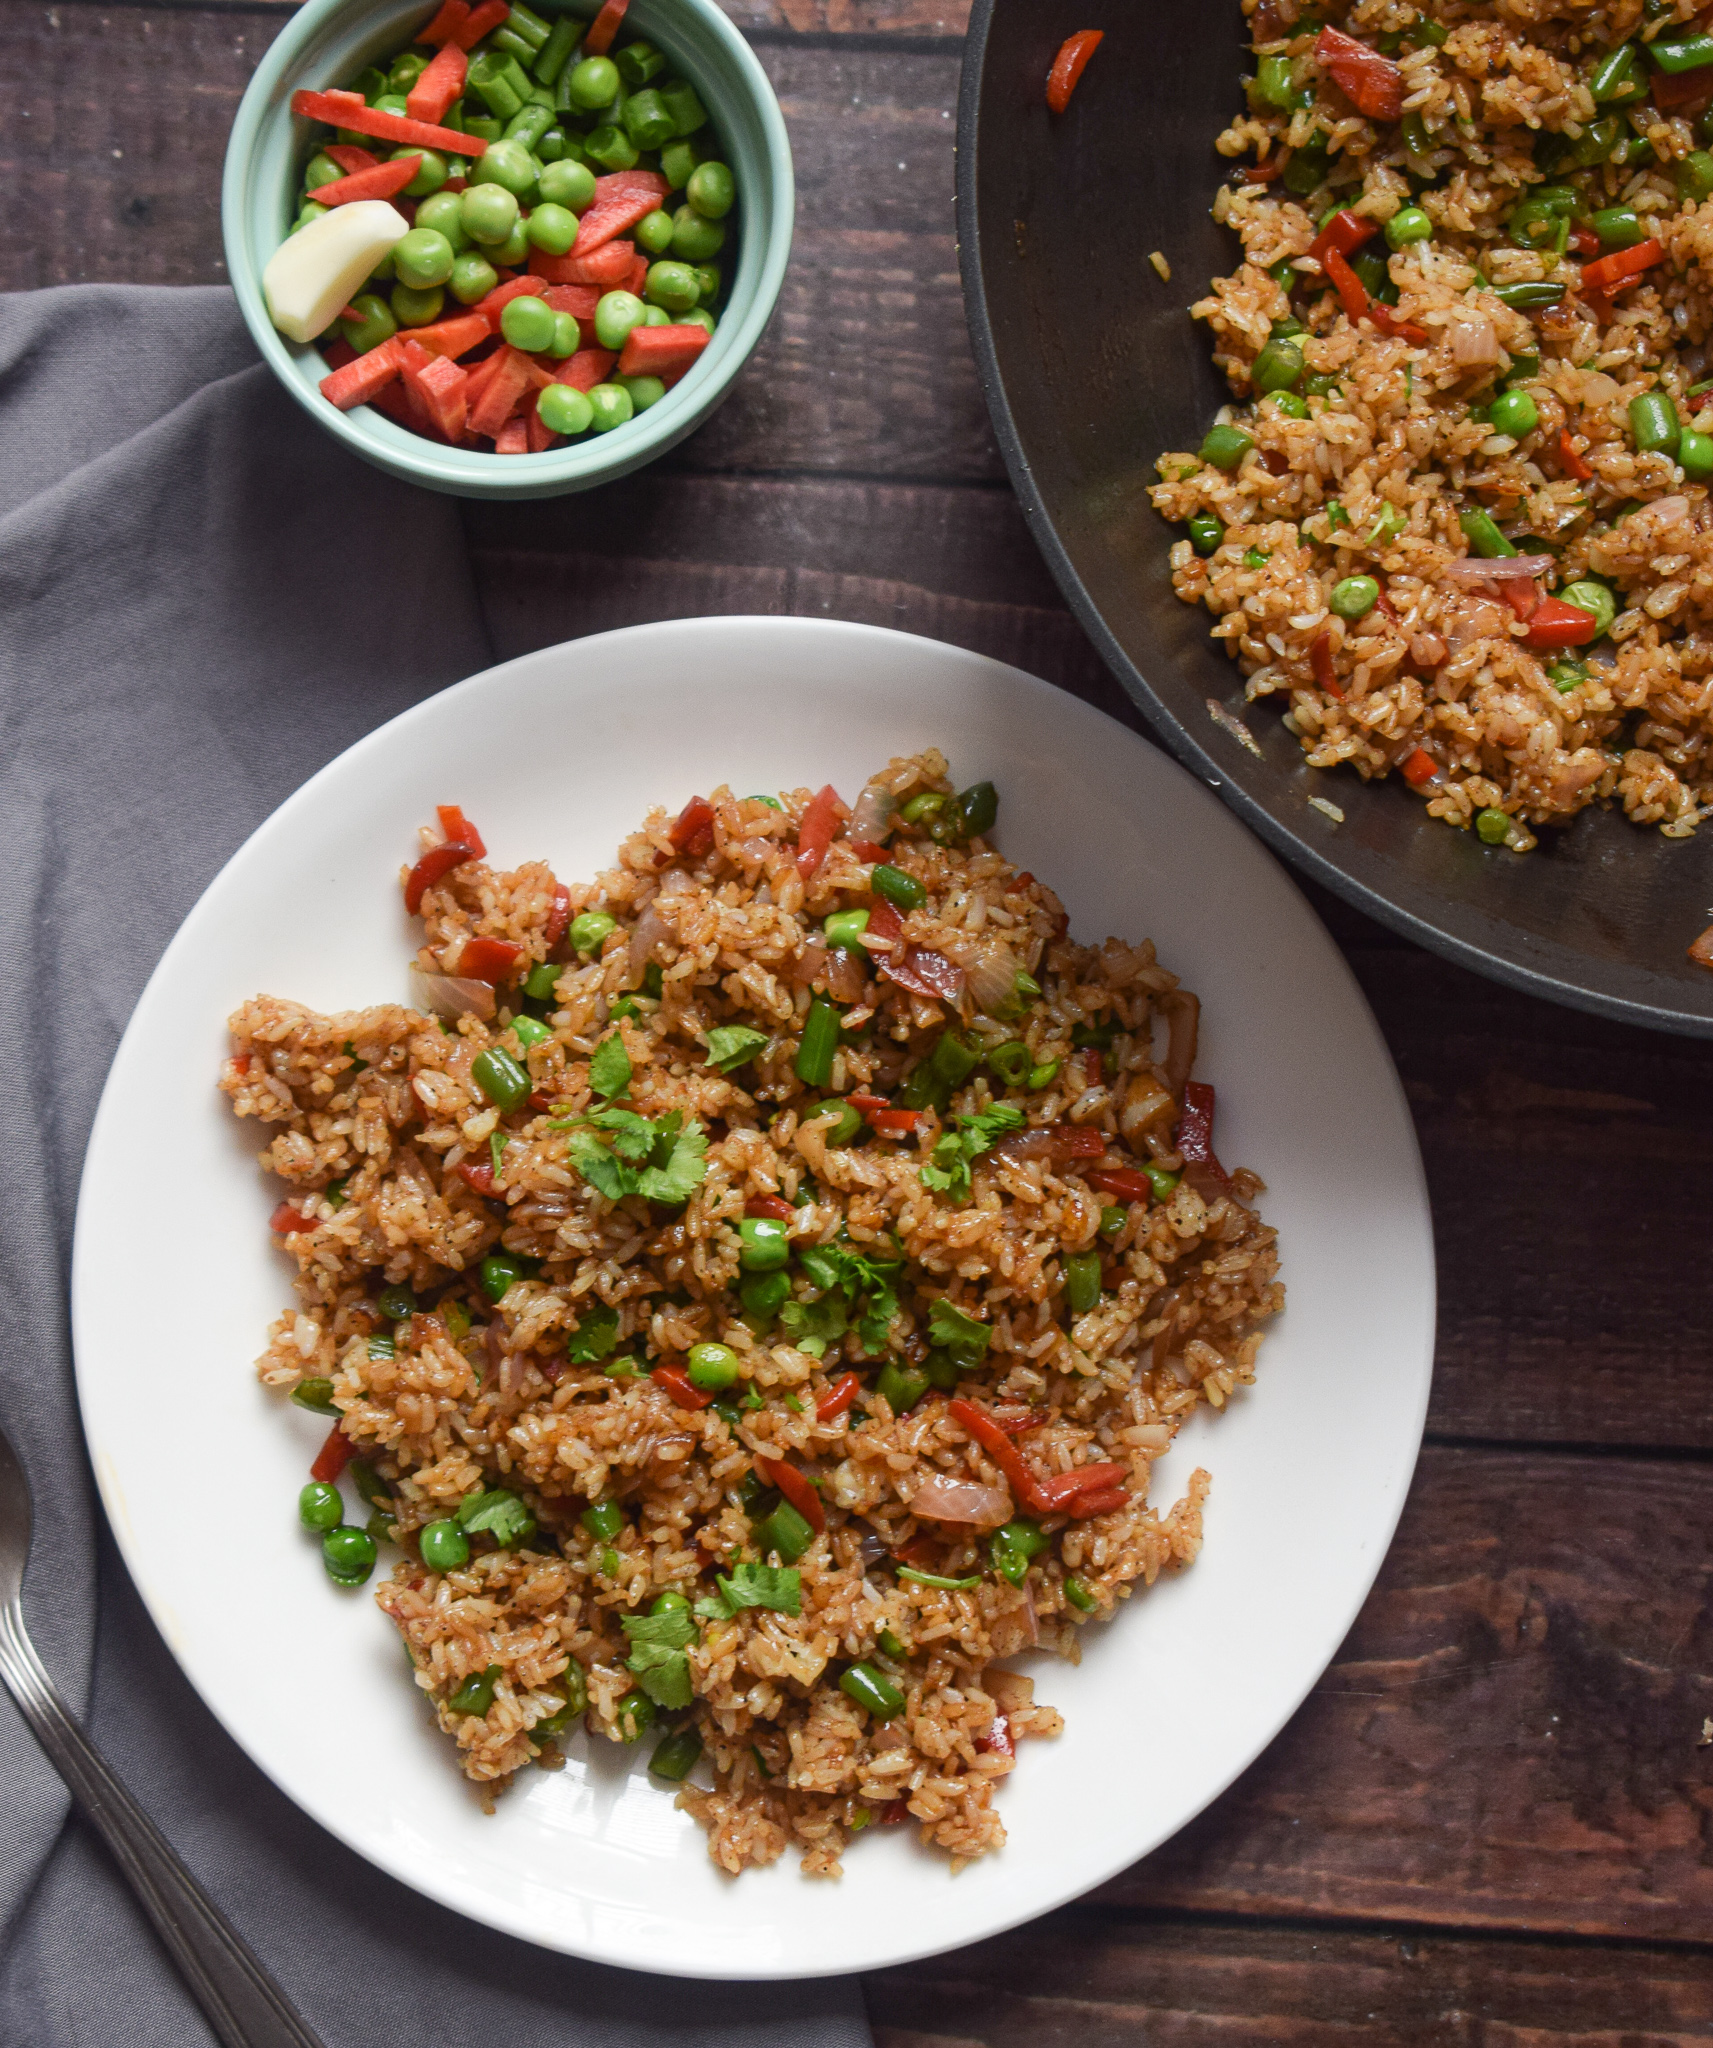
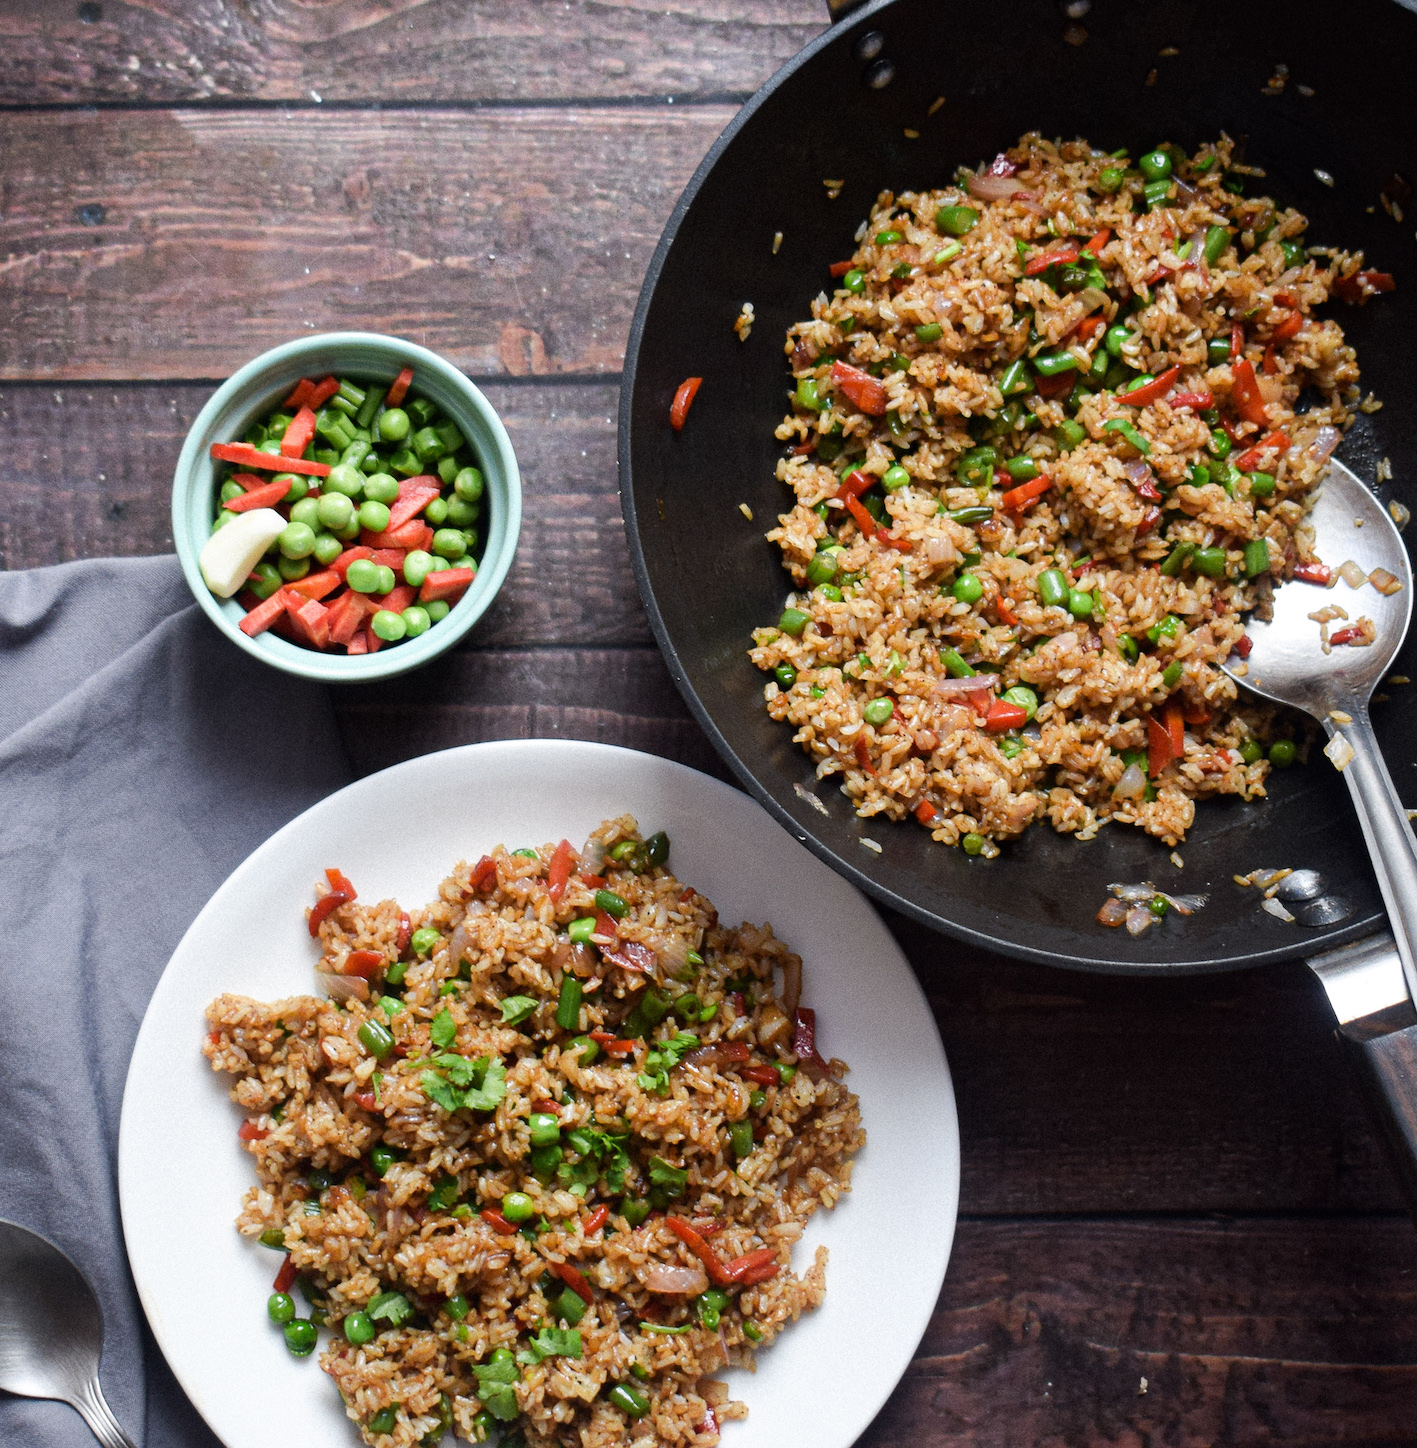
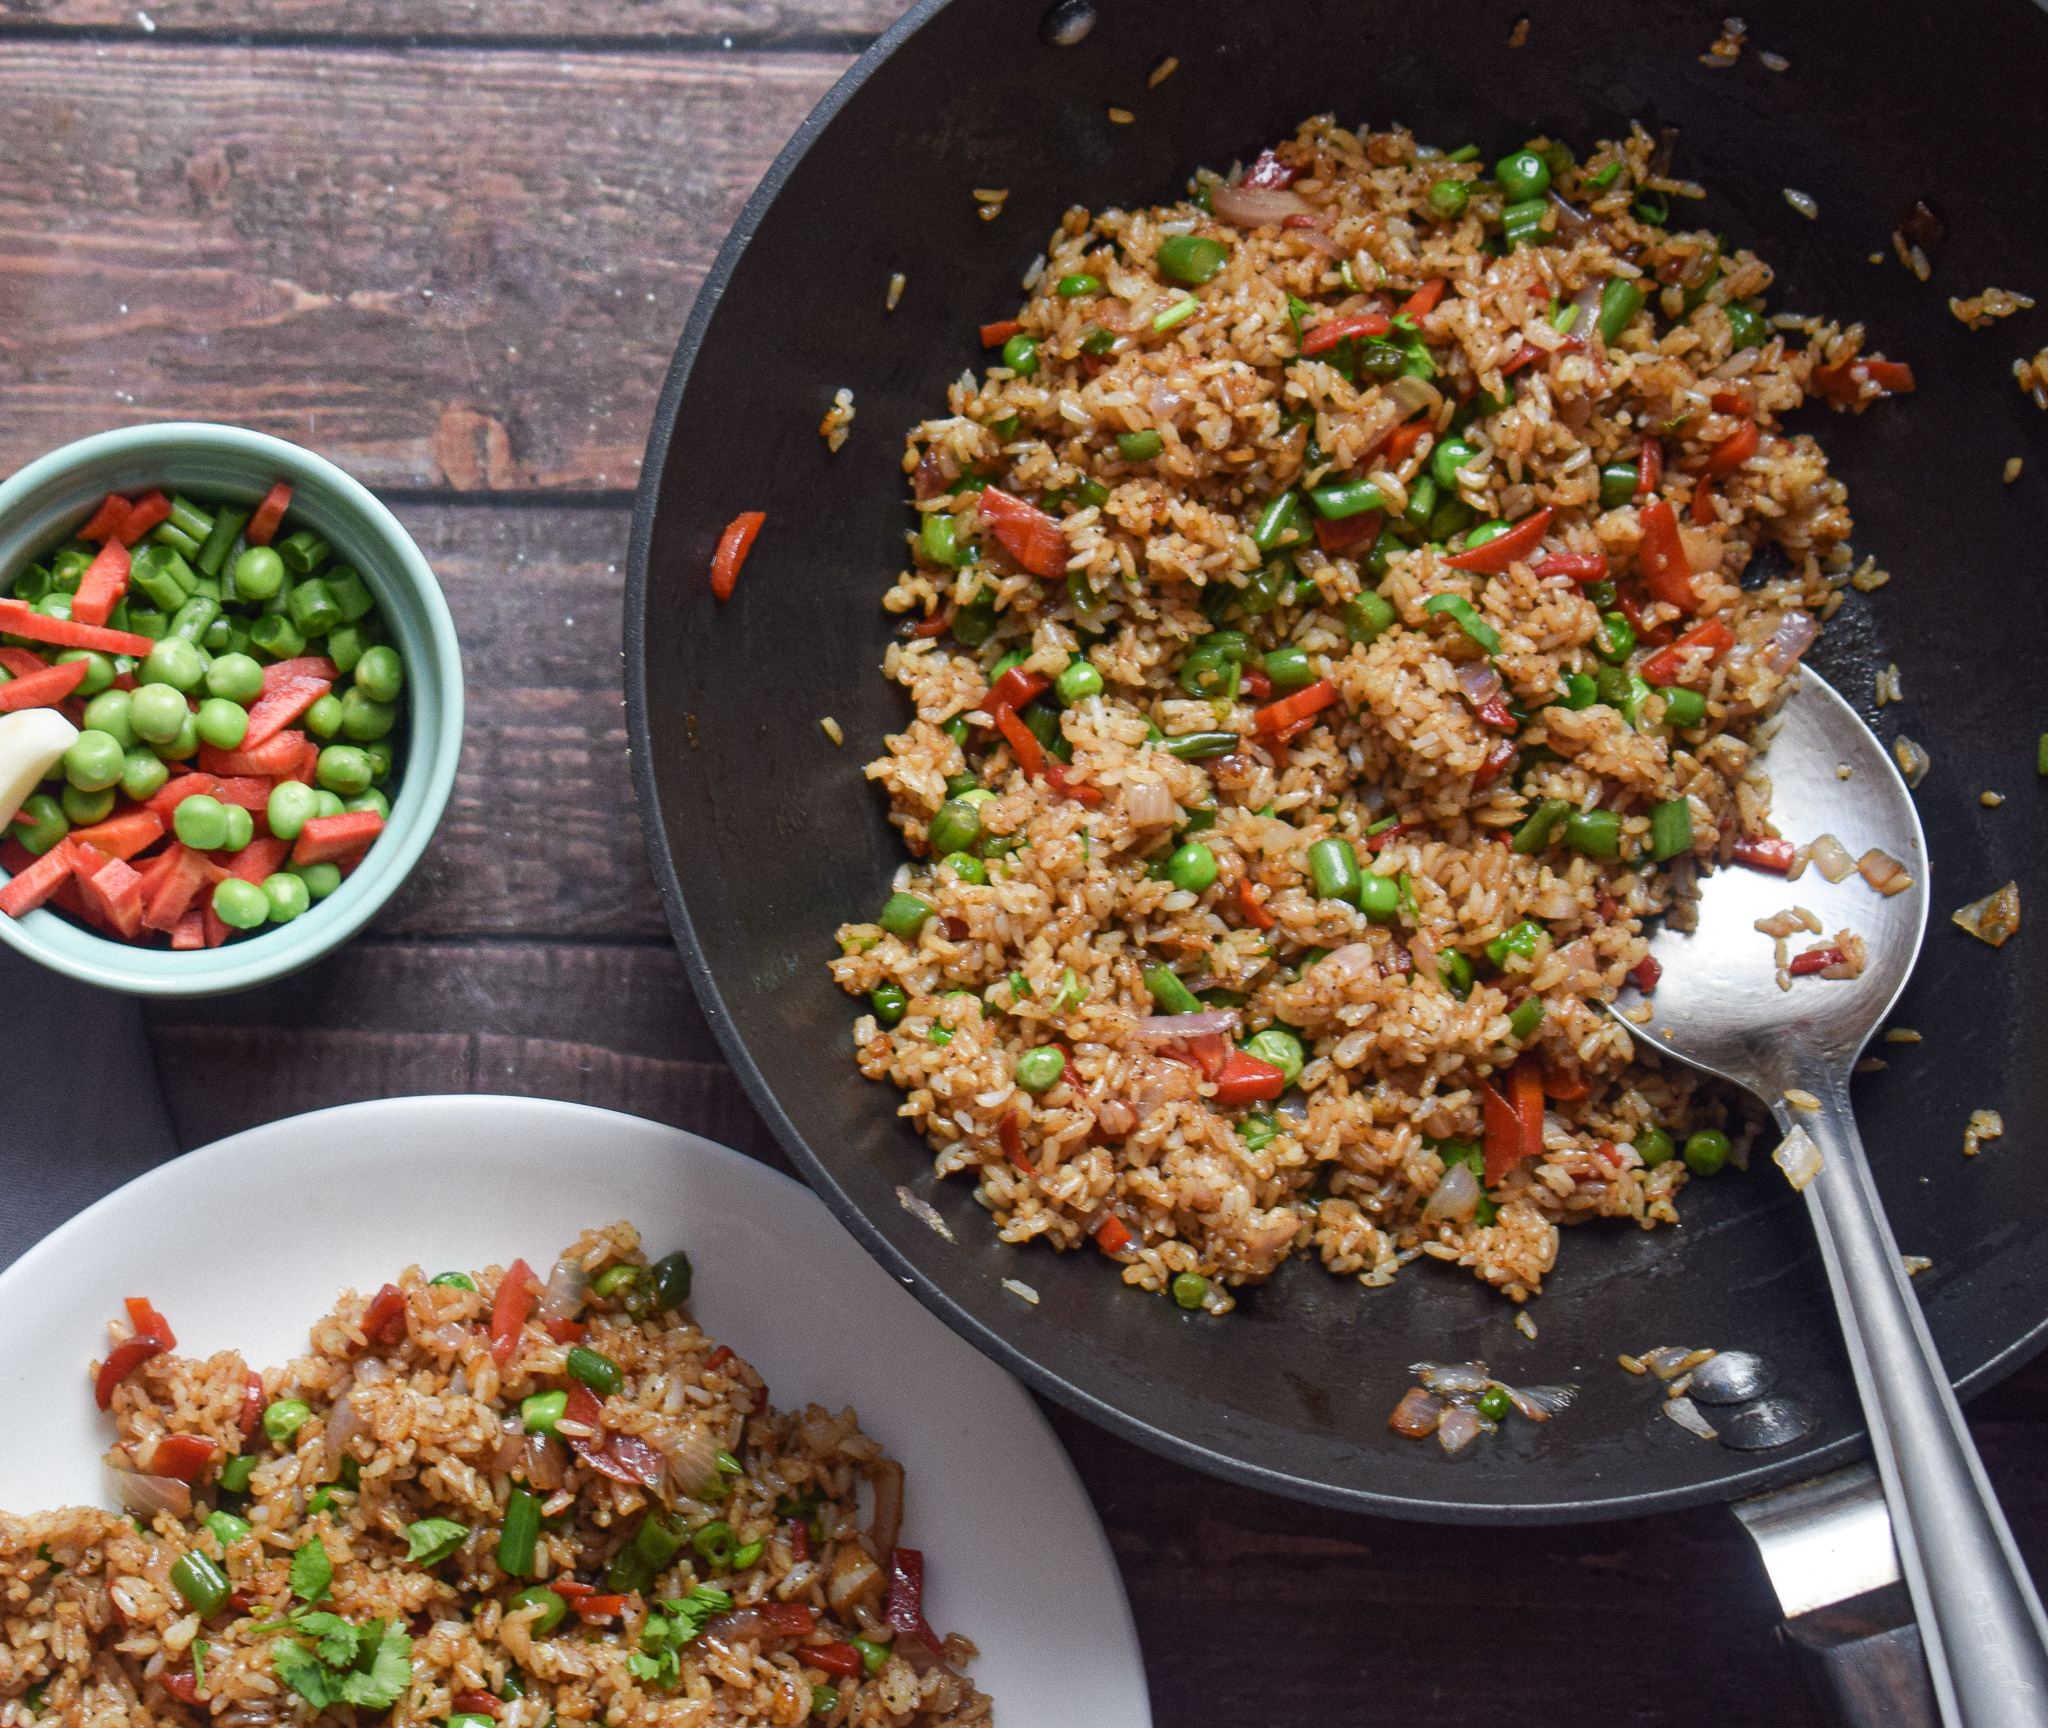
15 Minute Vegetable Fried Rice

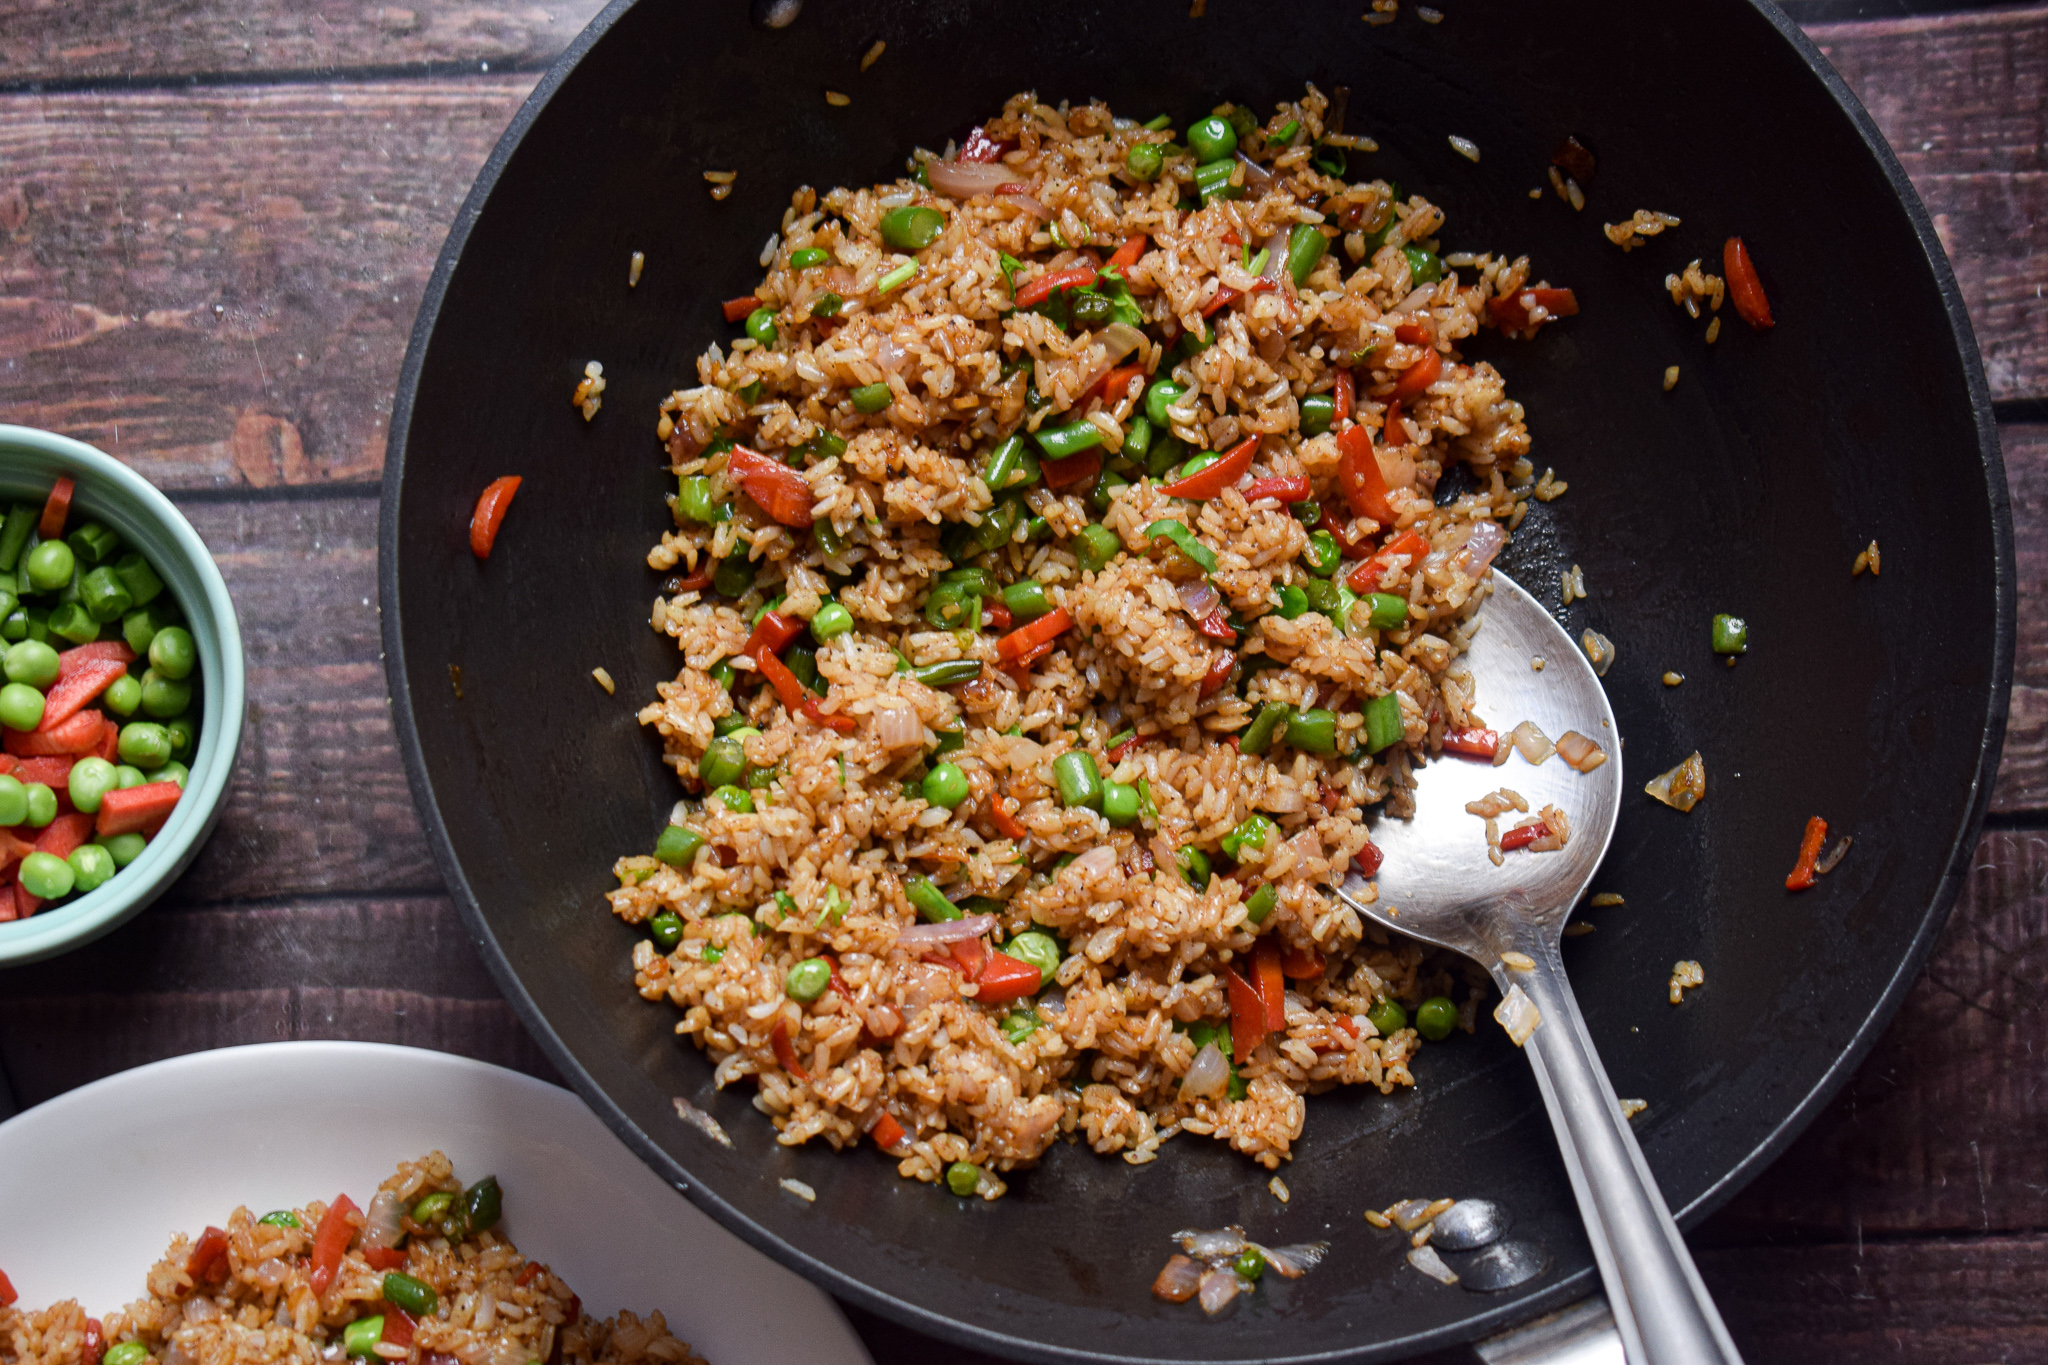
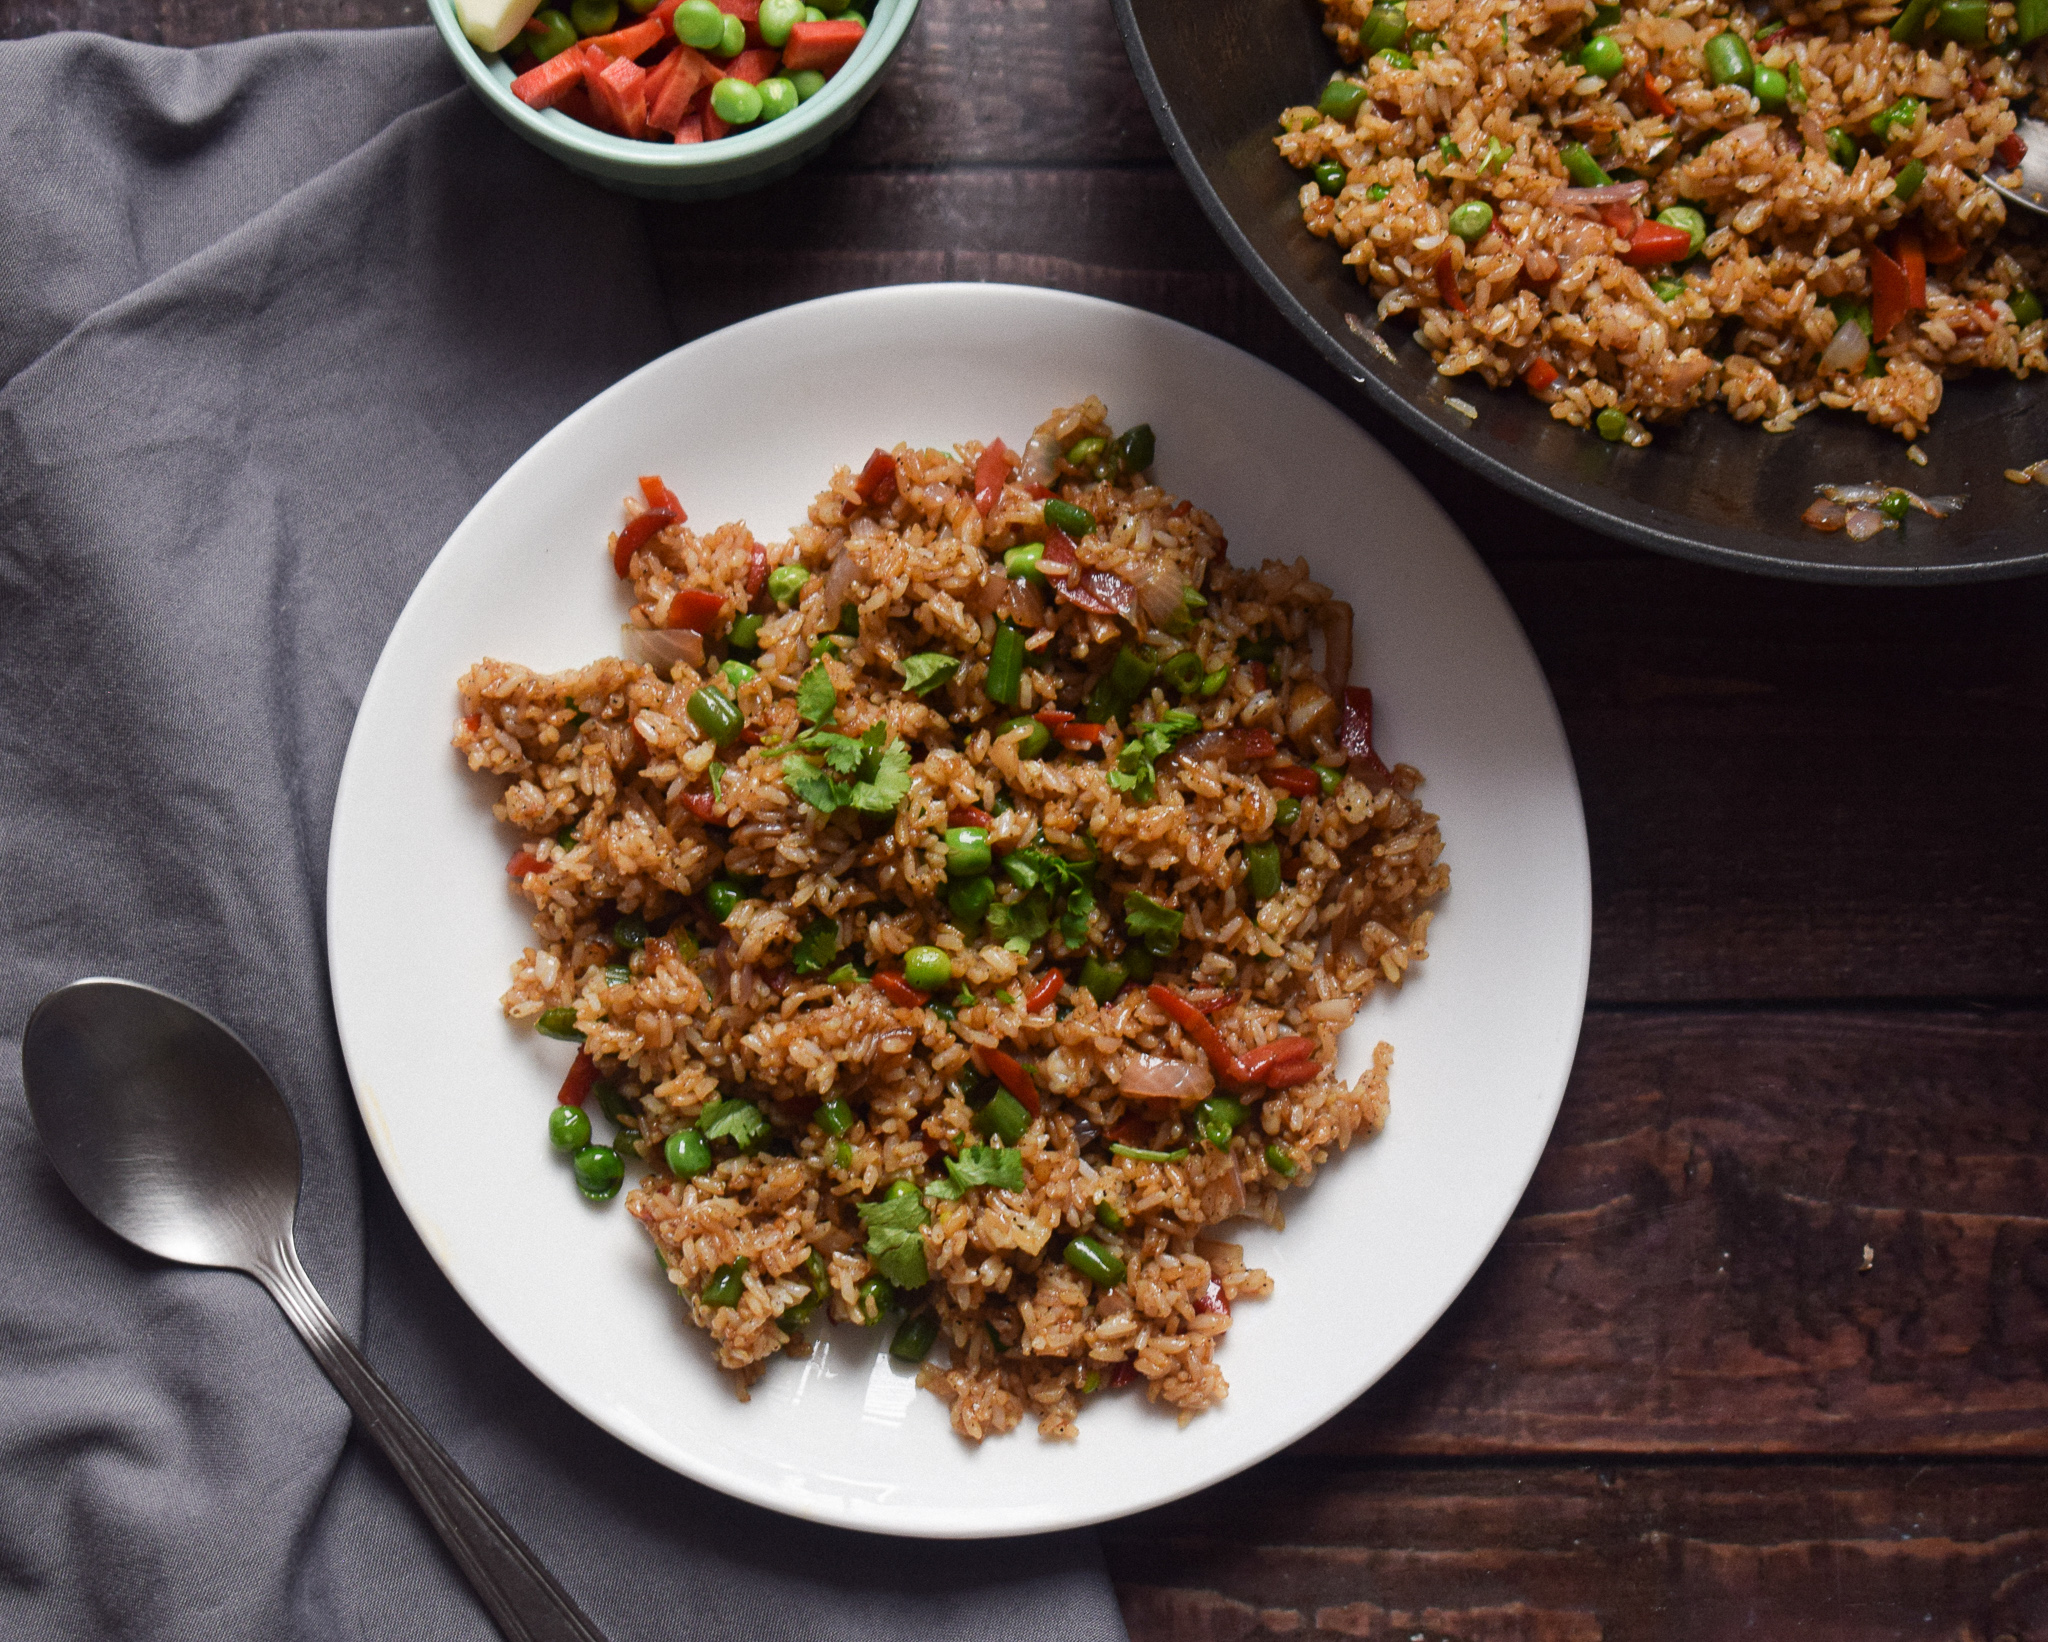
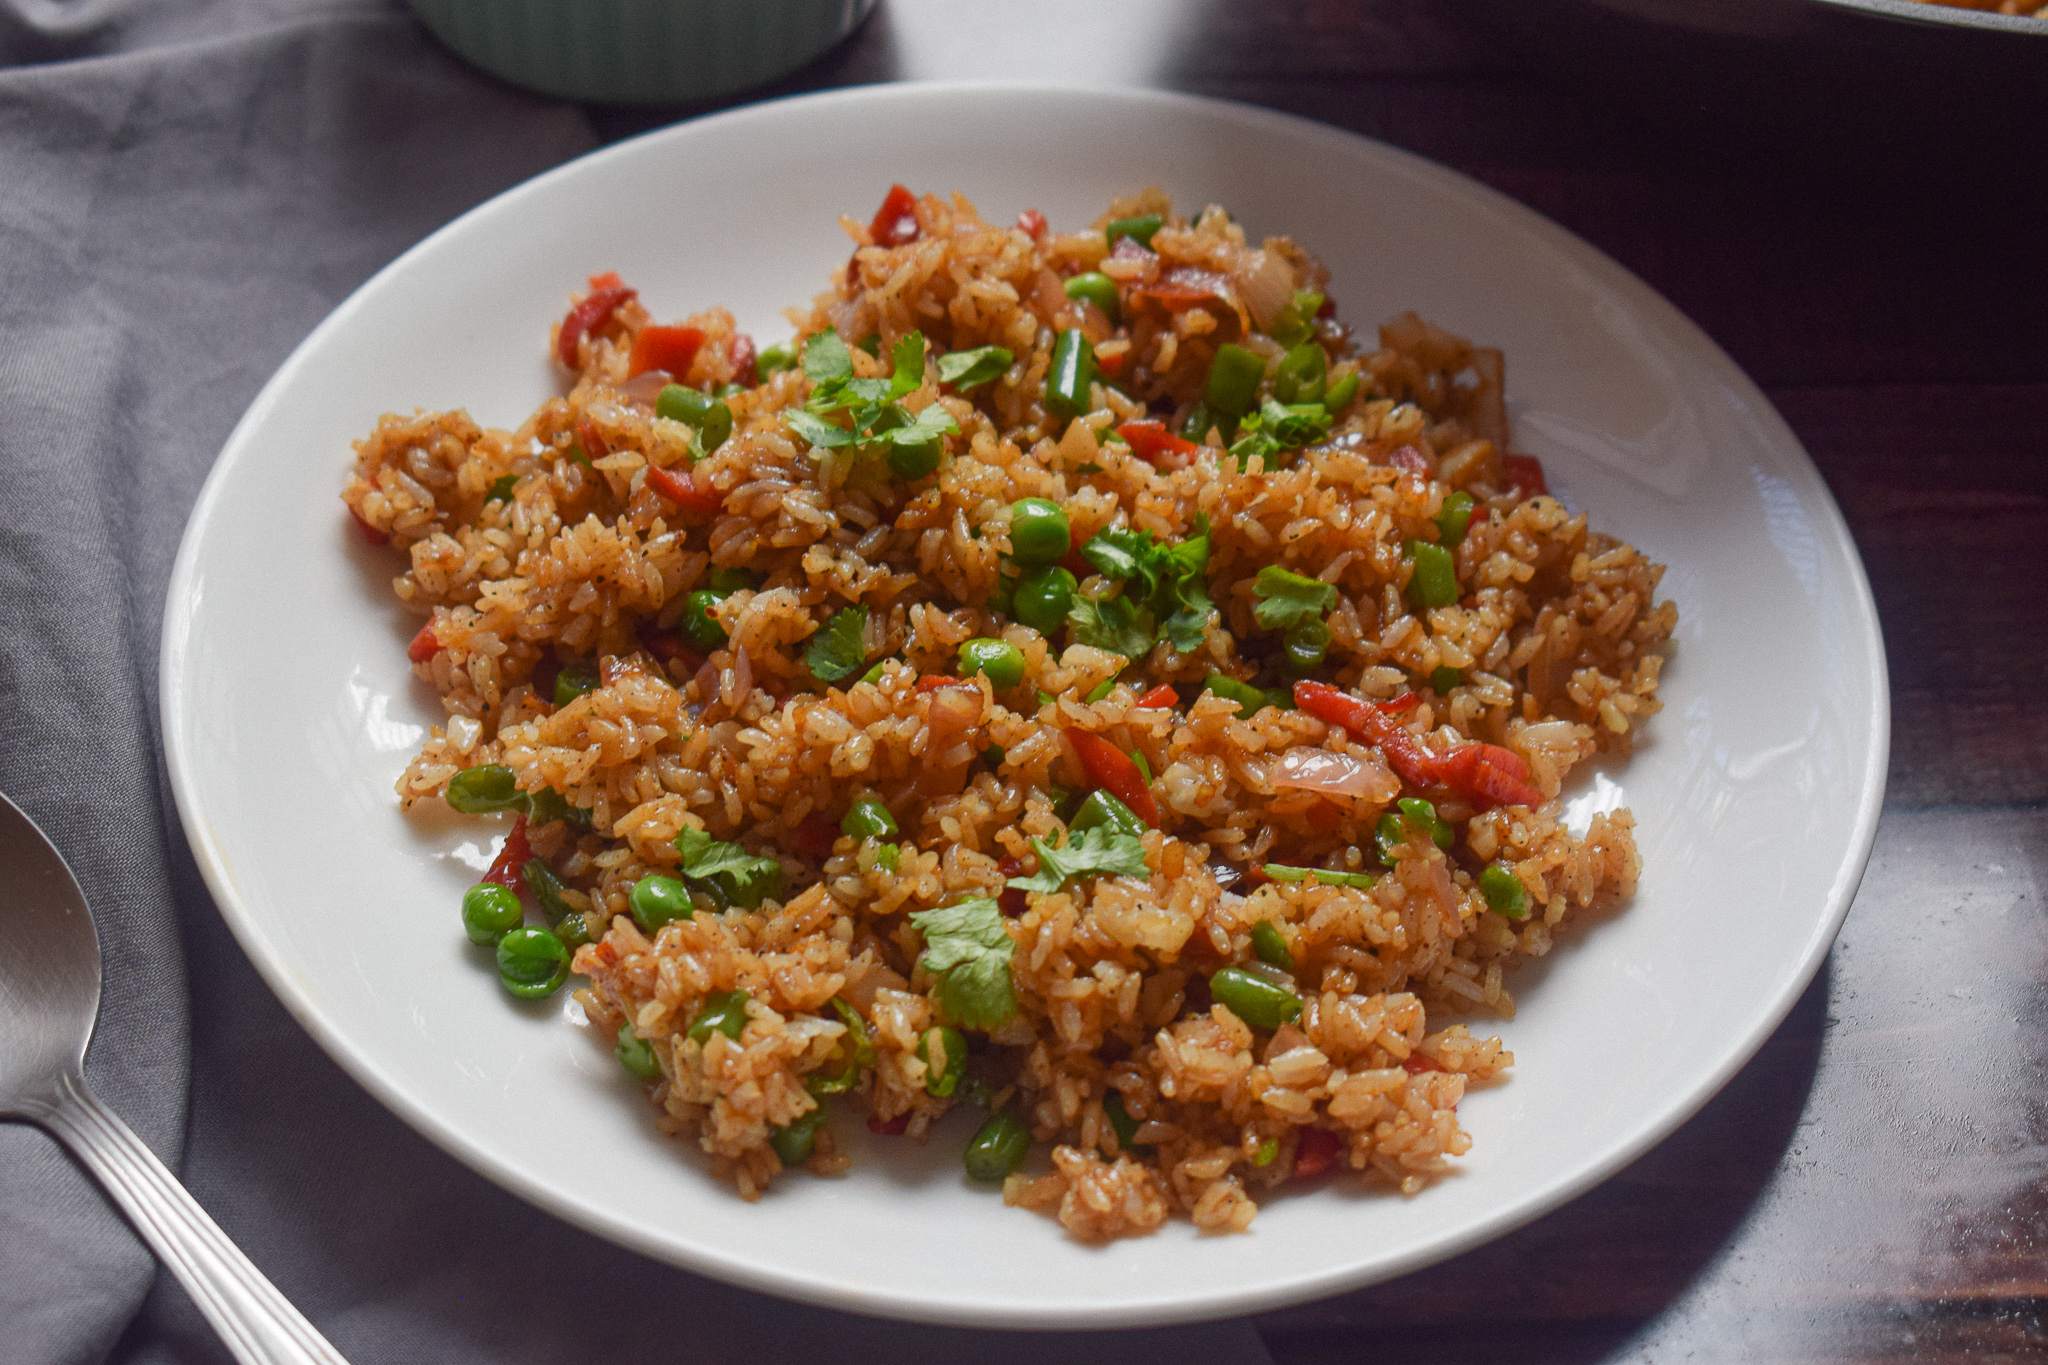
Here’s an easy way to whip up dinner in 15 minutes, while also ensuring you eat your vegetables. This vegetable fried rice is one of my go-to recipes every other day and I can never get enough of it.

The best part about this recipe is its ease and highly customisable option. You can make a large batch and add eggs, chicken or more vegetables of your choice. This vegetable fried rice uses the most minimal ingredients and is as simple as it can get. The it’s beauty lies in the freshness of its ingredients.

How to make the perfect fried rice every time

Fried rice might be a simple dish but it requires a few things done right every single time. The best kind of vegetable fried rice are those where each grain of rice is separate and cooked to perfection. Nobody likes a soggy plate of fried rice, nor does one want half cooked rice bites in their spoon. Apart from that the way the vegetables are cooked also matter a lot! They cannot be soggy or raw – just the right amount of crunch.

vegetable fried rice

vegetable fried rice

Here are some of the tips you might want to follow to make that perfect fried rice every single time.

  • Always use a wok for making fried rice because it helps is faster and uniform cooking.
  • Make sure your wok is really hot before you add oil and other ingredients.
  • Make sure the vegetables you add are chopped finely so that they can cook quickly.
  • The rice that you add to any fried rice should always be cold. Otherwise, it will stick to the wok and become lumpy. It’s best to use a day old rice.
  • If you add any protein like chicken or shrimp, cook them before you add the vegetables.
  • Add the soy sauce and vinegar just before you remove the wok from the gas stove.
  • Always garnish in the end after turning the gas off.

vegetable fried rice

vegetable fried rice

Cooking the perfect rice for frying

In this recipe, I have used joha rice, which is a flavourful small grained rice found in Assam, India. It is starchy and has a beautiful fragrant. You can use jasmine rice too. The quality of rice can really change the game. If you do not have jasmine rice, you can use any small grain rice available near you – broken basmati is a great choice!

vegetable fried rice

For small grained rice, wash them thoroughly under runnign water till the water is clear. Once they are thoroughly washed, add them to a pan, instant pot or a pressure cooker. If you are using 1 cup rice, use 1.5 cups of water to cook it. And once cooked, keep the rice covered for 10-15 minutes after turning off the gas. Keep the rice in the fridge overnight, and use it the next day for making fried rice.

Why this vegetable fried rice?

  • Delicious and super easy!
  • Healthy and quick
  • Better than takeout
  • You need 15 minutes to make this
  • Made with bare minimum pantry essentials.
  • Highly customizable!
  • Can be made in large batches.

vegetable fried rice

Preparation time – 15 minutes

Cook time – 15 minutes

Serves – 3

[ingredients title=”Ingredients”]

  • 30 ml vegetable/sesame oil
  • 2 slit green chillies (optional, add it if you like spicy food)
  • 100 g onions, finely chopped
  • 15 g garlic, finely chopped
  • 80 g carrots, chopped
  • 80 g green beans, chopped
  • 80 g fresh green peas
  • Salt to taste
  • 4 g black pepper powder
  • 150 g cooked white rice
  • 30 ml dark soy sauce
  • Coriander/spring onion greens for garnish [/ingredients]

[directions title=”Directions”]

  1. Heat oil in a wok. Let it smoke.
  2. Temper the oil with slit green chillies (optional).
  3. Add the chopped onions and fry till it starts to brown and becomes translucent.
  4. Add the sliced garlic and saute till its rawness fades.
  5. Next, add the beans, carrots, and peas and saute for about a minute or two on medium flame. Do not overcook the vegetables as they need to remain crunchy.
  6. Season with salt and pepper.
  7. Add the boiled and cold rice to the mixture. Mix well till the rice is heated through and everything gets mixed together perfectly.
  8. Pour in the soy sauce and mix well until every grain of the rice gets stained in the sauce.
  9. Garnish with fresh herbs – coriander or spring onion greens – whatever you have available!
  10. Serve with cucumbers and tomatoes on the side. [/directions]

vegetable fried rice

I hope you try this version of vegetable fried rice! Super simple and easy. Please feel free to add more vegetables or any protein of your choice.

If you have any questions, feel free to reach out to me with a comment or connect with me on Instagram or Facebook. For all my videos, you can subscribe to me on YouTube.

Related recipe – 30 Minute Stir Fry Noodles

Happy cooking!

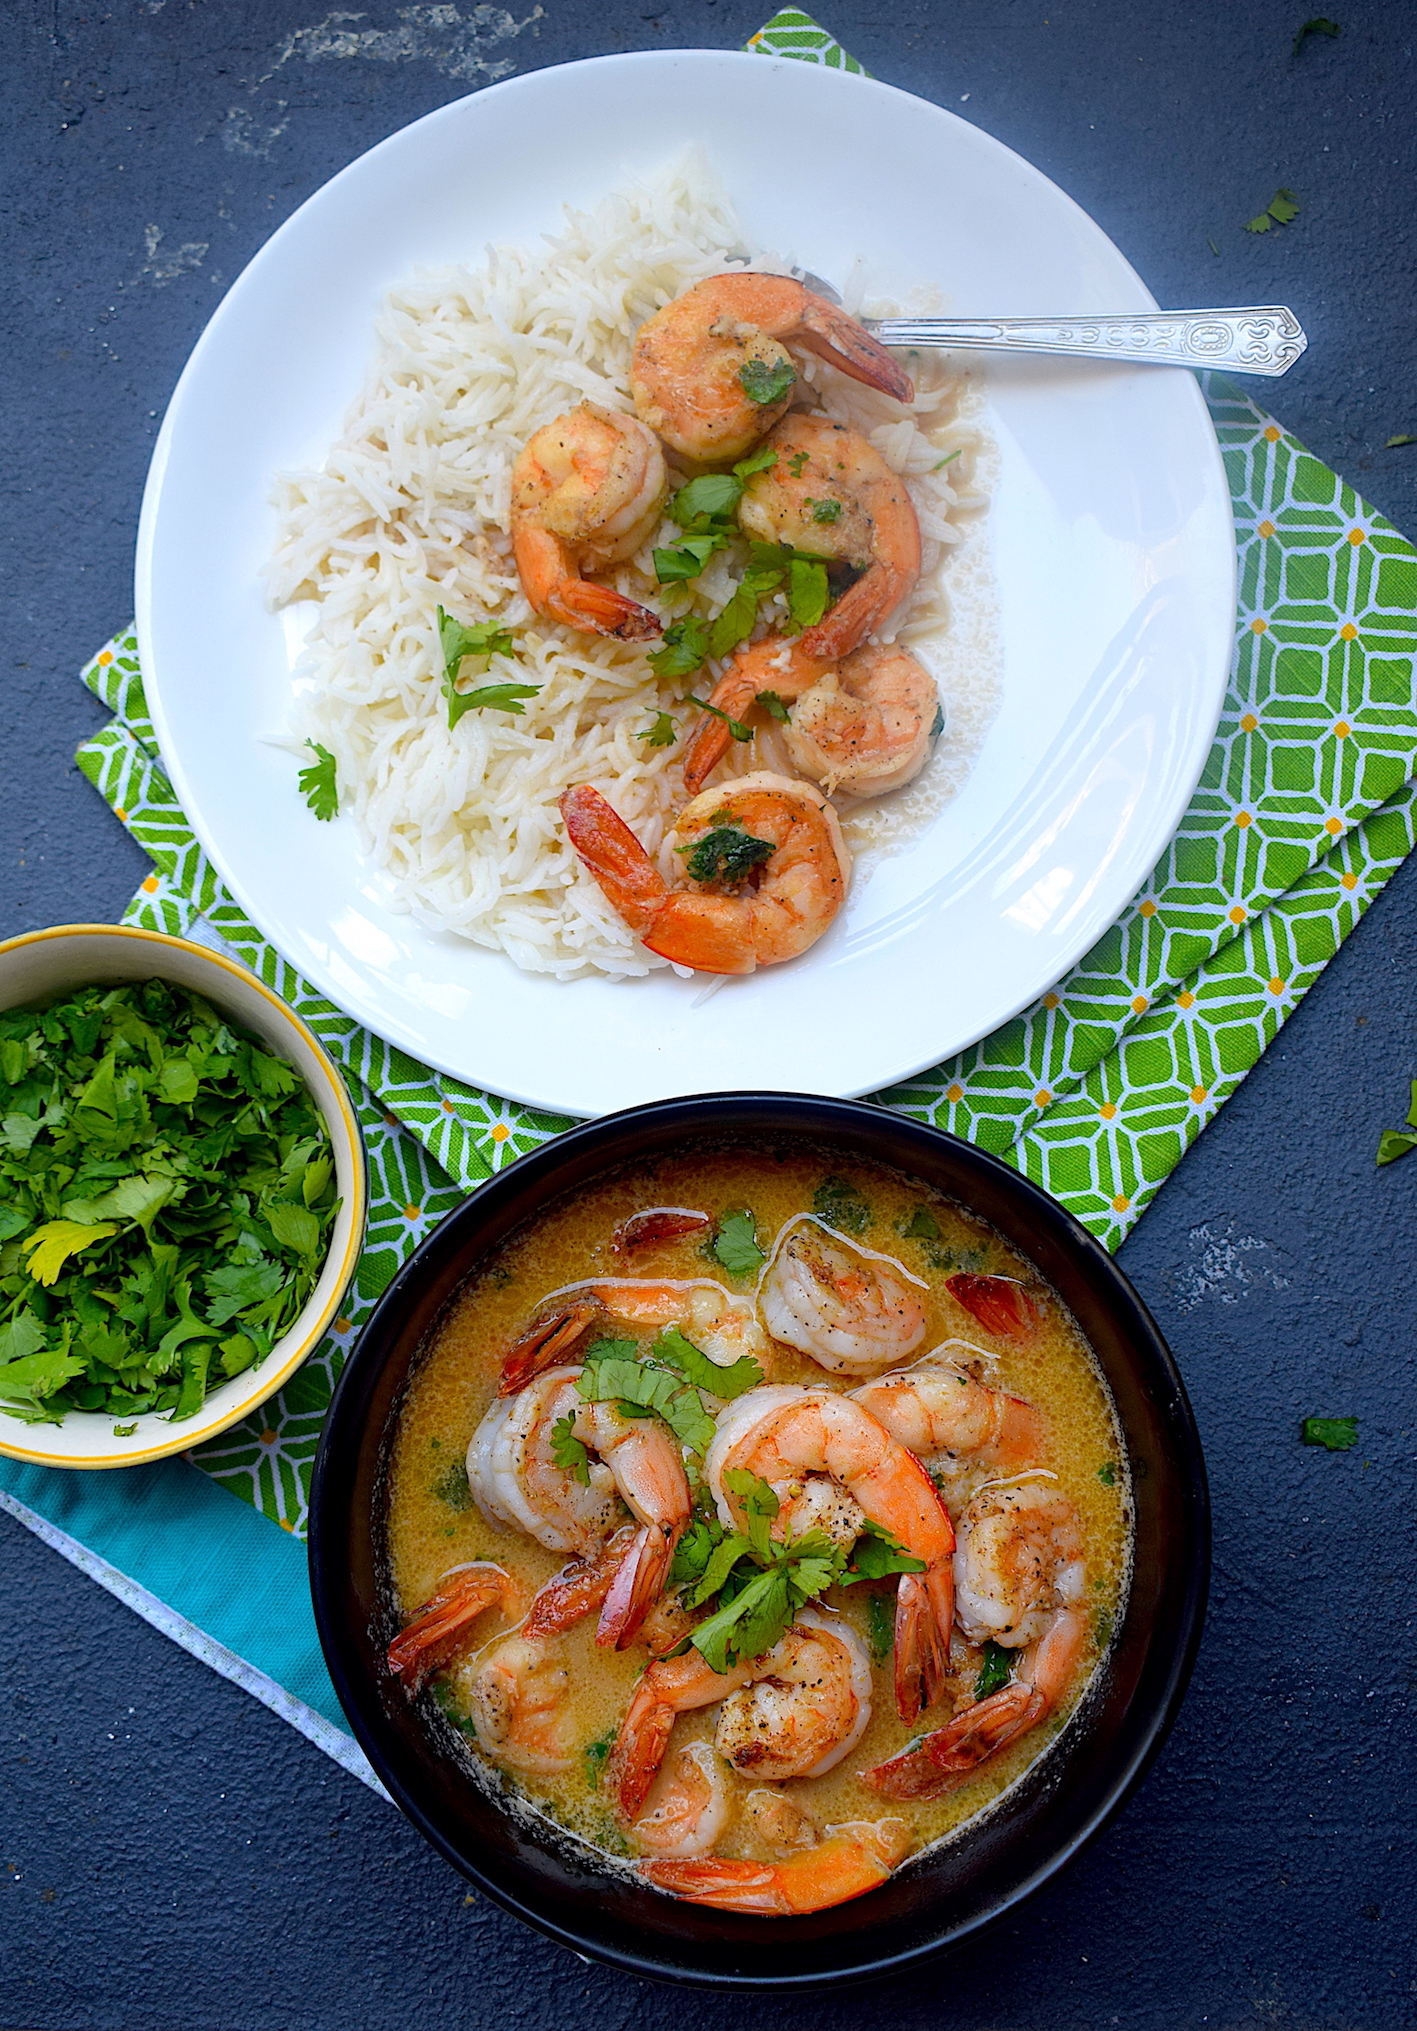
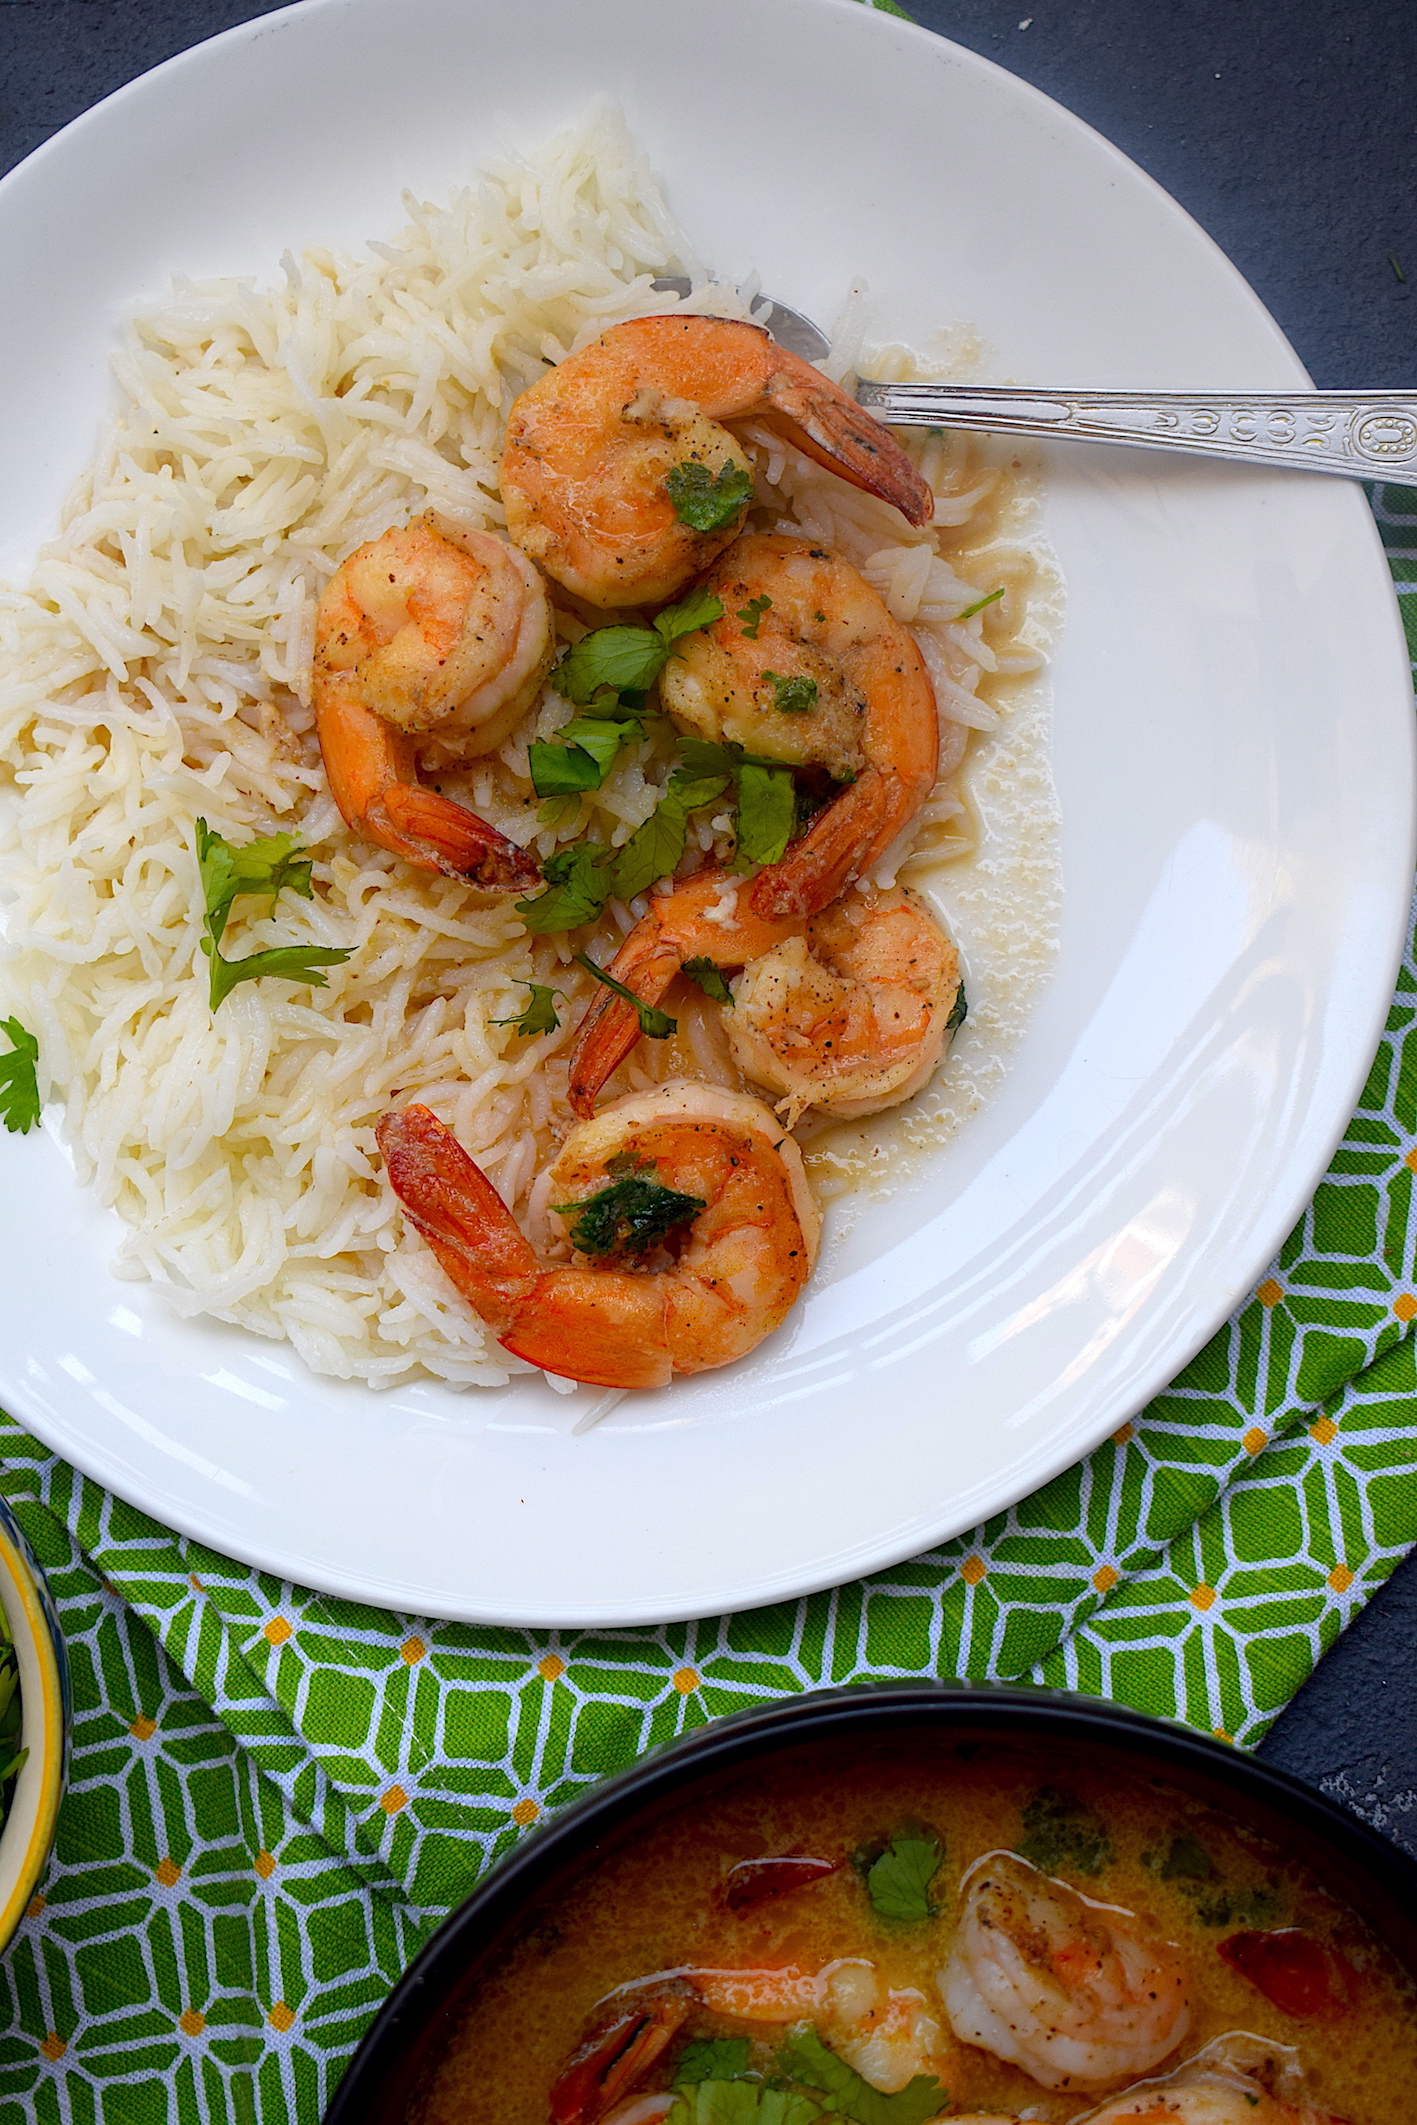
Prawn Curry With Lemongrass and Coconut

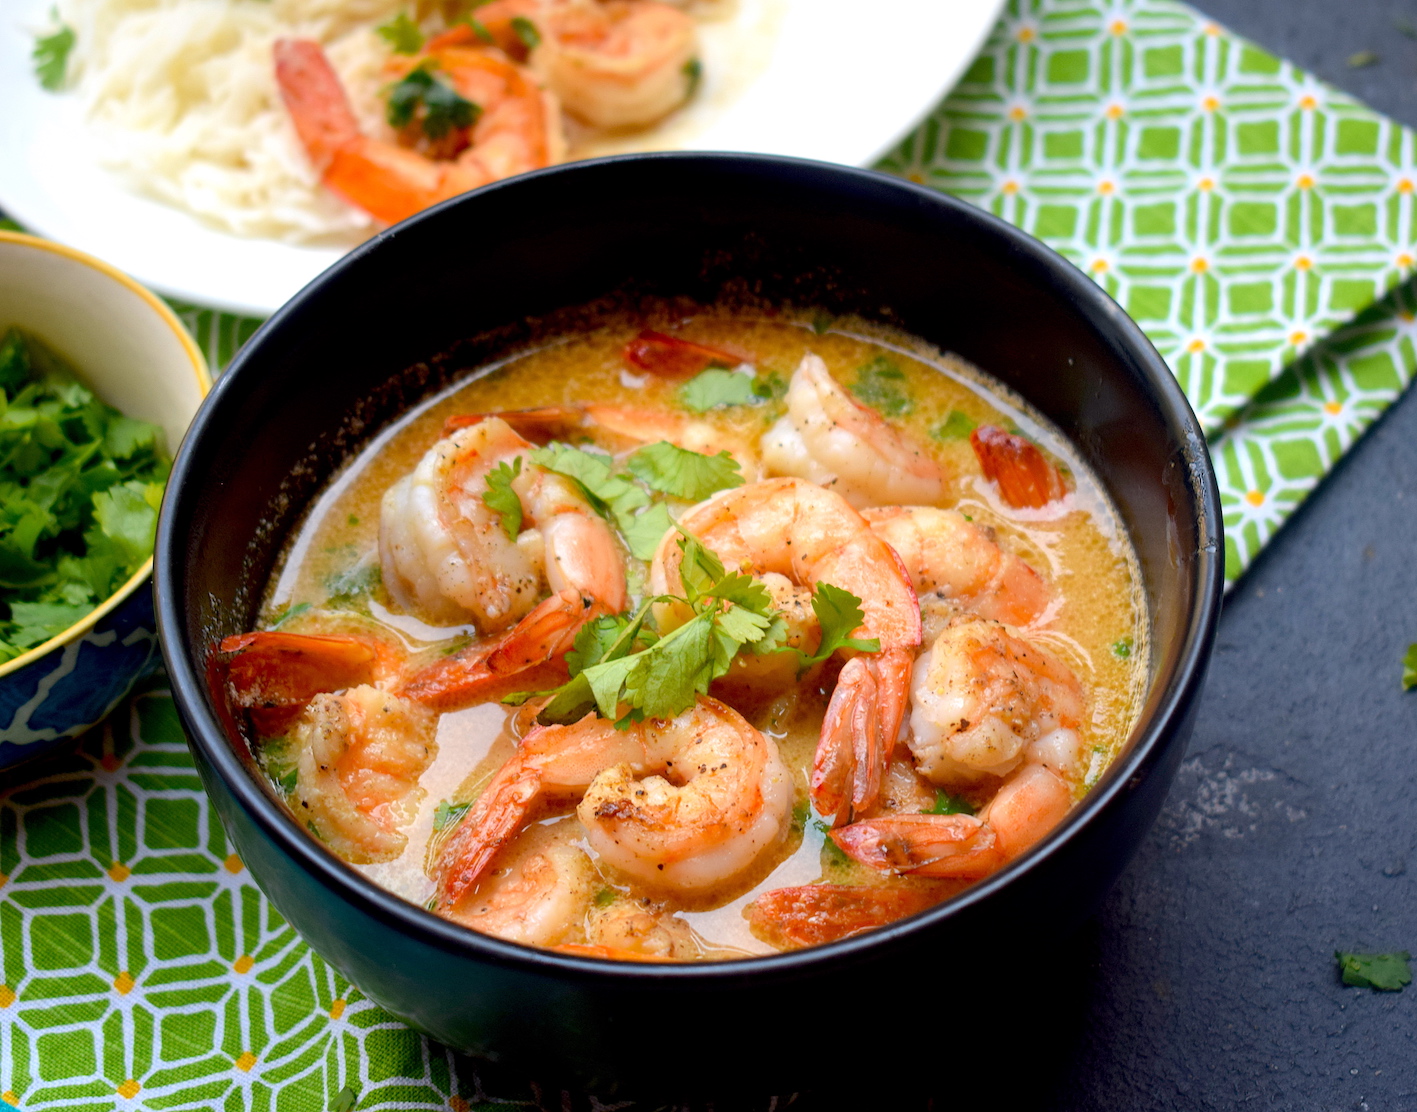
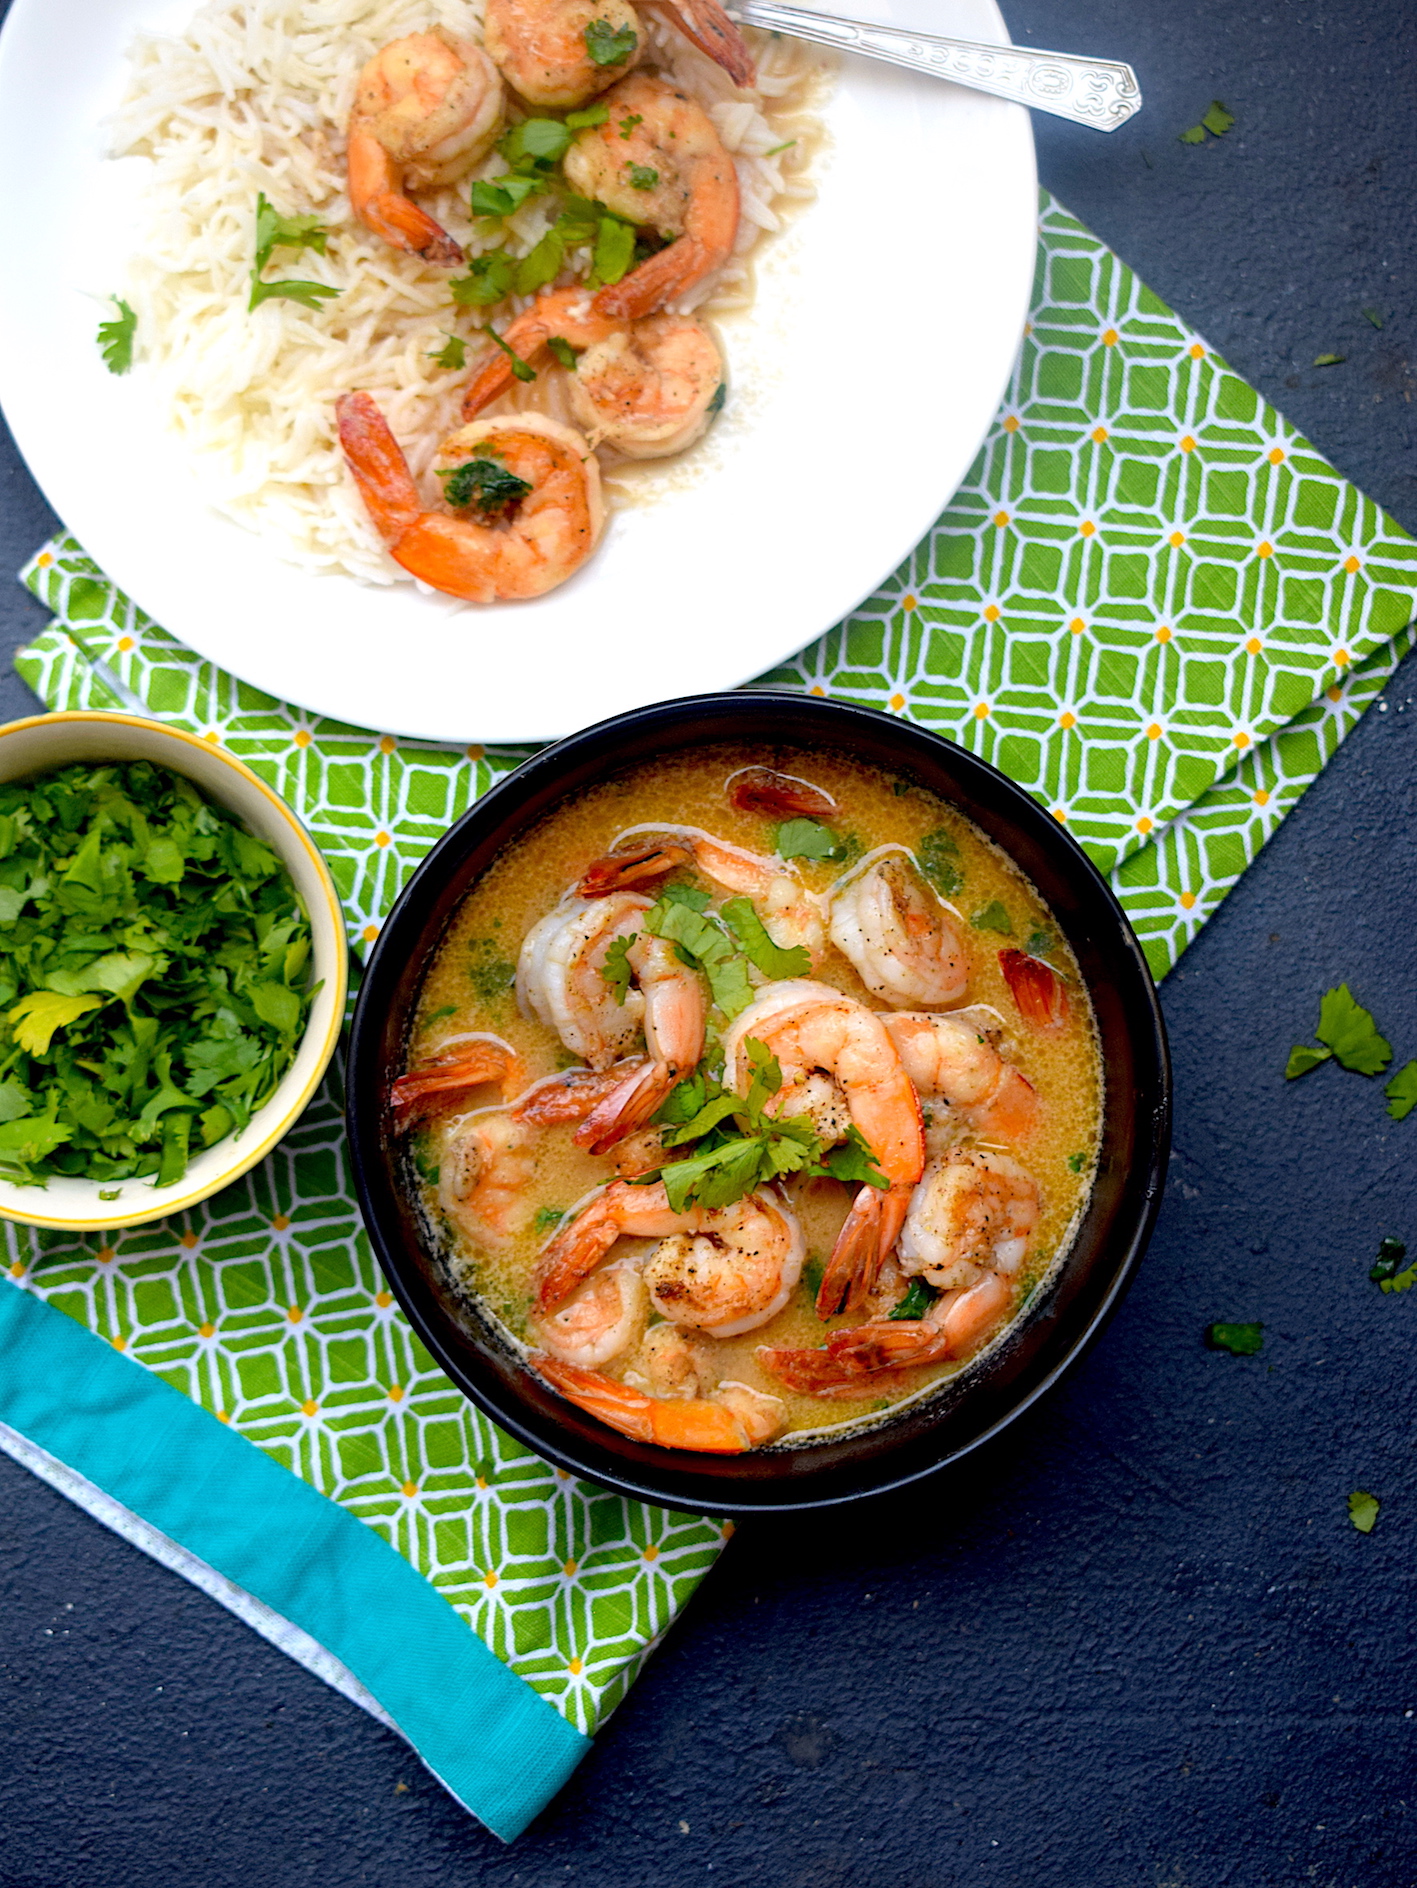
I am a huge fan of light curries. Curries that are not super rich in texture, but are full of flavor and taste. This prawn curry with lemongrass and coconut is one of my absolute favorites.

The fragrance of lemongrass is known to all, and this curry is so fresh and refreshing that it will make your heart skip a beat.

prawn curry with lemongrass

prawn curry with lemongrass

I got the inspiration for this recipe when I visited Bali in 2018. I had one of the best dinners in Ubud – a lemongrass prawn curry and rice. One bite into it and I knew I was in love. Such distinct and fresh flavours, and simple style of cooking. It appealed to me immediately and I have told everyone I know about that particular prawn curry. So I noted it down and have been making it ever since at home.

prawn curry with lemongrass

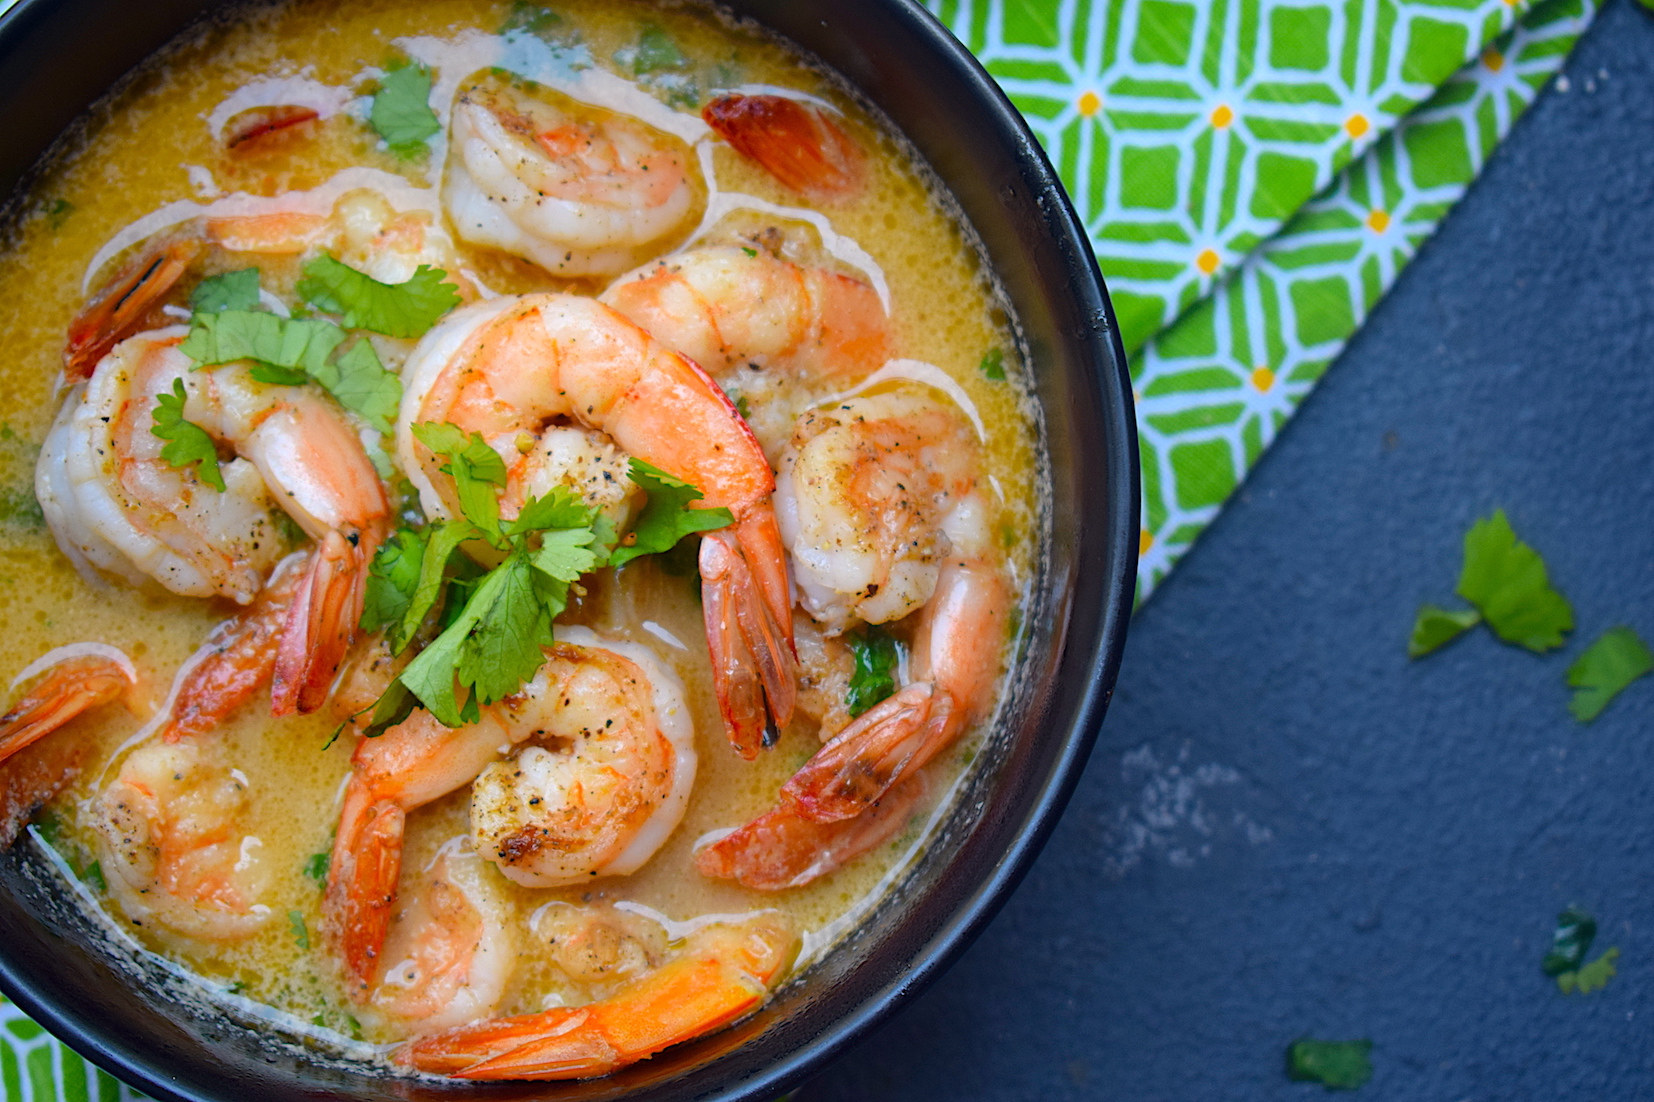
The broth of this curry has been reduced after putting together a lot of delightful ingredients, and the lemongrass is the hero. The coconut gives a lot of creaminess, flavor, and texture to the gravy. The broth is silky smooth as I have strained it completely, extracting all the flavor and juices out of the ingredients. Every drop of it is heaven, along with the juicy prawns. Pure bliss and one of my personal favorites. I hope you try it and love it as much as I do.

Preparation time – 30 minutes

Cook time – 30 minutes

Serves – 3-4 people

[ingredients title=”Ingredients”]

  • 400 g prawns, cleaned and deveined
  • 80 g fresh lemongrass stalks, cut into chunks
  • 2 medium onions
  • 40 g ginger
  • 1 dried red chili, soaked in warm water for 30 minutes
  • Salt to taste
  • 2 tsp pepper powder
  • 50 g fresh coconut
  • 1 tsp sugar
  • Juice of 1 lemon
  • 400 ml hot water
  • Chopped coriander leaves for garnish
  • 3 tbsp vegetable oil [/ingredients]

[directions title=”Directions”]

  1. Clean and devein the prawns. I have kept the tail on but you can remove it if you like. Pat the prawns dry with paper towel.
  2. Add the prawns to a mixing bowl. Marinate with salt and 1.5 teaspoons of freshly ground black pepper powder. Mix well with a spoon till every prawn is coated with the salt and pepper.
  3. Heat two tablespoons of oil in a pan. Fry the prawns in the hot oil, one minute each side. Set them aside.
  4. Get fresh lemongrass. Look for stalks that are fragrant, tightly formed and lemony green in color in the lower stalk (near the bulb). Chop off the lower stalk as that is the most fragrant part. Chop it into chunks.
  5.  Add the lemongrass chunks, ginger, onions, soaked red chili and lemon juice. Add a little water and grind it all to form a thick paste.
  6. Heat 1 tablespoon oil in a pan. Once hot, add the lemongrass paste to it. Fry this till the raw aroma of the onions and ginger completely disappear. Keep the flame at medium so that it does not burn.
  7. Add sugar to the paste. Mix well.
  8. Once the paste releases all its water and the raw aroma disappears completely, add 400 ml of hot water. Mix well till the gravy starts to bubble.
  9. Now turn off the heat for a minute and strain the gravy (see video) onto a bowl. Make sure you extract every drop out of the base so that all you are left with are the shreds of the lemongrass and ginger.
  10. Put this strained and silky smooth gravy back into the pan and let it boil.
  11. Once the gravy starts to bubble, add the fried prawns. Give it a good mix and let it bubble away aggressively for about two minutes. Check salt and add more if required.
  12. Do not overcook. Garnish with fresh coriander leaves. Serve hot with boiled rice. [/directions]

prawn curry with lemongrass

prawn curry with lemongrass

For more such delightful food, follow me on Facebook, Instagram, Twitter, and YouTube.

If you are new to the kitchen or are confused about what to buy for my recipes/kitchen tools, I can help. I have curated a special list that you can order right from Amazon and get the best products for your kitchen. Click here to explore.


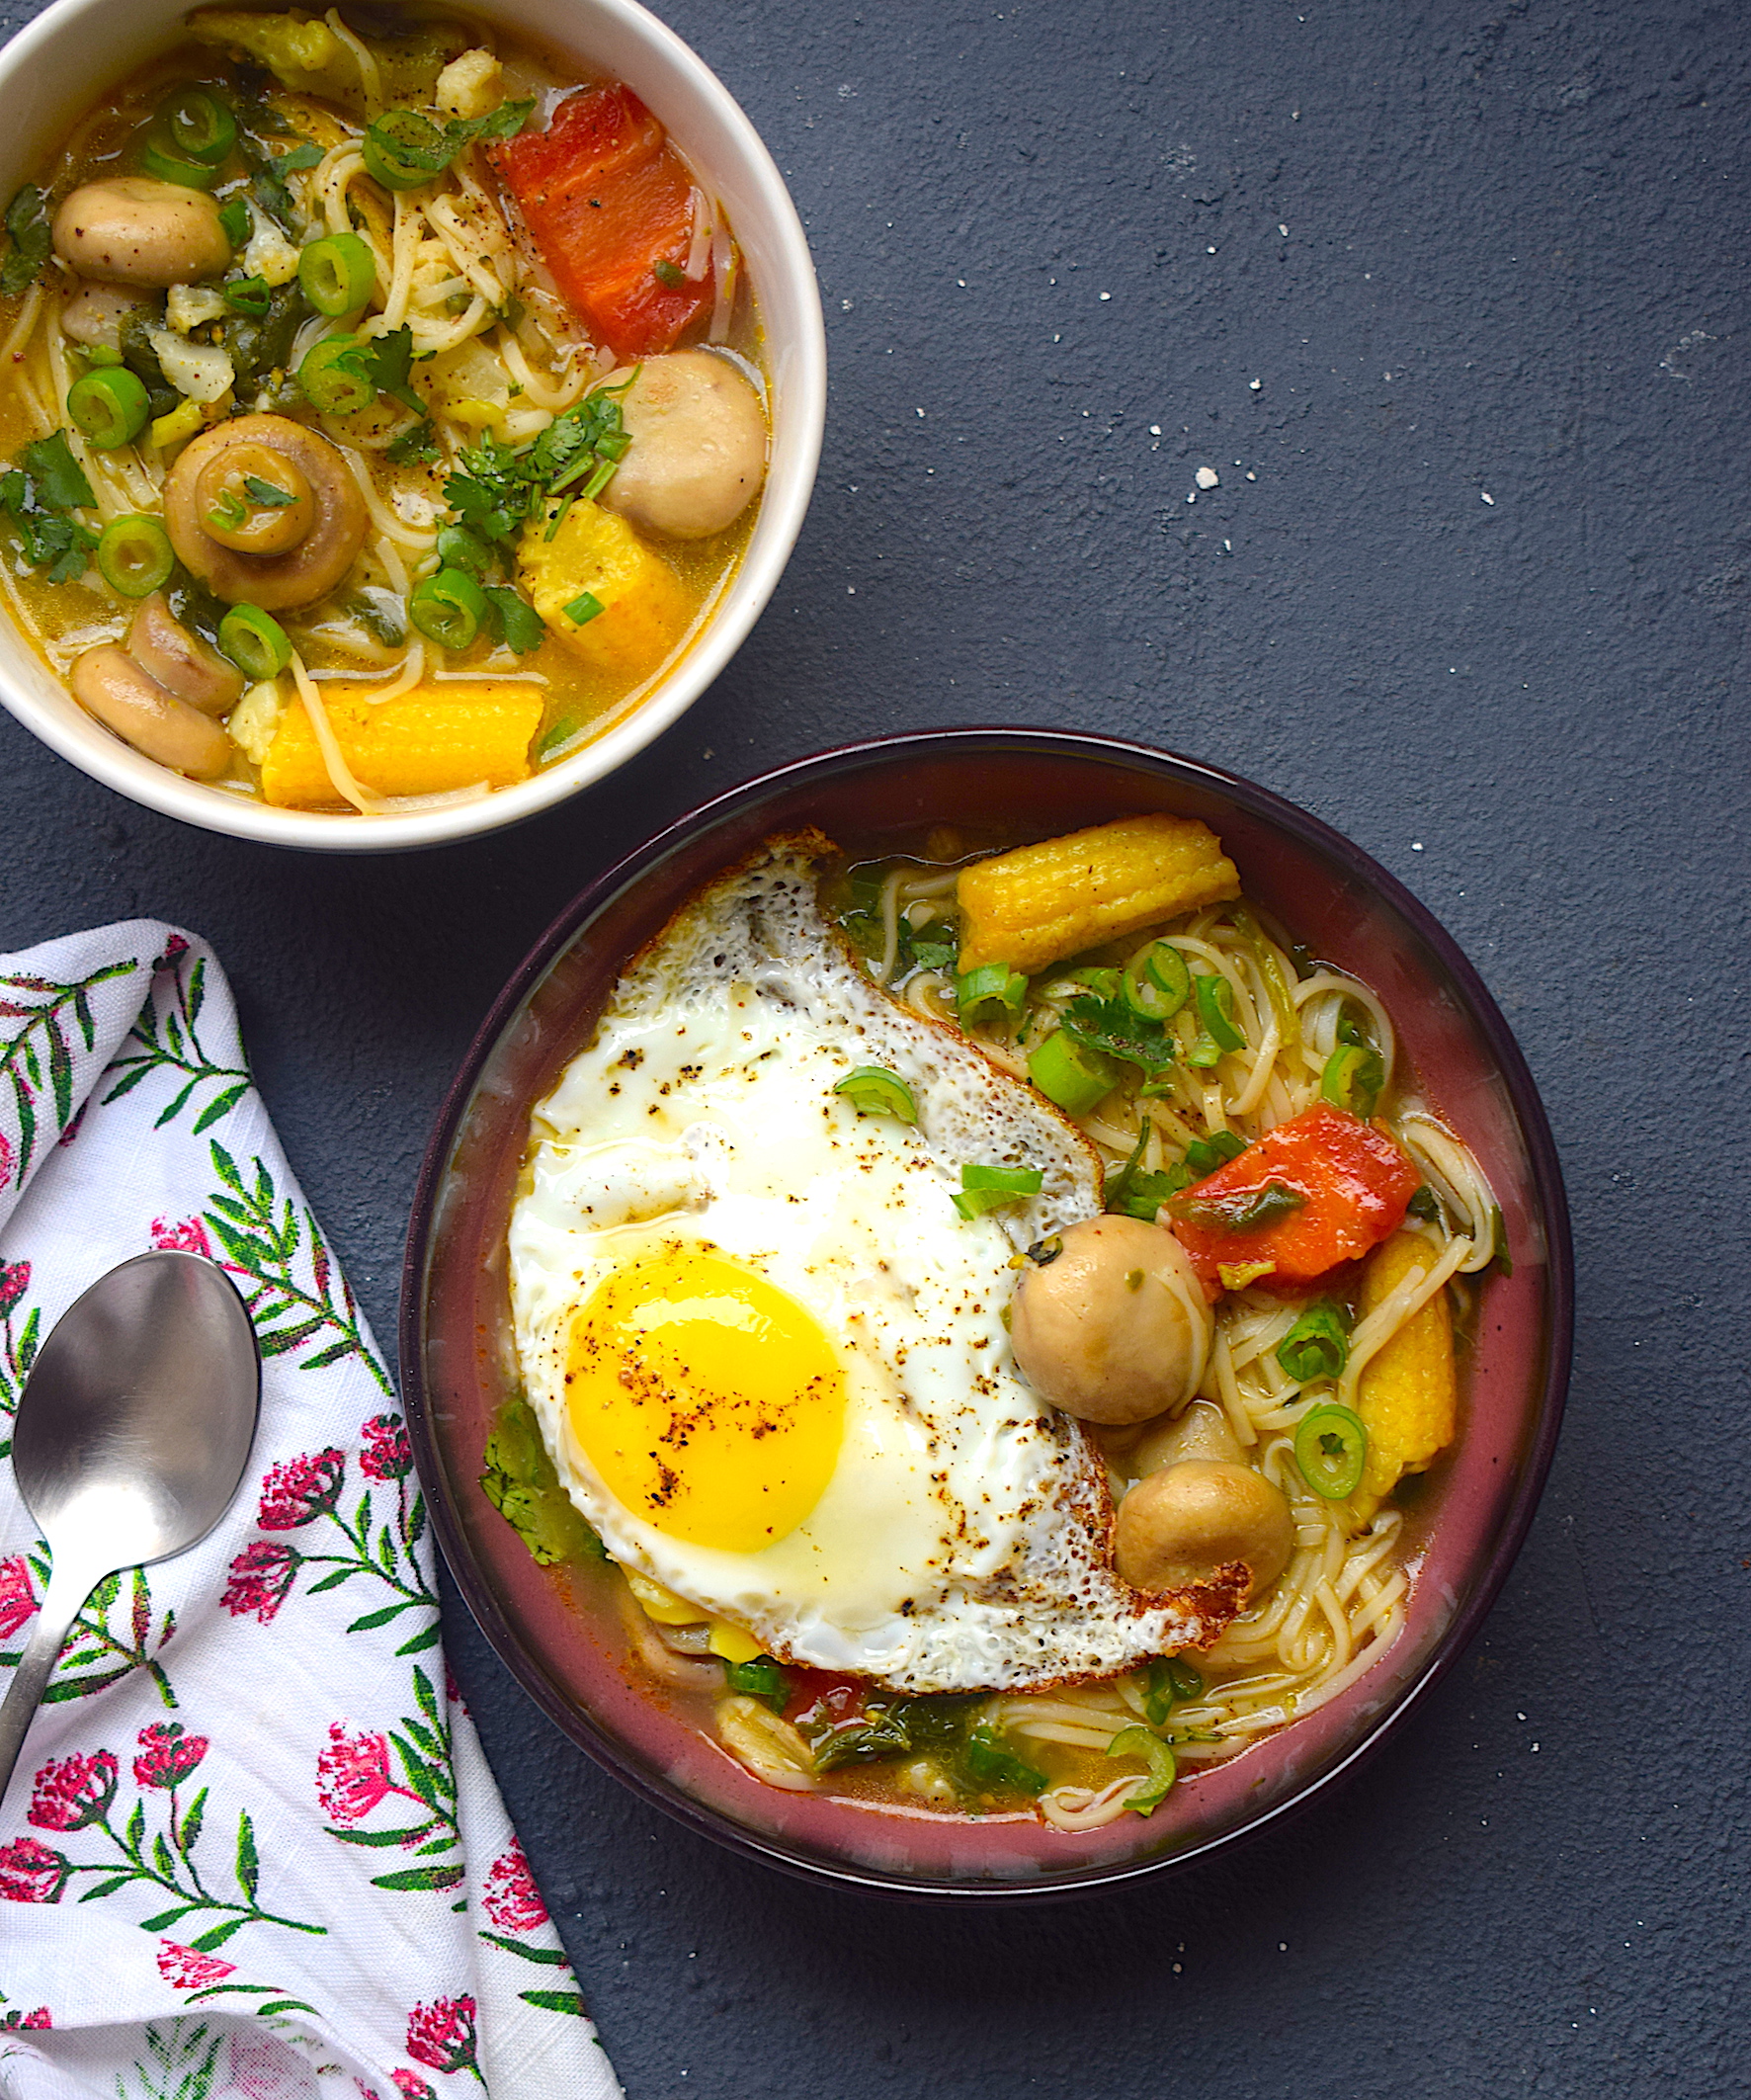
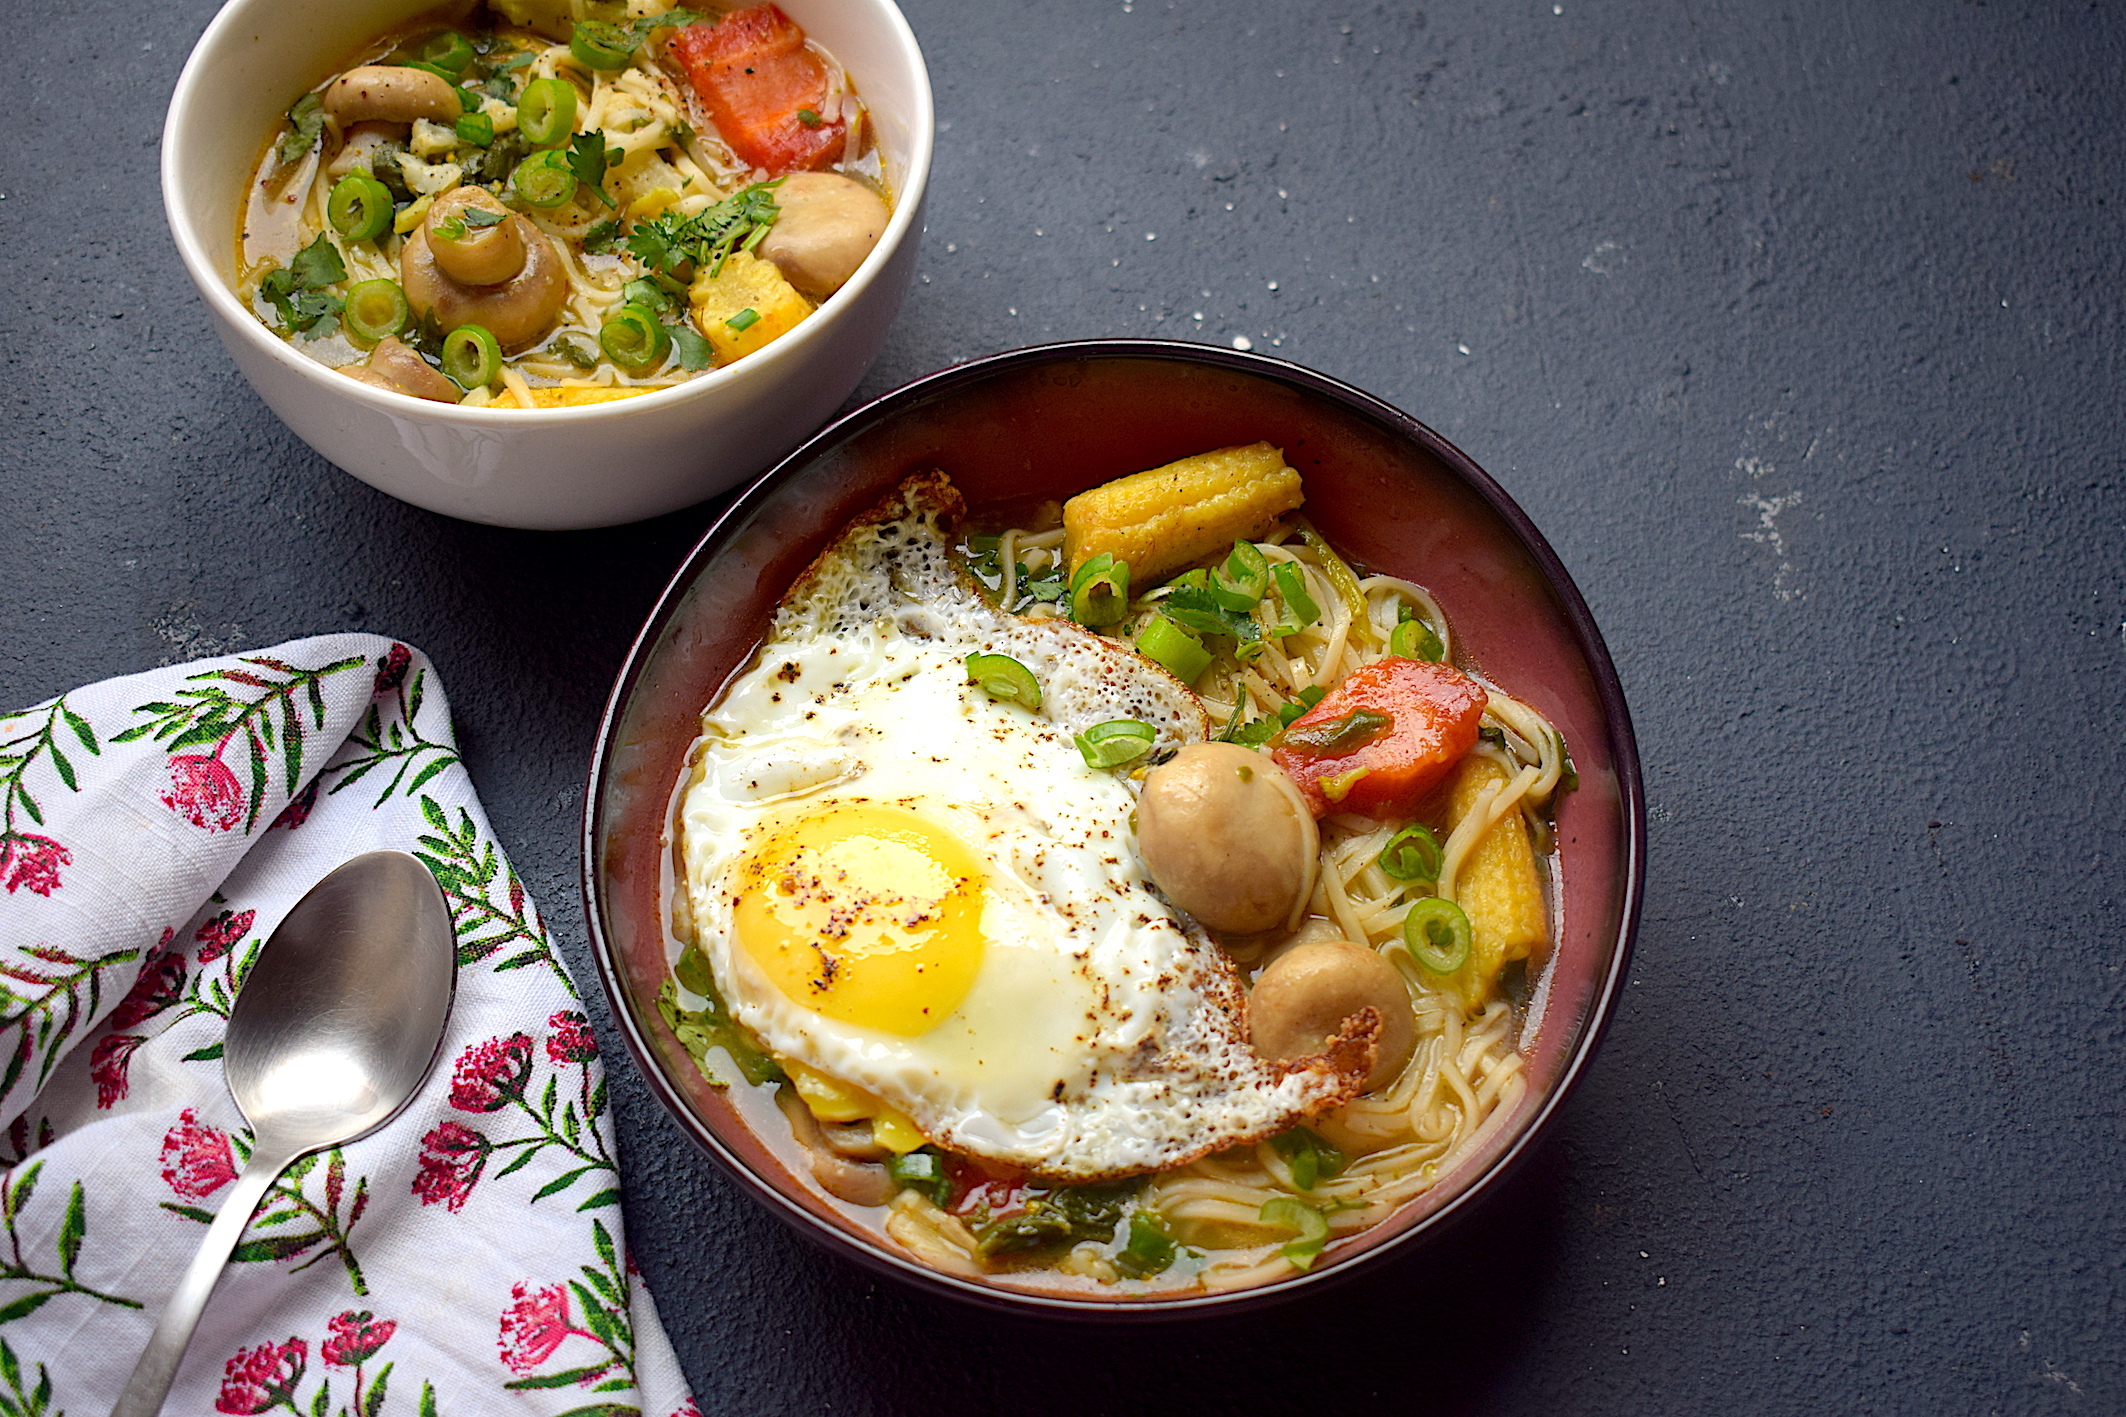
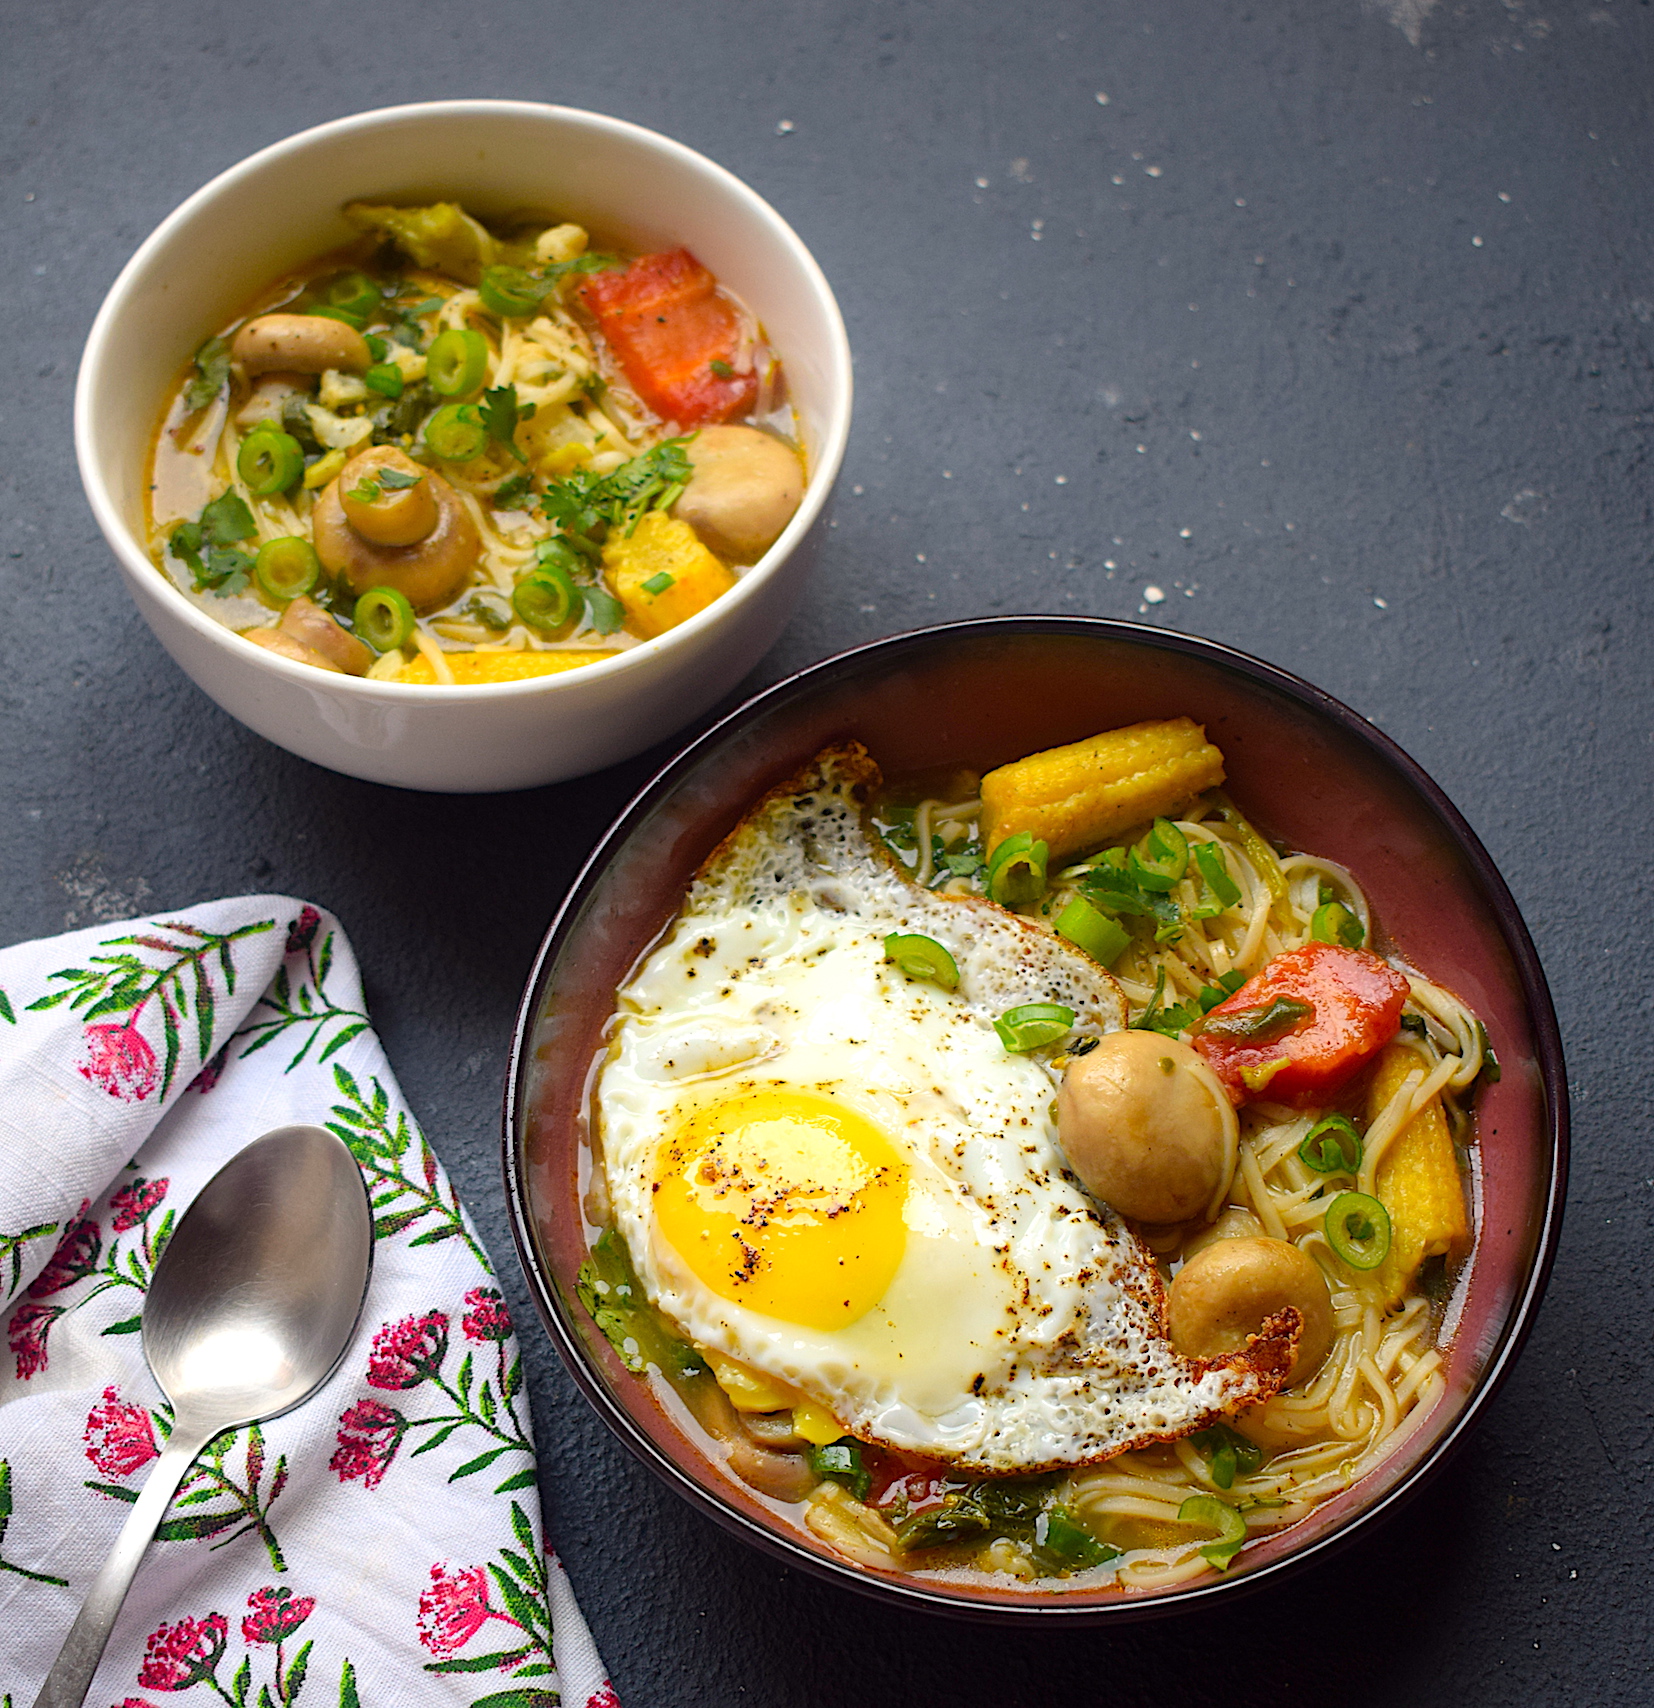
Rainbow Noodle Soup

A perfect combination of health, color, and comfort, this rainbow noodle soup is a must have! Especially on those rainy or cold nights where all the heart seeks is some comfort food. Try out this rainbow noodle soup and fall in love with it. Extremely simple to make and also highly customizable, and the egg on top is like a cherry on the cake!

rainbow noodle soup

The key ingredients in this rainbow noodle soup are lots of vegetables, cooked carefully till they are crunchy but not soggy (nobody likes that!). The results are absolutely amazing. Here’s the recipe:

Preparation time – 20 minutes

Cook time –  30 minutes

Serves – 2-3 people

[ingredients title=”Ingredients”]

  • 100 g noodles (any kind would do)
  • 250 g button mushrooms
  • 100 g baby corn
  • 1 medium carrot
  • 6-7 cloves of garlic
  • 50 g butter
  • 2 tbsp vegetable oil
  • 200 ml of vegetable stock
  • 1 tbsp dark soy sauce
  • 1 tbsp sesame oil
  • 1 green chili (optional)
  • 2 tsp black pepper powder
  • Spring onion greens for garnish
  • Salt to taste [/ingredients]

[directions title=”Directions”]

  1. Dice all the vegetables (except the mushrooms) into medium pieces. Wash and set aside.
  2. Cook the noodles in boiling water as per package instructions. Add some oil and salt in it so that they do not stick to each other. Strain and set aside.
  3. Heat vegetable oil in a pot. Add the butter and stir the two together.
  4. Put in the finely chopped garlic into the bowl. Stir it into the oil in low heat. This will enable the flavor of the garlic to get infused into the oil and not burn it. This technique is known as sweating the garlic.
  5. After around two minutes, add the vegetables to the oil and fry for two to three minutes. Season with salt and pepper powder. I like my vegetables to be crunchy in the broth which is why I do not overcook them. Two to three minutes is enough for the vegetables to transform from the raw stage to the crunchy sauteed stage. Once done, take the vegetables out of the pot and set them aside.
  6. In the same pot, pour in the vegetable stock and let it come to a full boil. Season with salt and pepper as required. Make a mix of sesame oil and dark soy sauce and add it to the broth. Cook an egg till the broth reduces by one-third.
  7. Time to assemble. Take a large bowl, pour in the seasoned broth. Now add the cooked noodles to it. Top it off with the sauteed vegetables and a fried egg.
  8. Garnish with chopped spring onion leaves and chili if you would like some heat as well. Serve hot! [/directions]

rainbow noodle soup

rainbow noodle soup

rainbow noodle soup

Feel free to add any vegetables of your choice to this noodle soup. Broccoli, cauliflower, spinach, tofu, and beans can be some great additions. Just go with your instinct and preference. For non-vegetarians, you can add some chicken or any other protein you prefer. I hope you do try this gorgeous and colorful noodle soup for yourself. I promise it will not disappoint.

If you have any questions or suggestions, feel free to reach out to me with a comment or connect with me on Instagram or Facebook.

Happy cooking!
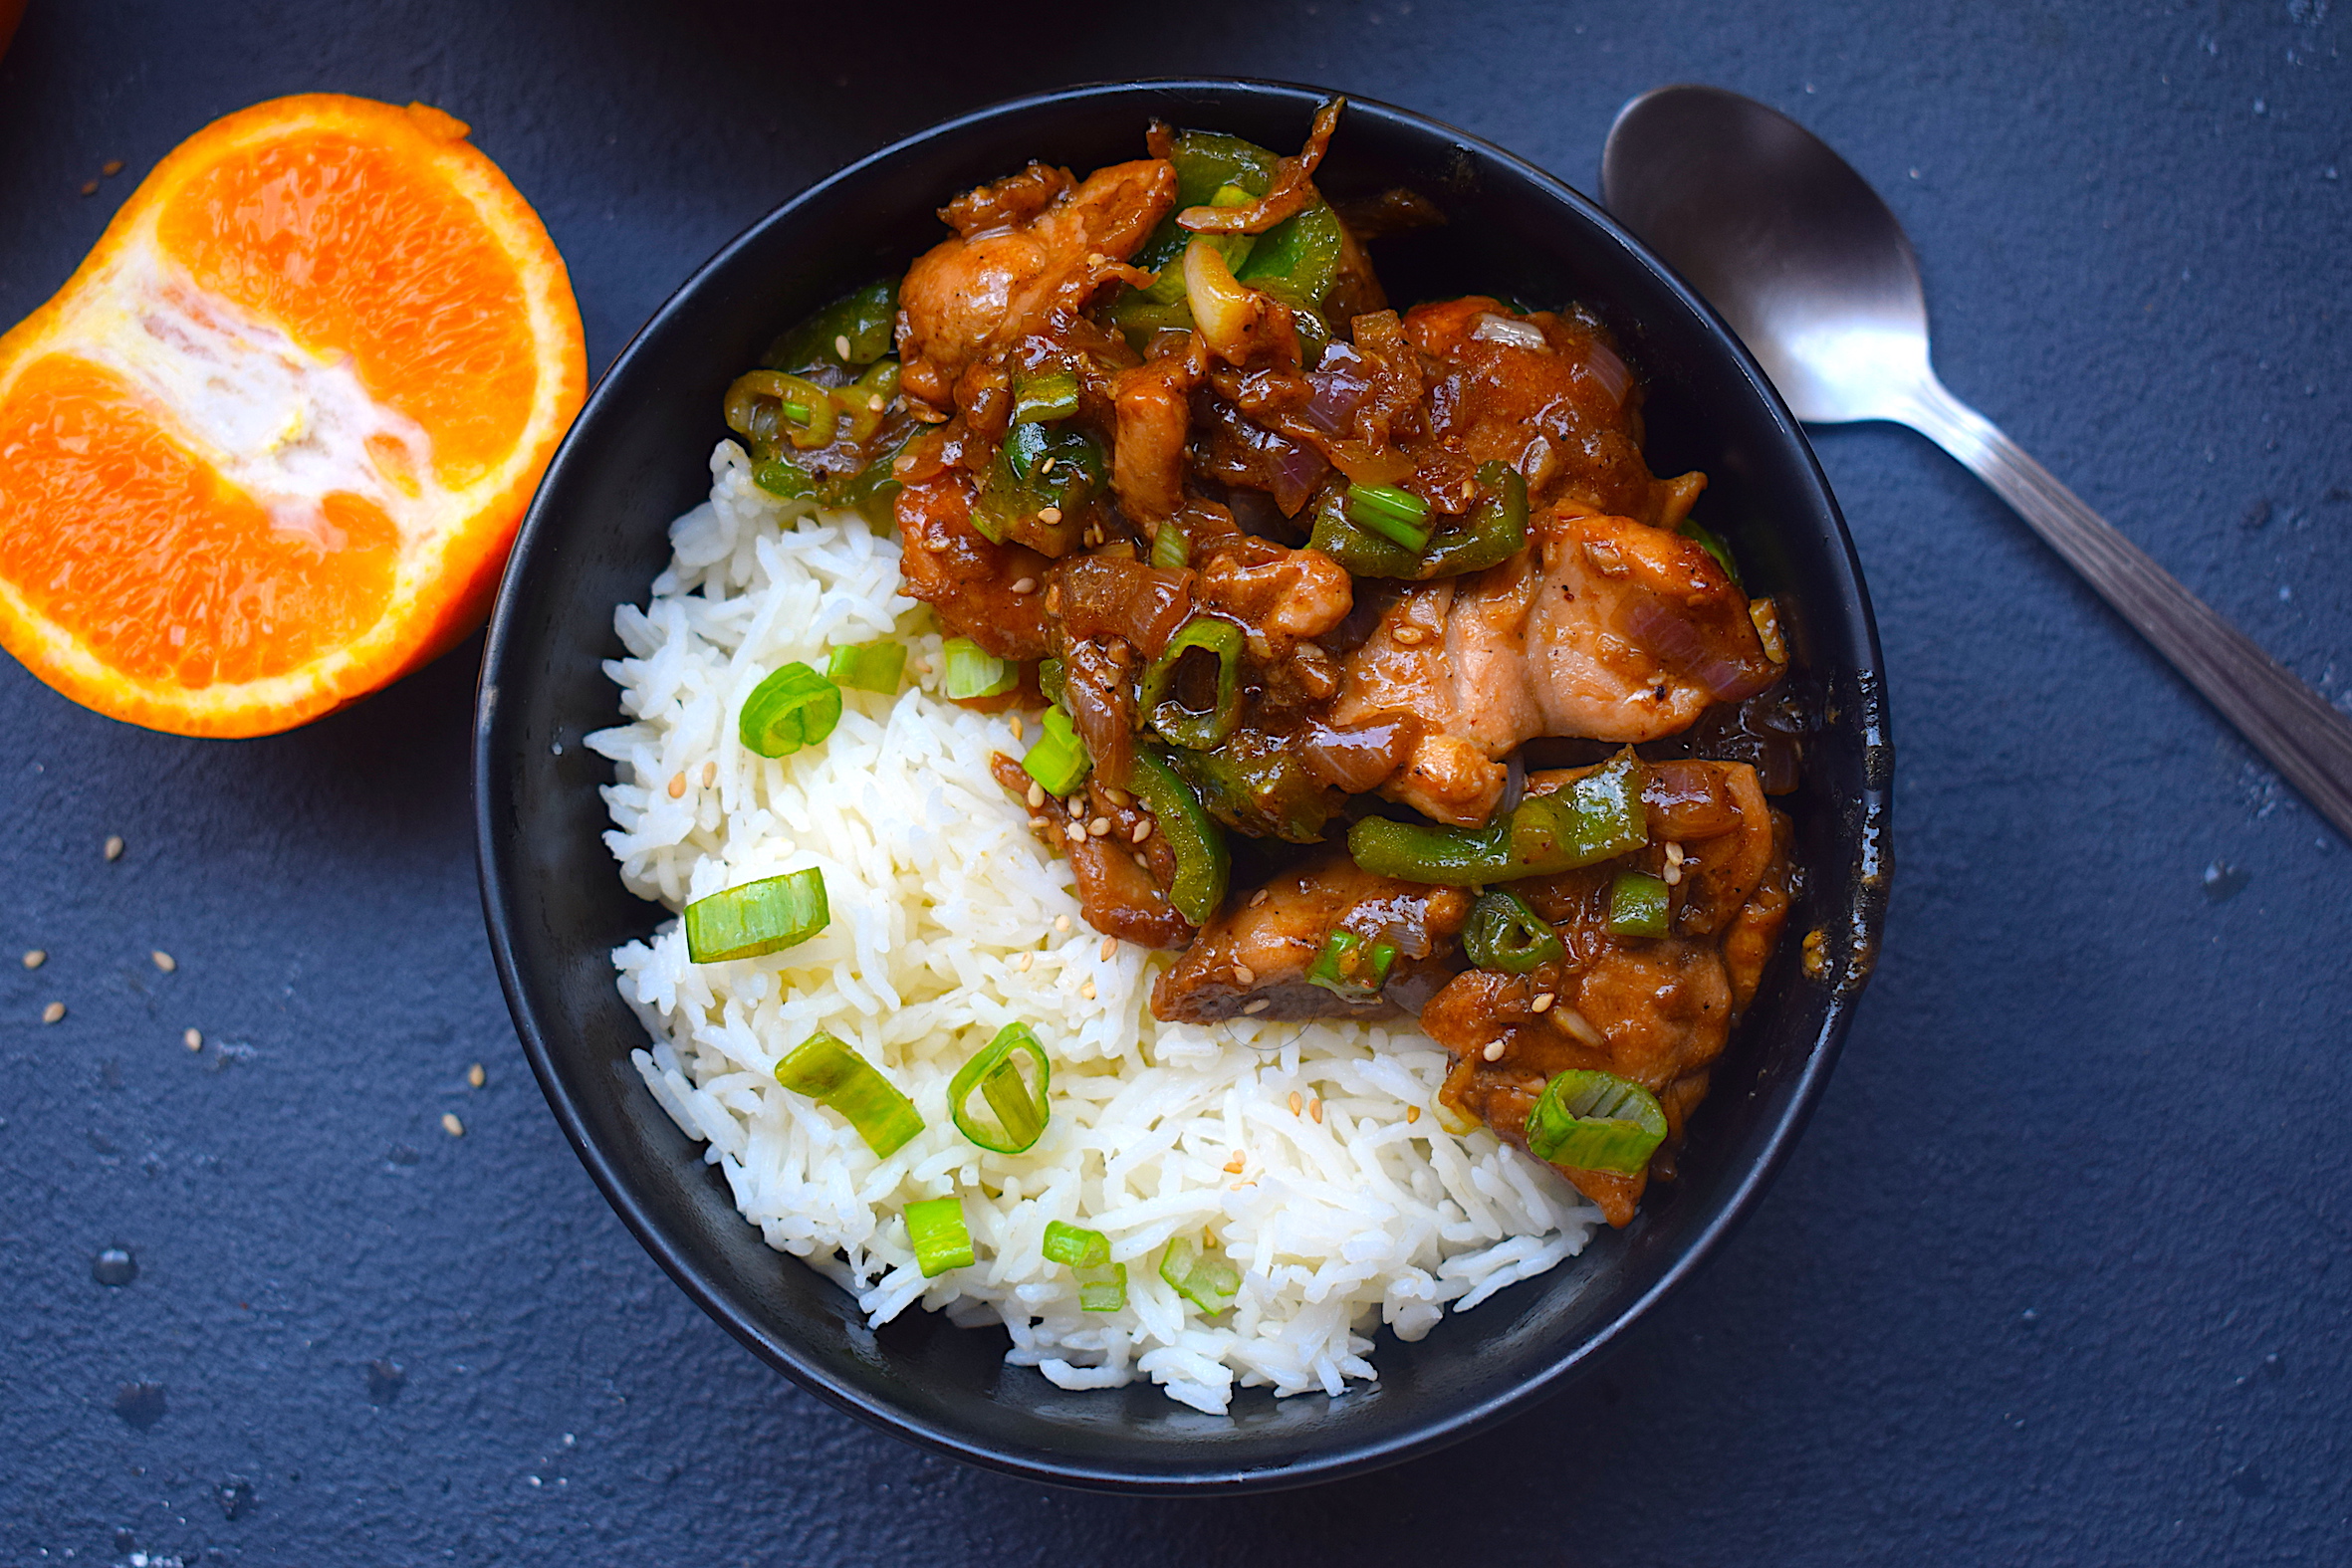
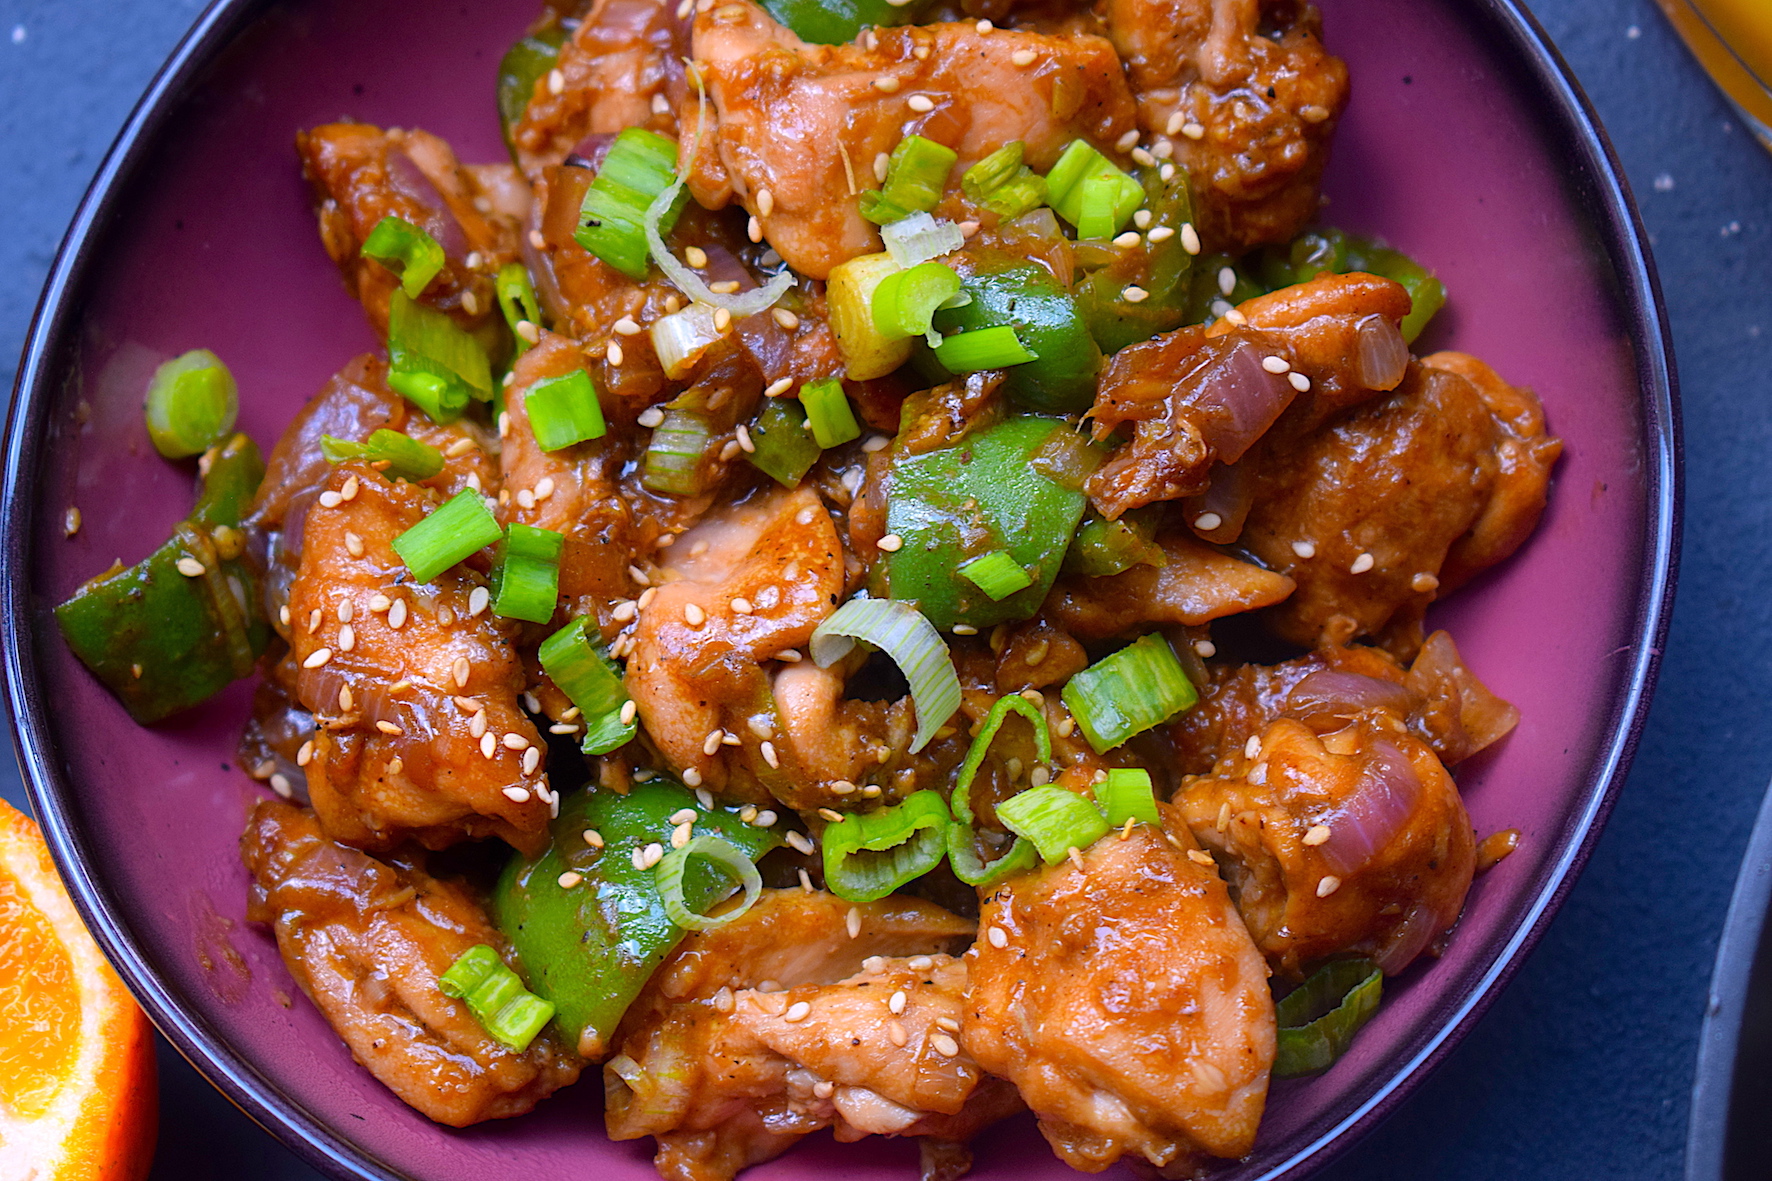
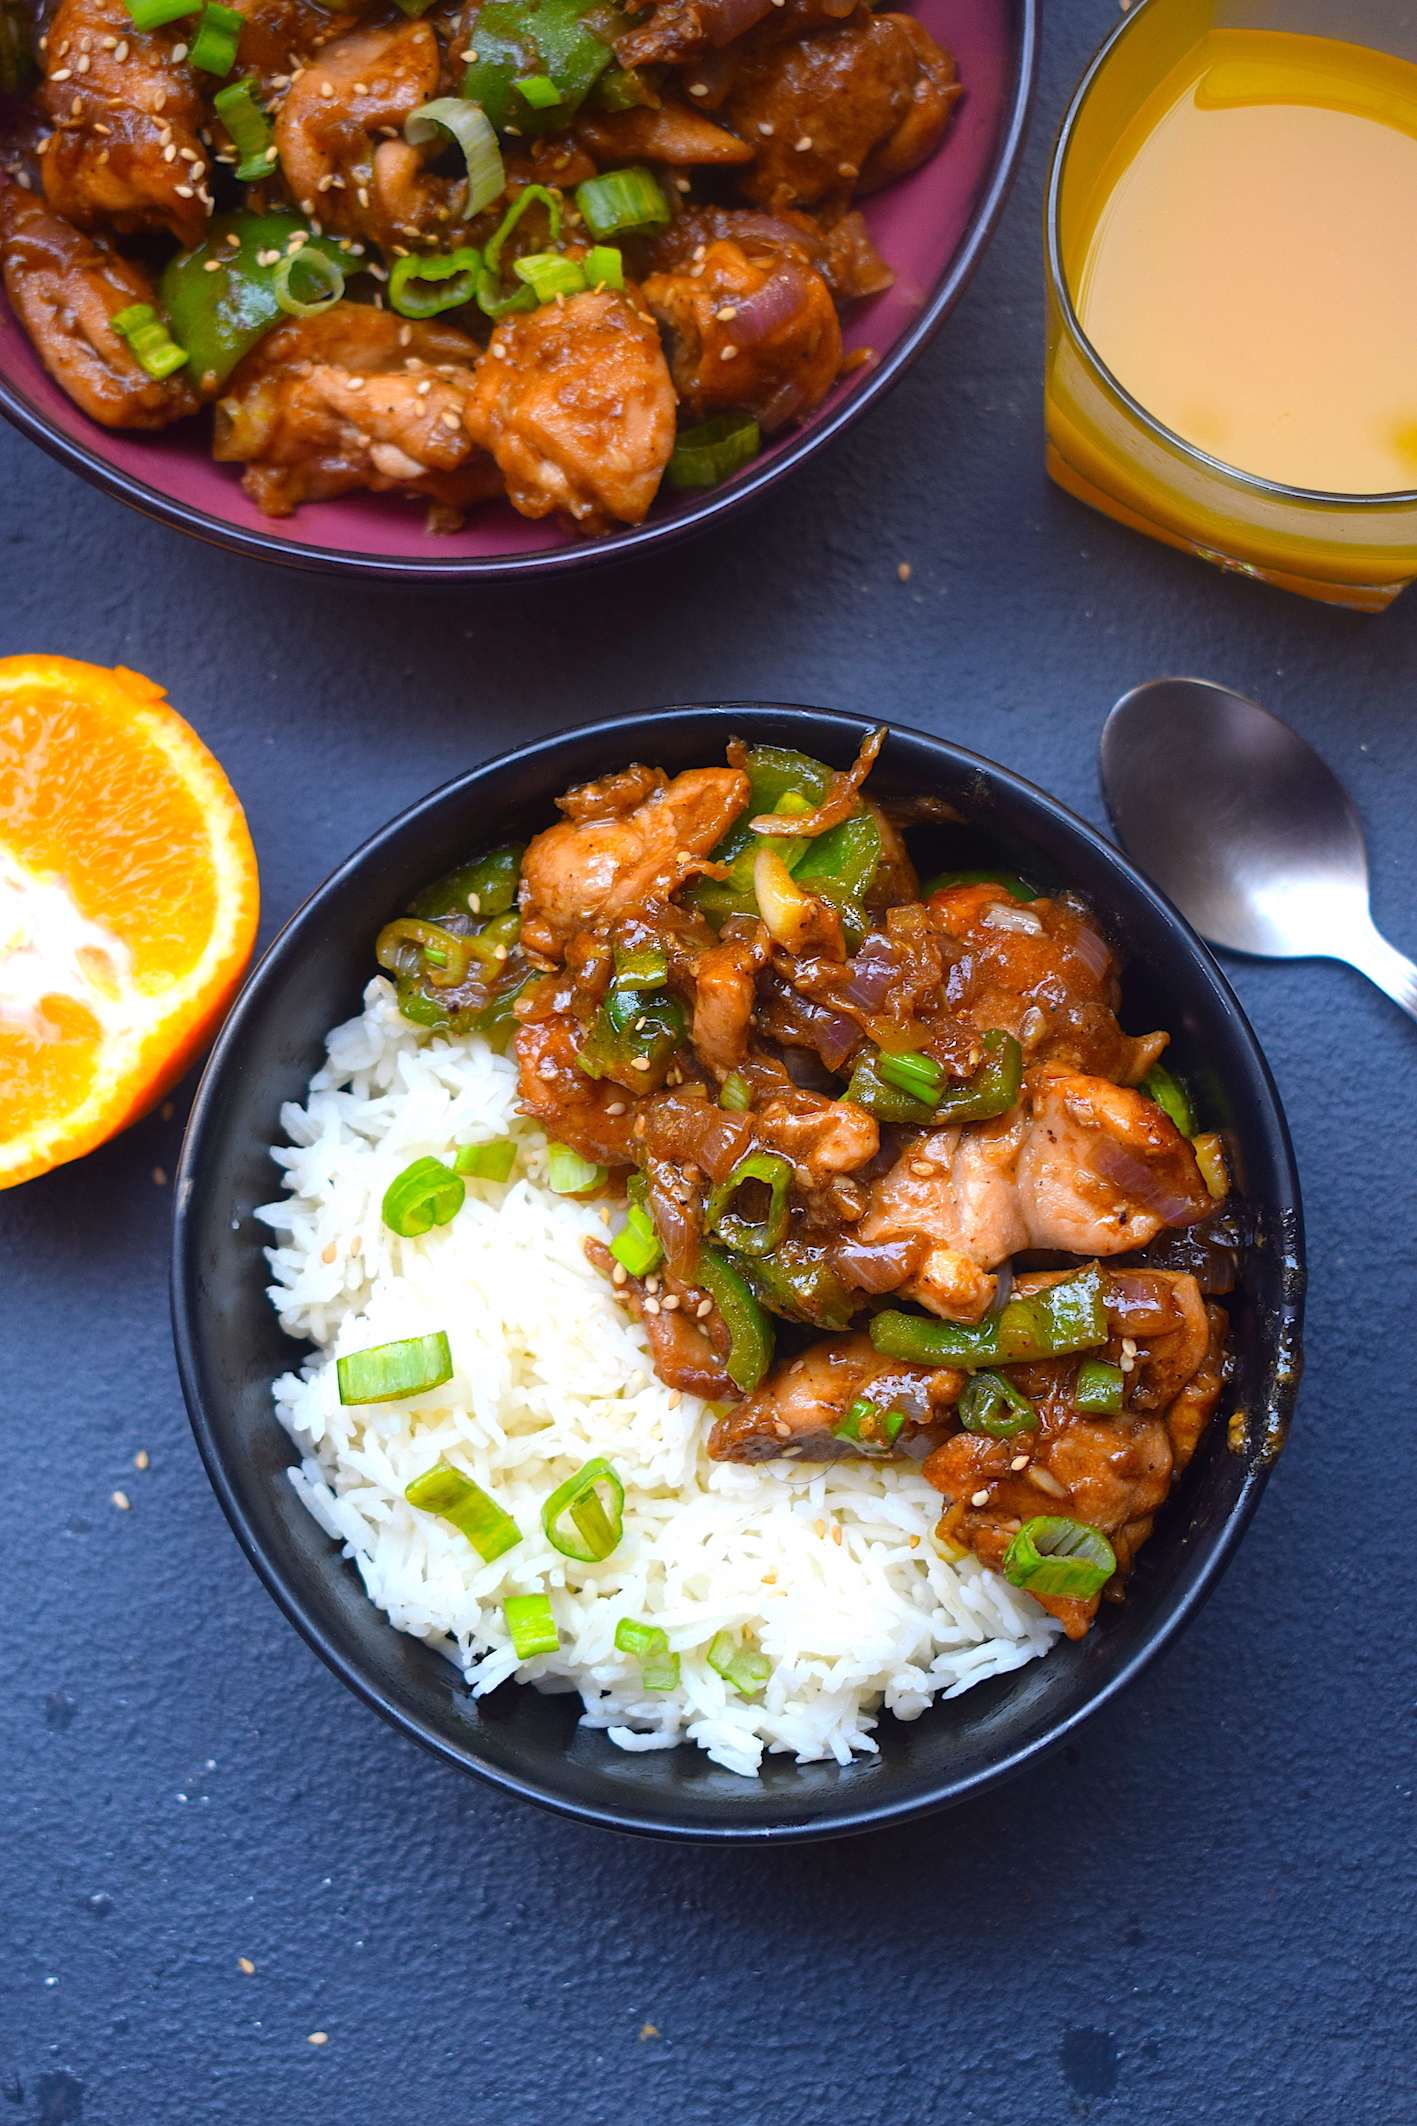
Perfectly Sweet, Spicy and STICKY Orange Chicken

It is the season of oranges! I can see them everywhere right now and they are just so delicious and beautiful. I am a big fan of oranges. One of my favorite things to do is to chew on some fresh oranges in the winter sun. Beautiful!

In Delhi, we get a lot of the kinnow variety of orange. Also known as Mandarin, this orange is bright, softer, super sweet and very juicy. I have used freshly squeezed kinnow juice in this recipe. You can use any variety available locally near you.

orange chicken

This orange chicken is one of my favorites. Super simple to make and very aromatic. The combination of brown sugar and orange juice makes for a sticky syrup, which adds a perfect glaze as well as taste to the orange chicken recipe. The chicken is shallow fried here. You can deep fry it as well if you want an extra crispy version.

Here’s a look at the ingredients and procedure.

Preparation time – 20 minutes

Cook time –  30-40 minutes

Serves – 2-3 people

[ingredients title=”Ingredients”]

For marination:

  • Boneless chicken thighs cut into equal pieces, 500 g (make sure they have been patted dry)
  • Fresh ginger paste, 1.5 tsp
  • Fresh garlic paste, 1.5 tsp
  • Sesame oil, 1 tsp
  • Dark soy sauce, 3 tbsp
  • Cornflour, 30g
  • Salt to taste

For the recipe:

  • Vegetable oil, 4 tbsp
  • 2 green chilies, finely chopped
  • 3 medium onions, finely chopped
  • Brown sugar, 1 tsp
  • Crushed garlic, 1 tsp
  • Crushed ginger, 1 tsp
  • 1 medium capsicum, cut in cubes
  • Black pepper powder, 1 tsp
  • Salt to taste
  • 150 ml freshly squeezed orange juice
  • 2 tsp dark soy sauce
  • Chopped spring onion greens for garnish
  • Toasted sesame seeds, for garnish [/ingredients]

[directions title=”Directions”]

  1. Mix the boneless chicken thighs with ginger paste, garlic paste, sesame oil, dark soy sauce, cornflour, and salt. Marinate this for 20 minutes.
  2. Heat 3 tbsp vegetable oil in a wok. Shallow fry the marinated chicken in batches, till they are crispy from all sides. Set aside.
  3. Heat 1 tbsp vegetable oil in another wok. Add the chopped green chilies, followed by the chopped onions. Saute for a minute.
  4. Add the brown sugar and mix well. Saute for another two minutes till onions turn translucent.
  5. Add the ginger and garlic and stir. Cook this till the raw aroma of the ginger and garlic disappears.
  6. Once the onions merge well with the ginger and garlic, add the chopped capsicum. Cook this for another minute.
  7. Season with salt and black pepper powder. Stir well.
  8. Pour in the freshly squeezed orange juice. Cook till it reduces by half.
  9. Wait for the orange juice to turn into a sticky and thick sauce. Add the fried chicken to the mixture.
  10. Gently mix the fried chicken with the rest of the ingredients.
  11. Drizzle in some dark soy sauce and stir well till the color changes to a darker version of the original.
  12. Take the wok off from heat.
  13. Garnish with spring onion greens, sesame seeds, and orange zest.
  14. Serve hot with plain rice or fried rice. Enjoy! [/directions]

orange chicken

orange chicken

orange chicken

I hope you do try this simple, mouth-watering recipe.

If you have any questions, feel free to reach out to me with a comment or connect with me on Instagram or Facebook.

Happy cooking!
 

Schezwan Noodles With Homemade Schezwan Sauce

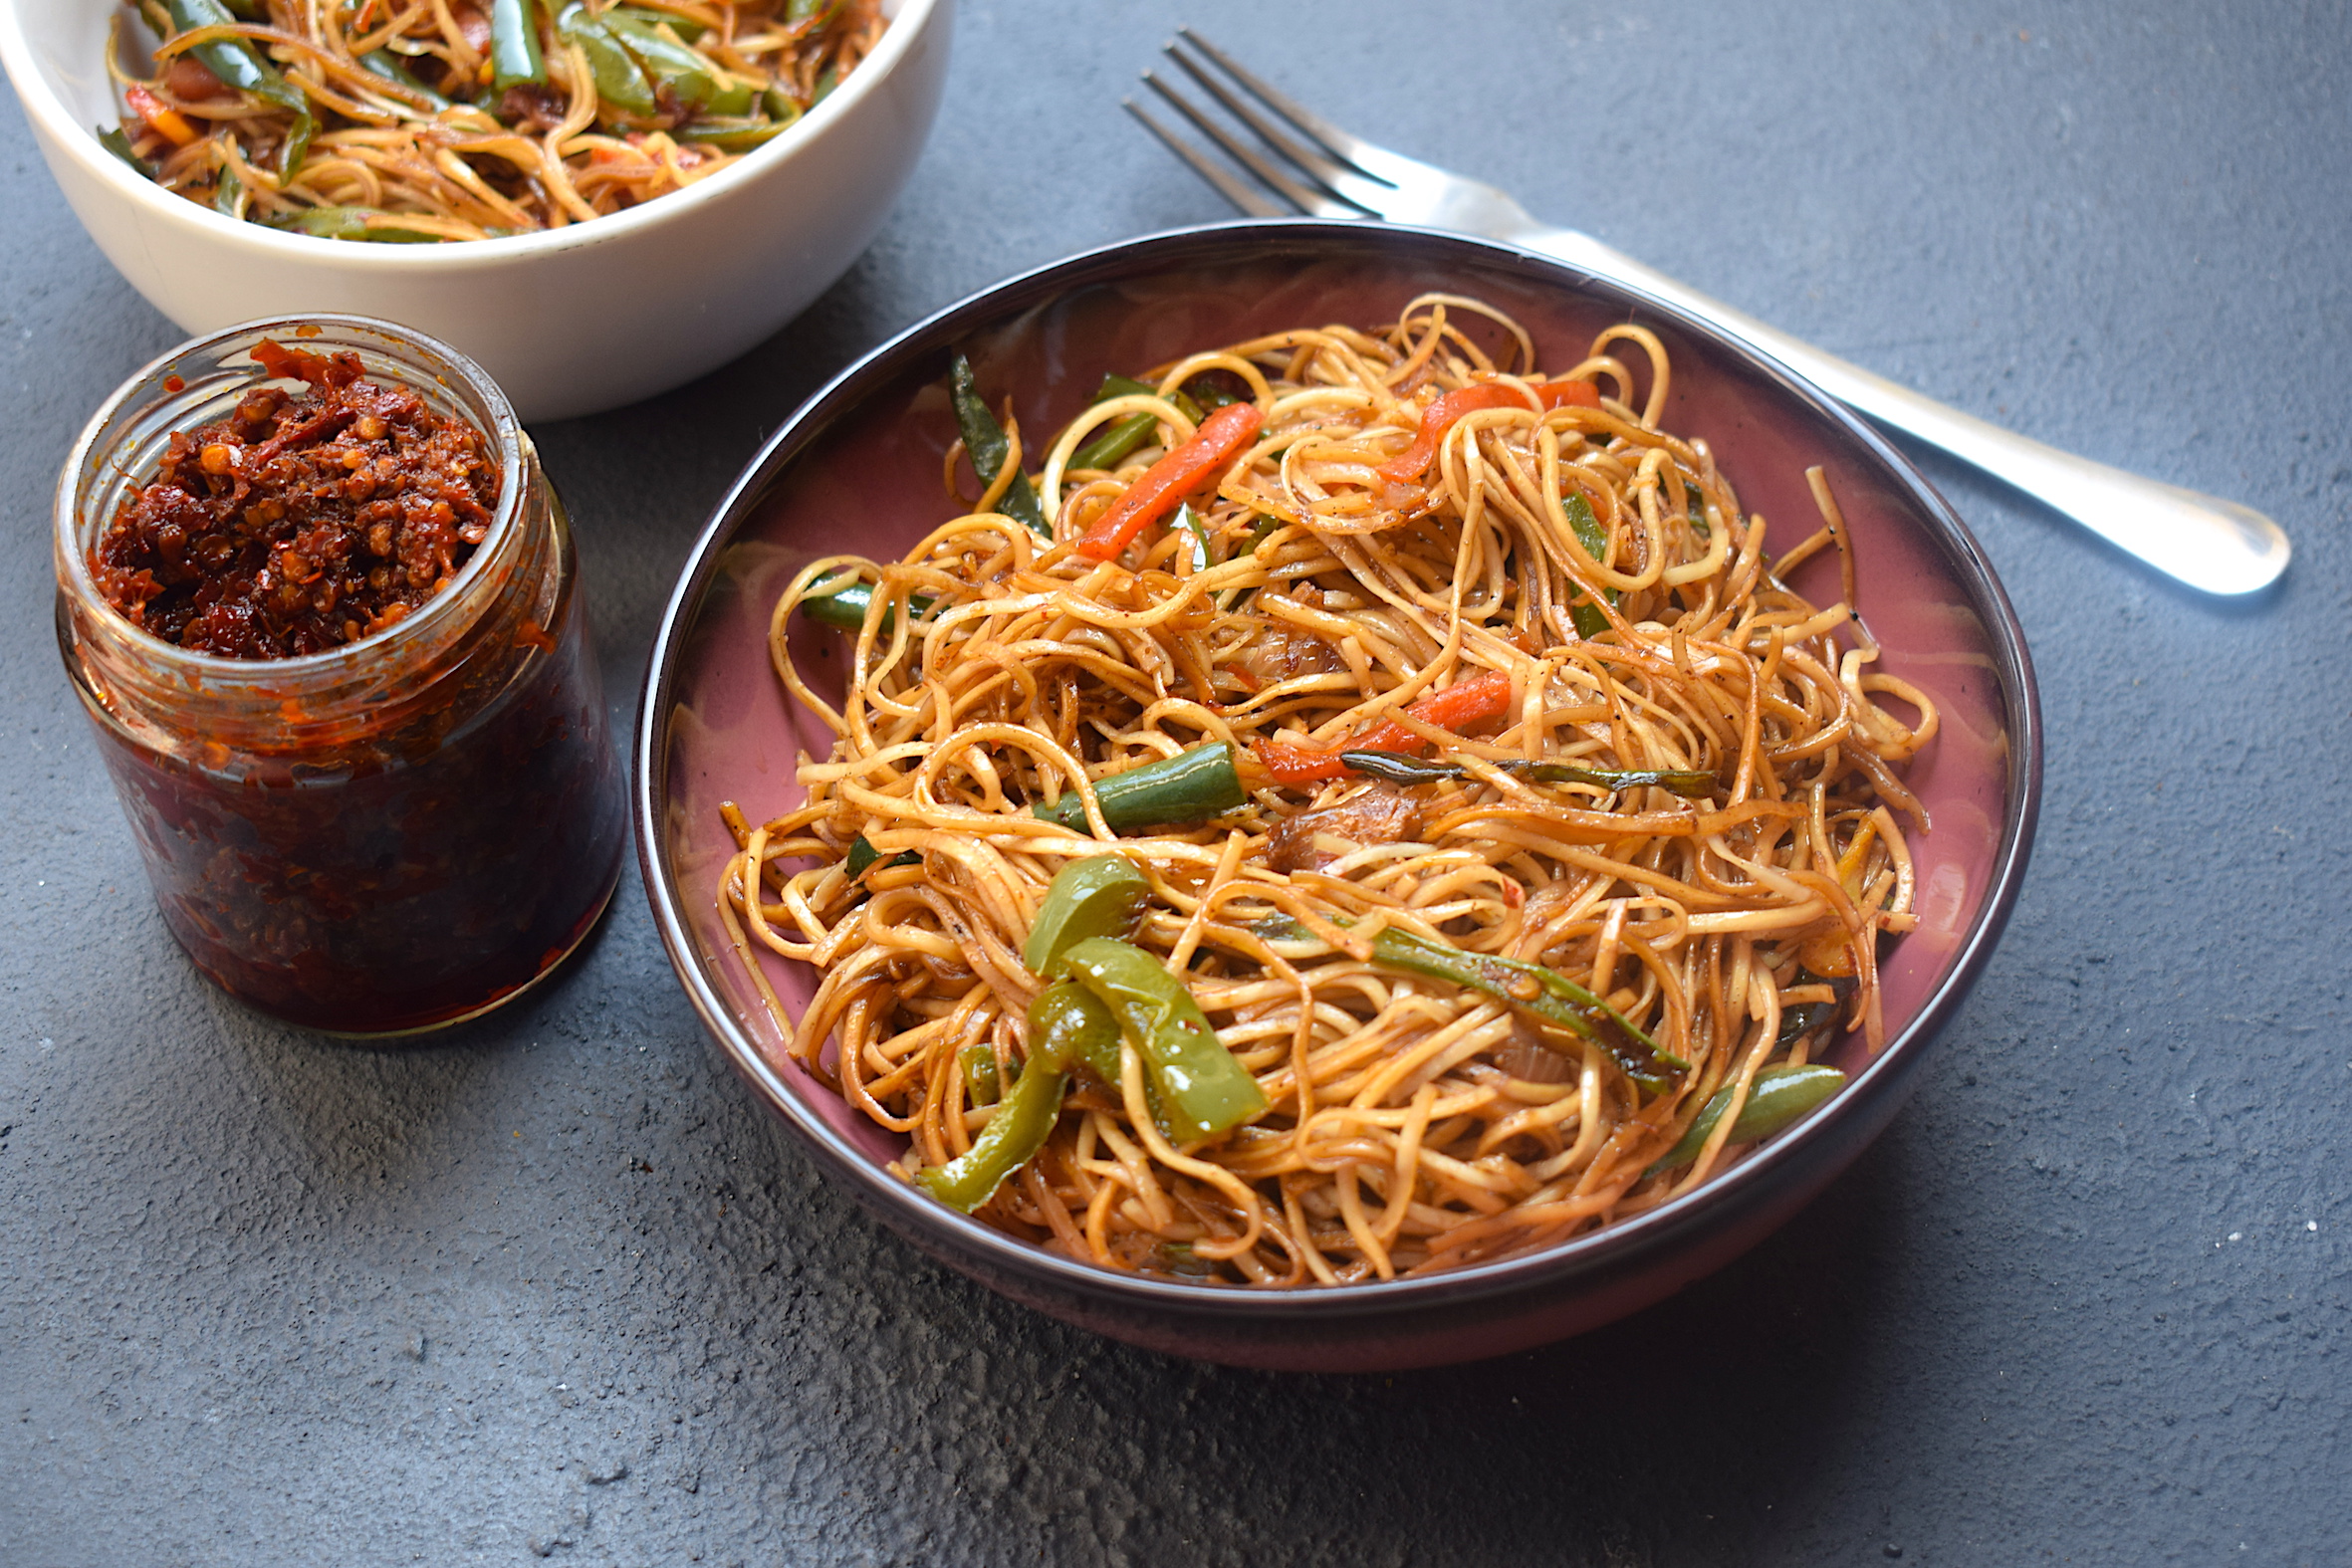
It’s time to raise your threshold for all things Schezwan! This Schezwan noodles with crunchy vegetables are going to fall in love with spicy food all over again.

What makes it special you ask?

The main ingredient of the recipe aka the Schezwan sauce isn’t store bought. It is as fresh and lively as a recipe can get.

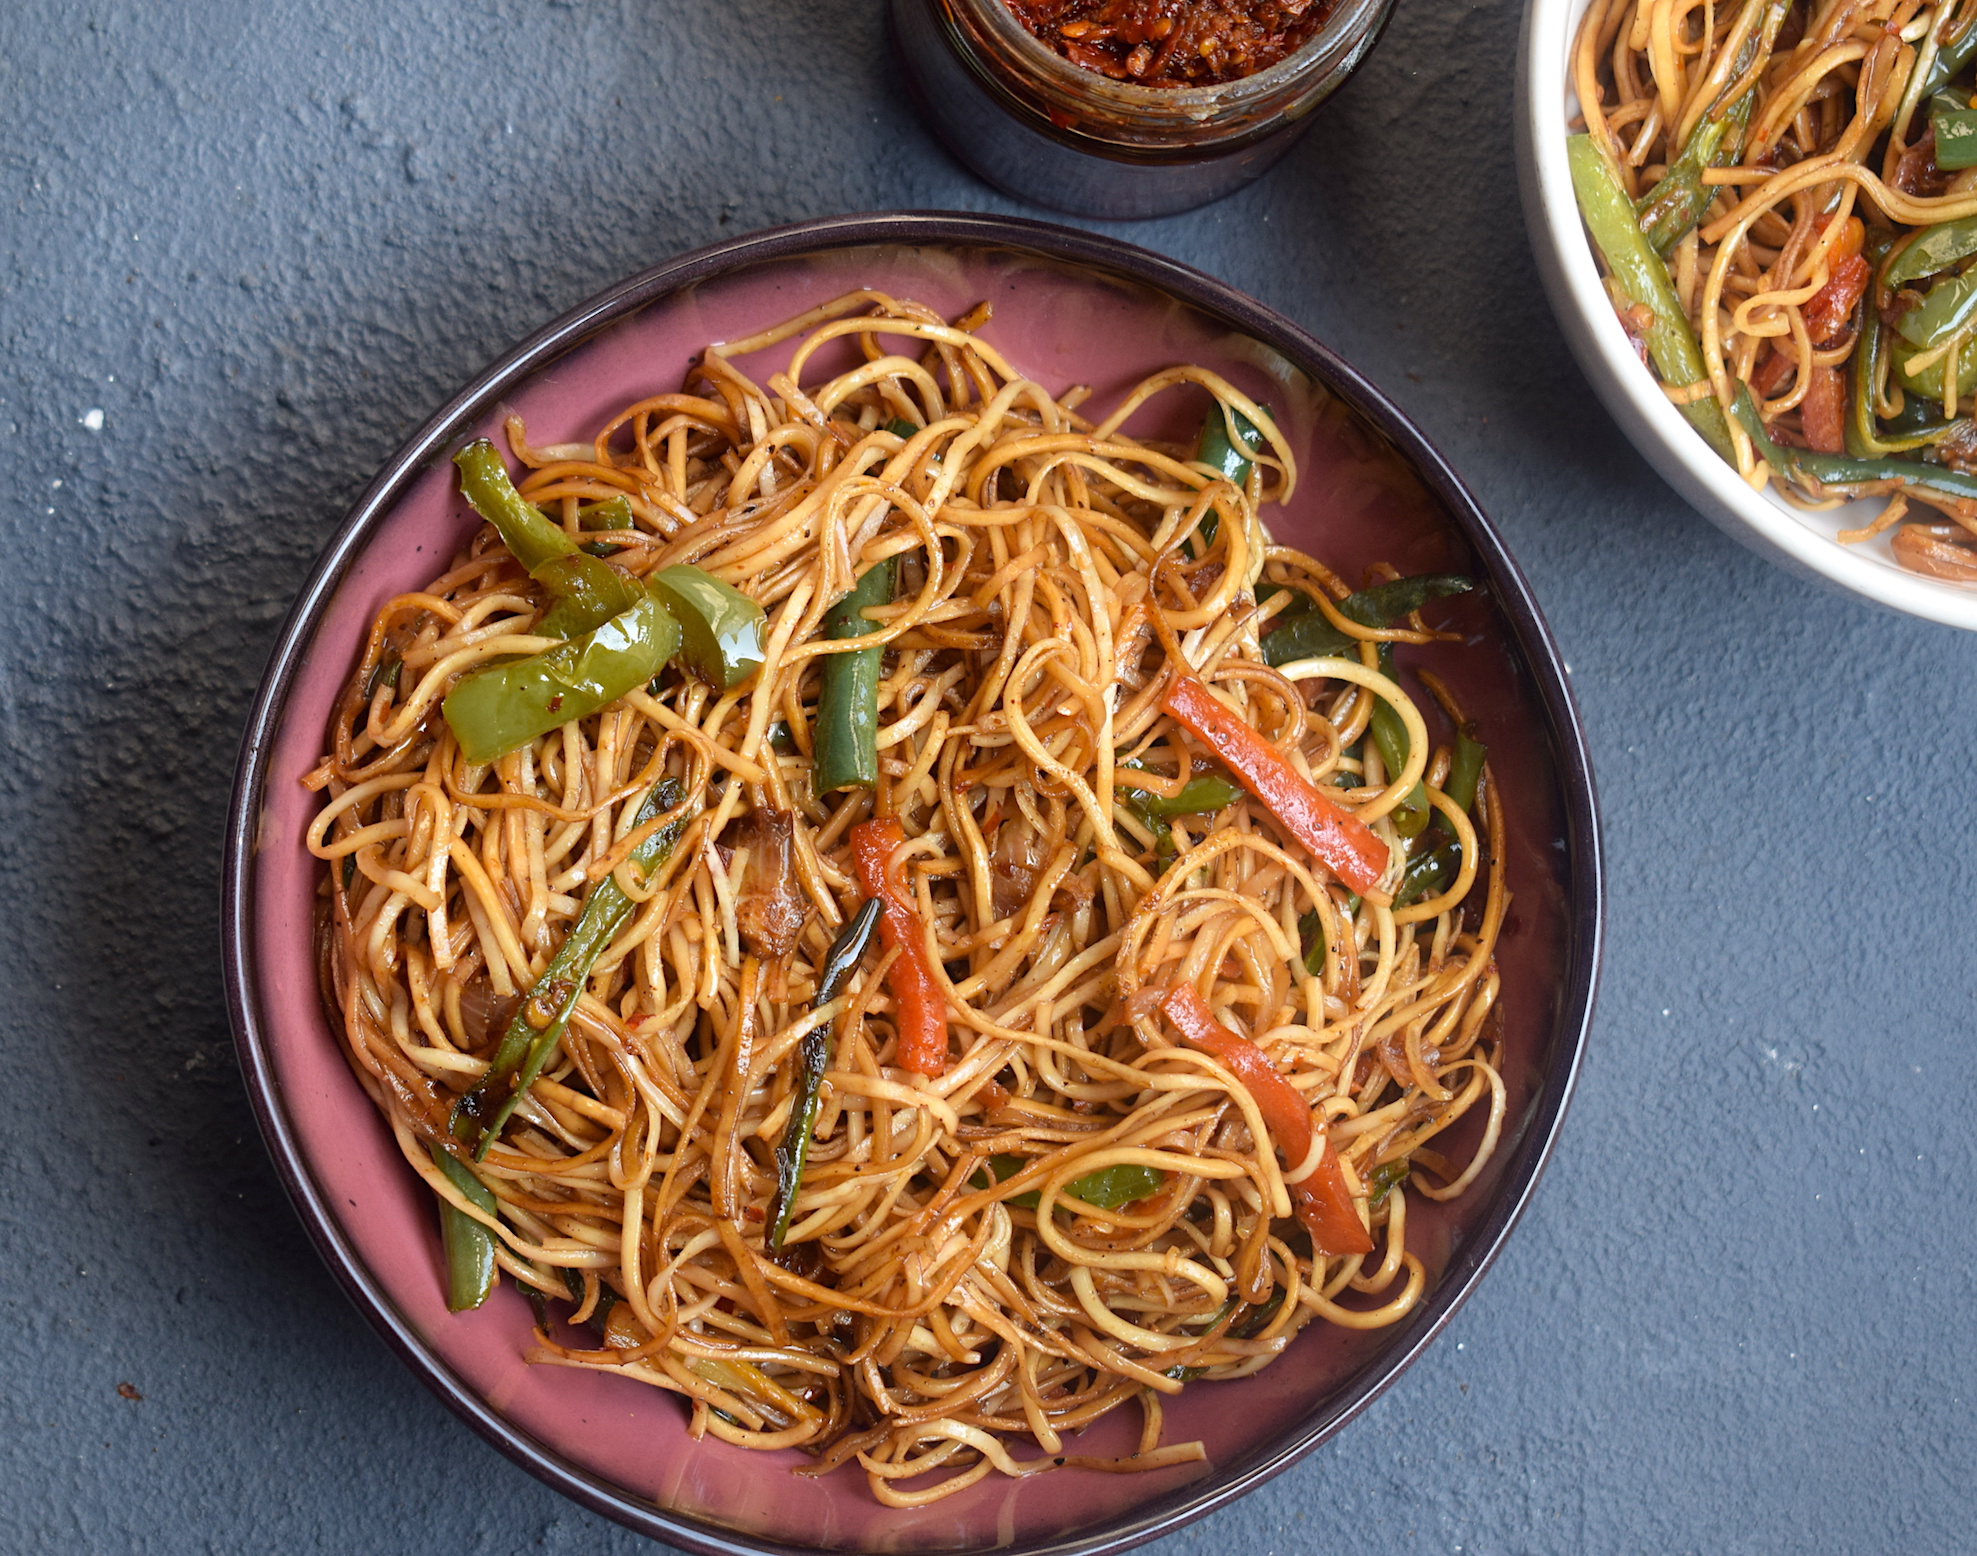
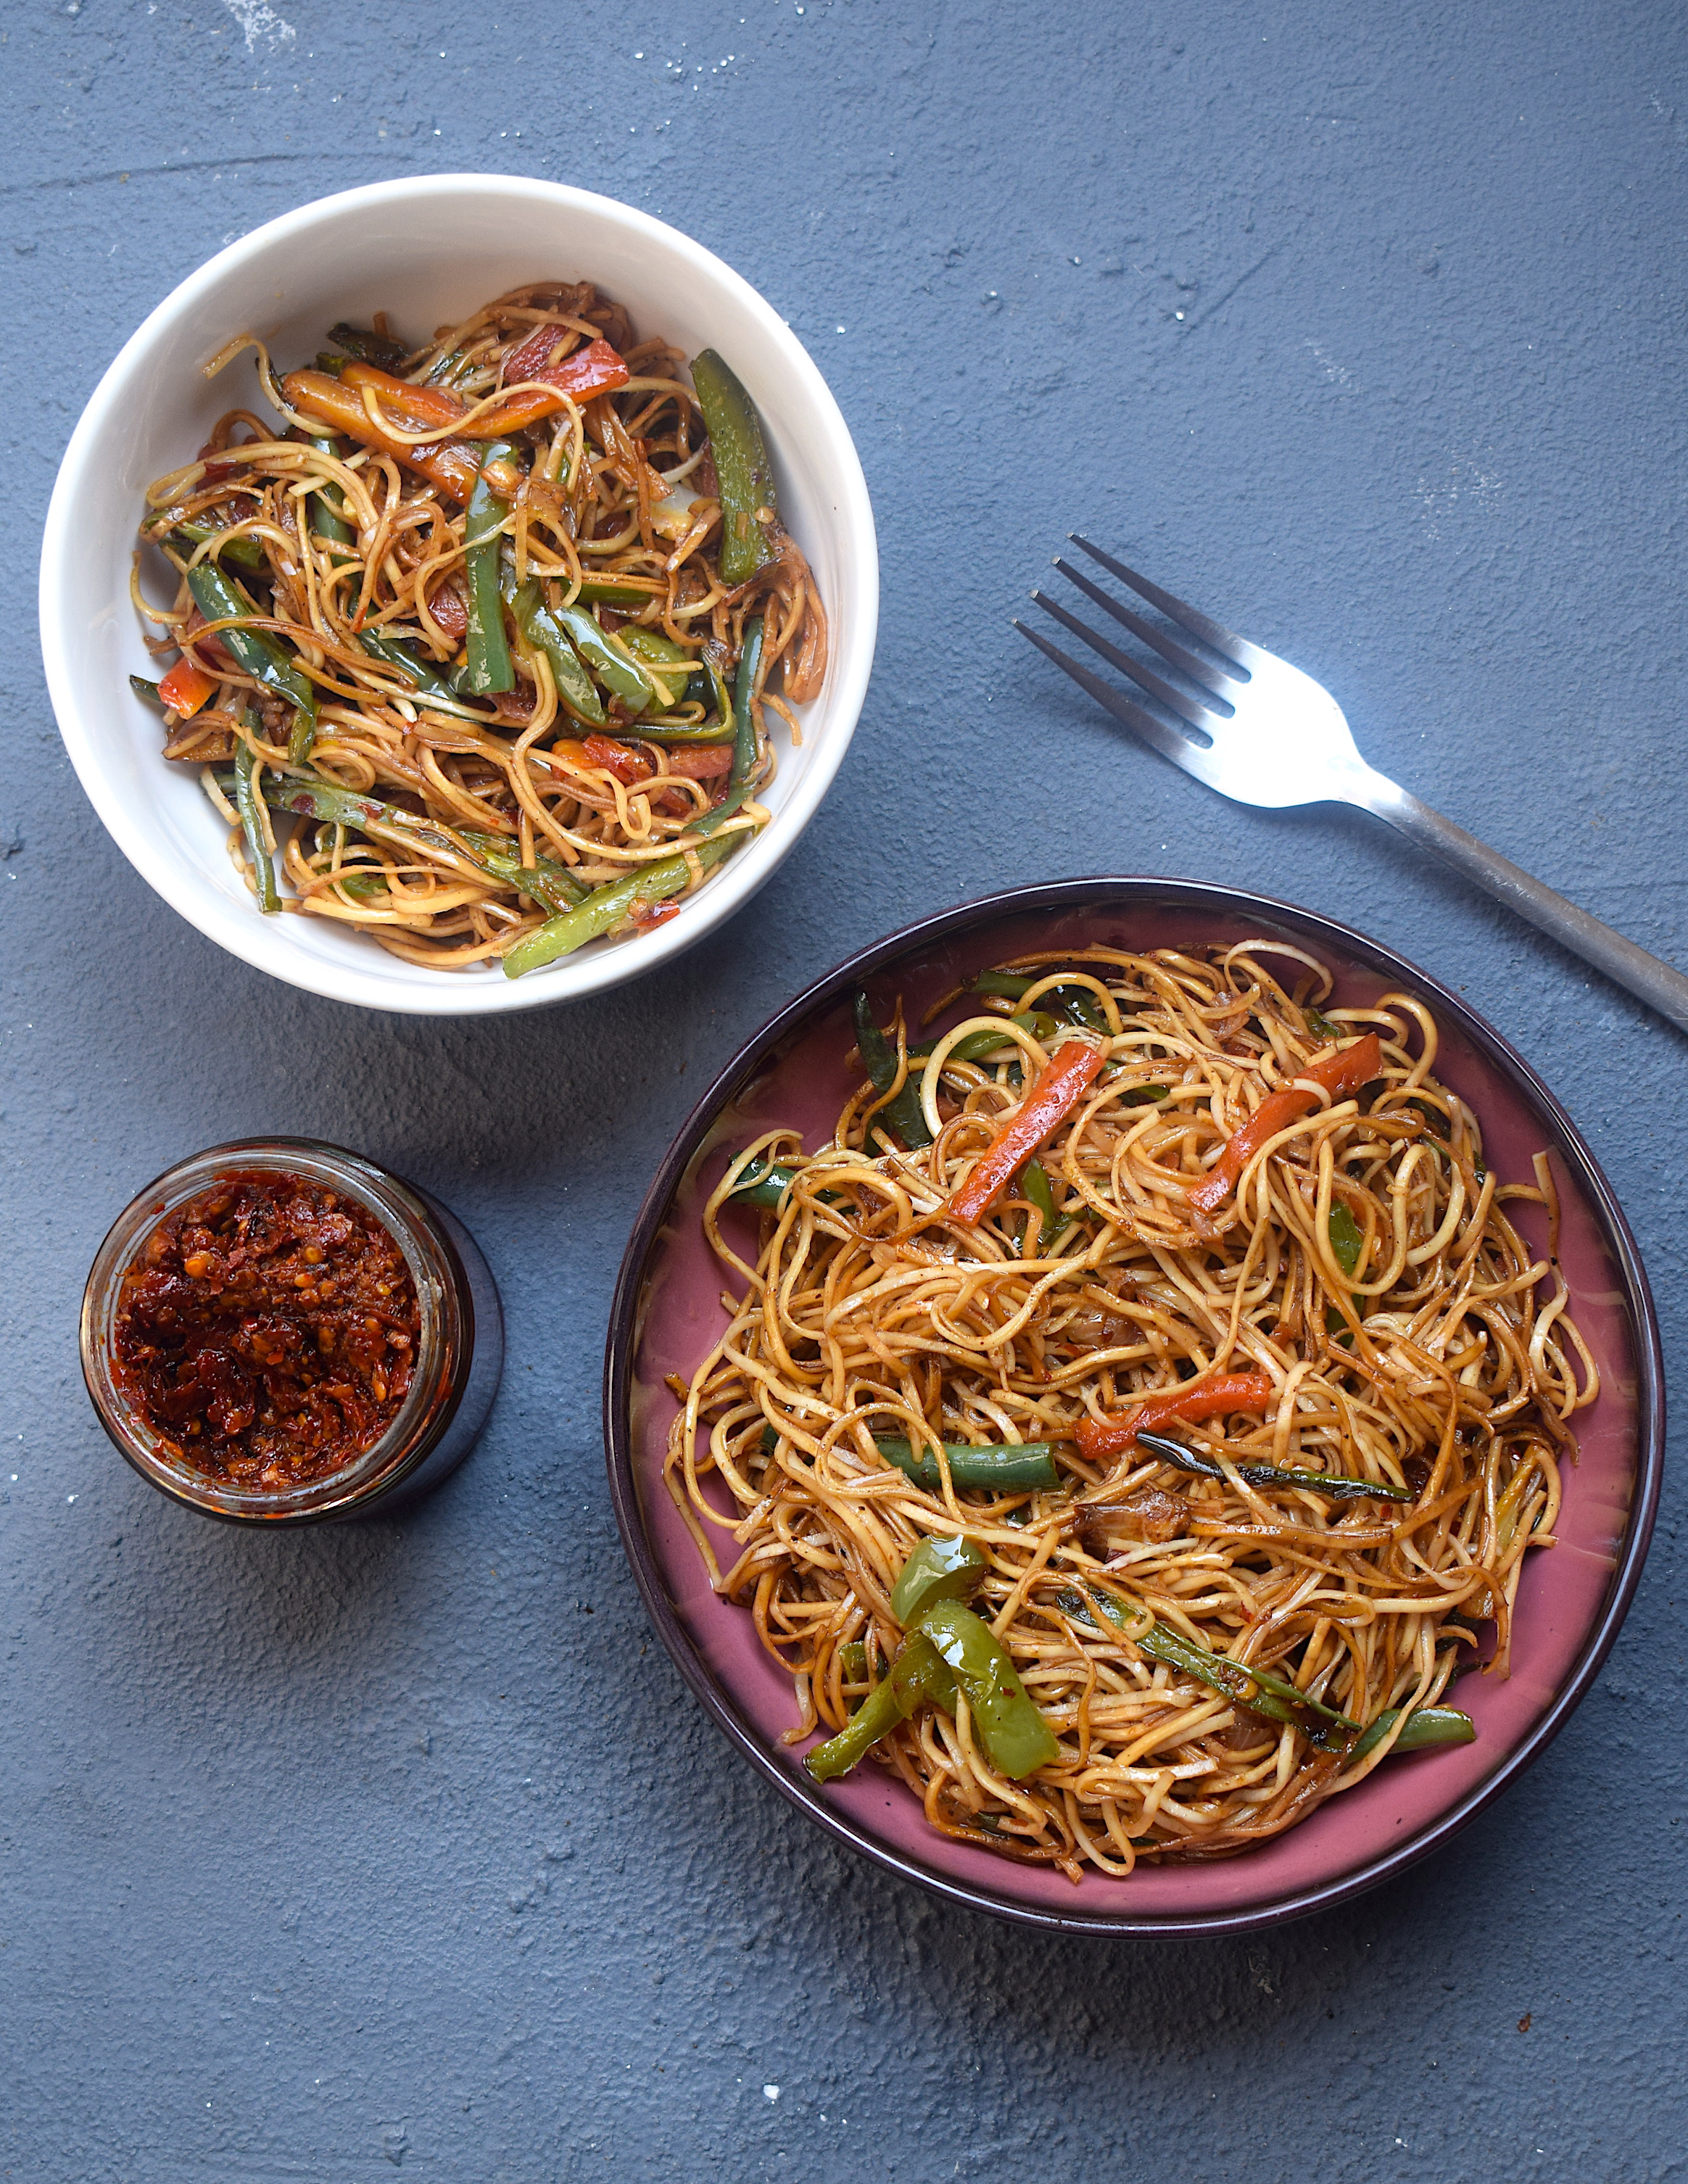
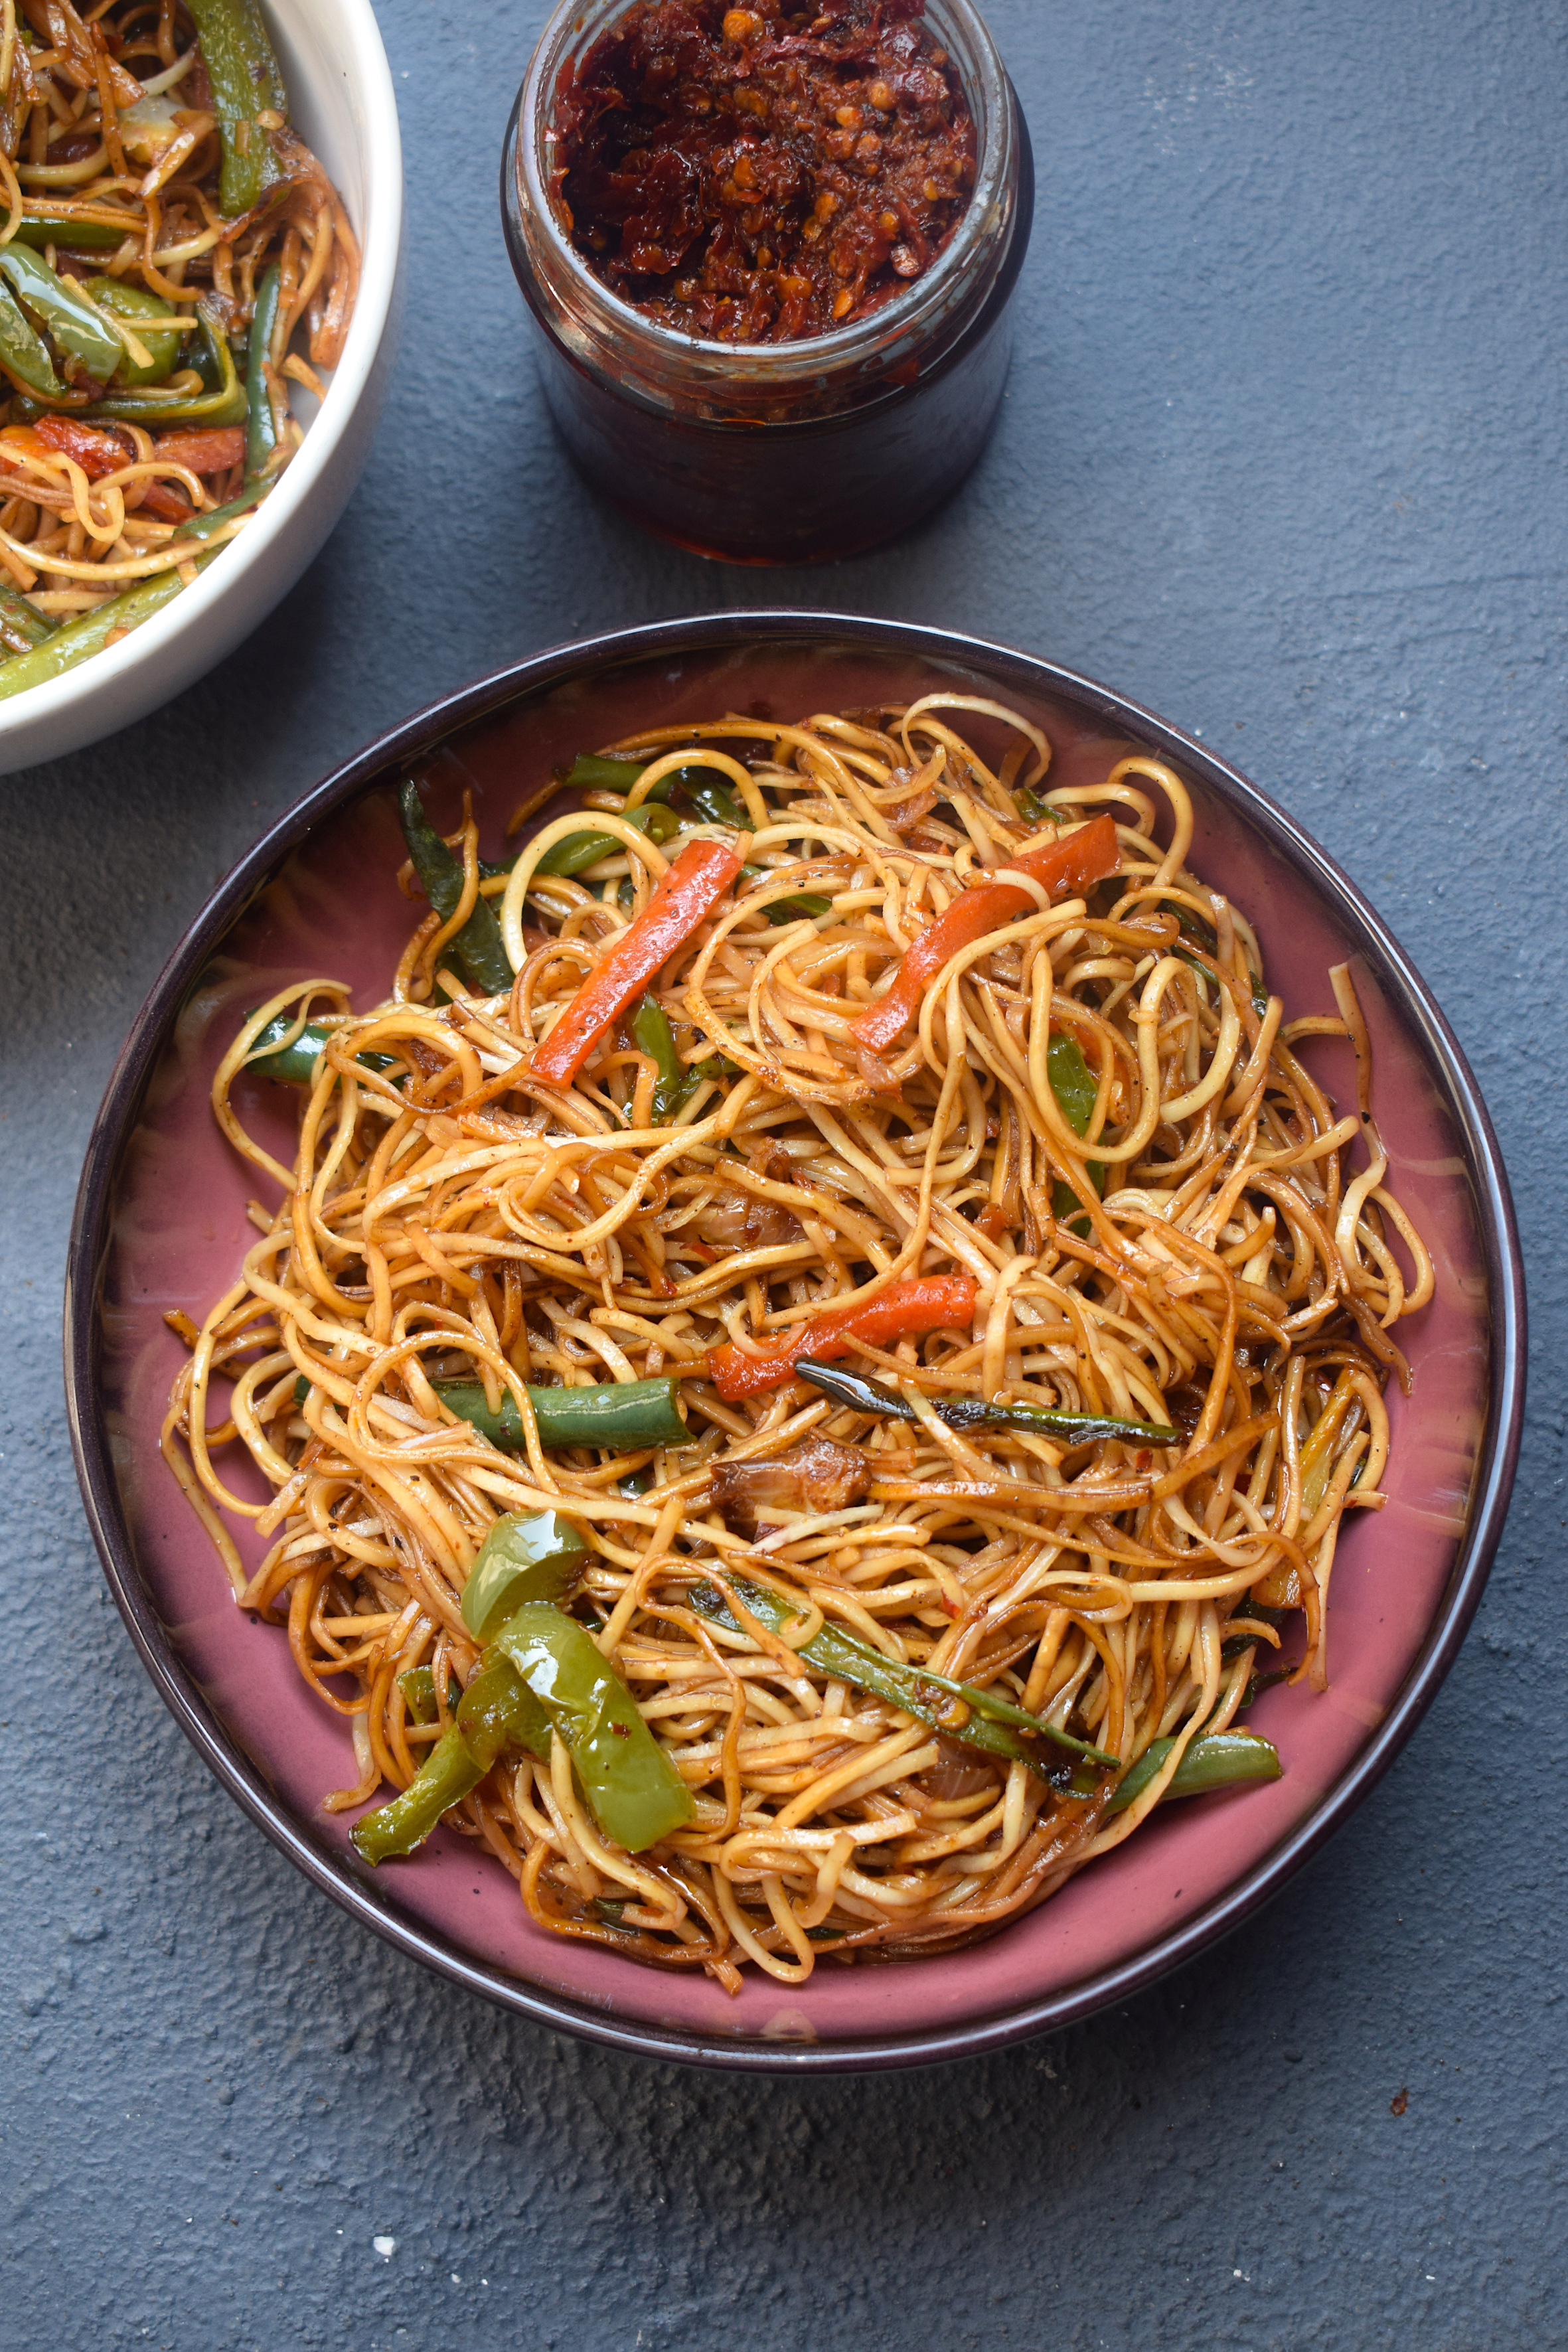
I absolutely love these noodles. They are super simple to make, a great way to eat those vegetables and also not compromising on taste. Because we never want to do that, right? You can also go ahead and add your favorite protein to this. Chicken and scrambled eggs would be delightful in these noodles.

schezwan noodles

For these noodles, I have used my go-to Schezwan chutney which works like magic. It is way better than store bought sauce and will give your noodles that extra oomph and color.

schezwan noodles

So here is the recipe.

Preparation time – 30 minutes

Cook time – 40 minutes

Serves – 1-2 people

[ingredients title=”Ingredients”]

  • 150 g Chinese noodles
  • 3 tbsp vegetable oil
  • 7 garlic cloves, finely chopped
  • 1 medium onion, finely sliced
  • 80 g green beans, thinly sliced
  • 1 medium carrot, thinly sliced
  • 1/2 green bell pepper, thinly sliced
  • 1 tsp freshly ground black pepper powder
  • 1 tbsp Schezwan chutney/sauce
  • 1 tsp brown sugar
  • 2 tsp dark soy sauce
  • 1 tsp sesame oil
  • Salt to taste [/ingredients]

[directions title=”Directions”]

  1. Cook the noodles as per package instructions with some salt in boiling water. Set aside.
  2. Heat oil in a wok. Add the sliced onions, followed by the finely chopped garlic. Saute for a minute.
  3. Add the vegetables – carrot, green bell pepper, and green beans. Feel free to add any crunchy vegetable of your choice here. Cook for about two minutes till they are semi-cooked and still crunchy.
  4. Add some brown sugar and mix well.
  5. Add the Schezwan chutney to the vegetables and mix well for another minute. Do not add salt at this point since the Schezwan chutney will already have some salt and spices.
  6. Once the vegetables are coated in the Schezwan paste, add the cooked noodles to the wok. Use a pair of tongs to mix this well.
  7. Season with salt and pepper as required. Taste it beforehand to get an idea of how much seasoning is required.
  8. Add dark soy sauce to the noodles and bring it all together slowly.
  9. Drizzle a bit of sesame oil on the noodles for some extra glaze and flavor.
  10. Take off the heat and serve hot. [/directions]

Slurrp tip: Top it off with some scrambled eggs or a fried egg for more flavor.

schezwan noodles

schezwan noodles

For more such delightful food, follow me on Facebook, Instagram, Twitter, and YouTube.

Related recipe – Better-Than-Takeout Shrimp Fried Rice

If you are new to the kitchen or are confused about what to buy for my recipes/kitchen tools, I can help. I have curated a special list that you can order right from Amazon and get the best products for your kitchen. Click here to explore.

And as always, happy cooking! <3
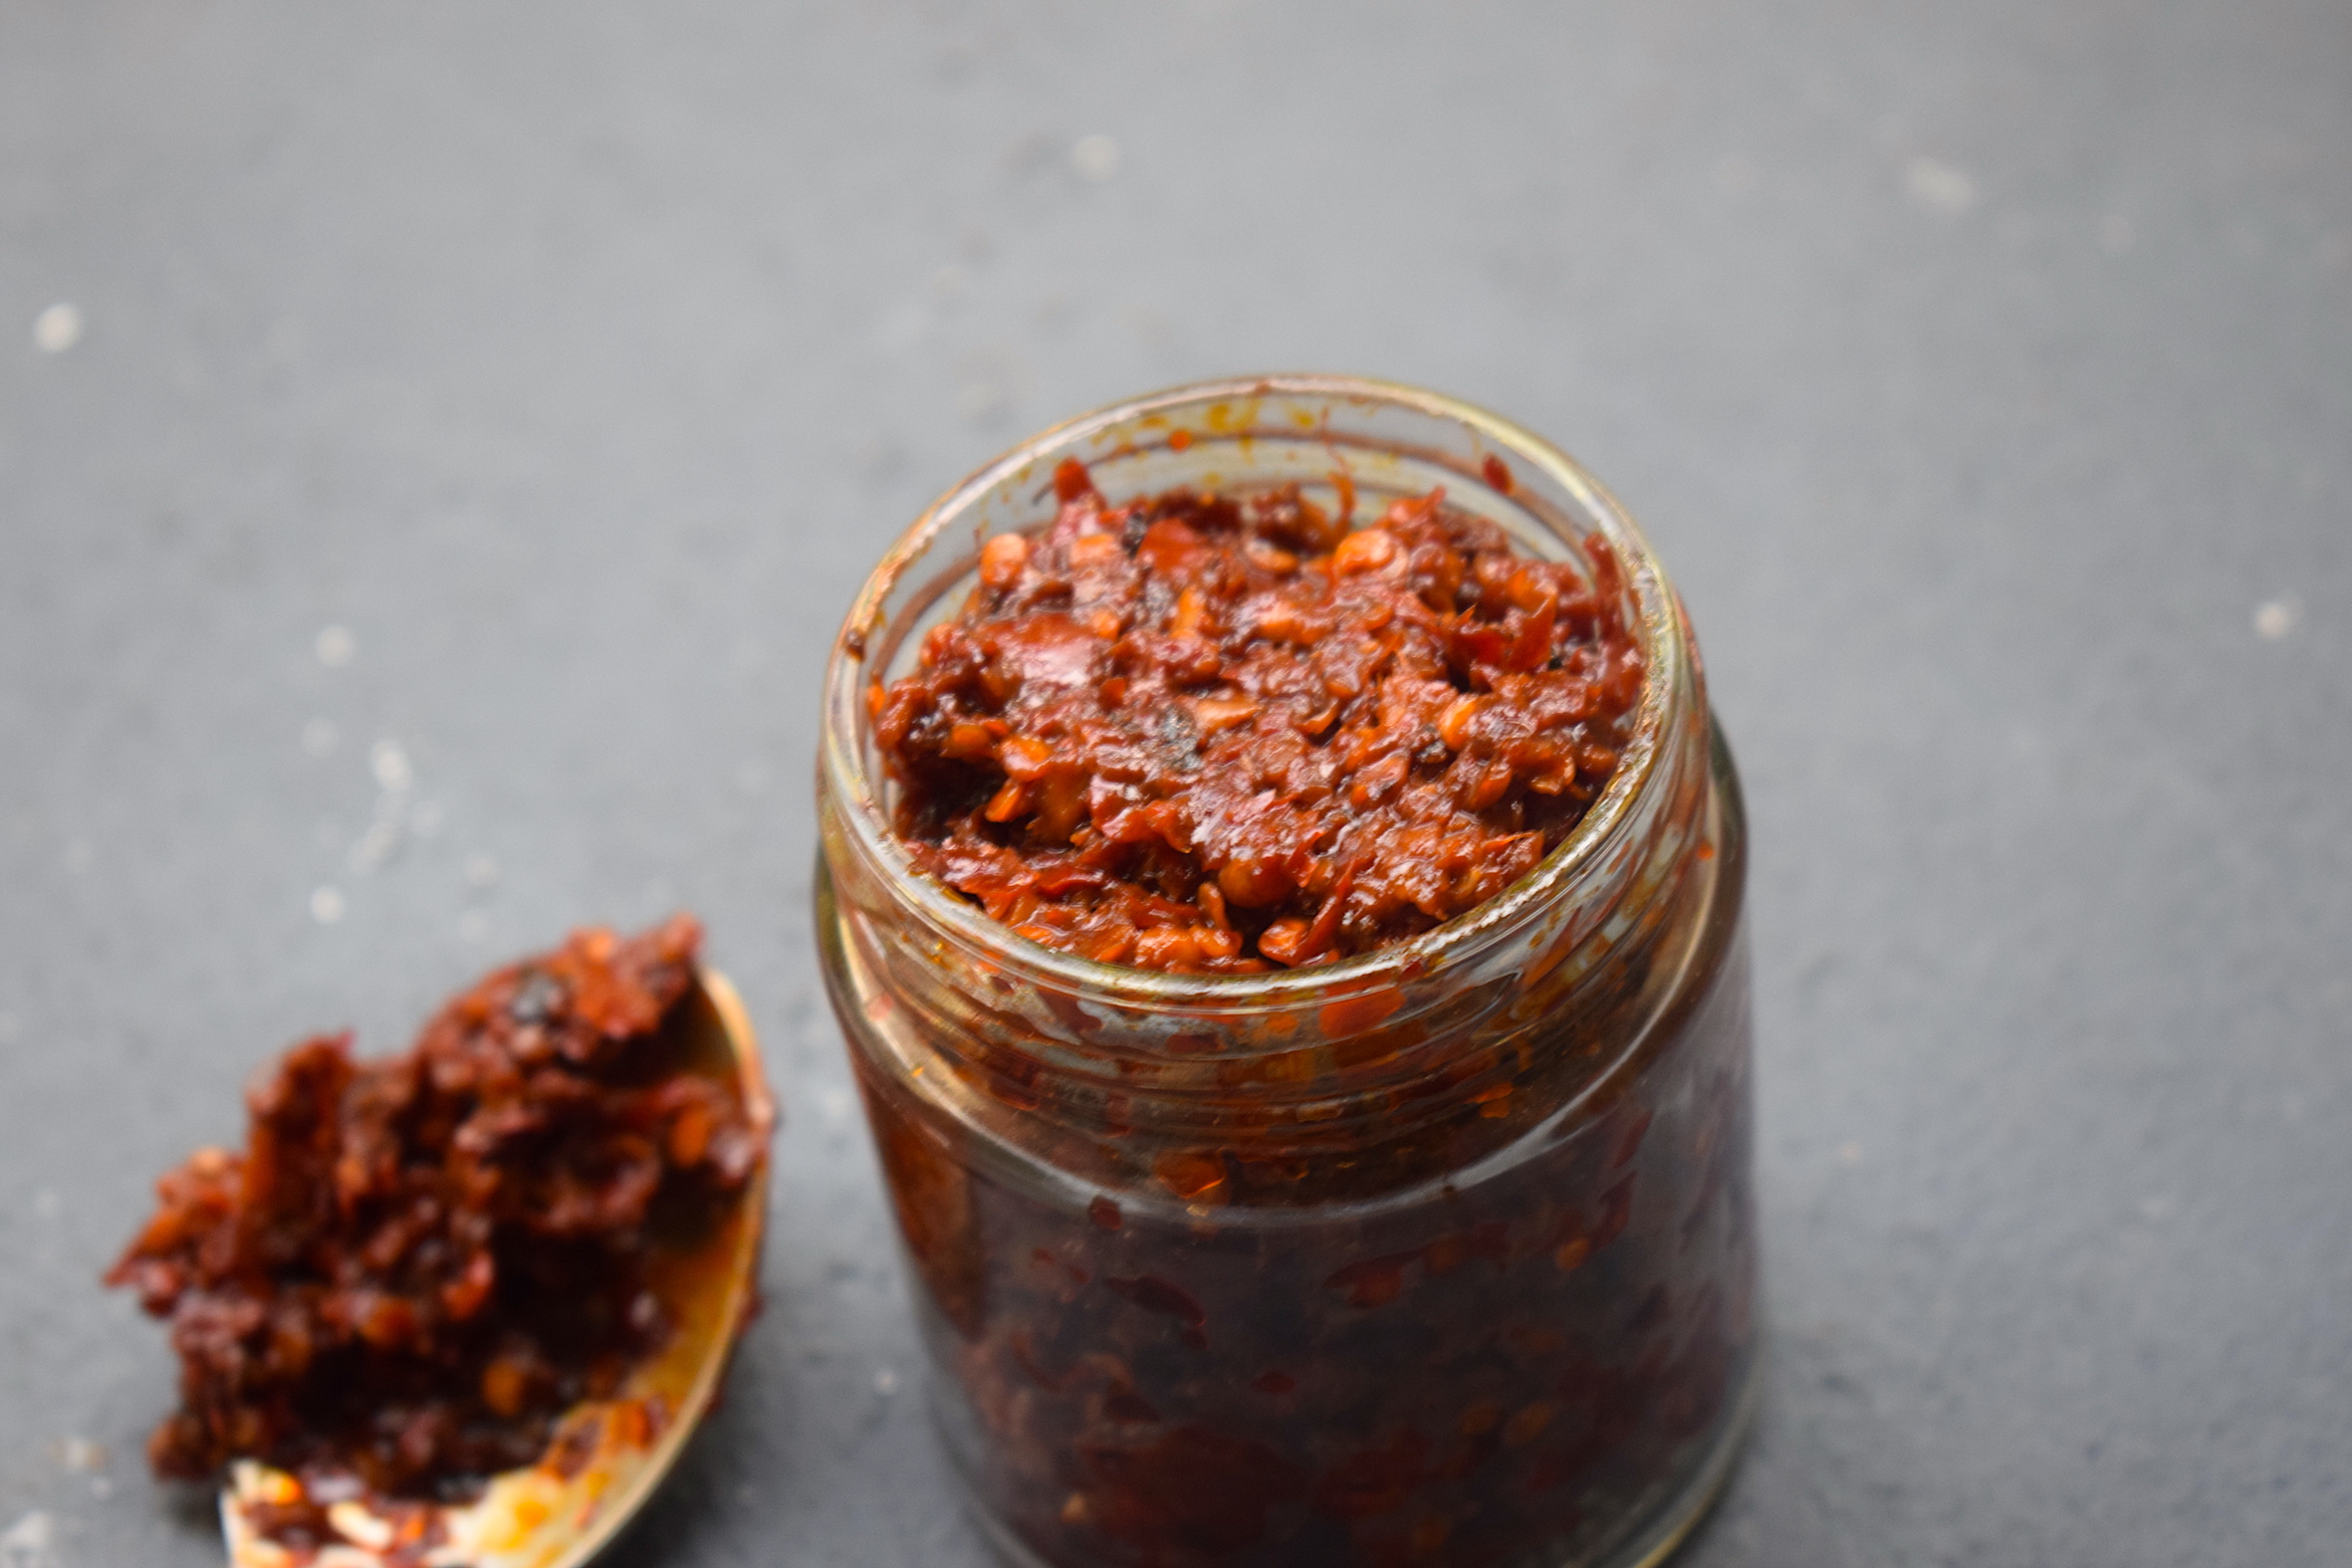
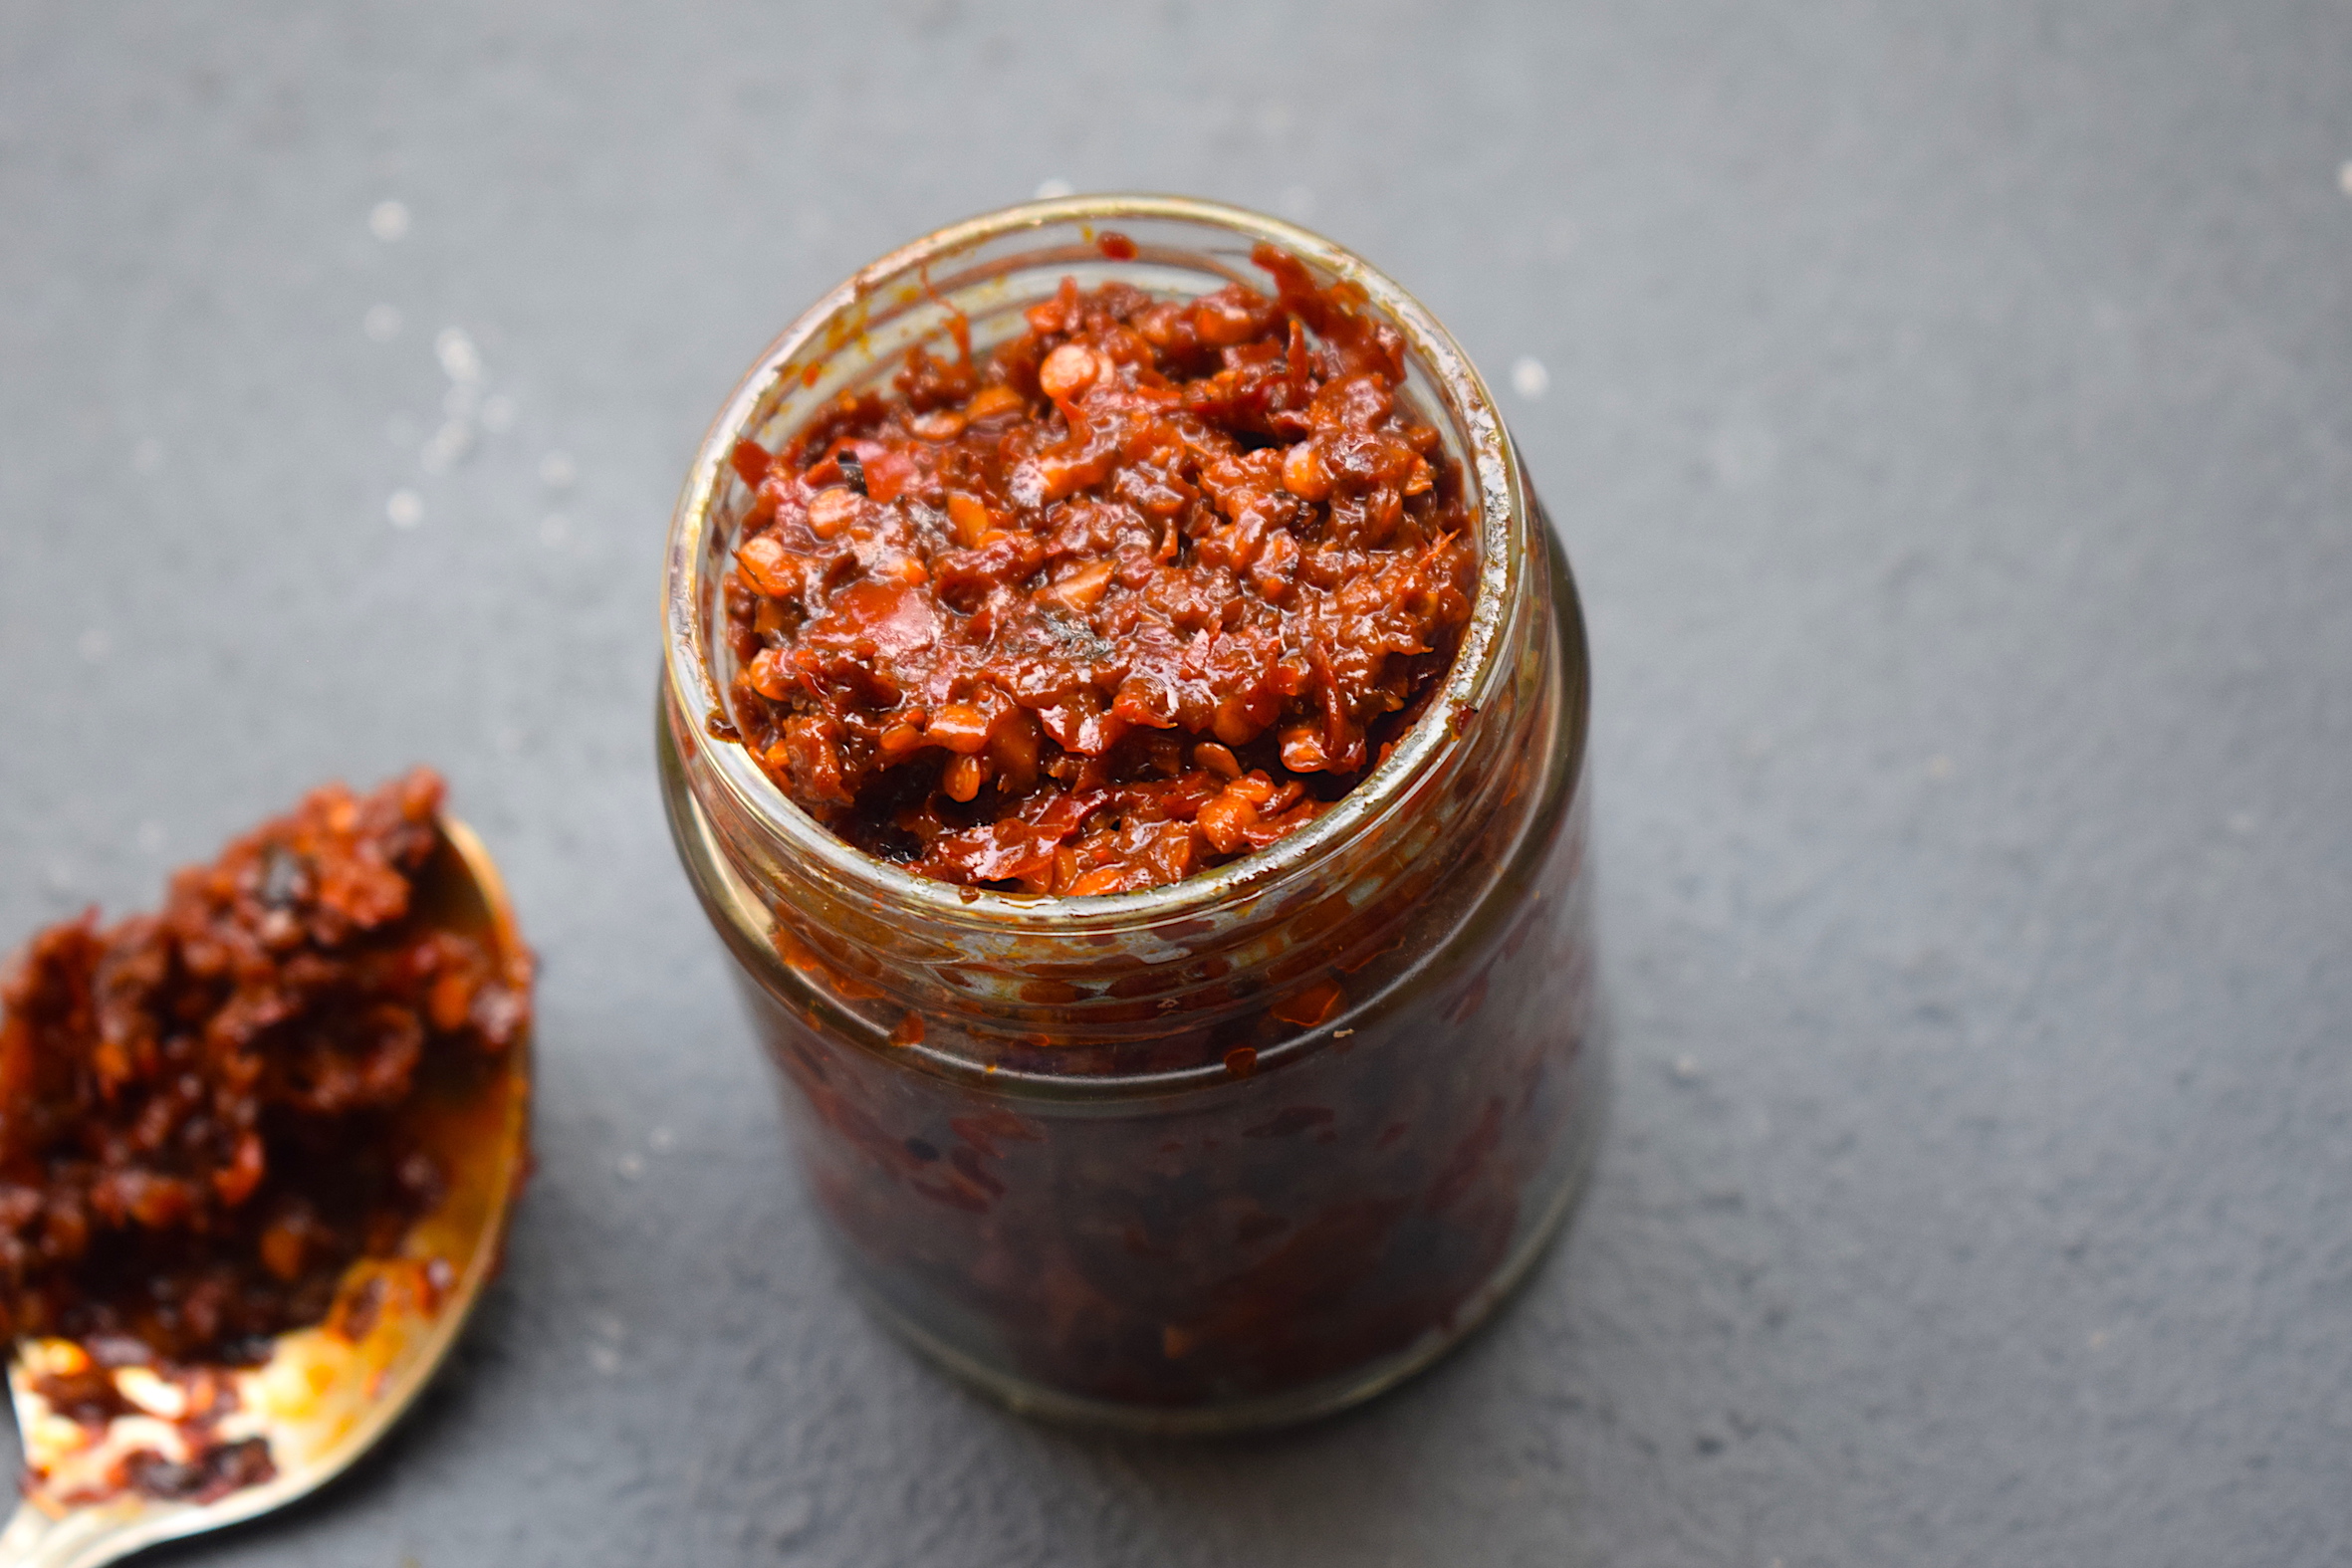
Homemade Schezwan Chutney – It’s Hot!
I have tried it all. Affordable, expensive, beyond budget, free with groceries, outrageously cheap – every brand that the market has to offer when it comes to Schezwan sauce. But I have not been impressed too much because I really look for freshness in everything. And the addition of preservatives can only give you so much!

homemade schezwan chutney

Ever since I started blogging about recipes regularly, I have also started developing more interest in using fresh ingredients, even in case of chutneys and sauces. The difference is so huge in terms of taste, texture, freshness and of course, health! Now I am a big advocate of all things fresh and homemade. There are of course a few things I still buy from the market, but Schezwan sauce is definitely not one of those things.

homemade schezwan chutney

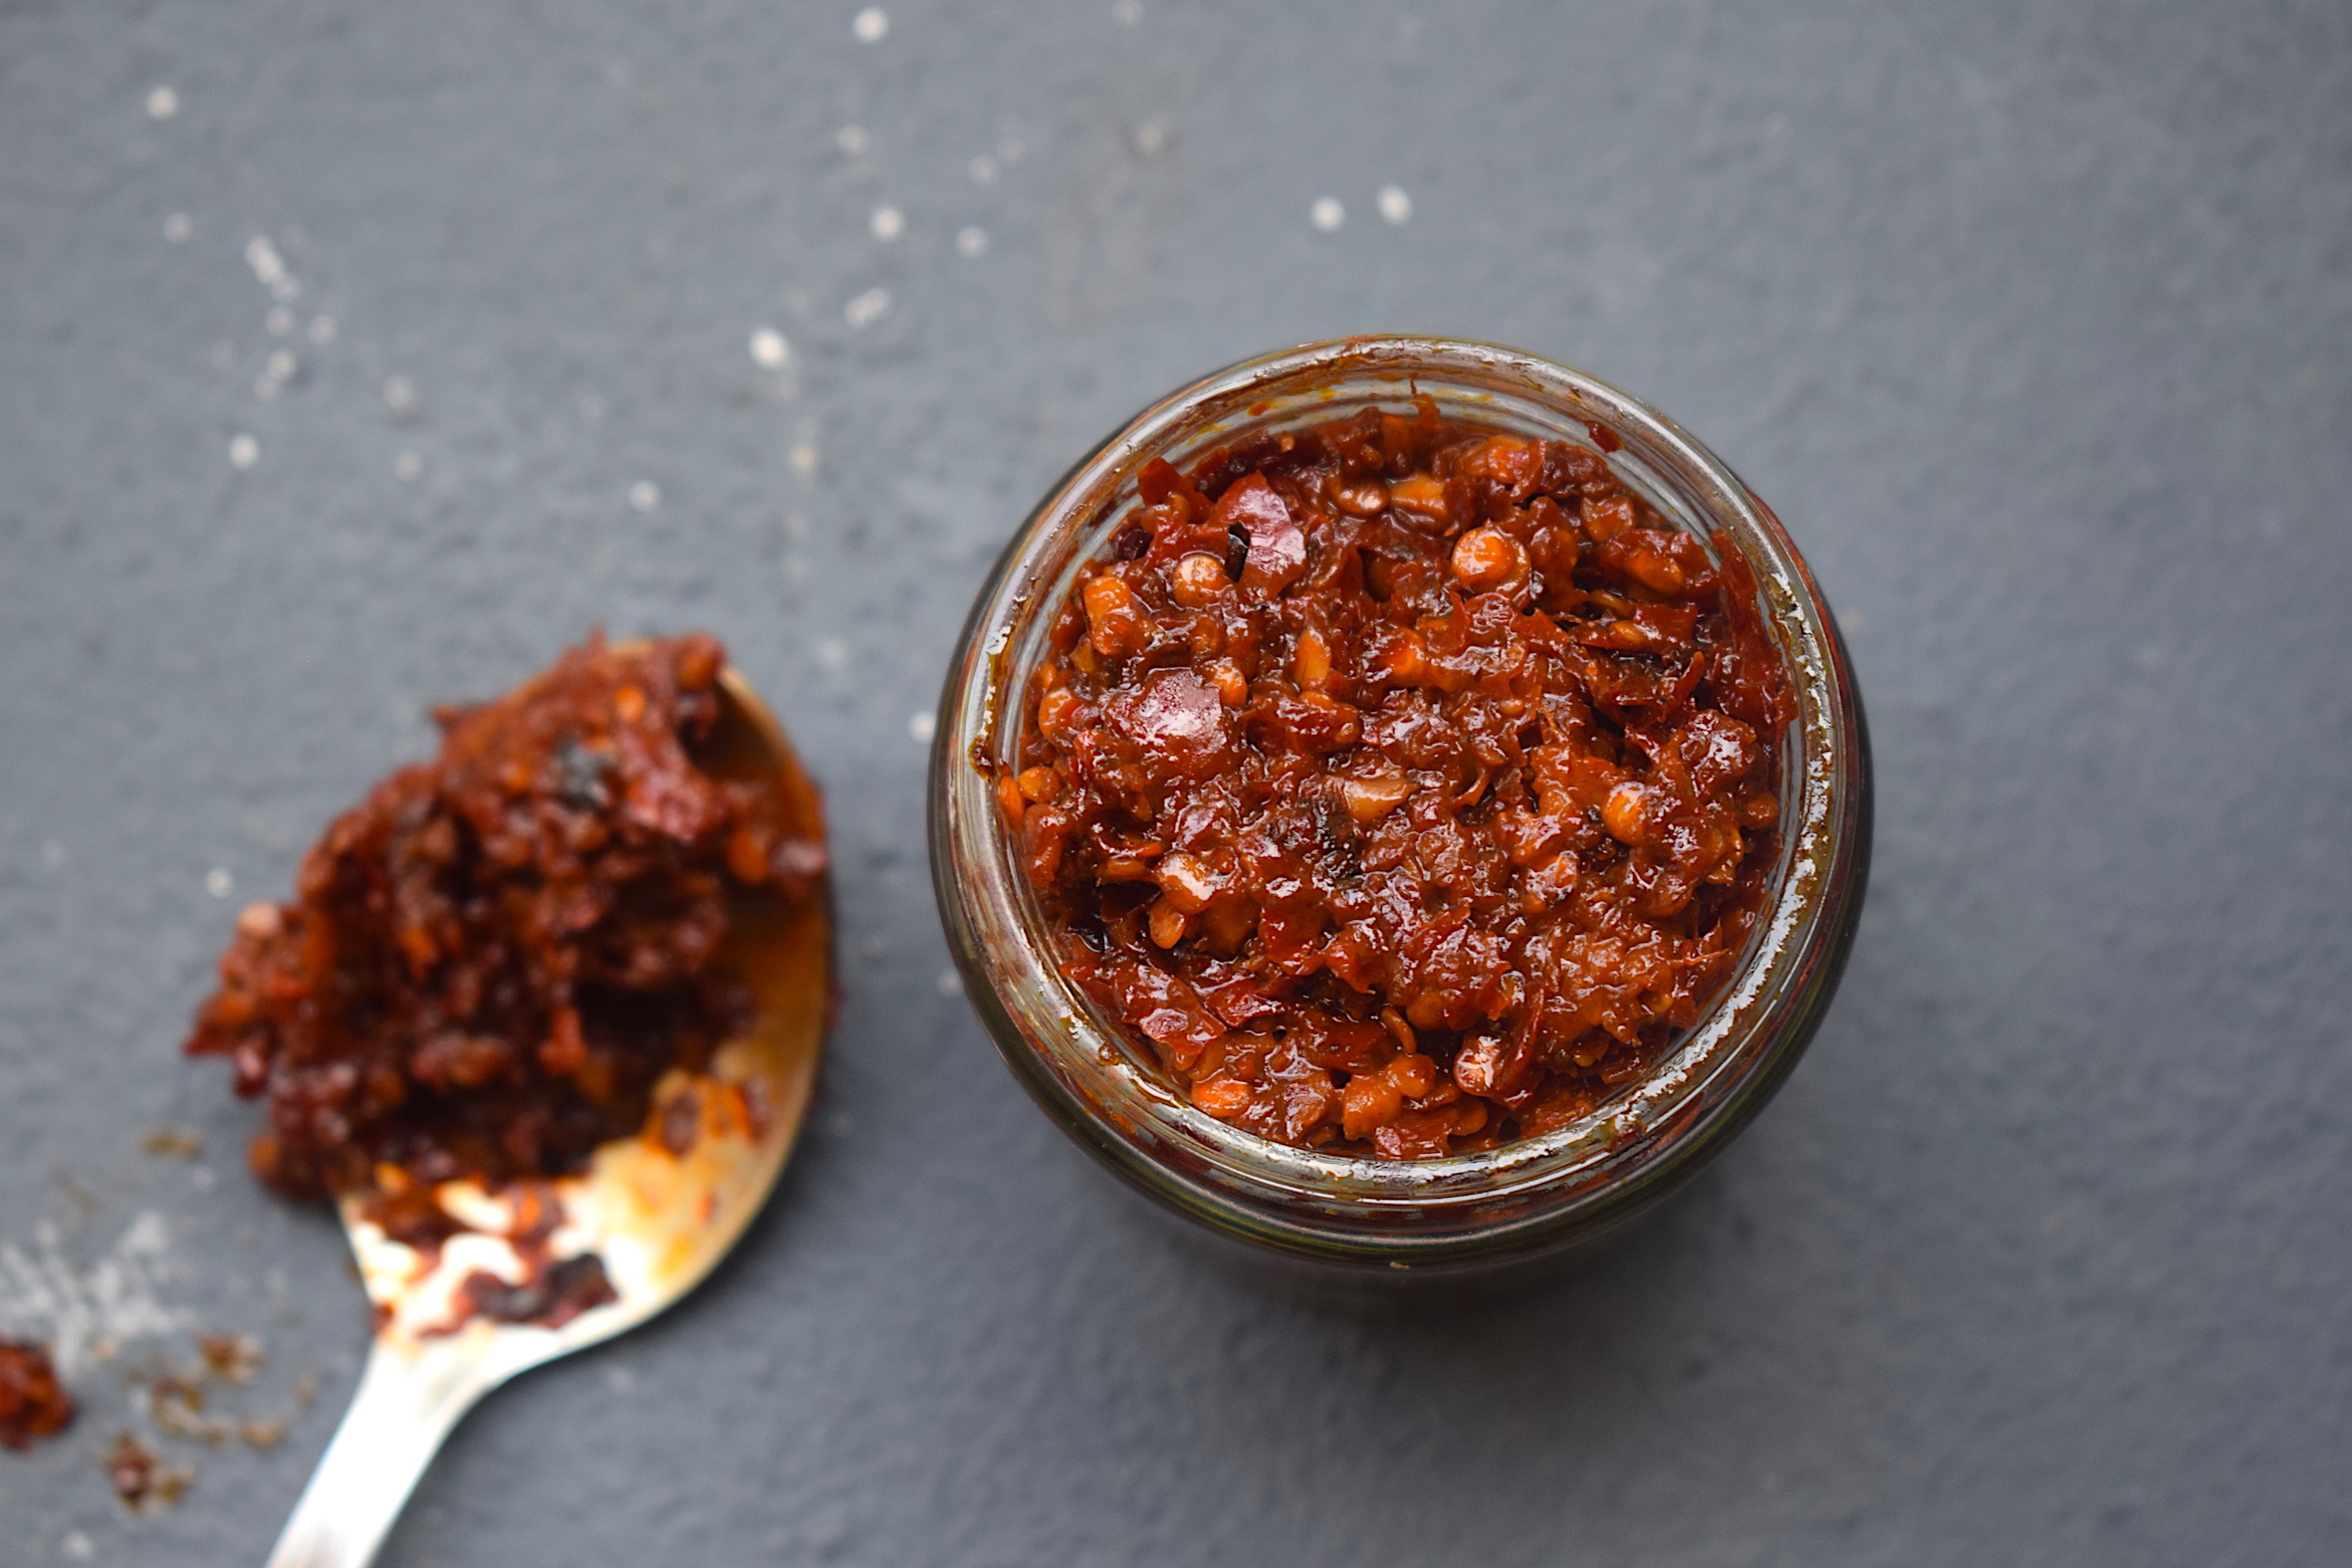
If you are a big fan of everything Schezwan, this is the chutney for you. Made with hot red chilies and a few very basic ingredients, you can have a big batch of this Schezwan chutney in no time. I always have a jar of this in my fridge to whip up spicy recipes on those days that demand it. So go ahead and make a giant batch for yourself.

Preparation time – 30 minutes

Cook time – 30 minutes

Makes – 200 g

[ingredients title=”Ingredients”]

  • 50 g dried red chilies
  • 1 tbsp vinegar
  • 1 tbsp soy sauce
  • 2 tsp sugar
  • 4 tbsp vegetable oil
  • 15 cloves of garlic, finely chopped
  • 20g ginger, finely chopped
  • Salt to taste
  • 1 cup water [/ingredients]

[directions title=”Directions”]

  1.  Soak the dried red chilies in lukewarm water for four to five hours. Keep it covered all the while. This step is very essential because we want the chilies to soften.
  2. Grind the soaked chilies with a little water till a thick and fine paste is formed.
  3. Heat oil in a pan. Once the oil is hot, add the finely chopped ginger and garlic. Saute for a minute. Make sure you don’t burn it.
  4. Add the chili paste to the oil and fry on medium flame for about ten minutes. Once it starts releasing the oil, add some water and stir. Cover and cook this for fifteen minutes.
  5. Take the lid off, add salt, sugar, vinegar and soy sauce. Stir well till you get the desired consistency. Add water accordingly.
  6. Let it cool completely and transfer to a jar. Refrigerate and use it for up to a month in your recipes to add a good dose of heat. [/directions]

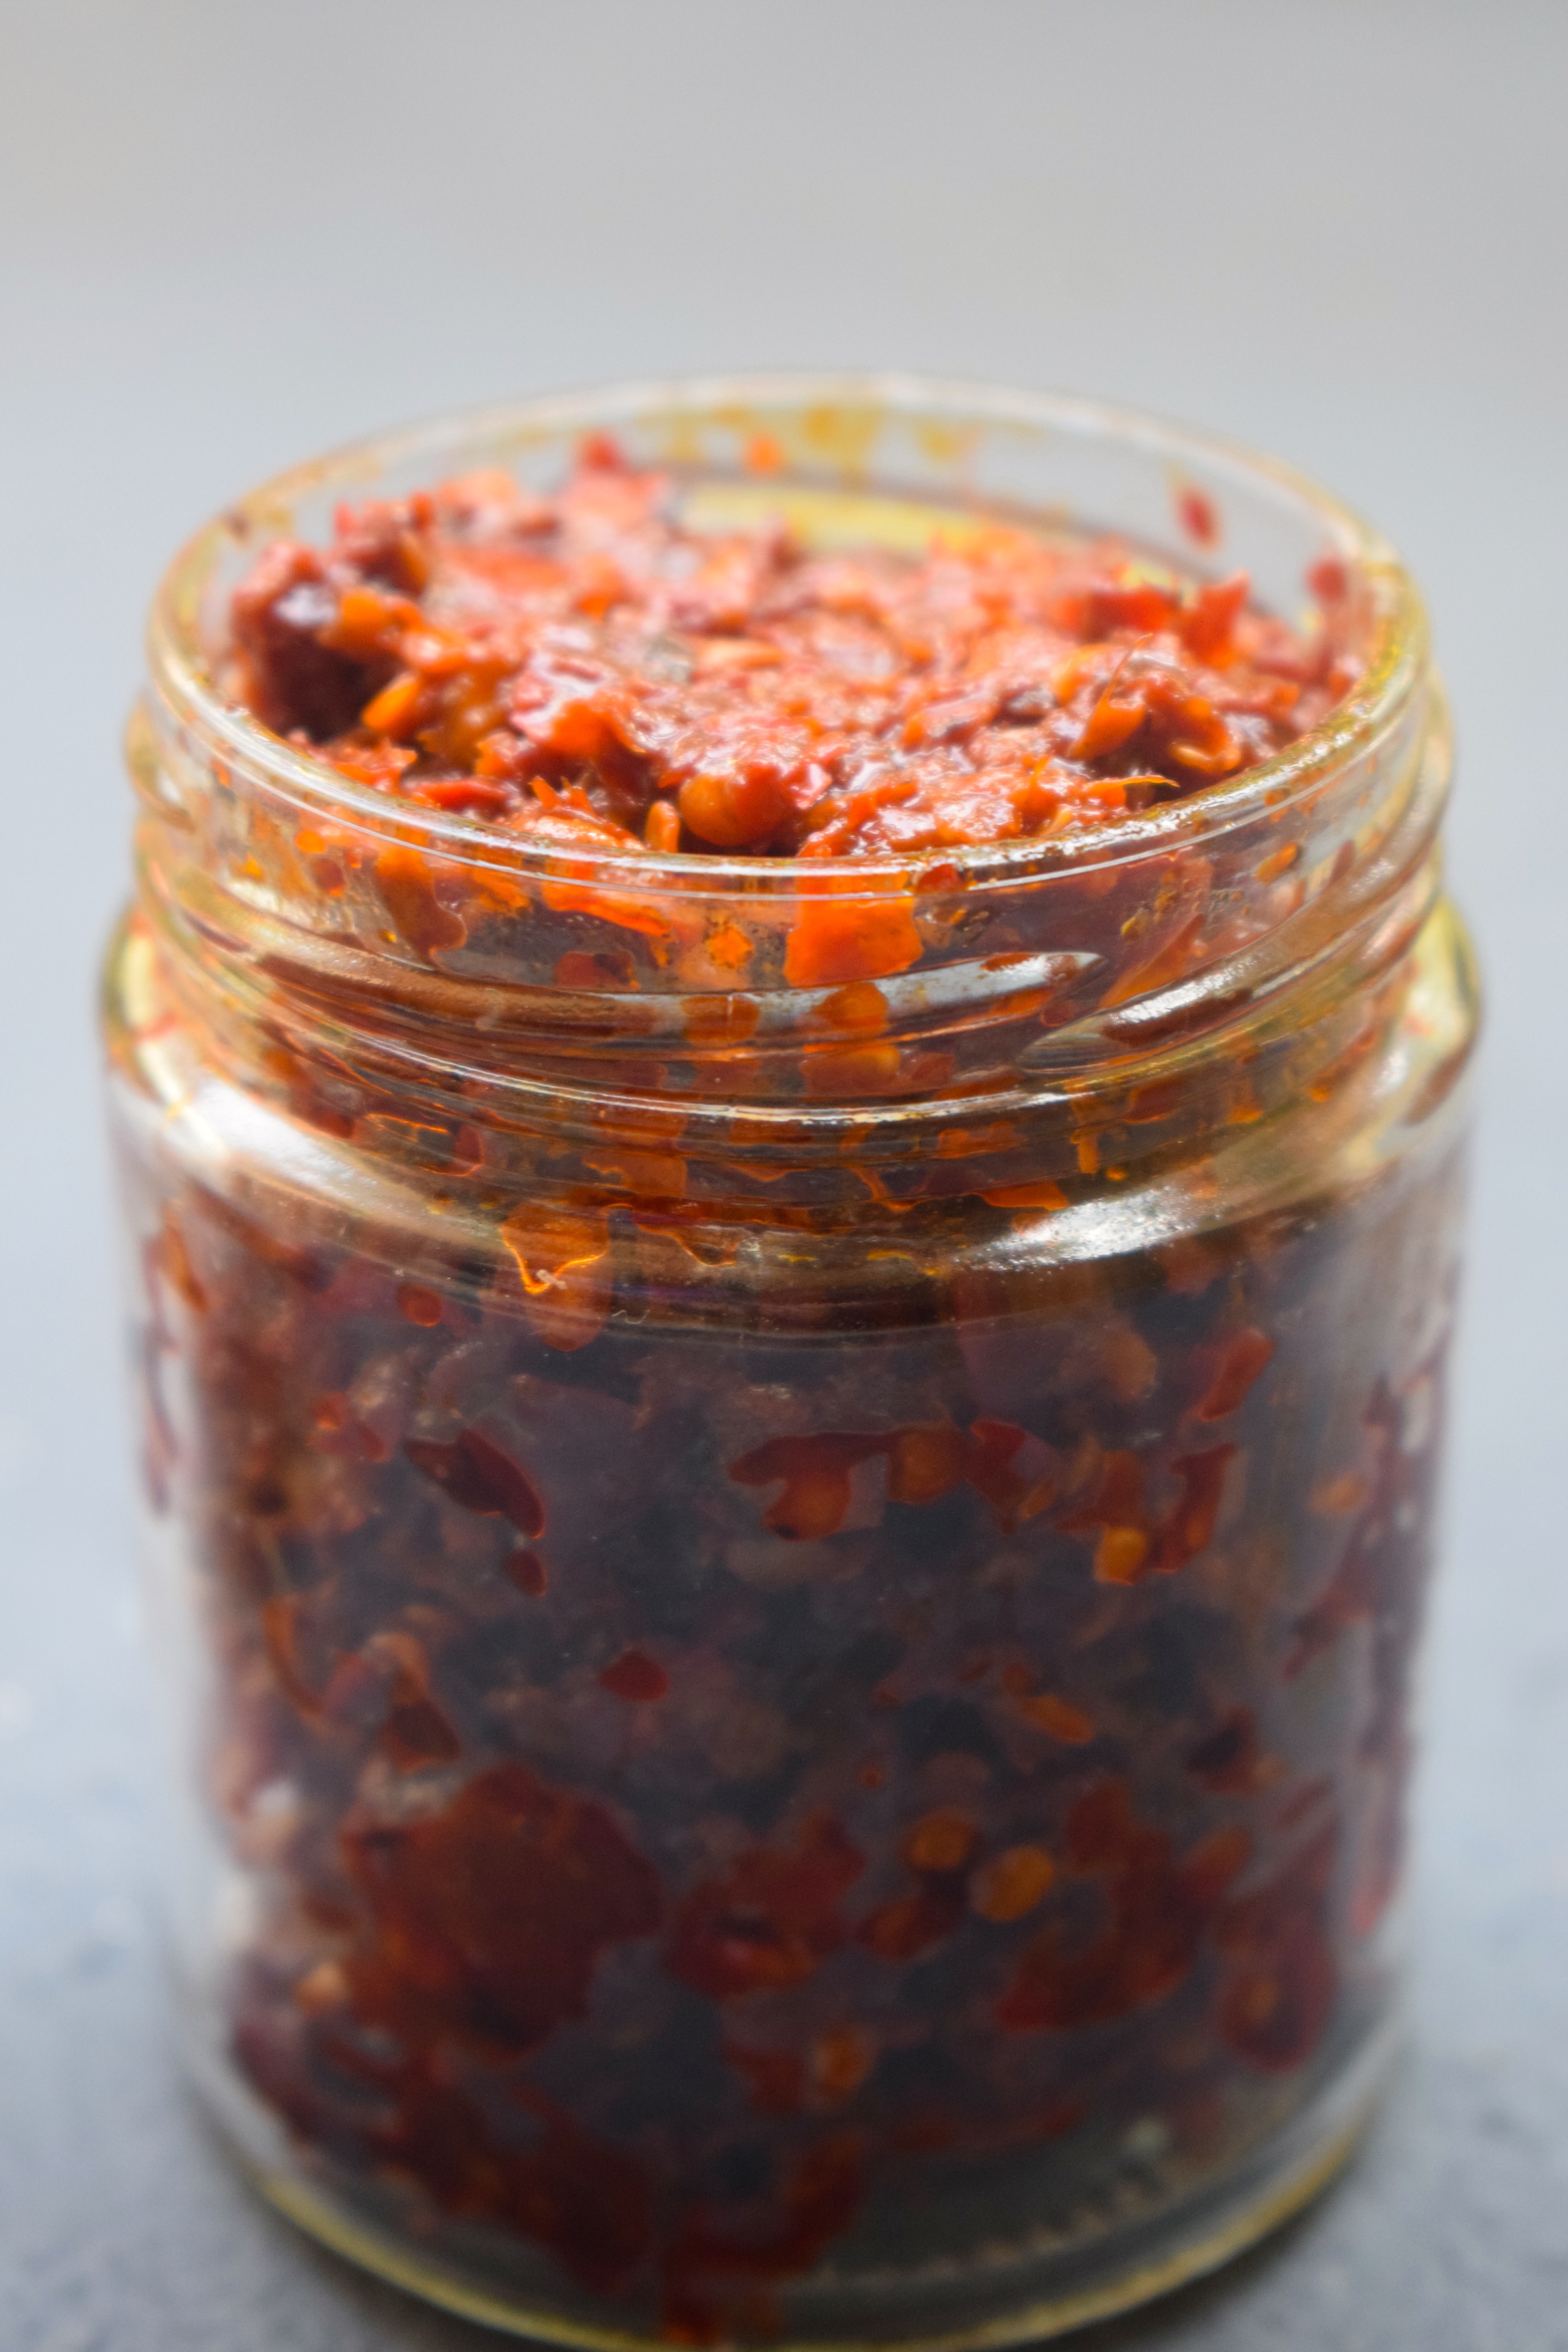
This chutney is not a sauce, because it is thicker than a sauce would be. You can choose to make it your own consistency. I like mine thick like a pickle, and using just a little also goes a long way in adding the spice element.

homemade schezwan chutney

homemade schezwan chutney

For more such delightful food, follow me on Facebook, Instagram, Twitter, and YouTube.

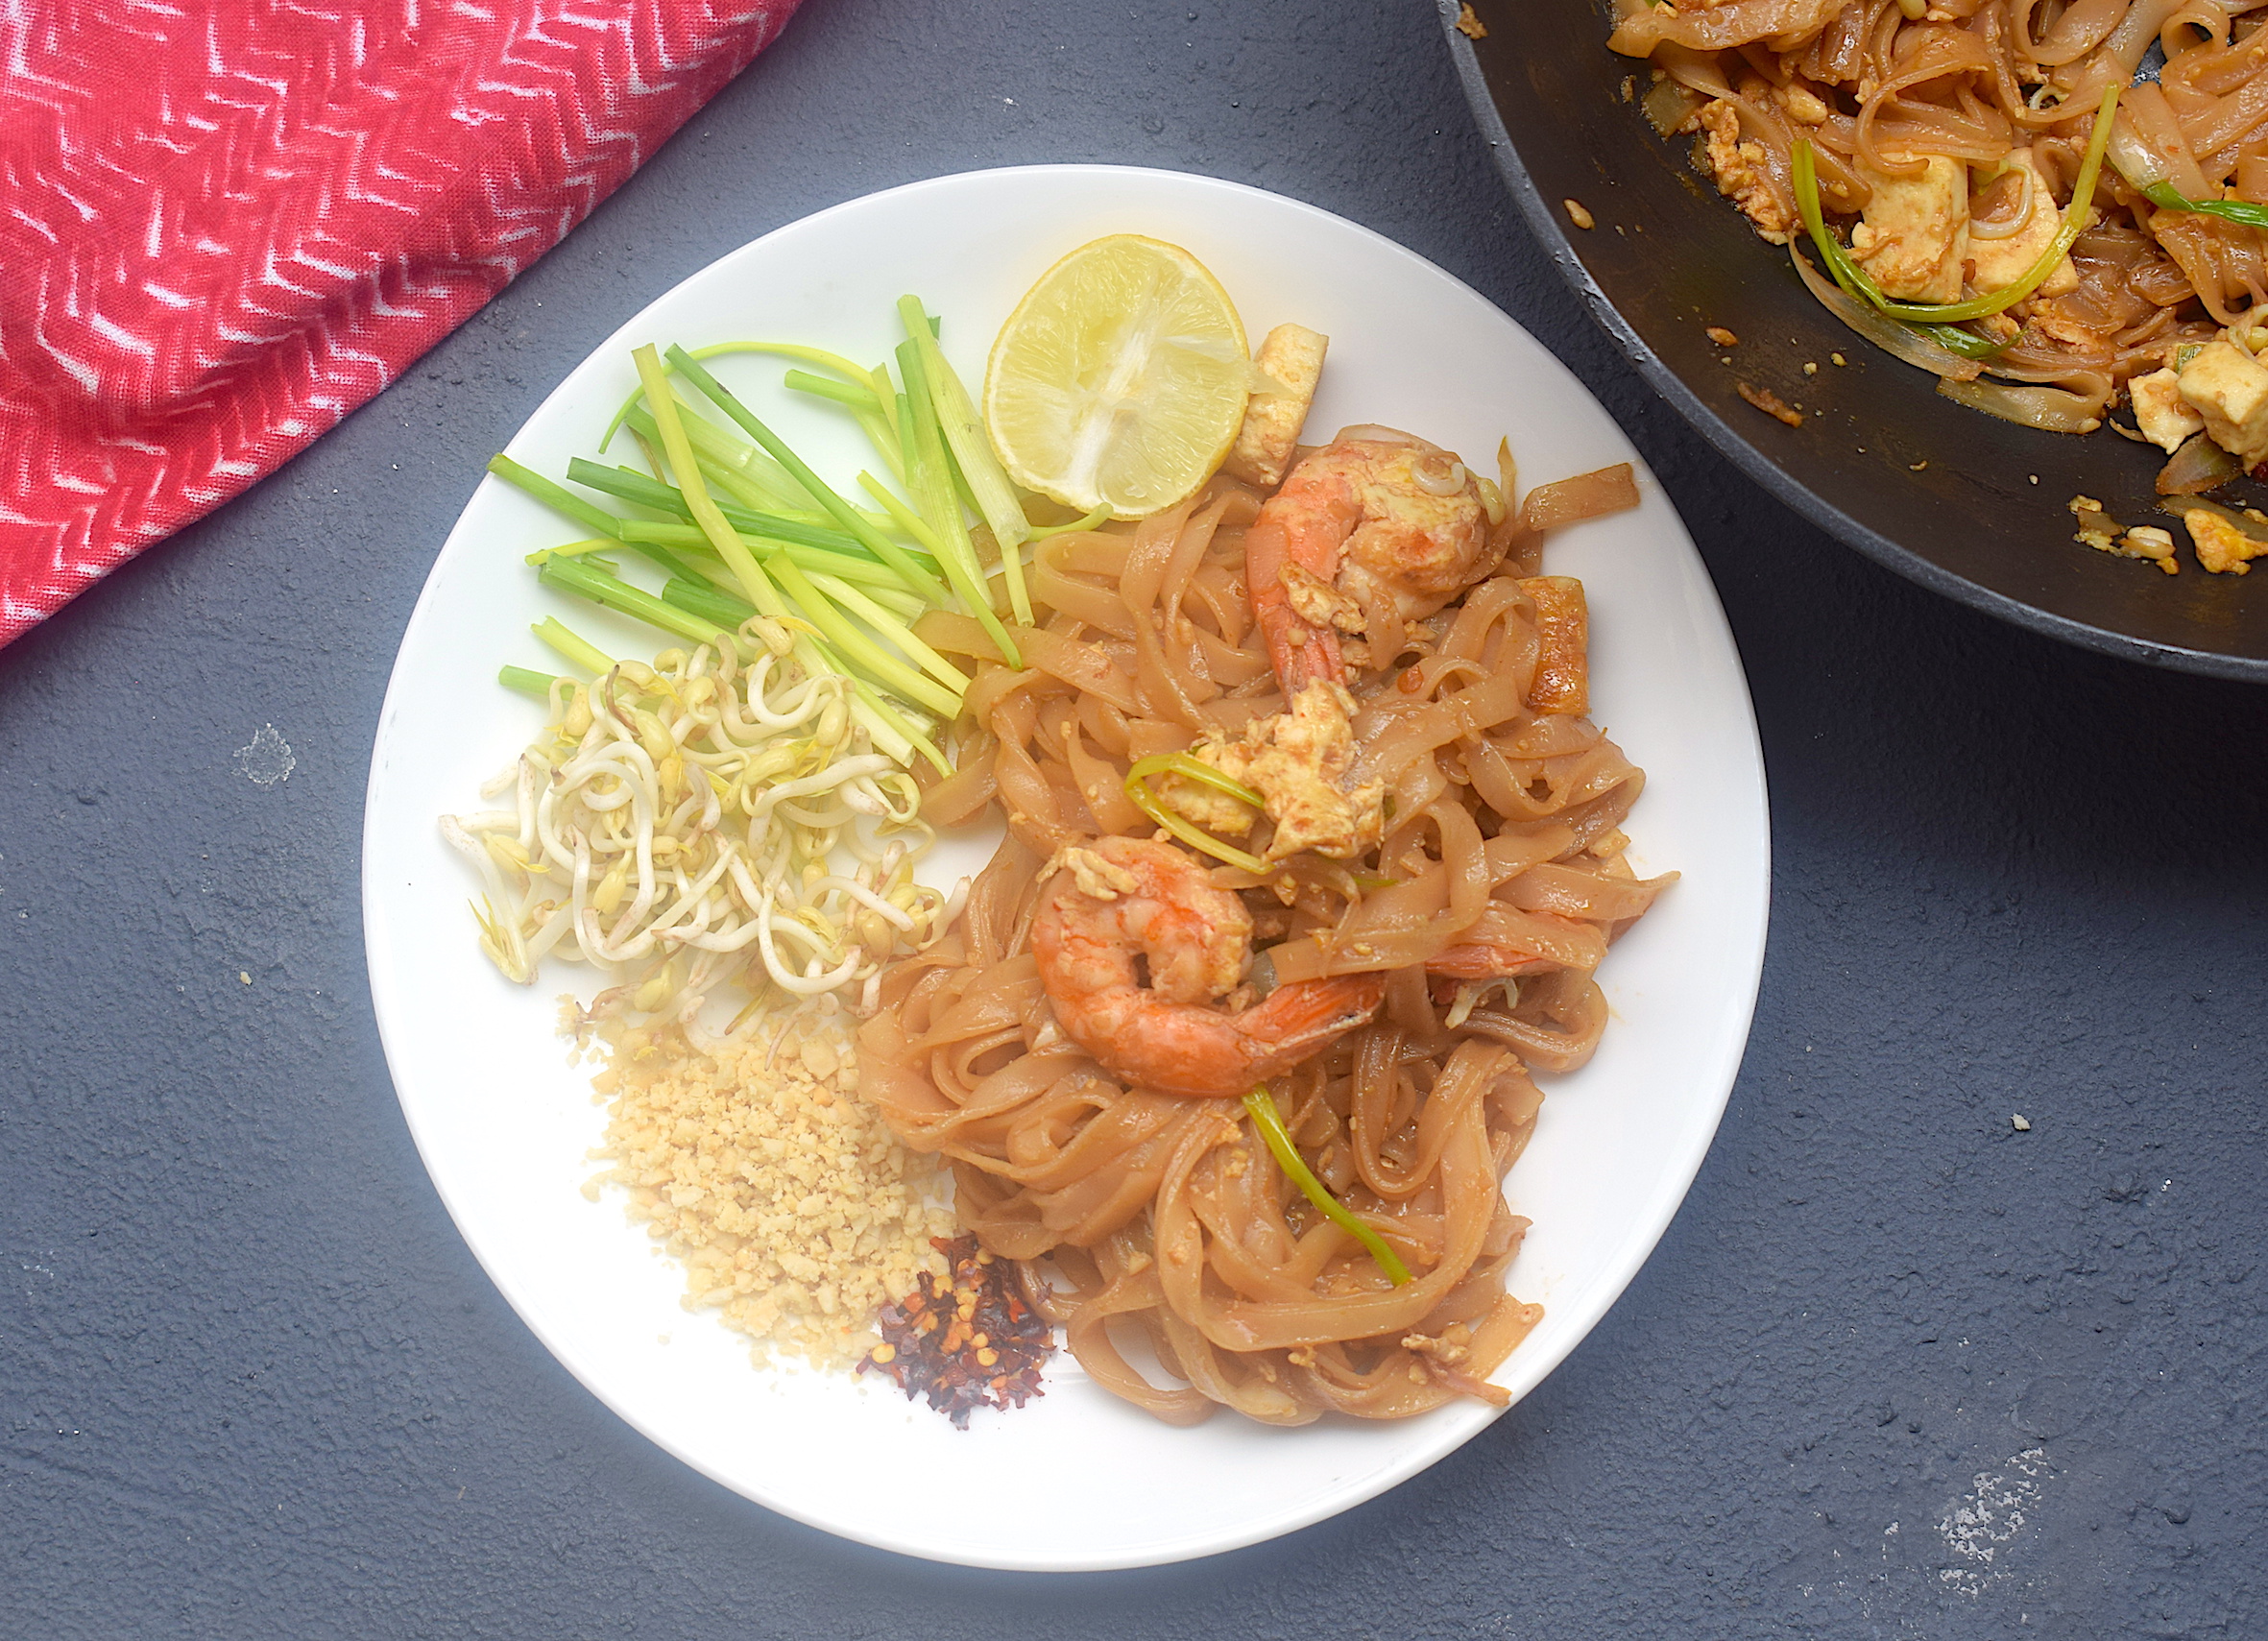
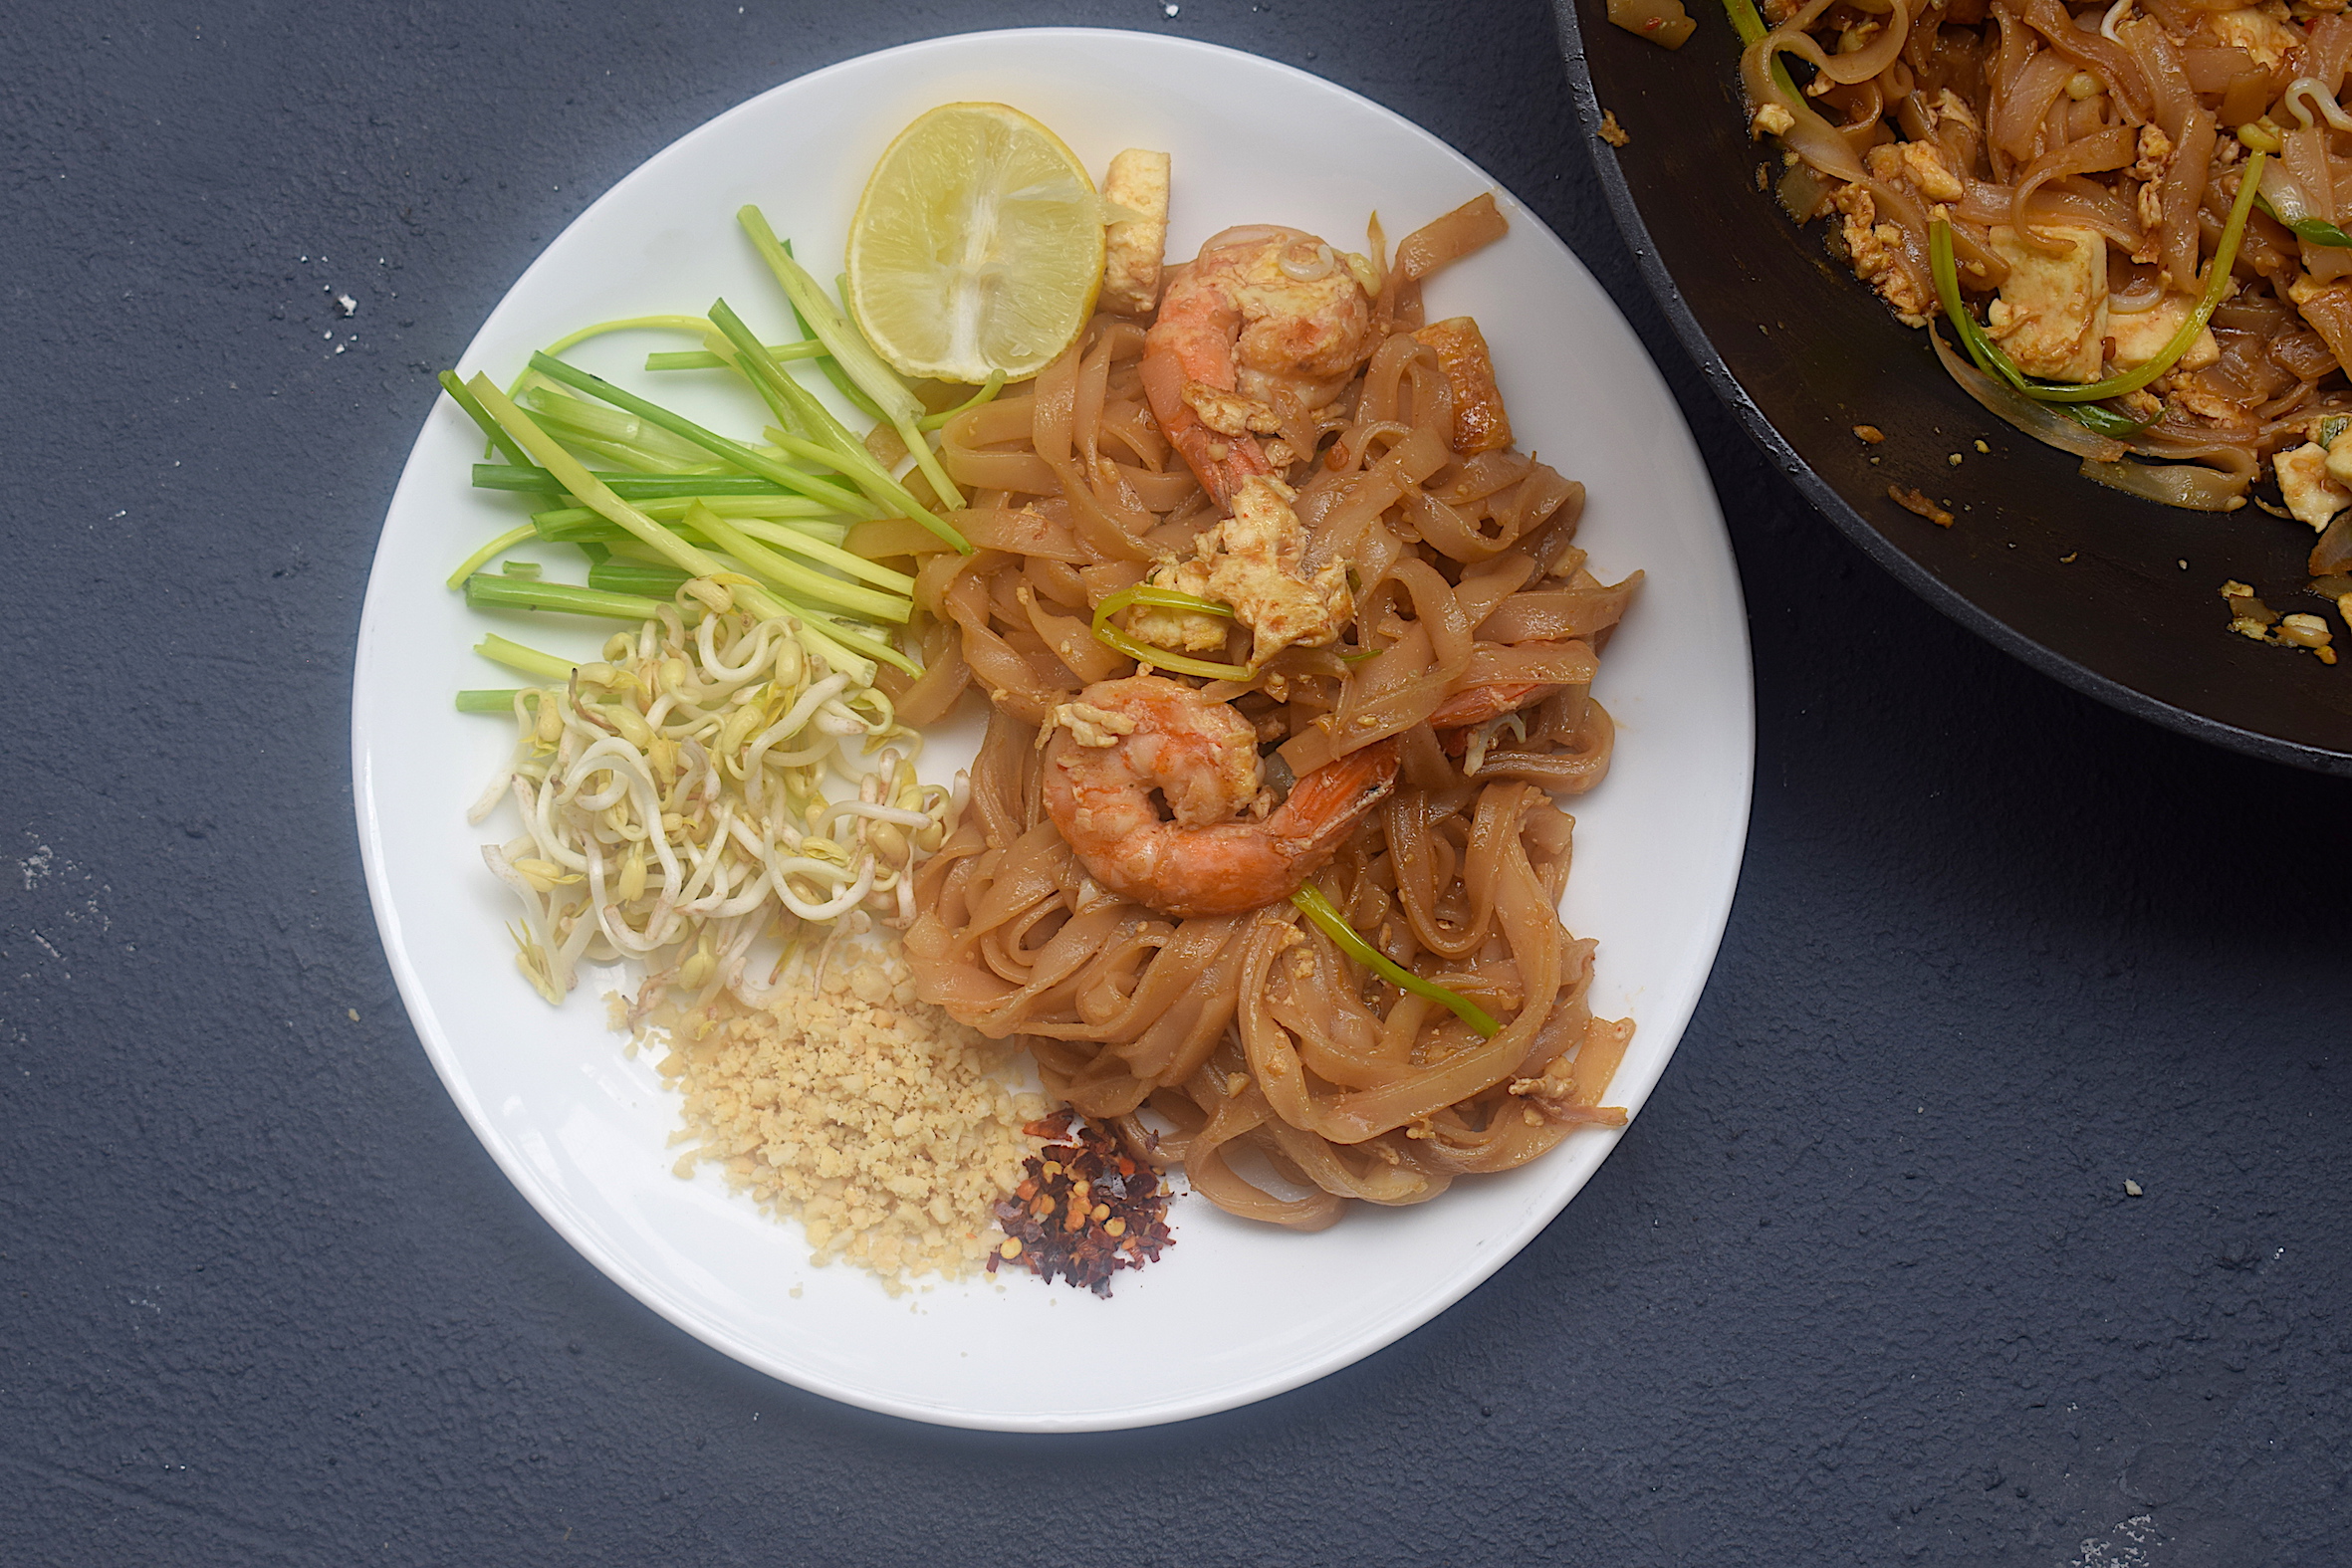
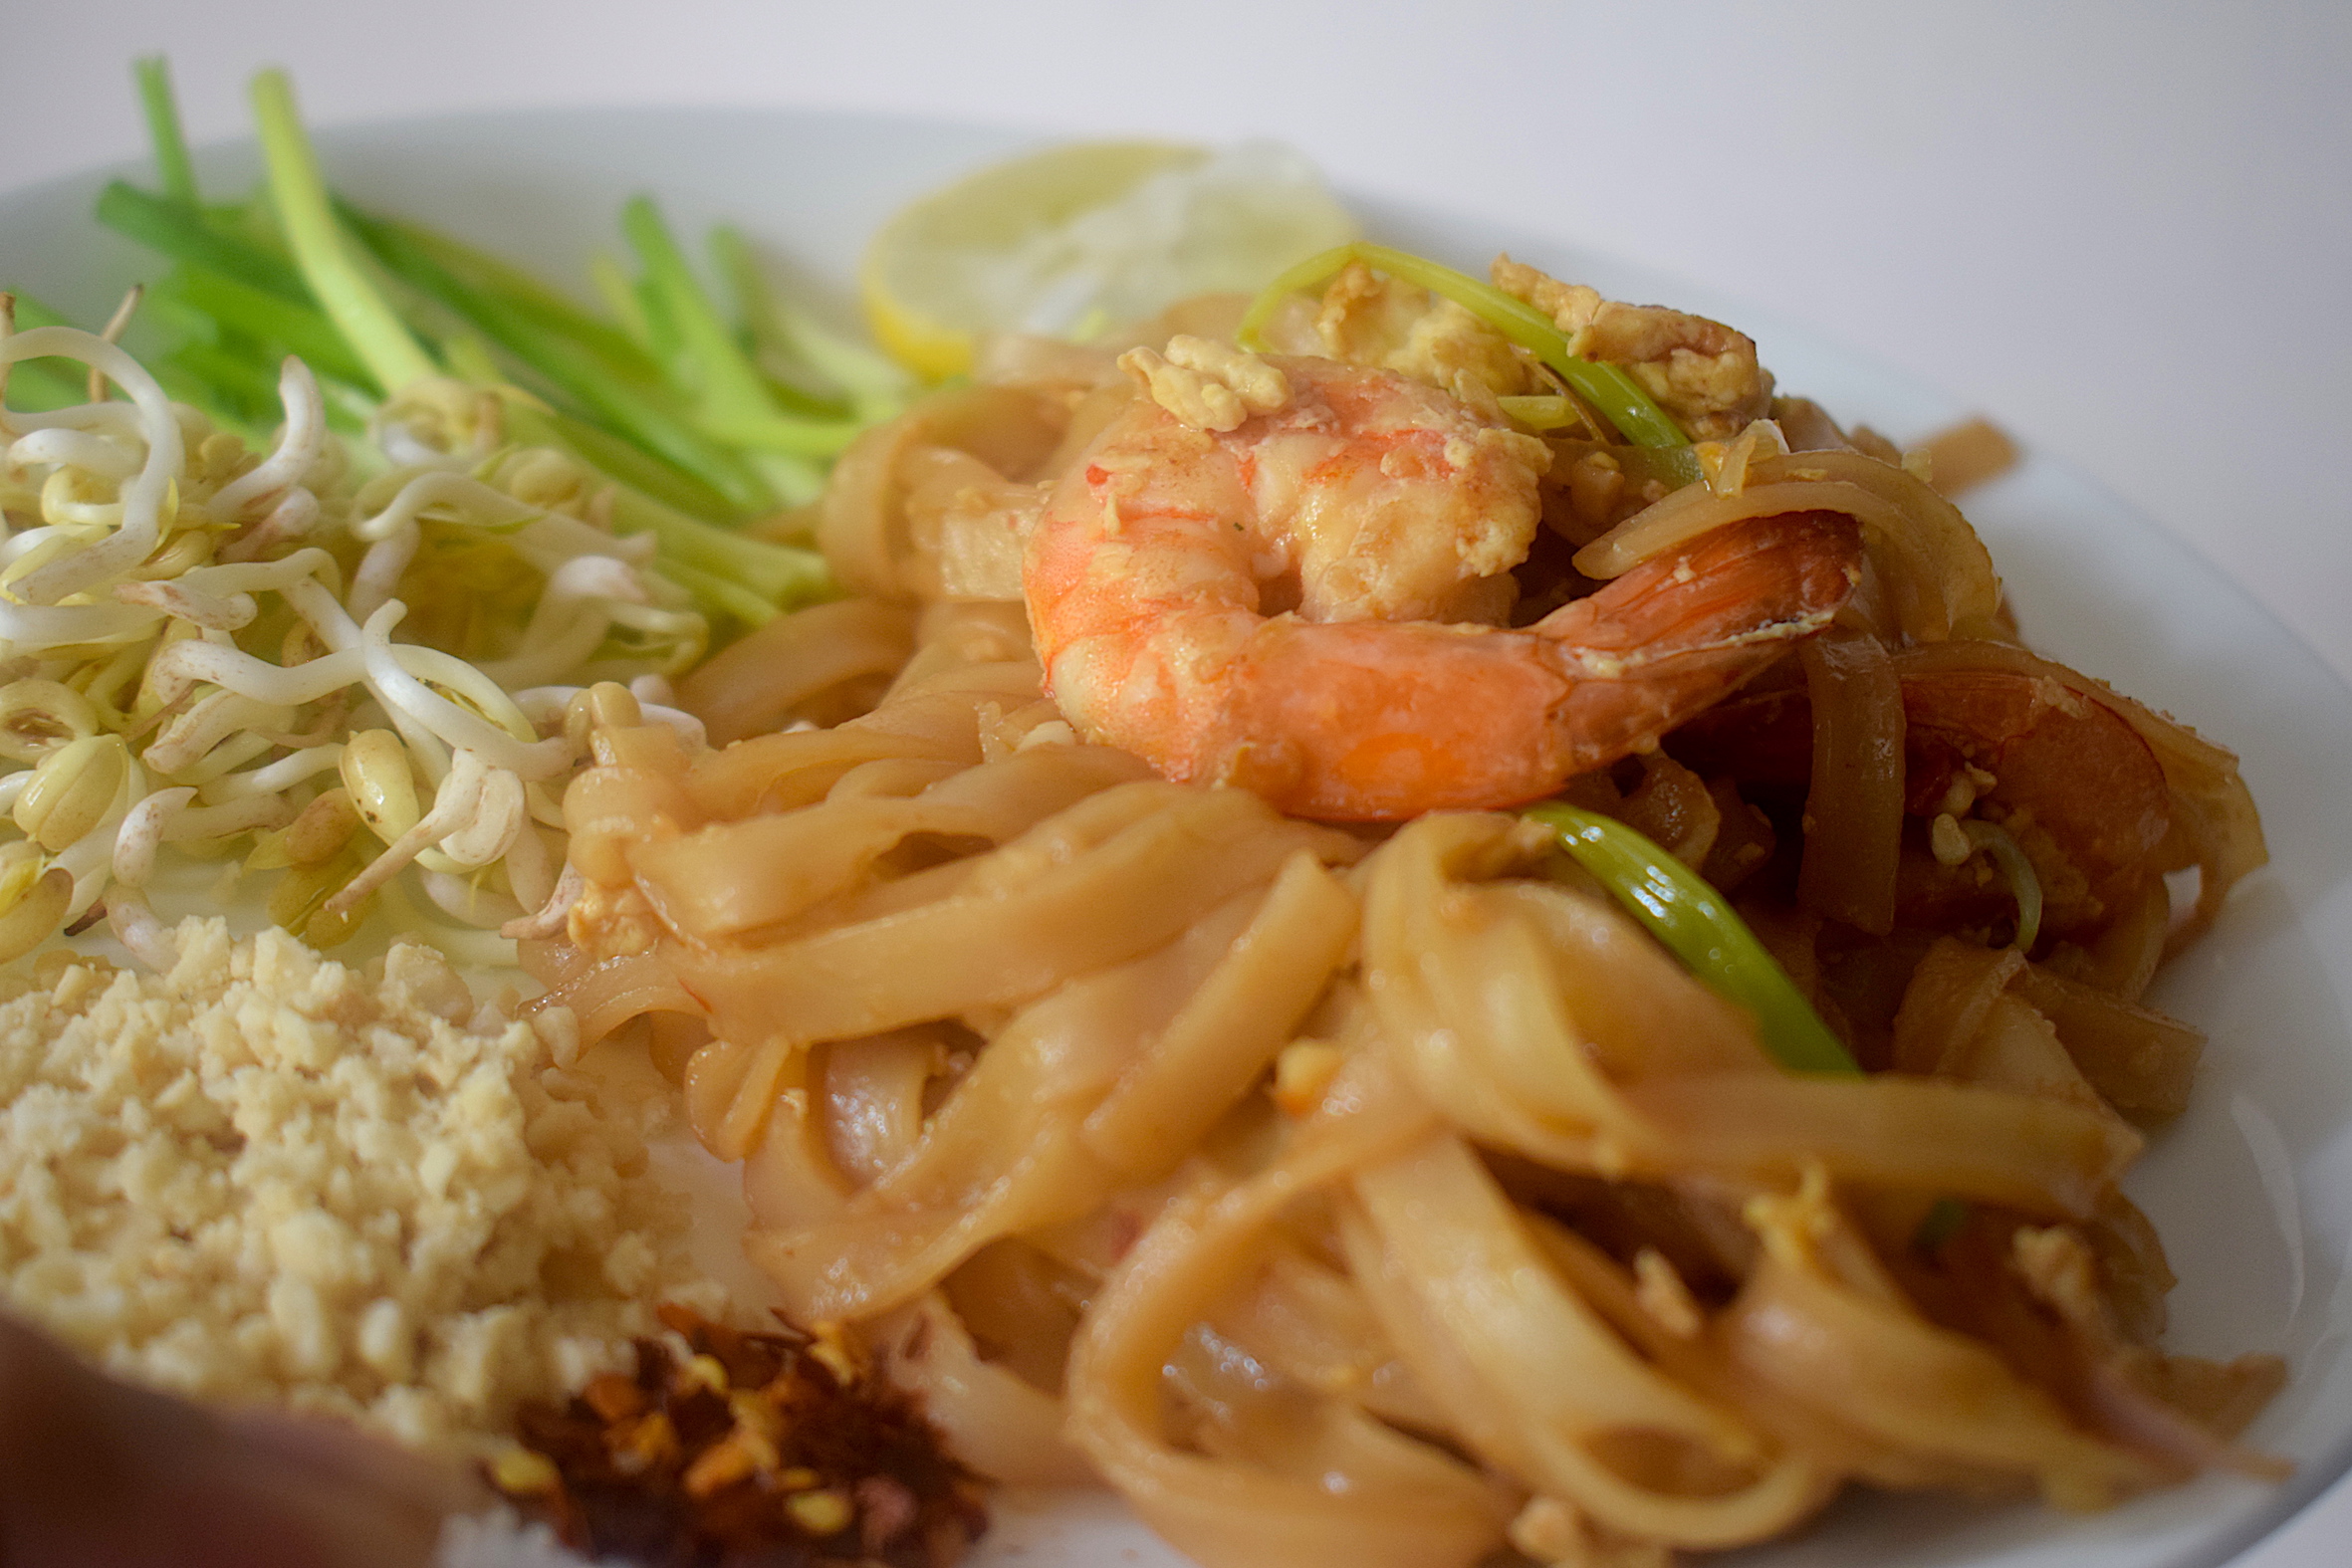
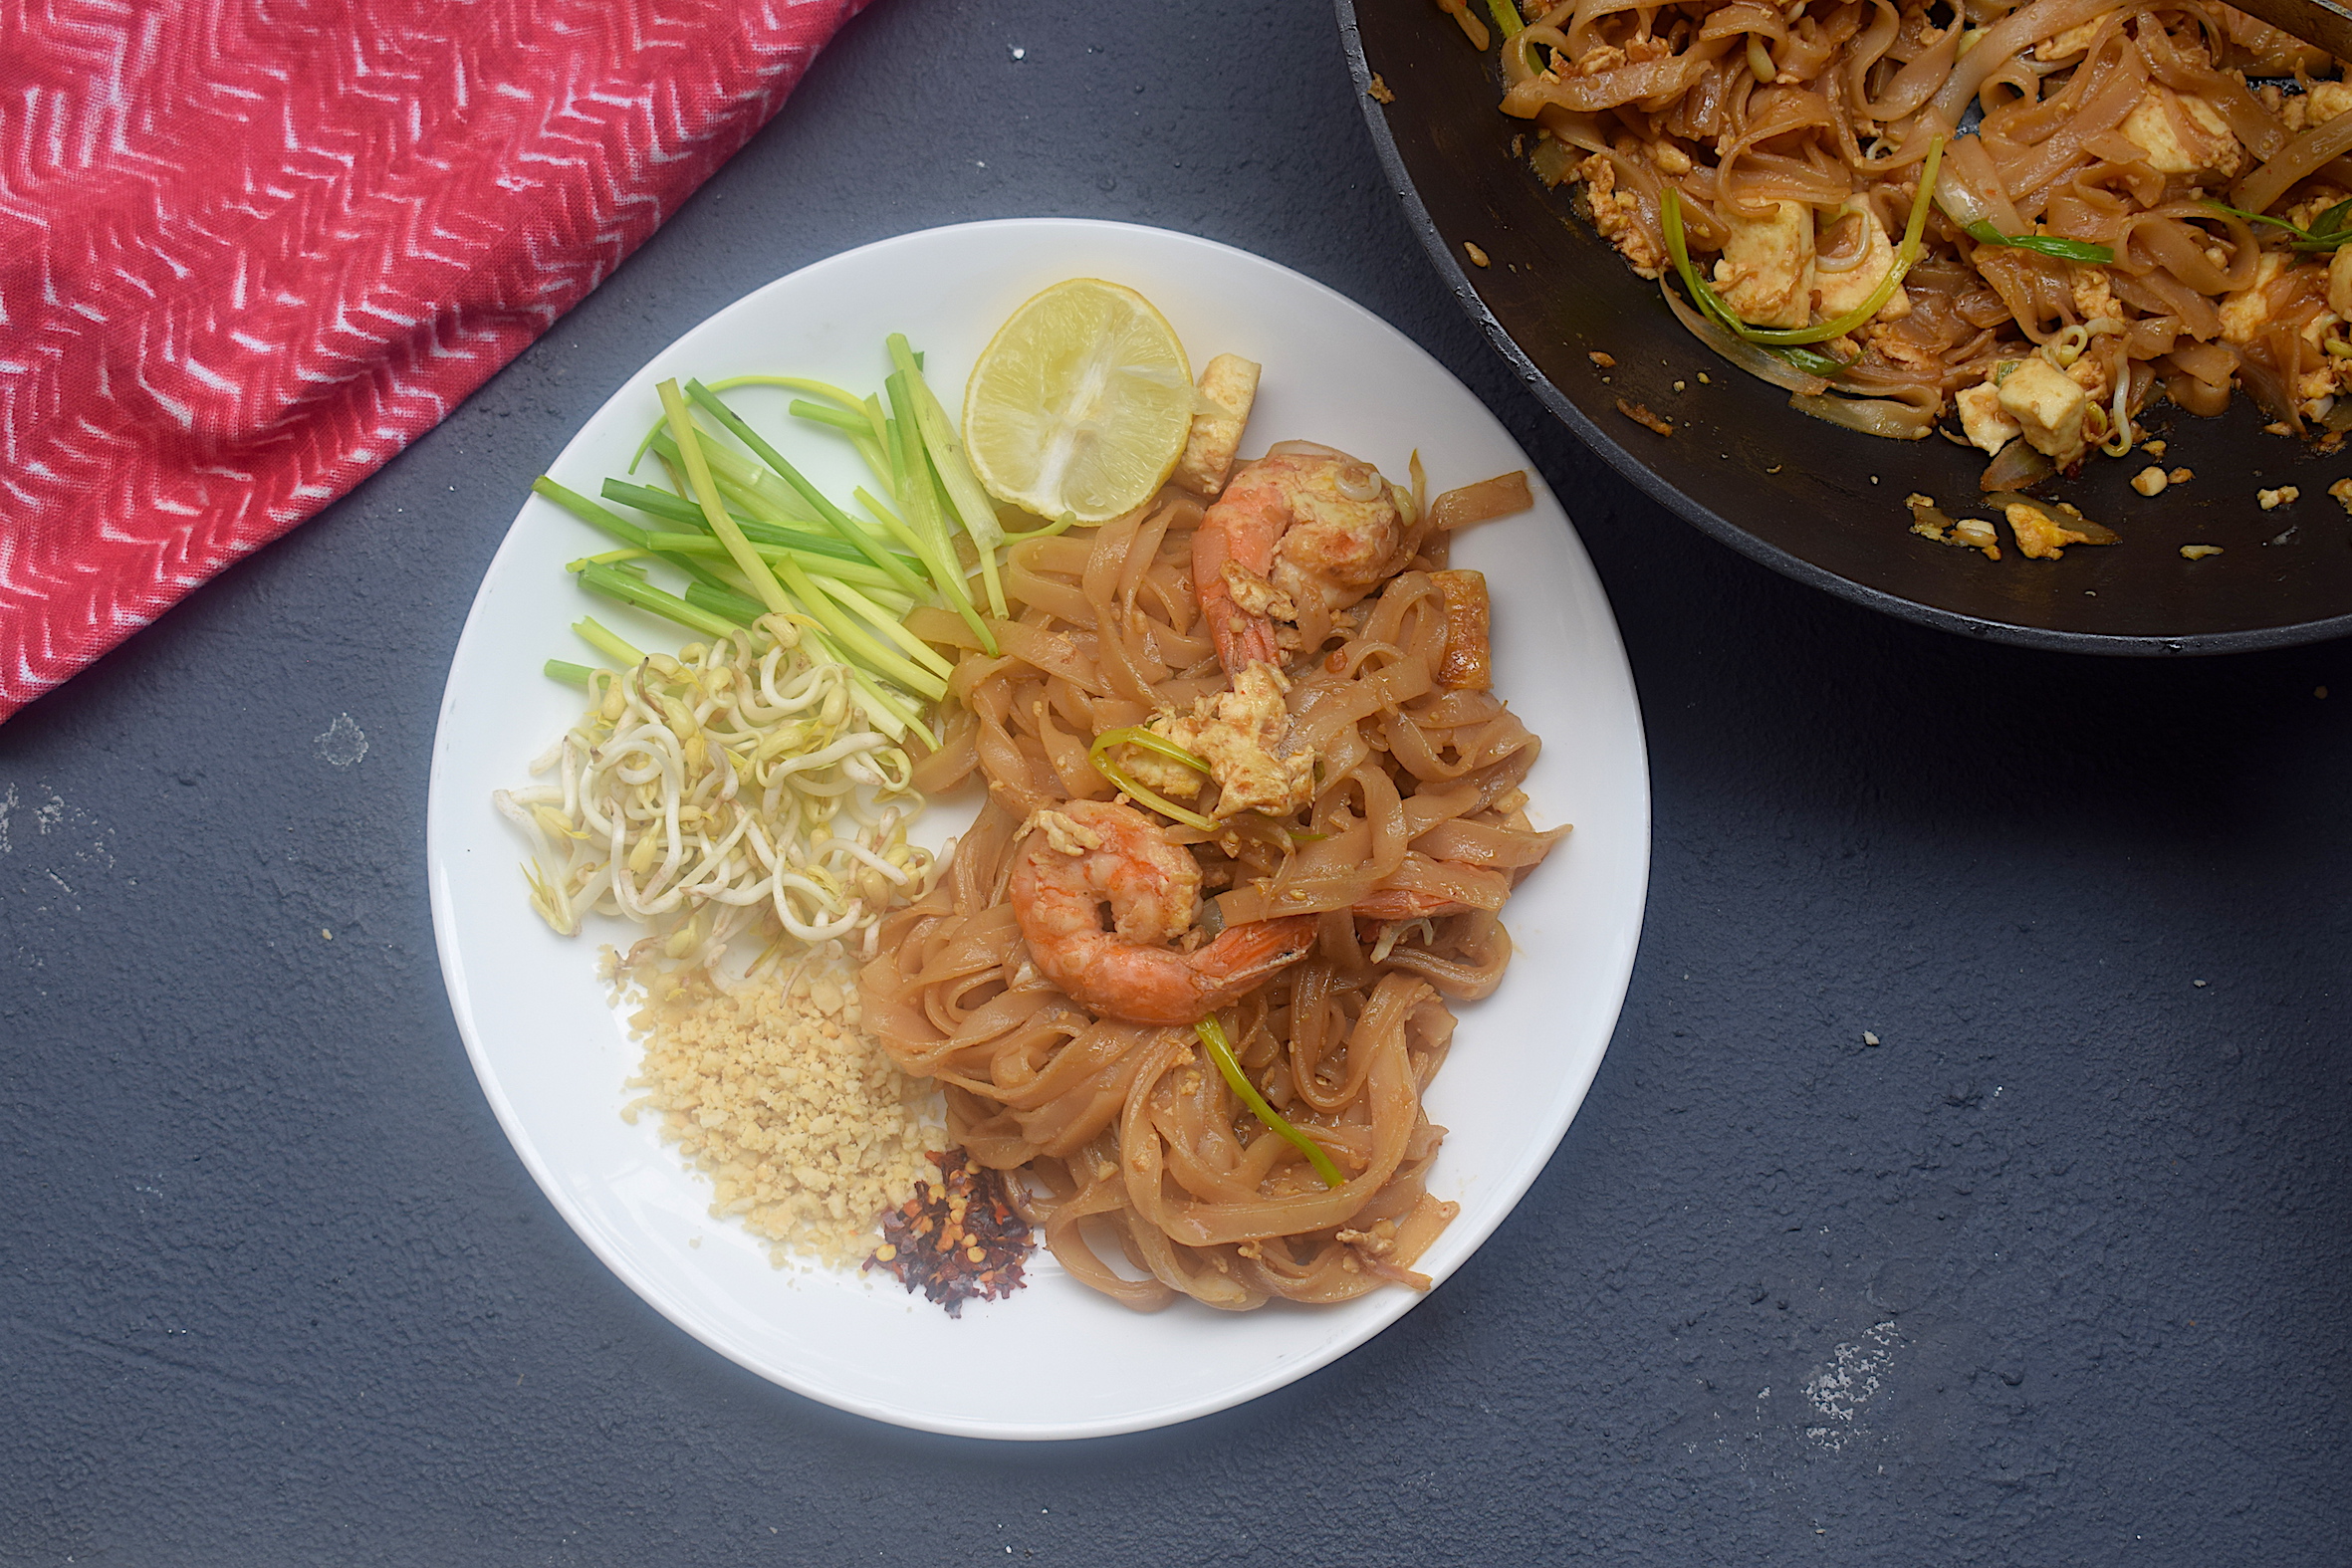
Street Style Pad Thai Noodles at Home

Pad Thai noodles is an epic dish. It is not only found in almost every street corner in Thailand, the world has opened its arms and embraced this beautiful noodle dish because of its simplicity and divine taste. I have been a big fan for years now. I whip it up in my kitchen every once in a while. Trust me, it is very easy. Just make sure you have some key ingredients and in no time you can make this recipe for yourself in the comfort of your homes!

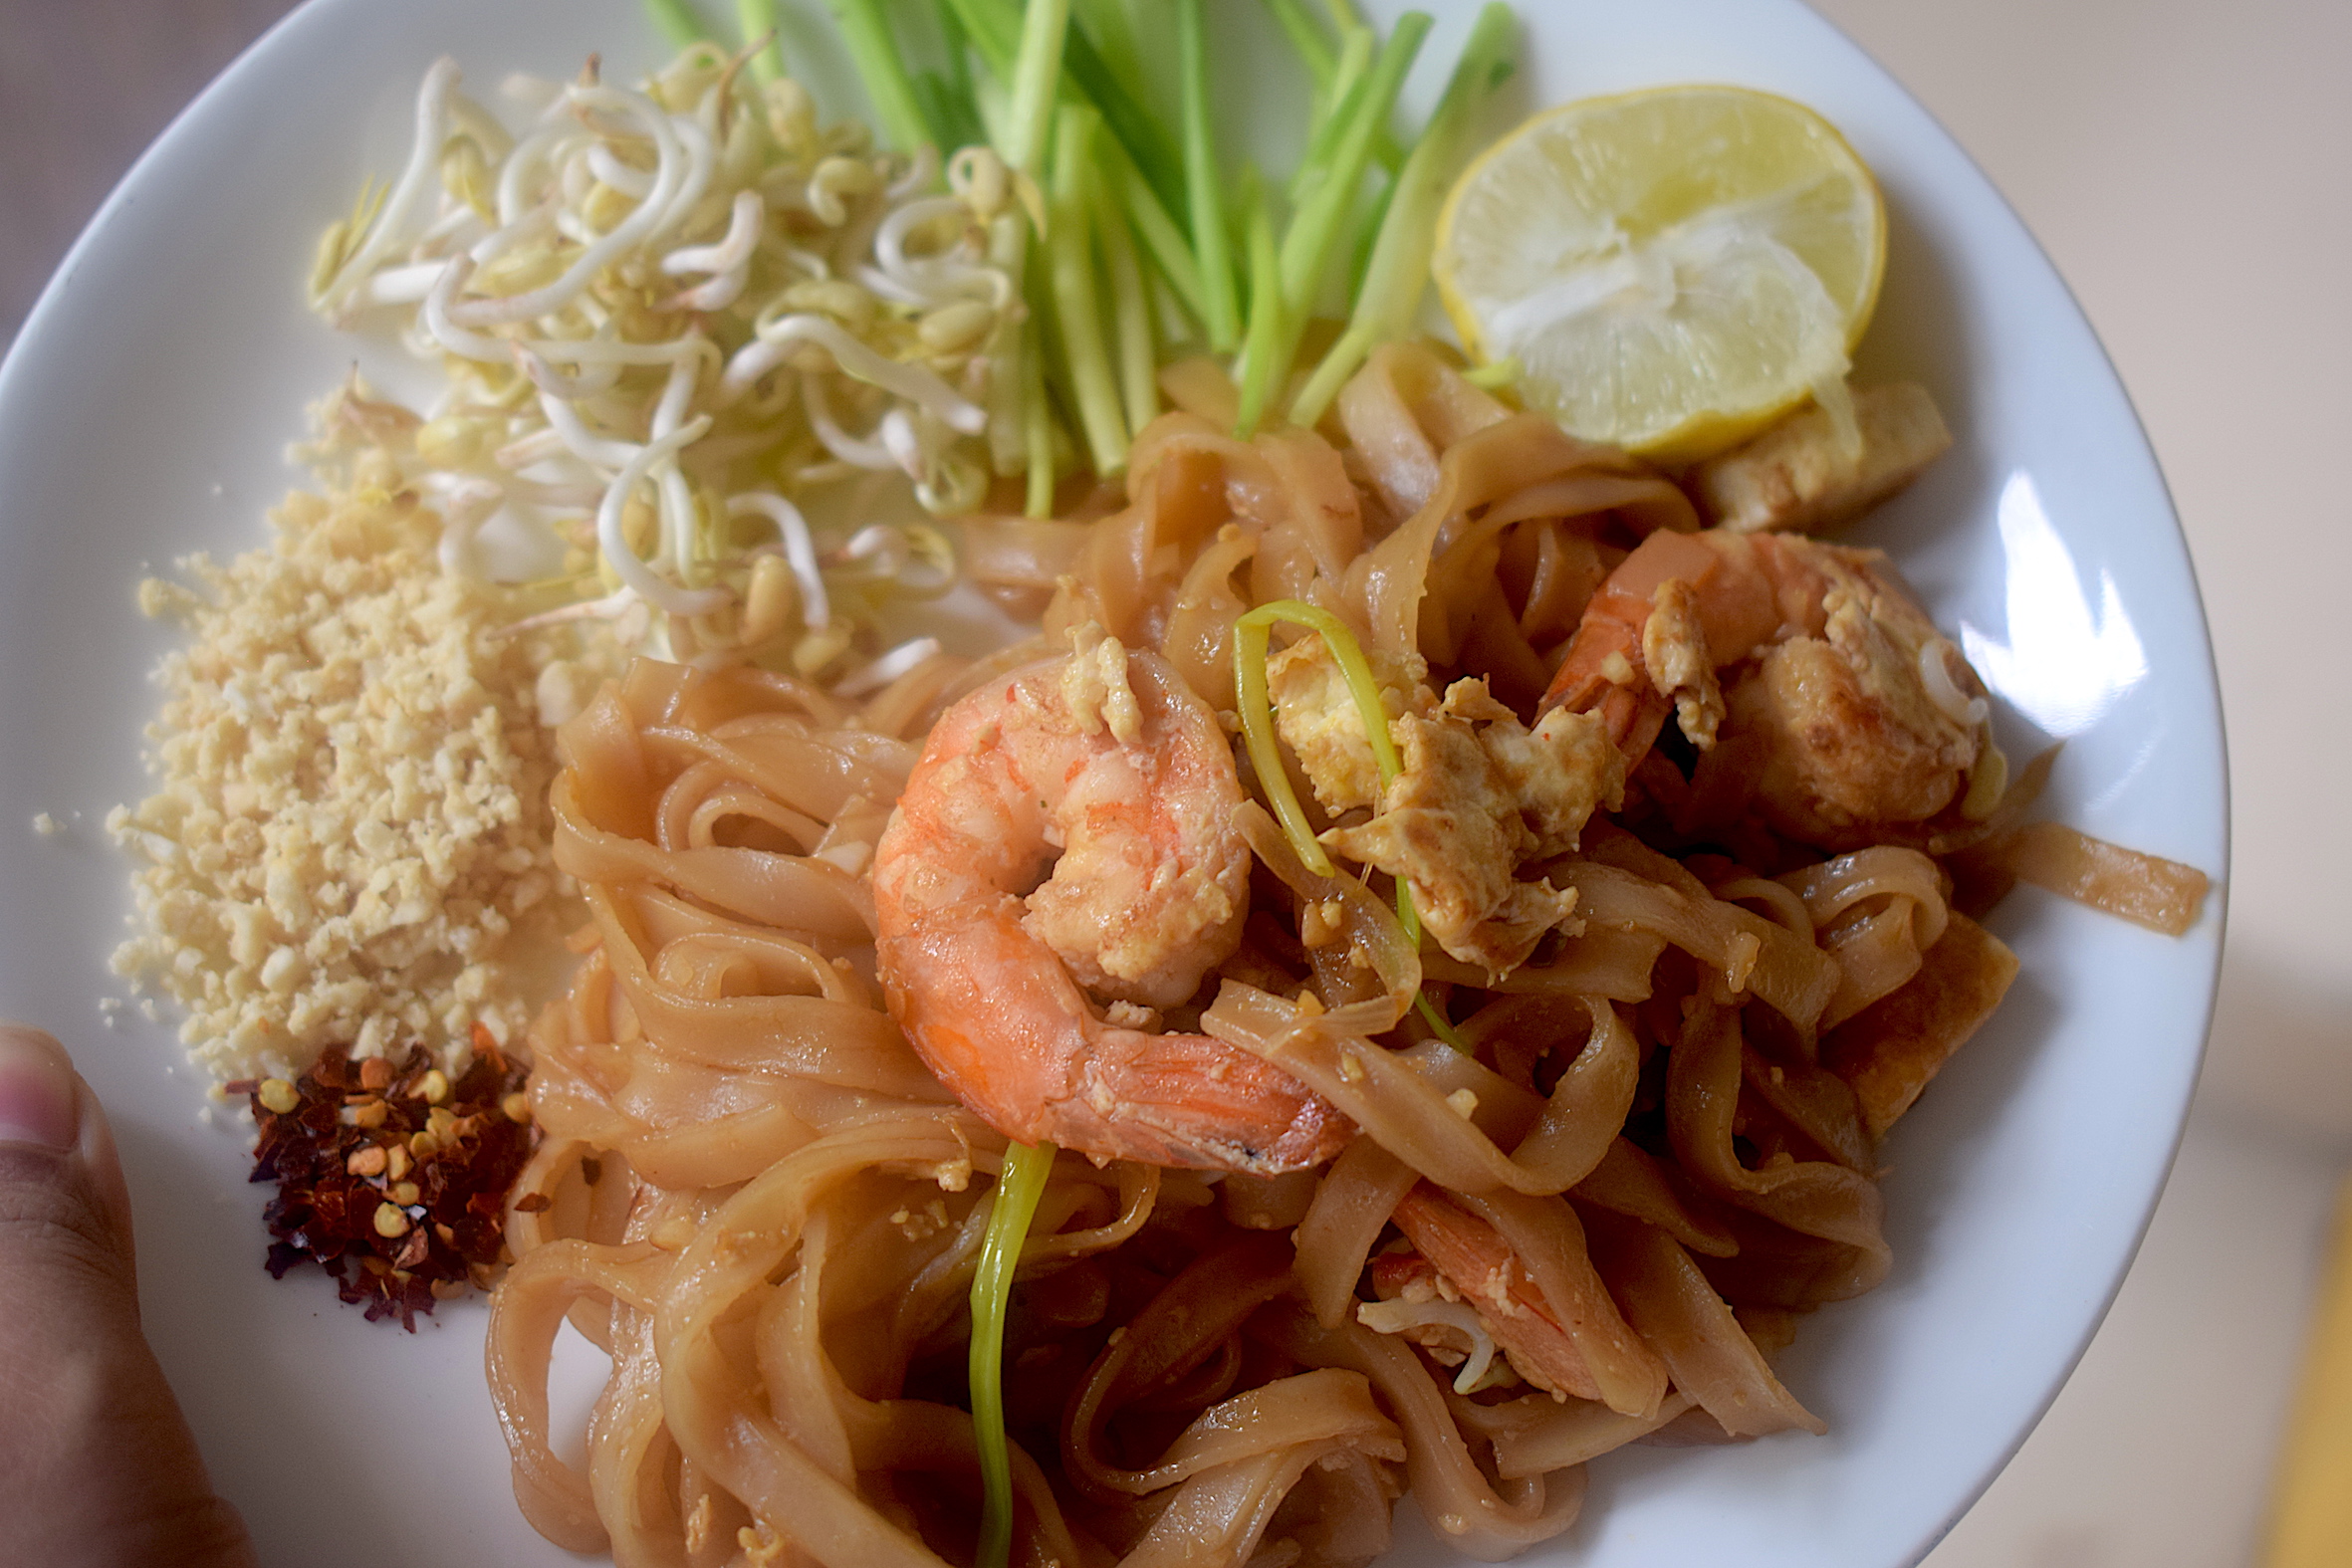
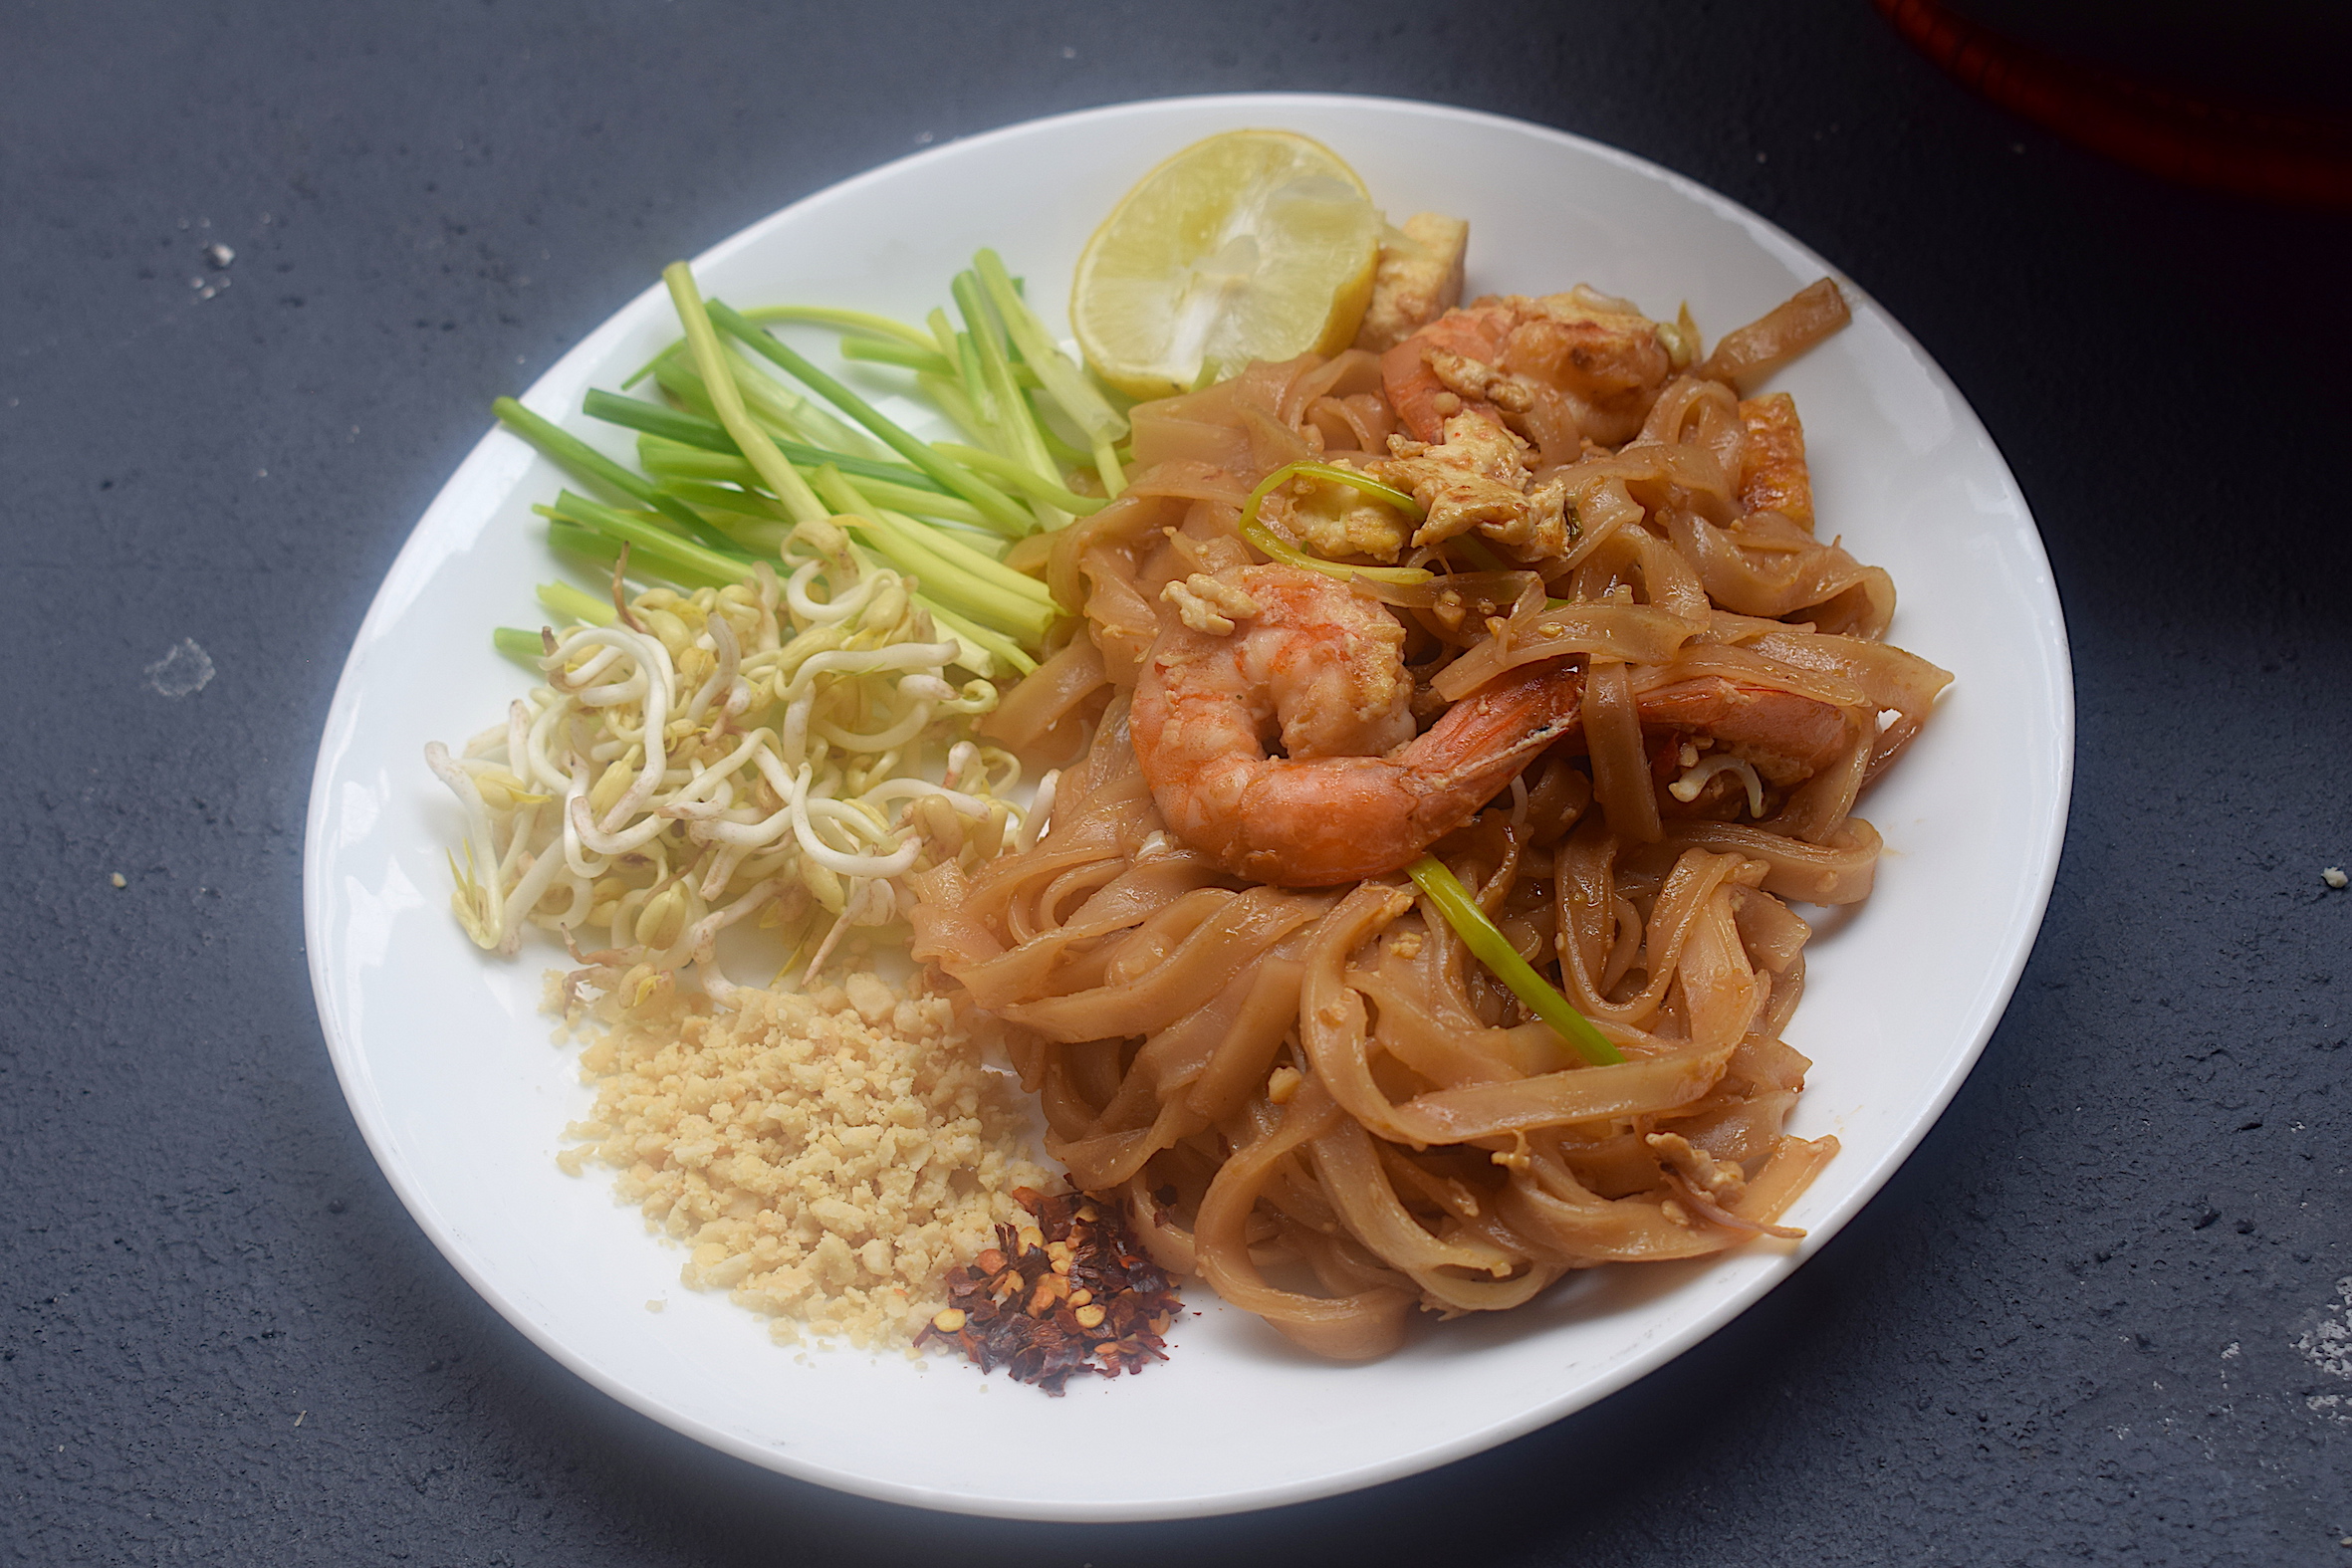
pad thai noodles

Pad Thai Noodles has it all in terms of taste and texture. Flavors include sweetness, fiery sauces, salt and an equal amount of sourness from lime and vinegar. You can add one or more protein to your pad thai noodles, be it chicken, shrimp or tofu. Eggs are a must add in street style pad thai noodles and they make it extra yum! I have gone ahead and added more than one protein because, why not? 😀

pad thai noodles

pad thai noodles

The most important ingredient that you most probably might not have are mung bean sprouts. I usually grow them at home, it takes about 3-6 days. They are also available in the market but not so much in India. So you can either grow your own (they are super simple to grow btw) or get it from a store if you wish. I suggest a homemade version because that will be super fresh. I usually make a large batch and store it for weeks in the refrigerator.

So take note of some key ingredients and you will be good to go.

Preparation time – 15 minutes

Cook time – 15 minutes

Serves – 2

[ingredients title=”Ingredients”]

For the sauce:

  • 4 tbsp lime juice
  • 1 tbsp crushed palm sugar/regular sugar
  • 2 tbsp rice vinegar
  • 2 tbsp Sriracha sauce
  • 2 tbsp fish sauce

For the noodles:

  • 1 tbsp vegetable oil
  • 1/2 onion, finely diced
  • 20 g garlic, finely chopped
  • 50 g tofu, cut into cubes
  • 100 g shrimps, deveined and cleaned
  • 2 eggs
  • 100 g flat rice noodles
  • Green onions for garnish
  • A handful of mung bean sprouts
  • 50 g crushed peanuts
  • Chili flakes for garnish
  • Salt to taste [/ingredients]

[directions title=”Directions”]

  1. Soak the flat rice noodles in warm water for 30 minutes.
  2. Make the pad thai sauce by mixing all the ingredients mentioned – lime juice, rice vinegar, sugar, Sriracha sauce and fish sauce. Mix well and save for cooking.
  3. Heat oil in a wok. Add the garlic and onion and saute for about a minute.
  4. Add the tofu and the shrimp to the wok, and fry for another two minutes. Cook the shrimp one minute on each side.
  5. Shift the tofu and the shrimp to the sides of the wok, clearing out the middle. Break open to eggs into this and let it cook.
  6. Be gentle with the egg and give it a light stir, eventually mixing it up with the rest of the ingredients in the wok.
  7. Time to add the soaked noodles to the wok and mix well.
  8. Pour in the pad thai sauce to this and mix it all up till every strand of the noodles gets soaked in the sauce.
  9. Once done, add green onions, mung bean sprouts, and crushed peanut for extra crunch. Give it one last toss.
  10. Serve on a plate with lime, bean sprouts, crushed peanut and chili flakes on the side. Serve hot! [/directions]

pad thai noodles

pad thai noodles

pad thai noodles

You will be amazed at how good this simple preparation tastes. Do try and let me know how it came out. Happy cooking!