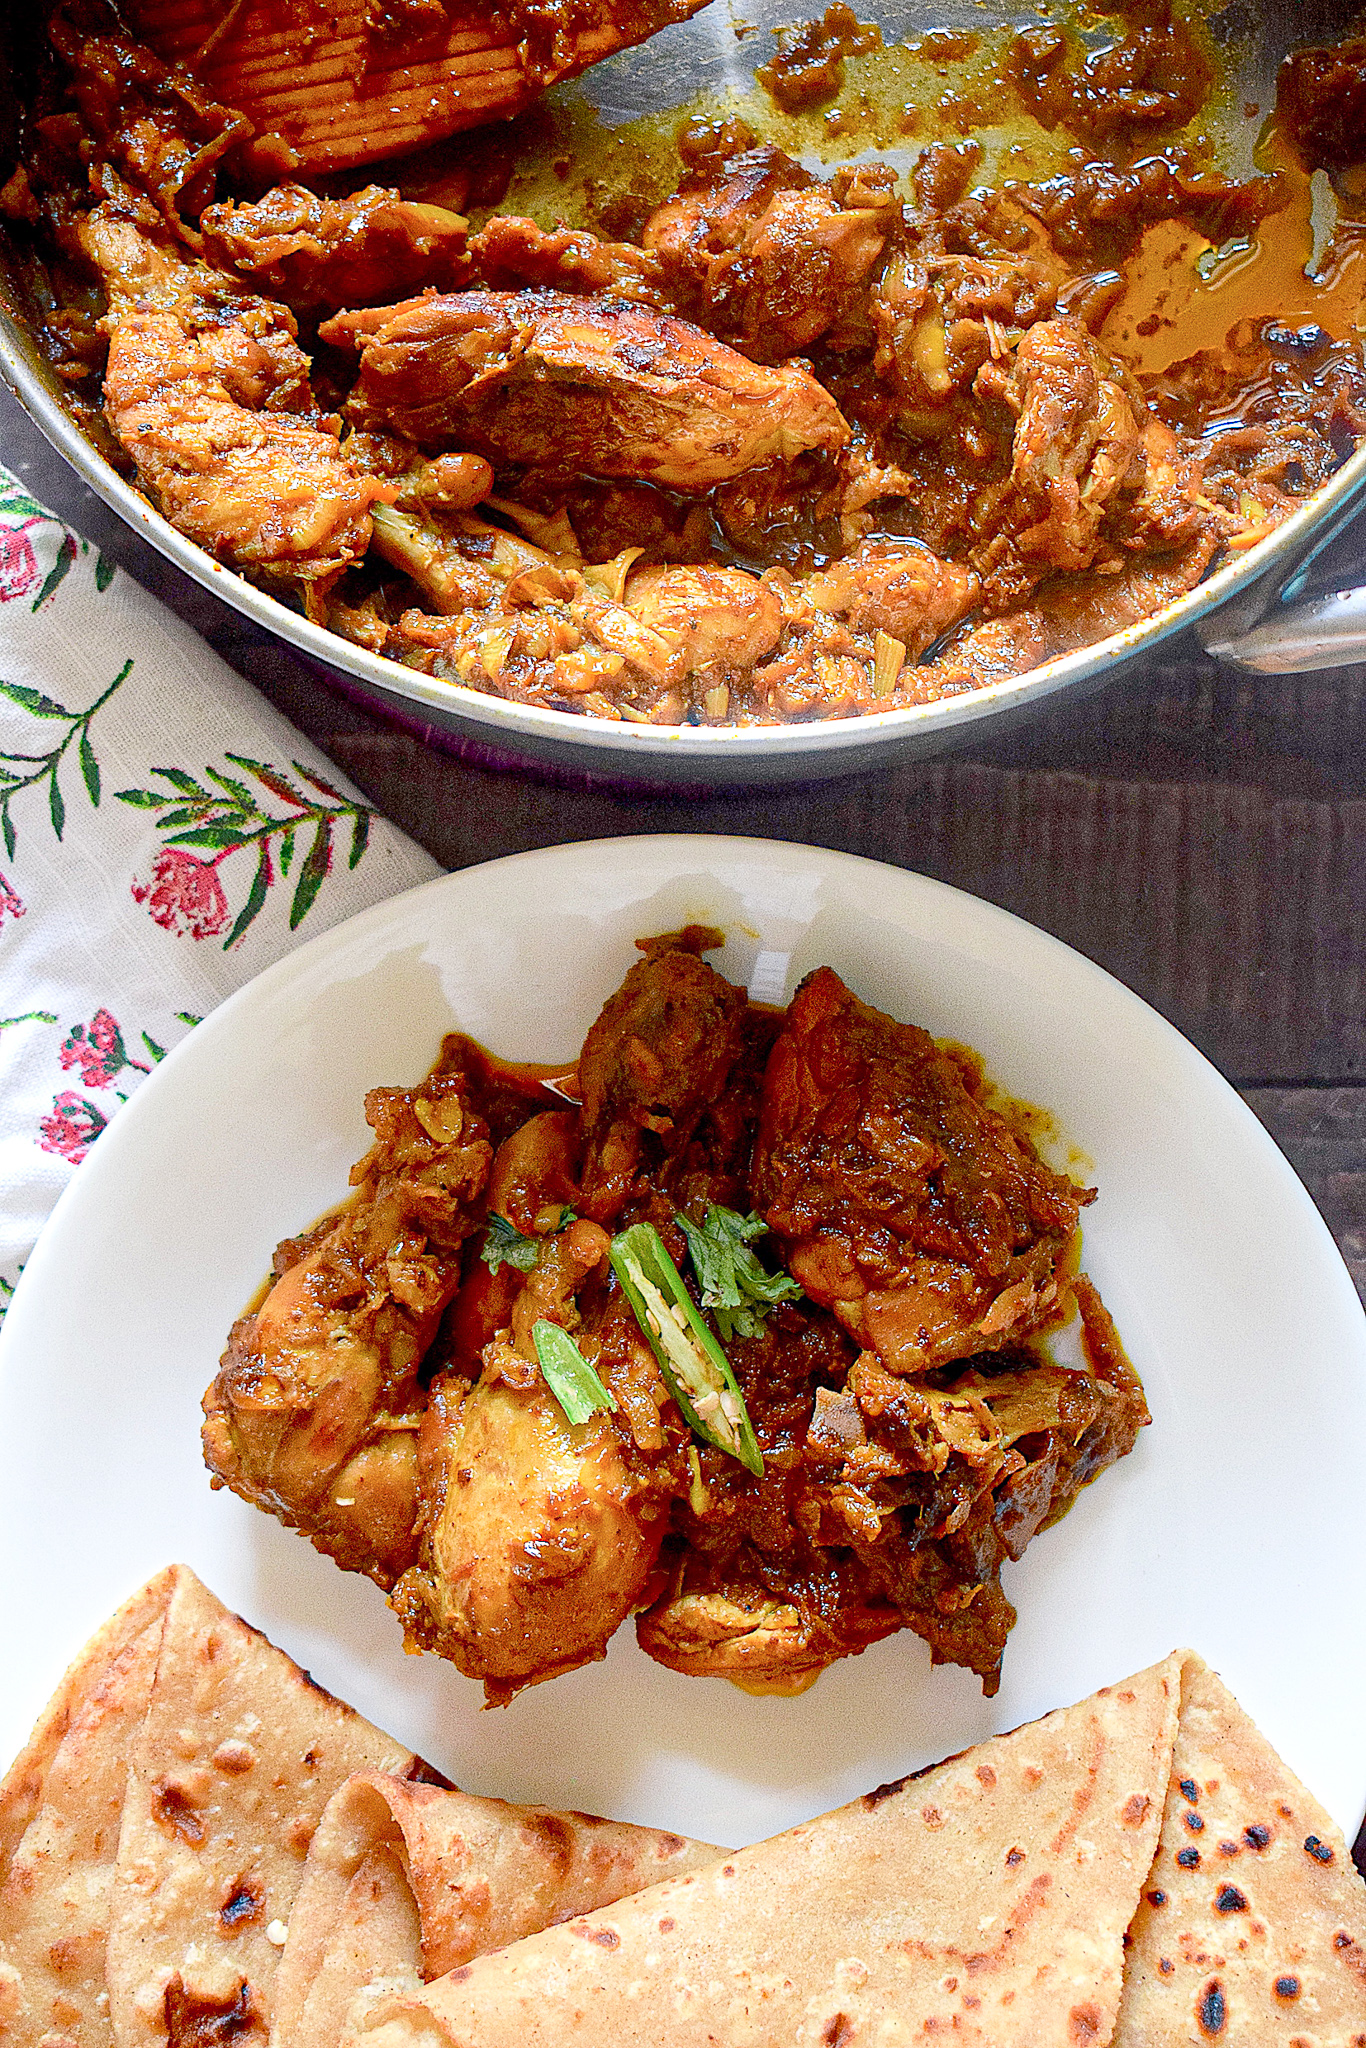
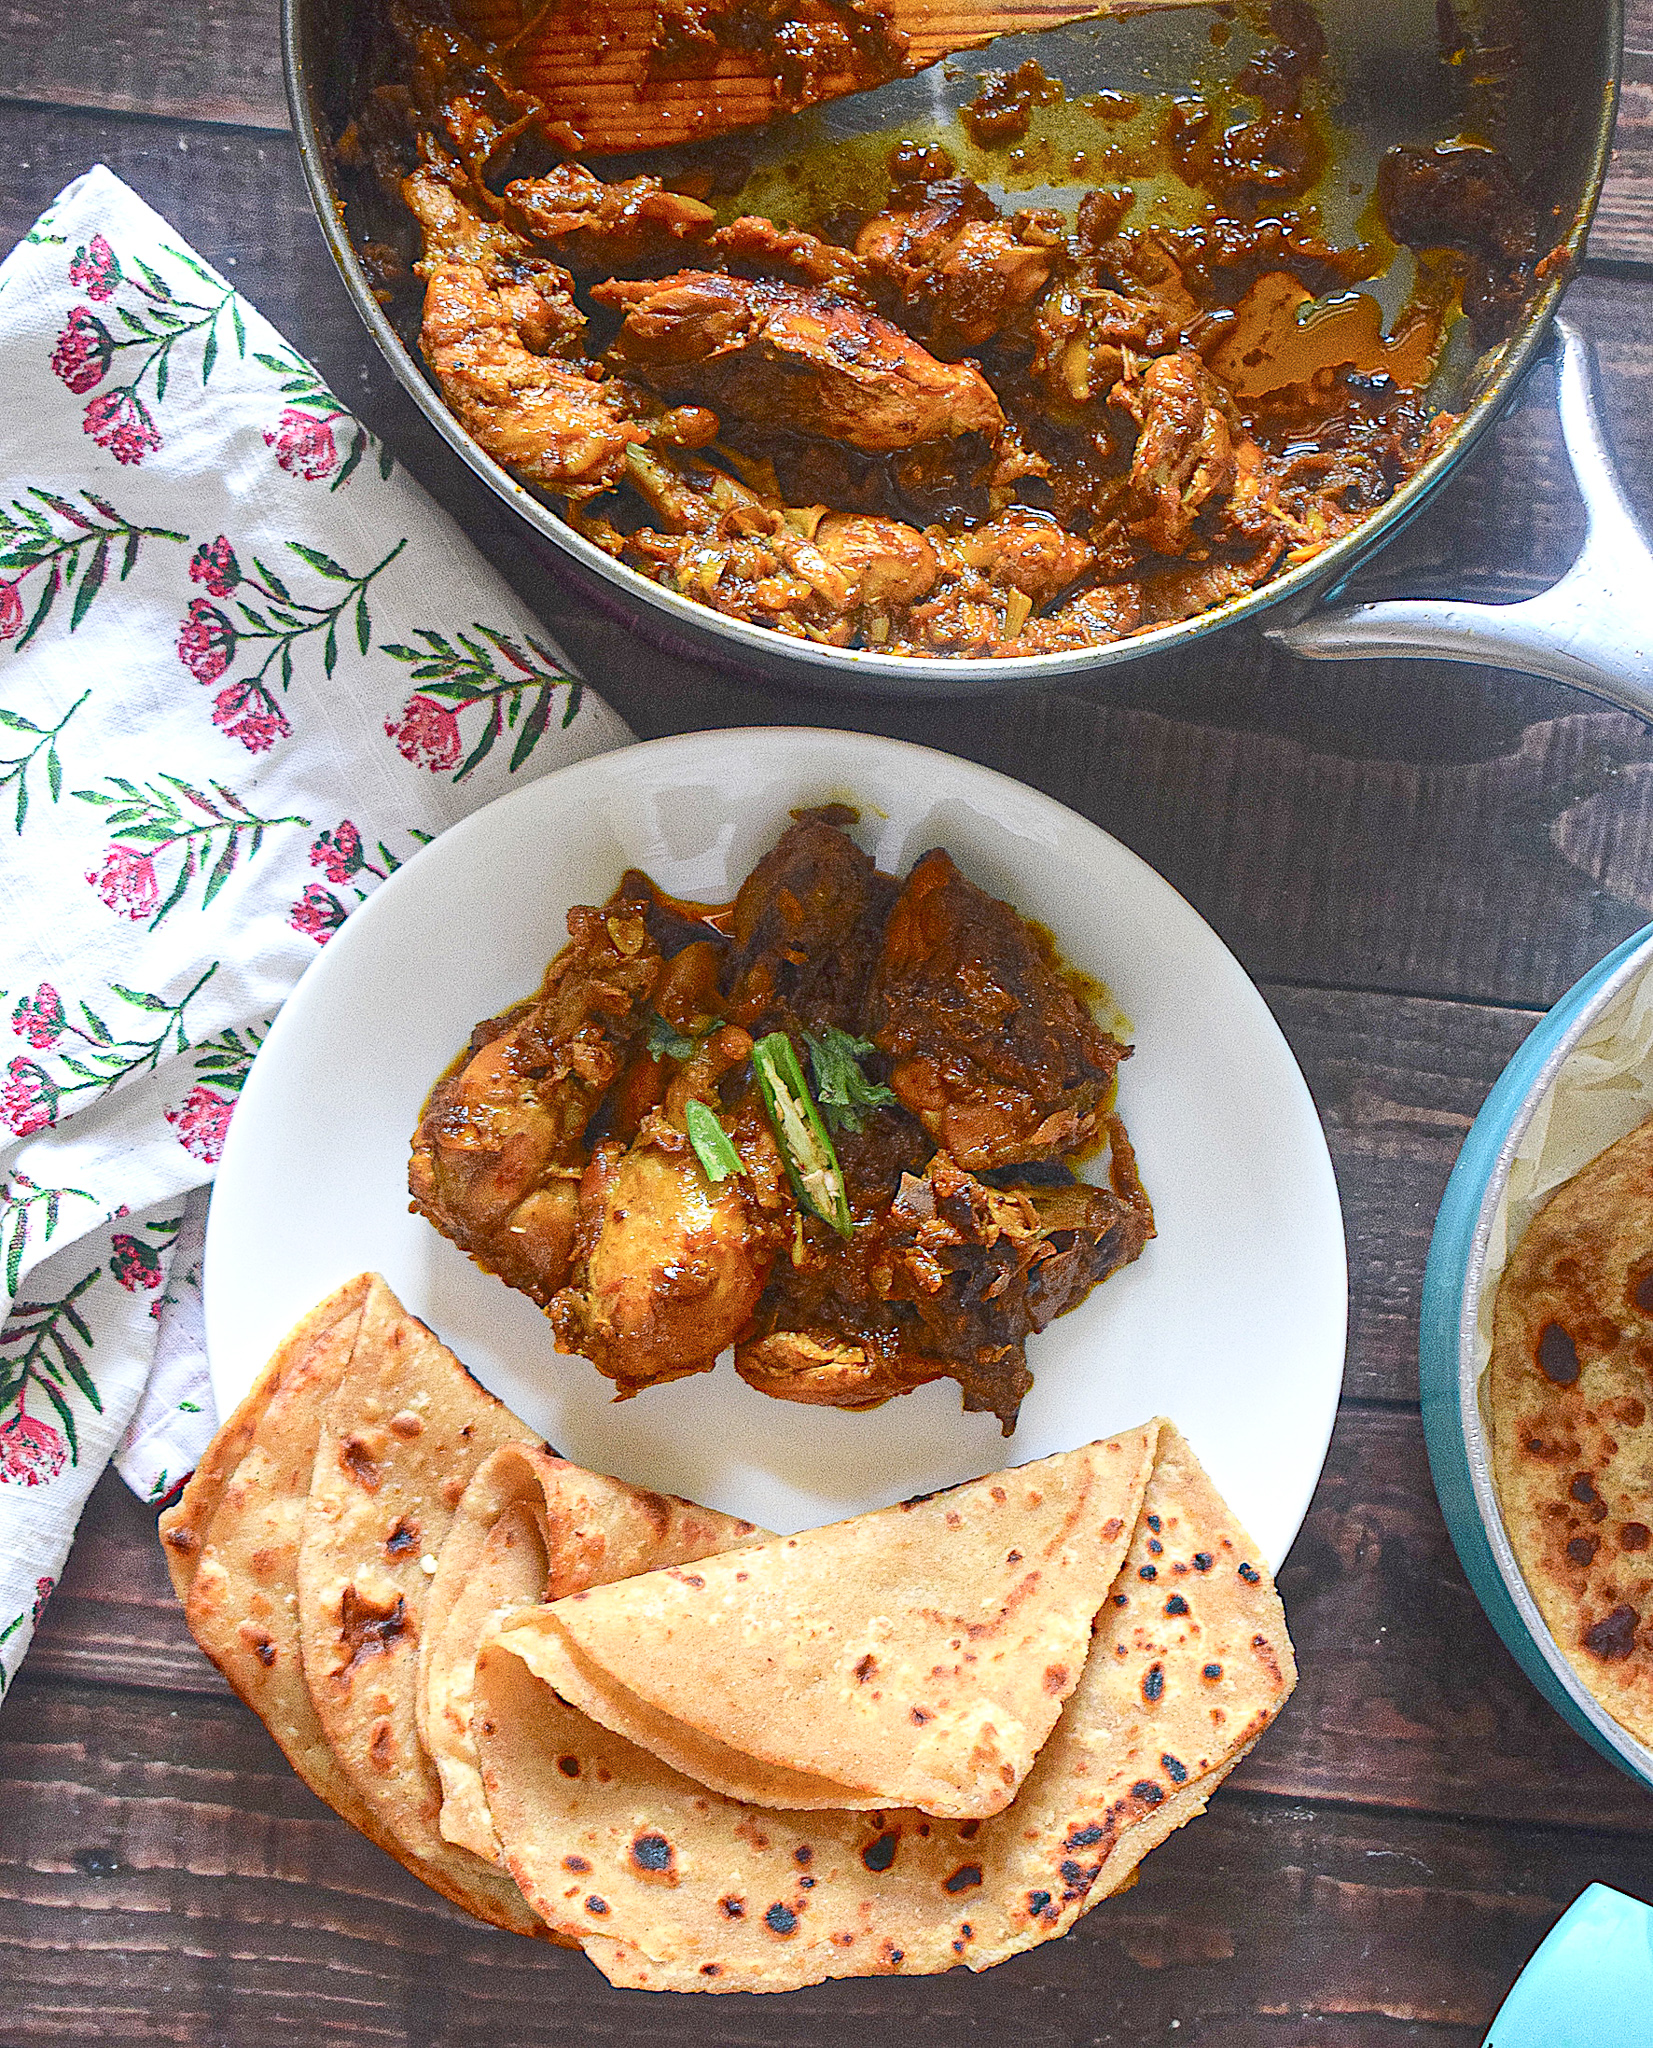
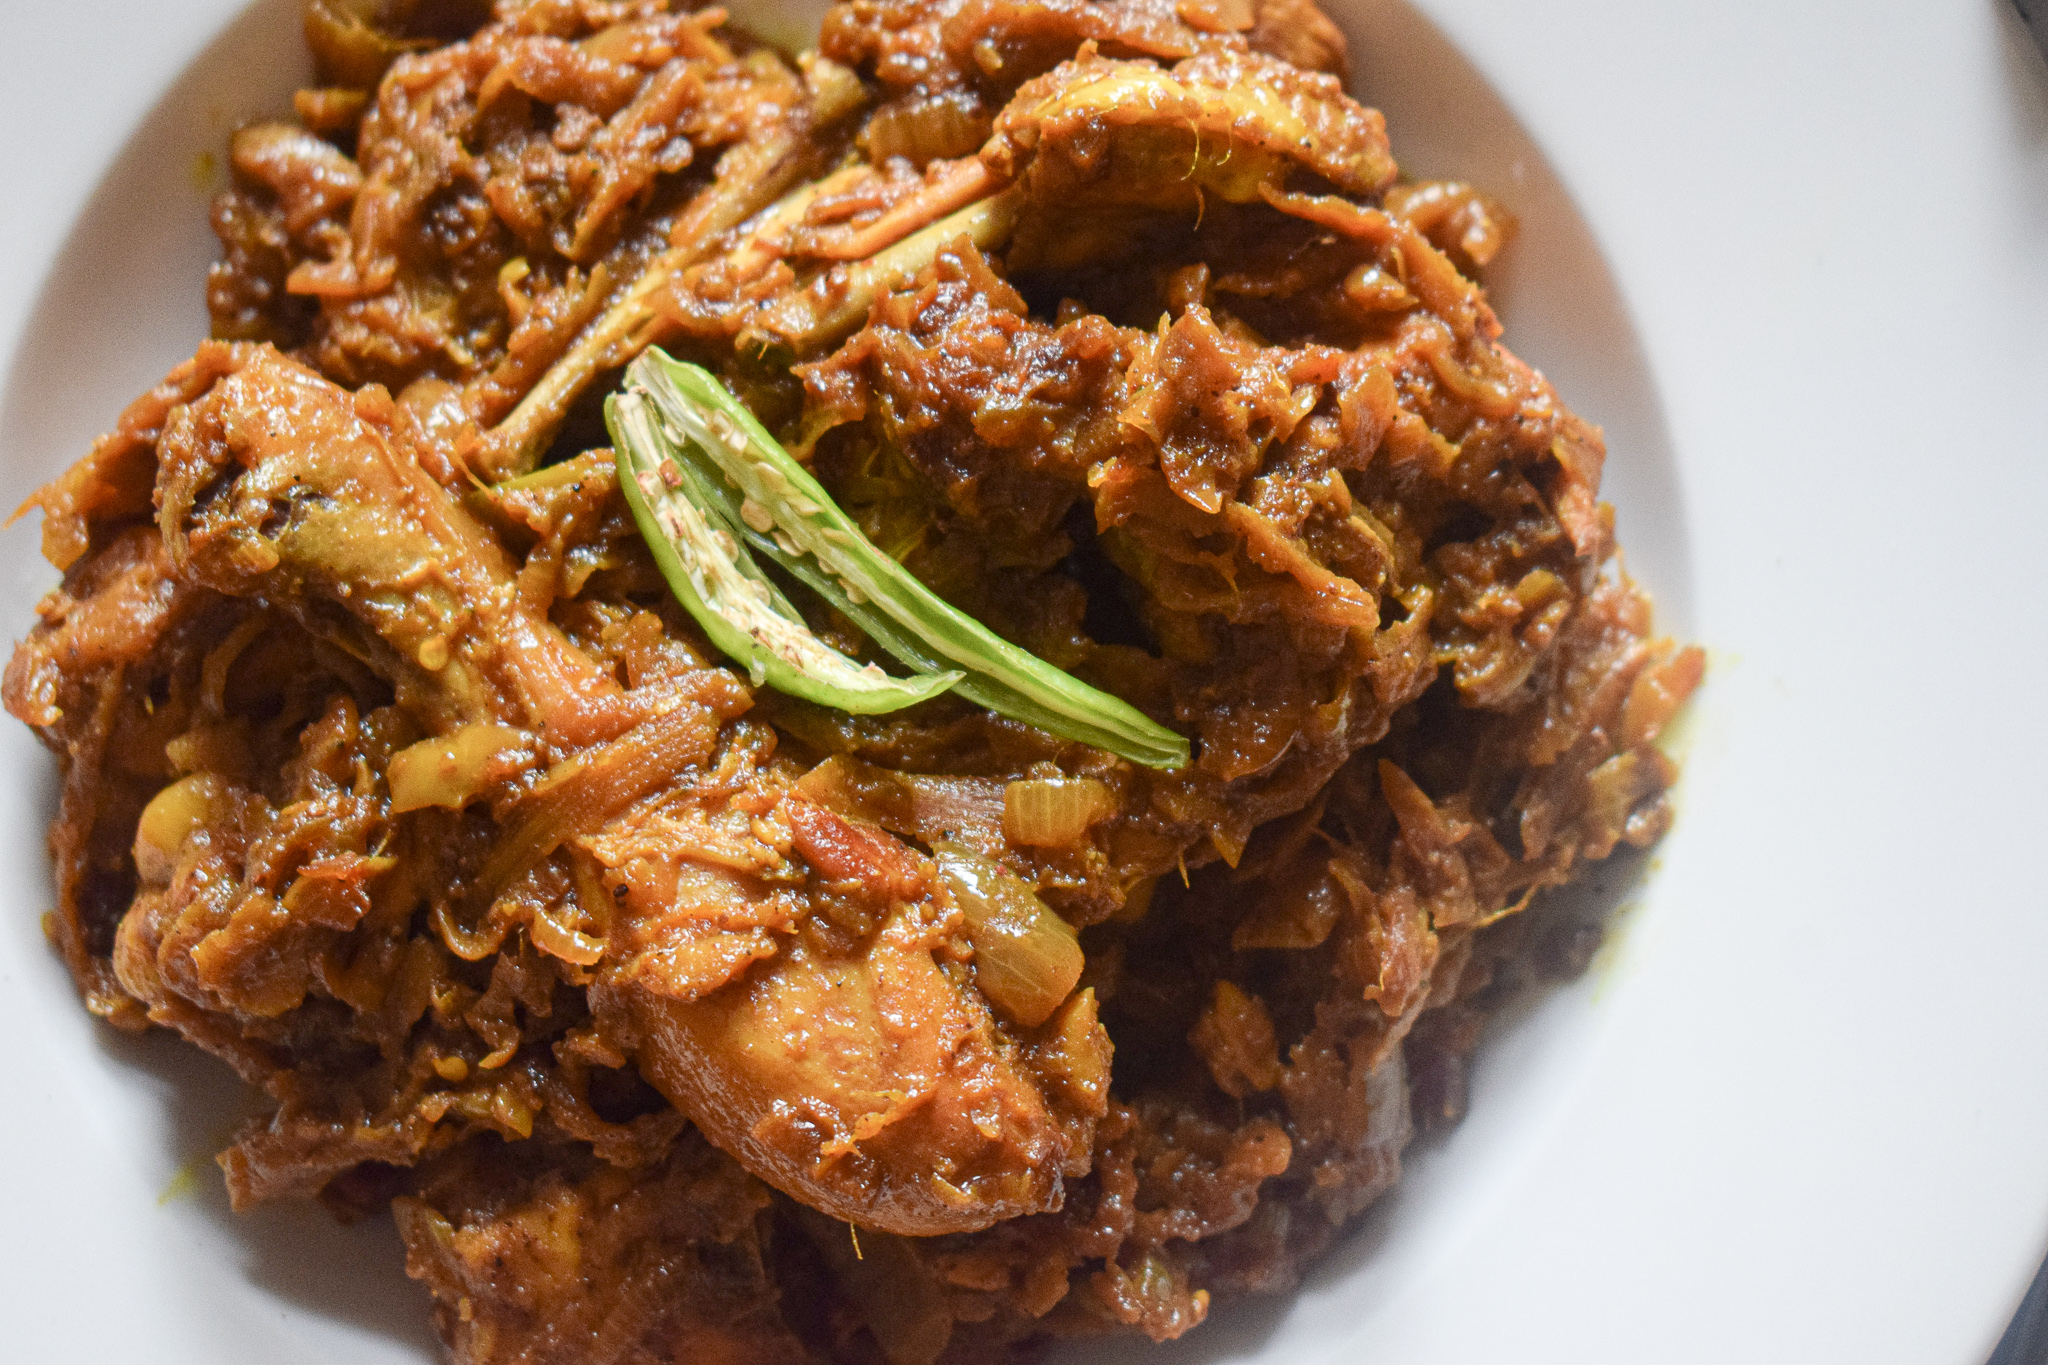
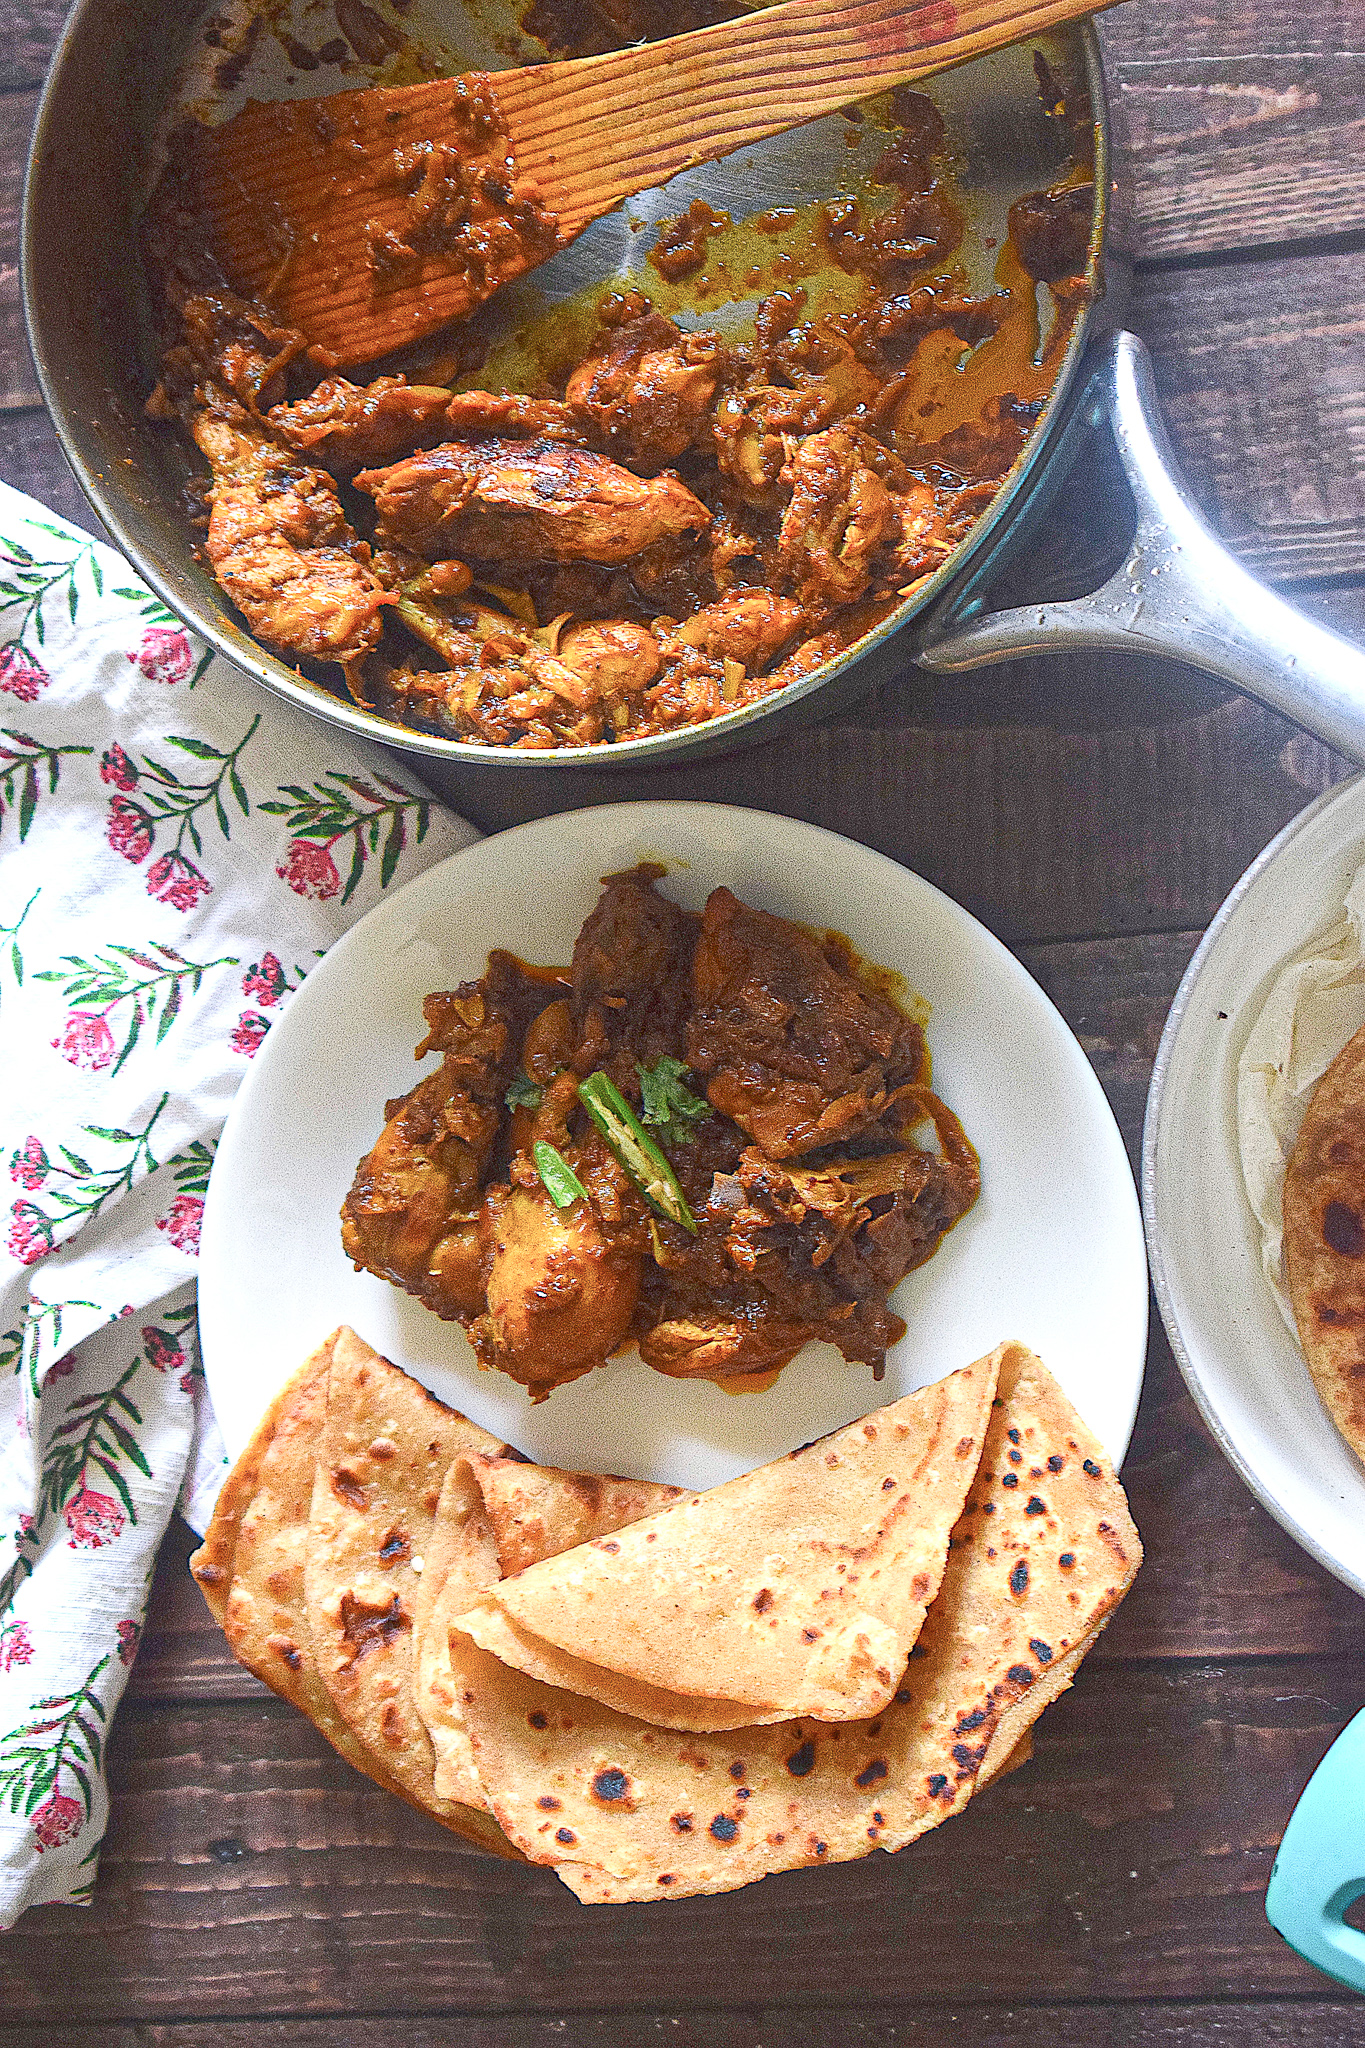
Chicken with Bamboo Shoot(Dry) | Khorisa dia Murgir Mangso

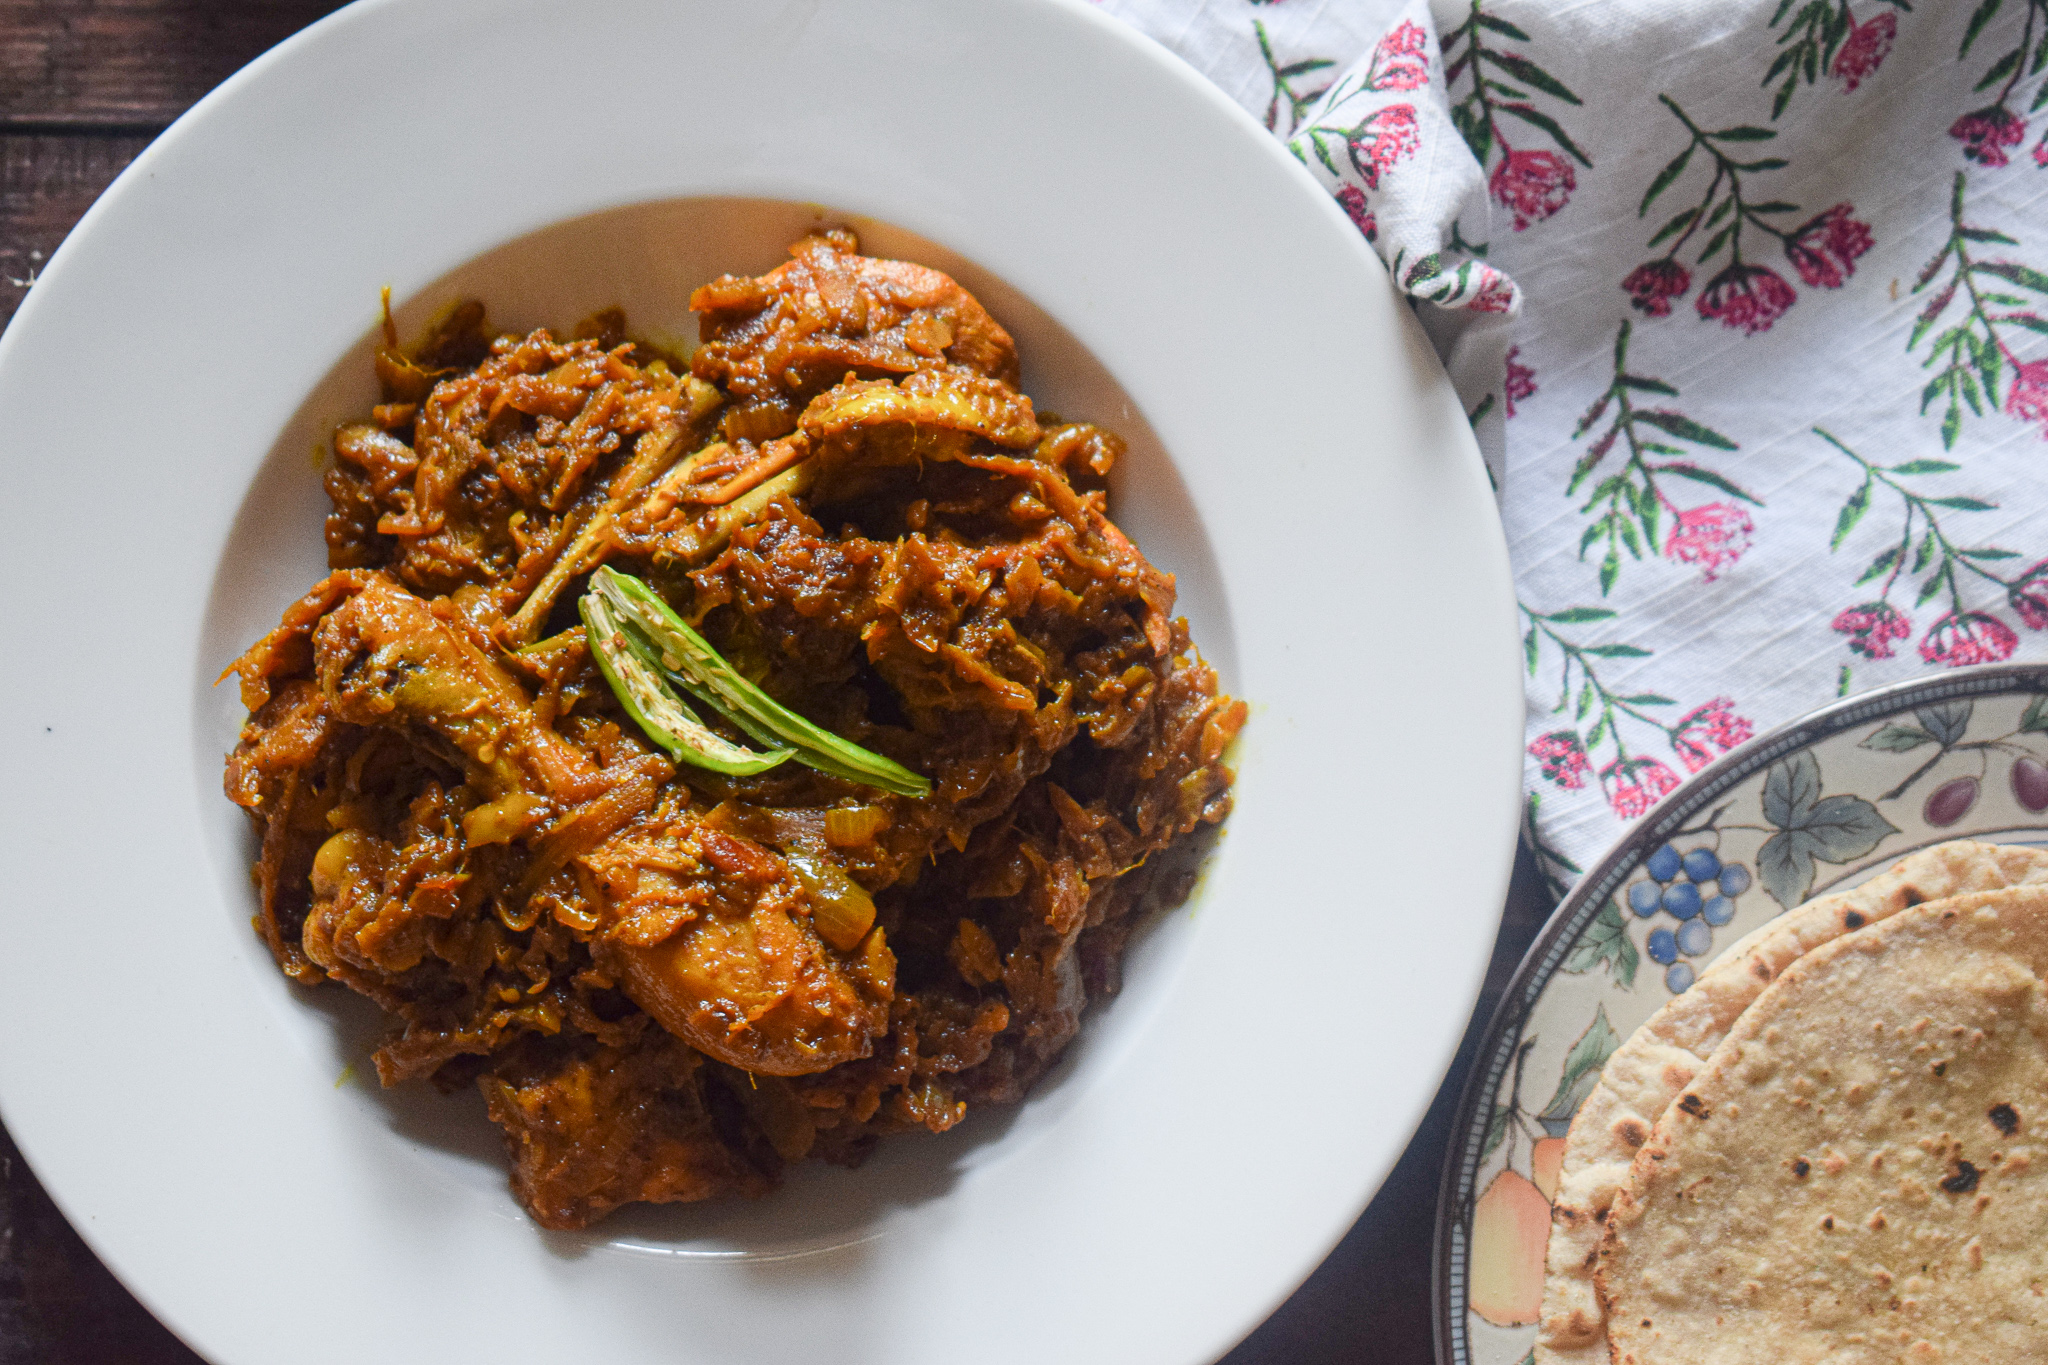
Authentic Assamese dishes are my all-time favourite because they remind me of my roots and my home. Having a knick for experimenting with food and an undying love for home cooked meals, I do have my versions of several of my favourite authentic dishes; one of these dreamy experiments is this righteous Khorisa dia Murgir Mangso or Chicken with Bamboo Shoot recipe. This is a spicy, flavourful and extremely delicious dry chicken dish (which can easily be curried) made with minimal spices and a very flavourful variety of bamboo, constituting for a perfect dinner for the days you’re missing home a little too much. Once you try it with hot roti, naan or a piping hot bowl of steamed rice, there’s no going back; you will absolutely fall in love with everything about it. 

I understand how trying bamboo can be new and slightly scary for many of us. However, I am going to make sure that all these doubts disappear after you finish reading this and making this dish for yourself; just stay with me here. 

What is Bamboo Shoot?

Bamboo shoots or bamboo sprouts are the edible parts of the many different species of bamboo plants. These are used as vegetables in several Asian recipes, basically constituting a unique powerful and pungent flavour to the curries and broths, upping your overall curry game. 
chicken with bamboo shootBamboo shoots are edible when they’re young as they tend to harden as they mature. Monsoon is just round the corner and it is the best time to get your hands on some perfect tender bamboo shoots, however nowadays you can easily find bamboo in grocery stores any time of the year. Tender bamboo shoots that are collected, are defoliated, soaked in water for 2-3 days, then are boiled in water to remove its bitter taste after which it is ready for consumption, to go into a dish. The water used to cook fresh bamboo is discarded as it tastes bitter & unpleasant. These tender fresh bamboo shoots are then used in cooking. But again, you can find defoliated toxin free bamboos in stores easily these days, boil it and it’s good to go!

Ingredients in this Chicken With Bamboo Shoot

The ingredients of this recipe are so minimal; it’s almost unbelievable how it turns out to be so flavourful and fragrant. You can get almost everything at home, even bamboo shoots if you’re lucky, but what’s one quick trip to the grocery store in exchange of a wholesome comfort meal? Now, let’s look at the heroes, i.e. key ingredients: 

  • Khorisa or Bamboo Shoot

As the name suggests, Bamboo Shoot is the star of this dish, a powerful and pungent ingredient responsible for elevating several Asian dishes. In this recipe I use Khorisa, which is an ethnic fermented bamboo shoot product of Assam. It is generally made from young edible bamboo shoots of Bambusa balcooa ( Bholuka Bah) and Dendrocalamus hamiltoni (Kako/Pecha Bah).
chicken with bamboo shoot

chicken with bamboo shoot

These are fermented and after discarding the excess water and can then be stored in jars for almost a year and is known as poka Khorisa. The fermentation adds up to the pungent and strong sour flavour making it a beautiful addition to spicy curries. It can be dried in the sun to make Hukan Khorisa, used in curries and recipes like this one or be simply mixed with some mustard oil, chillies and salt to make pickles.

  • Chicken

For the chicken in this recipe, I have used a whole chicken in curry cut. You can make this with any kind of cut you prefer, even boneless. Because this is a traditional recipe usually made with local chicken varieties, making it with bones helps give more flavour to the recipe.

  • Mustard oil

The fat we use to cook our dishes makes a huge difference to the overall taste of it. Mustard oil is a strong, bitter oil slightly tending towards the hotter side of the spectrum. It enhances the flavour of curries and is the base of majority of authentic desi cuisines. Mustard oil with bamboo shoots is an absolute fool proof combination, be in curries or pickles.

  • Dry Spices

You need the most basic off the shelf spices that are found in all Indian kitchens like turmeric, coriander, salt and pepper. The taste would enhance if these spices are lightly roasted and freshly ground at home. Store bought spices do not lend the flavours fresh spices do.
chicken with bamboo shoot

chicken with bamboo shoot

Let’s take a look at the recipe:

Preparation time – 20 minutes

Cook time – 45 minutes

[ingredients title=”Ingredients”]

  • 3 tbsp mustard oil
  • 2 cups finely sliced onions
  • 1 tbsp fresh ginger paste
  • 2 green chillies, slit in half (add more if you want it spicy)
  • 2 tsp garlic paste
  • Salt to taste
  • 1 tsp turmeric powder
  • 1 tsp coriander powder
  • 1 tsp black pepper powder
  • 500 g chicken, curry cut
  • 1 cup bamboo shoot, finely sliced or chopped
  • 1 cup hot water
  • 1/2 tsp garam masala  [/ingredients]

[directions title=”Directions”]

  1. Heat some mustard oil in a deep pan.
  2. Add the sliced red onions and is cook it in two phases. Phase 1- Till the onions turn translucent. Phase 2- Till the onions completely turn brown.
  3. Once the onions are completely brown, add in the ginger paste, the slit chillies and the garlic paste. Mix well and cook till the raw smell of garlic is gone.
  4. At this point add in the salt and turmeric and cook for a few minutes.
  5.  Now add the rest of the dry spices- coriander and black pepper powder, and cook for another few minutes.
  6. Add a splash of water to help the spices cook better and homogenise in the mixture.
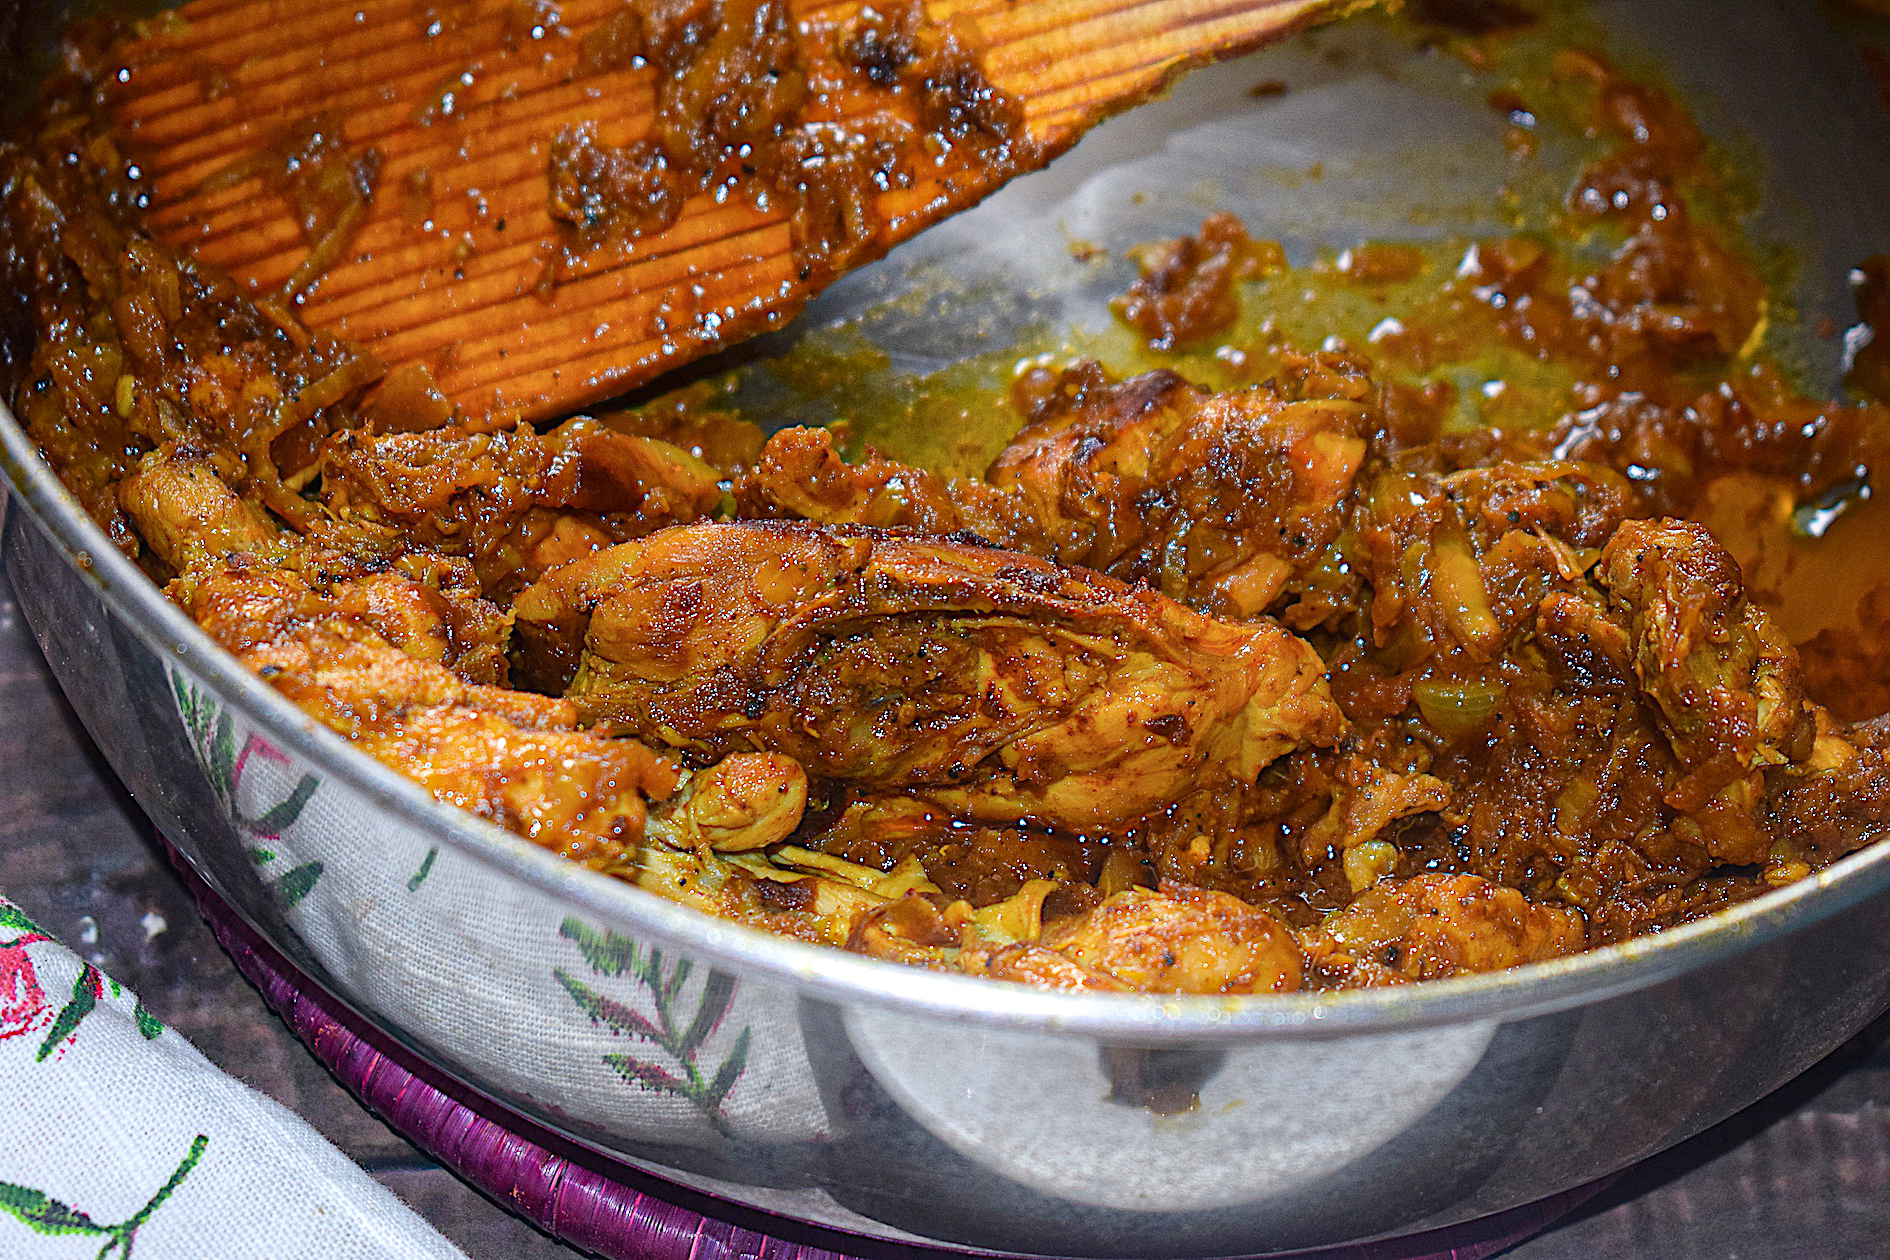
  7. Now, add in the chicken and cook it on high flame, stirring every so often.
  8. Once the chicken in almost half cooked, add in the bamboo shoot and mix.
  9. Add in the hot water. I am adding 1 cup for this recipe as it is a dry variation, however you can adjust the quantity of water depending on how much gravy you’d like.
  10. Cover and cook on low flame for 20 minutes.
  11. Take off the lid and give it one last mix before serving it hot with some plain roti, naan or steamed rice. [/directions]

chicken with bamboo shoot

chicken with bamboo shoot

This is one of my favourite comfort meals and you should definitely try it if you’re new to bamboo or just craving a hot plate of filling wholesome meal. 

Feel free to reach out for feedbacks, suggestions or connect with me on Instagram or Facebook. Subscribe to my YouTube channel for all my videos and upcoming recipes.
Prawn Curry

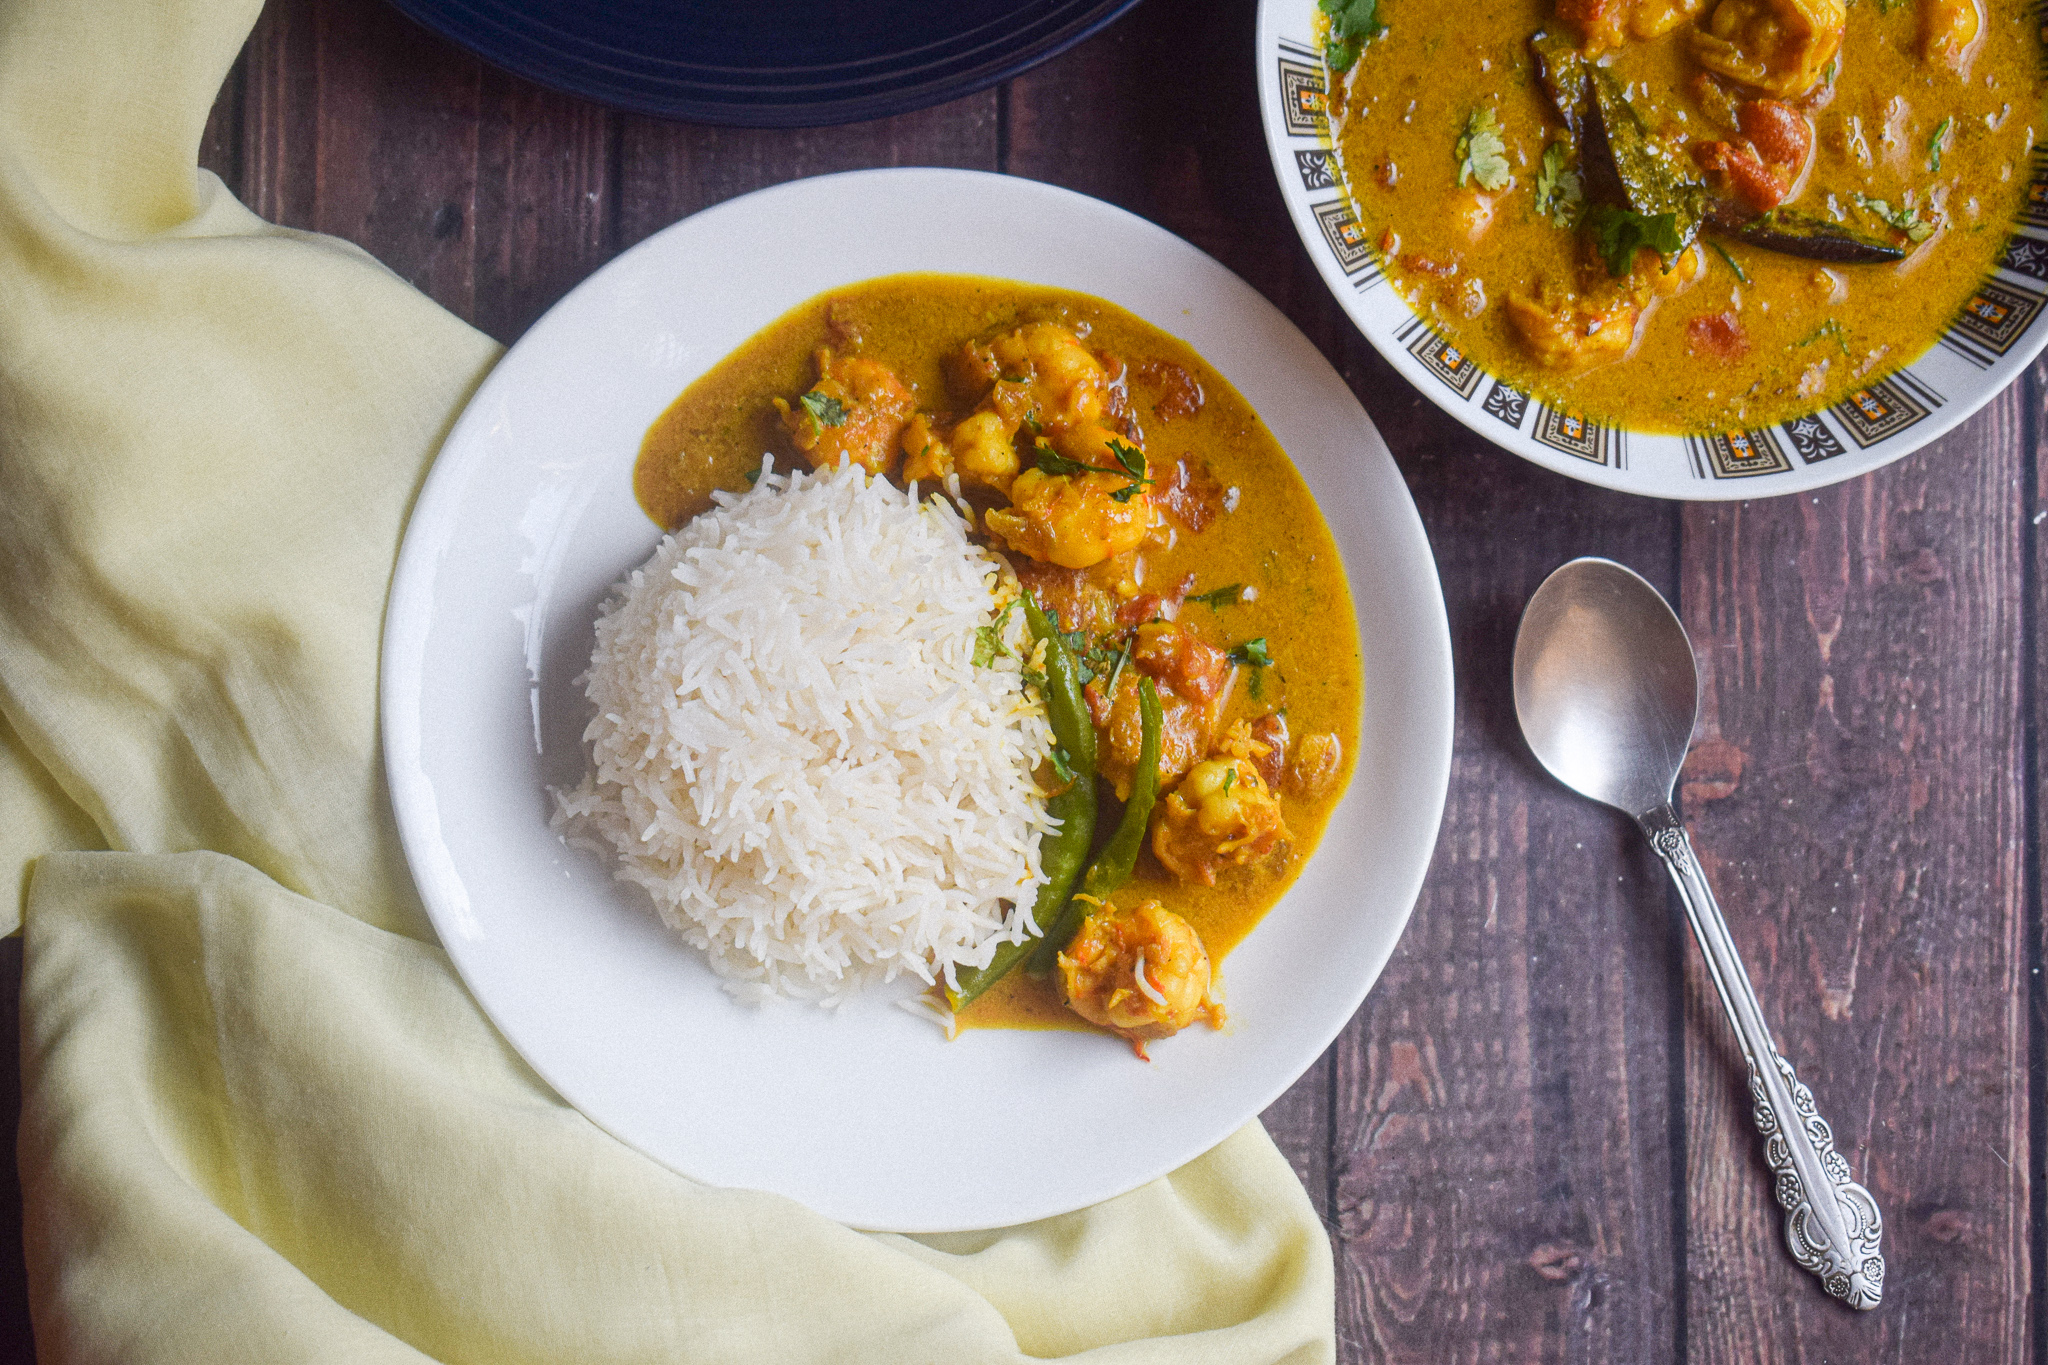
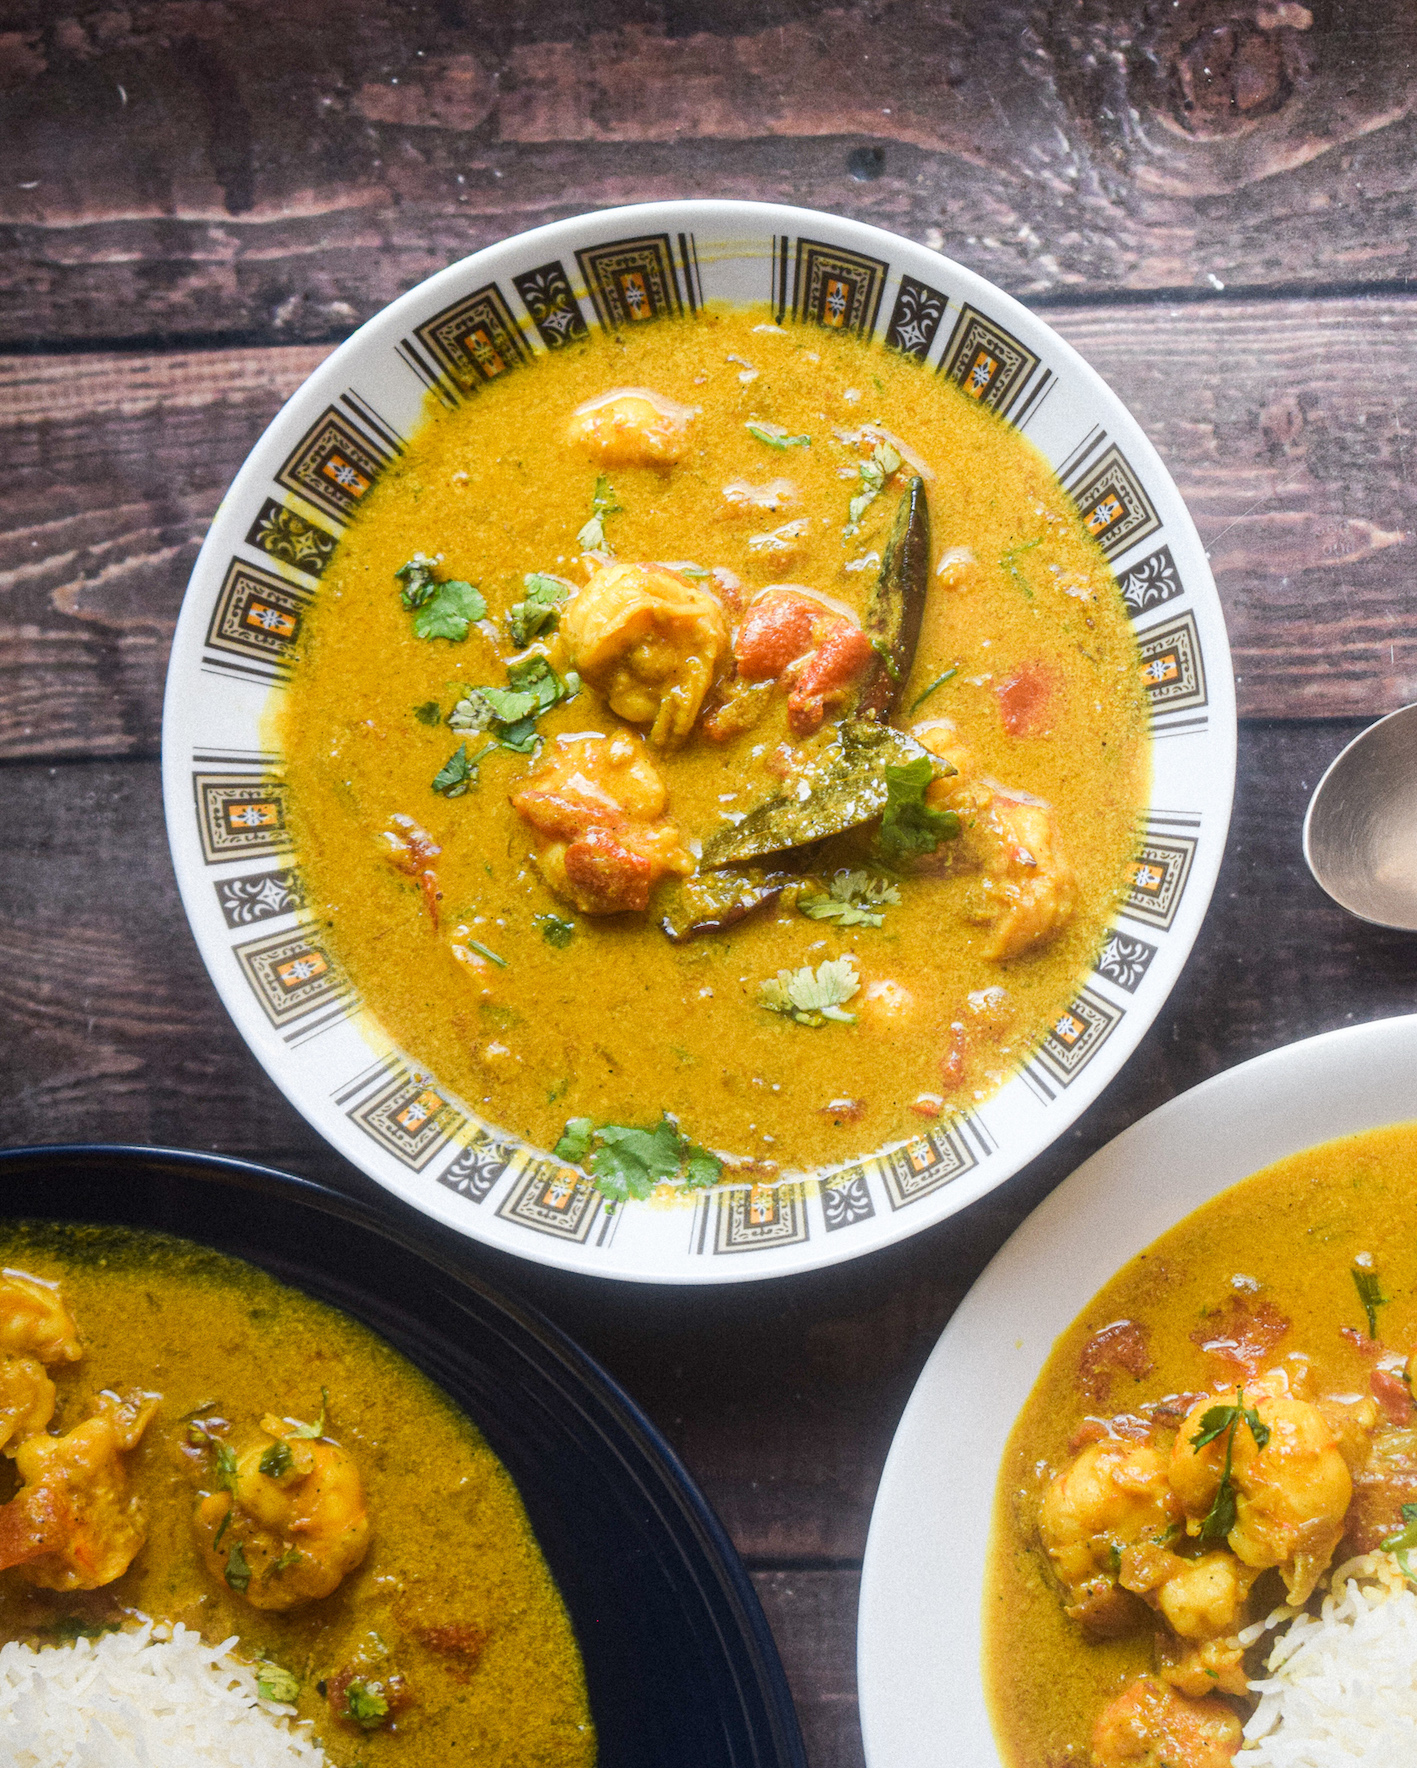
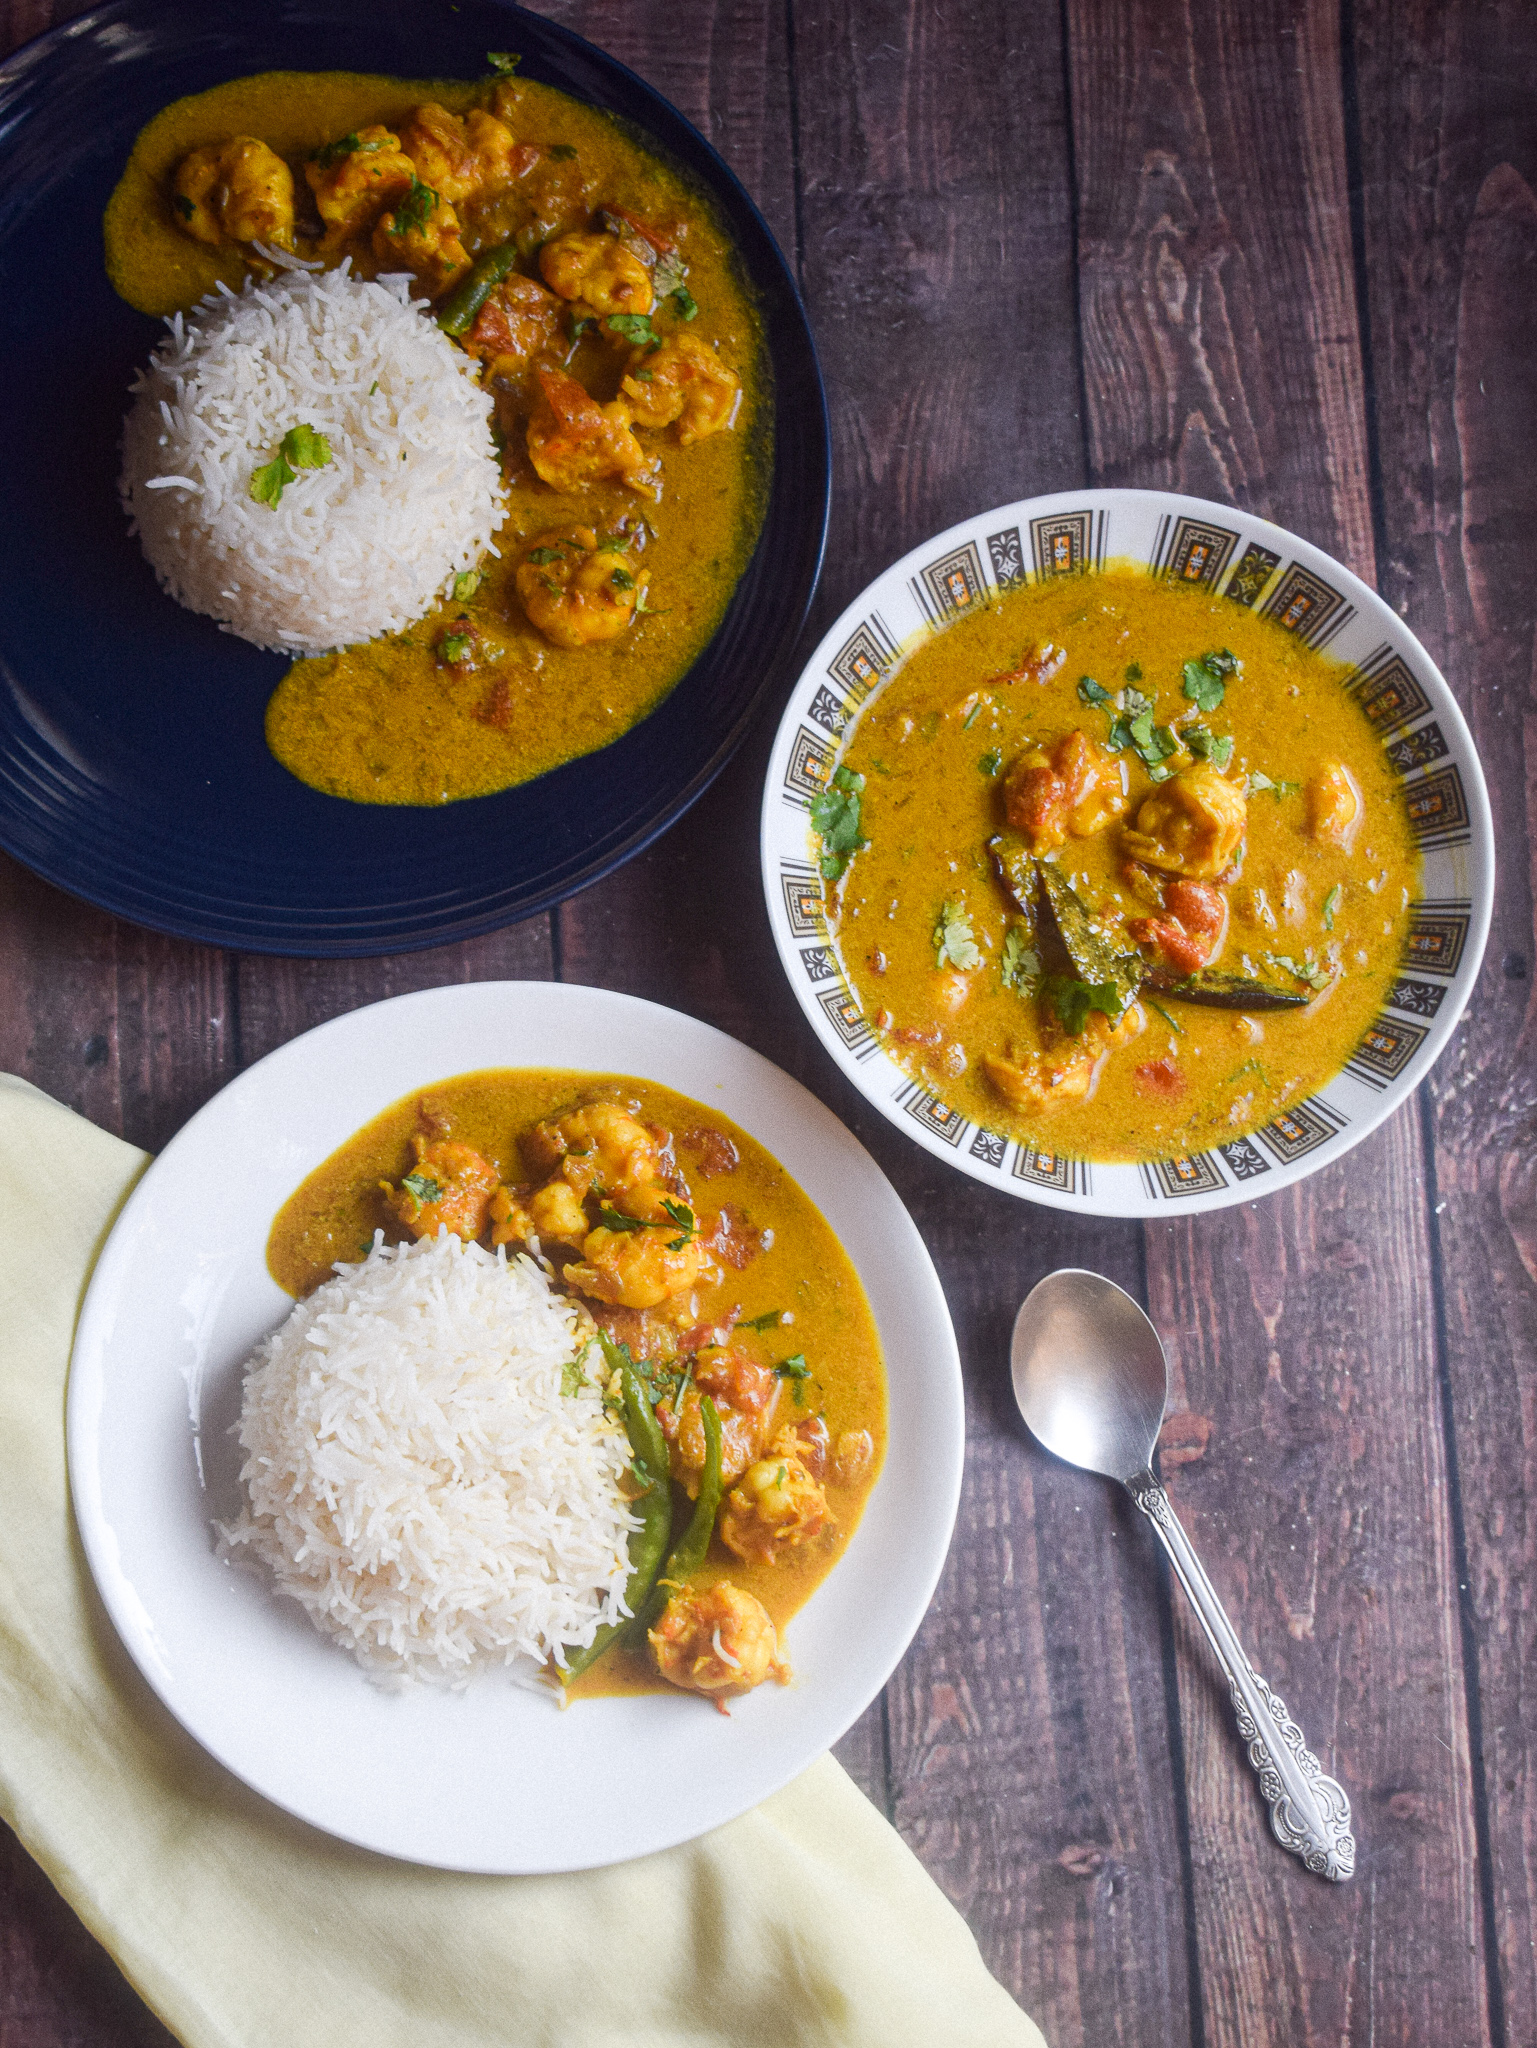
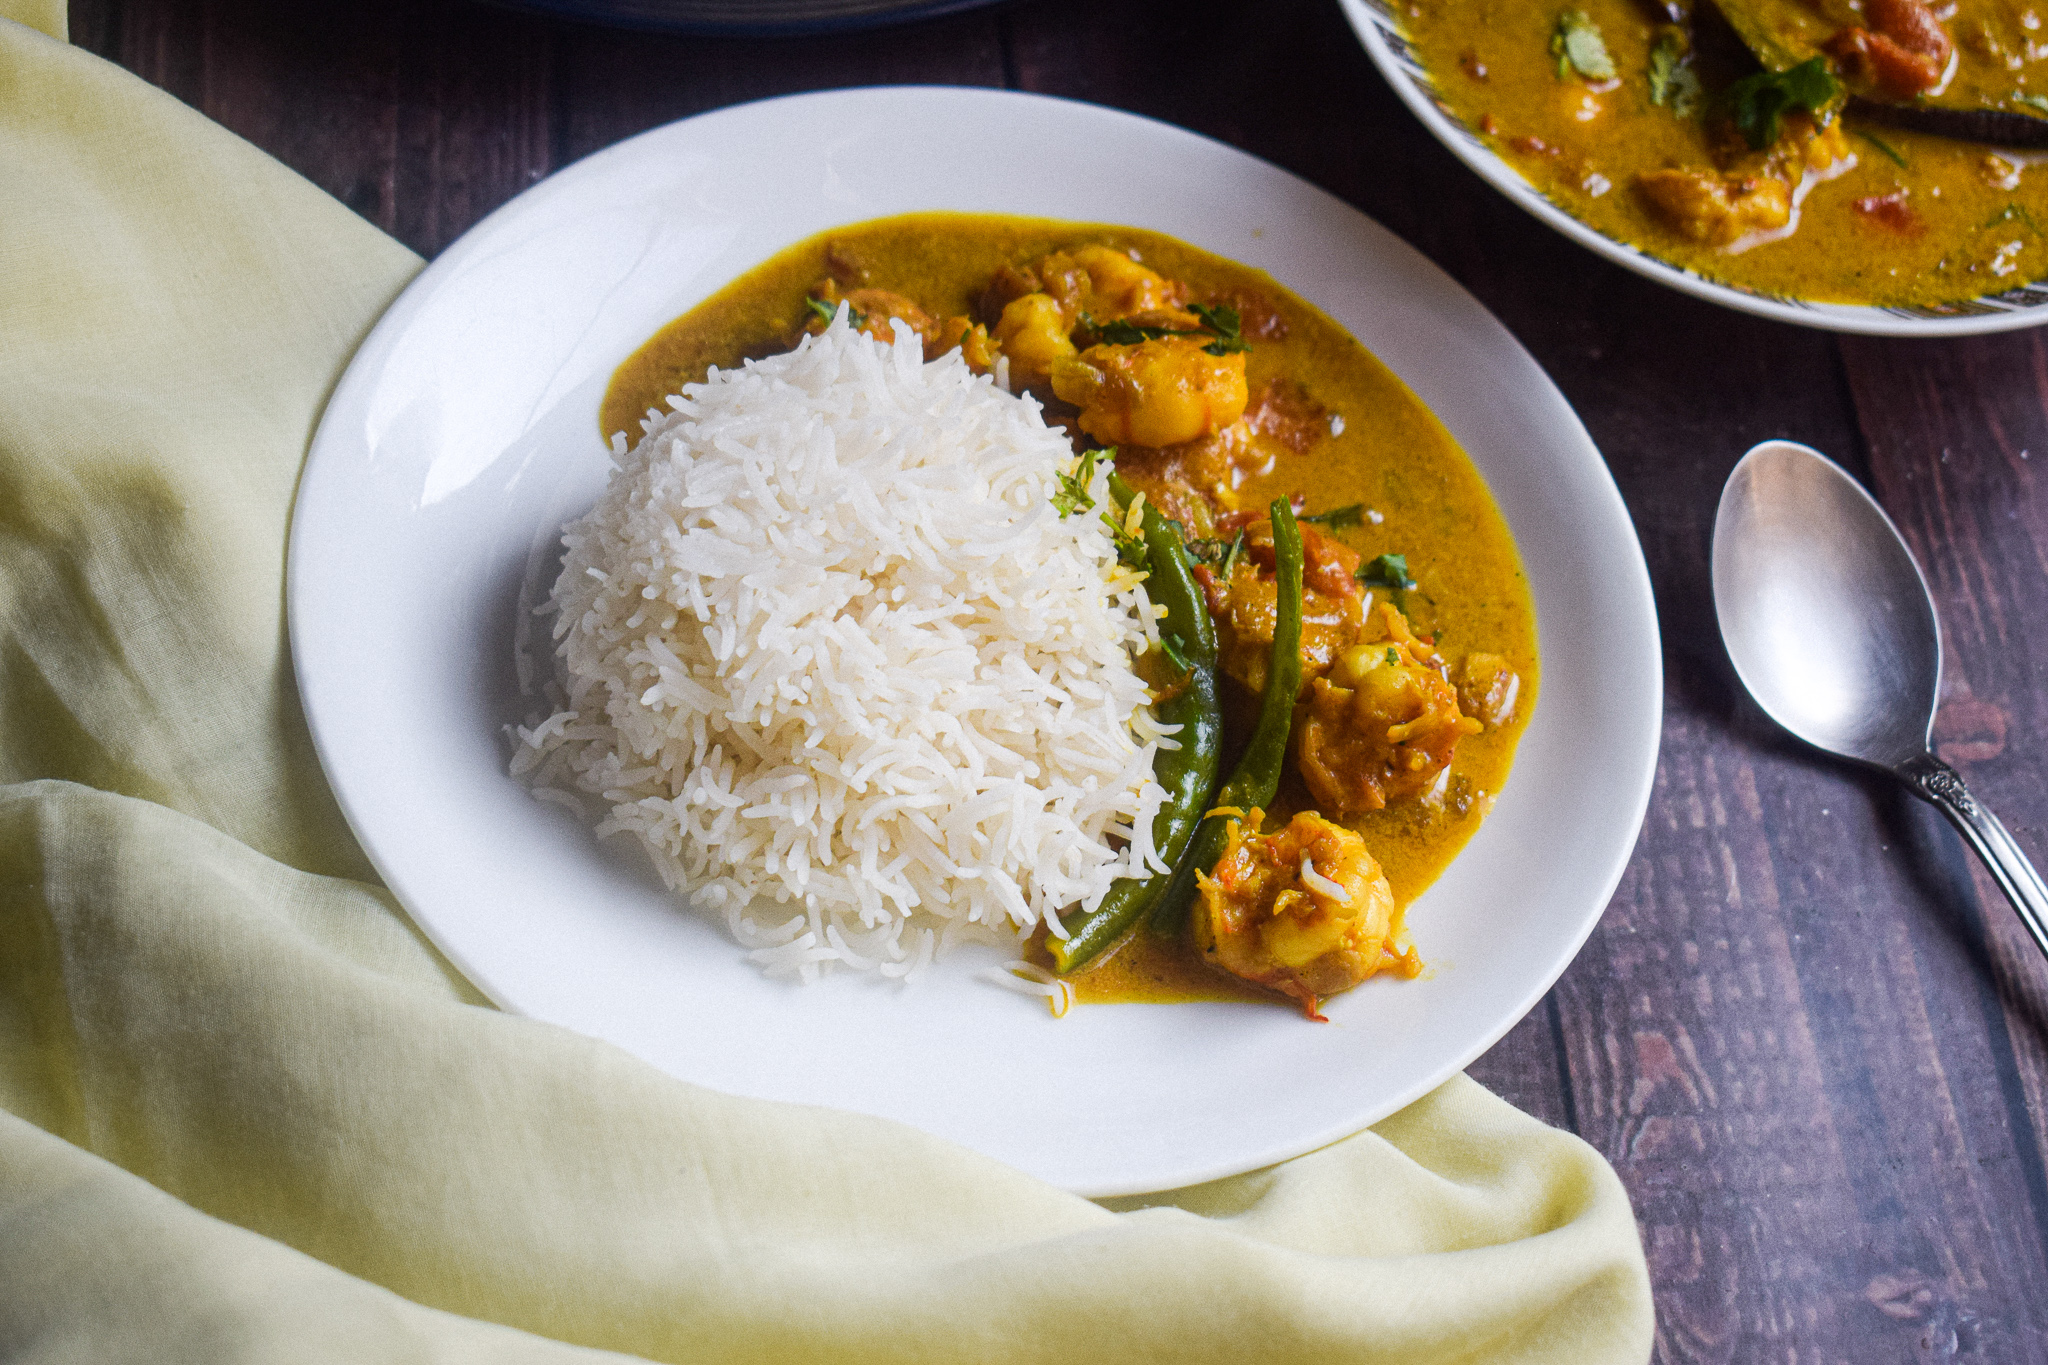
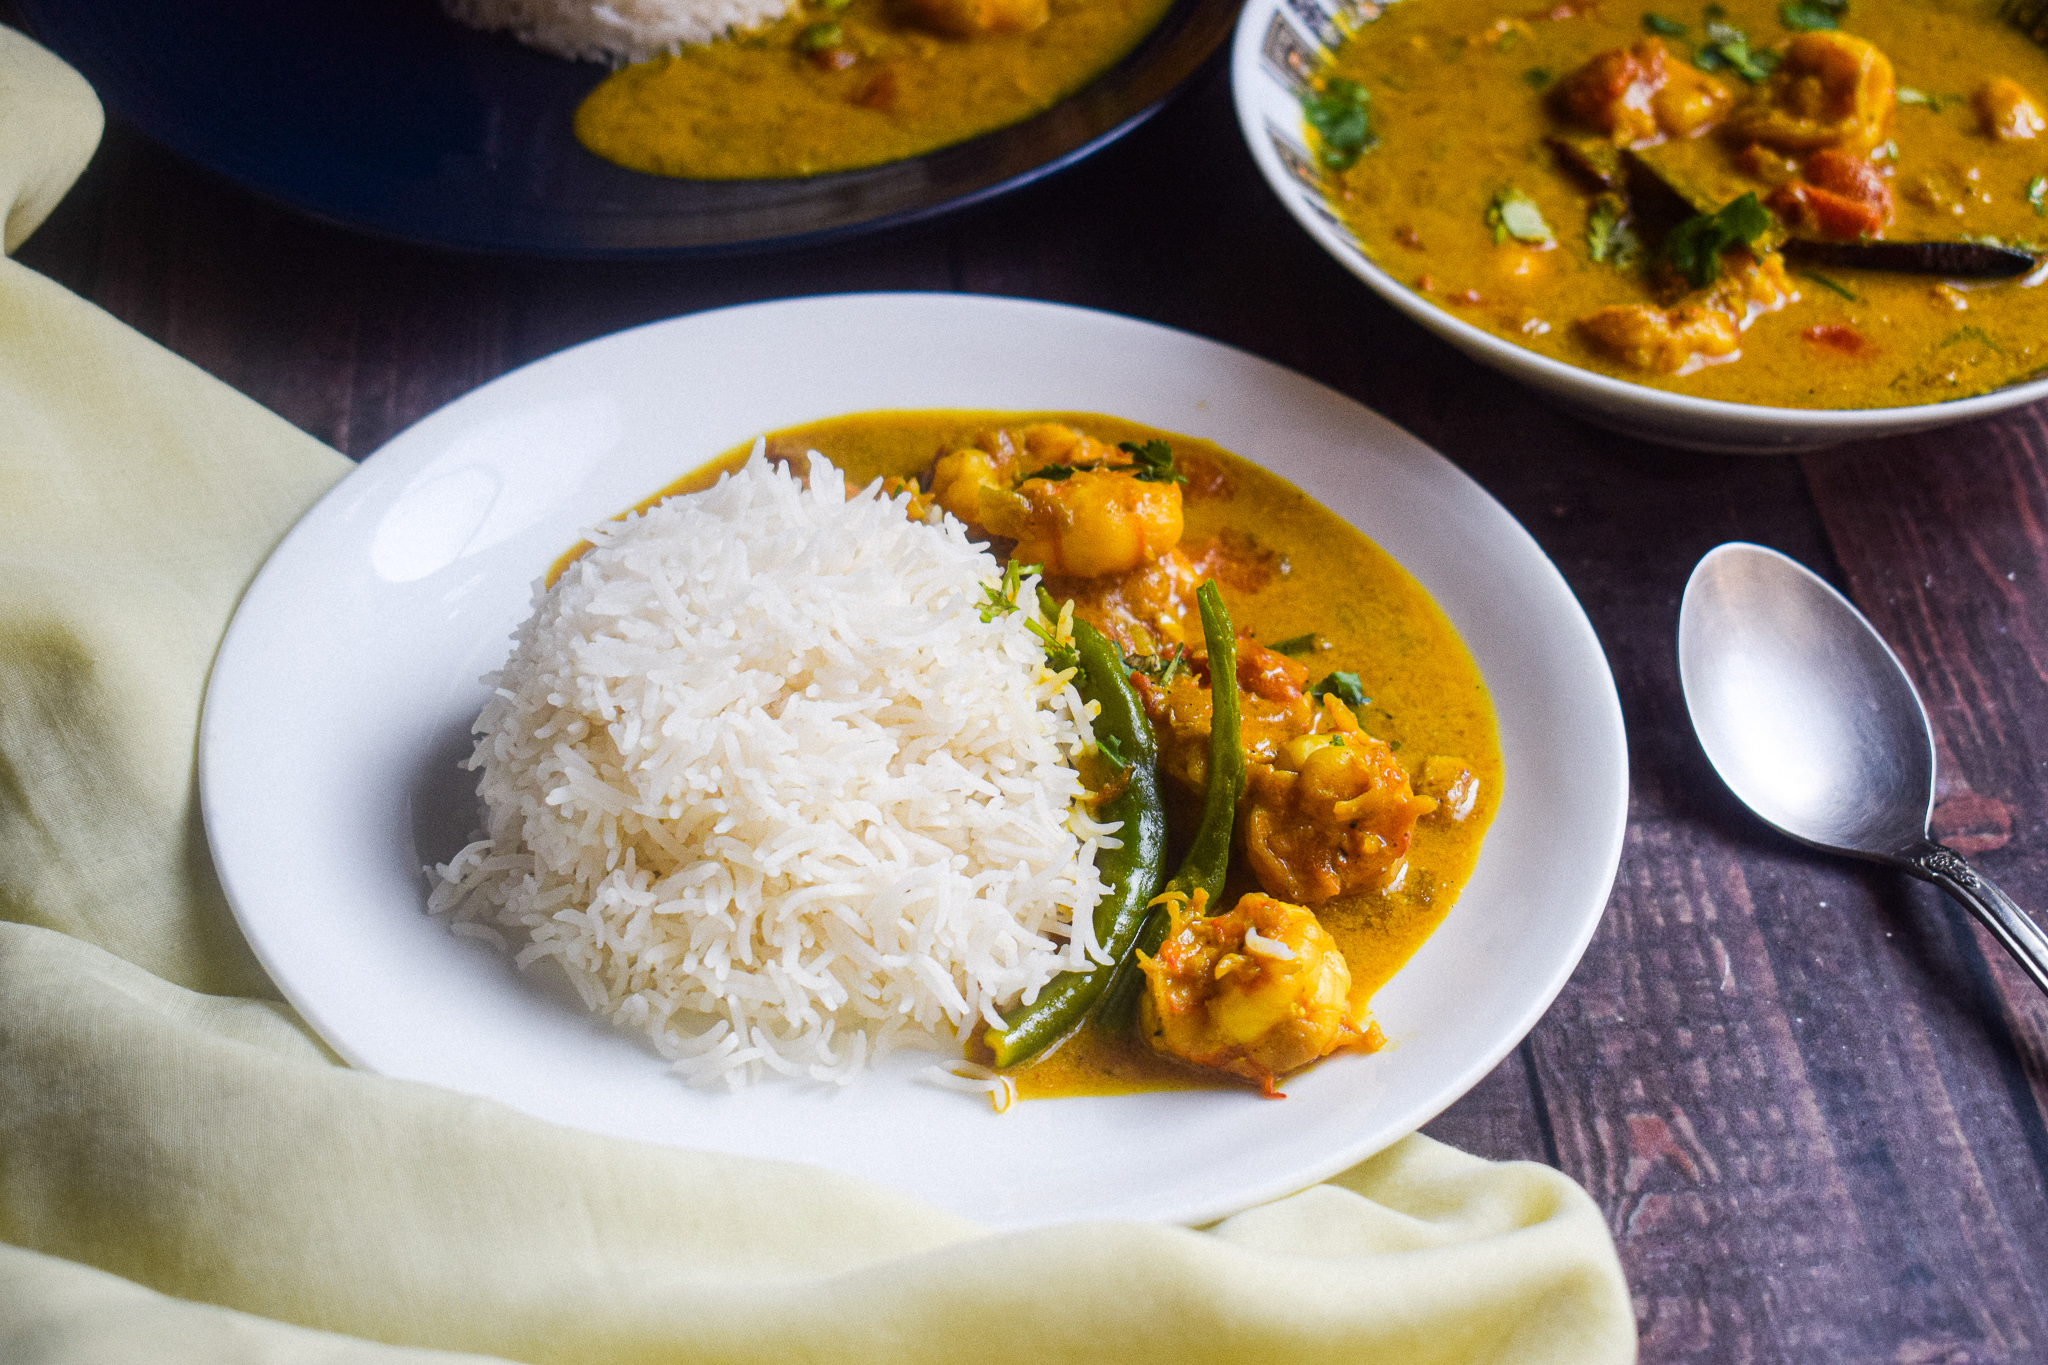
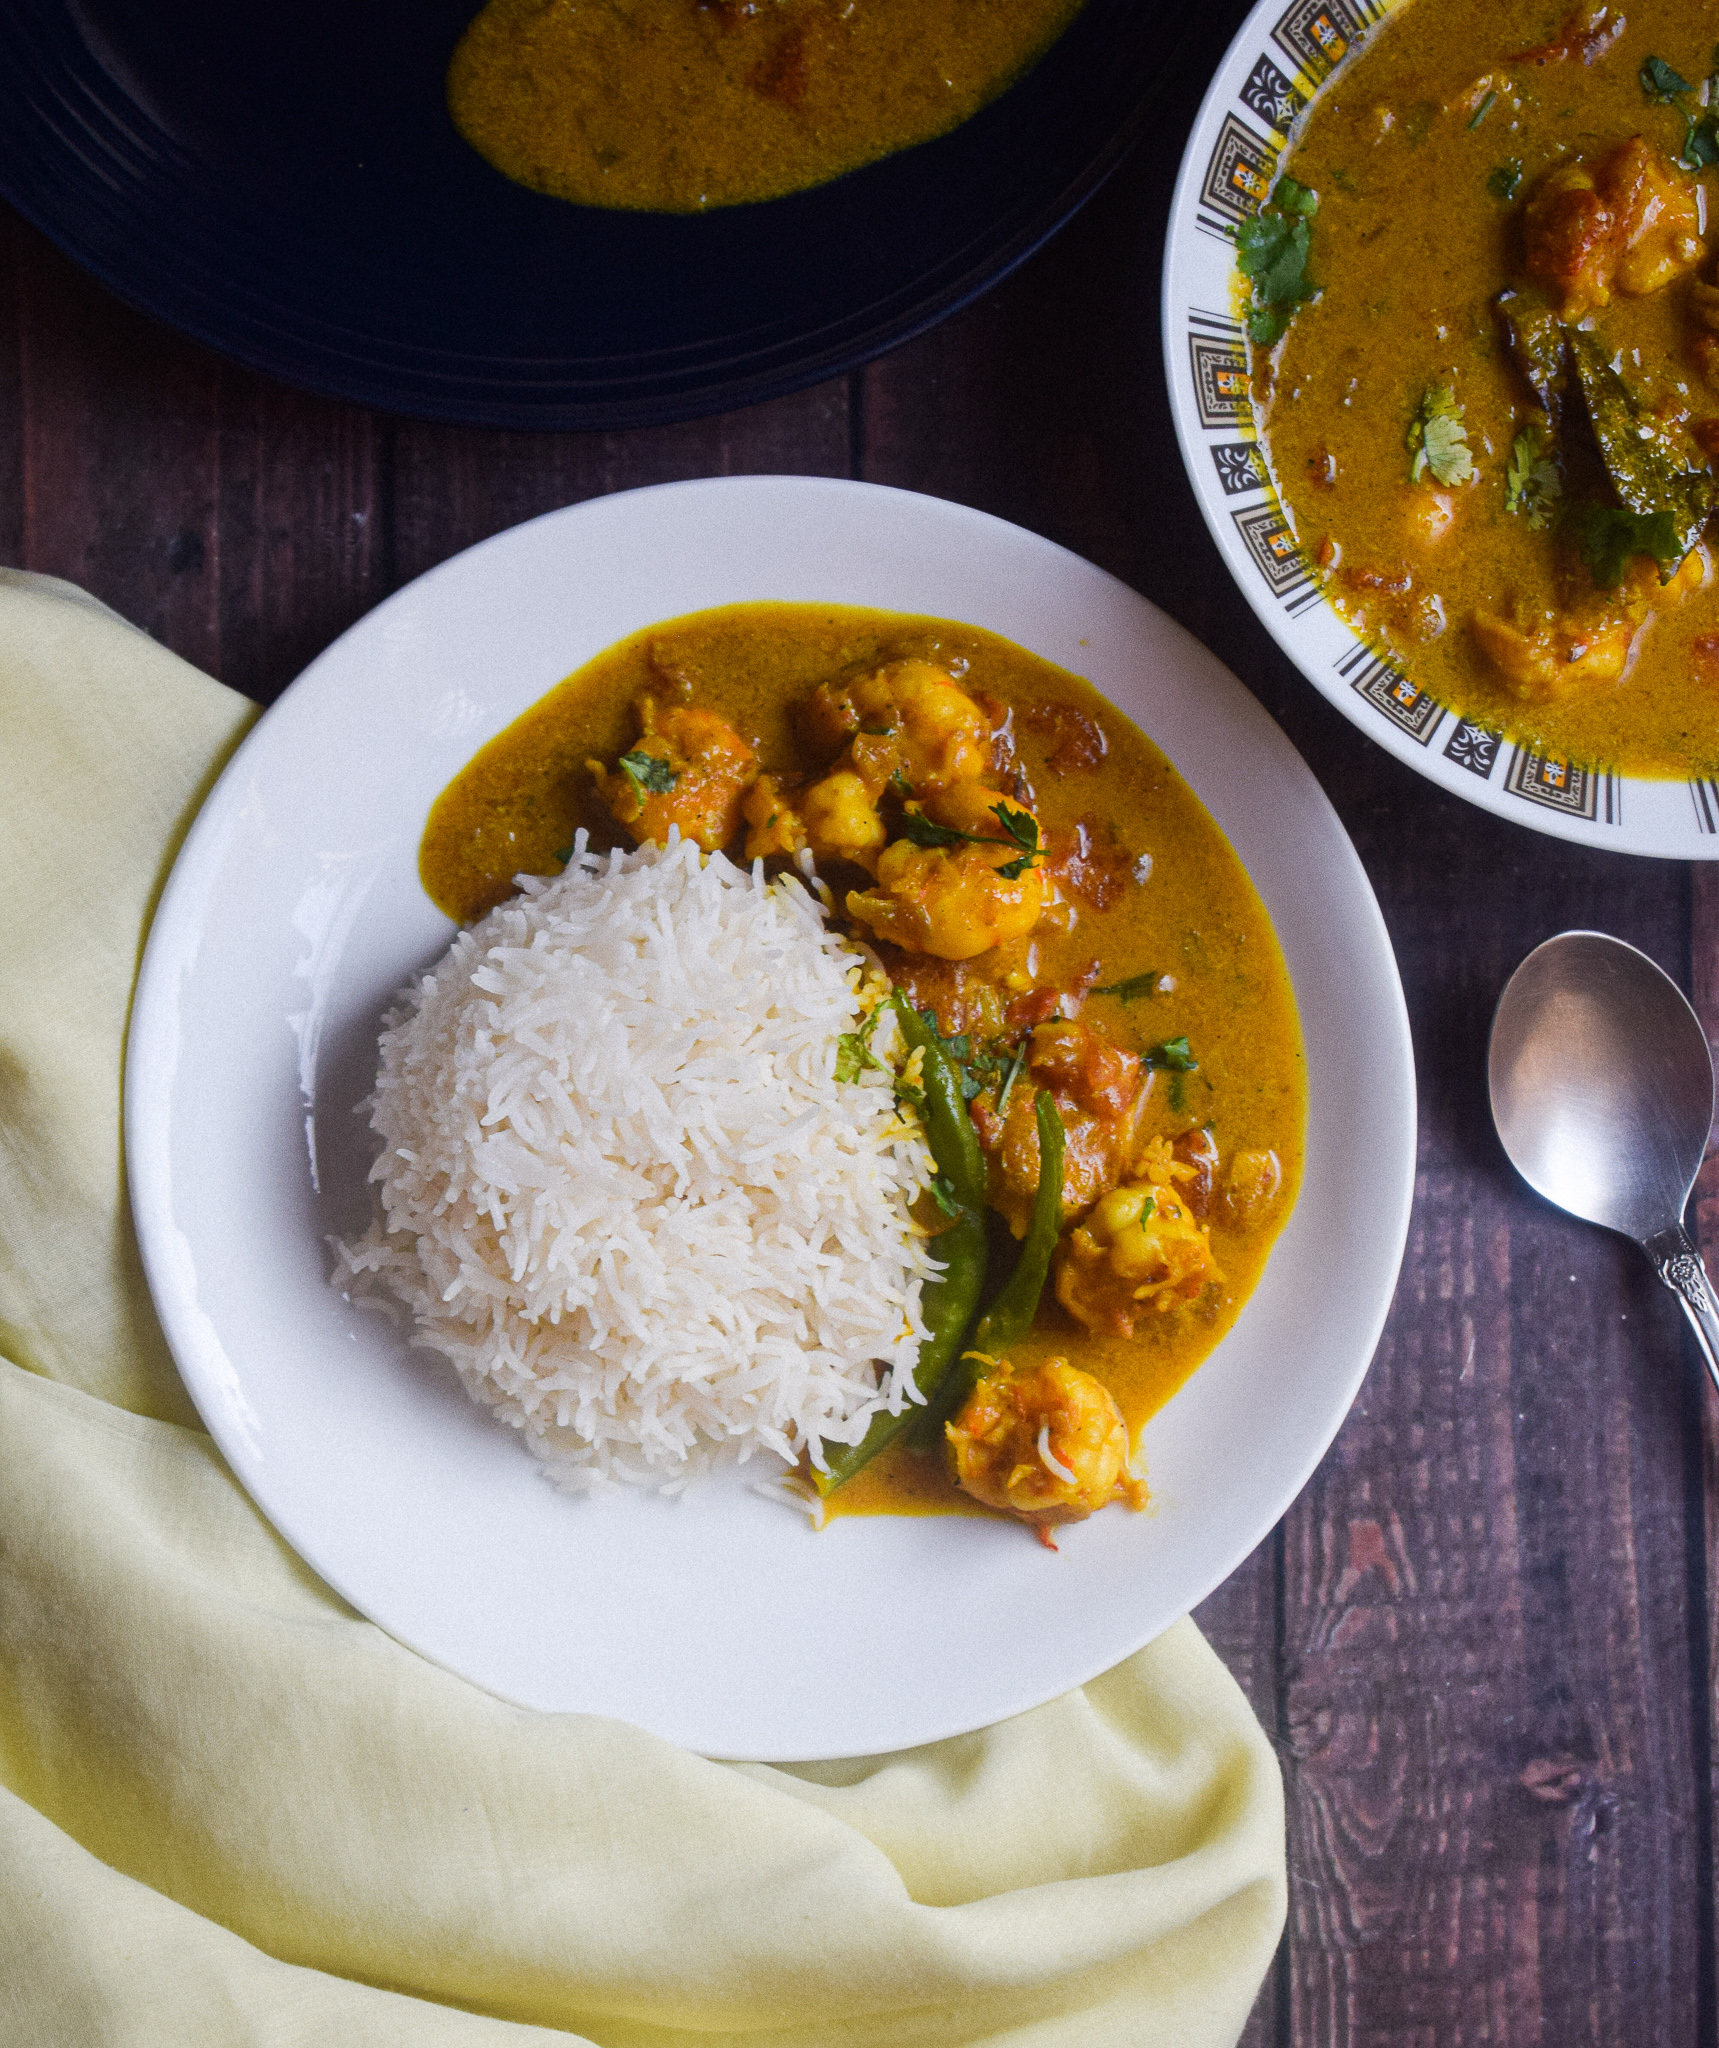
I absolutely love this prawn curry recipe. I end up making it once a week when all I have is 30-40 minutes to whip up dinner. The best part about prawns is that they cook super fast and let you pull off a hearty meal without spending hours in the kitchen. Because they have such a strong flavour of their own, you don’t even have to add too many ingredients to make prawns shine. And this prawn curry is no different, soft, juicy prawns in a creamy, subtle and coconut gravy. This with hot steaming rice is nothing short of an astounding culinary experience.

Ingredients in this Prawn Curry

This easy prawn curry has just a handful of ingredients, and is light and flavourful. The spice blend is a mixture of coriander powder, cumin powder, turmeric powder and garam masala. The creaminess comes from the coconut milk, that also adds a beautiful texture and natural sweetness to the curry.

prawn curry

Prawns

Prawns are the main ingredient in this curry. A couple of things need to be taken care of to get the perfect prawn flavour and texture.

  • Before starting, make sure you devein the prawns and clean it thoroughly to rid it off any impurities. You can keep the tail on too.
  • Second, once you wash the prawns, pat them dry with a kitchen towel. This is an important step to ensure that the prawns do not have too much water in them, otherwise they will release all the water into the gravy and get overcooked before absorbing the rest of the ingredients.
  • Third, marinate the prawns with salt for atleast 15 minutes. This will ensure that the prawns are seasoned well and do not end up tasting bland in the curry.
  • Lastly, prawns can be very unforgiving when it comes to cooking time. Make sure you do not leave the prawns undercooked or overcooked. Overcooking leads to prawns turning into a rubbery texture which can be disastrous. Keep an eye on them and follow the timings.

Coconut milk

Coconut milk is used generously in this recipe. I have used a semi thick coconut milk. You can also use coconut cream or thin coconut milk. The coconut milk is what sets this prawn curry apart and makes it irresistible. The coconut milk makes this prawn curry creamy, adds to the formation of a luscious gravy and also adds a natural sweetness to this light curry.

Spices

The best way to make sure you get the perfect prawn curry is making sure your spices are freshly ground. There are four spices used in this prawn curry – coriander powder, cumin powder, turmeric powder and garam masala.

prawn curry

prawn curry

Here’s a look at the recipe:

Preparation time – 15 minutes

Cook time – 30 minutes

Serves – 4

[ingredients title=”Ingredients”]

  • 700 g prawns, cleaned and deveined
  • Salt, to marinate the prawns
  • 3 tbsp mustard oil
  • 1 dried red chilli
  • 1 inch cinnamon stick
  • 2 cloves
  • 2 cardamoms
  • 2 bay leaves
  • 1 cup onions, finely chopped
  • 1 tbsp ginger garlic paste
  • 1 cup roughly chopped tomatoes
  • Salt to taste (for the curry)
  • 1 tsp sugar (optional)
  • 1 tbsp coriander powder
  • 1 tsp cumin powder
  • 1/4 tsp turmeric powder
  • 1/4 cup hot water (for the masala)
  • 400 ml coconut milk
  • 2 slit green chillies
  • 1 cup hot water (for the curry)
  • 1/2 tsp garam masala
  • Fresh coriander, chopped (for garnish) [/ingredients]

[directions title=”Directions”]

  1. Devein and clean the prawns. Wash and pat dry. Marinate with salt for 15 minutes. Get your vegetables ready in the meantime (onions, ginger garlic paste, tomatoes).
  2. Heat mustard oil in a kadhai. Once it heats up and starts to smoke, lower the heat and temper the oil with dried red chilli, cardamom, cloves and cinnamon. Give it a light stir.
  3. Add the chopped onions and cook for 3-4 minutes till the onions turn soft and translucent.
  4. Once the onions starts to release its flavours, add the ginger garlic paste and stir till its raw aroma disappears completely (3-4 minutes).
  5. Keep a check on the flame to ensure nothing burns. Keep the flame at medium.
  6. The ginger garlic will start to release its raw aroma and that’s when you must add the tomatoes. Stir in the tomatoes with the onions. Increase the flame for a minute while you do that.
  7. Lower the temperature and cover the kadhai with a lid. We want to tomatoes to cook completely and melt in with the onions. Cook this covered till the oil starts to release from the sides.
  8. Season with salt, turmeric powder, sugar, cumin powder and coriander powder. Add some hot water (1/4 cup) to prevent the masala from burning. Stir well.
  9. Add the marinated prawns and stir for 3-4 minutes till the prawns get half cooked. Keep the flame at high once you add the prawns and stir continuously.
  10. After 4 minutes, pour the coconut milk along with slit green chillies and let the curry come to a rolling boil.
  11.  Let the curry come to a semi thick consistency and prawns cook completely (another 7-10 minutes). Do not over cook the prawns as it will become chewy.
  12. Once done, garnish with garam masala and fresh coriander leaves. Stir well.
  13. Serve hot with boiled rice. [/directions]

prawn curry

prawn curry

If you have any questions, feel free to reach out to me with a comment or connect with me on Instagram or Facebook. For all my videos, you can subscribe to me on YouTube.

Happy cooking!

Macaroni and Cheese Without Milk & Flour

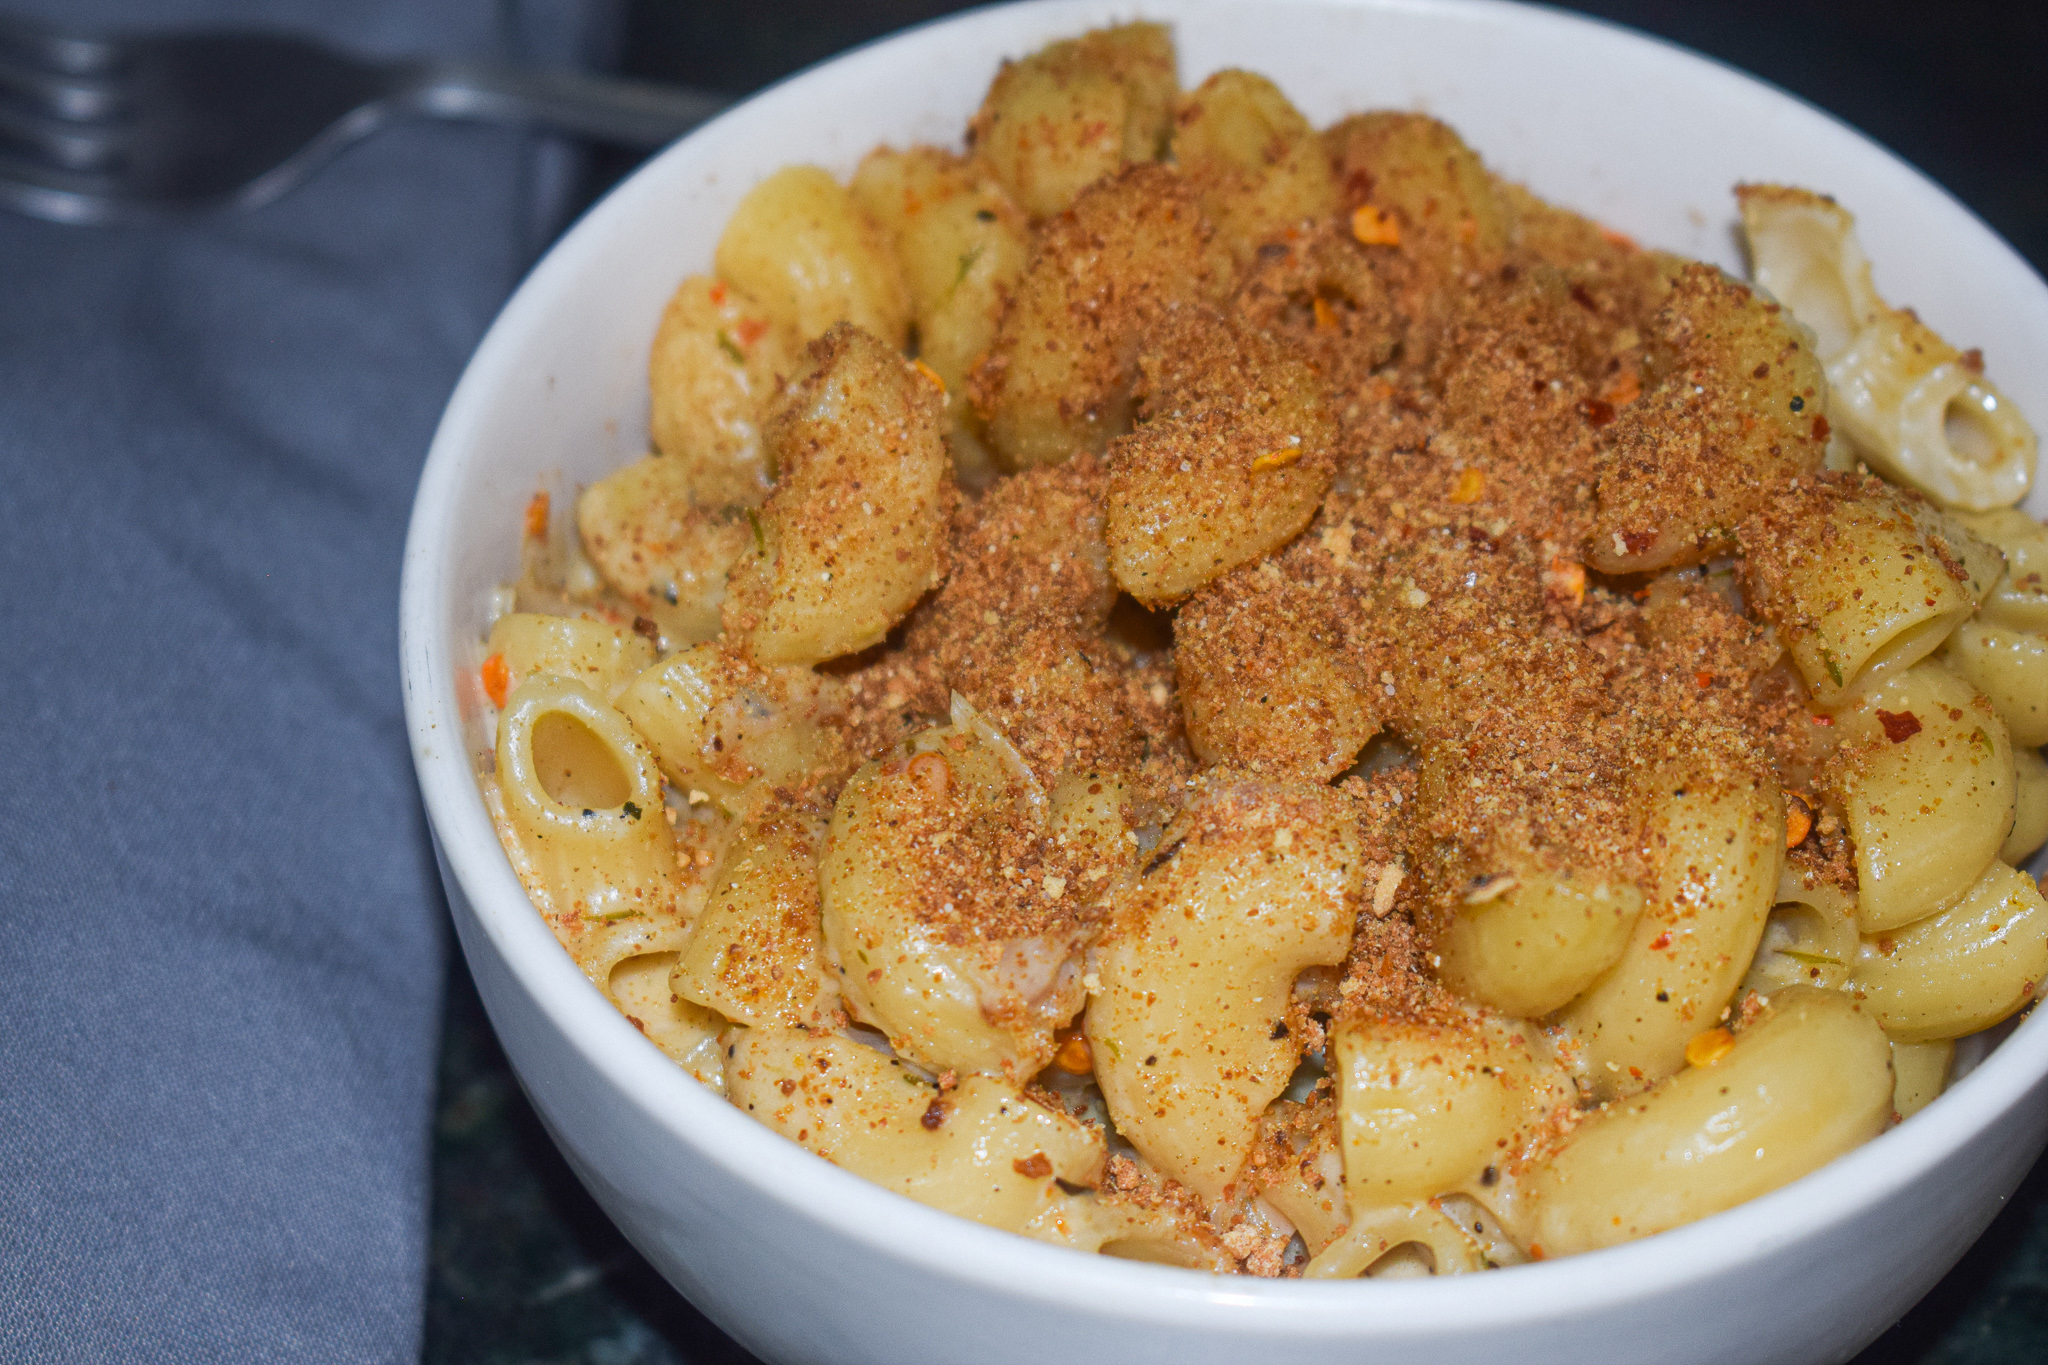
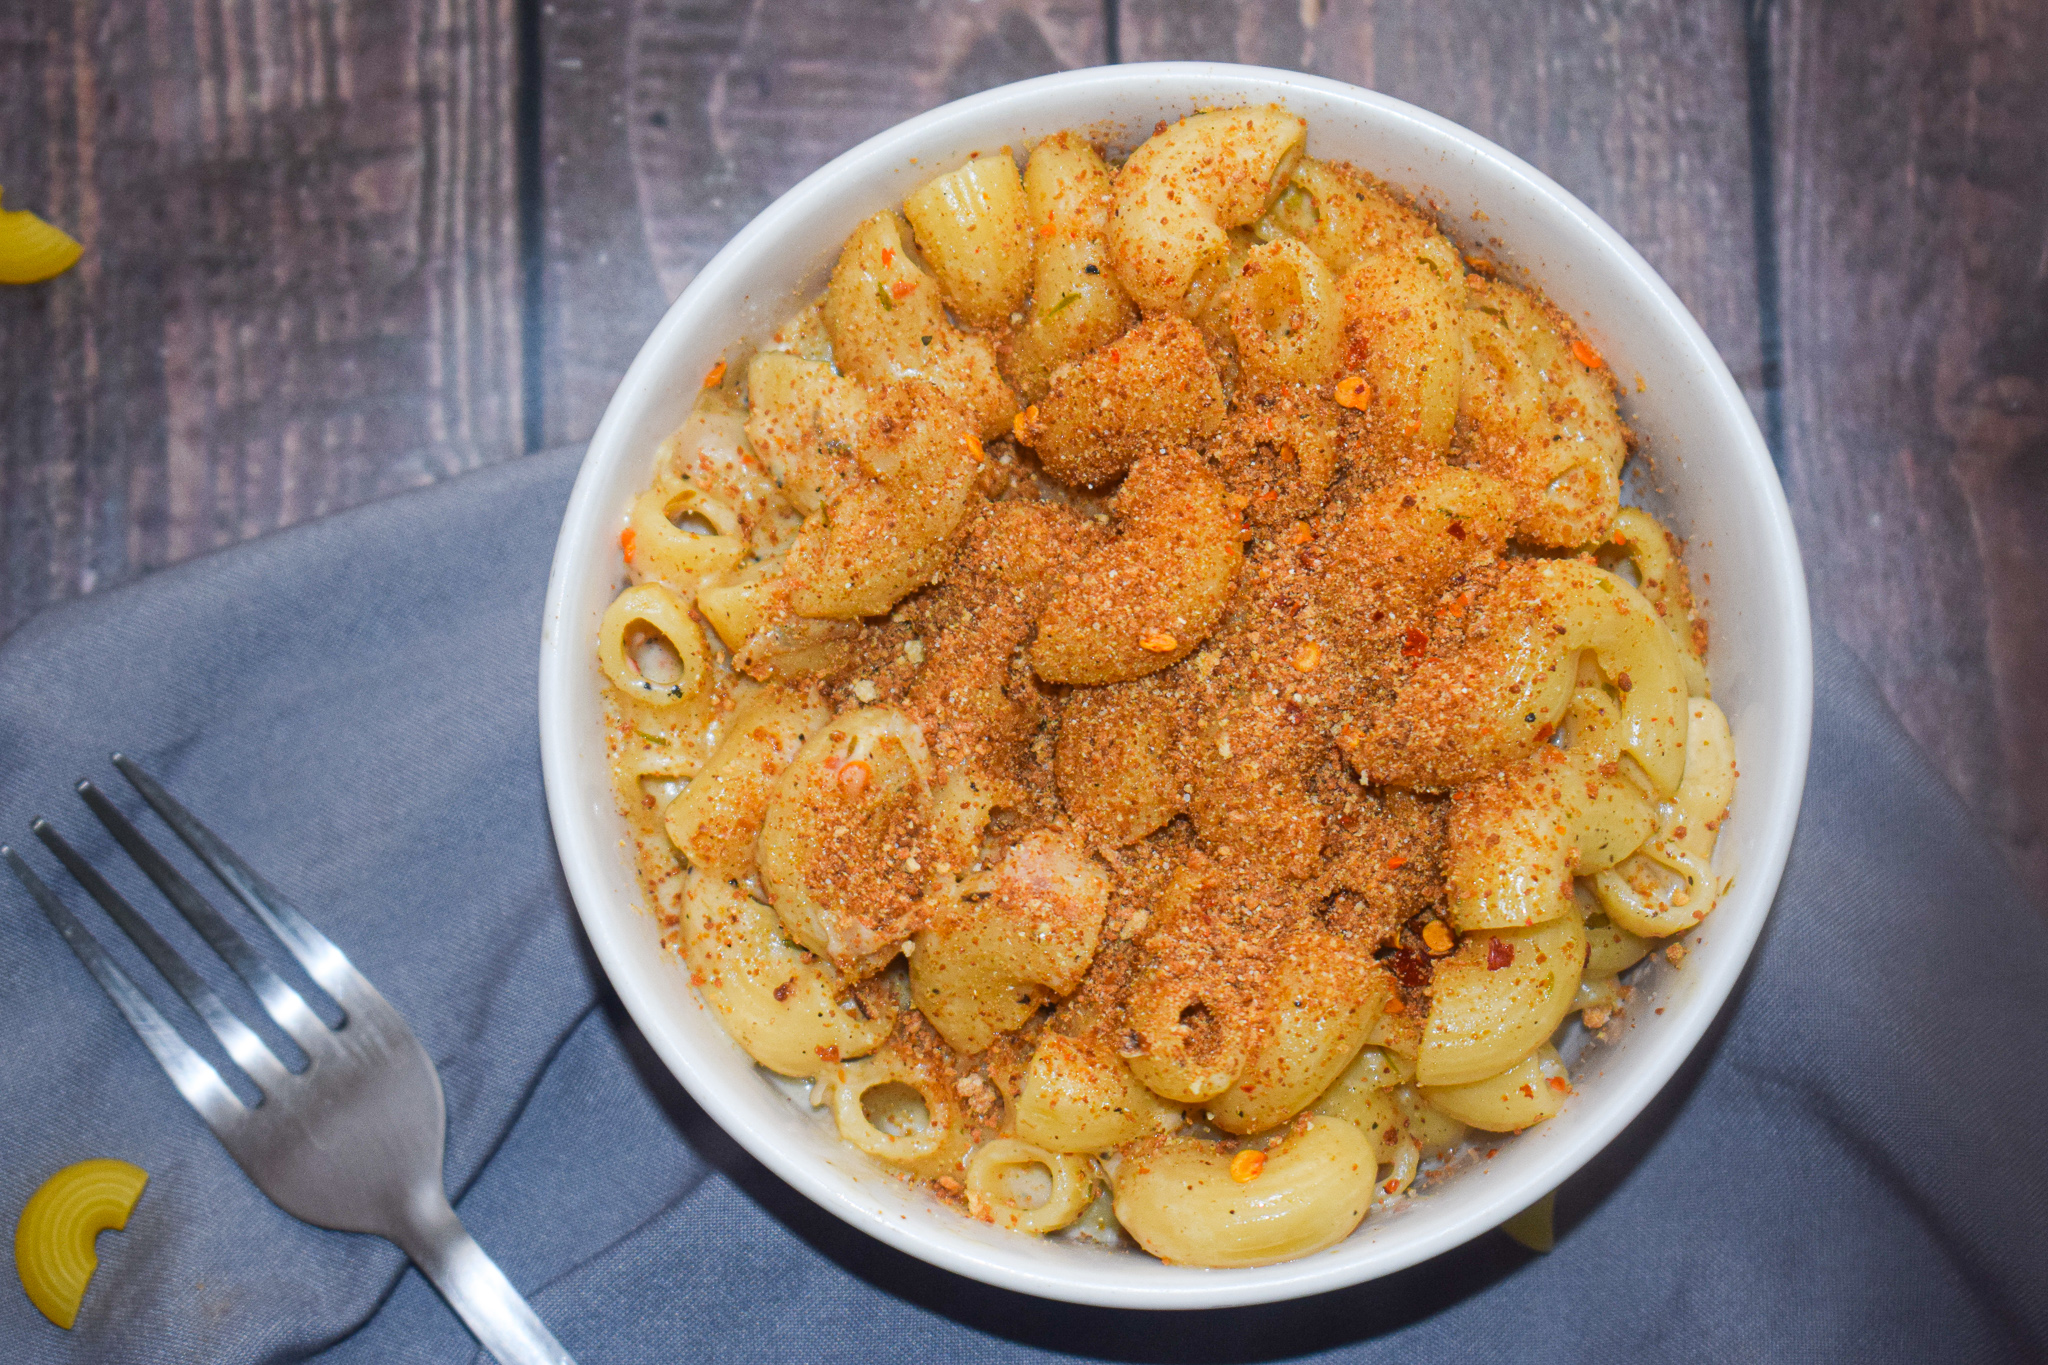
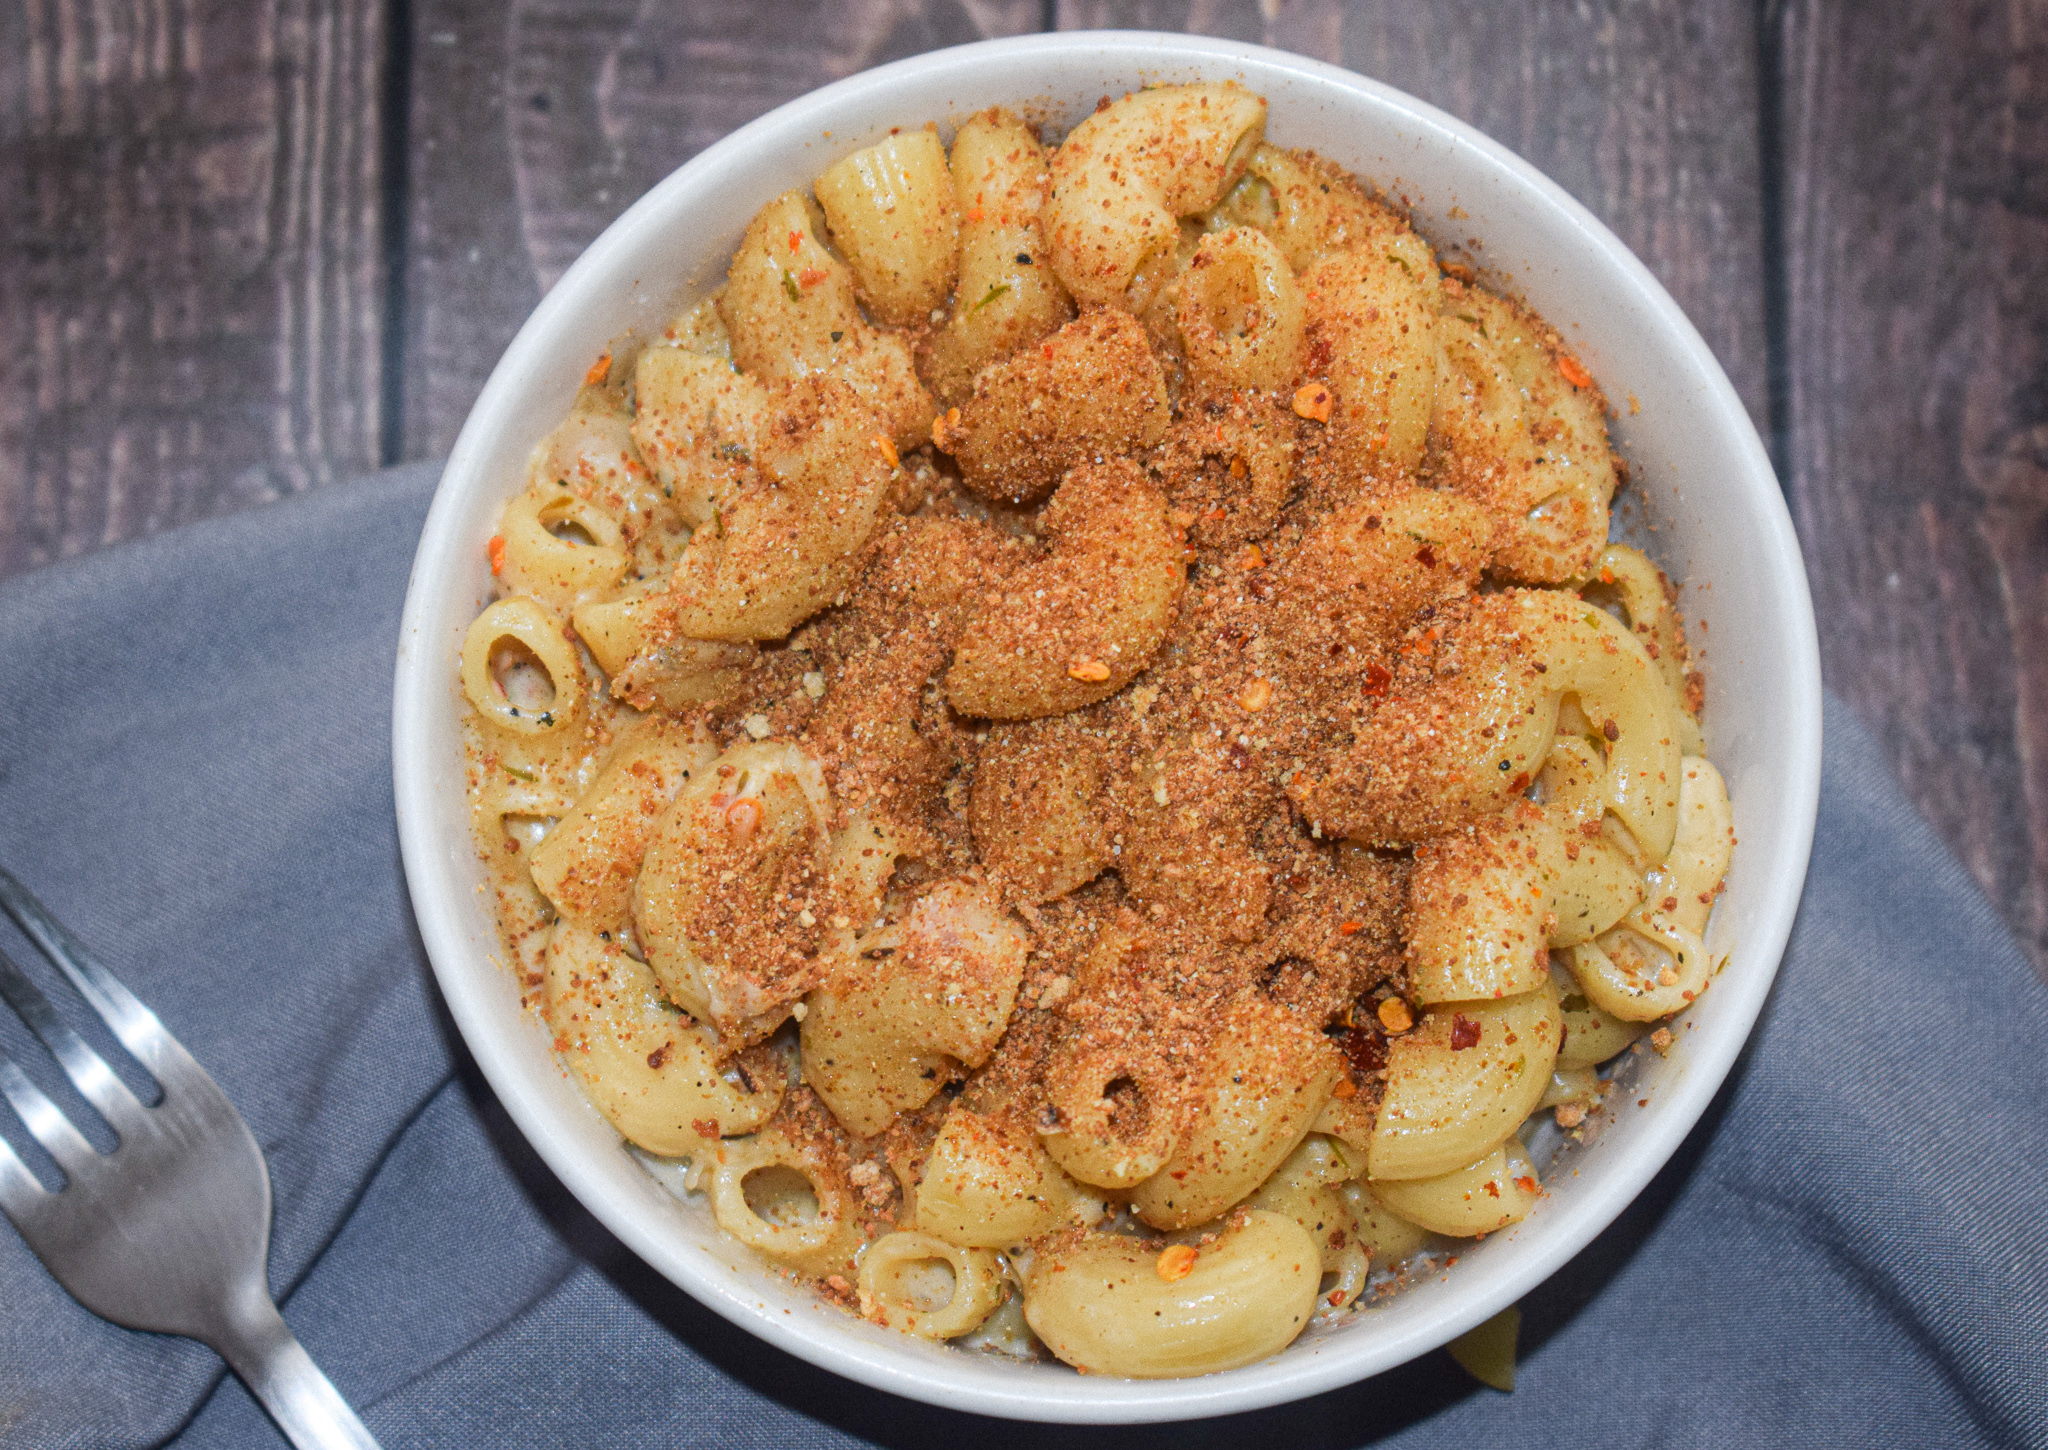
Macaroni and Cheese is a classic recipe and everyone’s favourite. There are a thousand ways to make this recipe and this is mine. I no way do I claim this recipe to be an authentic version. This macaroni and cheese recipe is very personal and I have been making this for as long as I can remember. I usually skip the milk and the flour in this recipe, as I feel it makes the entire meal way too heavy. For a home cooked meal, I like to keep it simple, and use a little bit of cream and hot water as the binding agent, and there is absolutely no compromise on the amount of cheese!

macaroni and cheese

What makes this macaroni and cheese recipe so special?

There are several reasons why this macaroni and cheese recipe is special.

-Probably the easiest mac and cheese recipe there is!

It cannot get easier than this. This recipe is made straight in a skillet and there is no oven needed whatsoever. You can always put some extra cheese on the top and bake it until golden brown to make it a little more special. But if you want to skip that part, it is fine too!

-The best topping (other than cheese)

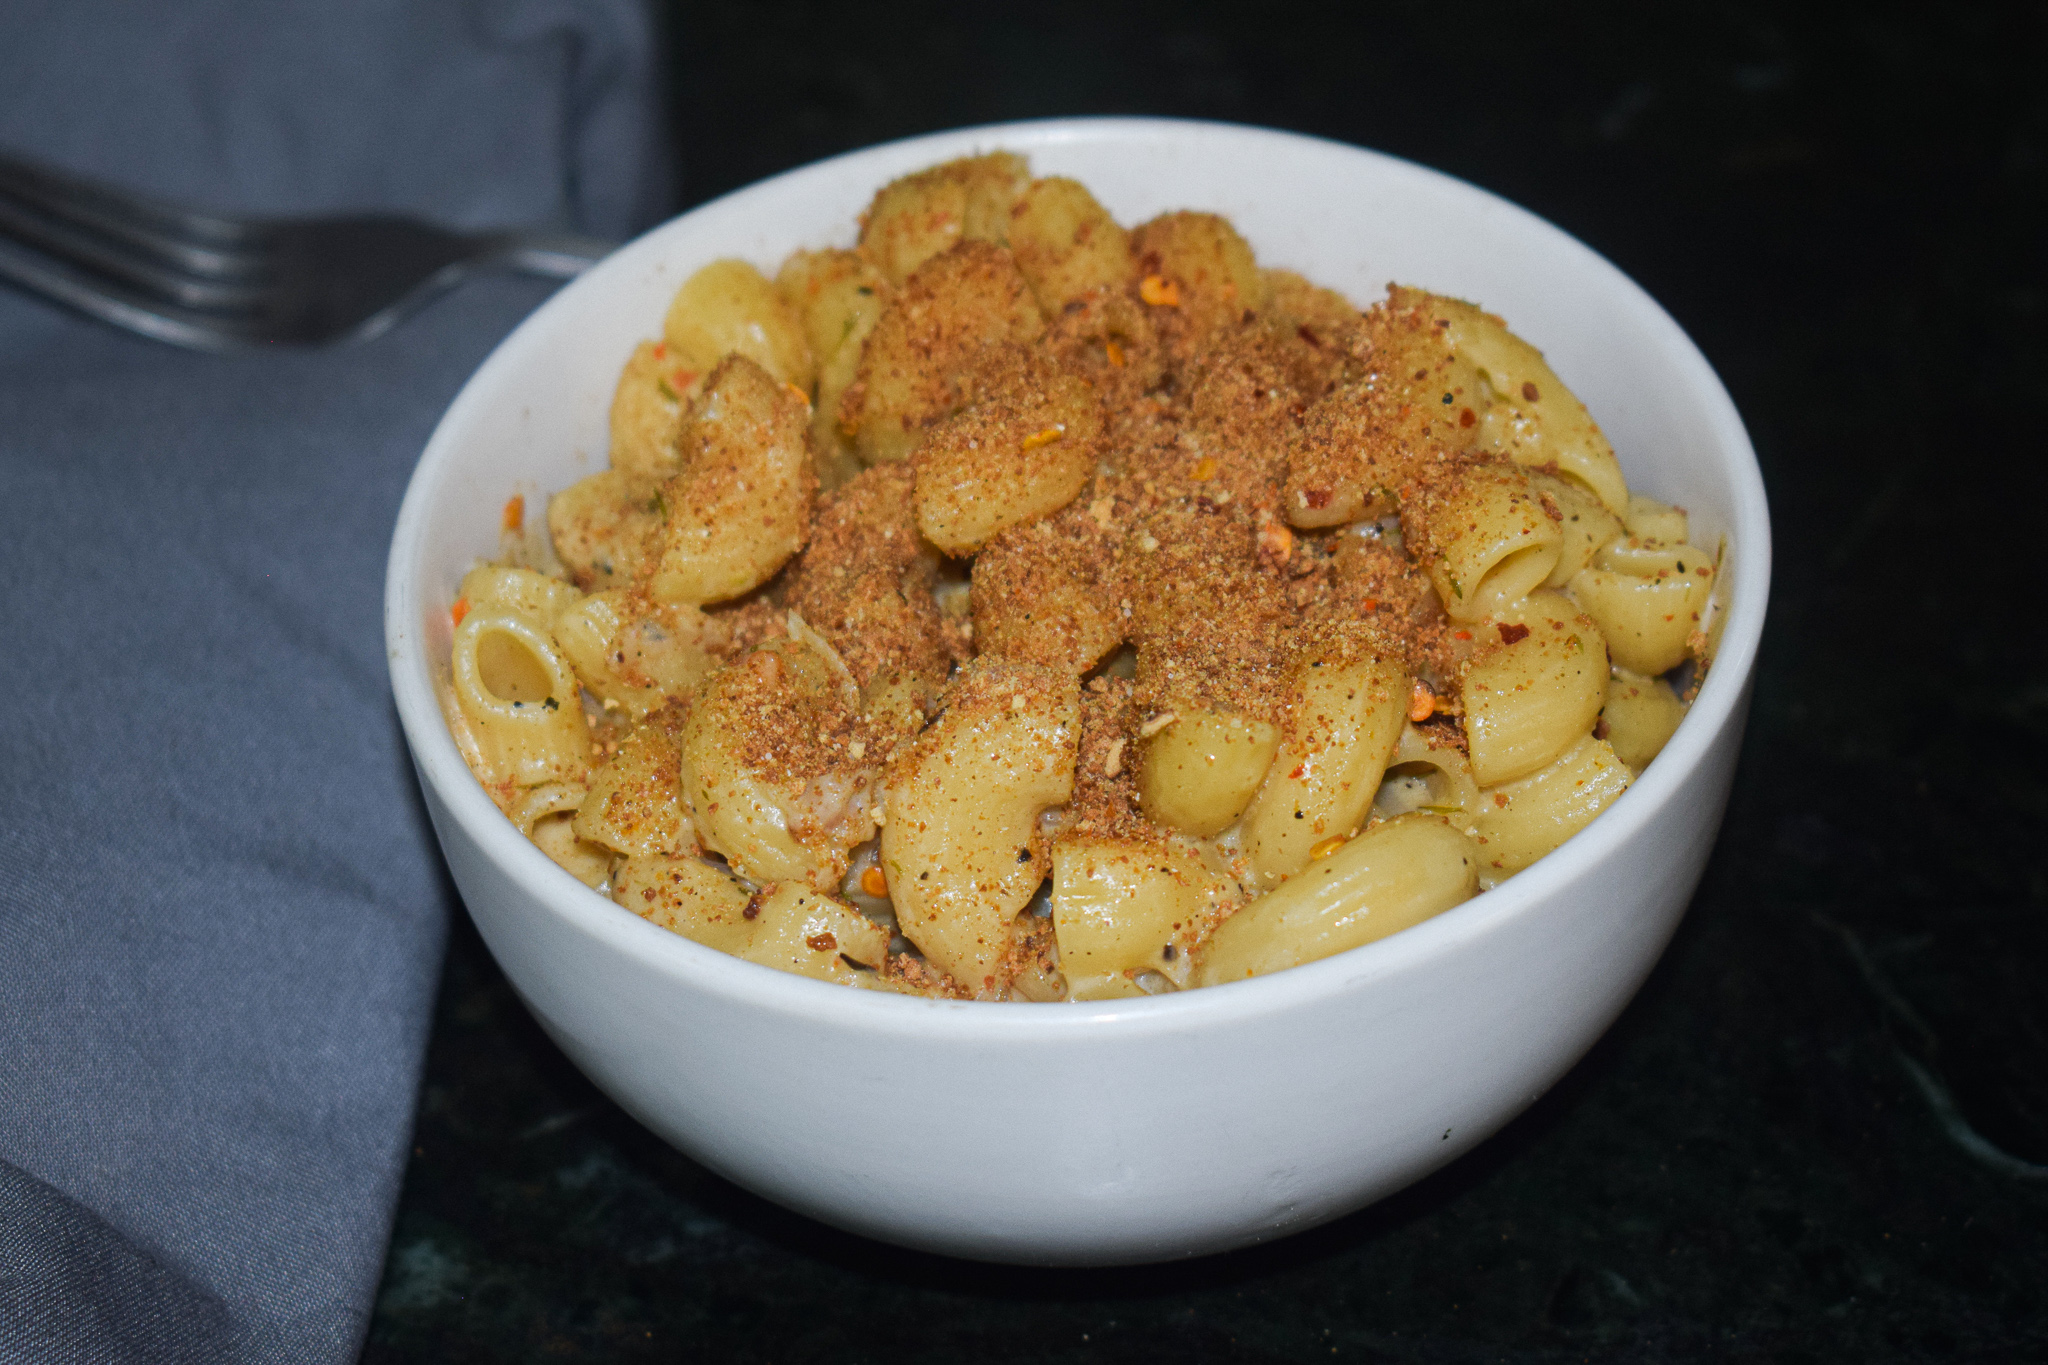
The second best part about this macaroni and cheese recipe is that delicious topping of panko breadcrumbs, seasoned with salt and pepper. This topping makes a world of a difference to the flavour profile and elevates this recipe to a whole new level. It is a must if you make this, as the recipe is otherwise pretty simple.

macaroni and cheese

Good quality macaroni is a must!

The market has a wide variety of macaroni, but this recipe requires for one that is sturdy and does not melt too quickly. Go for a brand that has superior quality elbow macaroni, and skip the flimsy ones that you might make for an Indian style macaroni pasta. This is because the macaroni will cook in the base of cream and hot water, and it needs to maintain its shape and not disintegrate into the sauce. Clumpy or mashed macaroni is a nightmare when it comes to a good macaroni and cheese.

macaroni and cheese

Here’s a look at the recipe.

Preparation time – 15 minutes

Cook time – 35-40 minutes

Serves – 4

[ingredients title=”Ingredients”]

  • 1 cup breadcrumbs
  • 1/4 tsp black pepper powder (for flavouring the breadcrumbs)
  • 1 cup elbow macaroni
  • 2 tbsp cooking oil (any neutral oil like Sunflower/Canola etc.)
  • 2 tbsp butter (25 grams)
  • 1 cup finely chopped onions
  • 3 medium cloves of garlic, finely chopped
  • 6 cups of boiling hot water
  • 3 cups elbow macaroni
  • 1/2 cup fresh cream
  • 1/2 tbsp freshly ground black pepper powder
  • 1/2 tsp Oregano
  • 1/2 tsp chilli flakes (optional)
  • 1 tsp dried mix herbs (if any)
  • Salt to taste
  • 150 g grated processed cheese [/ingredients]

[directions title=”Directions”]

  1. Heat a skillet and add the breadcrumbs. Keep stirring the breadcrumbs on medium to low flame till they start to turn golden brown. Do not burn.
  2. Season the breadcrumbs with salt and black pepper powder. Set aside for later.
  3. Heat oil in a skillet or pot. Add the butter and mix the two fats. Add the chopped onions and saute till they turn aromatic and slightly golden brown.
  4. Once the onions are soft, add the garlic and saute till it assimilates with the oils and the onion.
  5. Once the onions and garlic is cooked and do not contain any rawness, add the hot water and the cream. Mix well and let it come to a boil.
  6. Add the elbow macaroni into the boiling base and stir well.
  7. Season with salt, black pepper powder, and the herbs. I like to add chilli flakes for some heat, you can skip it if you do not want it.
  8. Once everything is well combined, cover and let the macaroni cook on medium to low flame for 10-15 minutes (or till soft). Keep checking from time to time to prevent it from burning.
  9. Take lid off and stir till you get a creamy consistency. Add in the rest of the cream and cheese and mix well.
  10. Serve hot with a generous topping of the toasted breadcrumbs. Enjoy! [/directions]

macaroni and cheese

macaroni and cheese

I hope you try this delicious macaroni and cheese recipe soon. It is a slight deviation from the traditional recipe, but tastes lighter and extremely delicious!

If you have any doubts, comments, or feedback, please reach out to me in comments or my social media handles.

Find me on Instagram – www.instagram.com/slurrpilicious

Join me on Facebook – www.facebook.com/slurrpilicious

Watch me on Youtube – https://www.youtube.com/channel/UCA-cJoo27OLSCswI4sy6lzA?

Happy cooking!

Asian Style Vegetables in Oyster Sauce

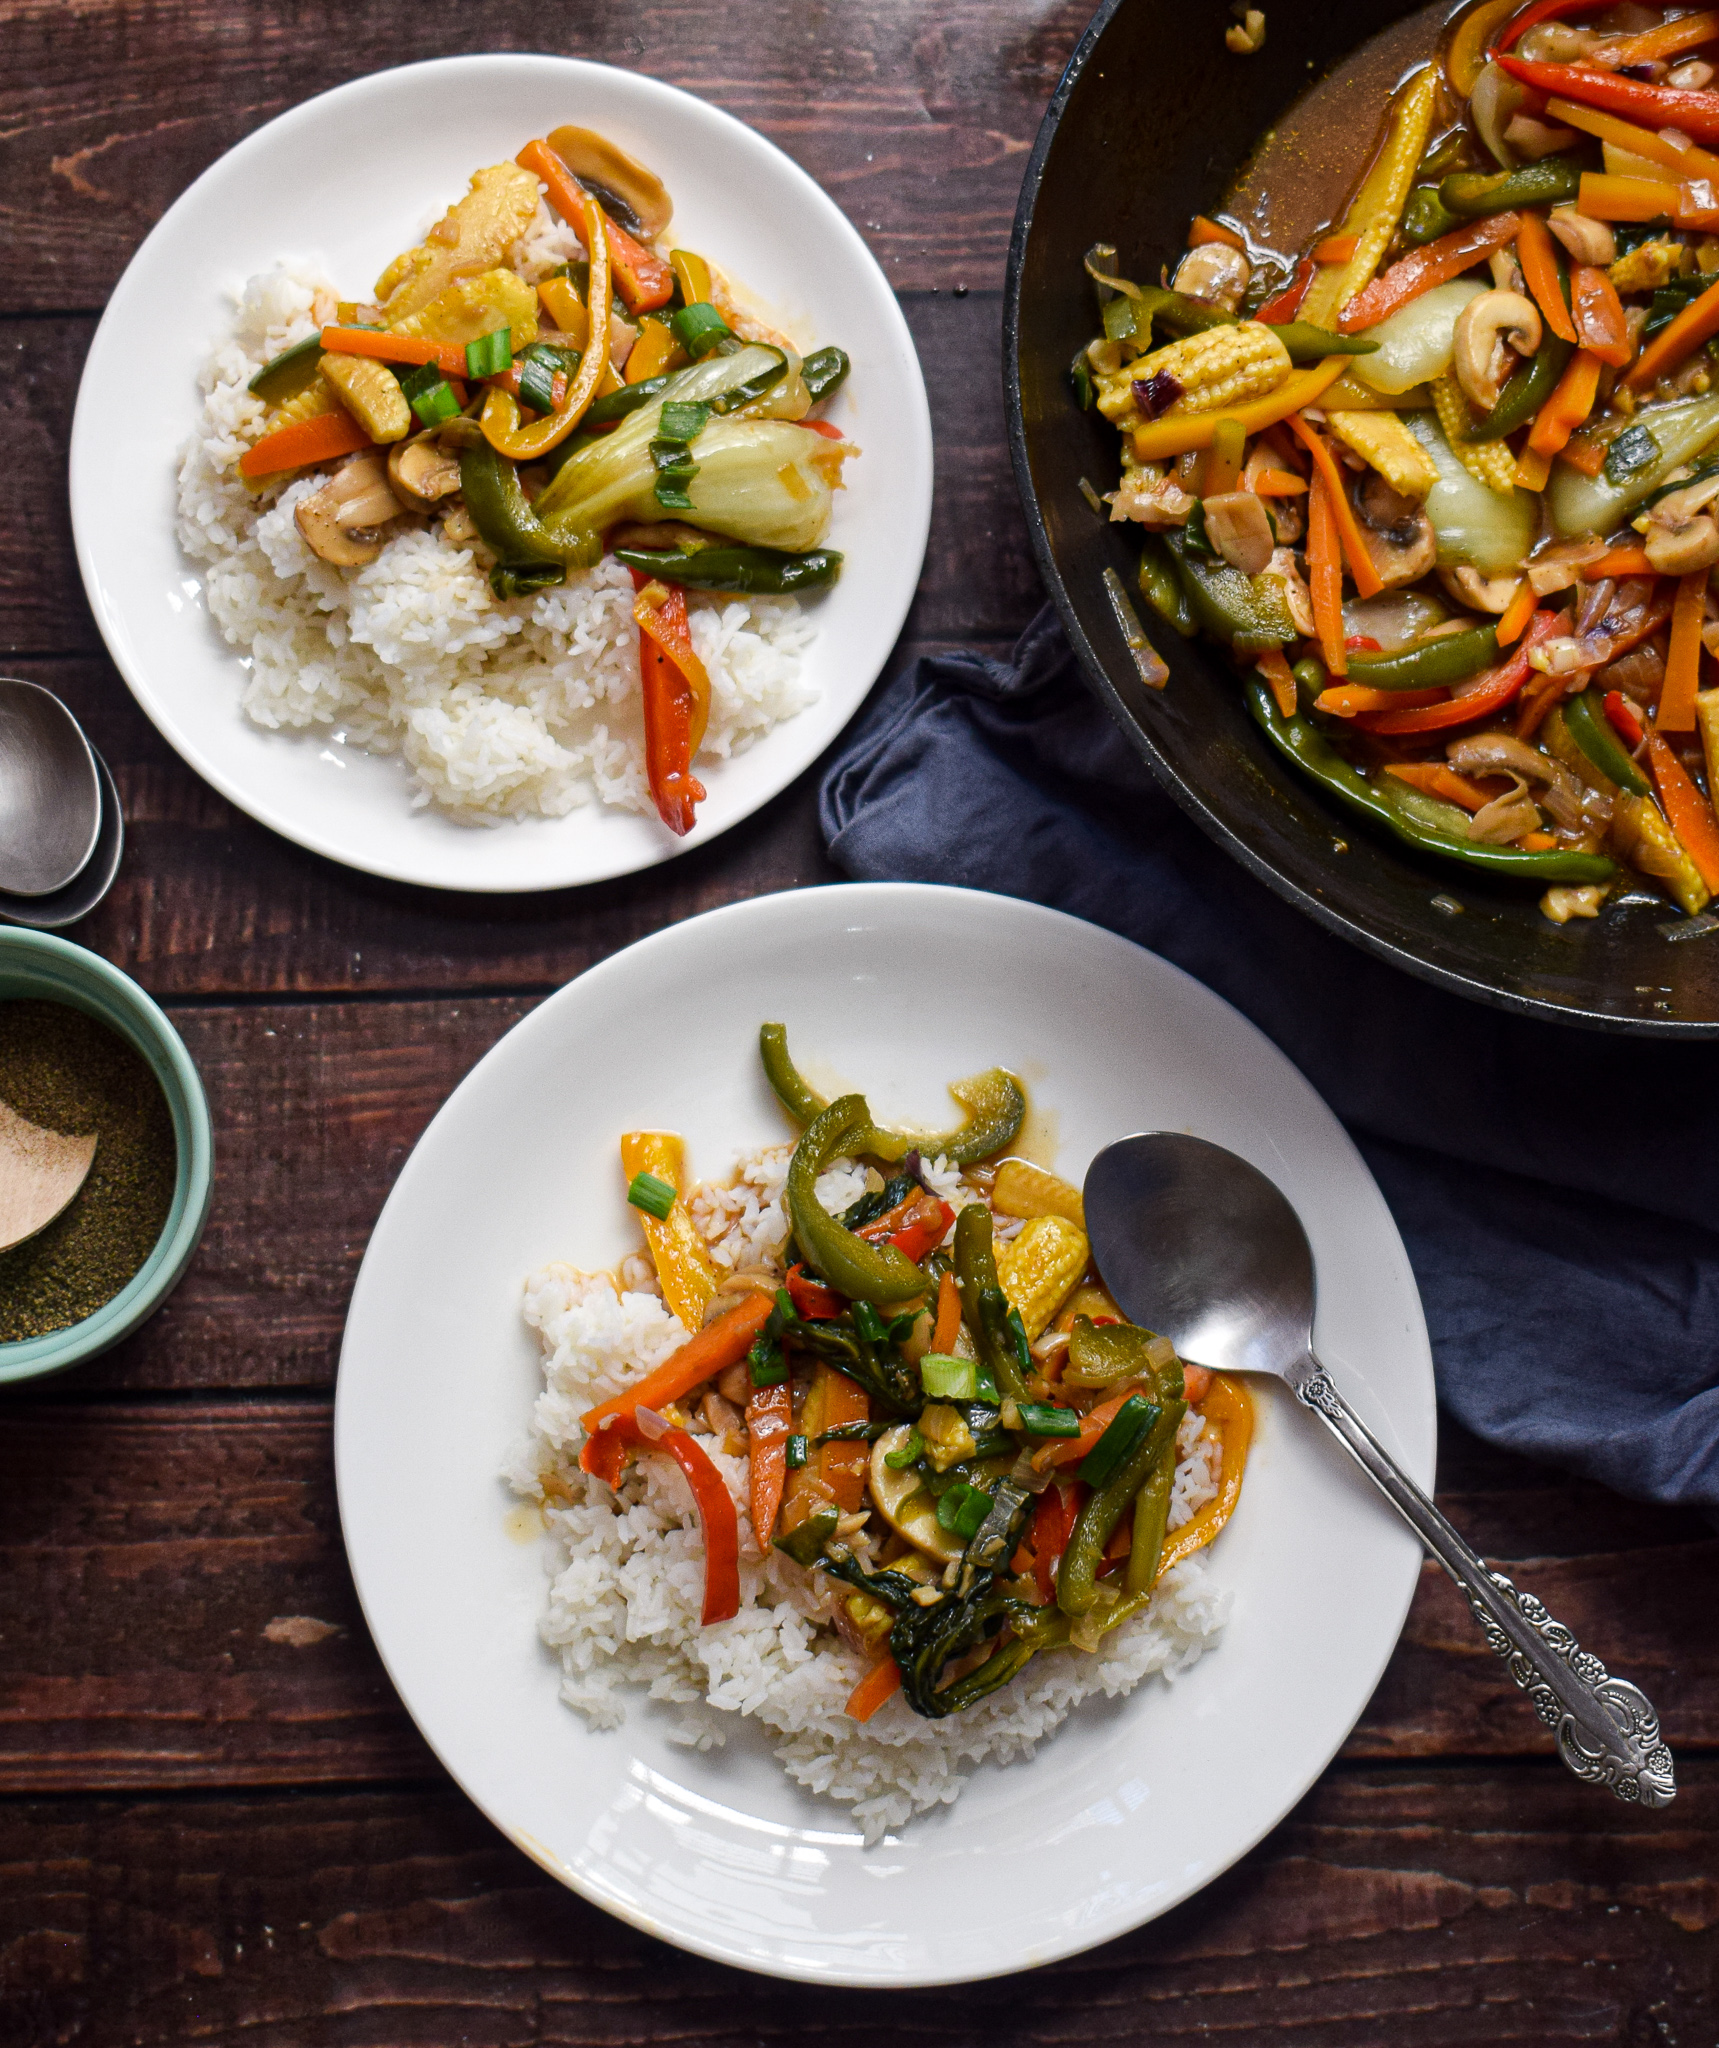
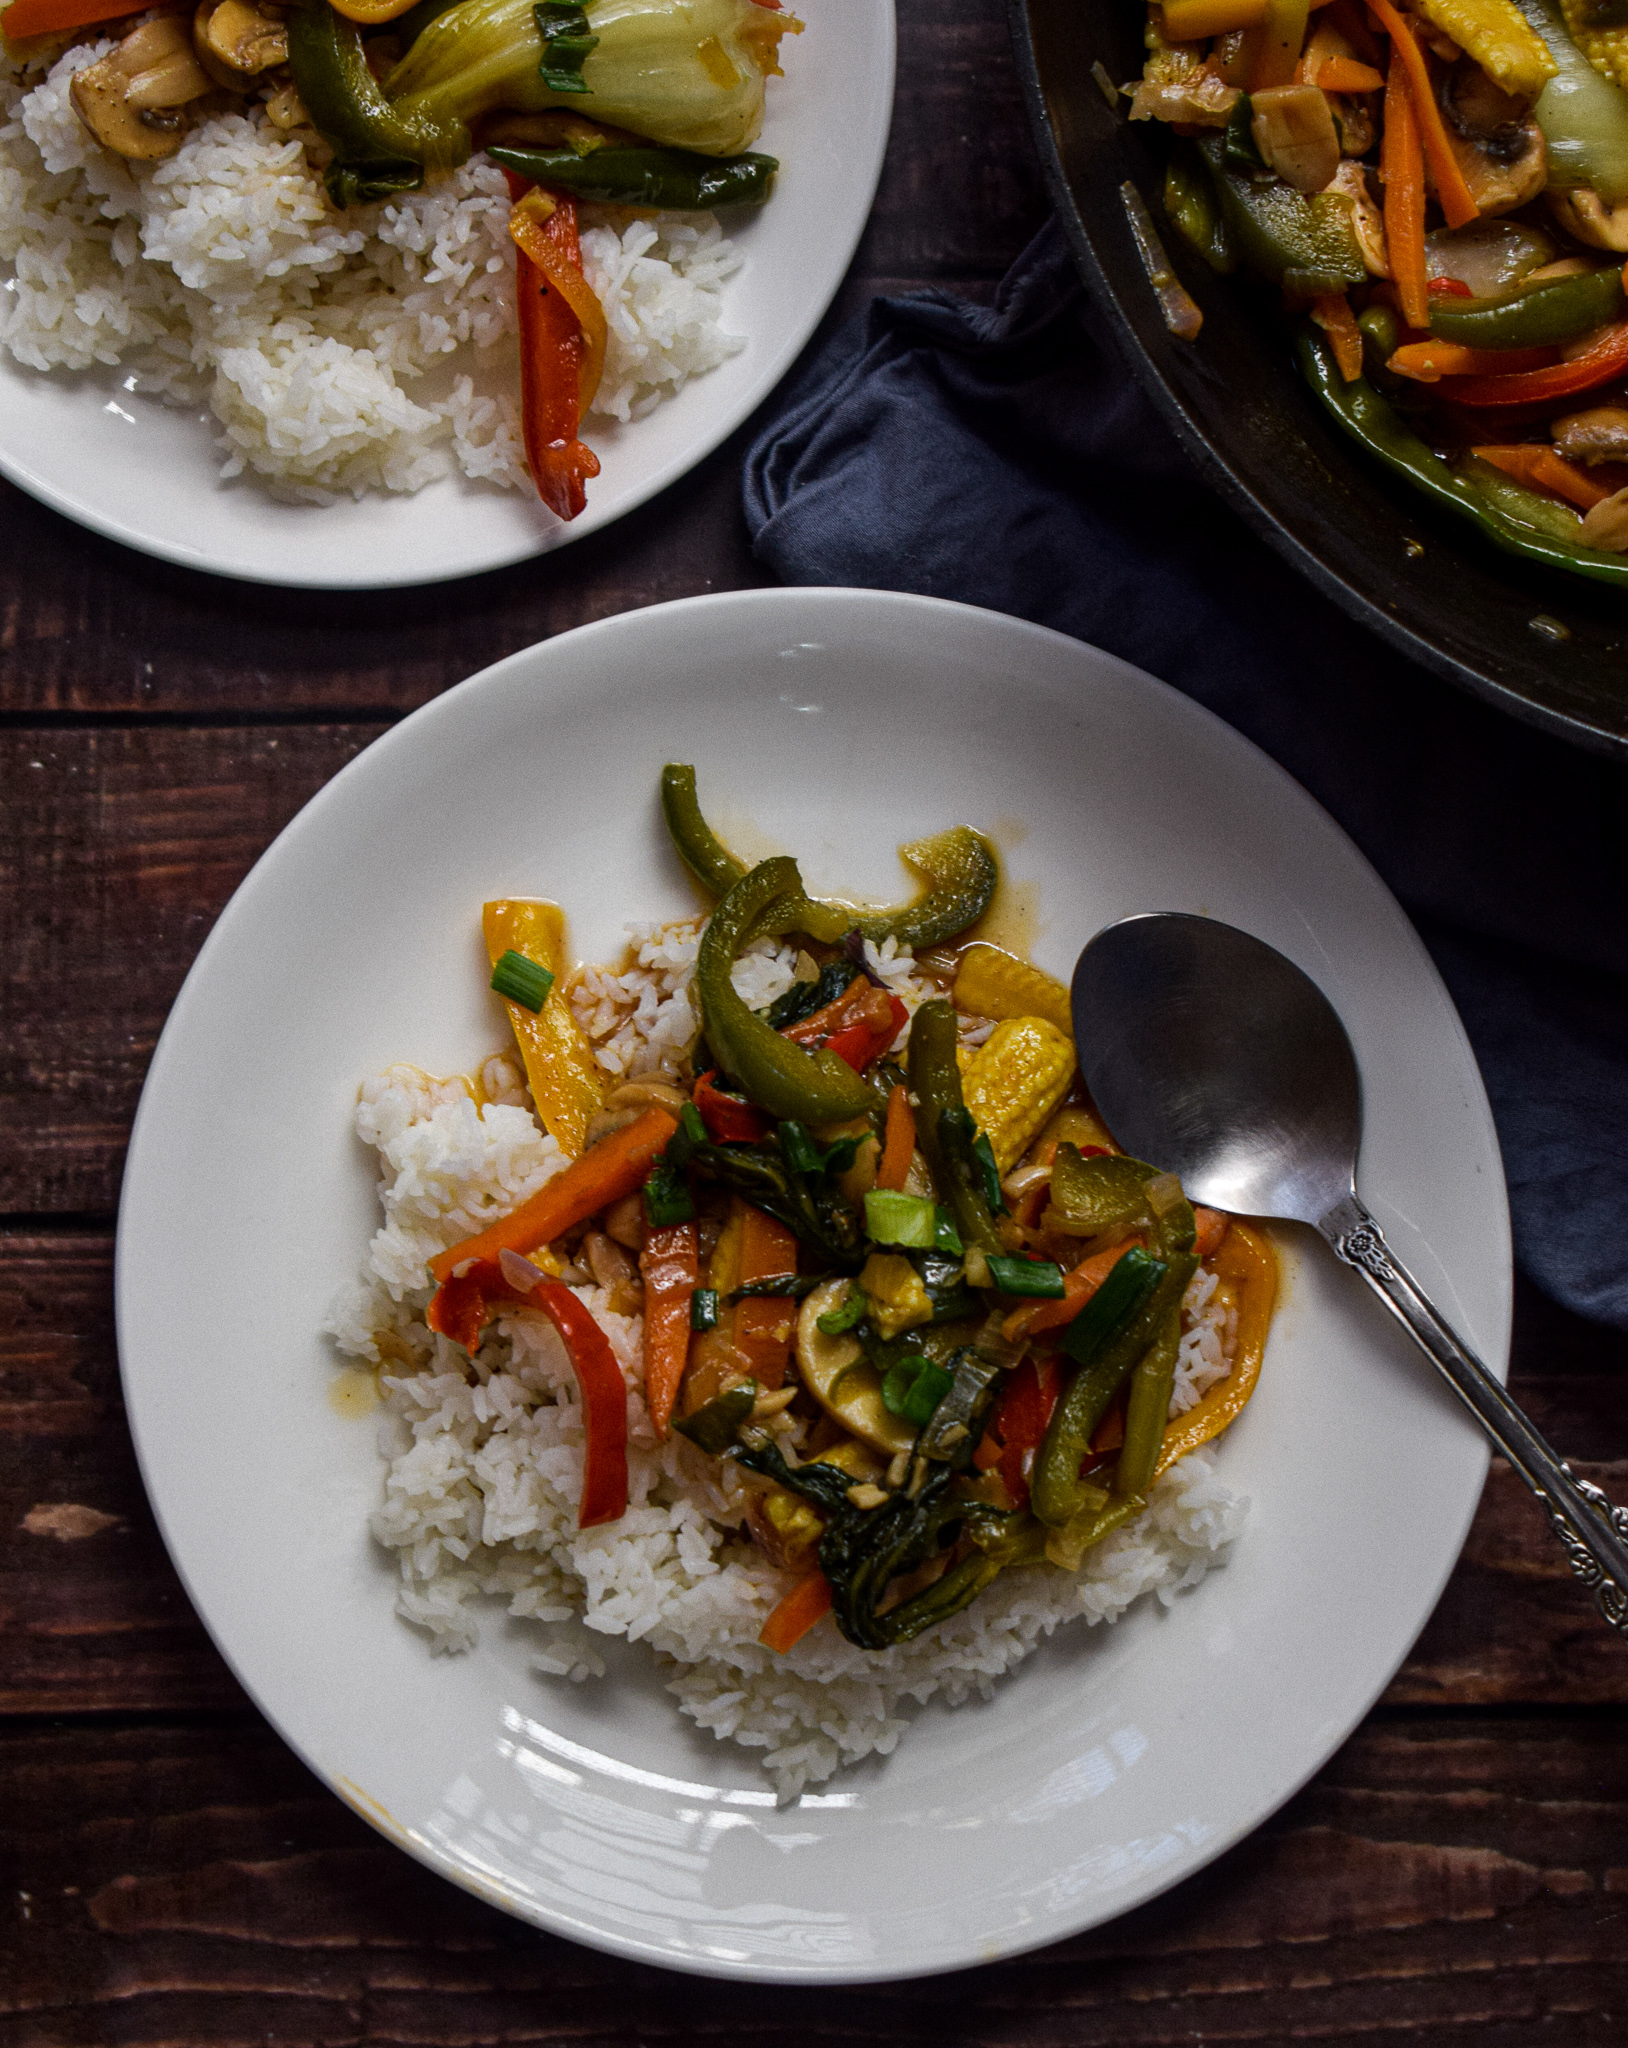
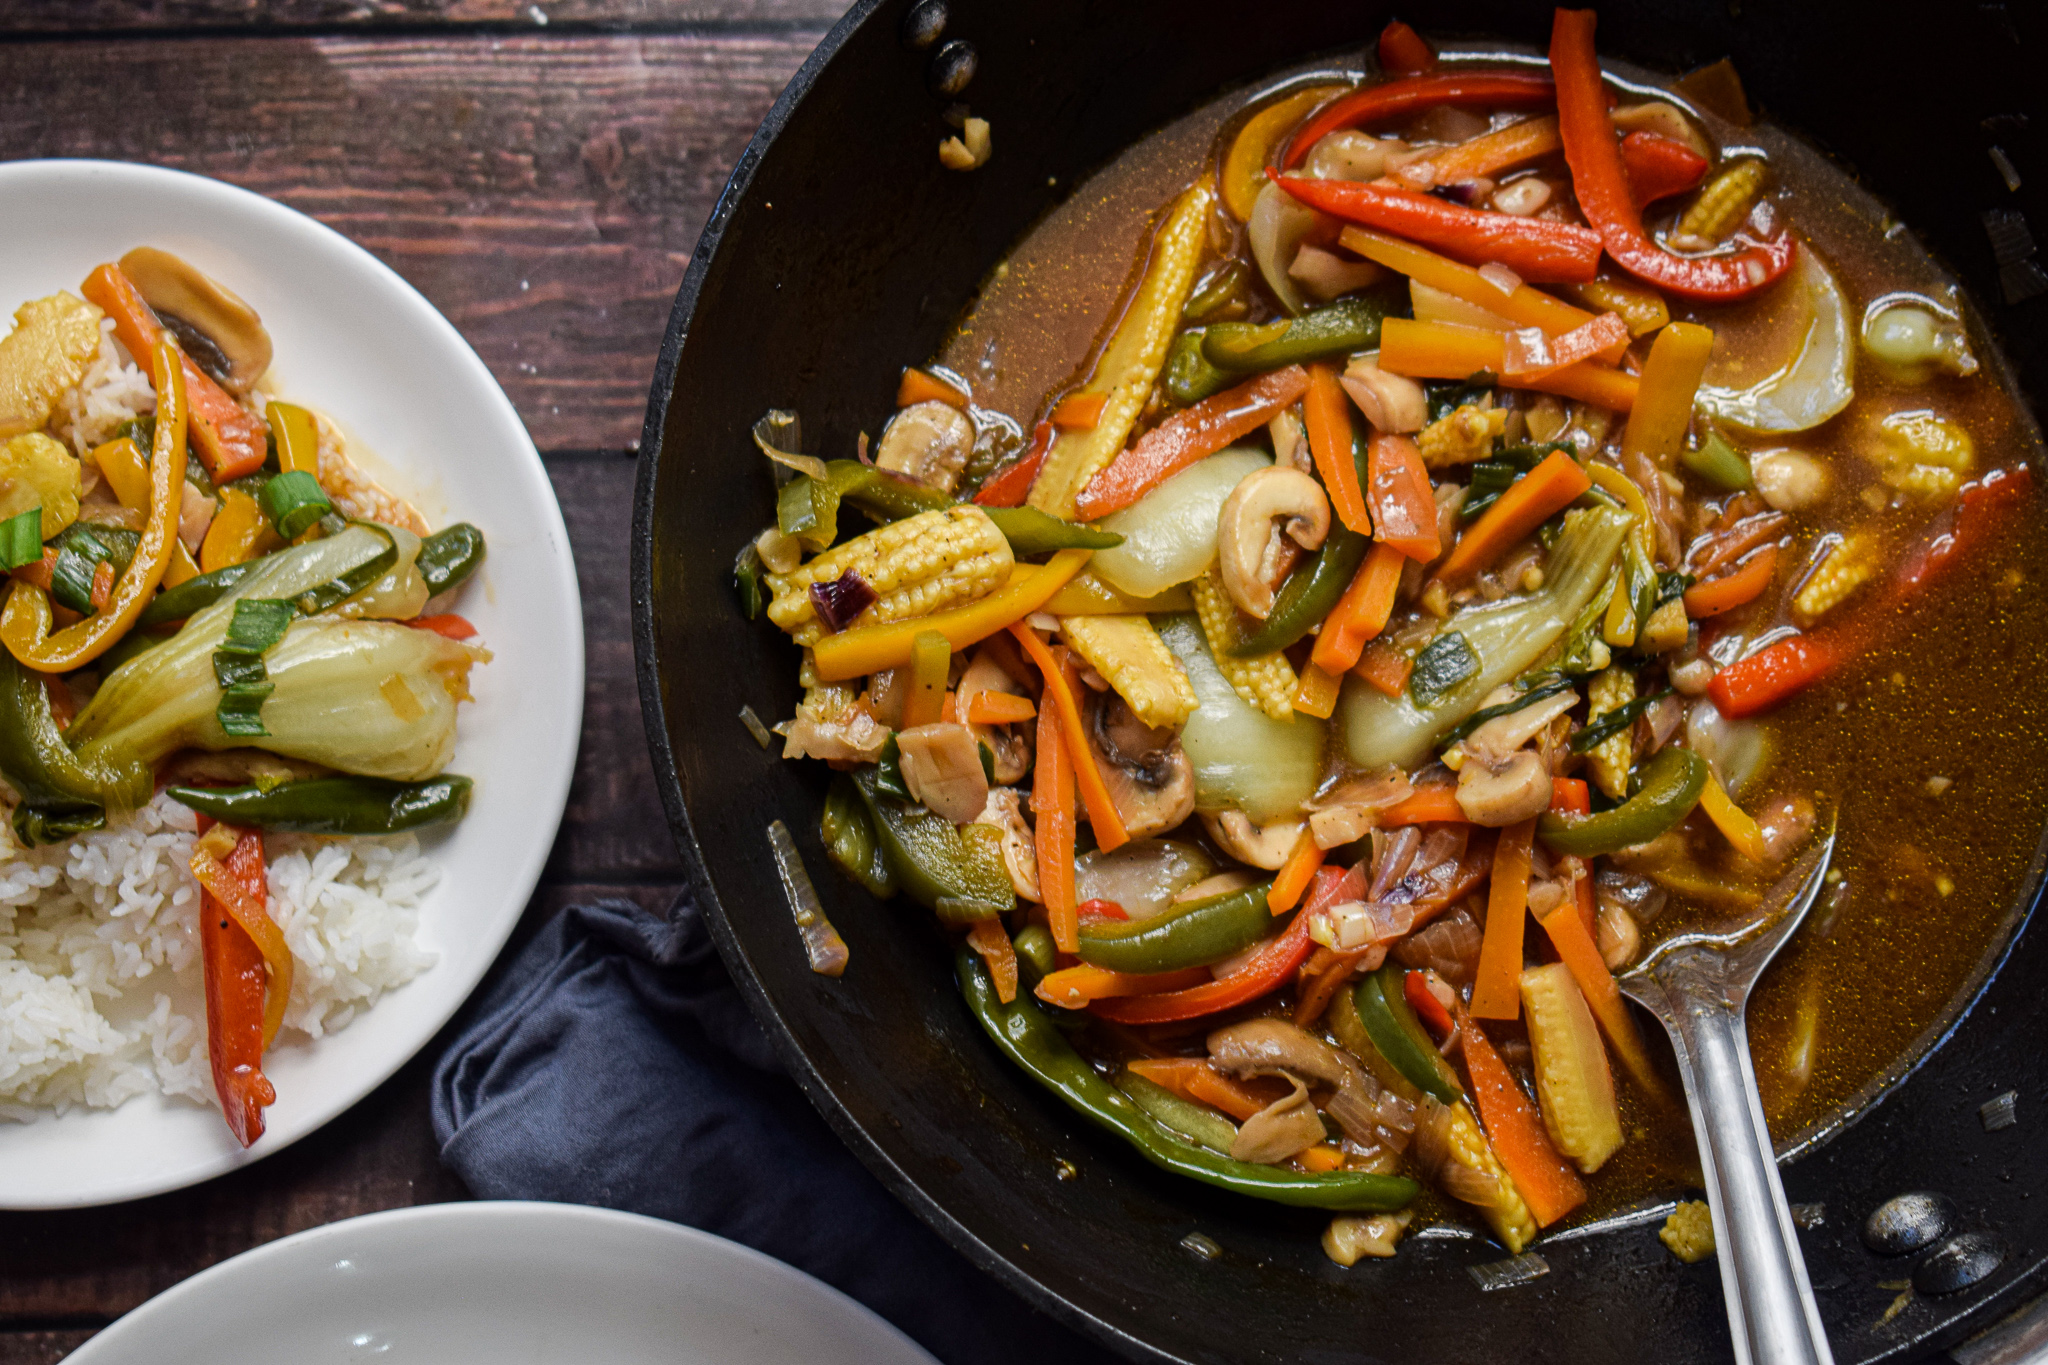
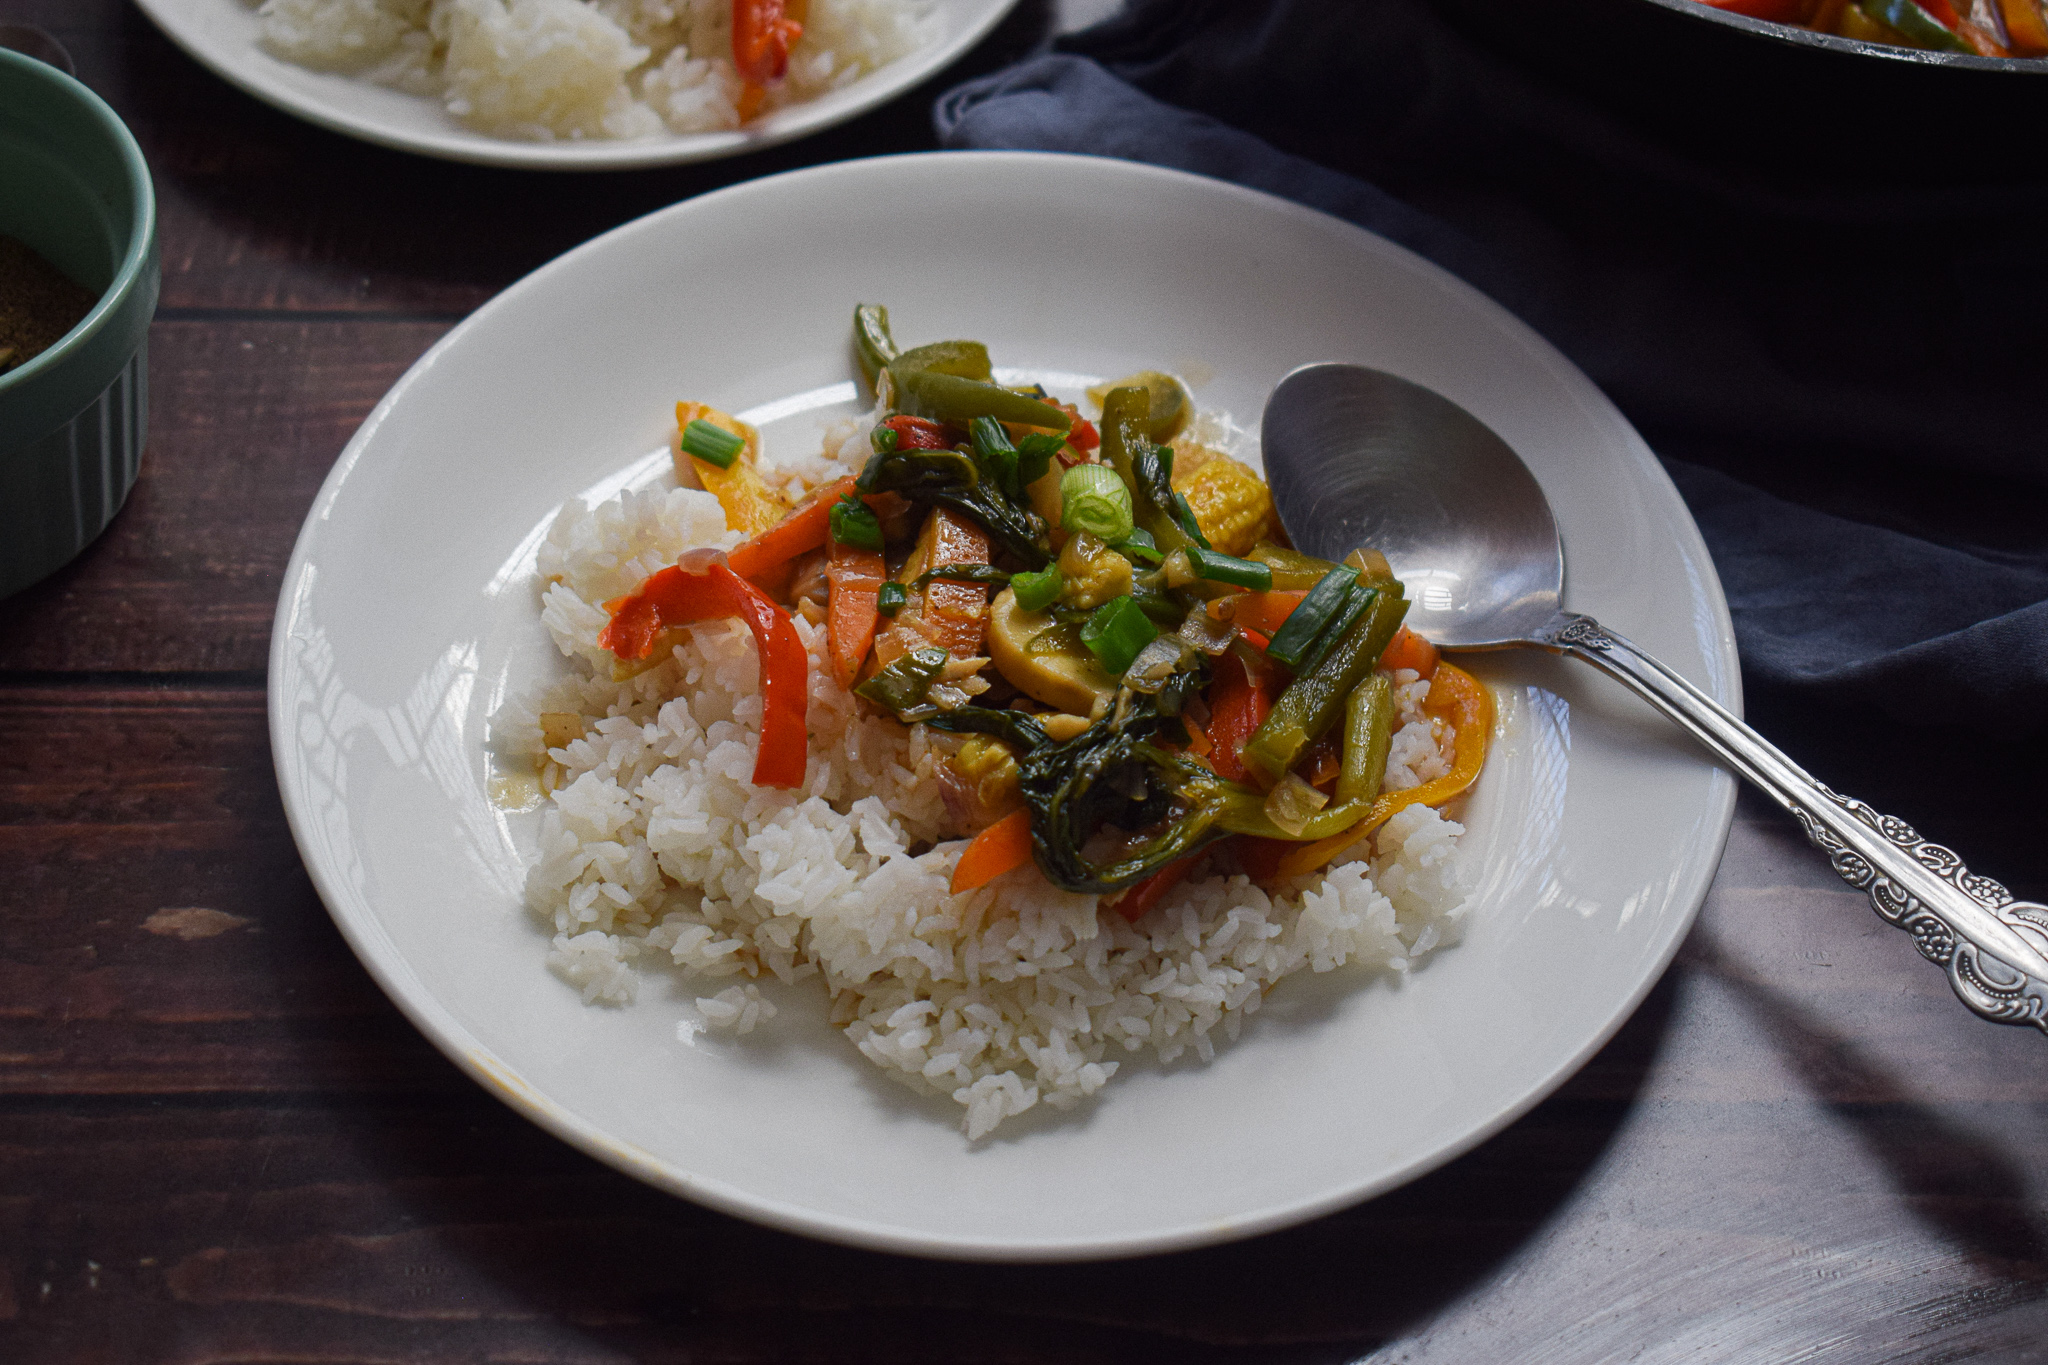
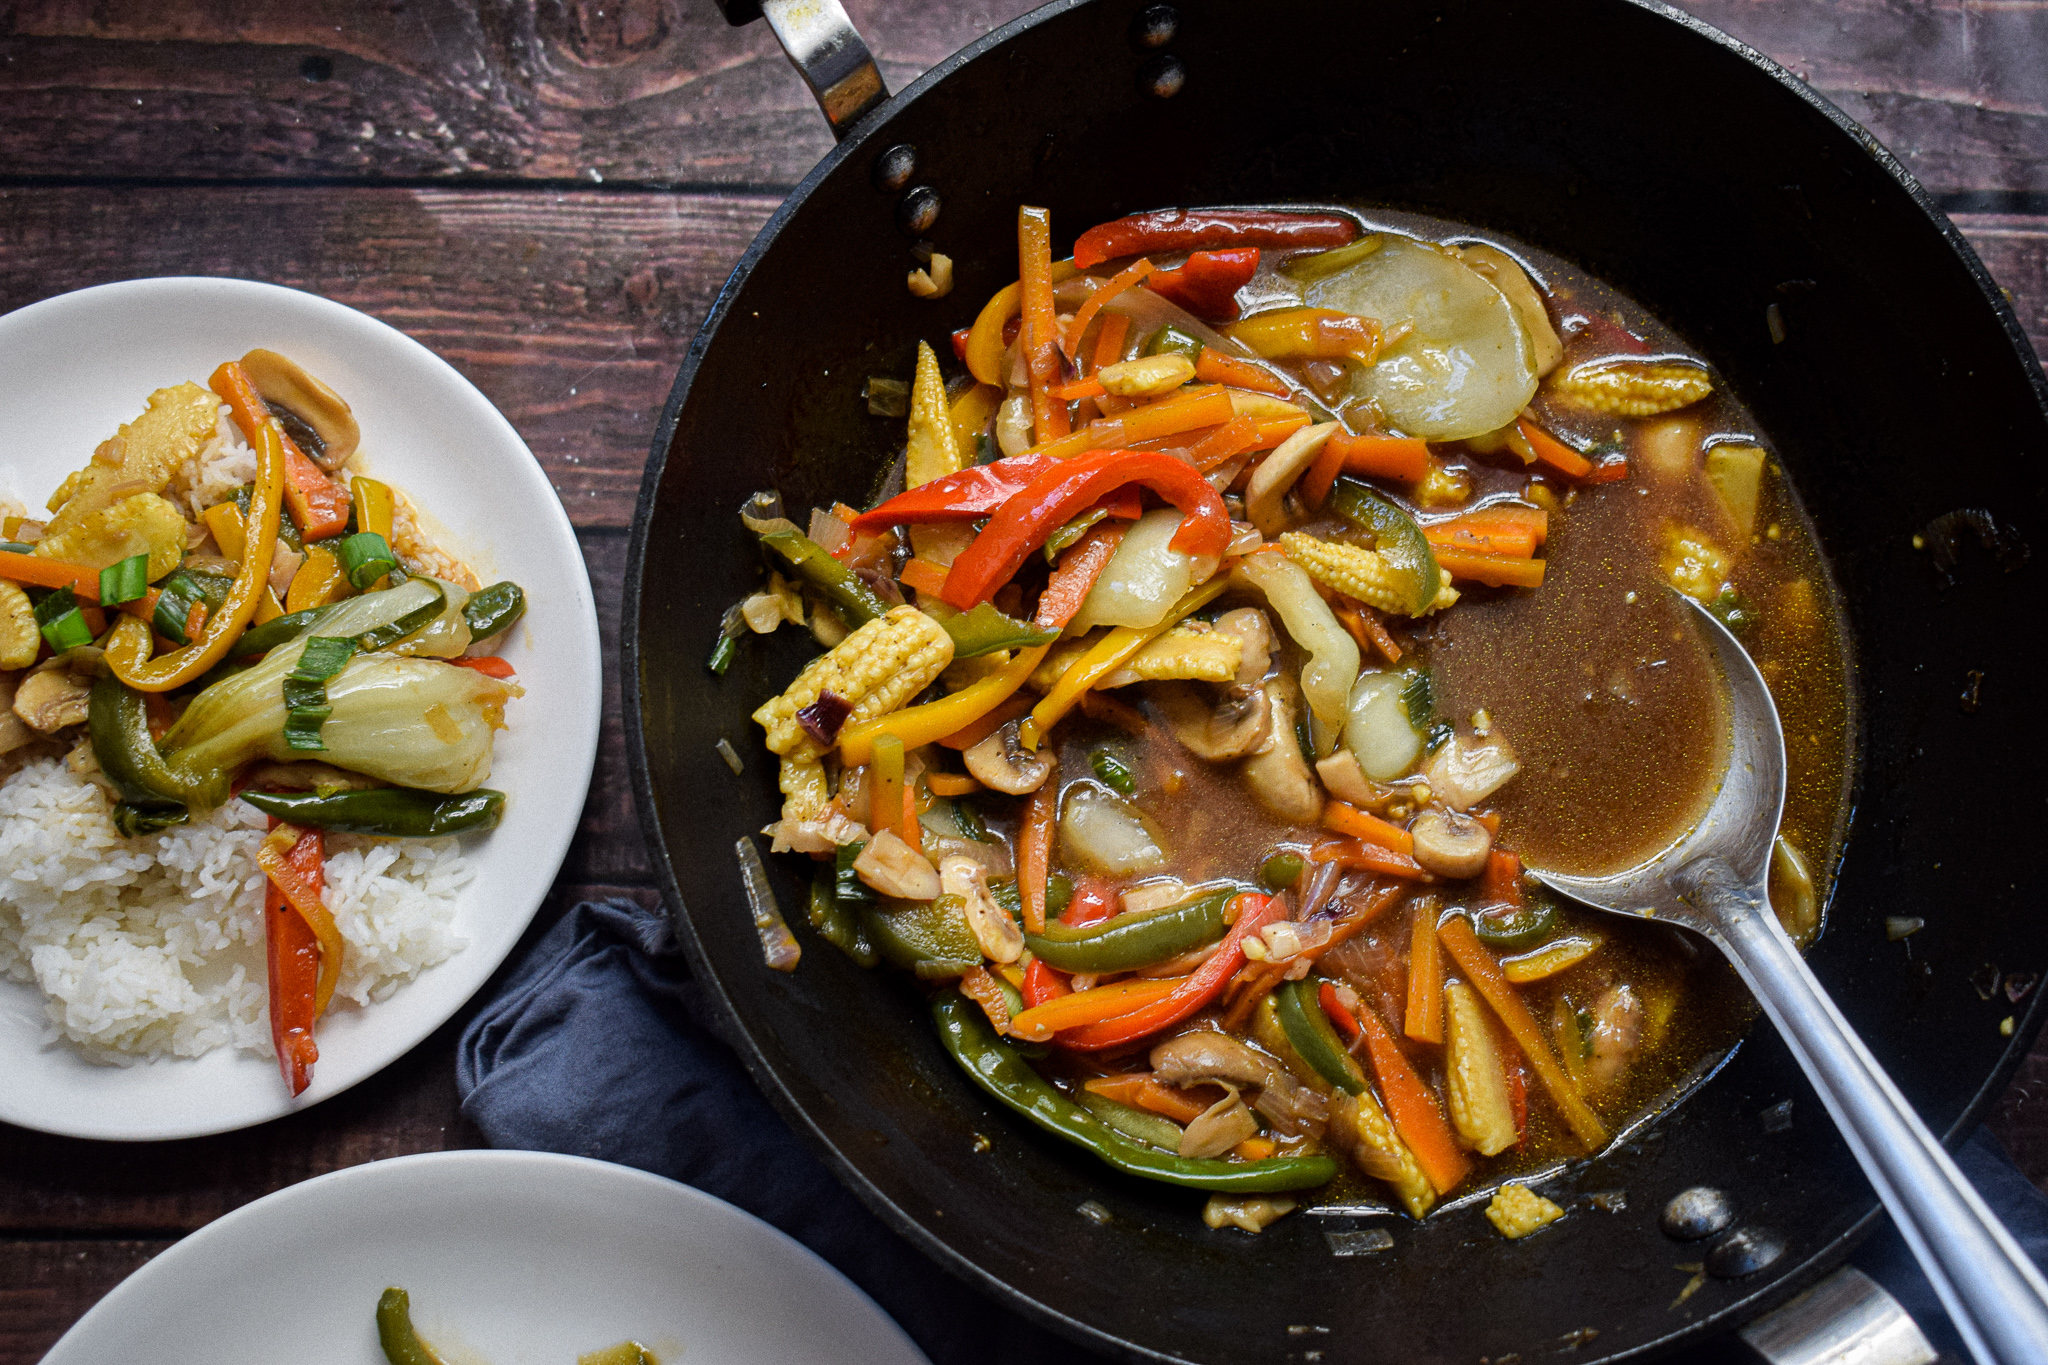
I love eating my vegetables and here is a treasured way to do that. An easy, simple and absolutely stunning preparation of vegetables in oyster sauce, this recipe is a weeknight favourite. Pair it up with some jasmine rice and you will have a wholesome, healthy and luscious meal in 30 minutes cook time.

vegetables in oyster sauce

The beauty of this recipe lies in its innate simplicity. It just involves cutting up those colourful and nutritious vegetables, mixing up some basic Asian sauces and bringing it all together in a wok. There is no secret ingredient, technique or trick. Anybody can pull this off. I have had people tell me in the lockdowns how this recipe helped them eat their vegetables when they were too scared to consume meat. This vegetables in Oyster sauce preparation is an easy hack to relish vegetables in a beautiful stock that is healthy and nutritious.

vegetables in oyster sauce

vegetables in oyster sauce

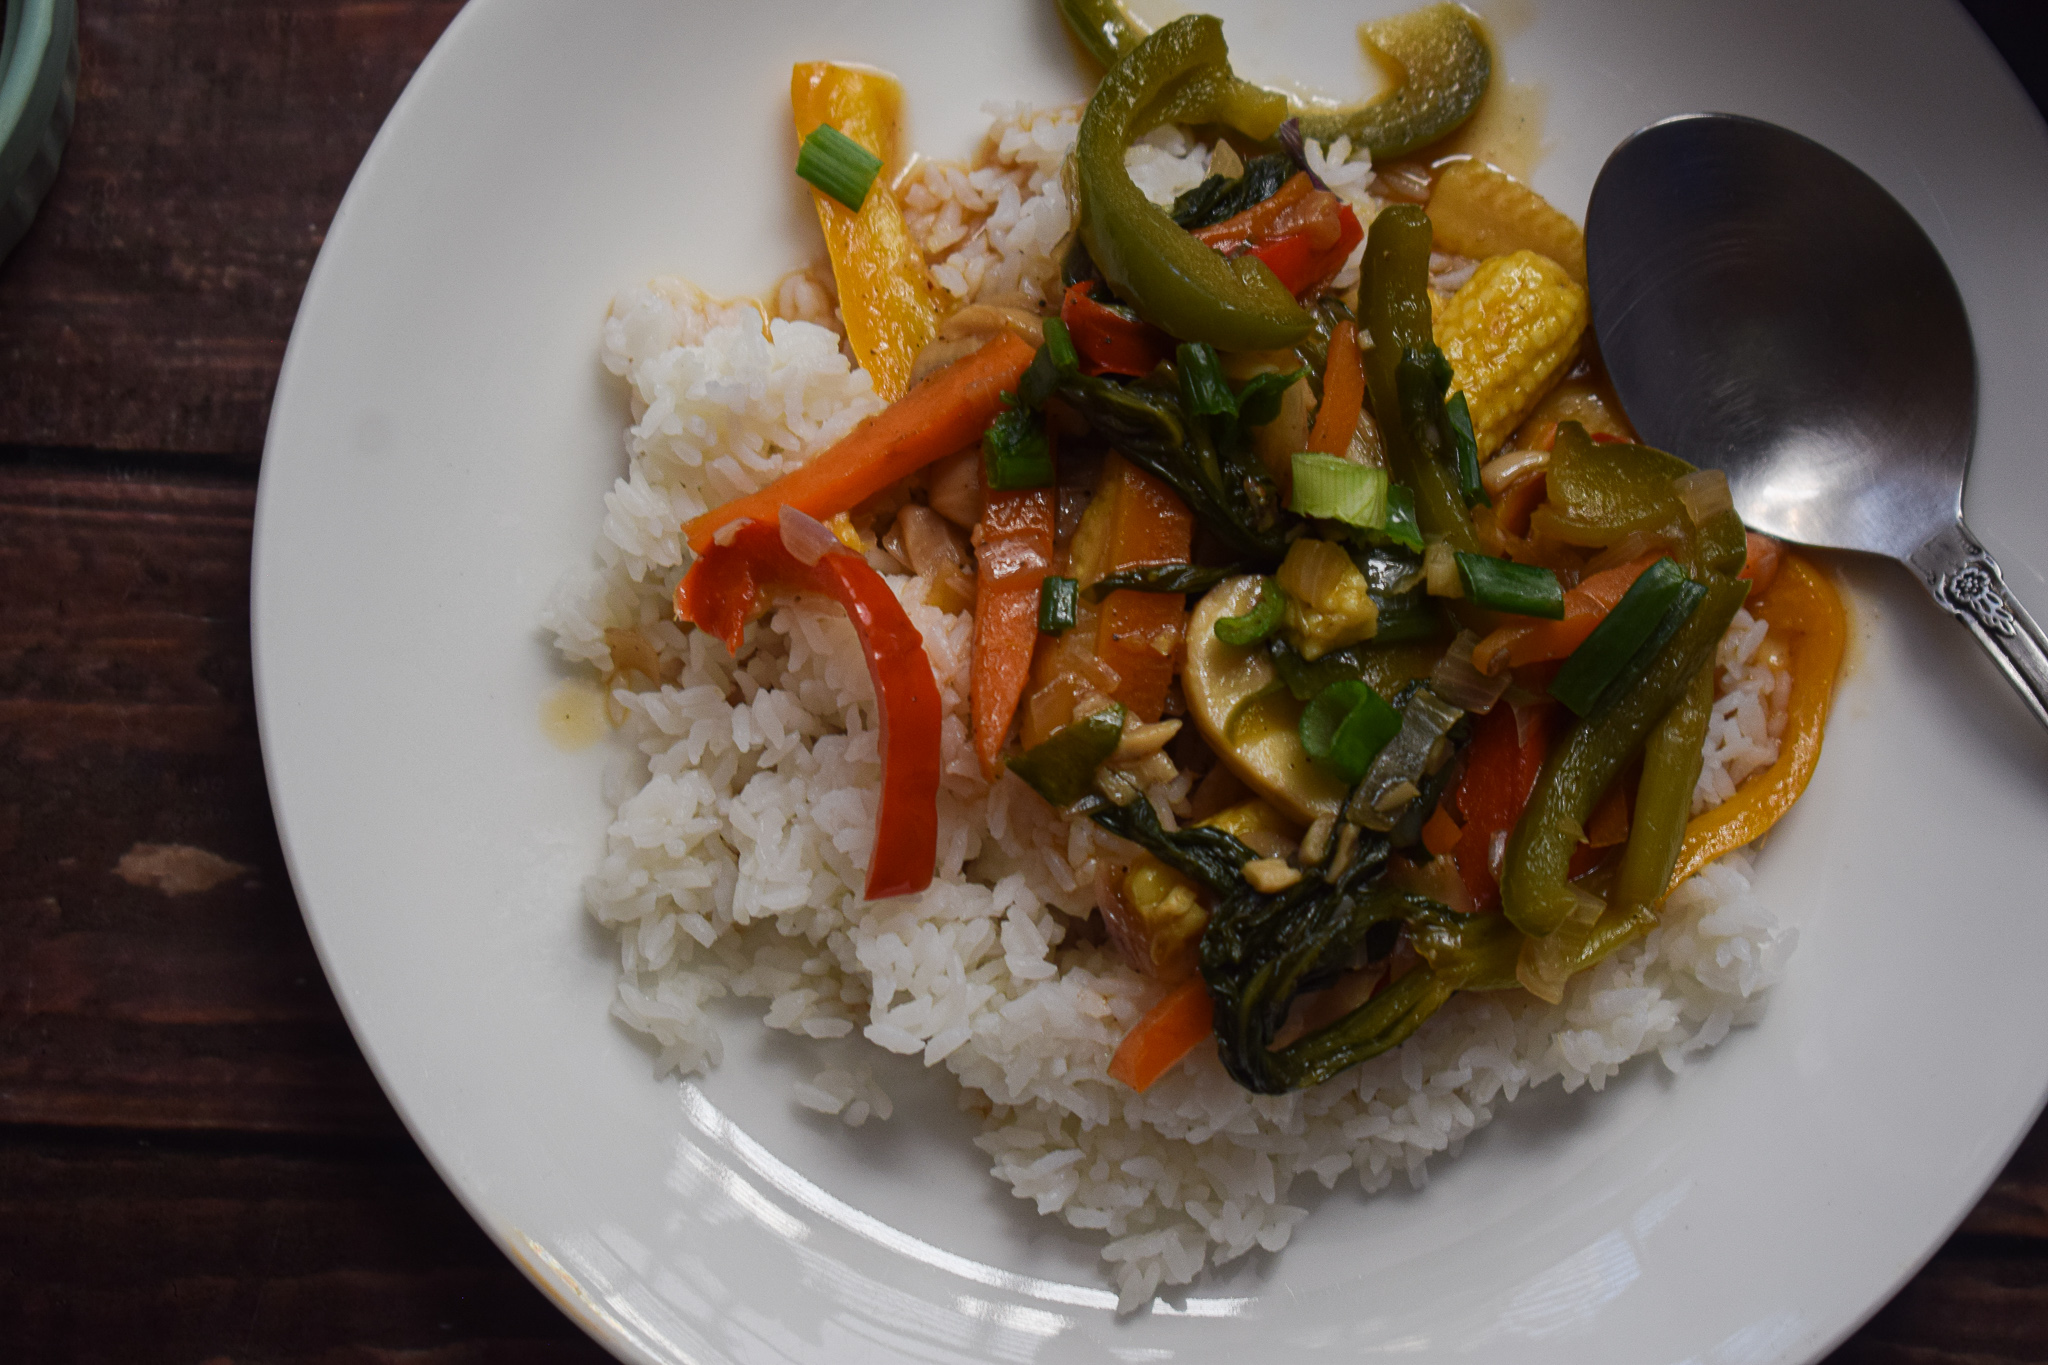
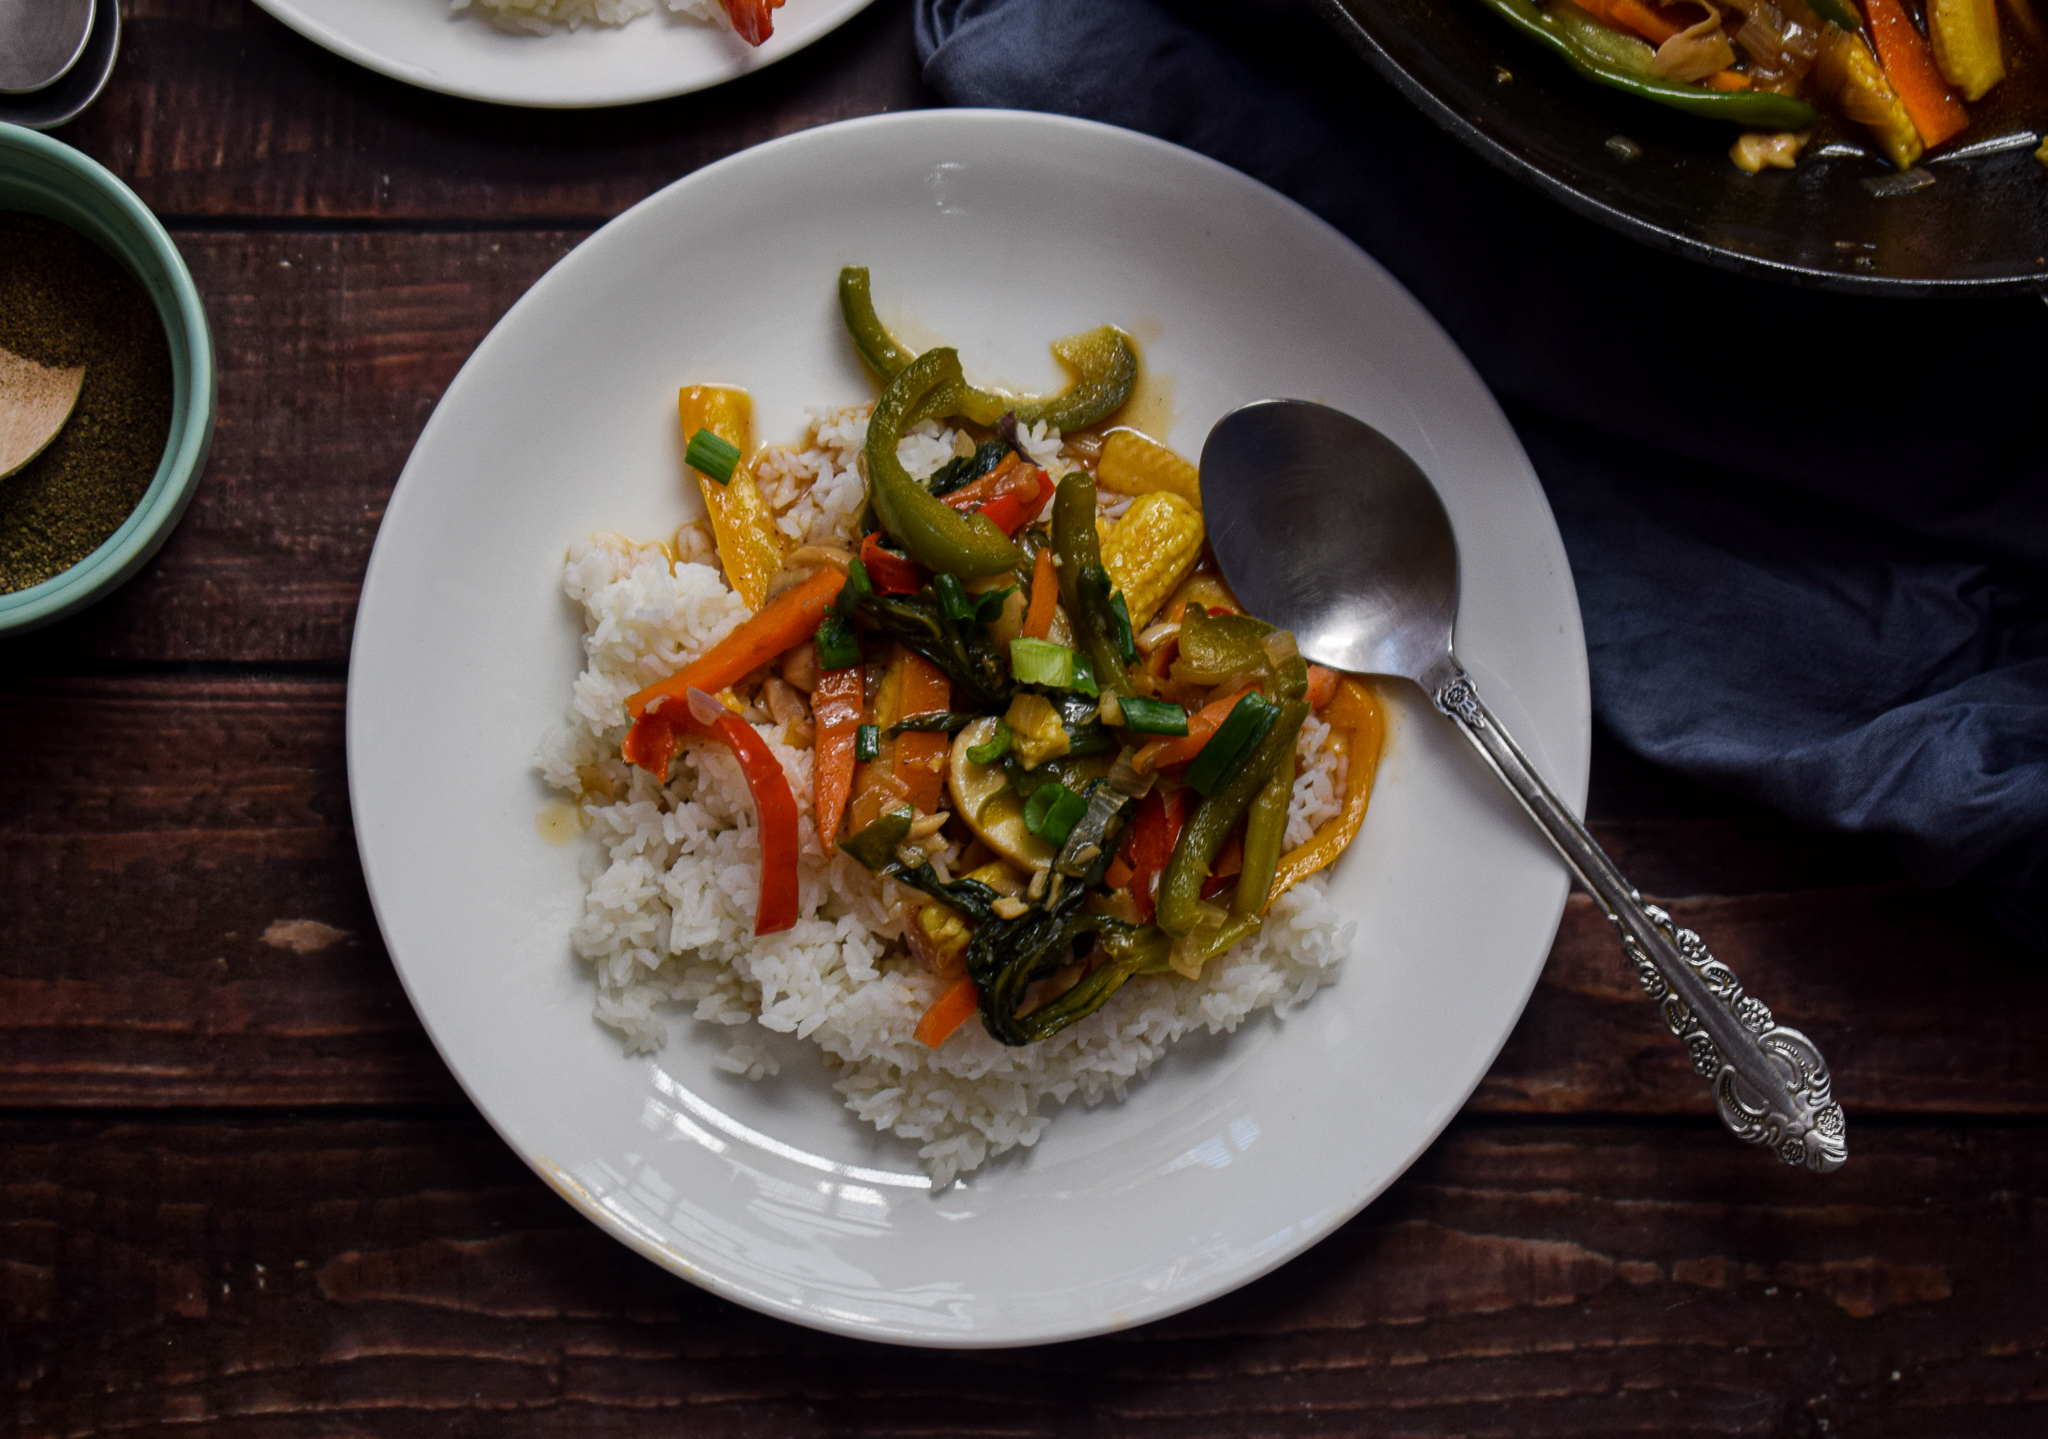
Since the vegetables are the key ingredients in this preparation, I have chosen naturally sweet vegetables that can add a lot of crunch and flavour to the dish. The red and yellow bell peppers add colour and sweetness, the baby corn and carrots add their own crunch and sweet flavour and the mushrooms add an earthy flavour. The sauces are soy and Oyster sauce. If you’d like to make this vegan, you can opt for vegan variations of Oyster sauce or use any other Asian sauce like Schezwan or Red Chilli. This recipe is highly customisable basis your preferences.

vegetables in hot garlic sauce

Let’s take a look at the ingredients and procedure to make this delicious recipe – Vegetables in Oyster Sauce :

Preparation time – 20 minutes

Cook time – 30 minutes

Serves – 4 people

[ingredients title=”Ingredients”]


  • 30 ml vegetable oil (2 tbsp approx.)
  • 15 ml sesame oil (1 tbsp approx.)
  • 15 g finely chopped garlic (1 tbsp approx.)
  • 10 finely chopped ginger (3/4 tbsp approx.)
  • 80 g finely chopped onions (2/3 cup approx.)
  • 110 g sliced carrots
  • Red bell pepper, sliced – 100g
  • Green capsicum, sliced – 100g
  • Yellow bell pepper, sliced – 100g
  • Baby corn, sliced – 100g
  • Button mushroom – 100g
  • Bokchoy – 150g
  • 4 whole green chillies
  • Salt to taste
  • 12g black pepper powder
  • Oyster sauce – 15 ml(1 tbsp approx.)
  • Red chilli sauce – 15 ml (1 tbsp approx.)
  • Dark soy sauce – 30 ml (2 tbsp approx.)
  • Balsamic vinegar – 15 ml (1 tbsp approx.) (Substitute – while vinegar)
  • 1 tbsp cornflour
  • 1 cup hot water
  • Chopped spring onion greens for garnish [/ingredients]

[directions title=”Directions”]

  1. Chop all the vegetables and keep ready.
  2. Heat oil in a hot wok.
  3. Toss in the ginger and garlic and stir on high heat for ten seconds.
  4. Add the chopped onions and stir till they turn translucent. Do not brown.
  5. Once the onions are translucent, add the carrots, green capsicum, red bell pepper, yellow bell pepper and baby corn. Stir all this on high heat for 2-3 minutes.
  6. Add the mushrooms, bokchoy and whole green chillies and stir them into the mix.
  7. Season with salt and black pepper powder.
  8. Pour the Oyster sauce, soy sauce, red chilli sauce and vinegar. Mix well and let it all assimilate into the vegetable mix.
  9. Mix 1 tbsp cornflour in one cup hot water. Add this to the gravy and stir well.
  10.  Boil the mixture till you get your desired consistency.
  11. Garnish with fresh spring onions greens.
  12. Serve hot over rice. [/directions]

vegetables in oyster sauce

vegetables in oyster sauce

vegetables in oyster sauce

Every bite of this delicious vegetables in Oyster sauce will instantly comfort you! I hope you try out this recipe soon.If you do, let me know how it turned out for you.

If you have any questions, suggestions or feedback, please leave me a comment here. Or connect with me Instagram, Facebook or YouTube.

Happy cooking!

Soya Pulao

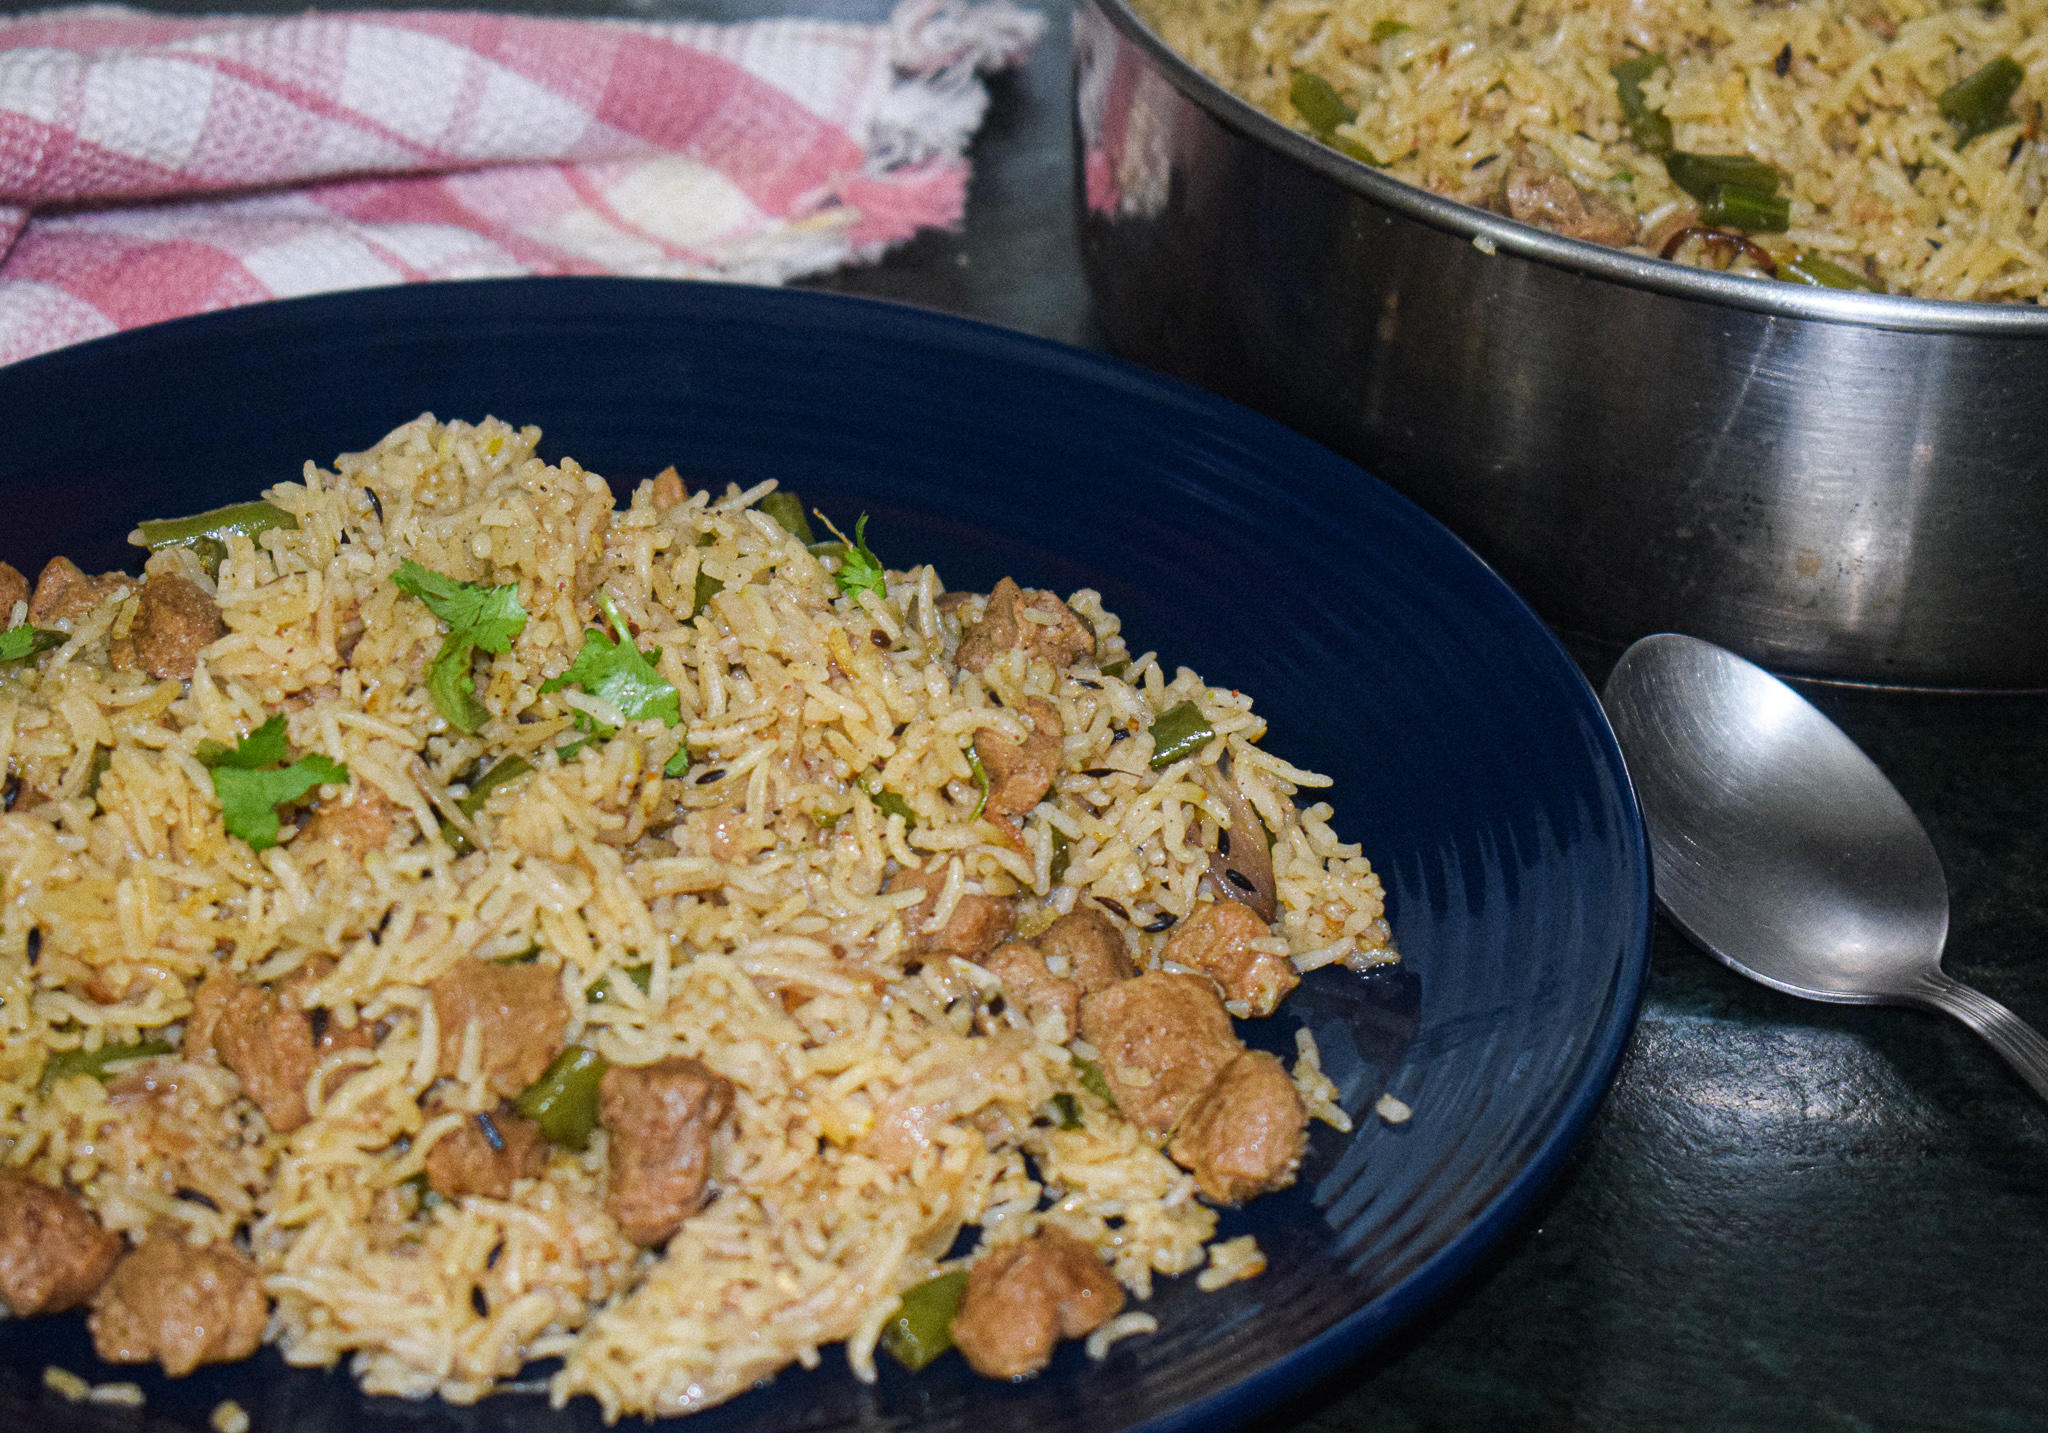
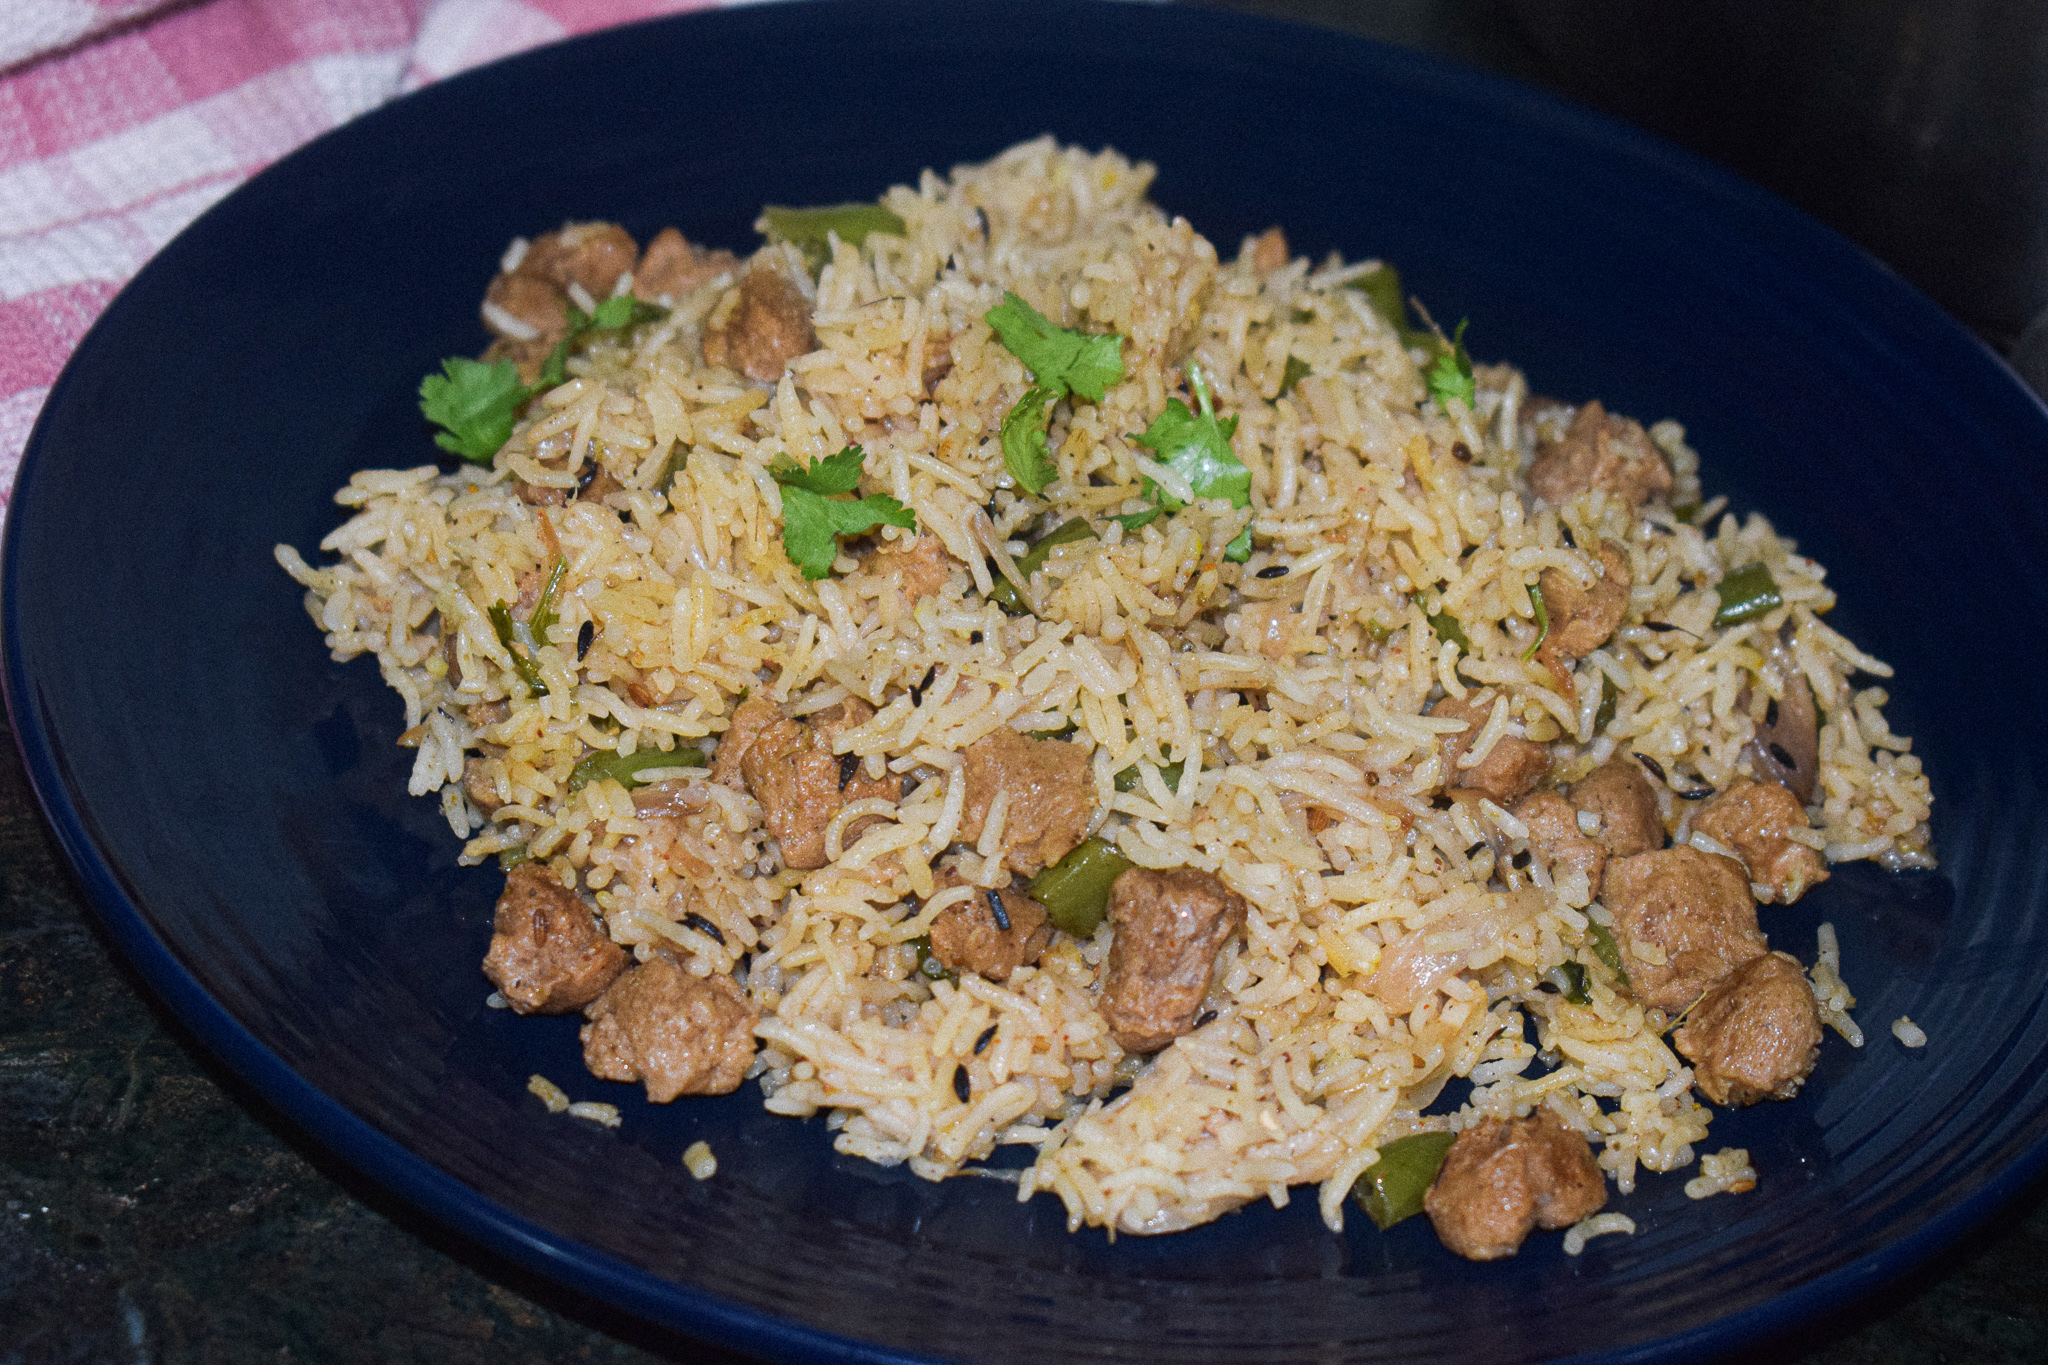
This soya pulao is a delicious and easy way to make dinner in bulk and store it for the next day. I love such one-pot rice recipes and this recipe was a result of the quarantine experience, when we were at home all the time and had no option to order in food. Top that up with work from home! It was a really stressful time and such one-pot meals really saved me and my family.

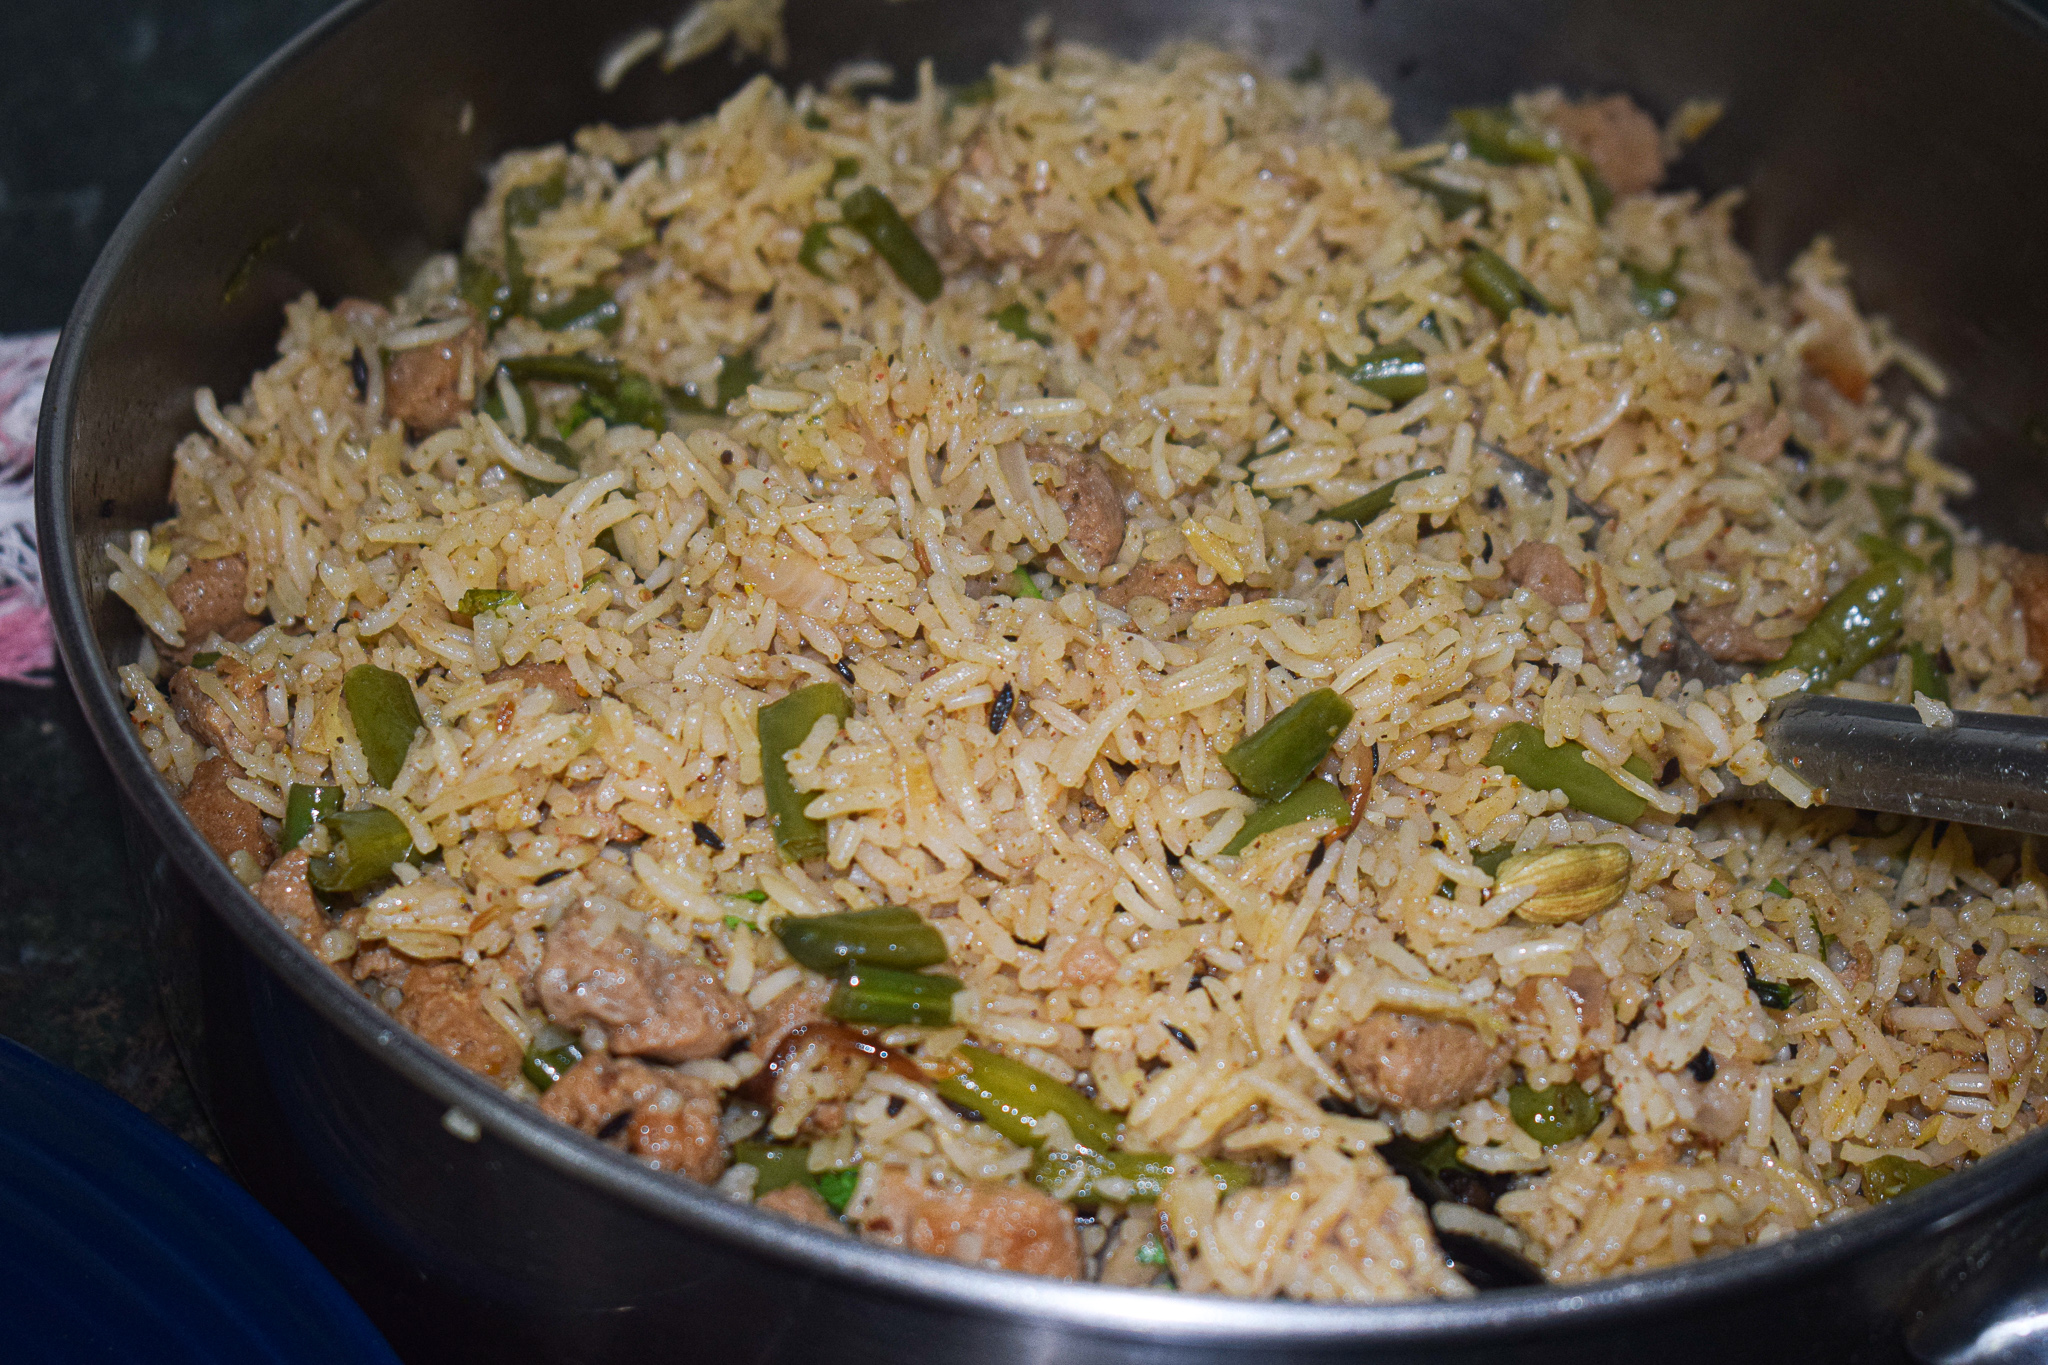
This soya pulao recipe is easy, delicious and can be customised as per choice. I loved adding green beans to it, and you can go ahead and load it with more vegetables of your choice.

soya pulao

Me and my family have been eating this soya pulao a lot lately and it has been such a saviour during the lockdown. Minimal ingredients, easy process and a big batch of food – pulao’s always make for a smart meal option for me. I hope this inspires you and helps you cook something delicious for your family. Stay safe and stay strong.

Making the perfectly fluffy rice

Soaking

For this pulao, find yourself the best quality long grained basmati rice. Wash the rice thoroughly with water till its clear. Next, soak it for exactly 30 minutes in room temperature water. After that, strain the water and keep the rice as dry as possible. I used a sieve to release the water and keep it undisturbed. Do not soak for more than 30 minutes as the rice will become too wet and will cook very fast, and end up sticking to each other. Soaking for longer duration might also break the rice. Soaking is an essential pre-requisite to get the perfectly fluffy rice that you see in this egg pulao.

Correct water quantities

Next is the perfect amount of water for the rice to cook. I have added the exact measurements for this recipe, but the usual and easy rule to follow is – For every cup of rice that you use, use half cup more water than that. For example, if you use 1 cup of rice, use 1.5 cups of water. If you use 2 cups of rice, use 2.5 cups of water. And the water should always be hot if you’re making the rice in a pot. Otherwise, the temperature difference might ruin the rice. This rule applies only if you soak the rice for 30 minutes before cooking it.

Low flame and rest

Lastly, perfectly fluffy rice is always cooked in low flame. If you’re making rice in a pot, make sure you cover and cook it in the lowest flame possible. And once its done, do not serve immediately. Turn off the gas and let it rest for another 10-15 minutes. This will give the perfect edge to the rice and make it bloom to its best ability.

soya pulao

Ingredients in this soya pulao

This one-pot soya pulao is so wholesome, and requires just a few basic Indian pantry essentials. The soya chunks need to be soaked and softened in hot water. All the excess water needs to be removed so that it does not mess up the water ratio in the pulao. The rice is also soaked prior to starting the cooking process. Aromatics include fresh ginger-garlic paste, and spices are also very staple ones – cumin, red chilli, coriander and black pepper. The addition of herbs like mint really elevates the flavour profile of this soya pulao. Do not miss out on the mint.

There is no addition of turmeric in this recipe. You can add it if you like to get a beautiful yellow colour. I have also skipped on tomatoes.

soya pulao

soya pulao

Let’s take a look at the recipe:

Preparation time – 30 minutes

Cook time – 45 minutes

Serves – 5-6 people

[ingredients title=”Ingredients”]

  • 2 cups soya chunks
  • 1 1/2 cups basmati rice
  • 2 tbsp mustard oil
  • 1 tbsp ghee
  • 2 dried red chillies
  • 1 bay leaf
  • 2 tsp cumin seeds
  • 1 inch cinnamon stick
  • 2 cloves
  • 2 cardamoms
  • 1 large onion, finely sliced
  • 1 tbsp ginger-garlic paste
  • 2 cups green beans
  • Salt to taste
  • 1 tsp cumin powder
  • 1 tsp black pepper powder
  • 1/2 tsp Kashmiri red chilli powder
  • 2 tsp coriander powder
  • 1/2 cup hot water (for the masala)
  • 2 cups water (for the rice)
  • 1/2 tsp garam masala
  • A handful of fresh coriander leaves
  • A handful of fresh mint leaves [/ingredients]

[directions title=”Directions”]

  1. Soak the soya chunks in hot water for 20 minutes. Squeeze the excess water out and set aside.
  2. Wash the rice thoroughly. Soak in water for 30 minutes.
  3. Heat oil in a skillet. Once the oil starts to smoke gently, reduce the flame.
  4. Temper with bay leaves, dried red chillies, cumin powder, cardamom, cinnamon stick, cloves and bay leaf.
  5. Add the sliced onions and stir on medium flame till they turn brown.
  6. Once the onions are brown, add the ginger-garlic paste and mix till the raw aroma disappears.
  7. Add the green beans and the soya chunks. Give it a good mix.
  8. Season with all the spices – salt, cumin powder, black pepper powder, coriander powder and Kashmiri red chilli powder.
  9. Pour some hot water if necessary.
  10. Once all the spices are assimilated into the masala, add the soaked rice. Gently mix to prevent the rice grains from breaking.
  11. Add hot water and stir. Add garam masala, coriander and mint leaves. Cover and cook on low flame for 30 minutes.
  12. Check rice after 30 minutes with a fork. Turn the flame off and let it rest for another 15 minutes.
  13. Serve hot with raita and salad. [/directions]

soya pualo

This soya pulao recipe is perfect for a busy day. I usually like to make this in a large batch like this so that it also covers us for another one or two meals.

I hope you try out this easy and wholesome soya pulao recipe soon.If you do, let me know how it turned out for you.

If you have any questions, suggestions or feedback, please leave me a comment here. Or connect with me Instagram, Facebook or YouTube.

Happy cooking!

Egg Curry

Egg curries are such a regular in my home. I cook them up whenever I am in no mood for an elaborate meal. And there are some versions of egg curries that I keep coming back to. This egg curry recipe is one of those homestyle and comforting version that reminds me of warmth and love of the times gone by.

The preparation of this egg curry is extremely simple. The taste of the curry is also quite subtle, but the flavours are on point. It’s not a loud recipe with a lot of oil or spices, but a simple one that you can make with the essentials in your pantry. The style of cooking is very Assamese as I grew up eating Assamese food and hence the cuisine has a big influence on my style of cooking. For instance, I love to use mustard oil in my cooking. And this recipe uses cold pressed mustard oil, that lends the curry a unique pungency and sweetness.

egg curry

The key to a good egg curry is boiling the eggs perfectly. Egg curries always have hard boiled eggs that are seasoned, deep fried and added to the gravy right towards the end. We follow a similar procedure in this recipe. Let’s take a look on how you can boil eggs perfectly for your egg curry.

How to Cook Perfectly Boiled Eggs

egg curry

Making a perfectly boiled egg has a few tips and tricks. Nobody wants a broken egg, de-shaped egg or an under-boiled or over-boiled egg in their egg curry. The egg has to be firm and evenly cooked. Here are the tips I always follow that can help you become a pro at boiling eggs specifically meant for an egg curry.

  • Add salt to water

Whenever you boil eggs, the first thing to do is to use a wide mouthed pot. Fill it up with water so that the eggs can be submerged completely in the water. Once the water starts to boil, add about two teaspoons of salt to it. Addition of salt prevents the eggs from cracking.

  • Boil the water before adding the eggs

Now let this water come to an aggressive boil before you add the eggs. Adding the eggs to room temperature water can give them a shock when the temperature rises, causing the skin to stick to the shell. So add the eggs only when the water is boiling hot.

  • Be gentle

Because we need to add the eggs to a boiling pot of water, you must be gentle. Raw eggs break very easily so make sure you use a spoon to gently place the eggs into the boiling water. Do not let go of the spoon till you drop the egg right at the bottom.

  • Check the timing

After placing the eggs into the pot of boiling water, I let it boil on high flame for exactly ten minutes. Remove the eggs and place it immediately in ice cold water so that it stops cooking. De-shell the eggs after ten minutes.

Okay, now that you know how to boil the perfect eggs, let’s get on to the ingredients in the curry. Note down the recipe and I hope you try this soon.

Preparation time – 15 minutes

Cook time – 40 minutes

Serves – 3

[ingredients title=”Ingredients”]

  • 6 large eggs
  • 3 tbsp mustard oil
  • 1/2 tsp Kashmiri red chilli powder
  • 1/2 tsp turmeric powder
  • 1 tsp salt (adjust as per taste)
  • 2 dried red chillies
  • 1 bay leaf
  • 1 green chilli, finely chopped
  • 2 cardamoms
  • 1 inch cinnamon stick
  • 2 cloves
  • 2 cups finely chopped onions
  • 1 tbsp ginger-garlic paste
  • 2 cups pureed tomatoes
  • 1 tsp cumin powder
  • 1/2 tsp black pepper powder
  • 1 tsp coriander powder
  • 2 cups hot water
  • 3 tbsp whisked curd
  • 2 tbsp Kasuri methi
  • 1 tsp garam masala
  • Fresh coriander (chopped) for garnish [/ingredients]

[directions title=”Directions”]

  1. Boil water in a wide mouthed pot. Add salt to it and mix well.
  2. Once the water starts to boil, gently add six eggs to it (see video for reference).
  3. Boil the eggs for ten minutes and transfer to ice cold water. De-shell the eggs after ten minutes. Set aside.
  4. Heat mustard oil in a kadhai. Once it starts to smoke gently, add Kashmiri red chilli powder, turmeric powder and salt. Give it a good mix.
  5. Add the boiled eggs into the kadhai and fry on high heat till all of the them are golden brown and crispy. Fry the eggs uniformly and set them aside.
  6. Reduce the heat to low and temper the same oil with bay leaves, dried red chillies, chopped green chilli, cardamoms, cloves and cinnamon. Give it a quick stir.
  7. Add the finely chopped onions and cook for around five minutes till they turn translucent and start to brown.
  8. Throw in the ginger garlic paste and cook this for another five to seven minutes on medium to low flame till everything combines well and the rawness disappears.
  9. Once the onions and ginger garlic paste cook well, add the pureed tomatoes. Stir for two minutes.
  10. Season with cumin powder, coriander powder and black pepper powder. Mix well.
  11. Cover and cook on low flame for five to seven minutes.
  12. Take off flame and pour hot water. Mix well and let it come to a boil.
  13. Add whisked curd and kasuri methi to the boiling gravy. Mix well.
  14. Once you have achieved your desired consistency, add the fried eggs and boil for another two minutes.
  15. Garnish with freshly coriander. Serve hot with steamed rice. Enjoy!  [/directions]

egg curry

I hope you try this egg curry recipe super soon! If you have any doubts, comments, or feedback, please reach out to me in comments or my social media handles.

Instagram – www.instagram.com/slurrpilicious

Facebook – www.facebook.com/slurrpilicious

Youtube – https://www.youtube.com/channel/UCA-cJoo27OLSCswI4sy6lzA?

Happy cooking!

One-Pot Asian Chicken and Rice

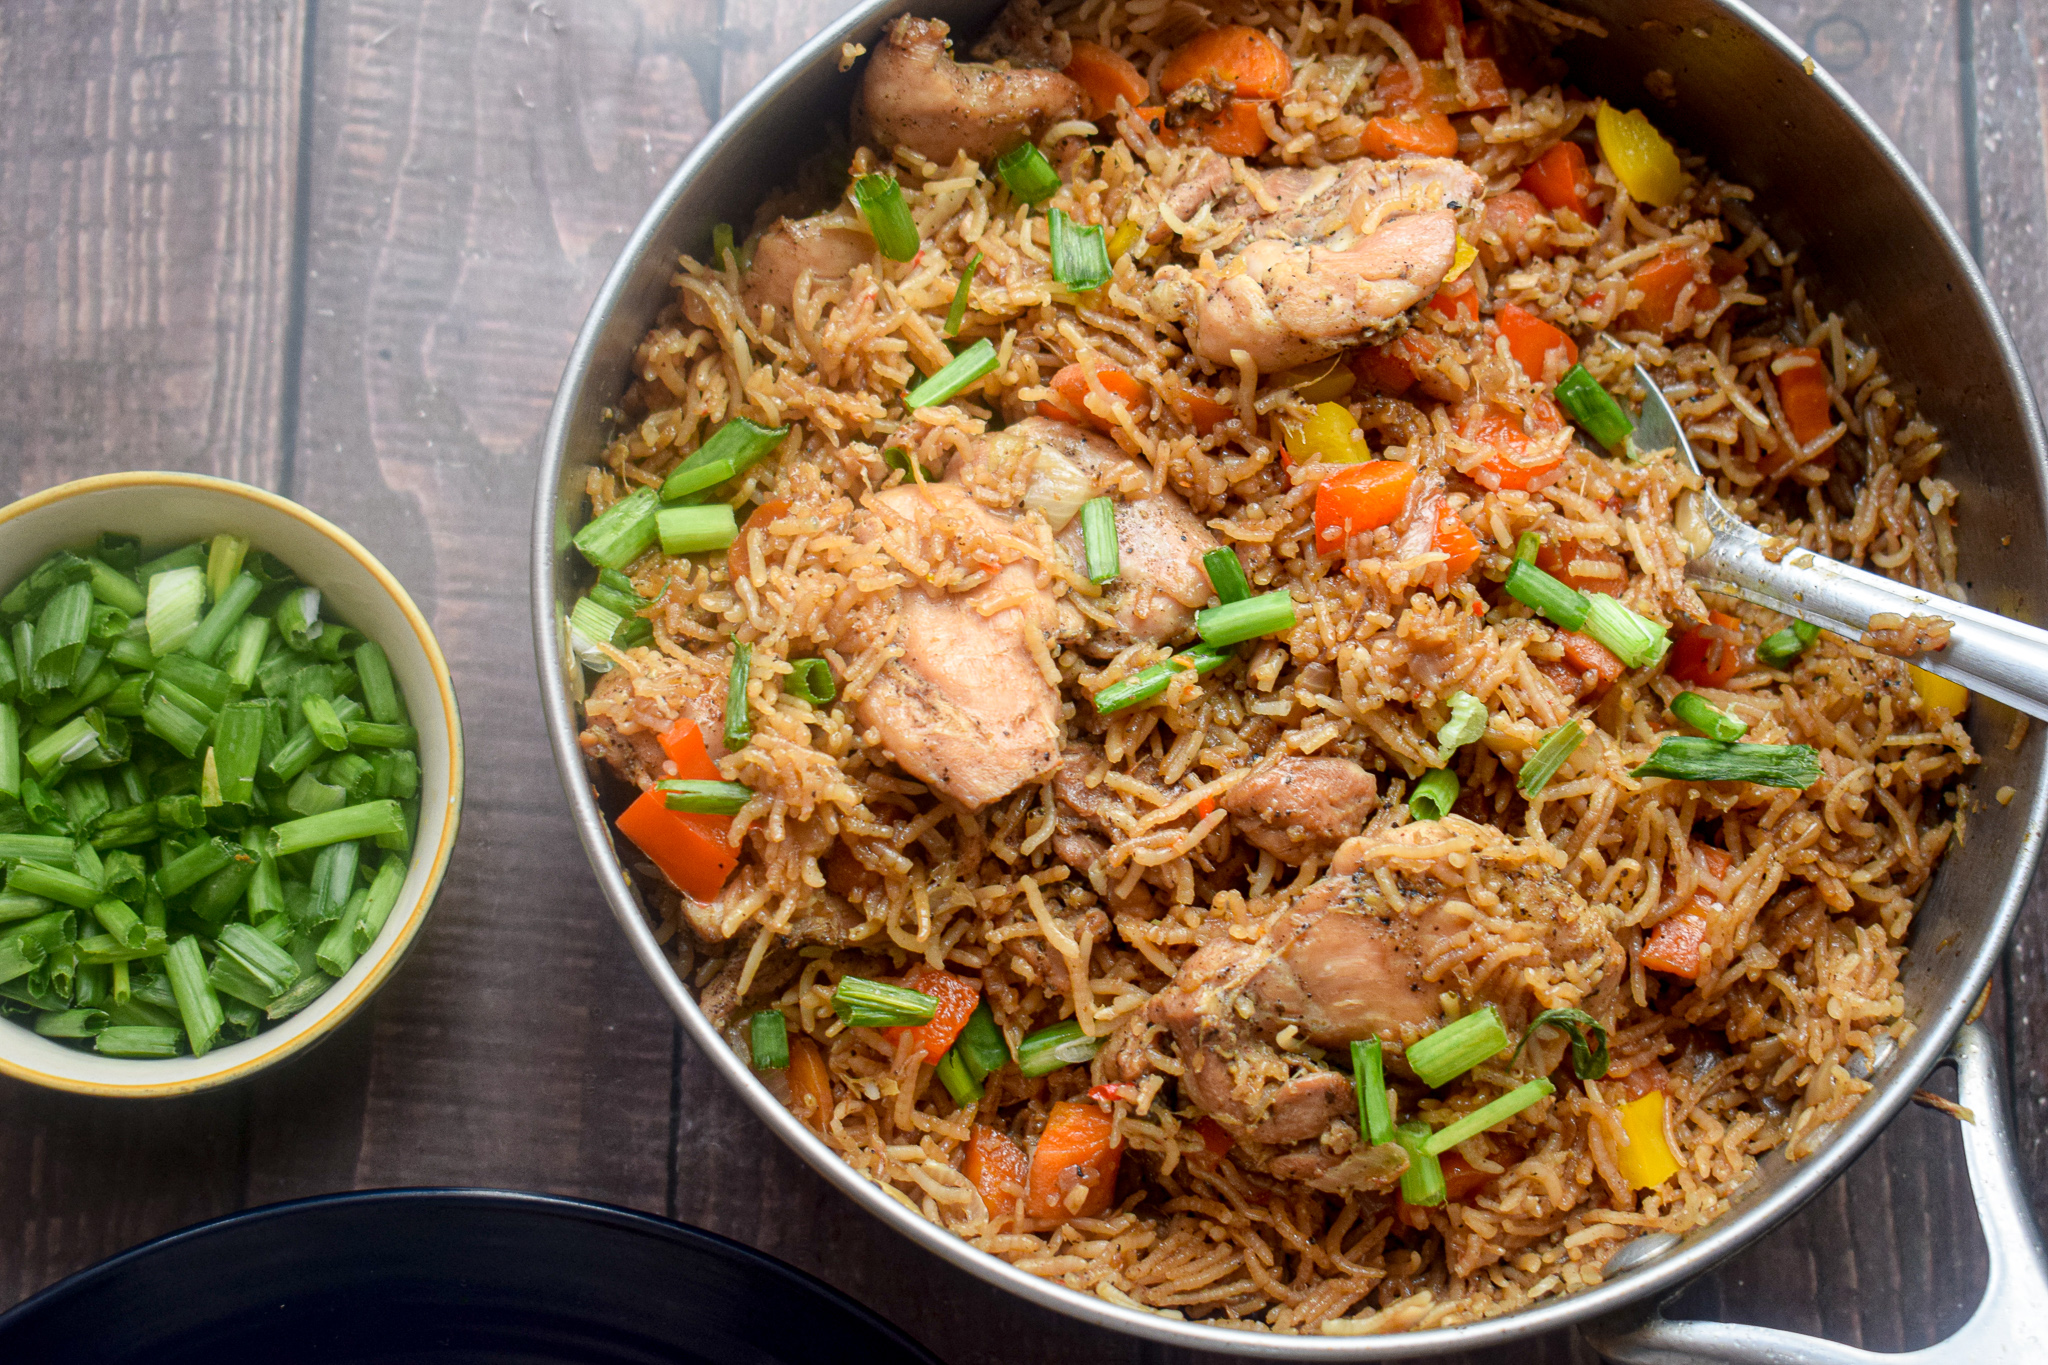
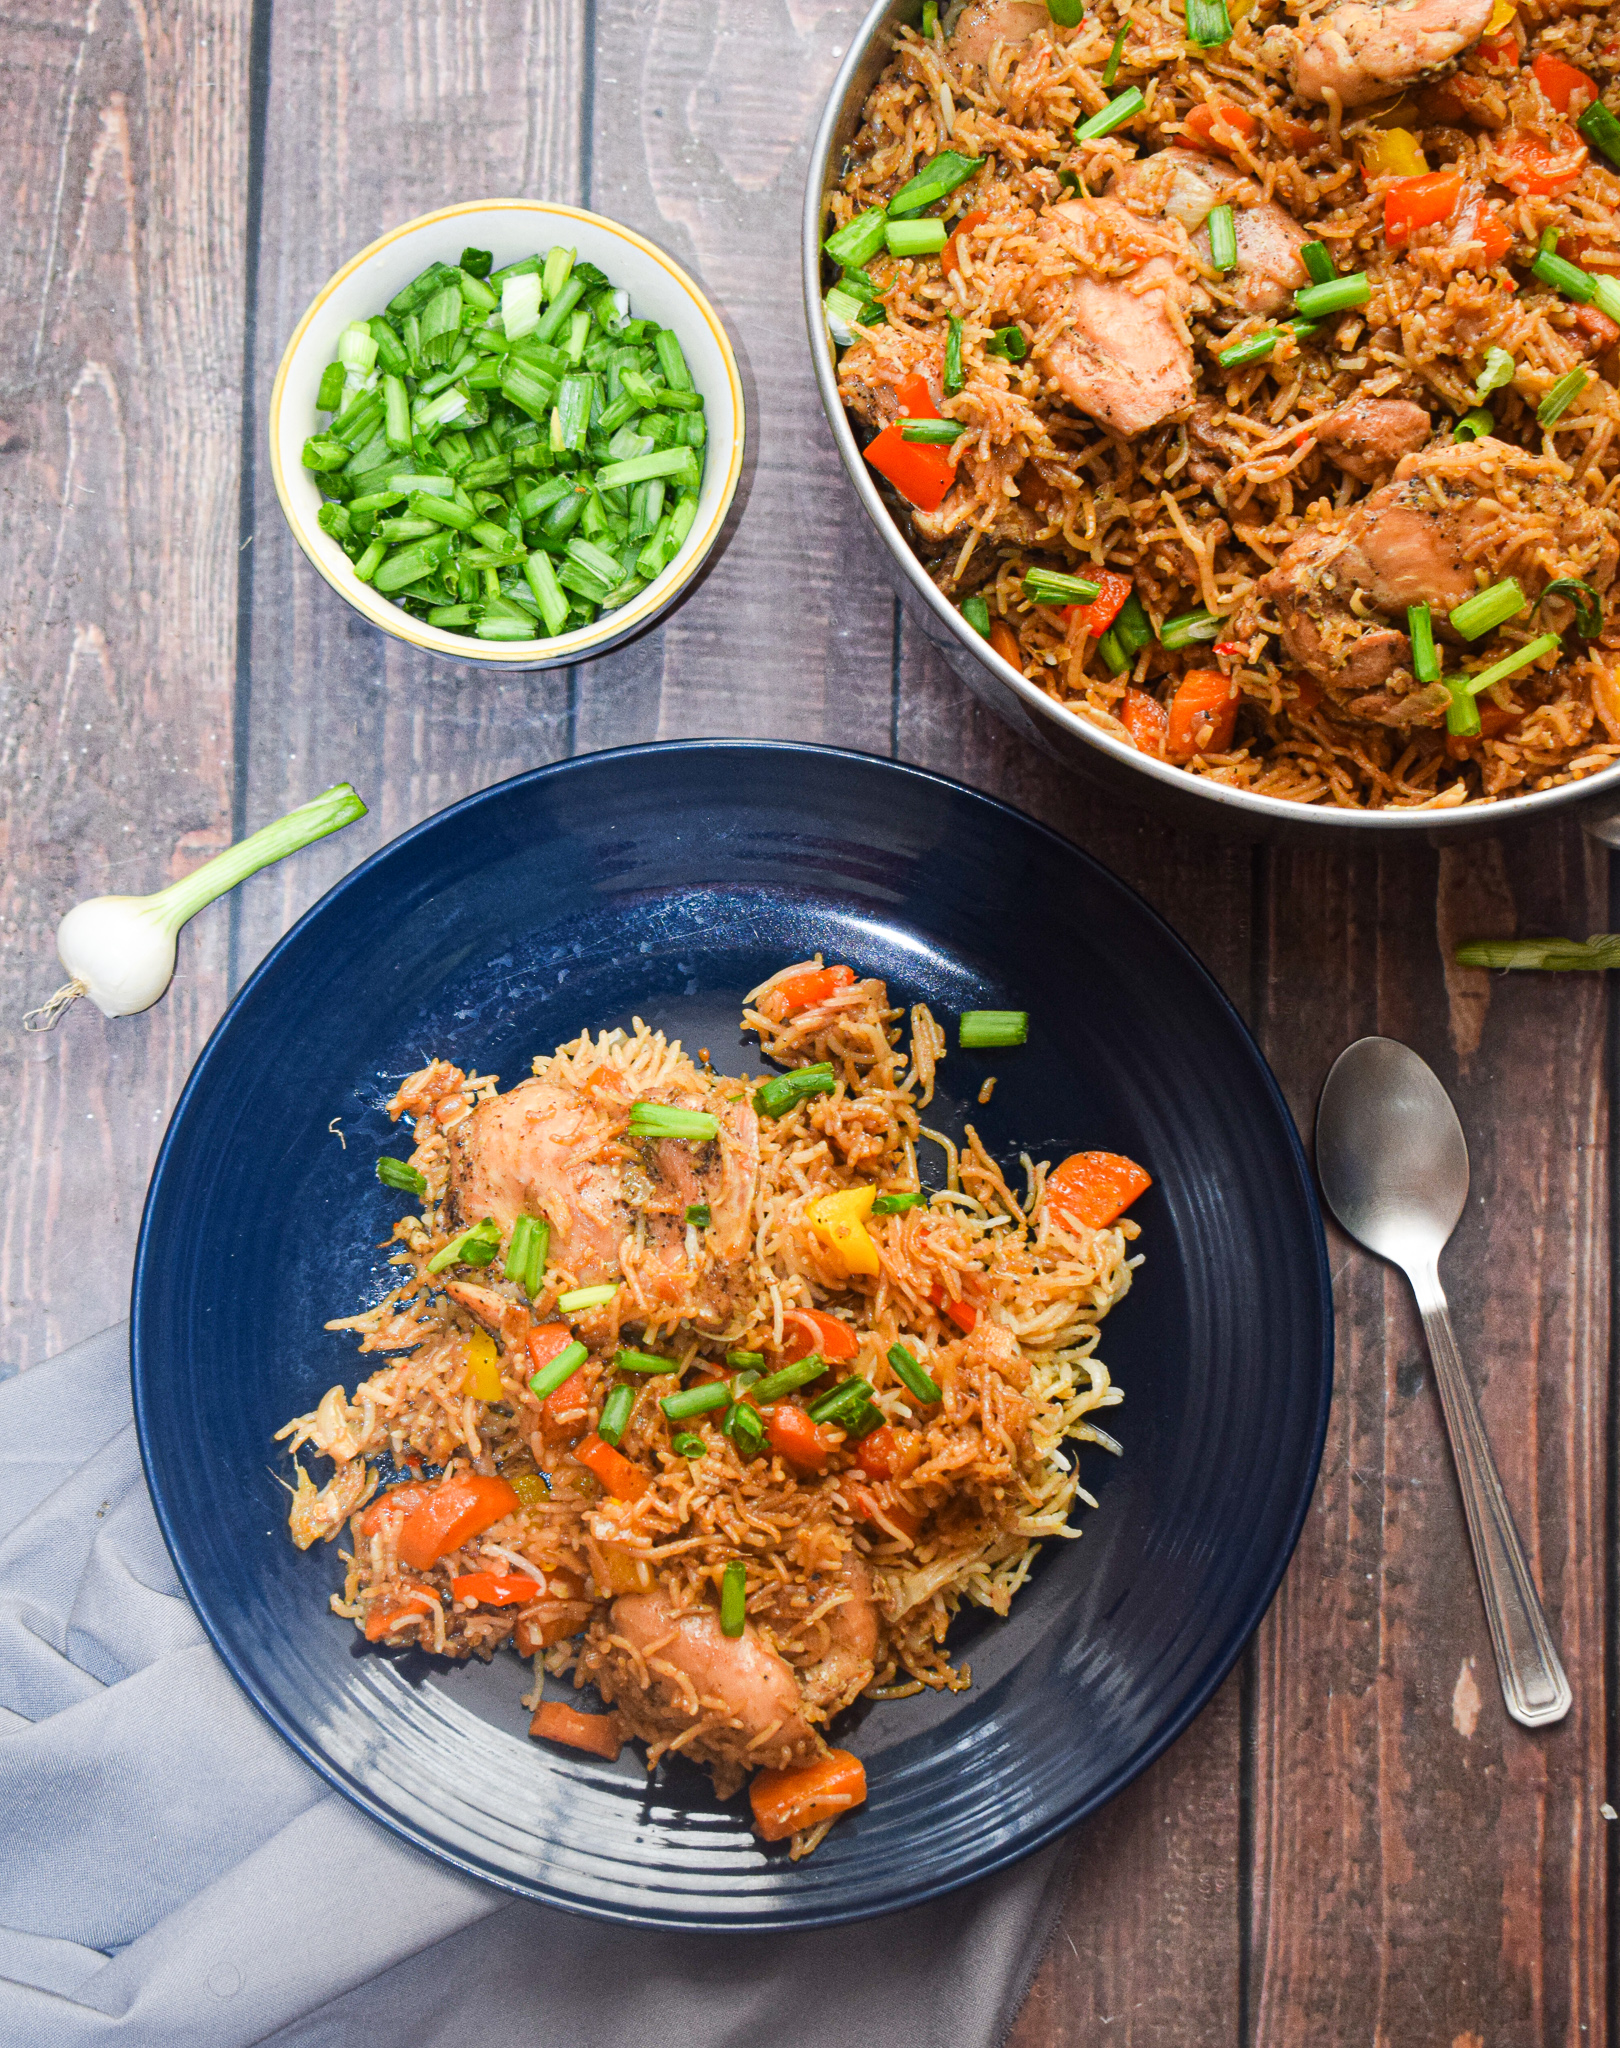
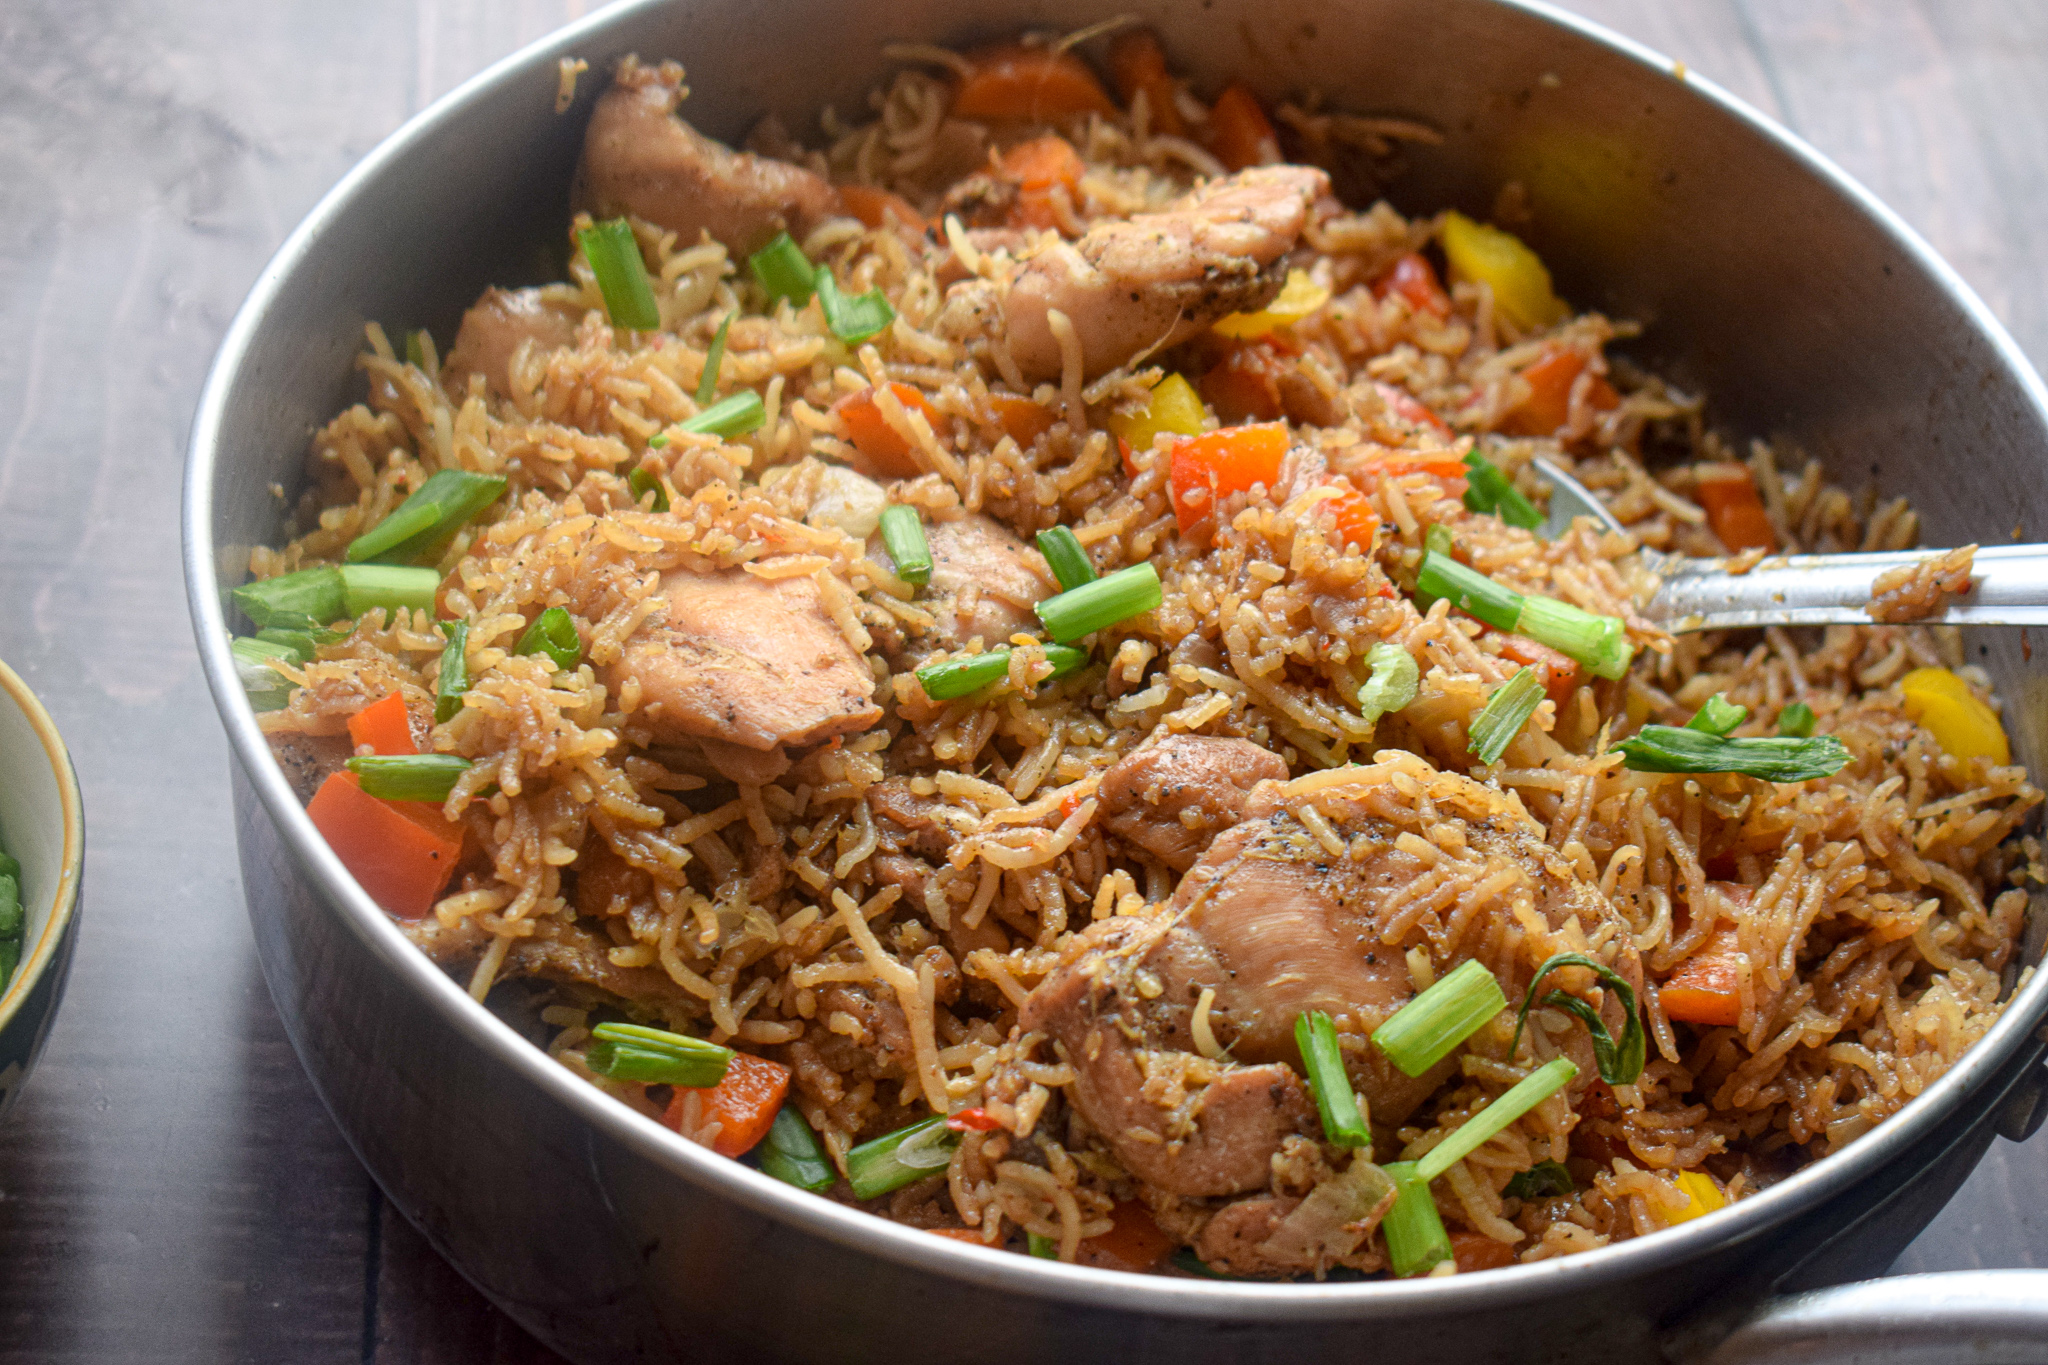
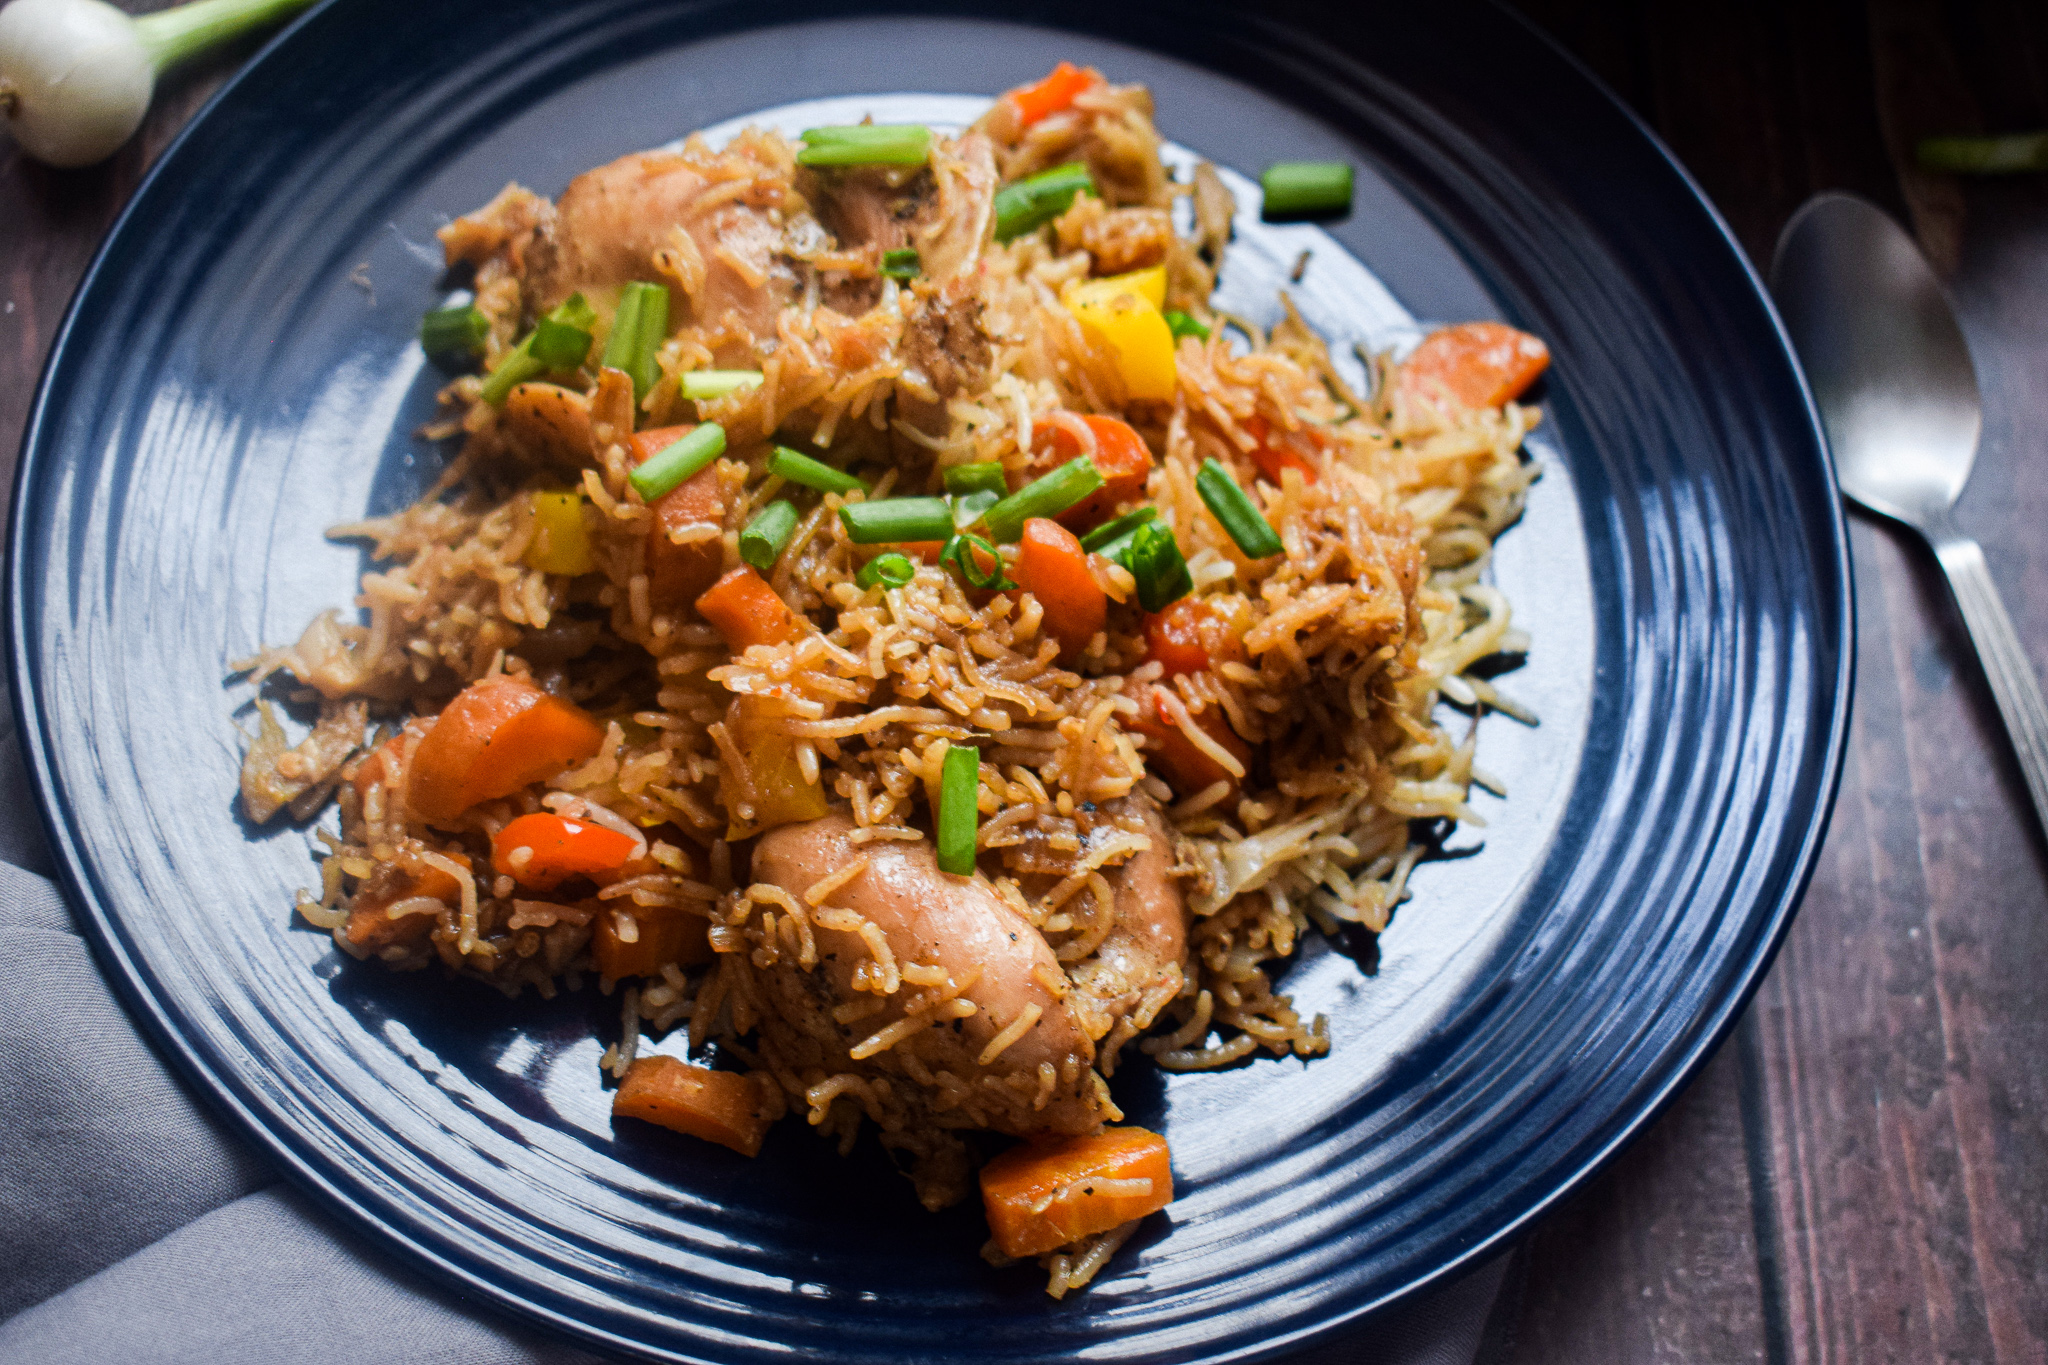
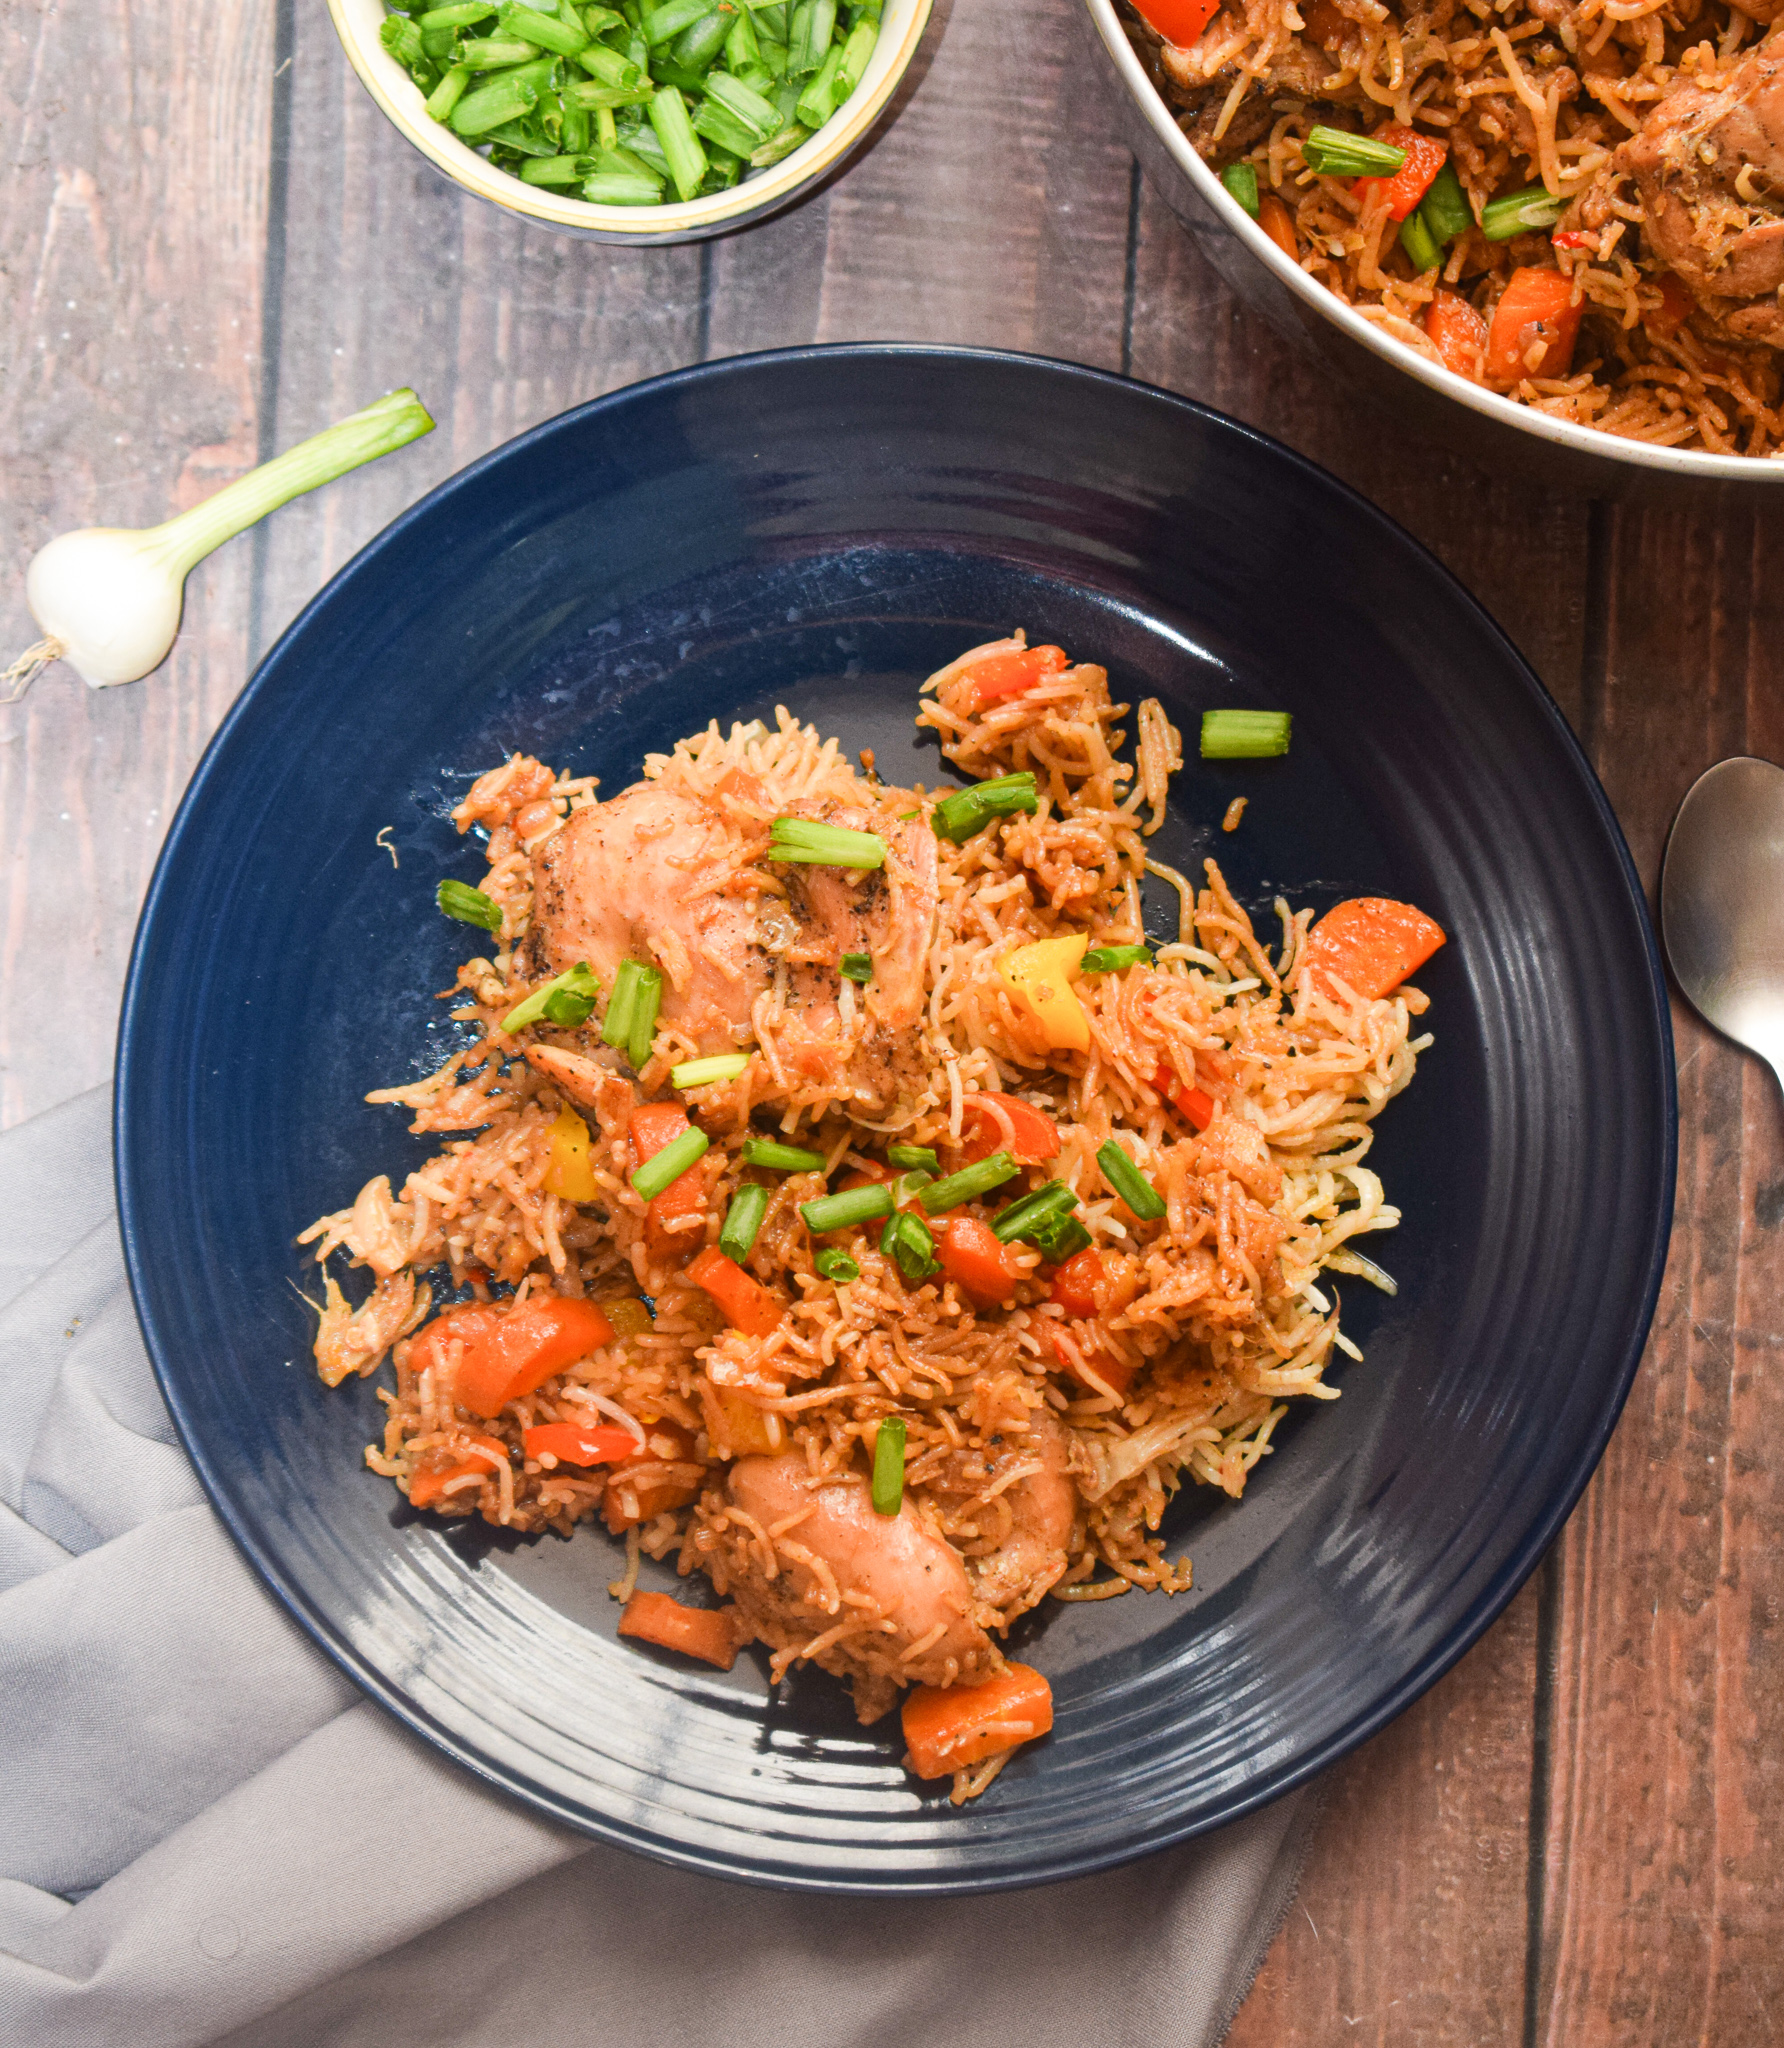
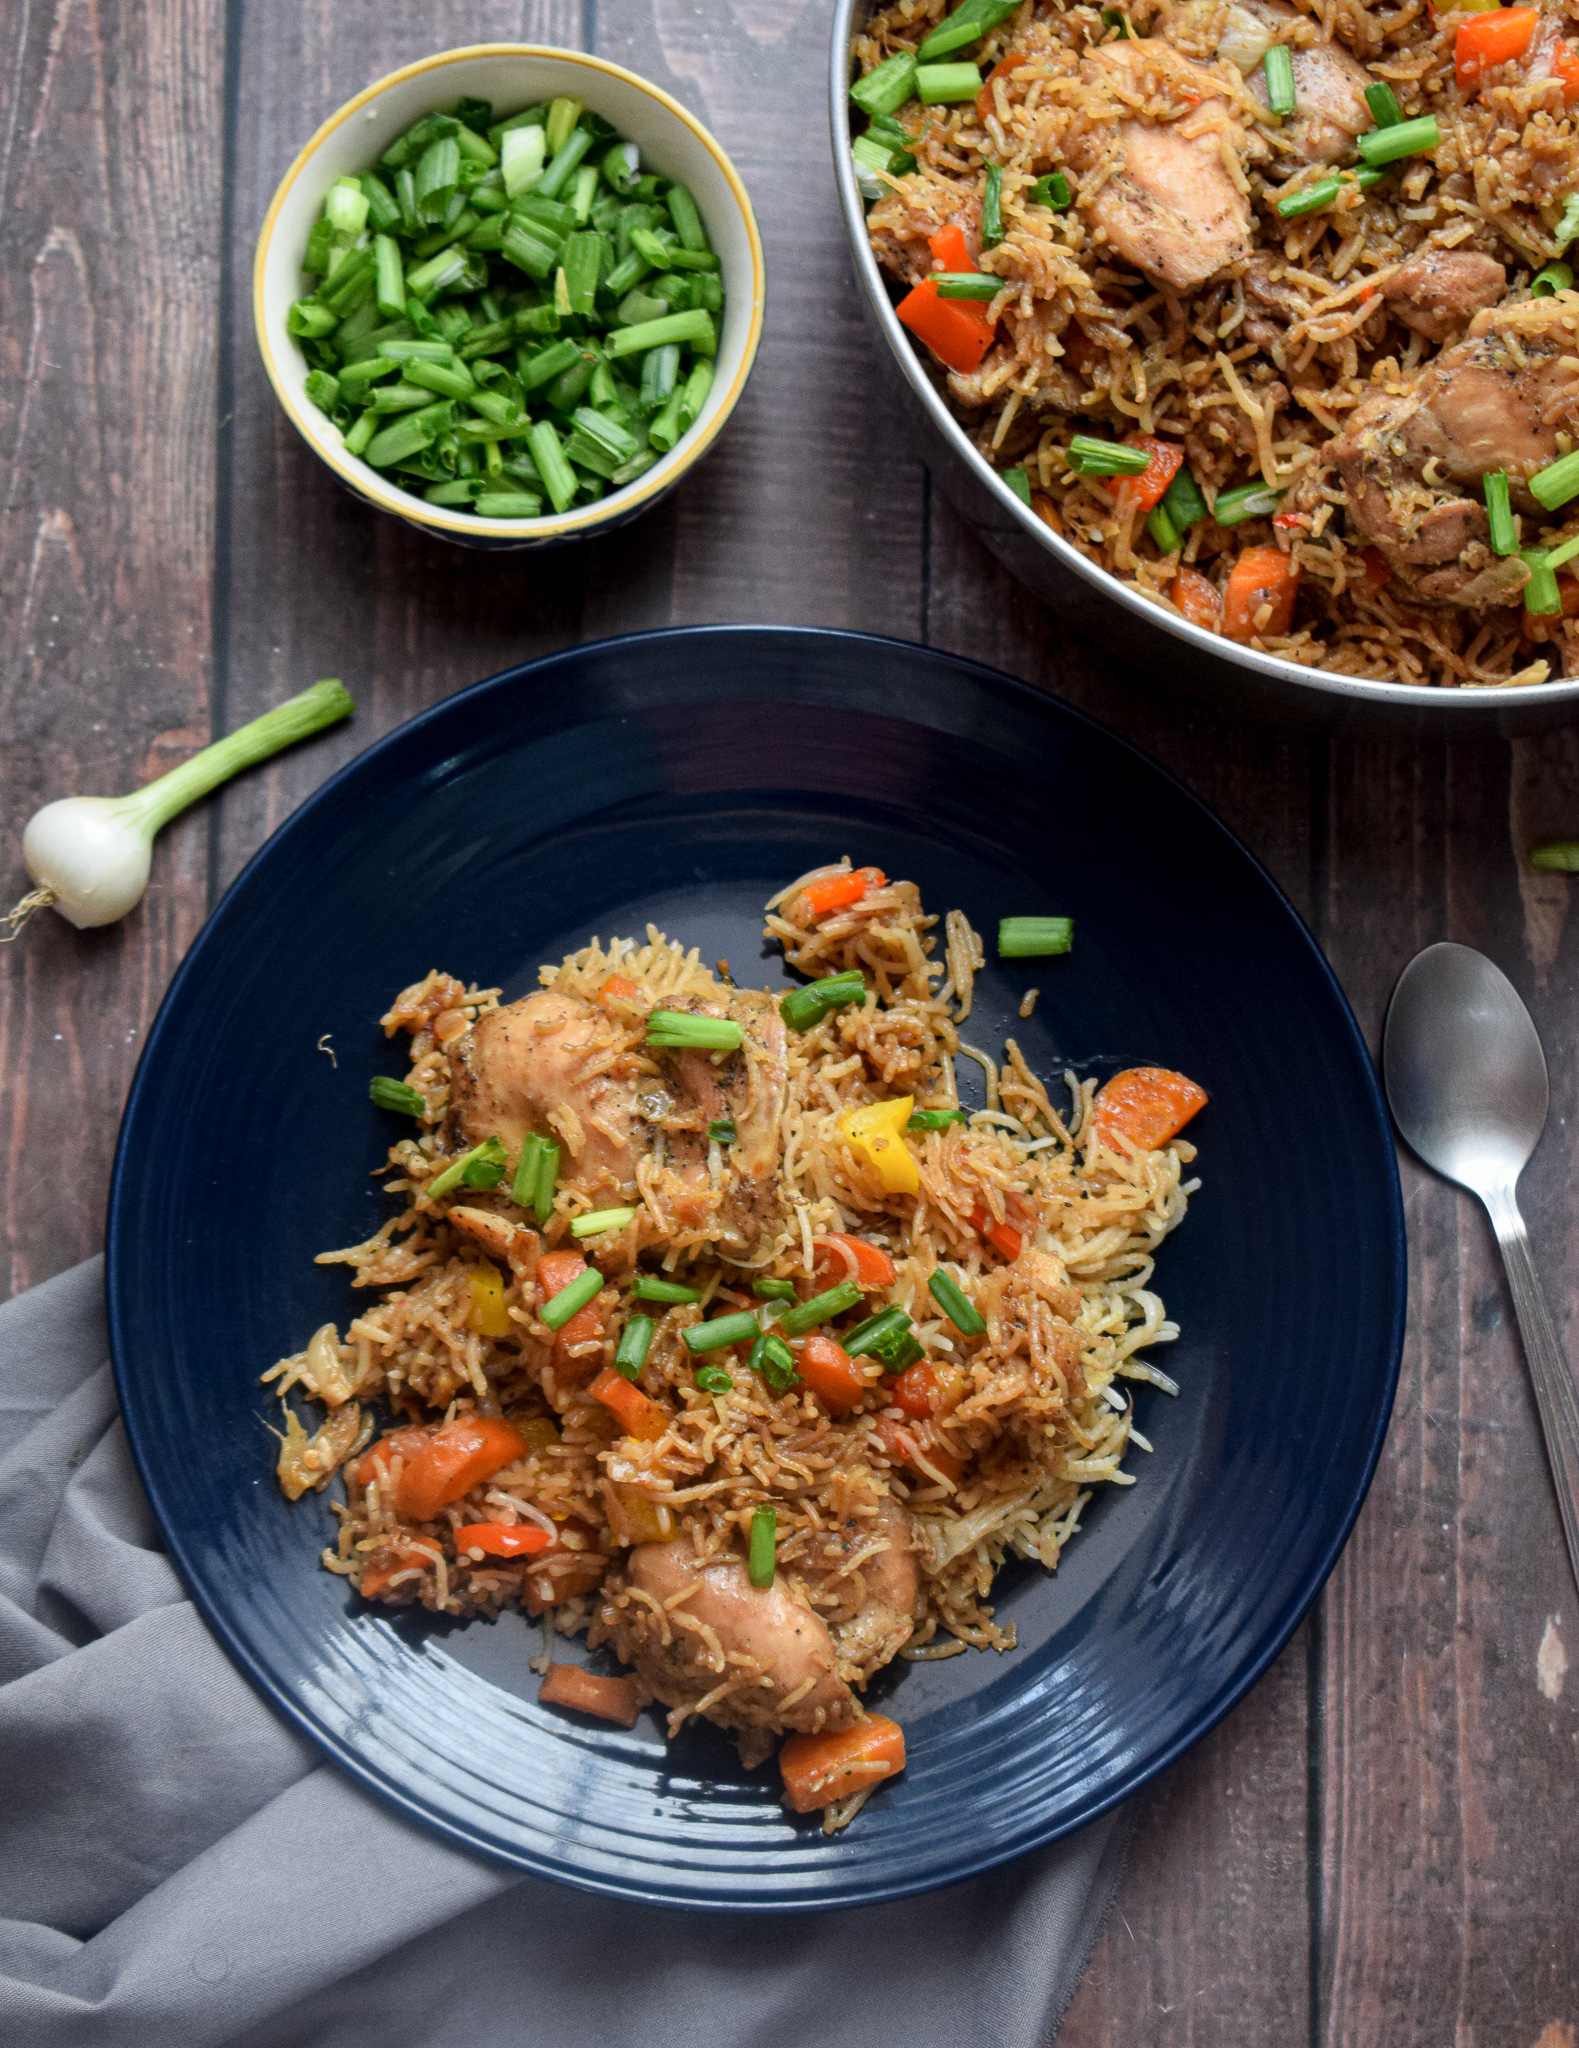
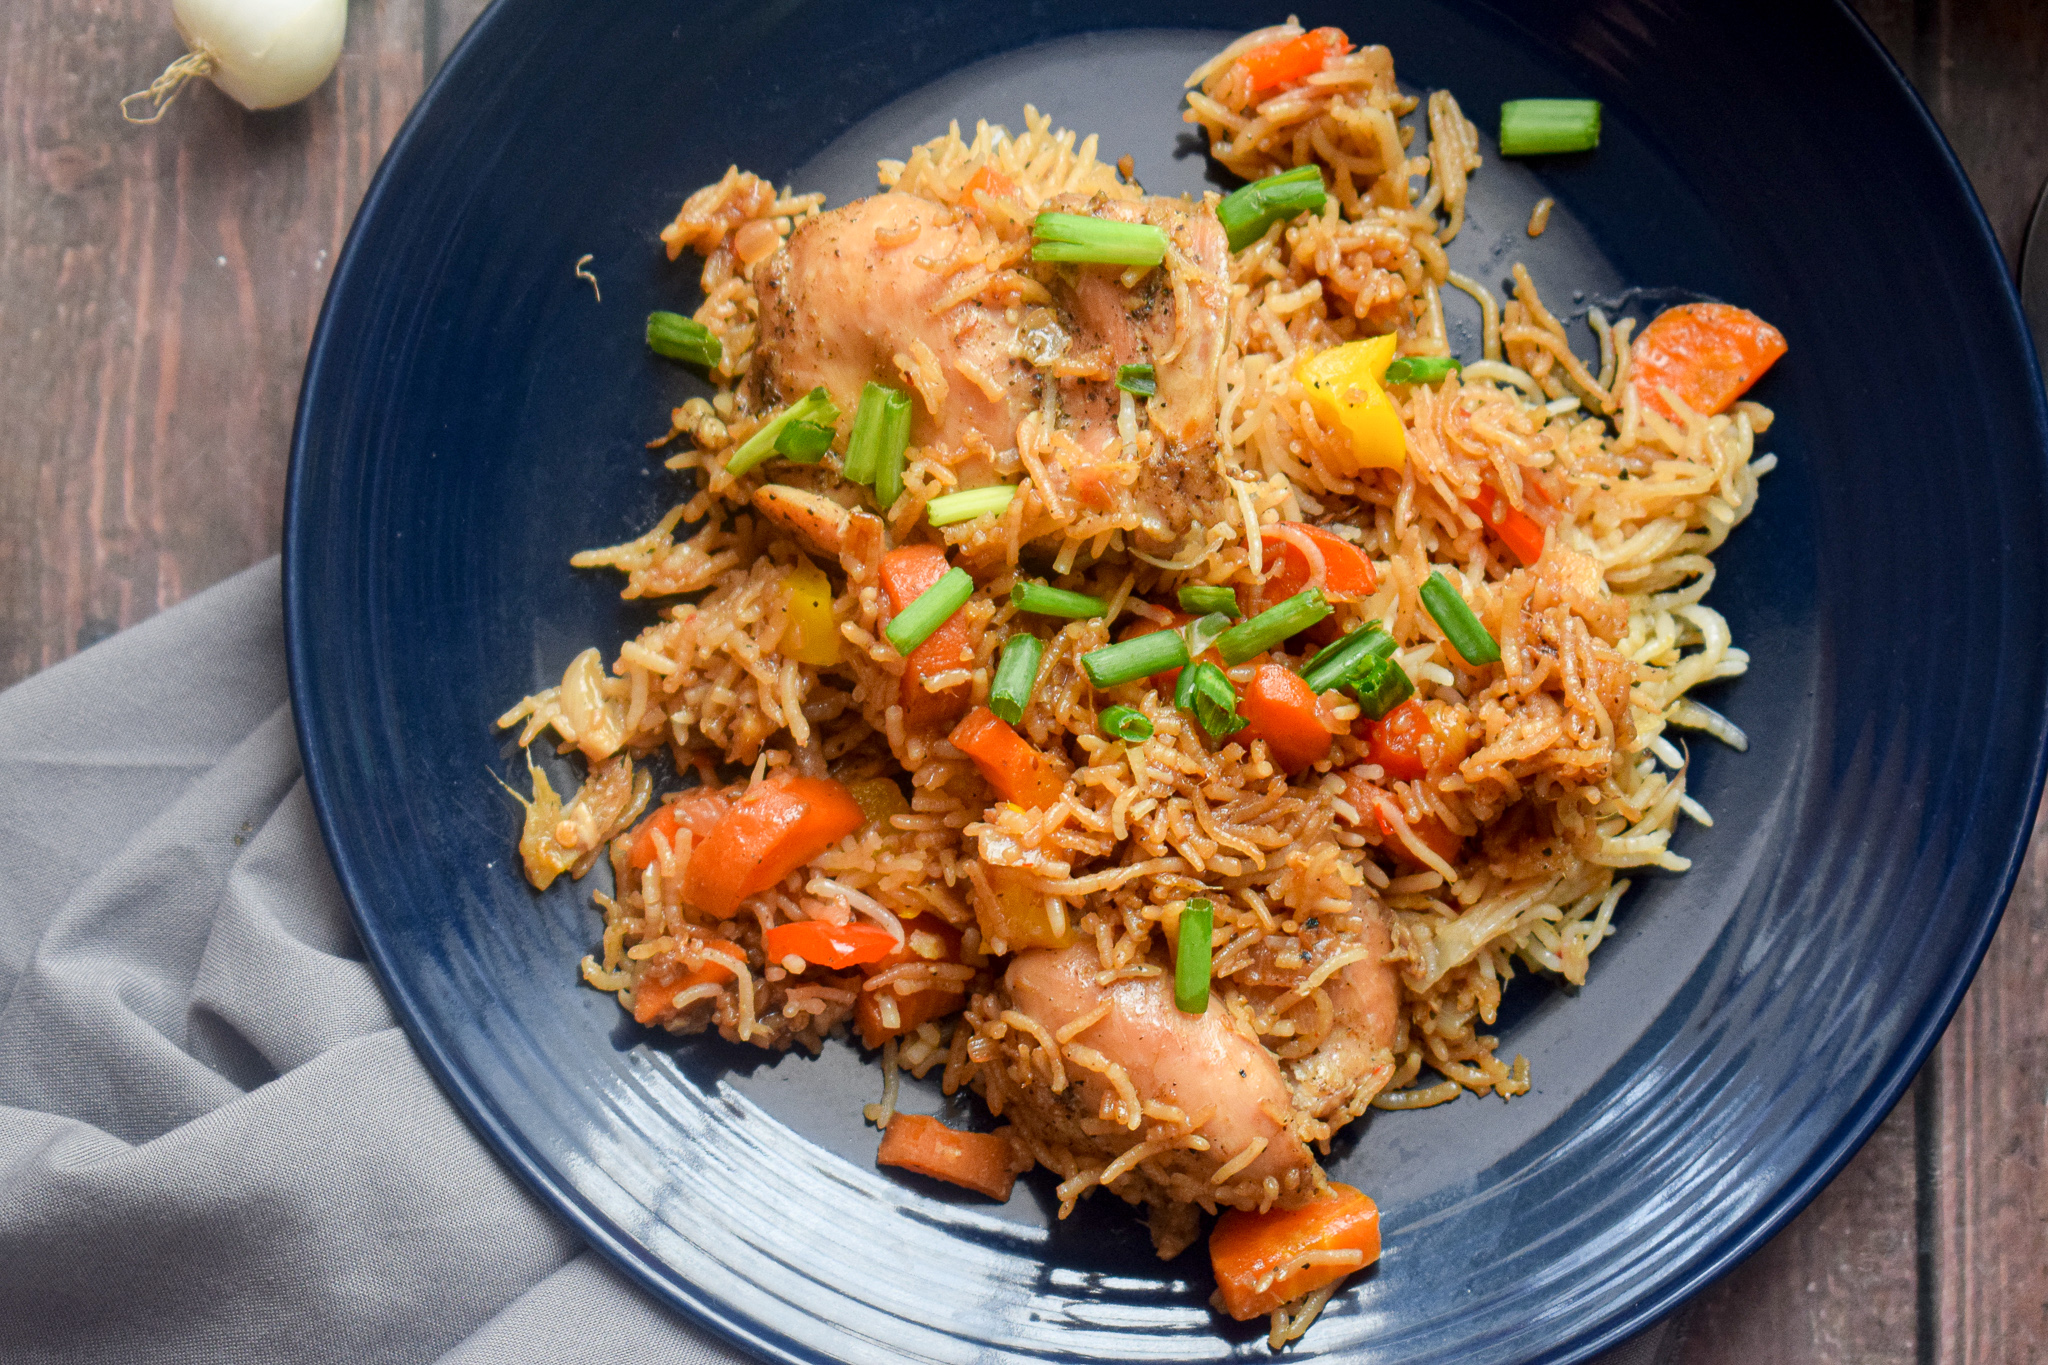
How about a one-pot meal with Asian flavours? Succulent and perfectly seasoned bites of boneless chicken thighs on a bed of delicious and appetising rice with some sweet vegetables? This one-pot Asian chicken and rice truly tastes like a dream. I developed this recipe during this lockdown when the family craved for pan Asian food at home. Since time was limited and work kept piling up, I thought of this way of working for just one recipe that would combine a lot of flavours. And the results were so spectacular that I had to share it here.

asian chicken and rice

asian chicken and rice

This Asian chicken and rice comes together real quick and with some basic Asian pantry essentials. I love adding vegetables to this meal as it makes it complete. It’s a quick and easy hack to satiate those pan Asian cravings we all have from time to time.

The secret to the power packed flavours in this recipe lies in its simple seasoning and fresh ingredients. Lots of aromatics and black pepper powder are used to marinate the succulent pieces of chicken. I have used boneless chicken thighs as they work really well in such recipes and remain moist and juicy throughout. The chicken pieces are first fried in the pan, and then added to the beautiful rice, vegetables and sauces towards the end. The whole mix is left to get slow cooked on the lowest flame possible and allowed a few more minutes of rest. The result is fluffy and separate grains of rice in a delicious sauce that is impeccable.

Making that perfectly fluffy rice

  • Soaking

For this pulao, find yourself the best quality long grained basmati rice. Wash the rice thoroughly with water till its clear. Next, soak it for exactly 30 minutes in room temperature water. After that, strain the water and keep the rice as dry as possible. I used a sieve to release the water and keep it undisturbed. Do not soak for more than 30 minutes as the rice will become too wet and will cook very fast, and end up sticking to each other. Soaking for longer duration might also break the rice. Soaking is an essential pre-requisite to get the perfectly fluffy rice that you see in this egg pulao.

  • Correct water quantities

Next is the perfect amount of water for the rice to cook. I have added the exact measurements for this recipe, but the usual and easy rule to follow is – For every cup of rice that you use, use half cup more water than that. For example, if you use 1 cup of rice, use 1.5 cups of water. If you use 2 cups of rice, use 2.5 cups of water. And the water should always be hot if you’re making the rice in a pot. Otherwise, the temperature difference might ruin the rice. This rule applies only if you soak the rice for 30 minutes before cooking it.

  • Low flame and rest

Lastly, perfectly fluffy rice is always cooked in low flame. If you’re making rice in a pot, make sure you cover and cook it in the lowest flame possible. And once its done, do not serve immediately. Turn off the gas and let it rest for another 10-15 minutes. This will give the perfect edge to the rice and make it bloom to its best ability.

asian chicken and rice

asian chicken and rice

Let’s take a look at the ingredients.

Preparation time – 30 minutes

Cook time – 40 minutes

Serves – 5

[ingredients title=”Ingredients”]

For the chicken marination:

  • 600 g boneless chicken thighs
  • 2 tbsp ginger garlic paste
  • Salt to taste
  • 1 tbsp black pepper powder

For the rice

  • 1 1/2 cups long grained rice
  • 2 tbsp oil (vegetable/olive)
  • 1 cup finely chopped onions
  • 2 cups roughly chopped carrots
  • 1/2 cup roughly chopped red bell pepper
  • 1/2 cup roughly chopped yellow bell pepper
  • Salt to taste
  • 1 tsp ginger garlic paste
  • 1/4 tsp black pepper powder
  • 2 cups hot water
  • 3 tbsp sweet chilli sauce
  • 1 tbsp Oyster sauce
  • 2 tbsp dark soy sauce
  • Chopped spring onion greens for garnish [/ingredients]

[directions title=”Directions”]

  1. Wash the rice thoroughly under running water till all excess starch is drained. Soak in water for 30 minutes.
  2. Wash and pat dry the boneless chicken thighs with a paper towel. Rub the chicken pieces with salt, black pepper powder and ginger garlic paste. Mix really well and set it aside for ten minutes till you chop the vegetables.
  3. Heat oil in a pan. Add the marinated chicken pieces and fry till they turn crispy from the sides. Cook the chicken for seven to eight minutes and set them aside once done.
  4. In the same skillet or pot, add the finely chopped onions. Fry them for a few minutes till they start to get translucent and brown on the sides.
  5. Once the onions are caramelised, add some ginger garlic paste and fry till the raw aroma of the paste dissipates.
  6. Add the carrots and stir for a minute.
  7. Gently add the soaked rice to the pan and mix. Do not break the grains.
  8. Season with salt and black pepper powder.
  9. Pour the Asian sauces – sweet chilli sauce, Oyster sauce and dark soy sauce. Mix well.
  10. Add 2 cups of hot water and once it starts to boil, add the fried chicken pieces on top.
  11. Cover and cook on lowest flame possible for 20 minutes.
  12. Lift the lid in 30 minutes and add the bell peppers on top. Do not disturb the rice. Cover and cook on lowest flame for another ten minutes.
  13. Check the rice with a fork. Turn the flame off and let the rice rest for another 15 minutes.
  14. Serve hot after garnishing with some spring onion greens. [/directions]

asian chicken and rice

asian chicken and rice

I hope you try this one pot Asian chicken and rice super soon! If you have any doubts, comments, or feedback, please reach out to me in comments or my social media handles.

Find me on Instagram – www.instagram.com/slurrpilicious

Find me on Facebook – www.facebook.com/slurrpilicious

Find me on Youtube – https://www.youtube.com/channel/UCA-cJoo27OLSCswI4sy6lzA?

Happy cooking!

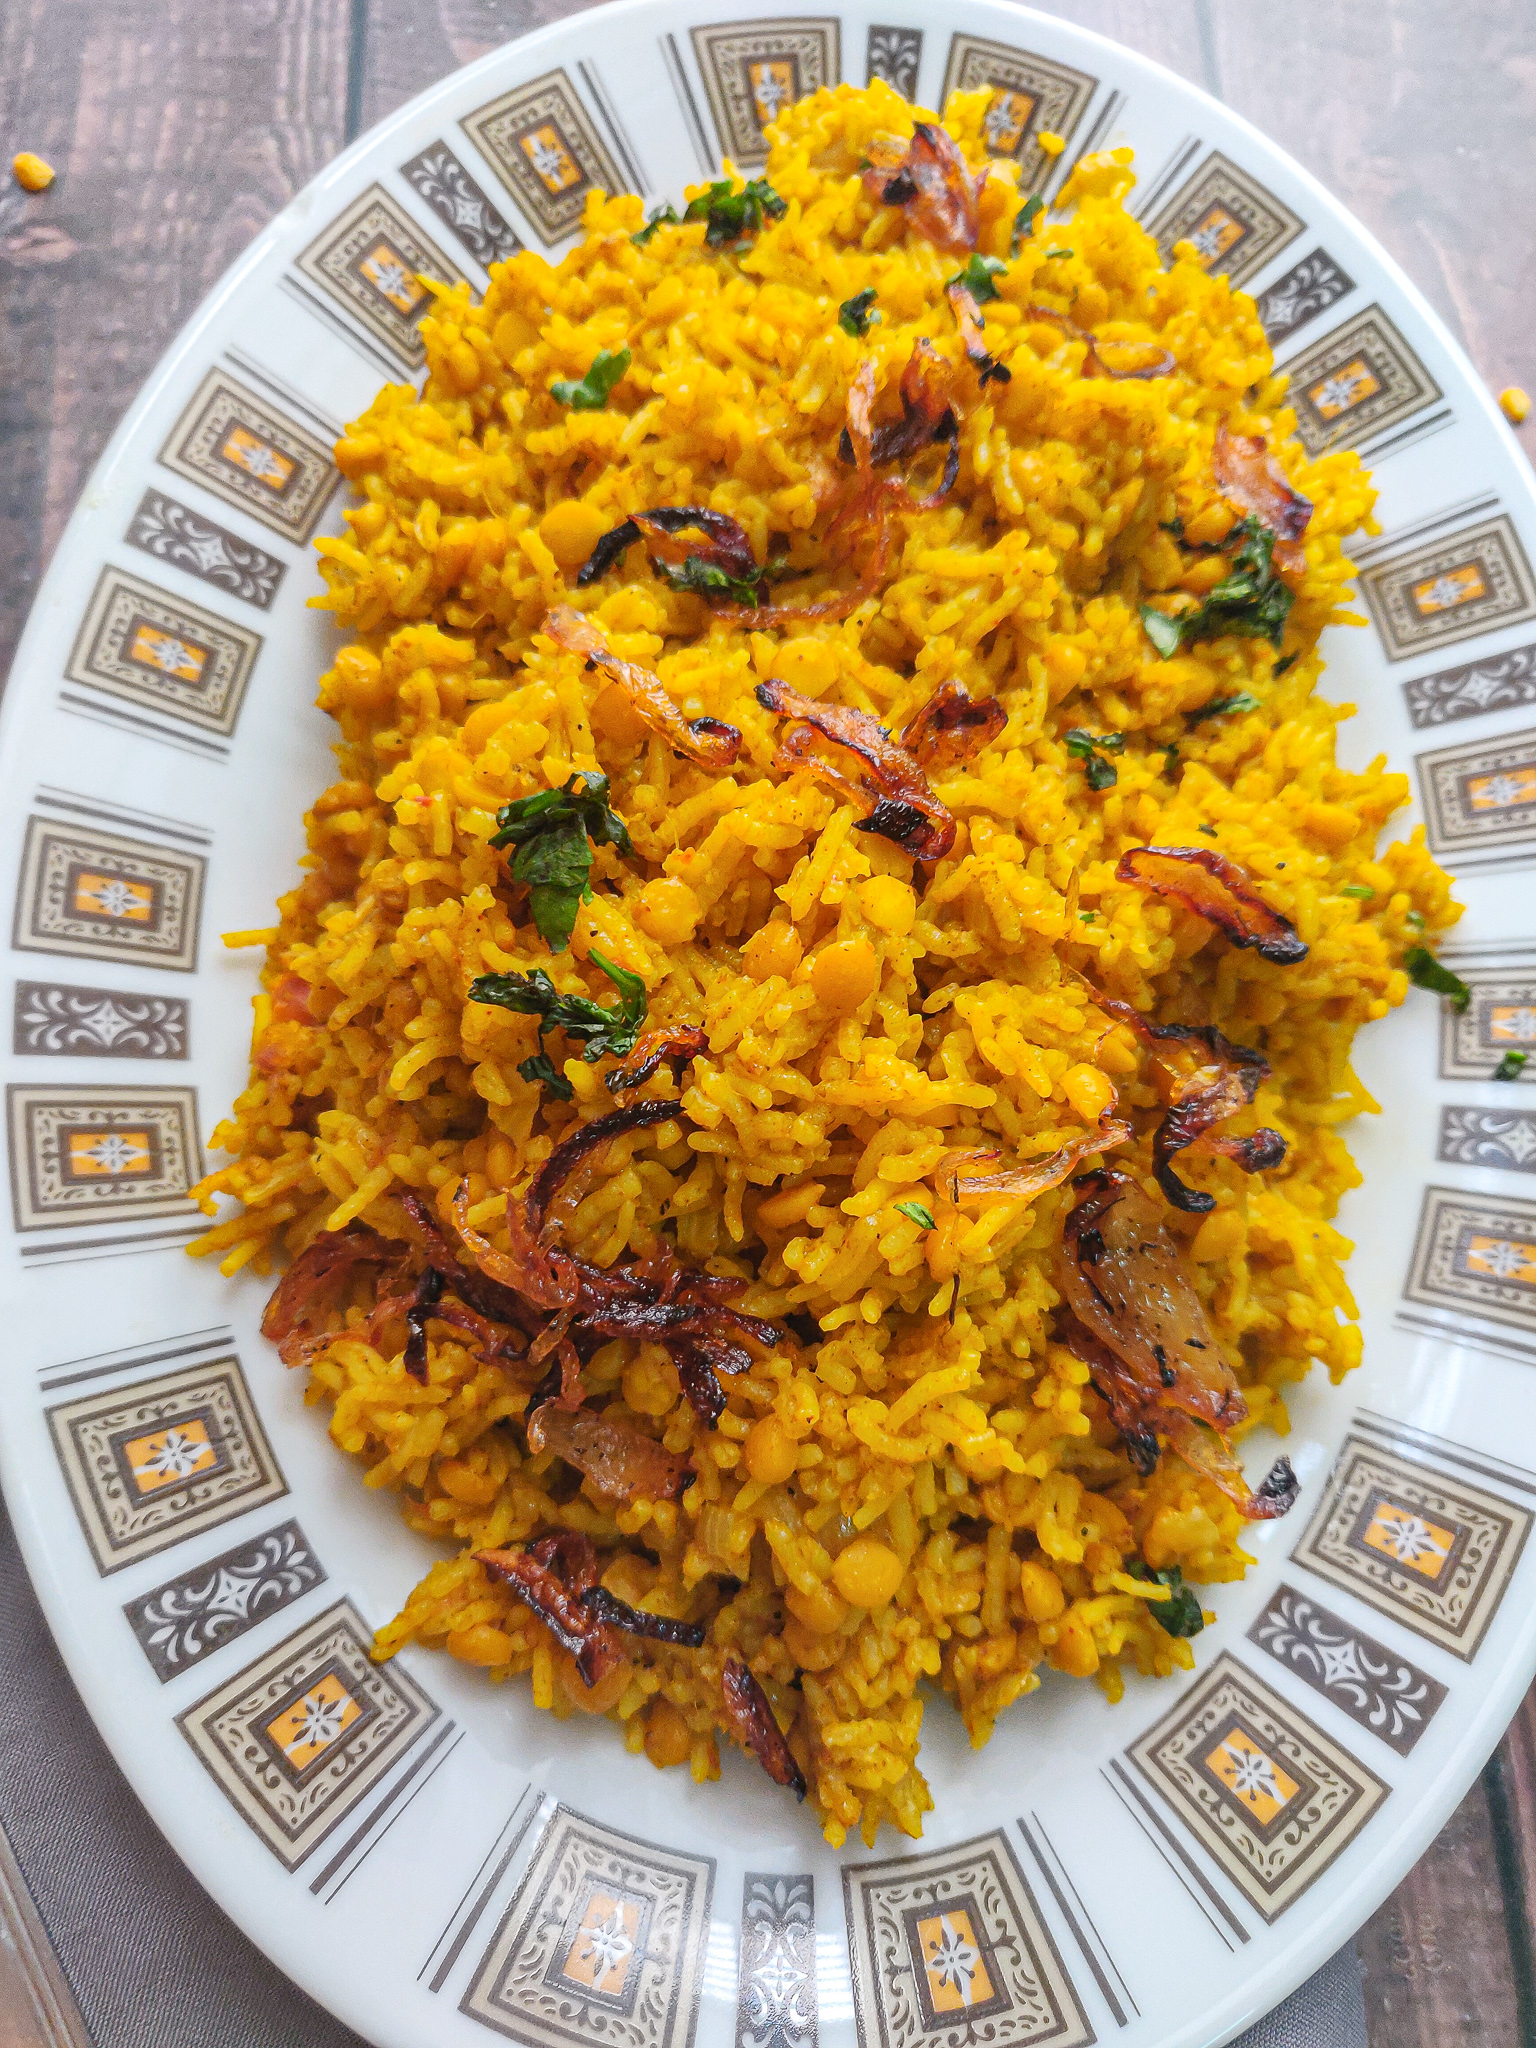
Chana Dal Pulao

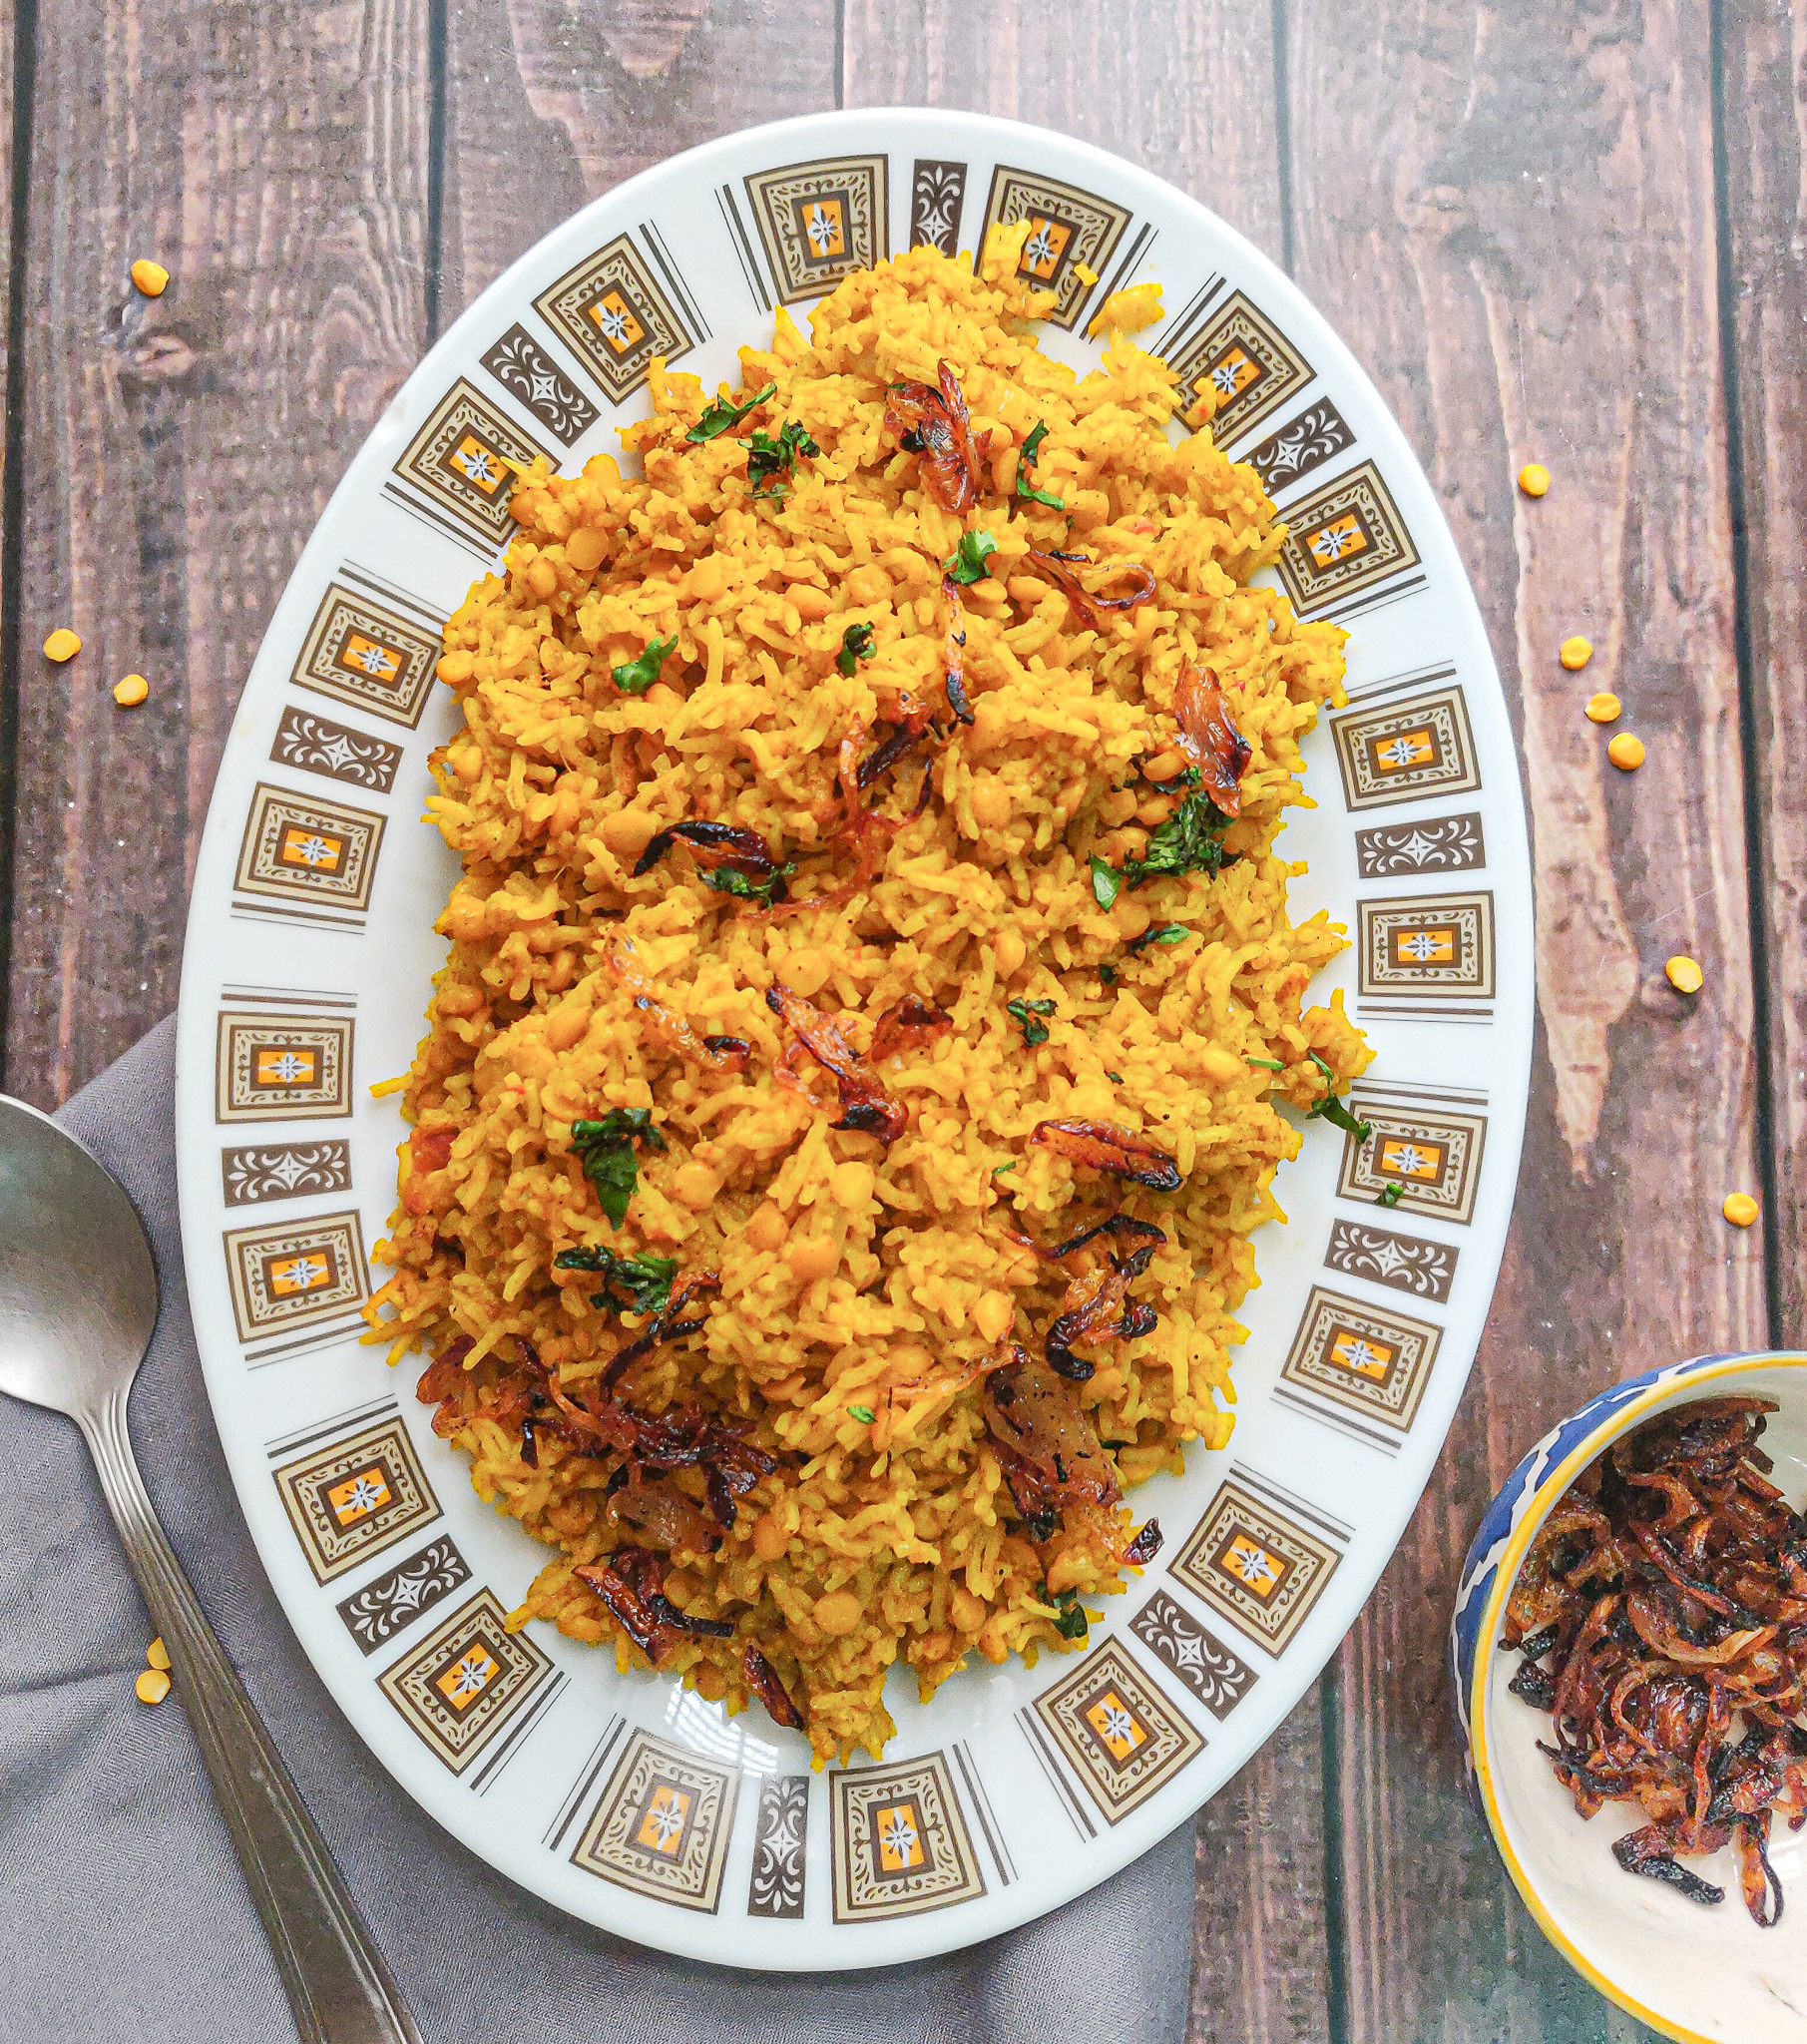
It’s lockdown day 5738821 and peak summers isn’t helping. With all of us being homebound and going on with our worklives from home, we are also facing an increasing burden of domestic work. I have been getting a lot of messages on my Instagram lately where you all are asking me to add more easy recipes that do not take much time, are delicious and can be made in large batches. So here I am adding another personal recipe from my own kitchen that has saved me a lot of time, especially in this lockdown.

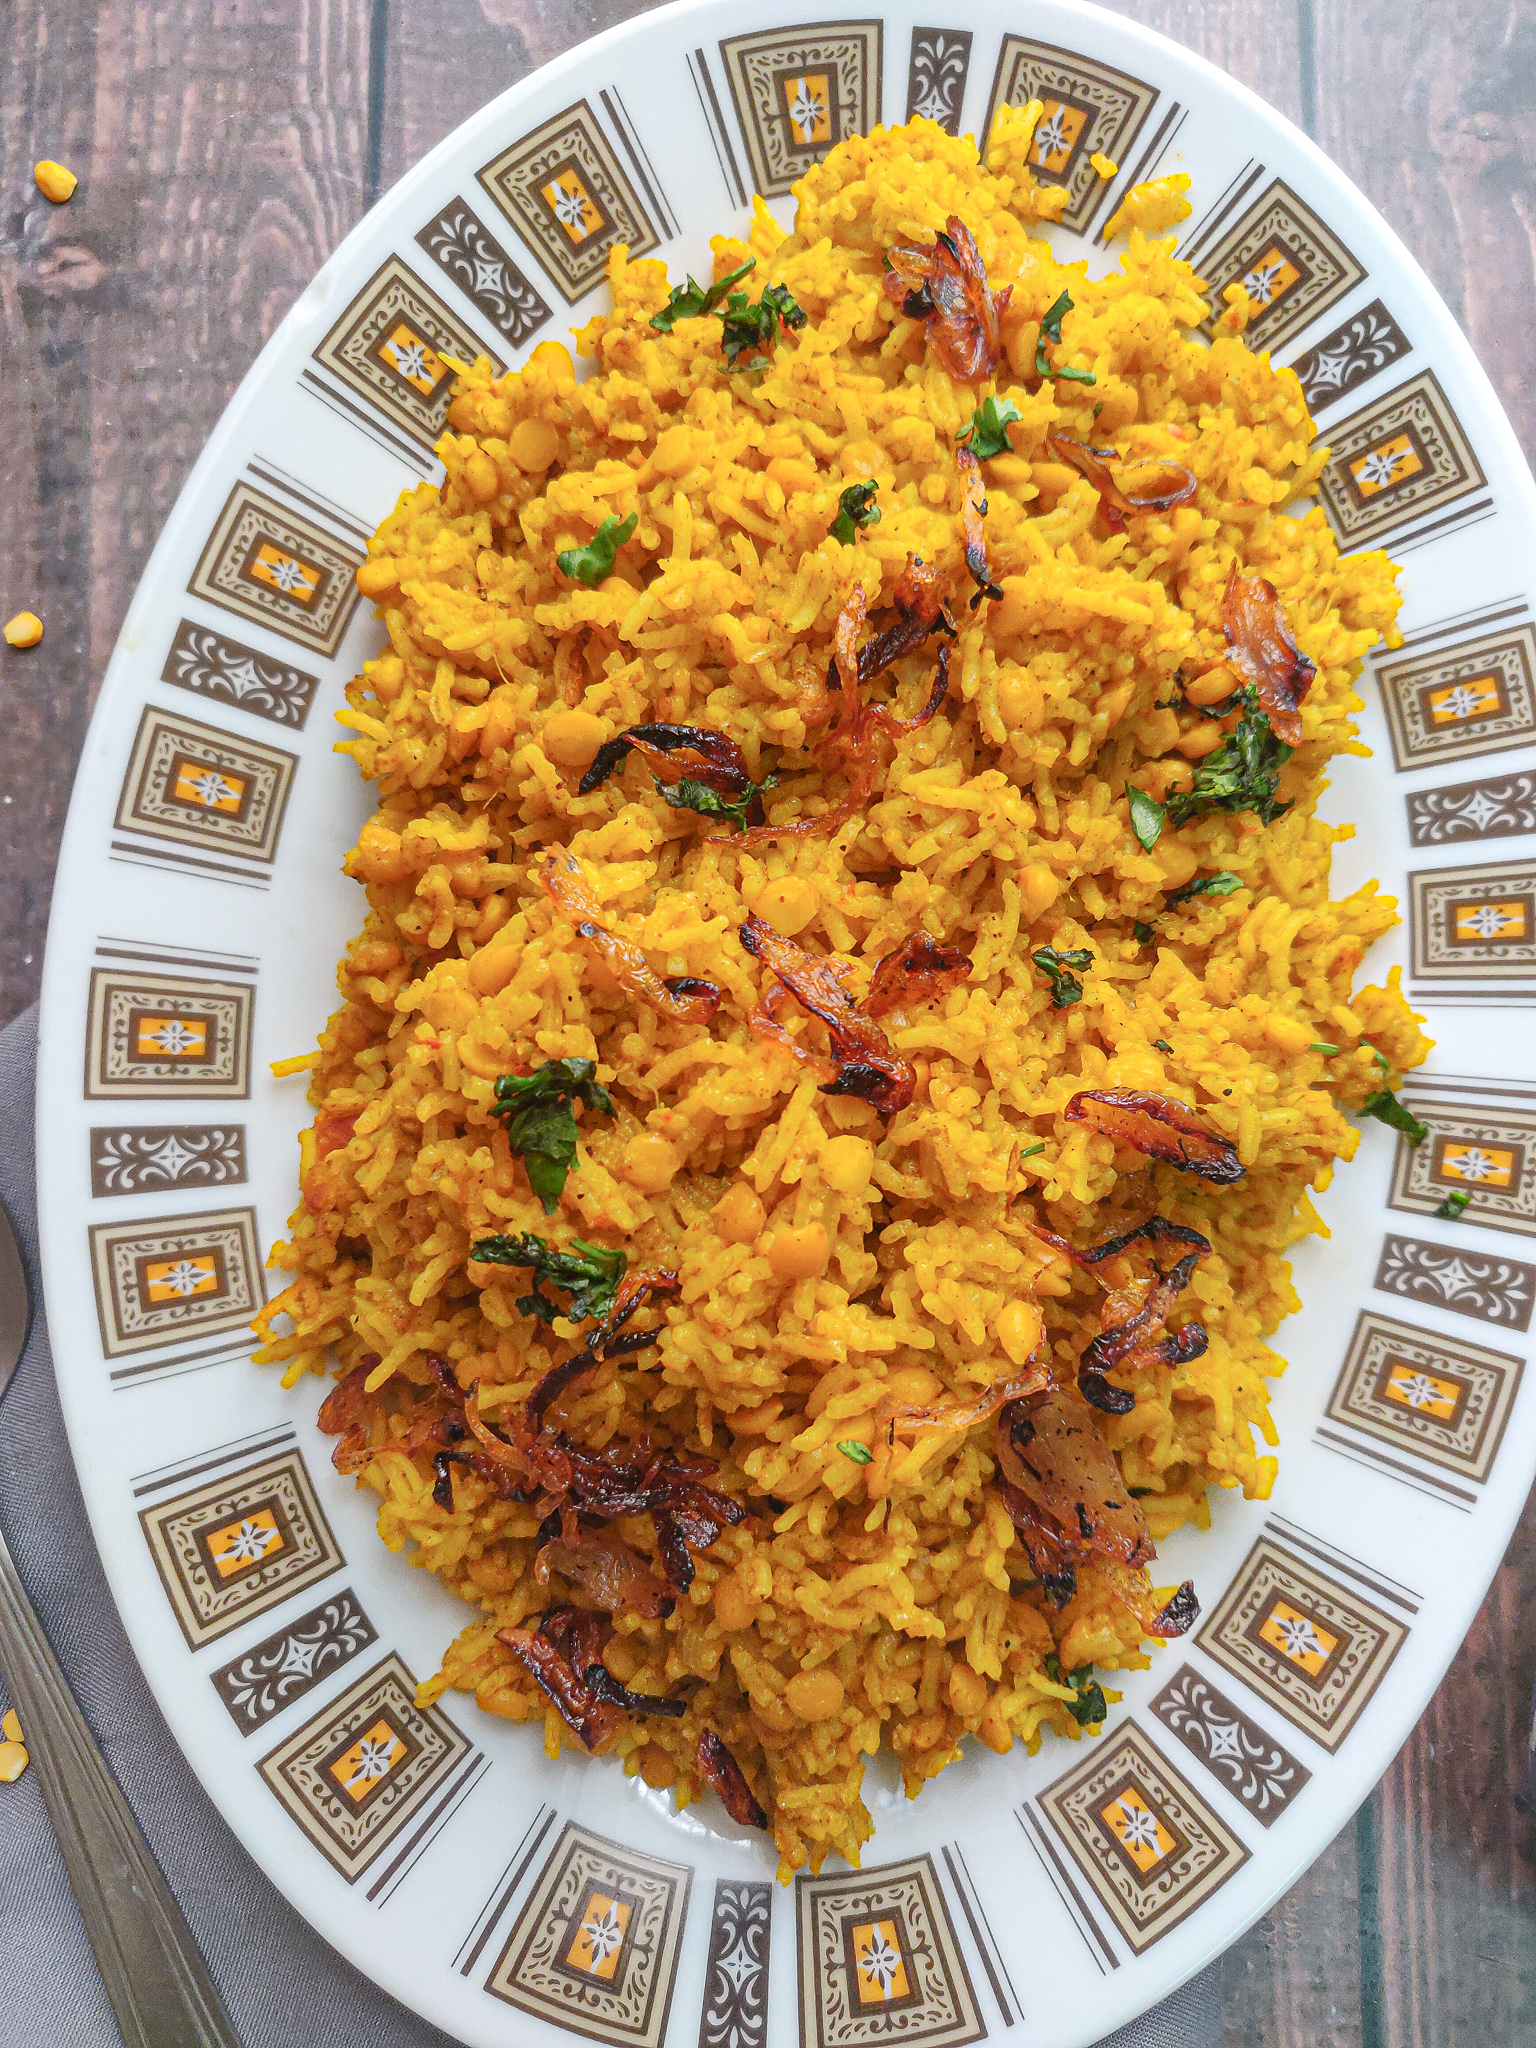
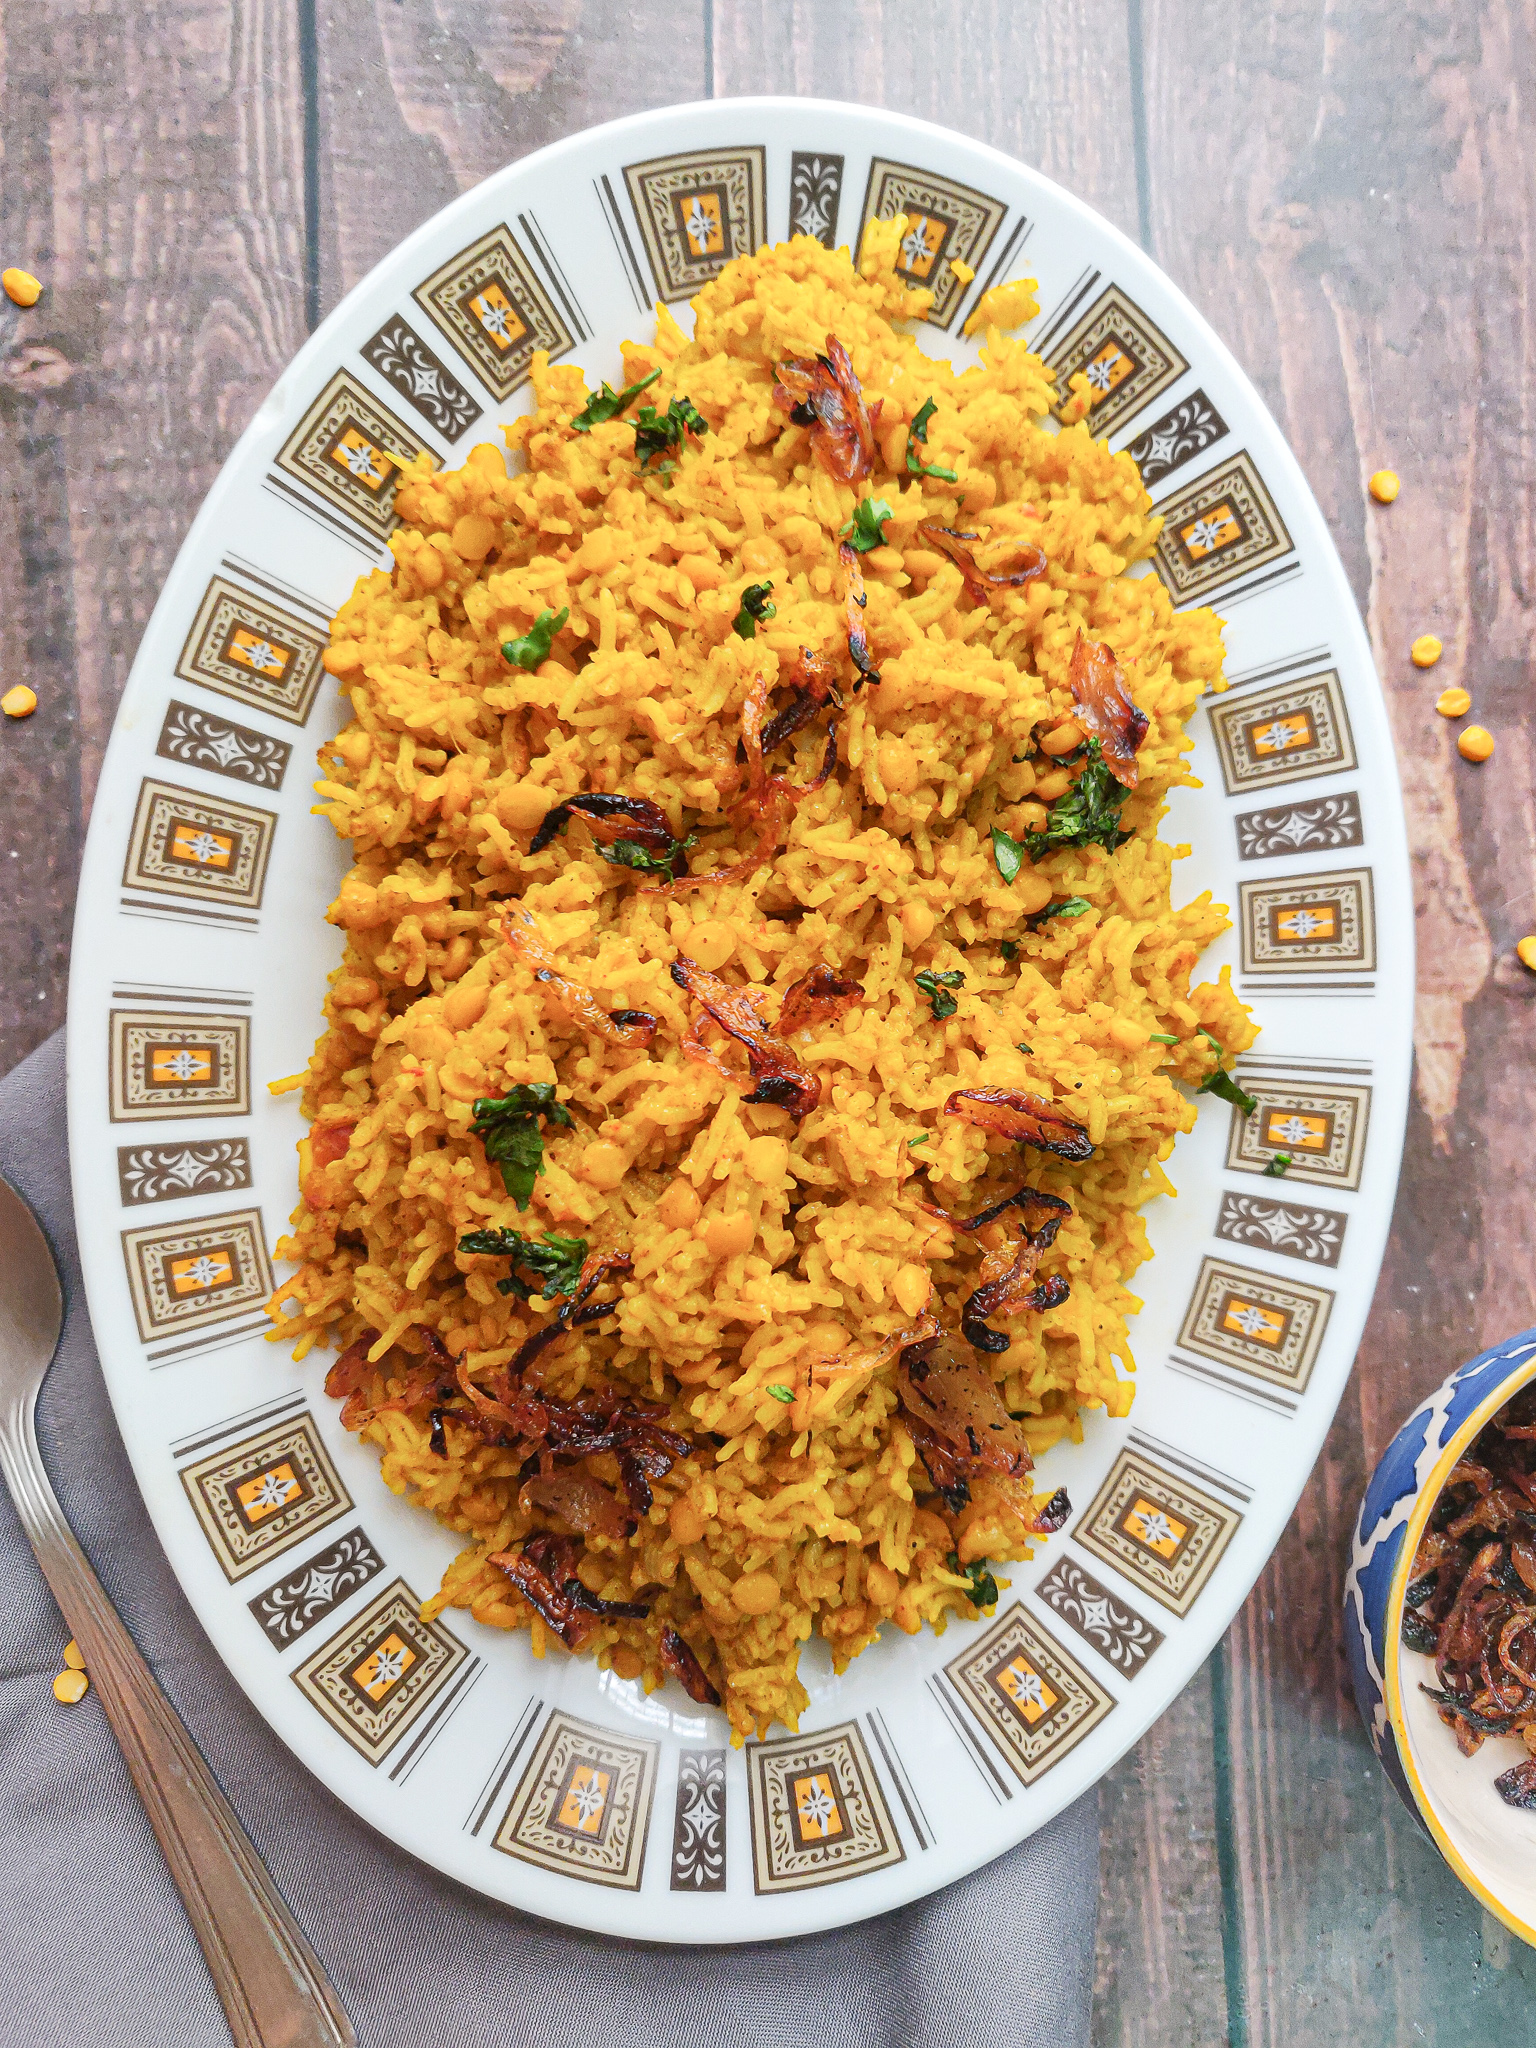
This chana dal pulao is extremely flavourful and delicious and will fill you up. I usually make a large batch that easily goes for two meals (we are three people). Having food ready in the fridge for the next meal is a different kind of relaxation, right? I completely understand the hassle of cooking everyday and sometimes we just don’t feel like going through that ordeal again. And peak summers does not really help in any case. So here is a one pot rice recipe that you will defintely love if you are also someone looking for easy meal options for yourself and those you live with.

chana dal pulao

While this recipe is easy, it does require some preparation in advance. Here’s what you need to keep ready before you start making the pulao.

  • Soak the rice – This step is very crucial to get rice that is fluffy and light. Wash the rice thoroughly under running water at least 5-6 times till the water that drains out is crystal clear. This step is very important as it helps to ensure that all the excess starch is removed so that you get rice that is fluffy and also not too heavy. Pro tip – Do not waste the starchy water. It is full of nutrients. Use it to water your plants. Once your rice is washed, soak the rice in clean water for 30 minutes to one hour. Till step will ensure that the rice fluff up to its maximum potential.
  • Boil your chana dal – To reduce the cook time of the pulao, we will have to keep the chana dal or split chickpeas ready. Wash the chana dal and soak them in water for 2 hours. Once they are soft, boil them in a pressure cooker for five to six whistles till they are soft (and not mushy).

chana dal pulao

Here’s the recipe.

[ingredients title=”Ingredients”]

  • 1 1/2 cups basmati rice
  • 1 1/2 cups chana dal (split chickpeas)
  • 1 cup finely chopped onions
  • 3 tbsp vegetable oil
  • 2 cardamoms
  • 2 cloves
  • 1/2 inch cinnamon stick
  • 1 cup fresh coriander leaves, roughly chopped
  • 5 garlic cloves
  • 1 inch ginger
  • 2/3 cup fresh tomato puree
  • Salt to taste
  • 1 tbsp coriander powder
  • 1 tbsp cumin powder
  • 1 tsp turmeric powder
  • 1 tsp Kashmiri red chili powder
  • 1/2 tsp black pepper powder
  • 1/3 cup whisked curd
  • 1 tsp garam masala [/ingredients]

[directions title=”Directions”]

  1. Wash and soak the rice for 30 minutes.
  2. Wash the chana dal and soak them in water for 2 hours. Once they are soft, boil them in a pressure cooker for five to six whistles till they are soft.
  3. Make a paste of the ginger, garlic and coriander with about three tablespoons of water.
  4. Heat oil in a skillet or pot. Temper with cardamom, cloves and cinnnamon.
  5. Add the finely chopped onions and saute till they turn translucent and golden brown.
  6. Pour the ginger, garlic and coriander paste and cook on medium flame till you see the oil release from the sides.
  7. Add the fresh tomato puree and mix well. Cover and cook for a few minutes till rawness disappears and oil splits from the masala.
  8. Uncover the skillet and give it all a good mix. Season with Kashmiri red chili powder, coriander powder, black pepper powder, cumin powder, turmeric powder and salt. Mix well.
  9. Add the boiled chickpeas and mix well till it gets coated well with the masala. Add two cups of hot water. Cover and let it cook till the dal comes to a luscious gravy.
  10. Add the soaked rice and gently mix everything together. Add two more cups of hot water and some garam masala. Mix and cover and cook for 30 minutes on the lowest flame possible.
  11. Check the rice after 30 minutes. Turn off the gas and let it rest undisturbed for another 15 minutes.
  12. Garnish with fried onions and fresh coriander.
  13. Serve hot with some raita and salad. [/directions]

chana dal pulao

chana dal pulao

I hope you try this chana dal pulao super soon! If you have any doubts, comments, or feedback, please reach out to me in comments or my social media handles.

Find me on Instagram – www.instagram.com/slurrpilicious

Find me on Facebook – www.facebook.com/slurrpilicious

Find me on Youtube – https://www.youtube.com/channel/UCA-cJoo27OLSCswI4sy6lzA?

Happy cooking!

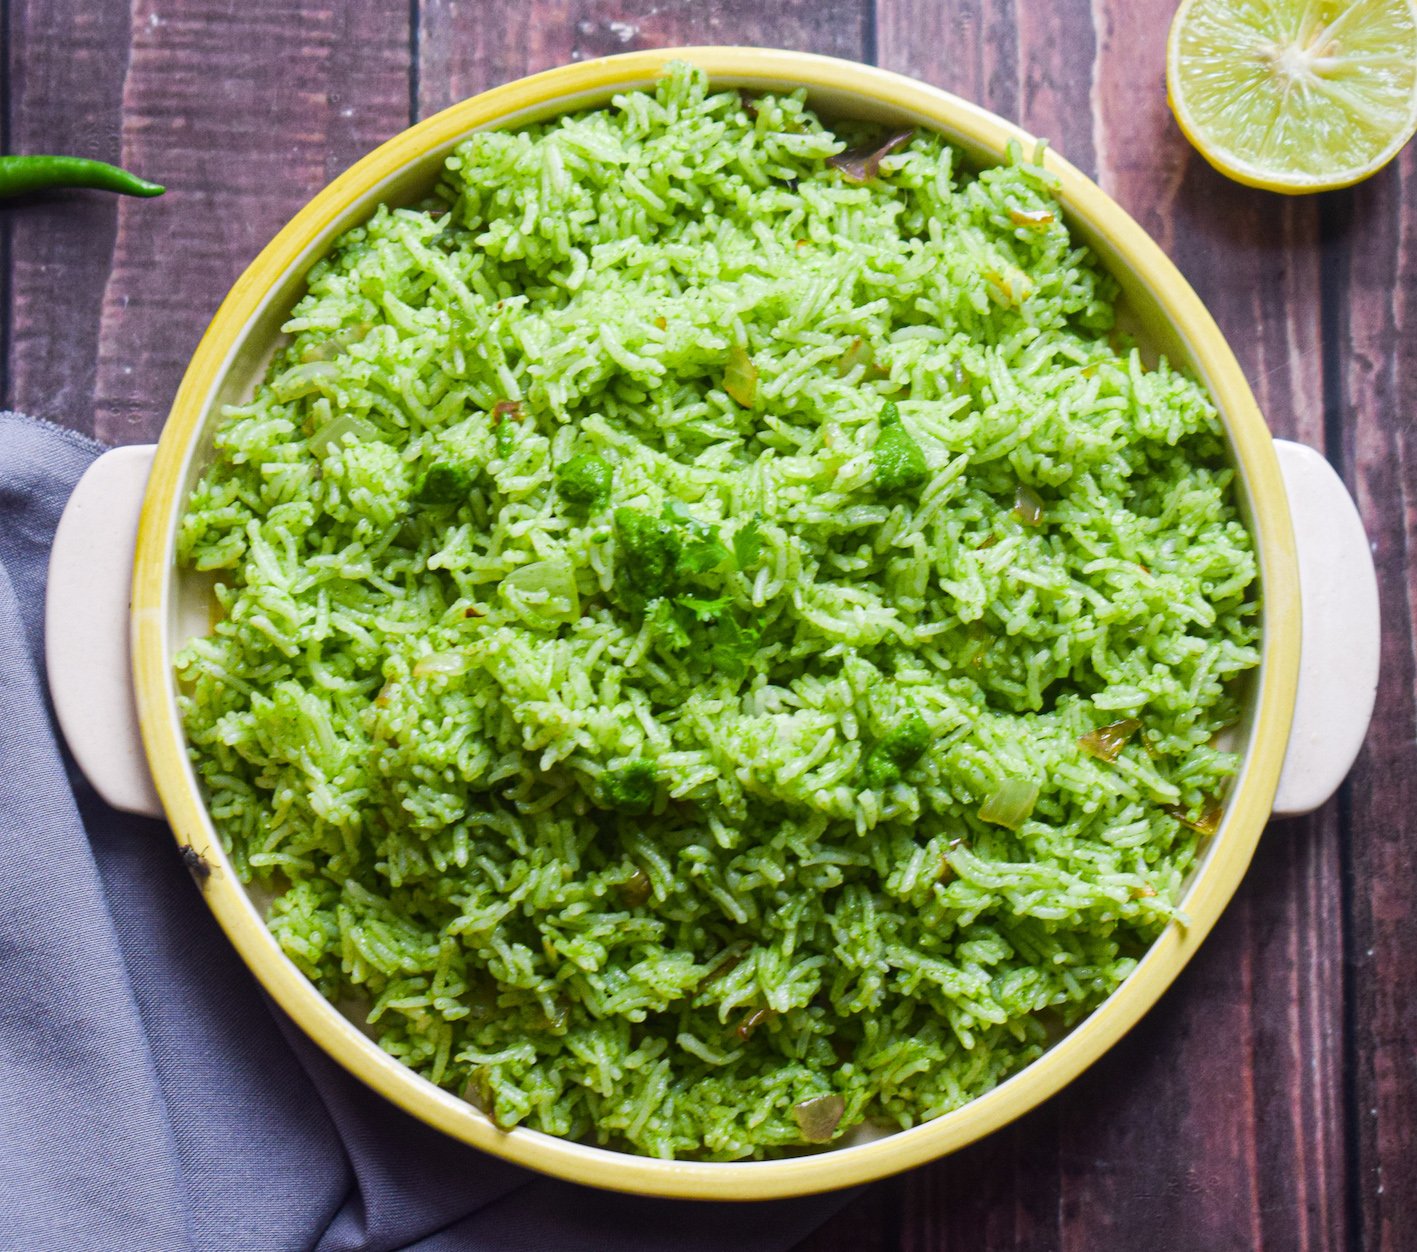
Vegan Coriander Rice

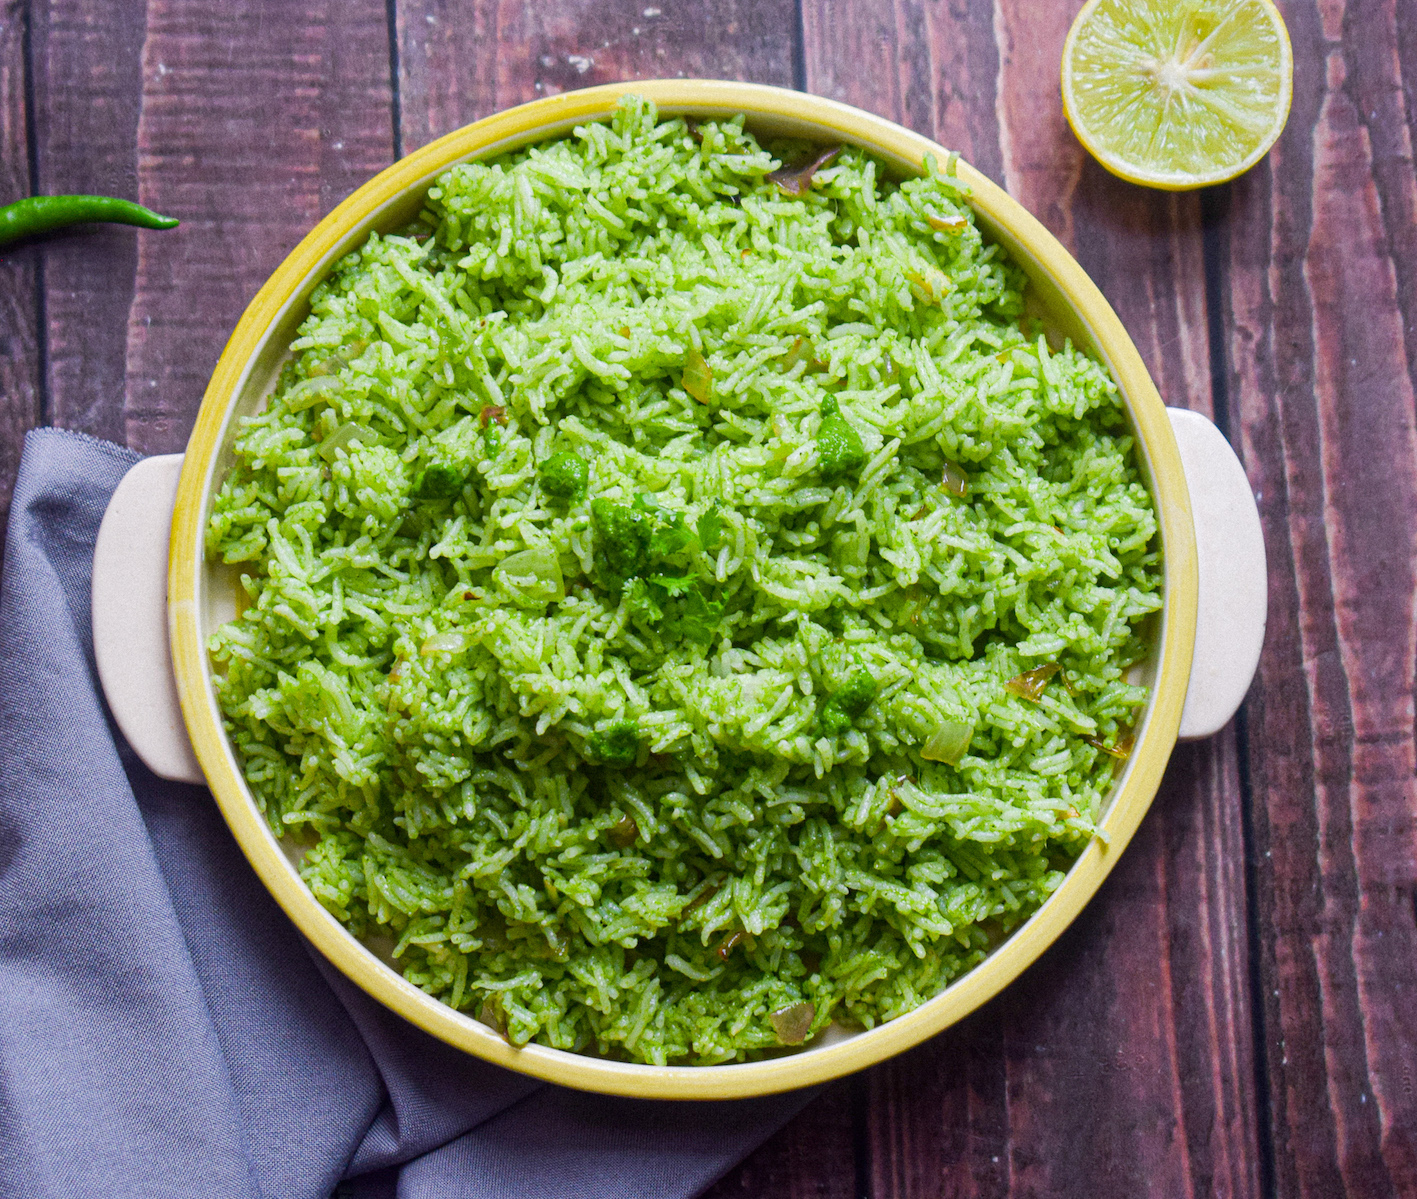
With most of us in quarantine, we are all cooking a lot more in our kitchens and looking for ways to maximise the time we spend in the kitchen. Be it one-pot meals or easy recipes that can be made in large batches, the need for easy and healthy cooking has never been more. So I thought of doing my bit by sharing really easy and simple means which come together in no time, but also add a lot of cheer to the mind in these tough times. Here is an easy coriander rice recipe that remains a favorite in these times and I thought I should share the joy with all of you too.

coriander rice

I honestly cannot emphasize enough on the brilliance of this simple recipe. Easy, local, economical and so delicious, this vegan coriander rice is such a great way to jazz up the regular white rice we have all been eating these days. It has so much flavour and freshness and uses just a handful of ingredients that are mostly available in Indian households. If you want to add some extra comfort to your meals, I would urge you to try this recipe.

The best part about this coriander rice is how you can use all the coriander lying in your house in one go, without wasting the stems. The maximum flavour comes from those stems so never ever throw them away while searching for the leaves. Spicy, sweet, tangy and filling, this rice can be made in big batches and served as a great side dish. I really hope you try it soon and love it as much as I do. You can also add some mint to this if you have or use a mixture of mint and coriander.

coriander rice

Hope you try this recipe and love it as much as I do.

coriander rice

Preparation time – 15 minutes

Cook time – 15 minutes

Serves – 4

[ingredients title=”Ingredients”]

  • 1 bunch fresh coriander leaves (about 60g)
  • 2 green chillies
  • 2 garlic cloves
  • 3 tbsp olive oil
  • Salt to taste
  • 1 large onion, finely chopped
  • 2 tbsp vegetable oil
  • Juice of half a lemon
  • 1 tbsp sugar
  • 5 tbsp water
  • 5 cups cooked white rice [/ingredients]

[directions title=”Directions”]

  1. Clean and pat dry the fresh coriander. Cut it just above the tip of the roots. We will use the stems and leaves to make the chutney.
  2. In a grinder, pack in the coriander, garlic, salt, chillies, olive oil and water. Grind to form a smooth paste. Set aside.
  3. Heat vegetable oil in a pan. Add the onion. Saute till they turn brown and translucent.
  4. Add the cooked white rice and gently mix on low heat.
  5. Season the rice with salt. Mix well in low heat.
  6. Once the rice seperate from each other, add the coriander chutney to it. Mix gently. Keep the flame on low at all times.
  7. Mix till everything combines well. Check for salt and sugar, add more if you desire as per your taste.
  8. Serve hot! [/directions]

coriander rice

For more such delightful food, follow me on Facebook, Instagram, and YouTube.

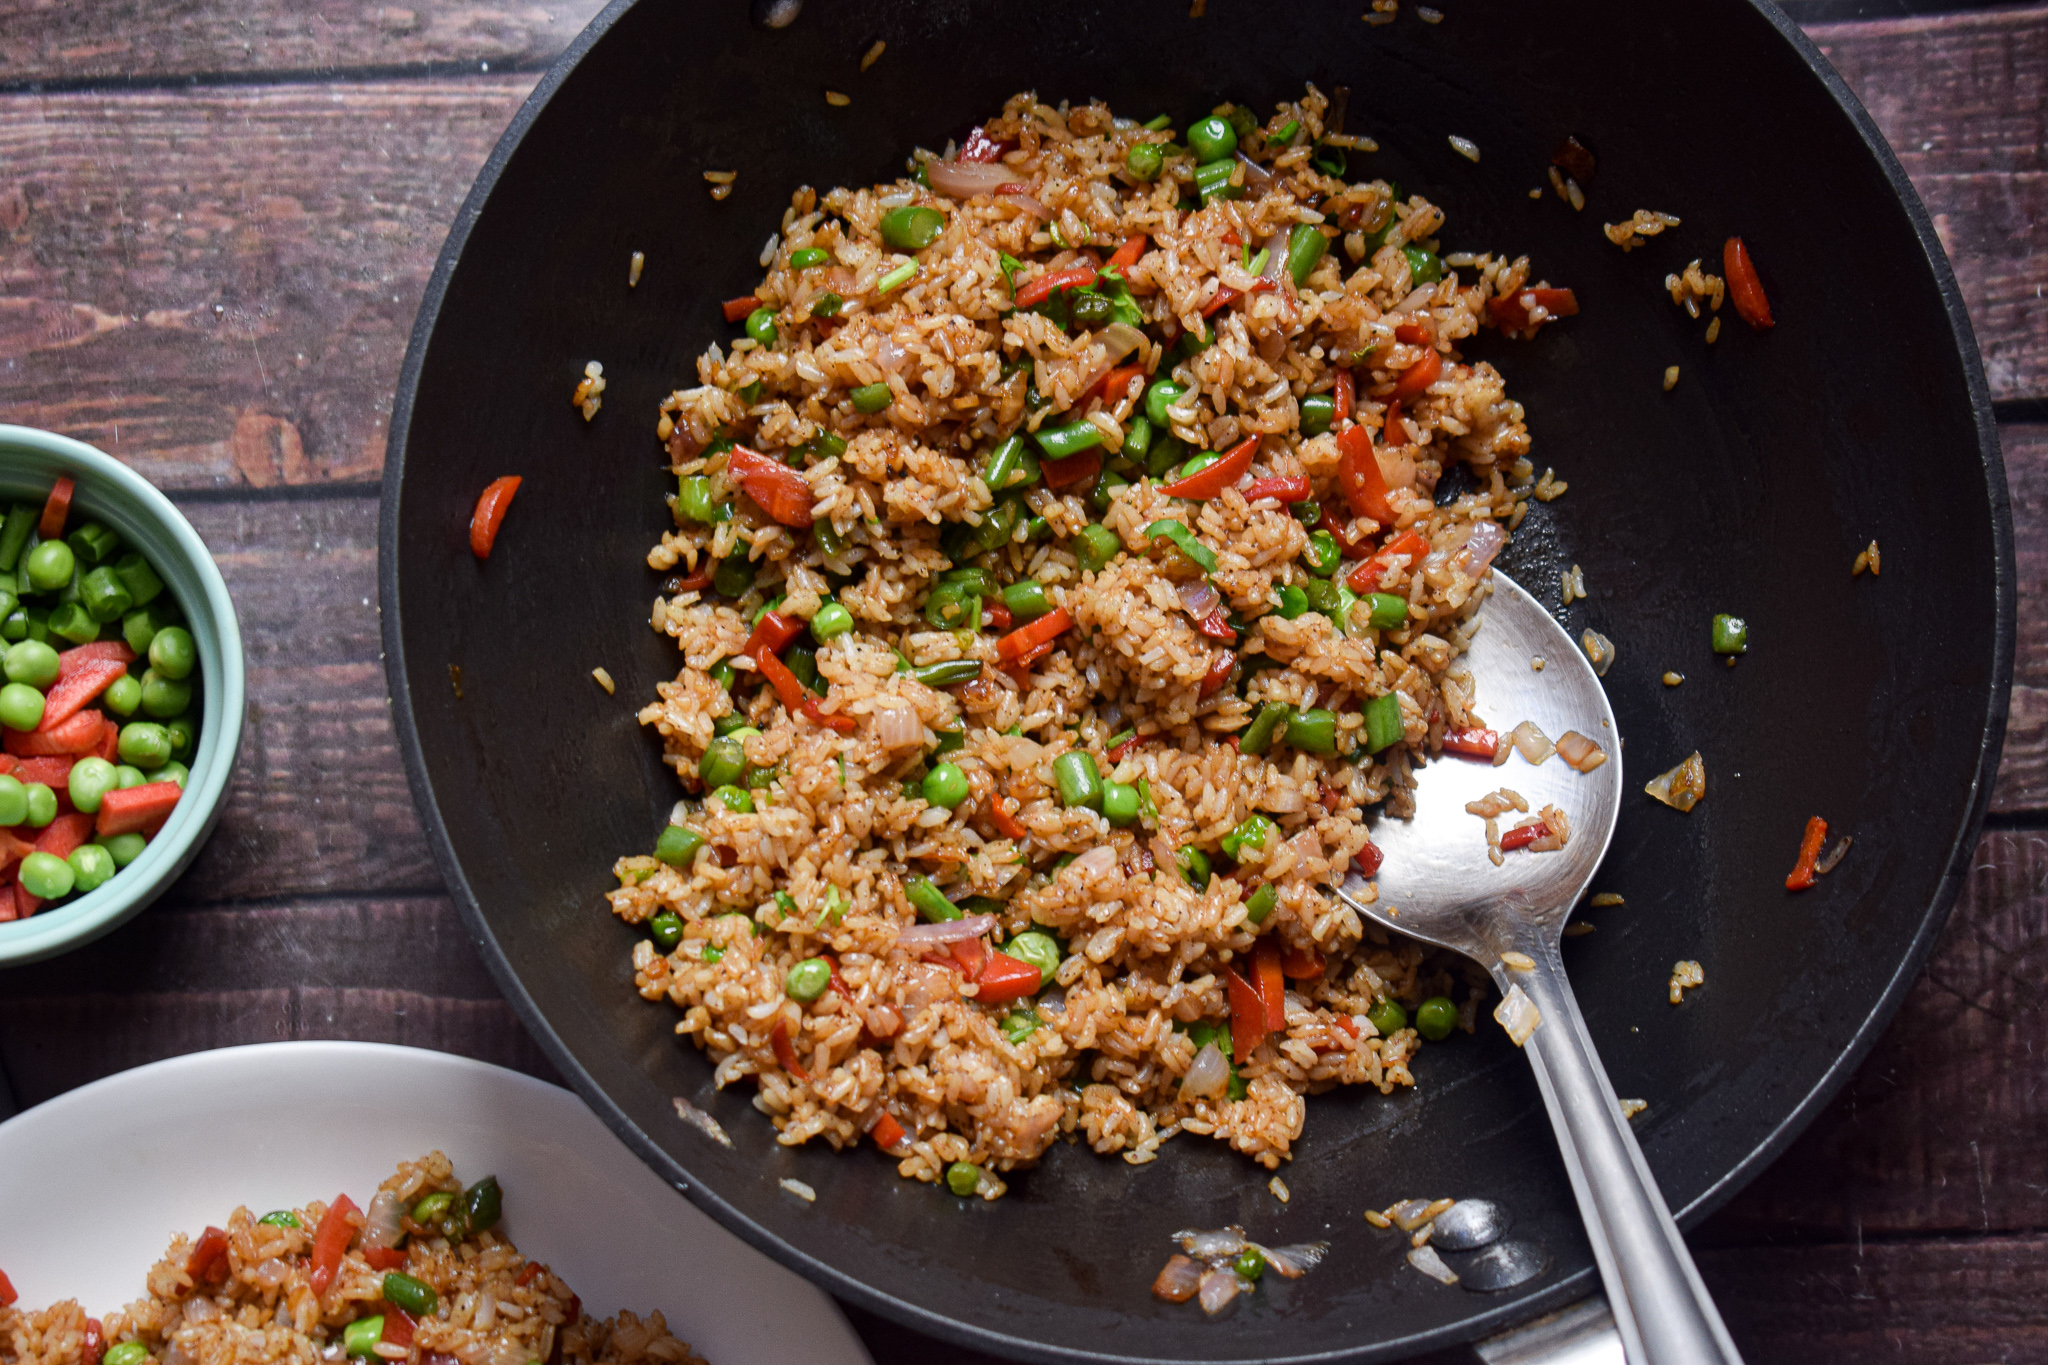
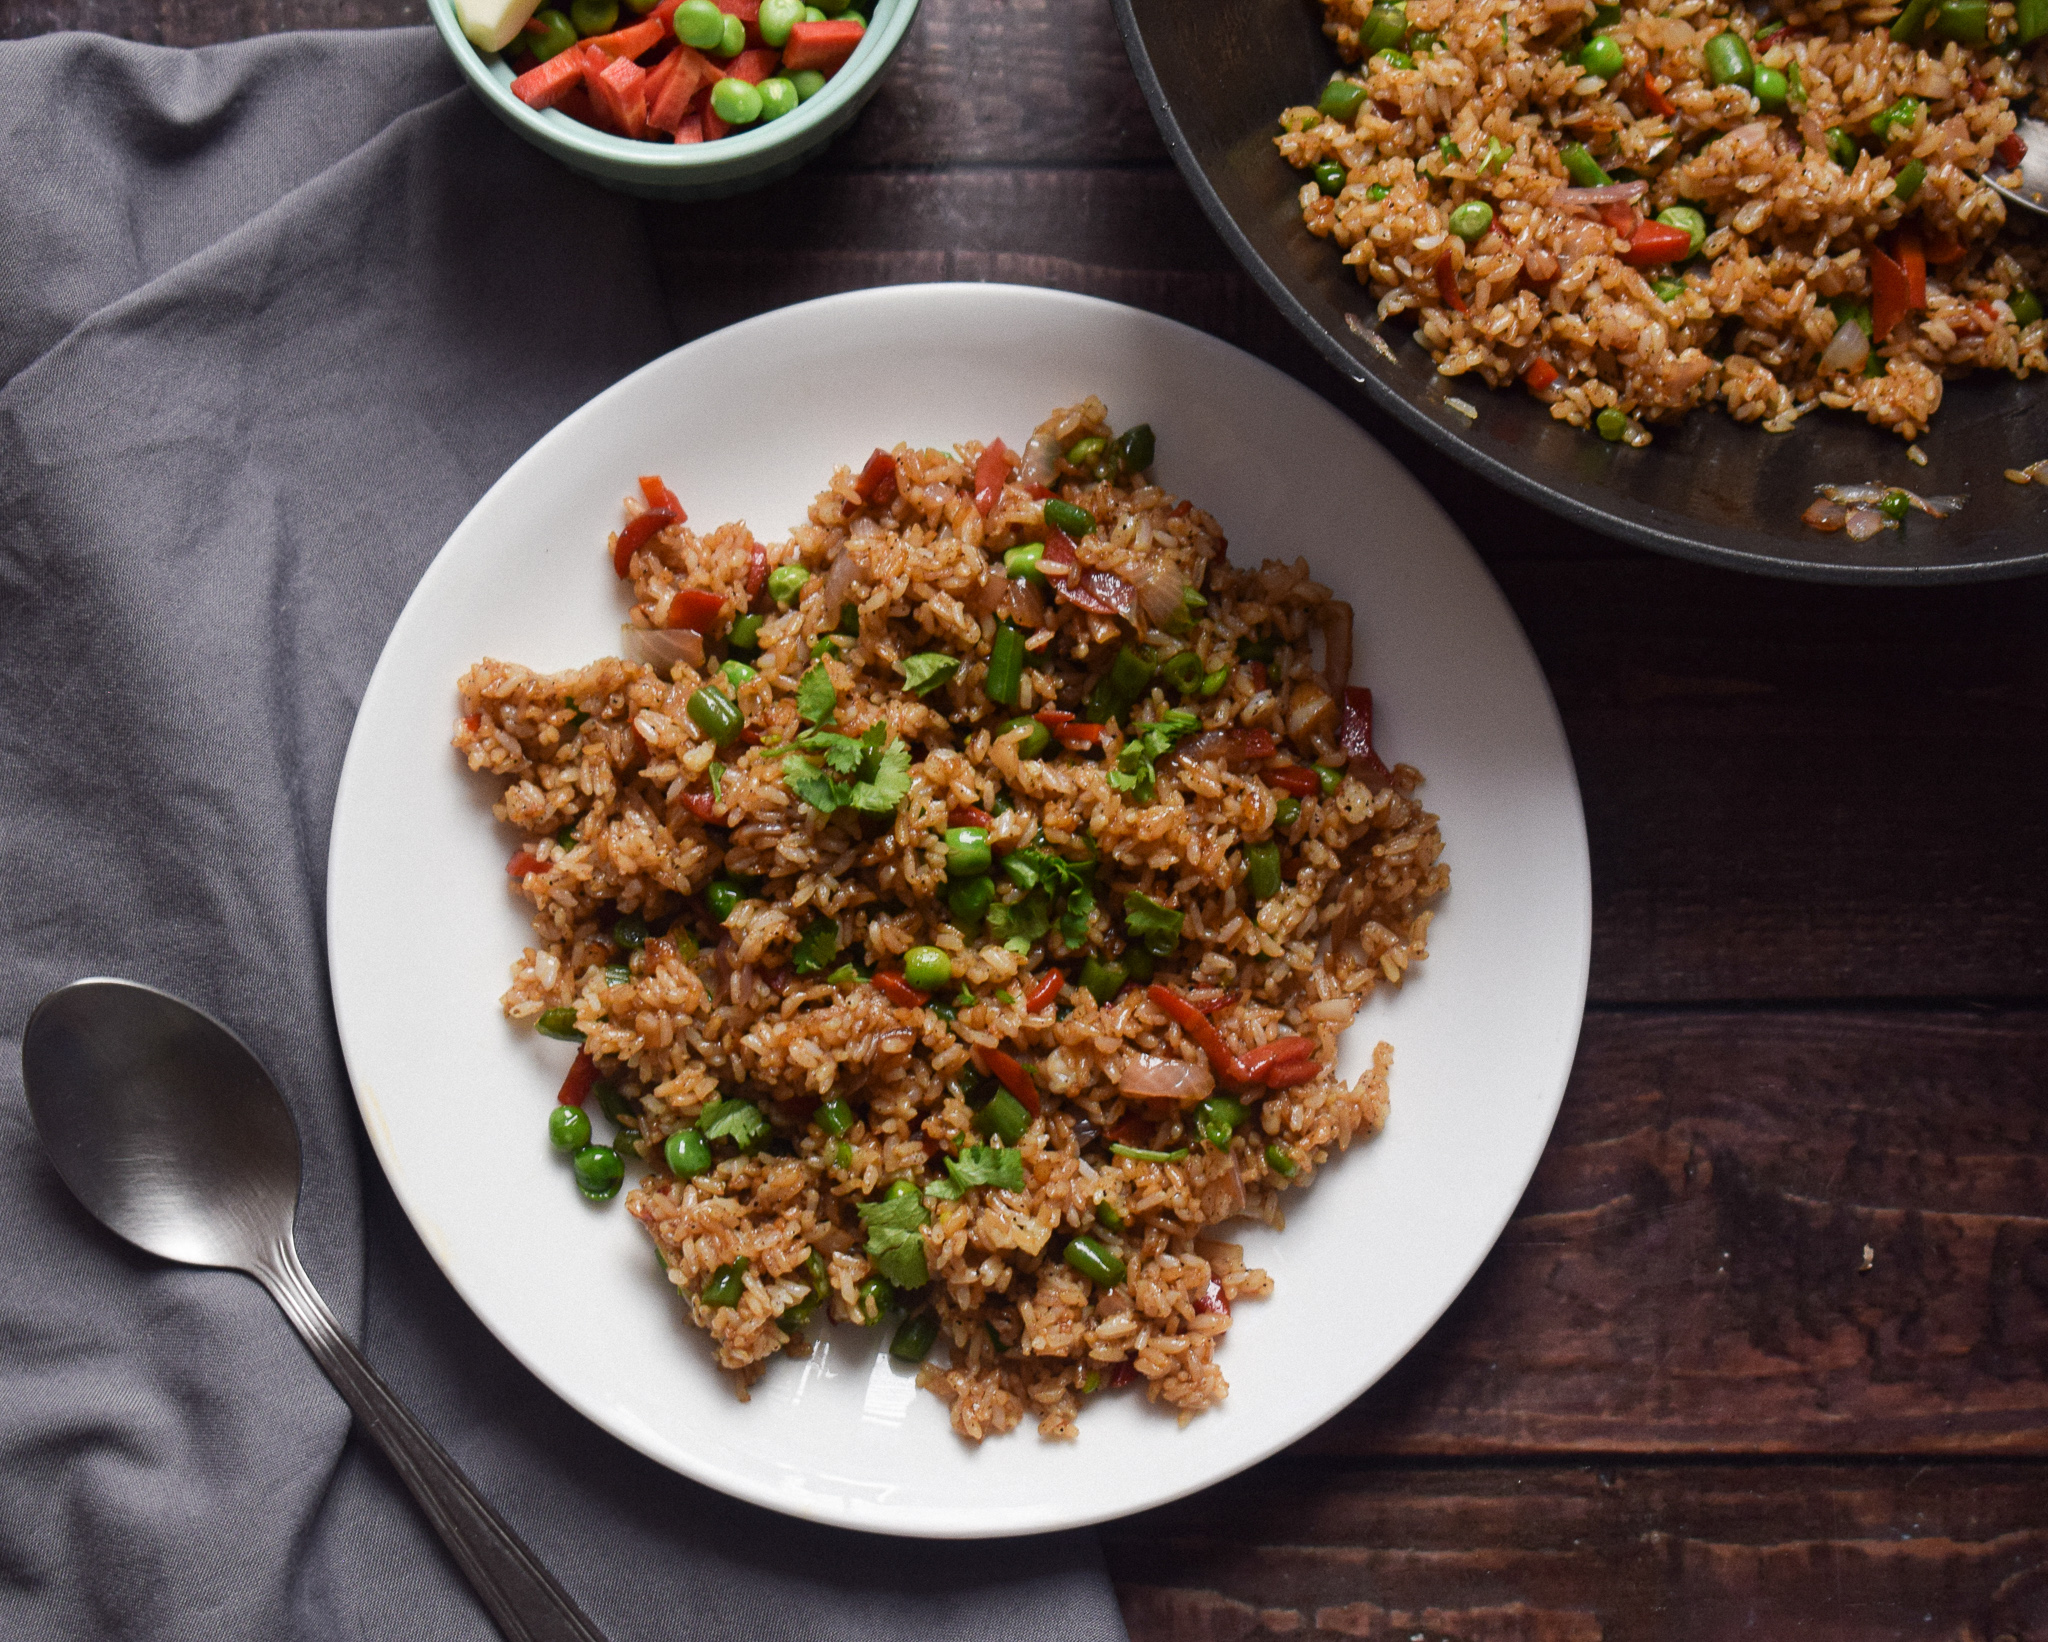
15 Minute Vegetable Fried Rice

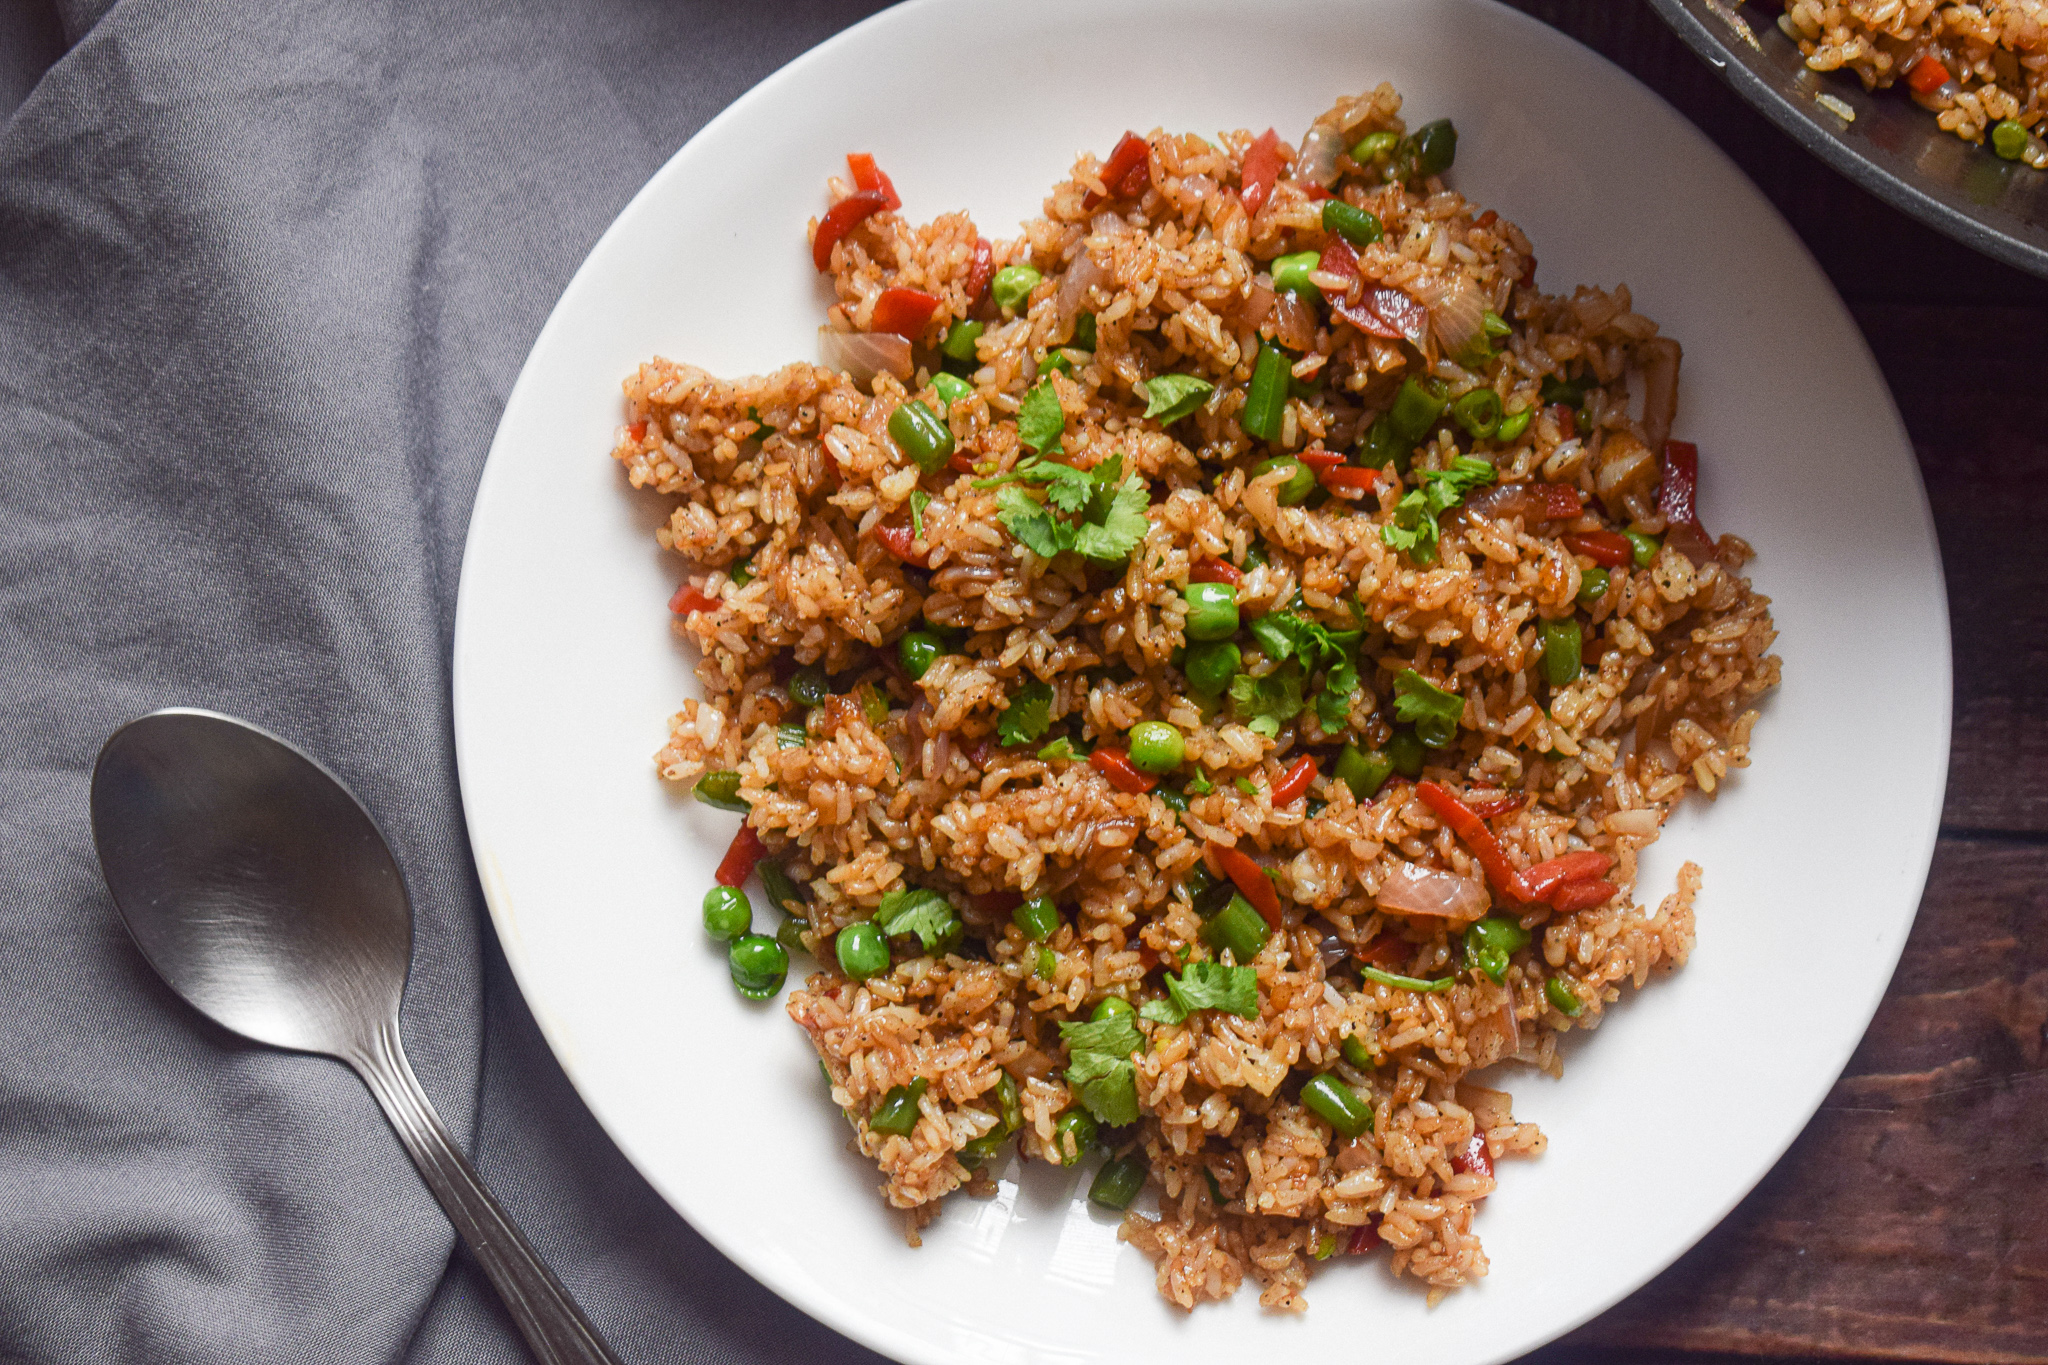
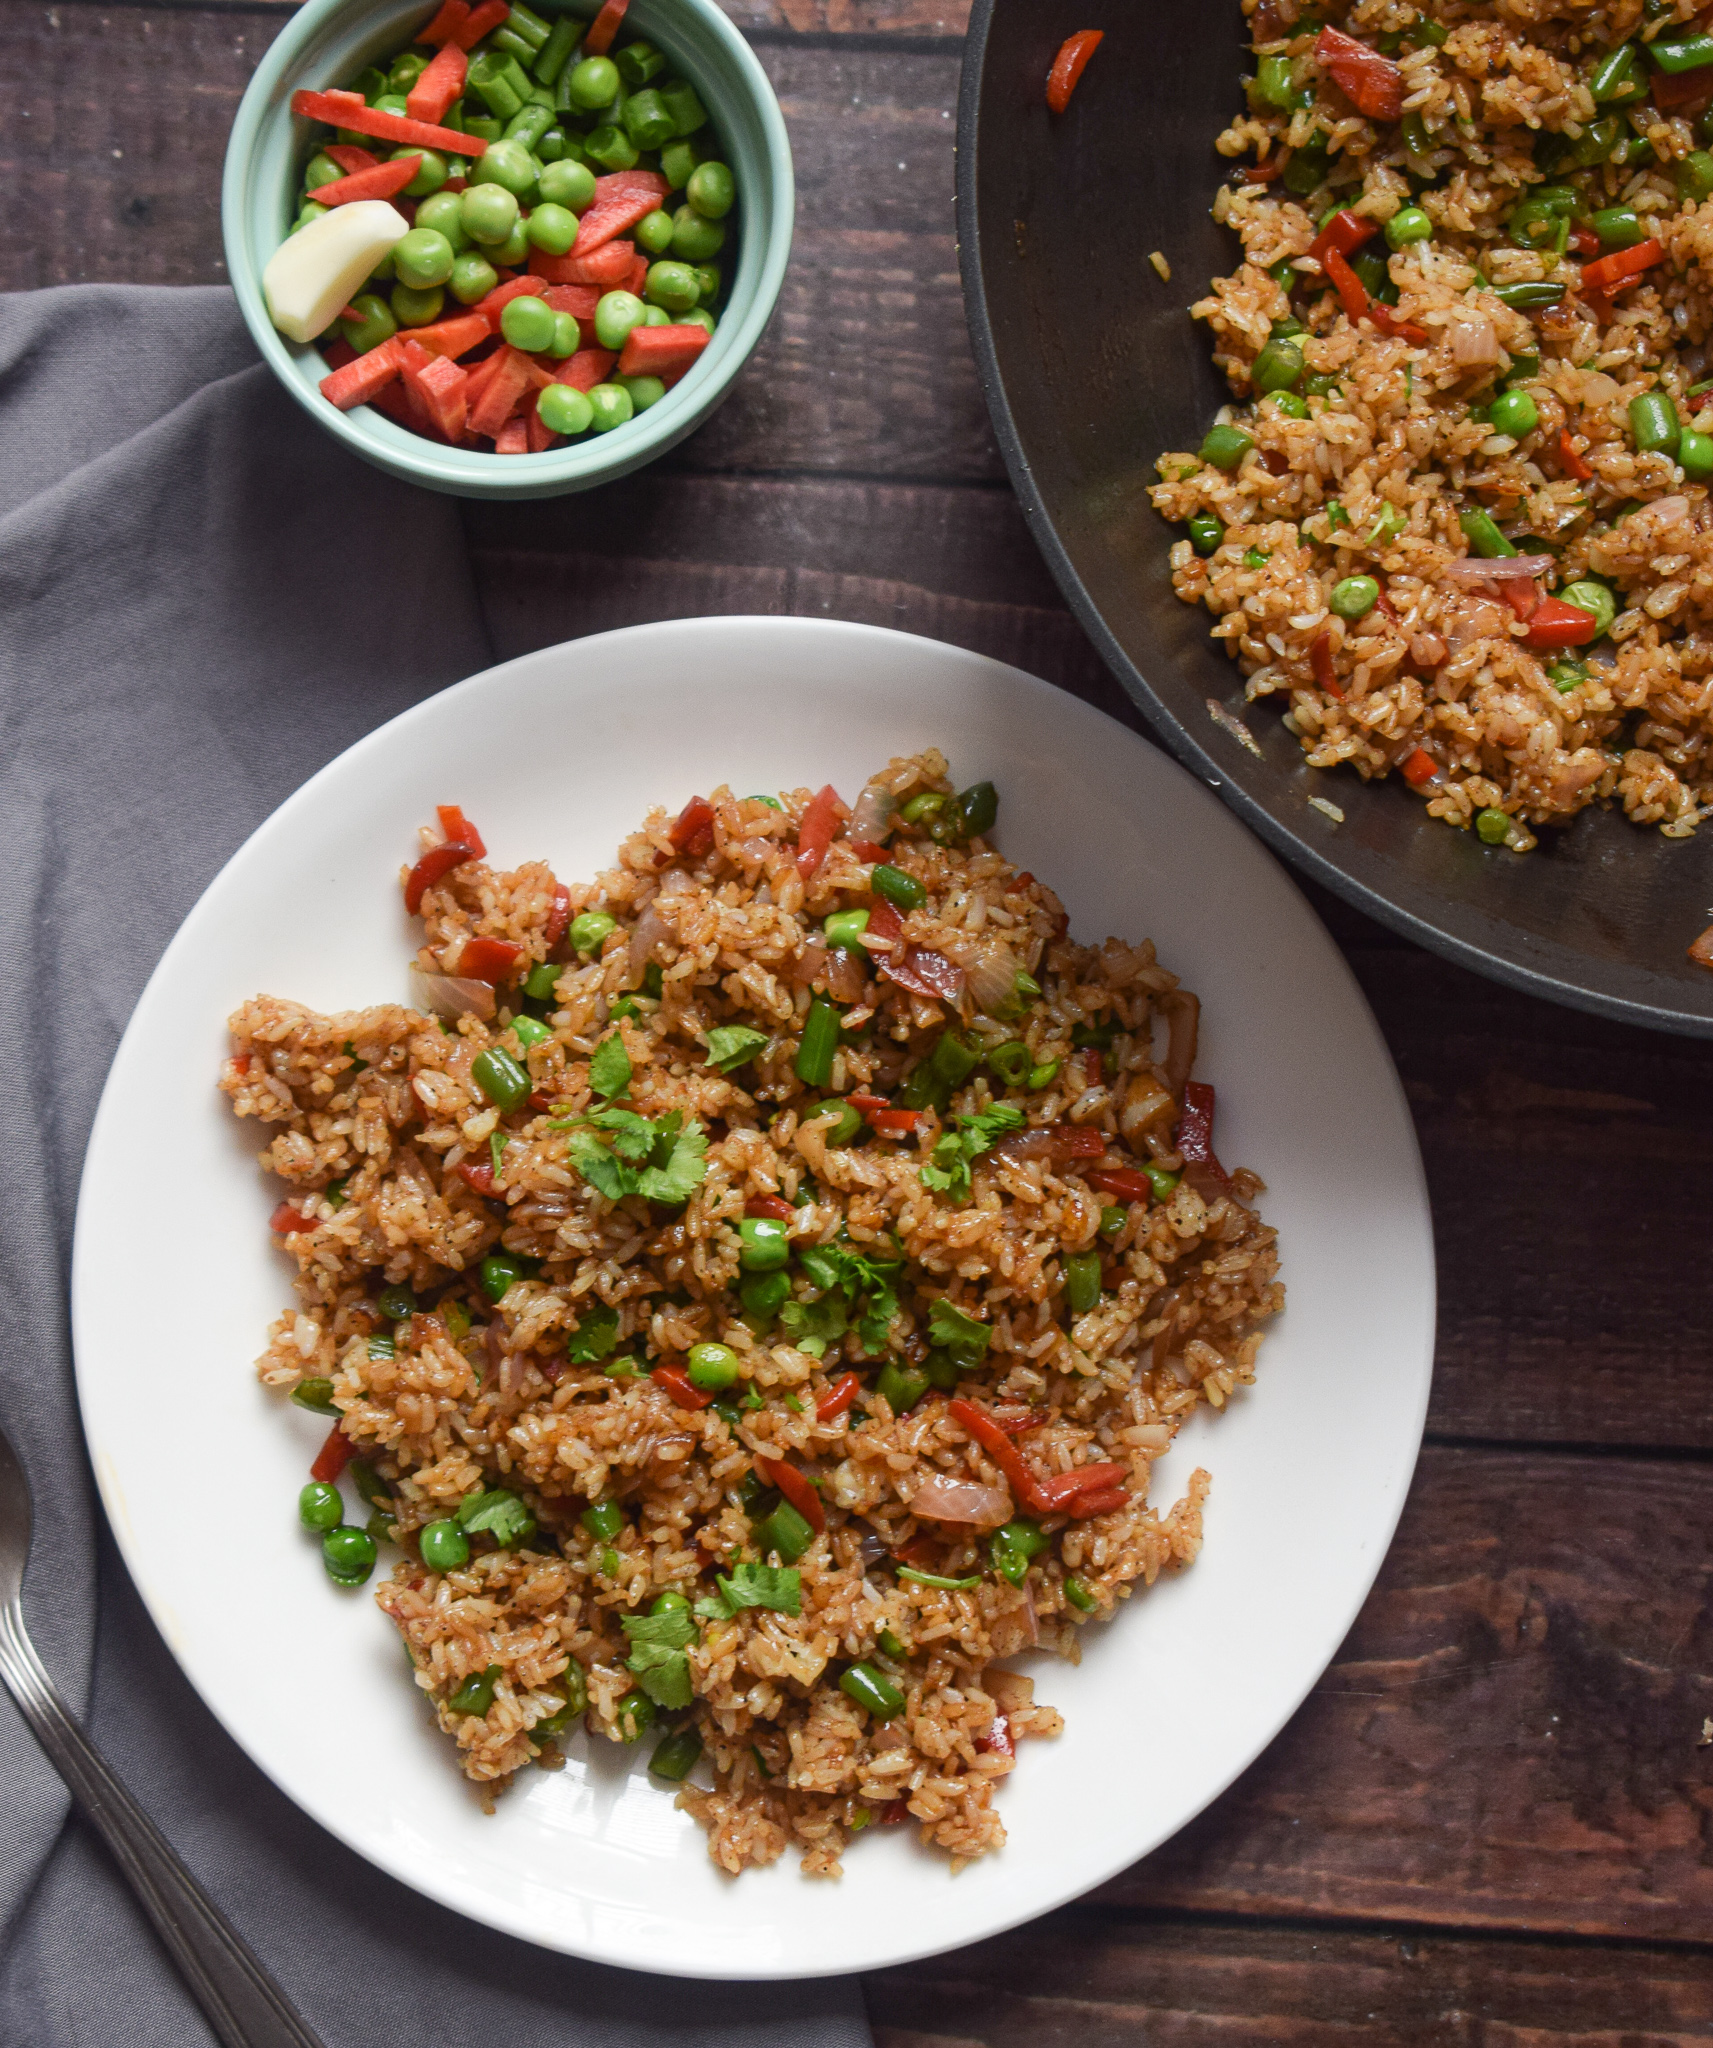
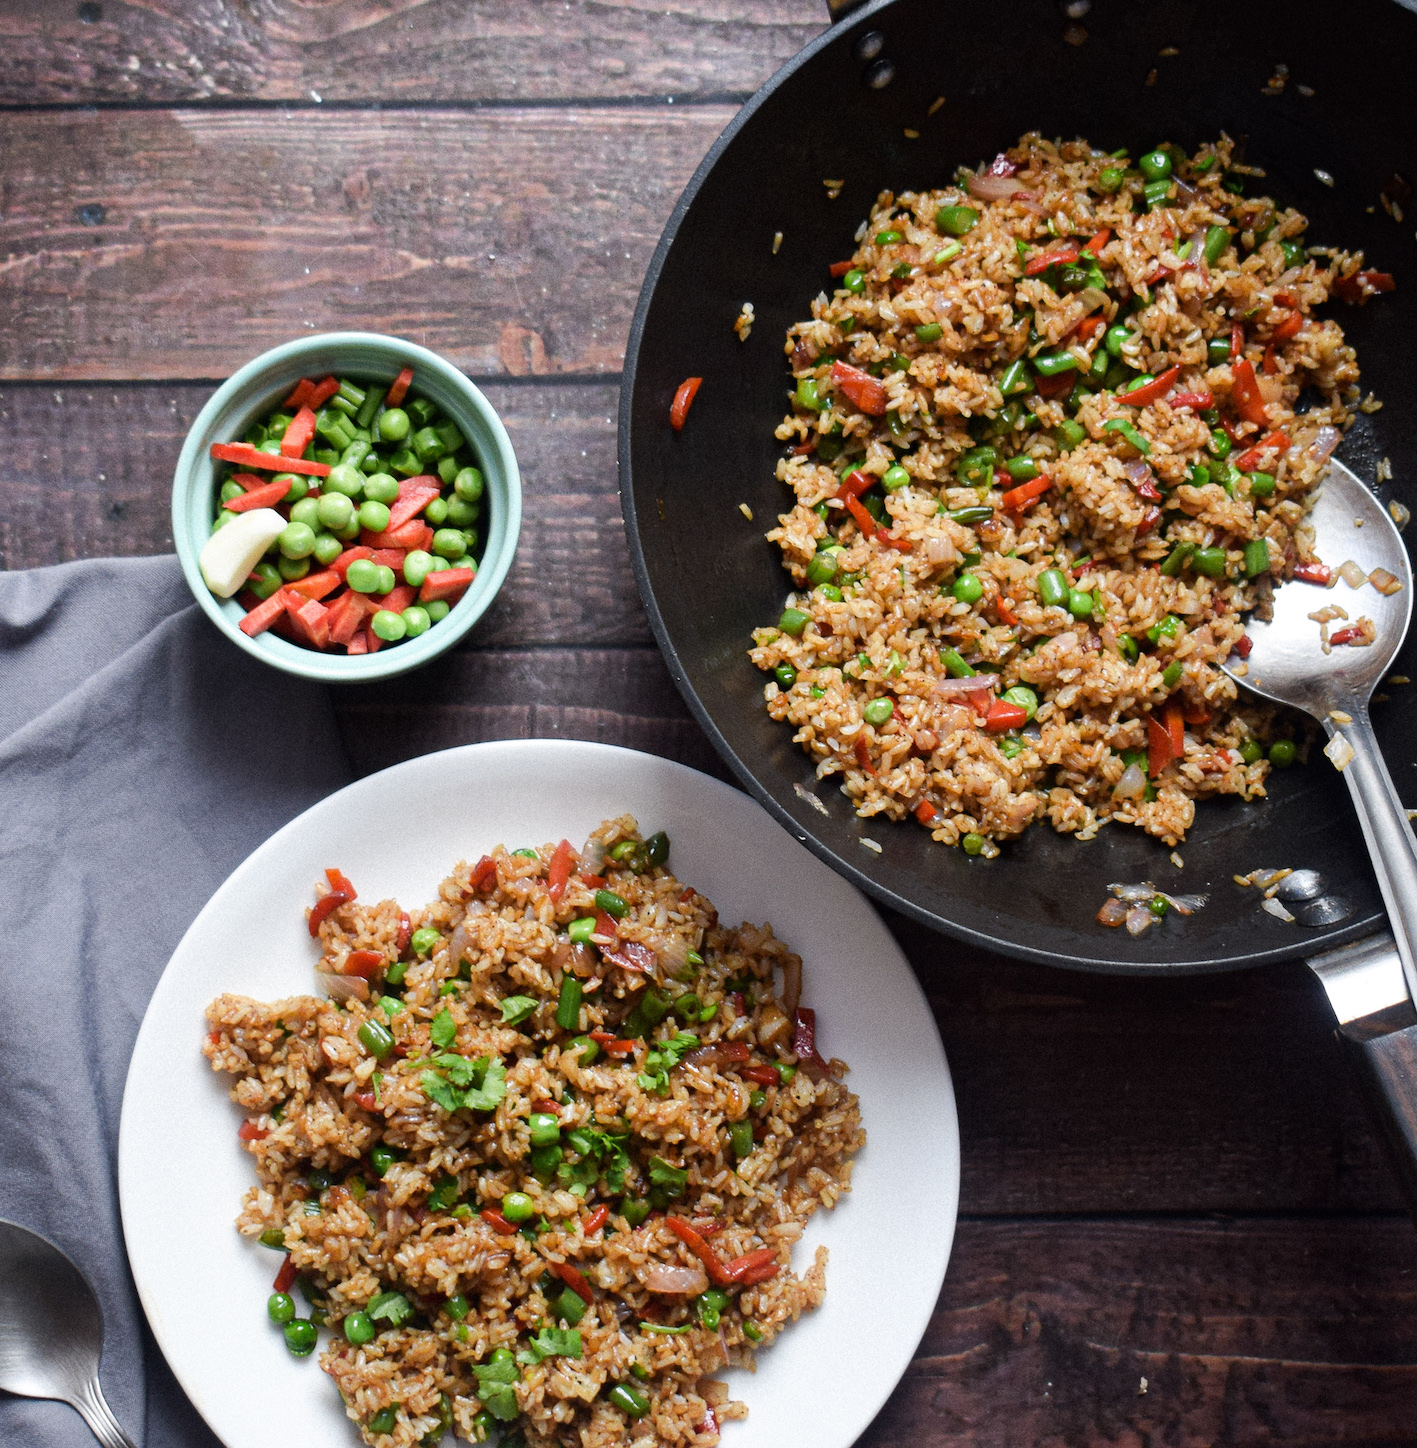
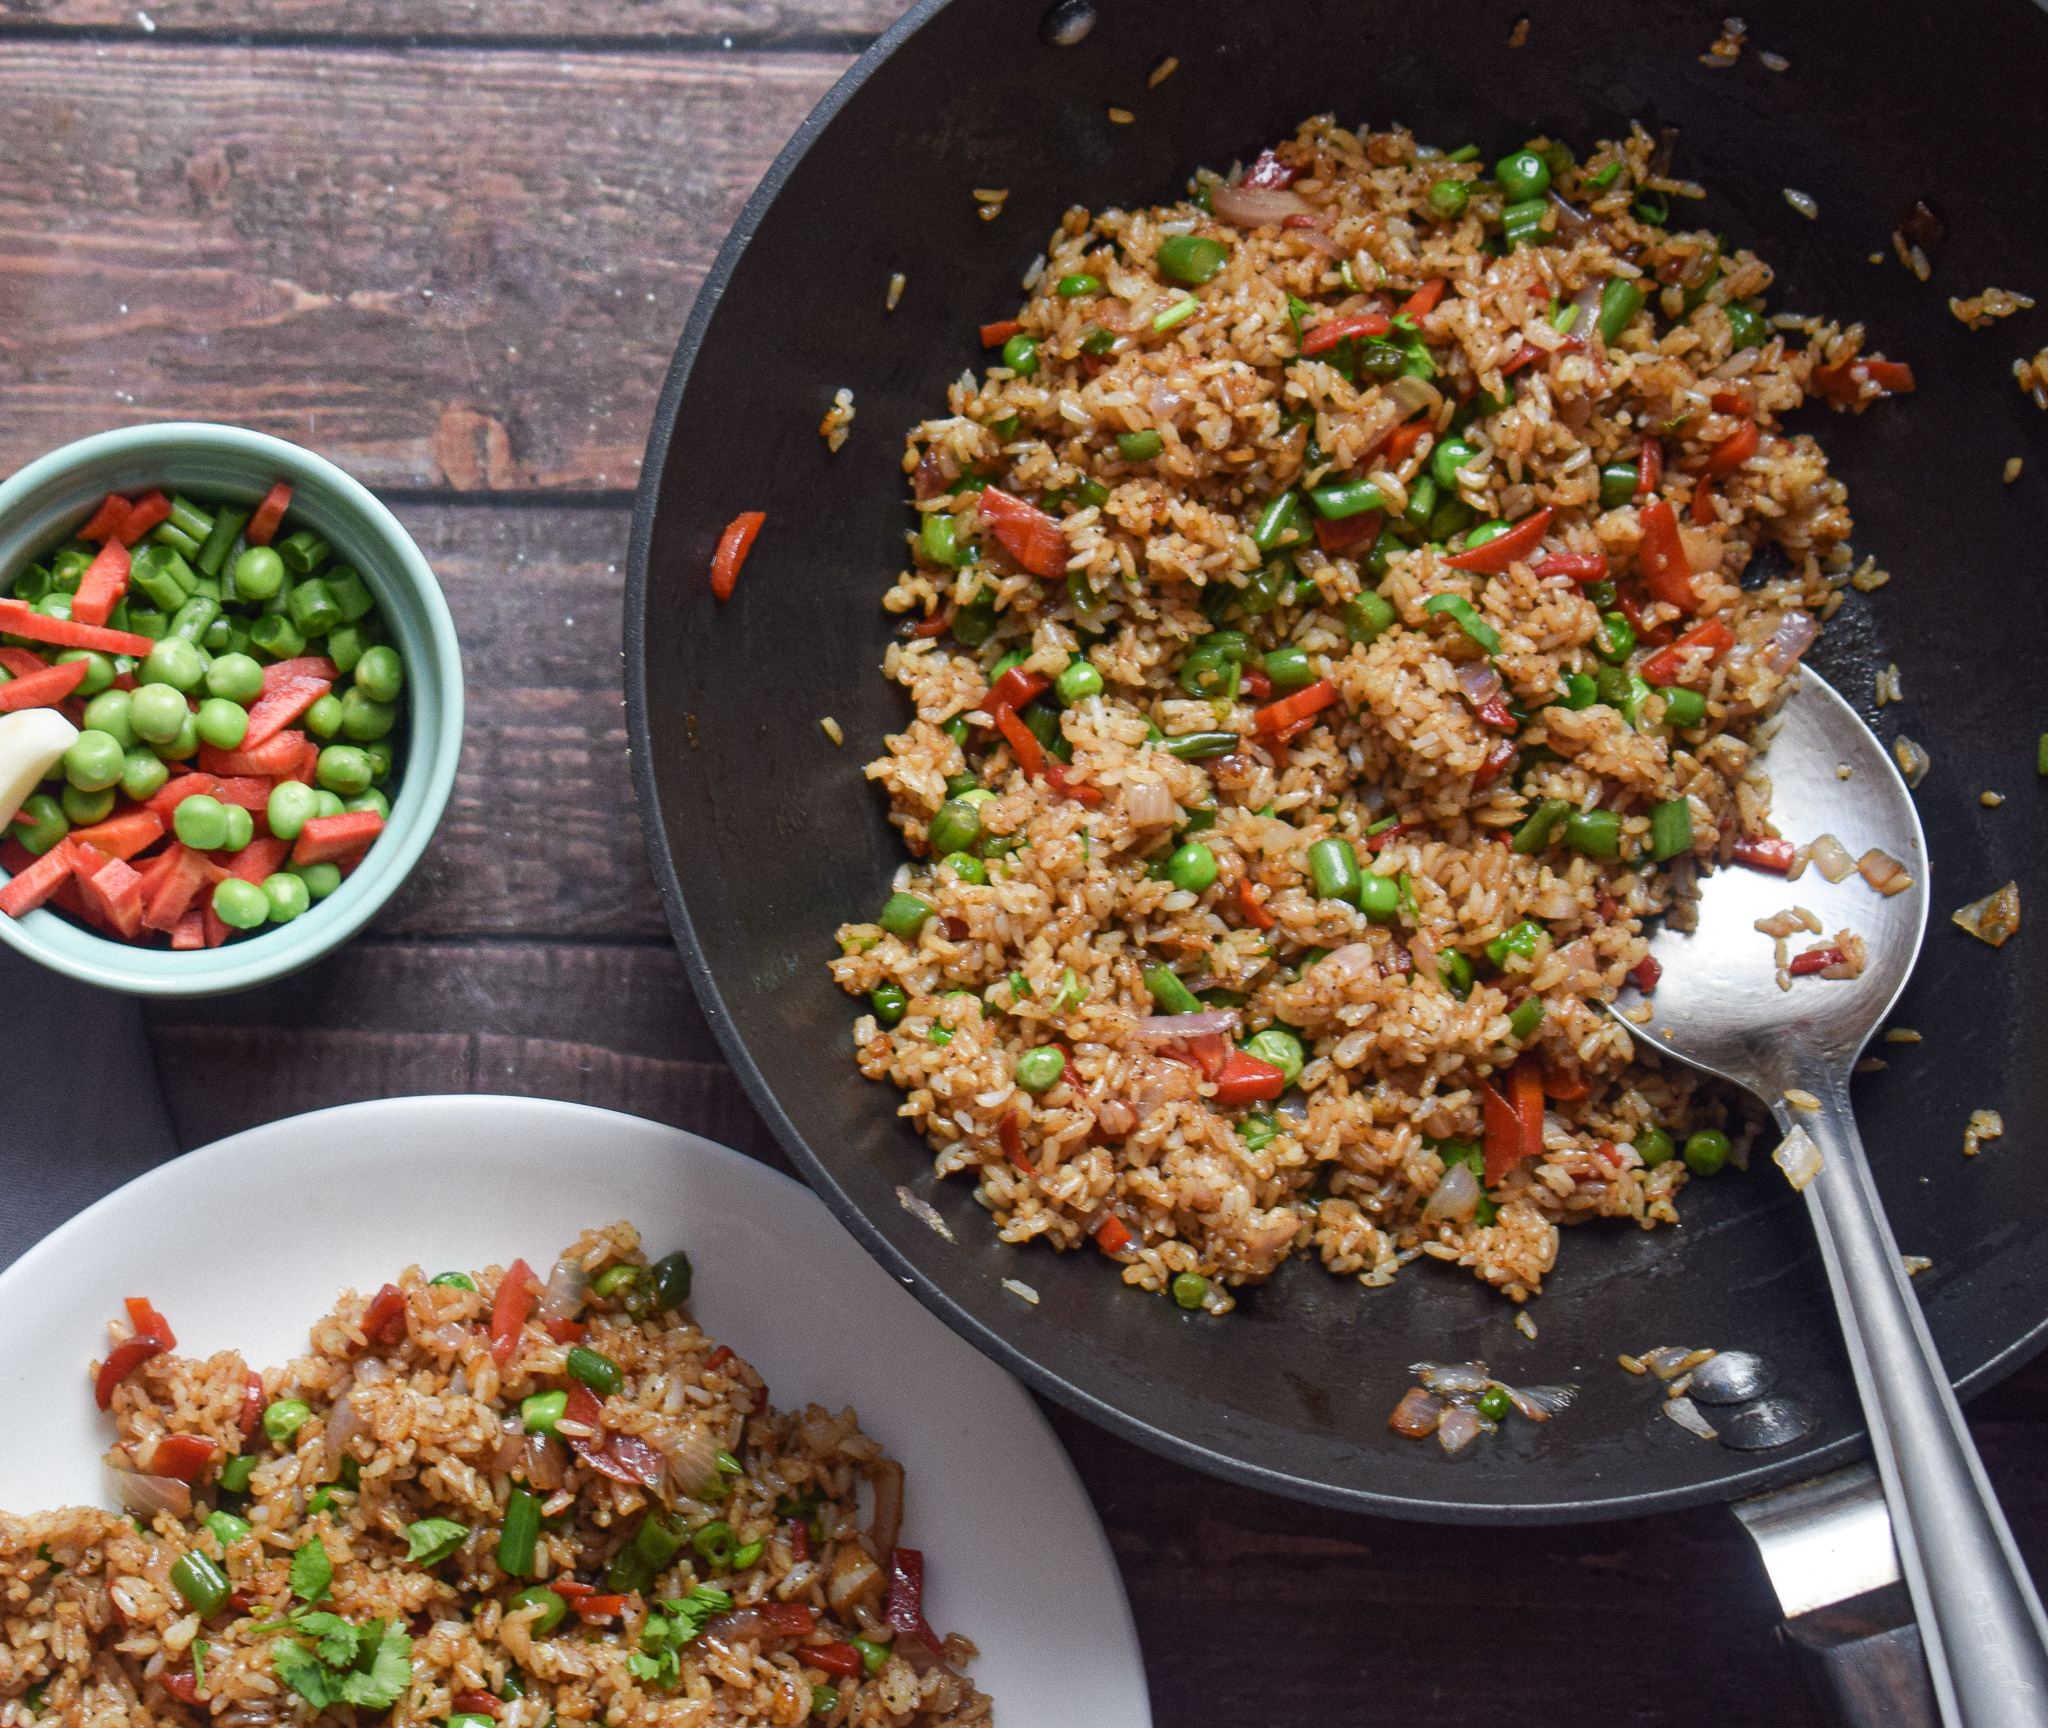
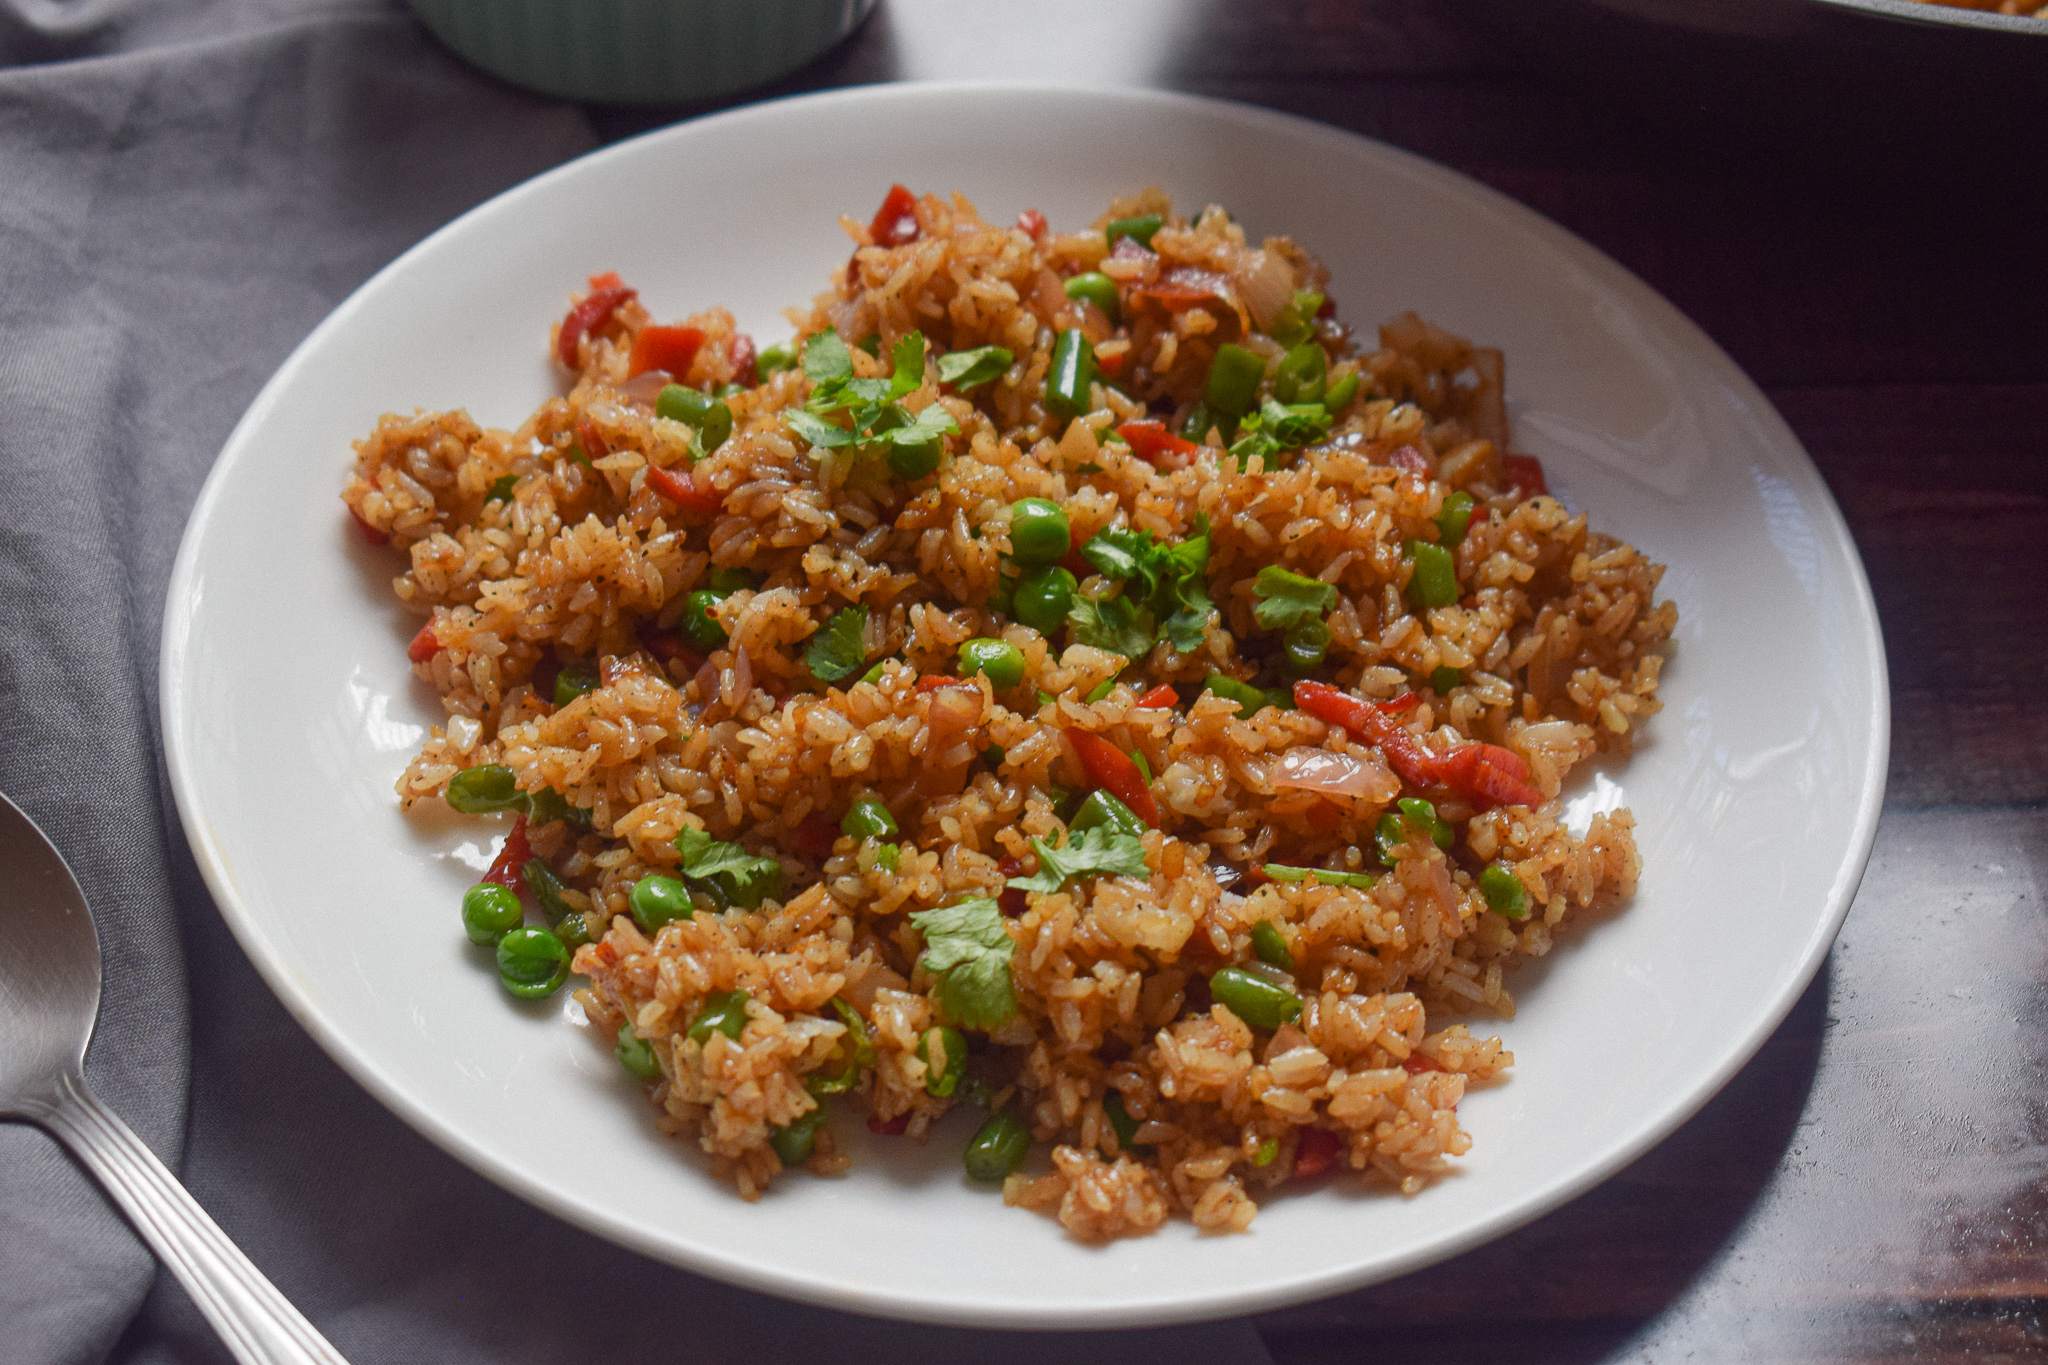
Here’s an easy way to whip up dinner in 15 minutes, while also ensuring you eat your vegetables. This vegetable fried rice is one of my go-to recipes every other day and I can never get enough of it.

The best part about this recipe is its ease and highly customisable option. You can make a large batch and add eggs, chicken or more vegetables of your choice. This vegetable fried rice uses the most minimal ingredients and is as simple as it can get. The it’s beauty lies in the freshness of its ingredients.

How to make the perfect fried rice every time

Fried rice might be a simple dish but it requires a few things done right every single time. The best kind of vegetable fried rice are those where each grain of rice is separate and cooked to perfection. Nobody likes a soggy plate of fried rice, nor does one want half cooked rice bites in their spoon. Apart from that the way the vegetables are cooked also matter a lot! They cannot be soggy or raw – just the right amount of crunch.

vegetable fried rice

vegetable fried rice

Here are some of the tips you might want to follow to make that perfect fried rice every single time.

  • Always use a wok for making fried rice because it helps is faster and uniform cooking.
  • Make sure your wok is really hot before you add oil and other ingredients.
  • Make sure the vegetables you add are chopped finely so that they can cook quickly.
  • The rice that you add to any fried rice should always be cold. Otherwise, it will stick to the wok and become lumpy. It’s best to use a day old rice.
  • If you add any protein like chicken or shrimp, cook them before you add the vegetables.
  • Add the soy sauce and vinegar just before you remove the wok from the gas stove.
  • Always garnish in the end after turning the gas off.

vegetable fried rice

vegetable fried rice

Cooking the perfect rice for frying

In this recipe, I have used joha rice, which is a flavourful small grained rice found in Assam, India. It is starchy and has a beautiful fragrant. You can use jasmine rice too. The quality of rice can really change the game. If you do not have jasmine rice, you can use any small grain rice available near you – broken basmati is a great choice!

vegetable fried rice

For small grained rice, wash them thoroughly under runnign water till the water is clear. Once they are thoroughly washed, add them to a pan, instant pot or a pressure cooker. If you are using 1 cup rice, use 1.5 cups of water to cook it. And once cooked, keep the rice covered for 10-15 minutes after turning off the gas. Keep the rice in the fridge overnight, and use it the next day for making fried rice.

Why this vegetable fried rice?

  • Delicious and super easy!
  • Healthy and quick
  • Better than takeout
  • You need 15 minutes to make this
  • Made with bare minimum pantry essentials.
  • Highly customizable!
  • Can be made in large batches.

vegetable fried rice

Preparation time – 15 minutes

Cook time – 15 minutes

Serves – 3

[ingredients title=”Ingredients”]

  • 30 ml vegetable/sesame oil
  • 2 slit green chillies (optional, add it if you like spicy food)
  • 100 g onions, finely chopped
  • 15 g garlic, finely chopped
  • 80 g carrots, chopped
  • 80 g green beans, chopped
  • 80 g fresh green peas
  • Salt to taste
  • 4 g black pepper powder
  • 150 g cooked white rice
  • 30 ml dark soy sauce
  • Coriander/spring onion greens for garnish [/ingredients]

[directions title=”Directions”]

  1. Heat oil in a wok. Let it smoke.
  2. Temper the oil with slit green chillies (optional).
  3. Add the chopped onions and fry till it starts to brown and becomes translucent.
  4. Add the sliced garlic and saute till its rawness fades.
  5. Next, add the beans, carrots, and peas and saute for about a minute or two on medium flame. Do not overcook the vegetables as they need to remain crunchy.
  6. Season with salt and pepper.
  7. Add the boiled and cold rice to the mixture. Mix well till the rice is heated through and everything gets mixed together perfectly.
  8. Pour in the soy sauce and mix well until every grain of the rice gets stained in the sauce.
  9. Garnish with fresh herbs – coriander or spring onion greens – whatever you have available!
  10. Serve with cucumbers and tomatoes on the side. [/directions]

vegetable fried rice

I hope you try this version of vegetable fried rice! Super simple and easy. Please feel free to add more vegetables or any protein of your choice.

If you have any questions, feel free to reach out to me with a comment or connect with me on Instagram or Facebook. For all my videos, you can subscribe to me on YouTube.

Related recipe – 30 Minute Stir Fry Noodles

Happy cooking!