Soya Pulao

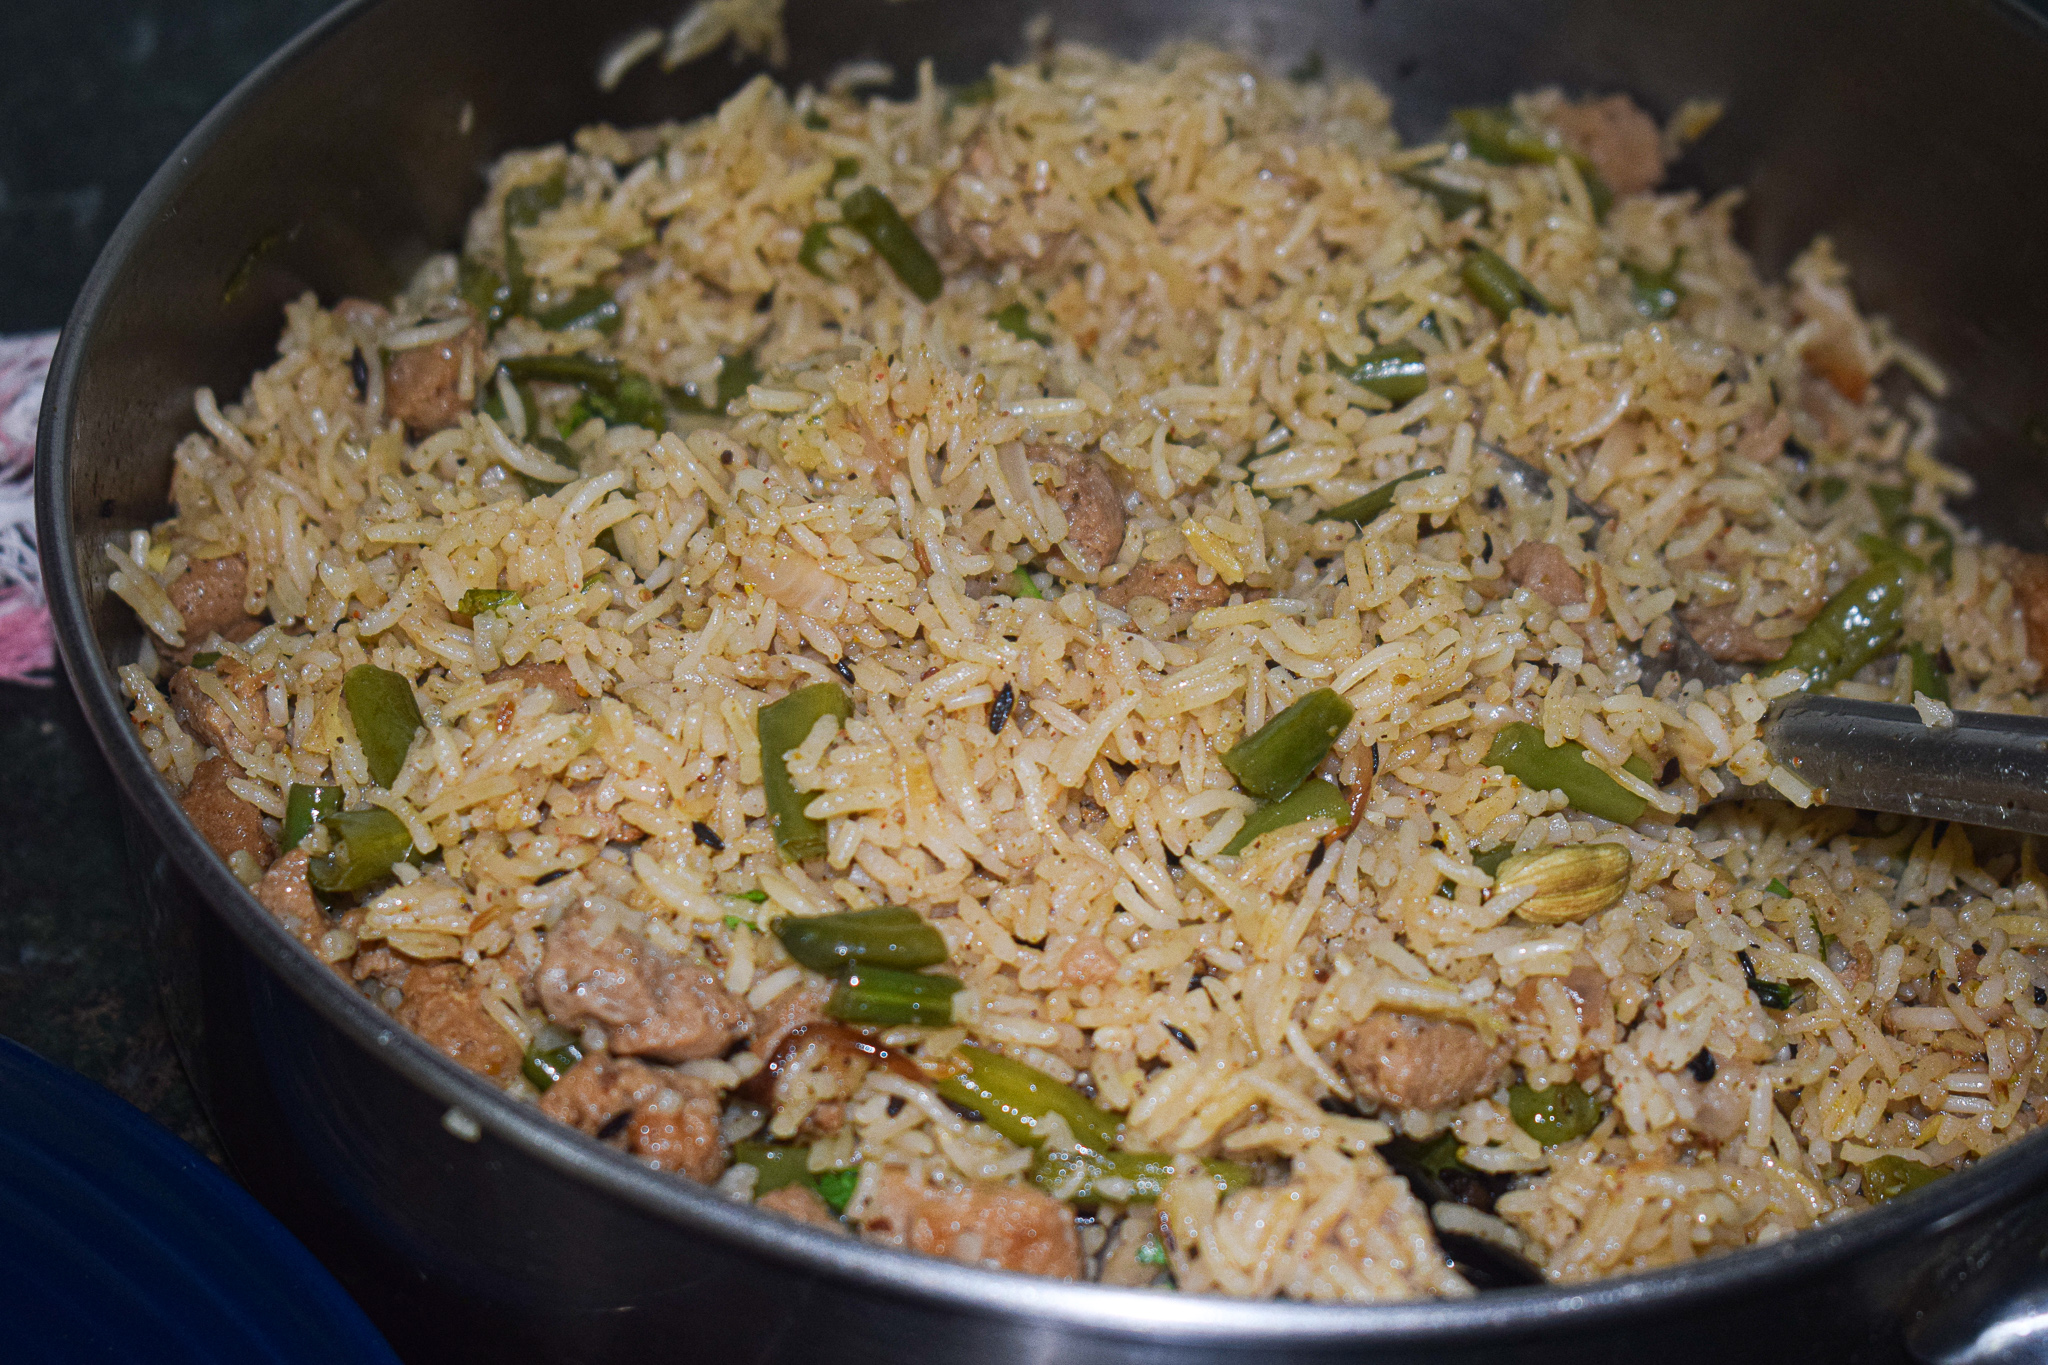
This soya pulao is a delicious and easy way to make dinner in bulk and store it for the next day. I love such one-pot rice recipes and this recipe was a result of the quarantine experience, when we were at home all the time and had no option to order in food. Top that up with work from home! It was a really stressful time and such one-pot meals really saved me and my family.

This soya pulao recipe is easy, delicious and can be customised as per choice. I loved adding green beans to it, and you can go ahead and load it with more vegetables of your choice.

soya pulao

Me and my family have been eating this soya pulao a lot lately and it has been such a saviour during the lockdown. Minimal ingredients, easy process and a big batch of food – pulao’s always make for a smart meal option for me. I hope this inspires you and helps you cook something delicious for your family. Stay safe and stay strong.

Making the perfectly fluffy rice

Soaking

For this pulao, find yourself the best quality long grained basmati rice. Wash the rice thoroughly with water till its clear. Next, soak it for exactly 30 minutes in room temperature water. After that, strain the water and keep the rice as dry as possible. I used a sieve to release the water and keep it undisturbed. Do not soak for more than 30 minutes as the rice will become too wet and will cook very fast, and end up sticking to each other. Soaking for longer duration might also break the rice. Soaking is an essential pre-requisite to get the perfectly fluffy rice that you see in this egg pulao.

Correct water quantities

Next is the perfect amount of water for the rice to cook. I have added the exact measurements for this recipe, but the usual and easy rule to follow is – For every cup of rice that you use, use half cup more water than that. For example, if you use 1 cup of rice, use 1.5 cups of water. If you use 2 cups of rice, use 2.5 cups of water. And the water should always be hot if you’re making the rice in a pot. Otherwise, the temperature difference might ruin the rice. This rule applies only if you soak the rice for 30 minutes before cooking it.

Low flame and rest

Lastly, perfectly fluffy rice is always cooked in low flame. If you’re making rice in a pot, make sure you cover and cook it in the lowest flame possible. And once its done, do not serve immediately. Turn off the gas and let it rest for another 10-15 minutes. This will give the perfect edge to the rice and make it bloom to its best ability.
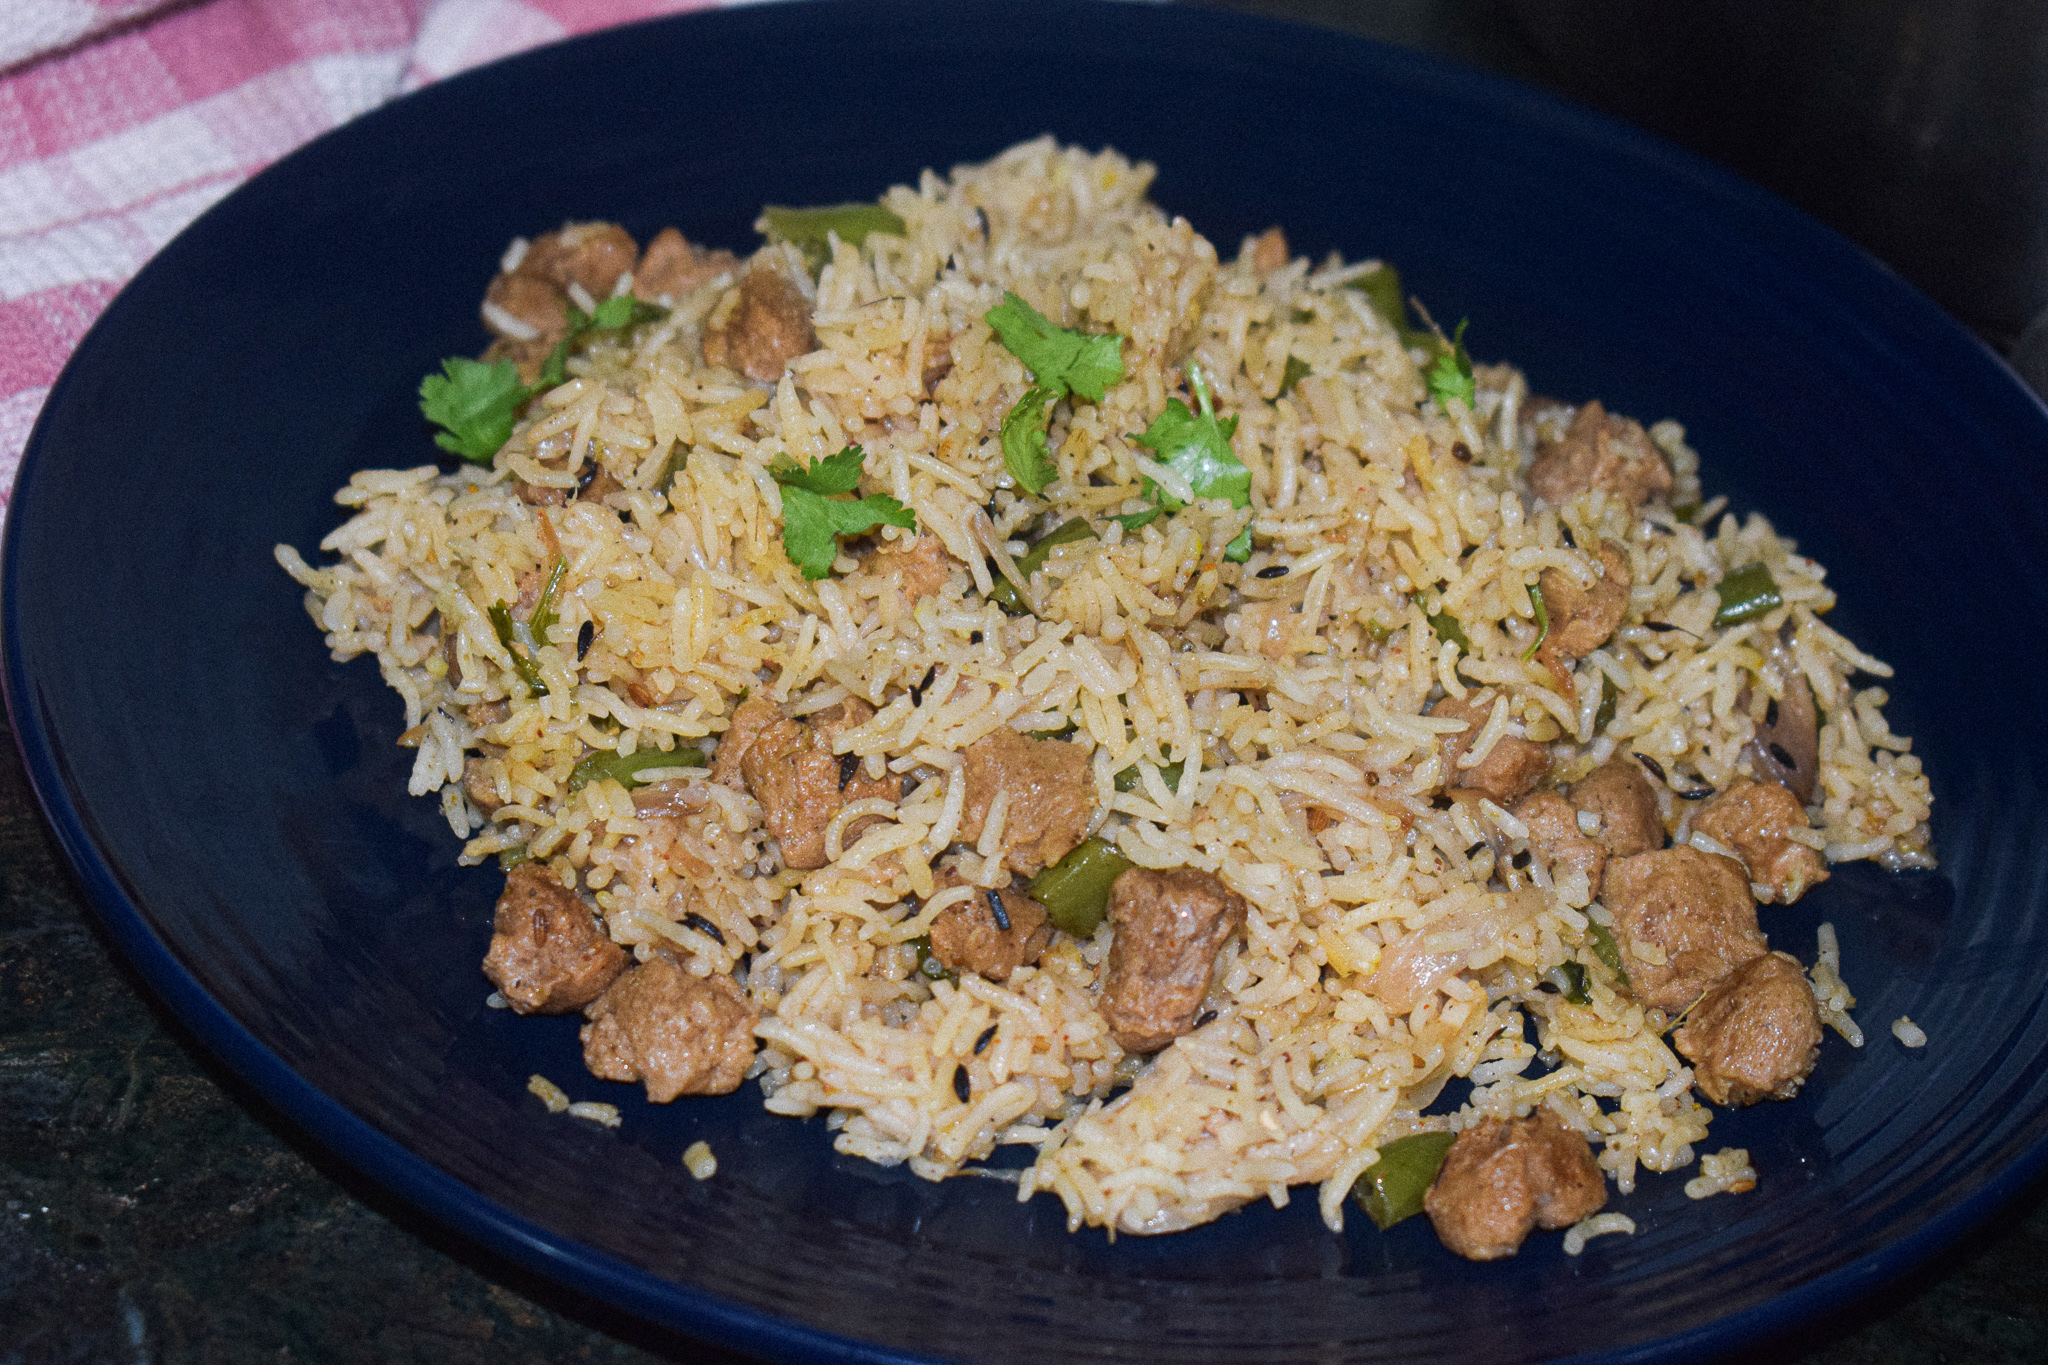
soya pulao

Ingredients in this soya pulao

This one-pot soya pulao is so wholesome, and requires just a few basic Indian pantry essentials. The soya chunks need to be soaked and softened in hot water. All the excess water needs to be removed so that it does not mess up the water ratio in the pulao. The rice is also soaked prior to starting the cooking process. Aromatics include fresh ginger-garlic paste, and spices are also very staple ones – cumin, red chilli, coriander and black pepper. The addition of herbs like mint really elevates the flavour profile of this soya pulao. Do not miss out on the mint.

There is no addition of turmeric in this recipe. You can add it if you like to get a beautiful yellow colour. I have also skipped on tomatoes.
soya pulao

soya pulao

Let’s take a look at the recipe:

Preparation time – 30 minutes

Cook time – 45 minutes

Serves – 5-6 people

[ingredients title=”Ingredients”]

  • 2 cups soya chunks
  • 1 1/2 cups basmati rice
  • 2 tbsp mustard oil
  • 1 tbsp ghee
  • 2 dried red chillies
  • 1 bay leaf
  • 2 tsp cumin seeds
  • 1 inch cinnamon stick
  • 2 cloves
  • 2 cardamoms
  • 1 large onion, finely sliced
  • 1 tbsp ginger-garlic paste
  • 2 cups green beans
  • Salt to taste
  • 1 tsp cumin powder
  • 1 tsp black pepper powder
  • 1/2 tsp Kashmiri red chilli powder
  • 2 tsp coriander powder
  • 1/2 cup hot water (for the masala)
  • 2 cups water (for the rice)
  • 1/2 tsp garam masala
  • A handful of fresh coriander leaves
  • A handful of fresh mint leaves [/ingredients]

[directions title=”Directions”]

  1. Soak the soya chunks in hot water for 20 minutes. Squeeze the excess water out and set aside.
  2. Wash the rice thoroughly. Soak in water for 30 minutes.
  3. Heat oil in a skillet. Once the oil starts to smoke gently, reduce the flame.
  4. Temper with bay leaves, dried red chillies, cumin powder, cardamom, cinnamon stick, cloves and bay leaf.
  5. Add the sliced onions and stir on medium flame till they turn brown.
  6. Once the onions are brown, add the ginger-garlic paste and mix till the raw aroma disappears.
  7. Add the green beans and the soya chunks. Give it a good mix.
  8. Season with all the spices – salt, cumin powder, black pepper powder, coriander powder and Kashmiri red chilli powder.
  9. Pour some hot water if necessary.
  10. Once all the spices are assimilated into the masala, add the soaked rice. Gently mix to prevent the rice grains from breaking.
  11. Add hot water and stir. Add garam masala, coriander and mint leaves. Cover and cook on low flame for 30 minutes.
  12. Check rice after 30 minutes with a fork. Turn the flame off and let it rest for another 15 minutes.
  13. Serve hot with raita and salad. [/directions]
soya pualo

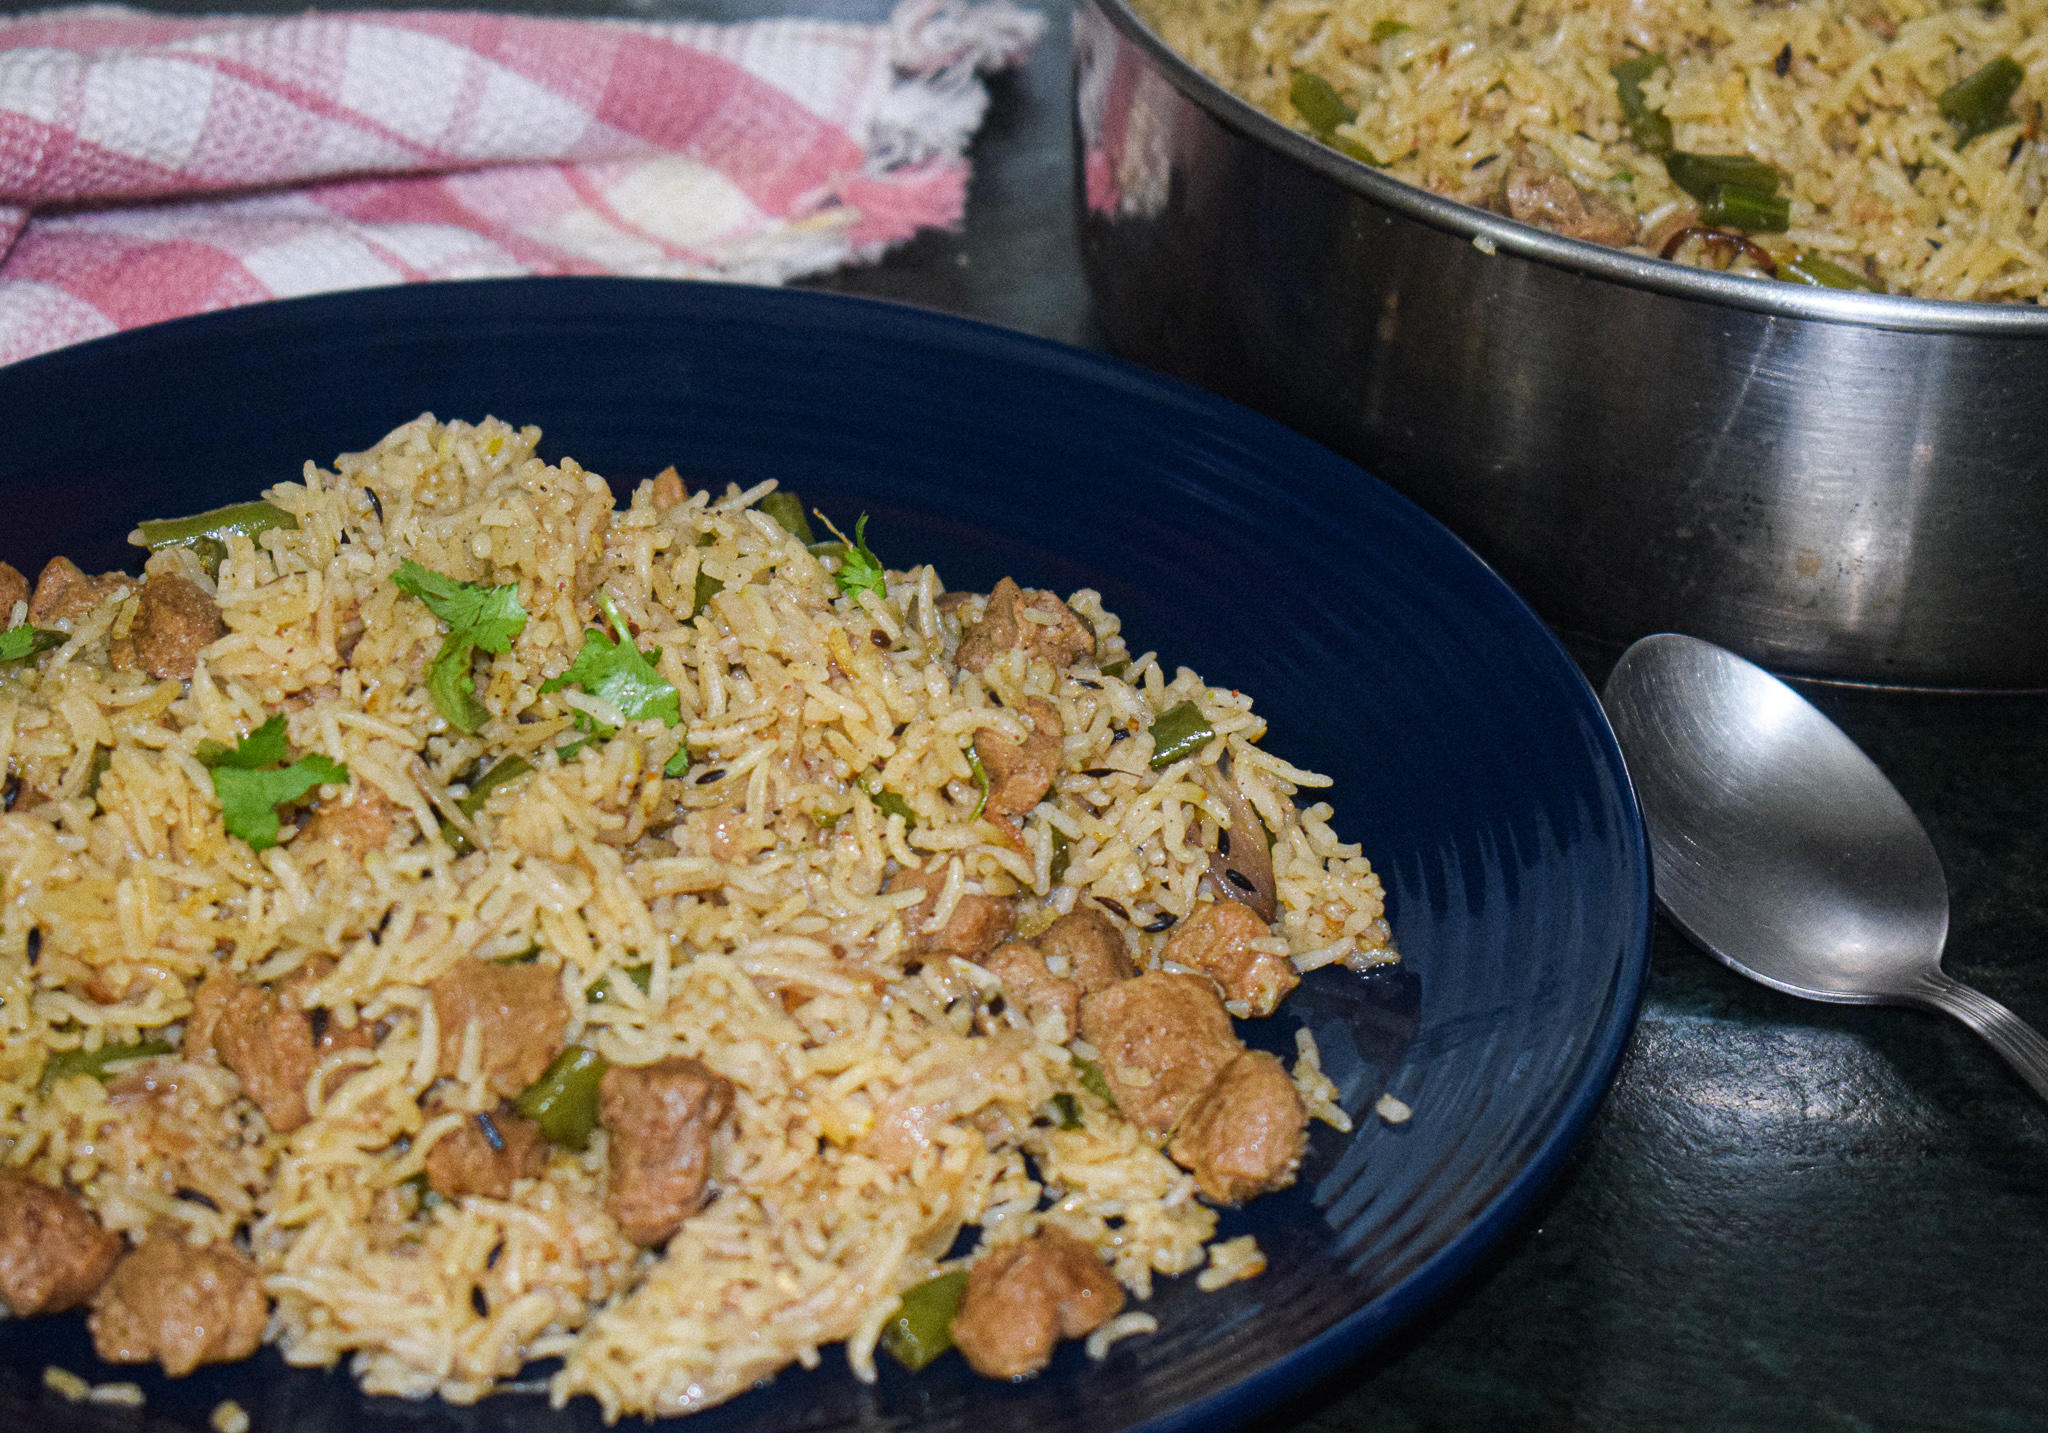
This soya pulao recipe is perfect for a busy day. I usually like to make this in a large batch like this so that it also covers us for another one or two meals.

I hope you try out this easy and wholesome soya pulao recipe soon.If you do, let me know how it turned out for you.

If you have any questions, suggestions or feedback, please leave me a comment here. Or connect with me Instagram, Facebook or YouTube.

Happy cooking!
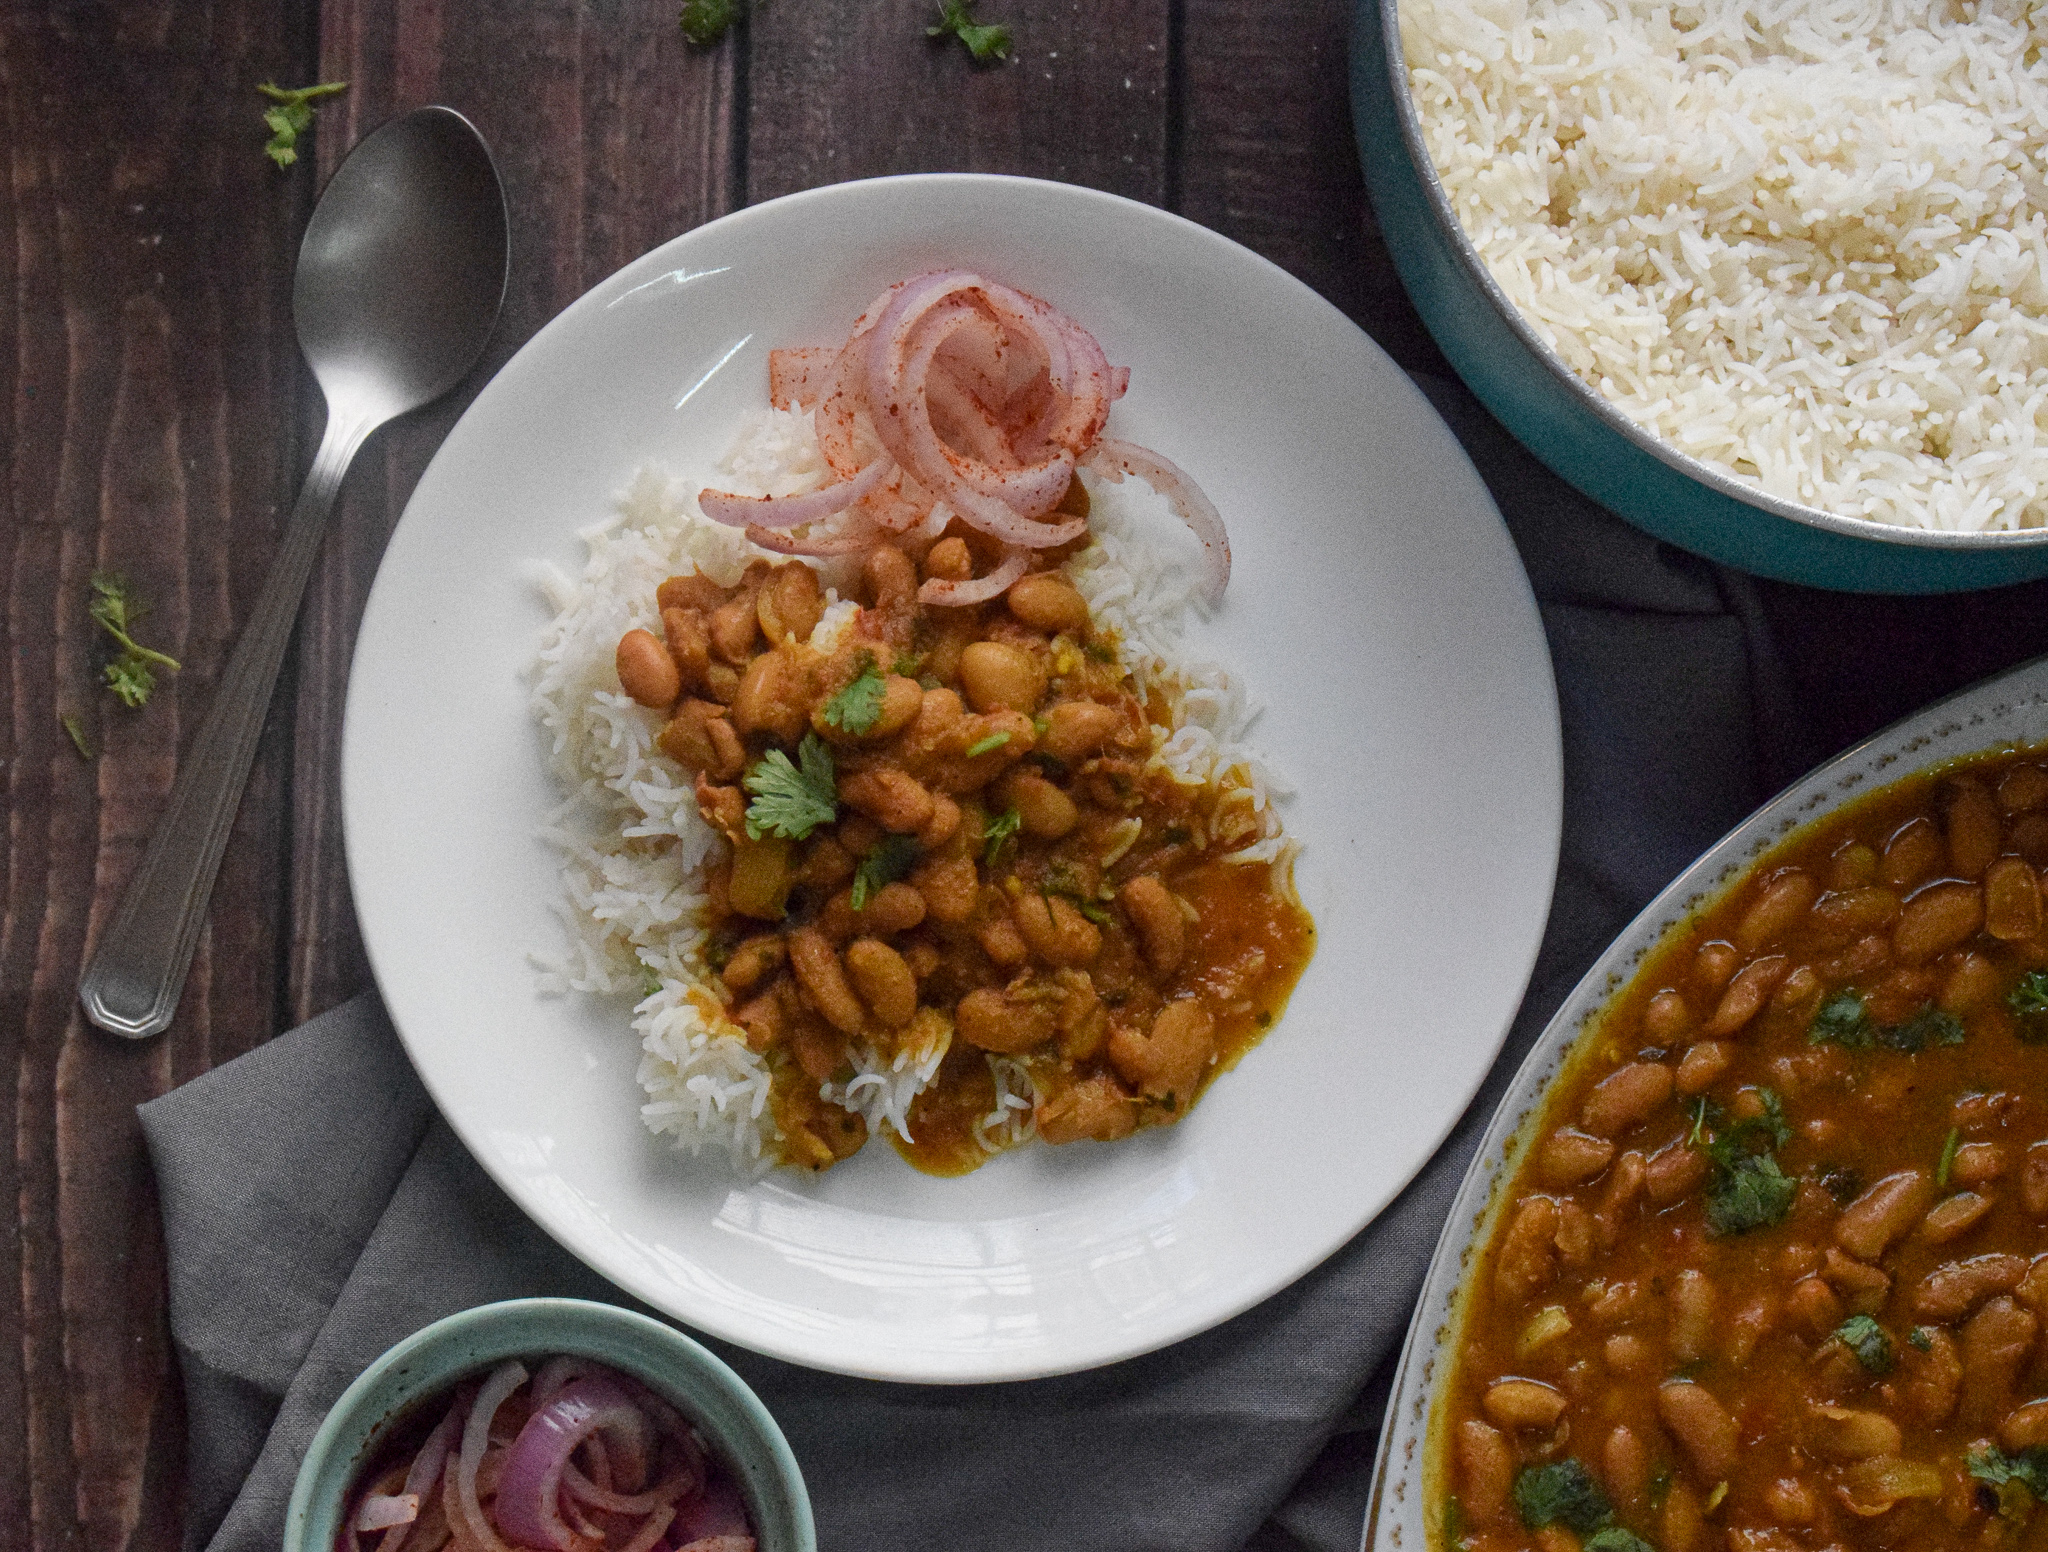
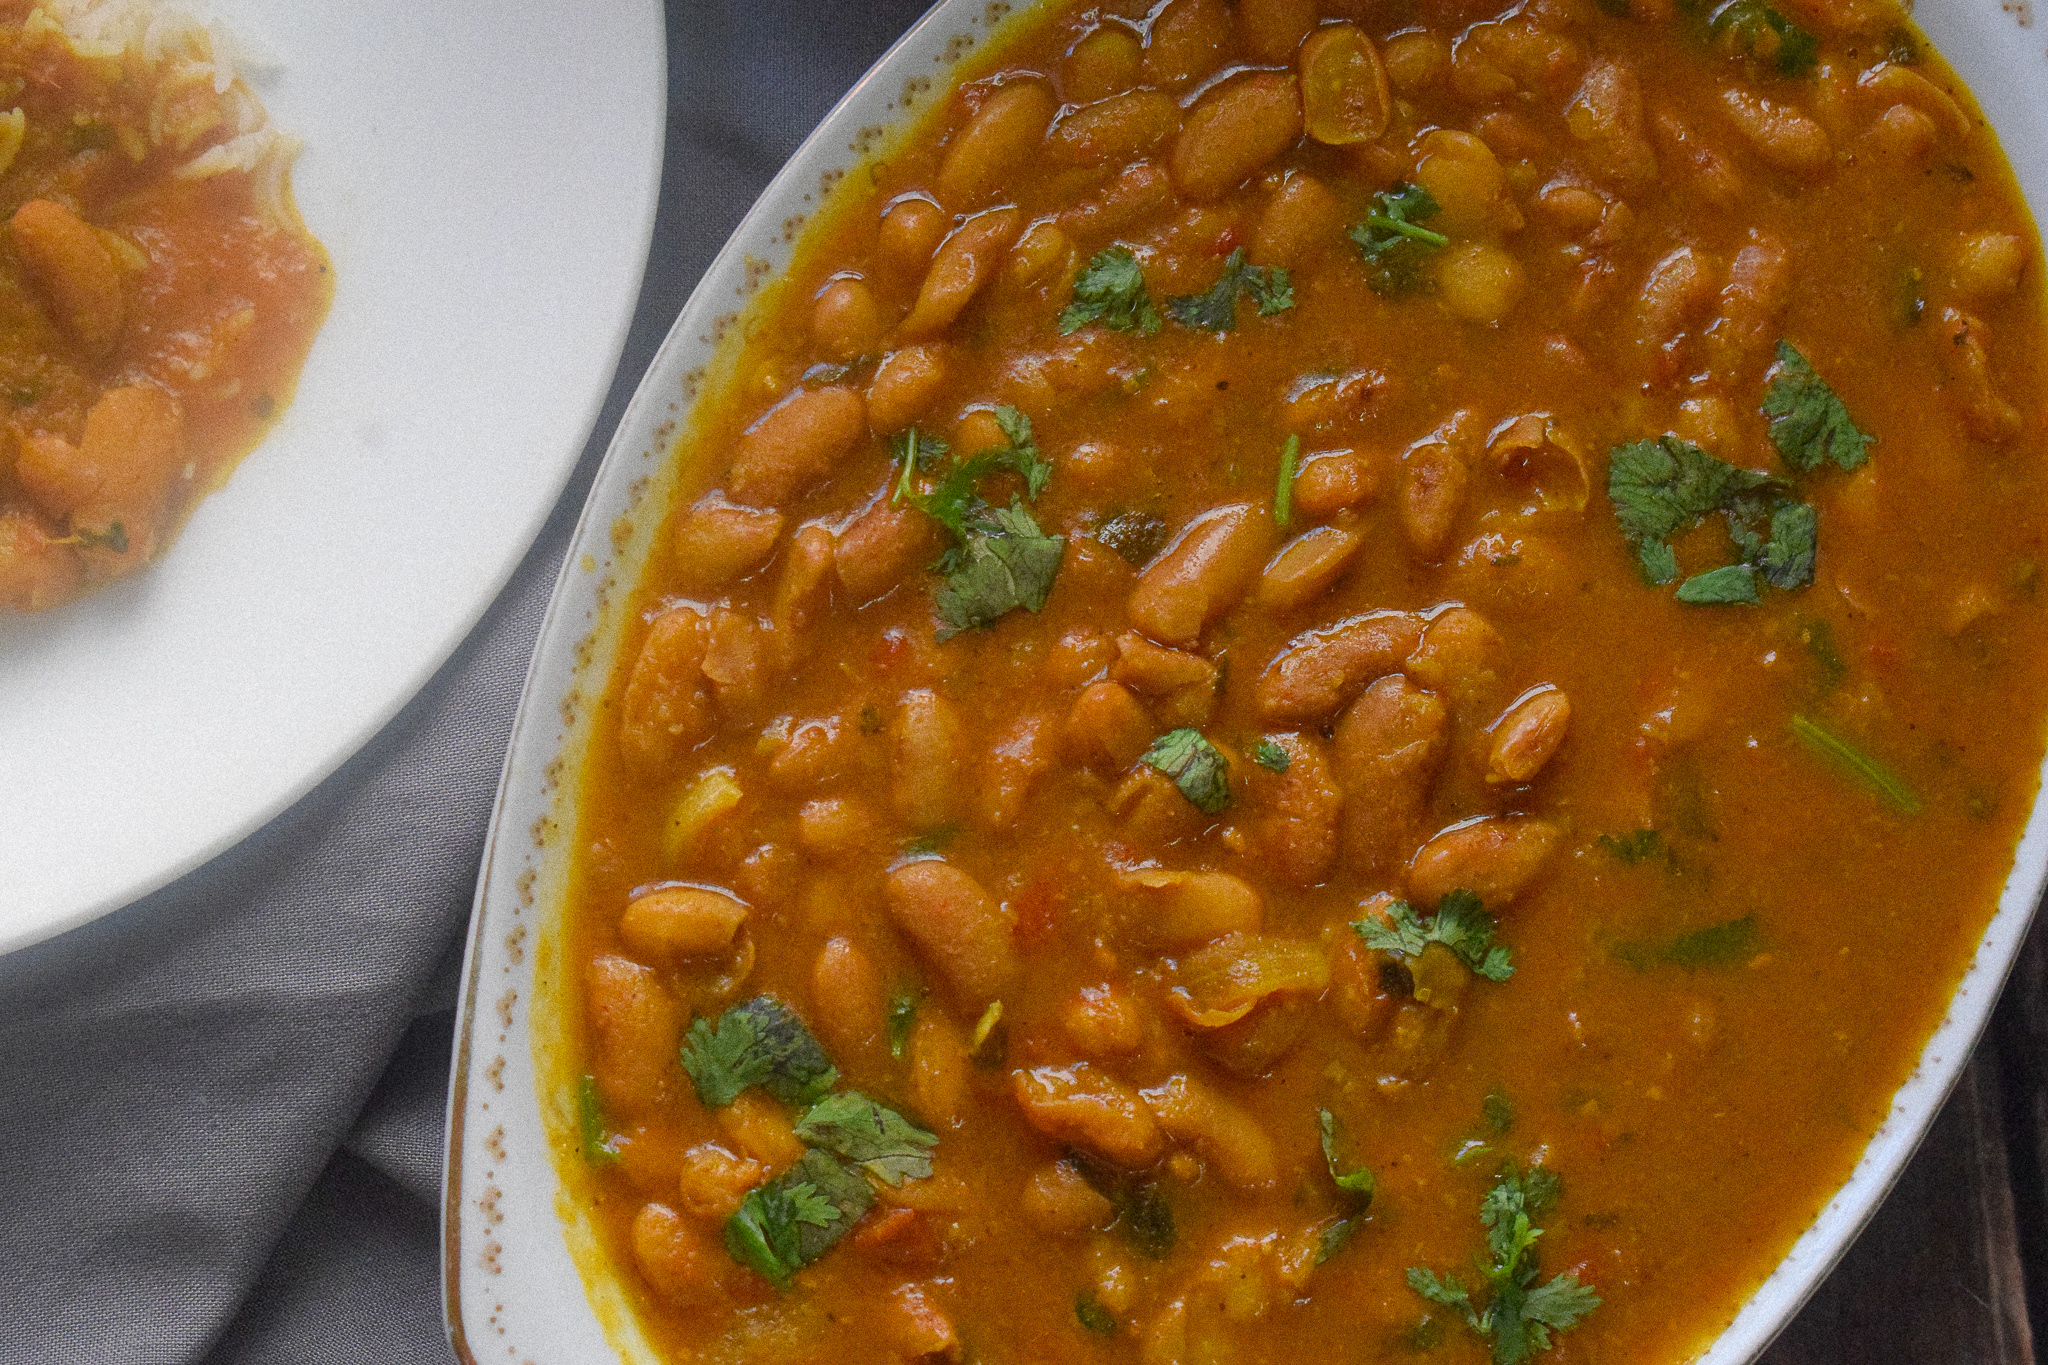
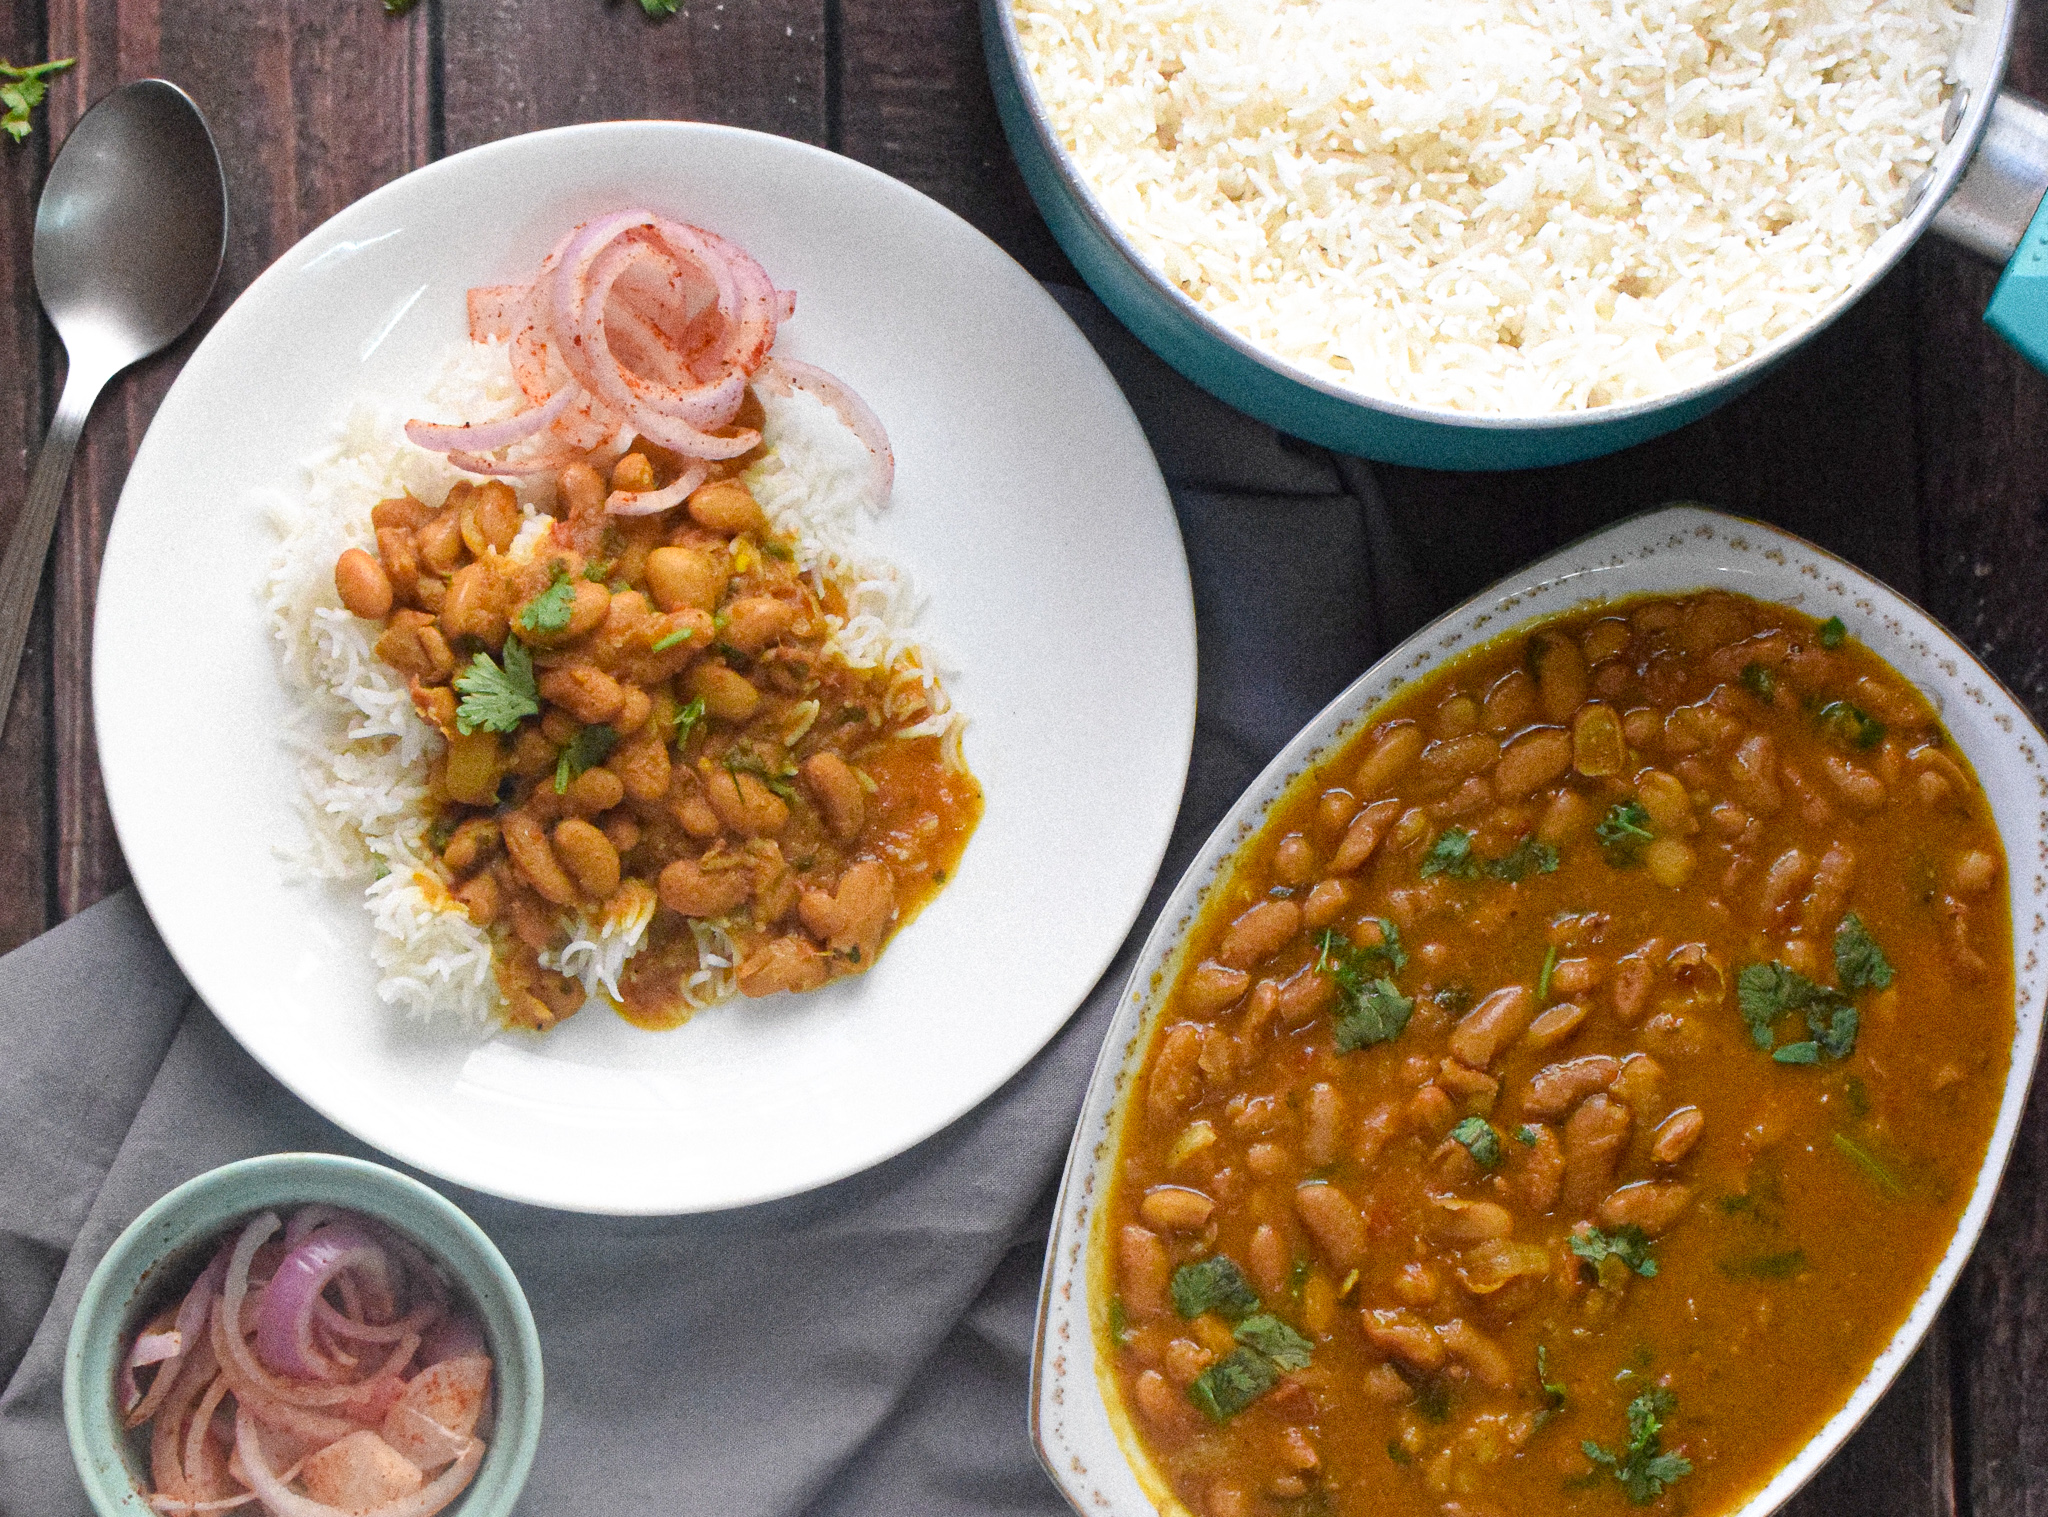
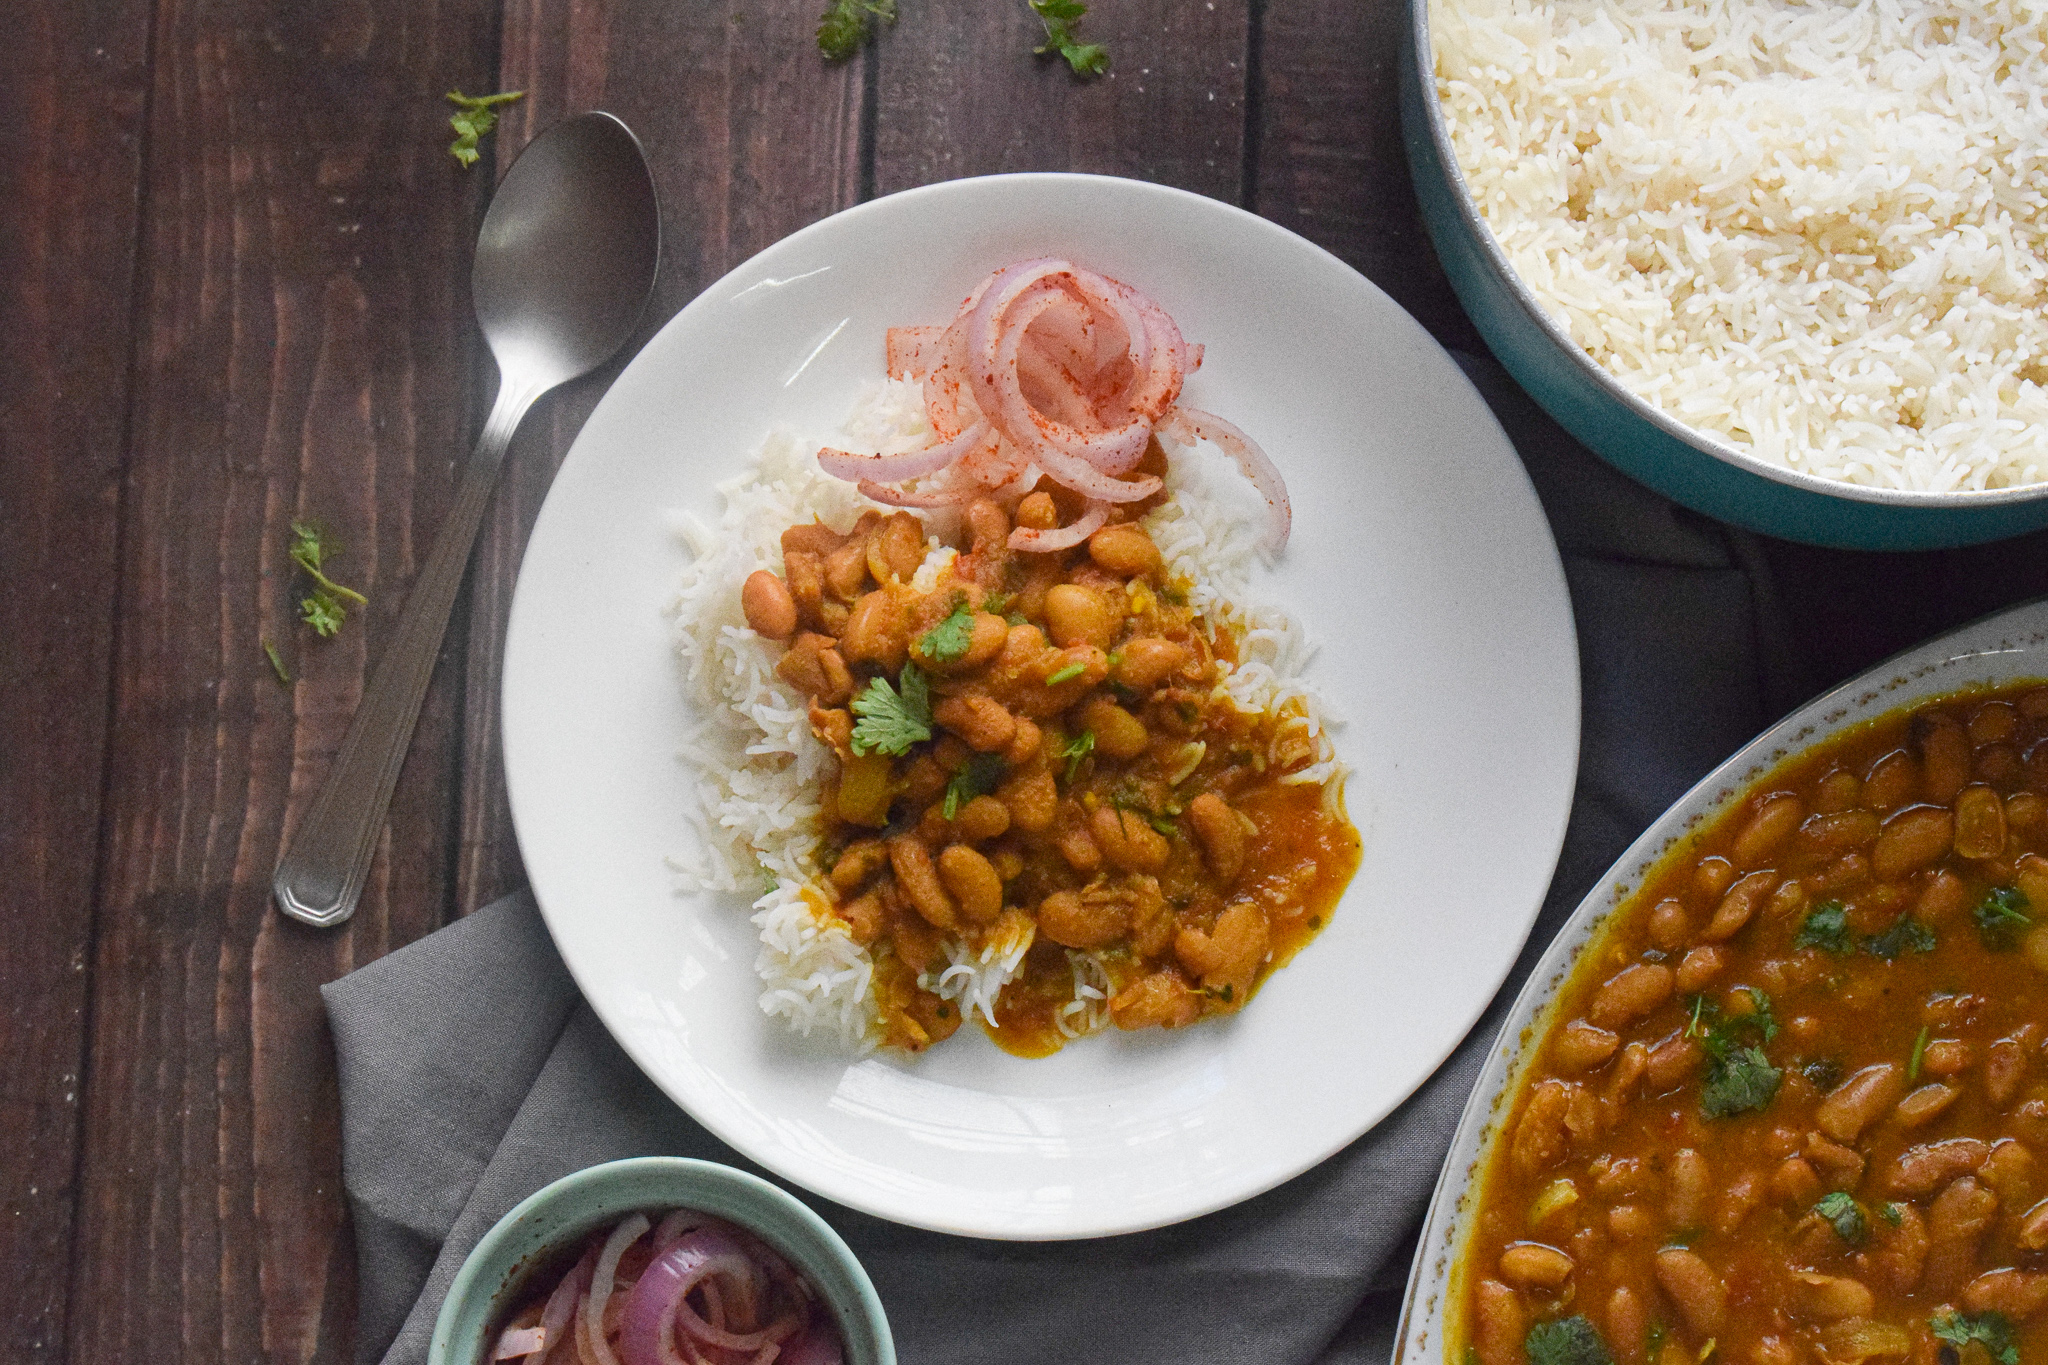
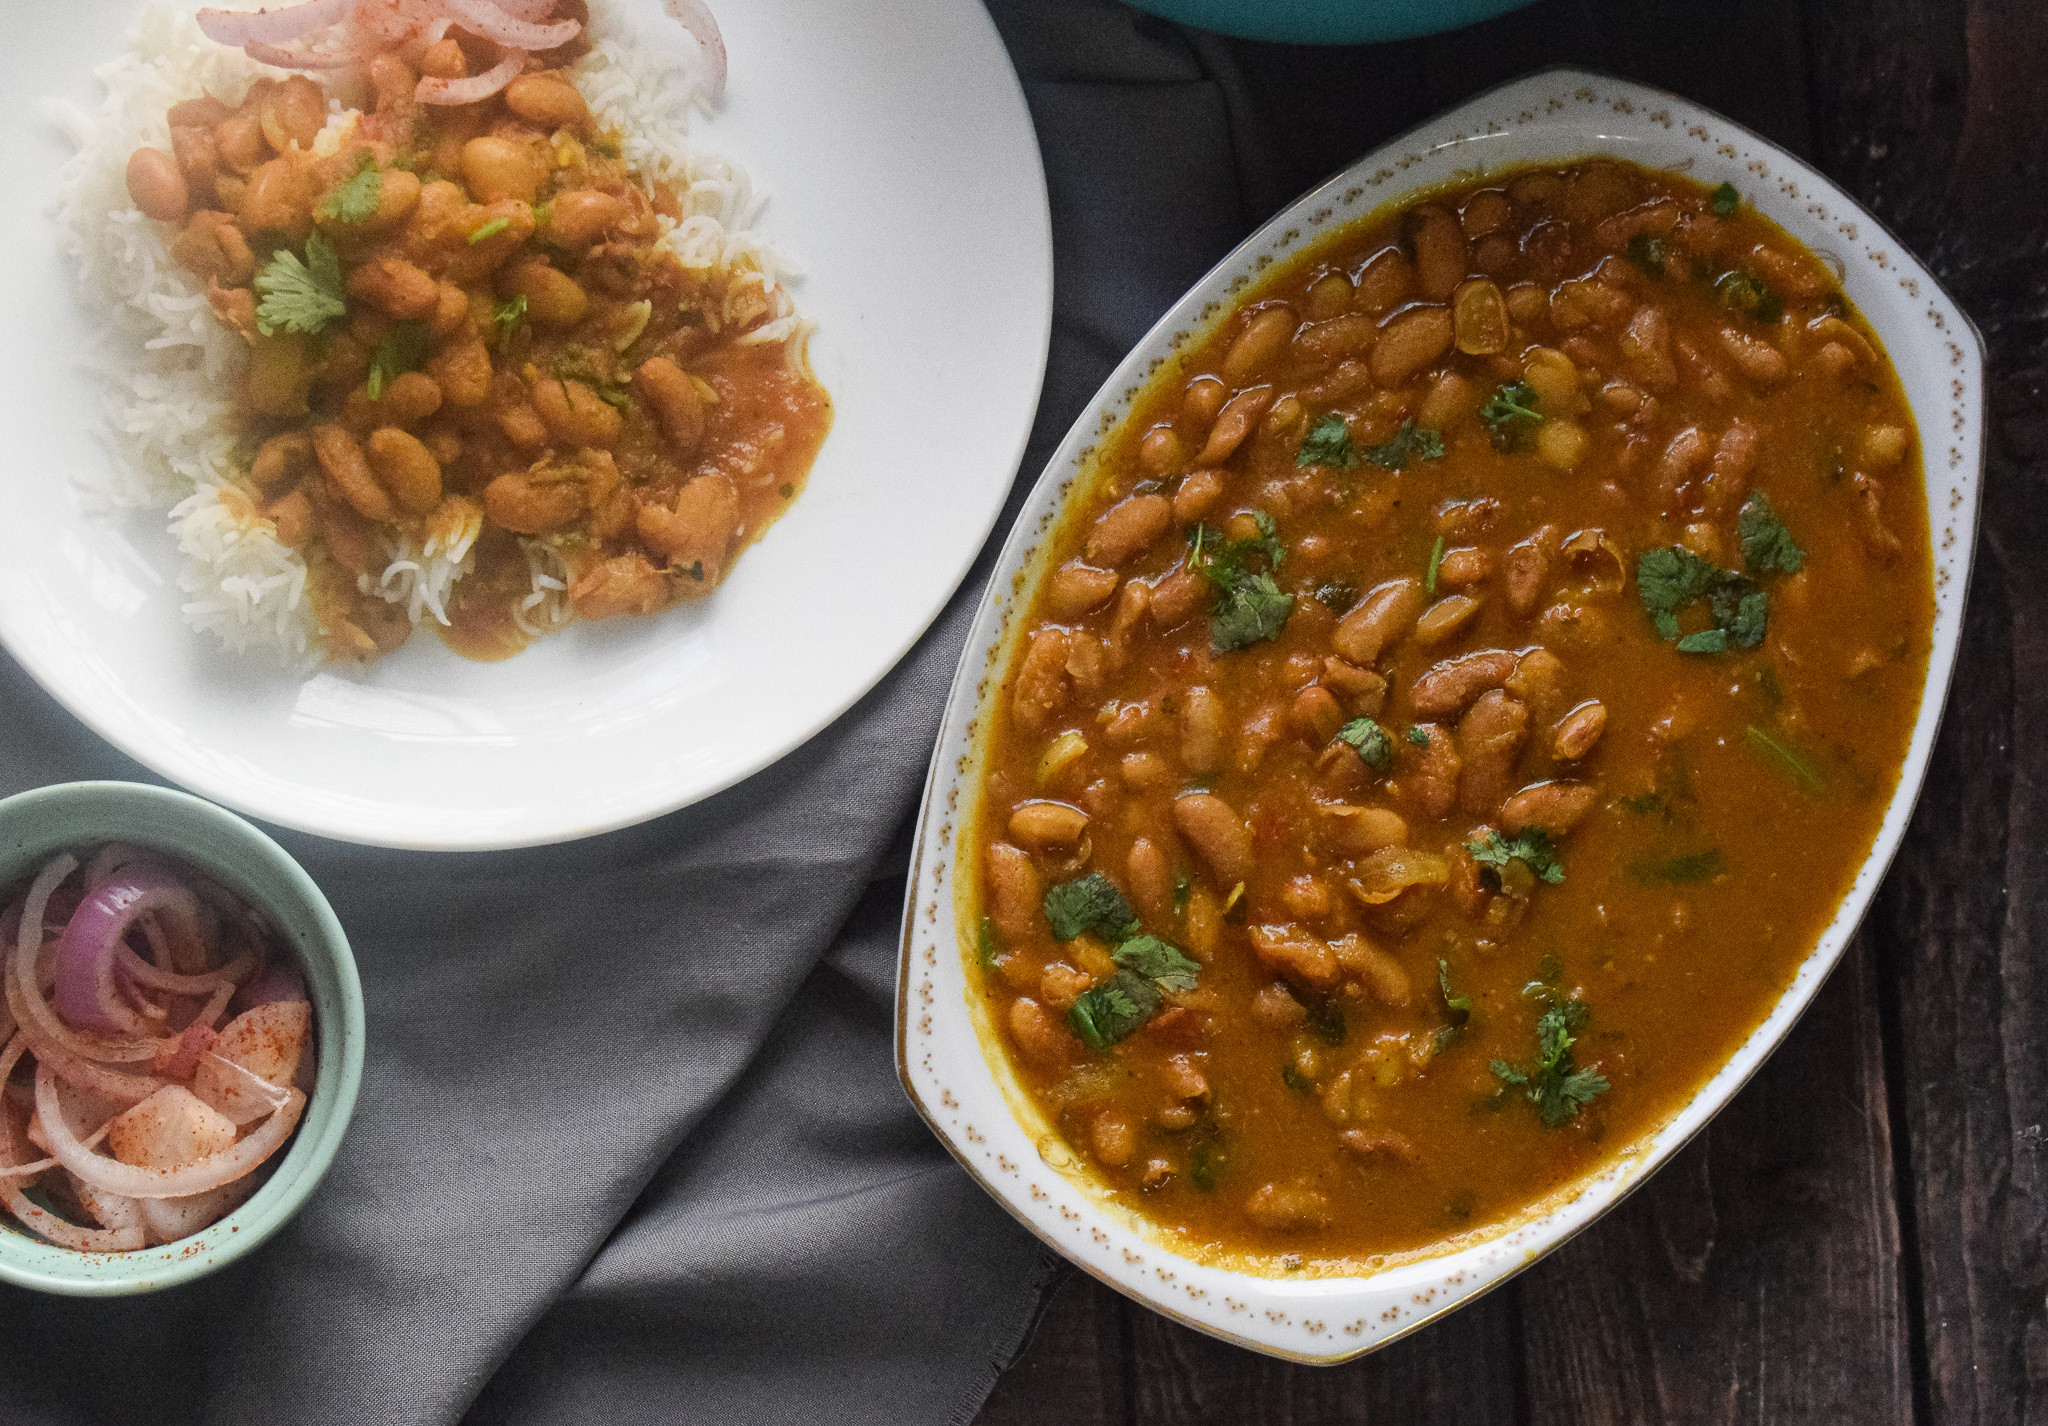
Rajma Masala

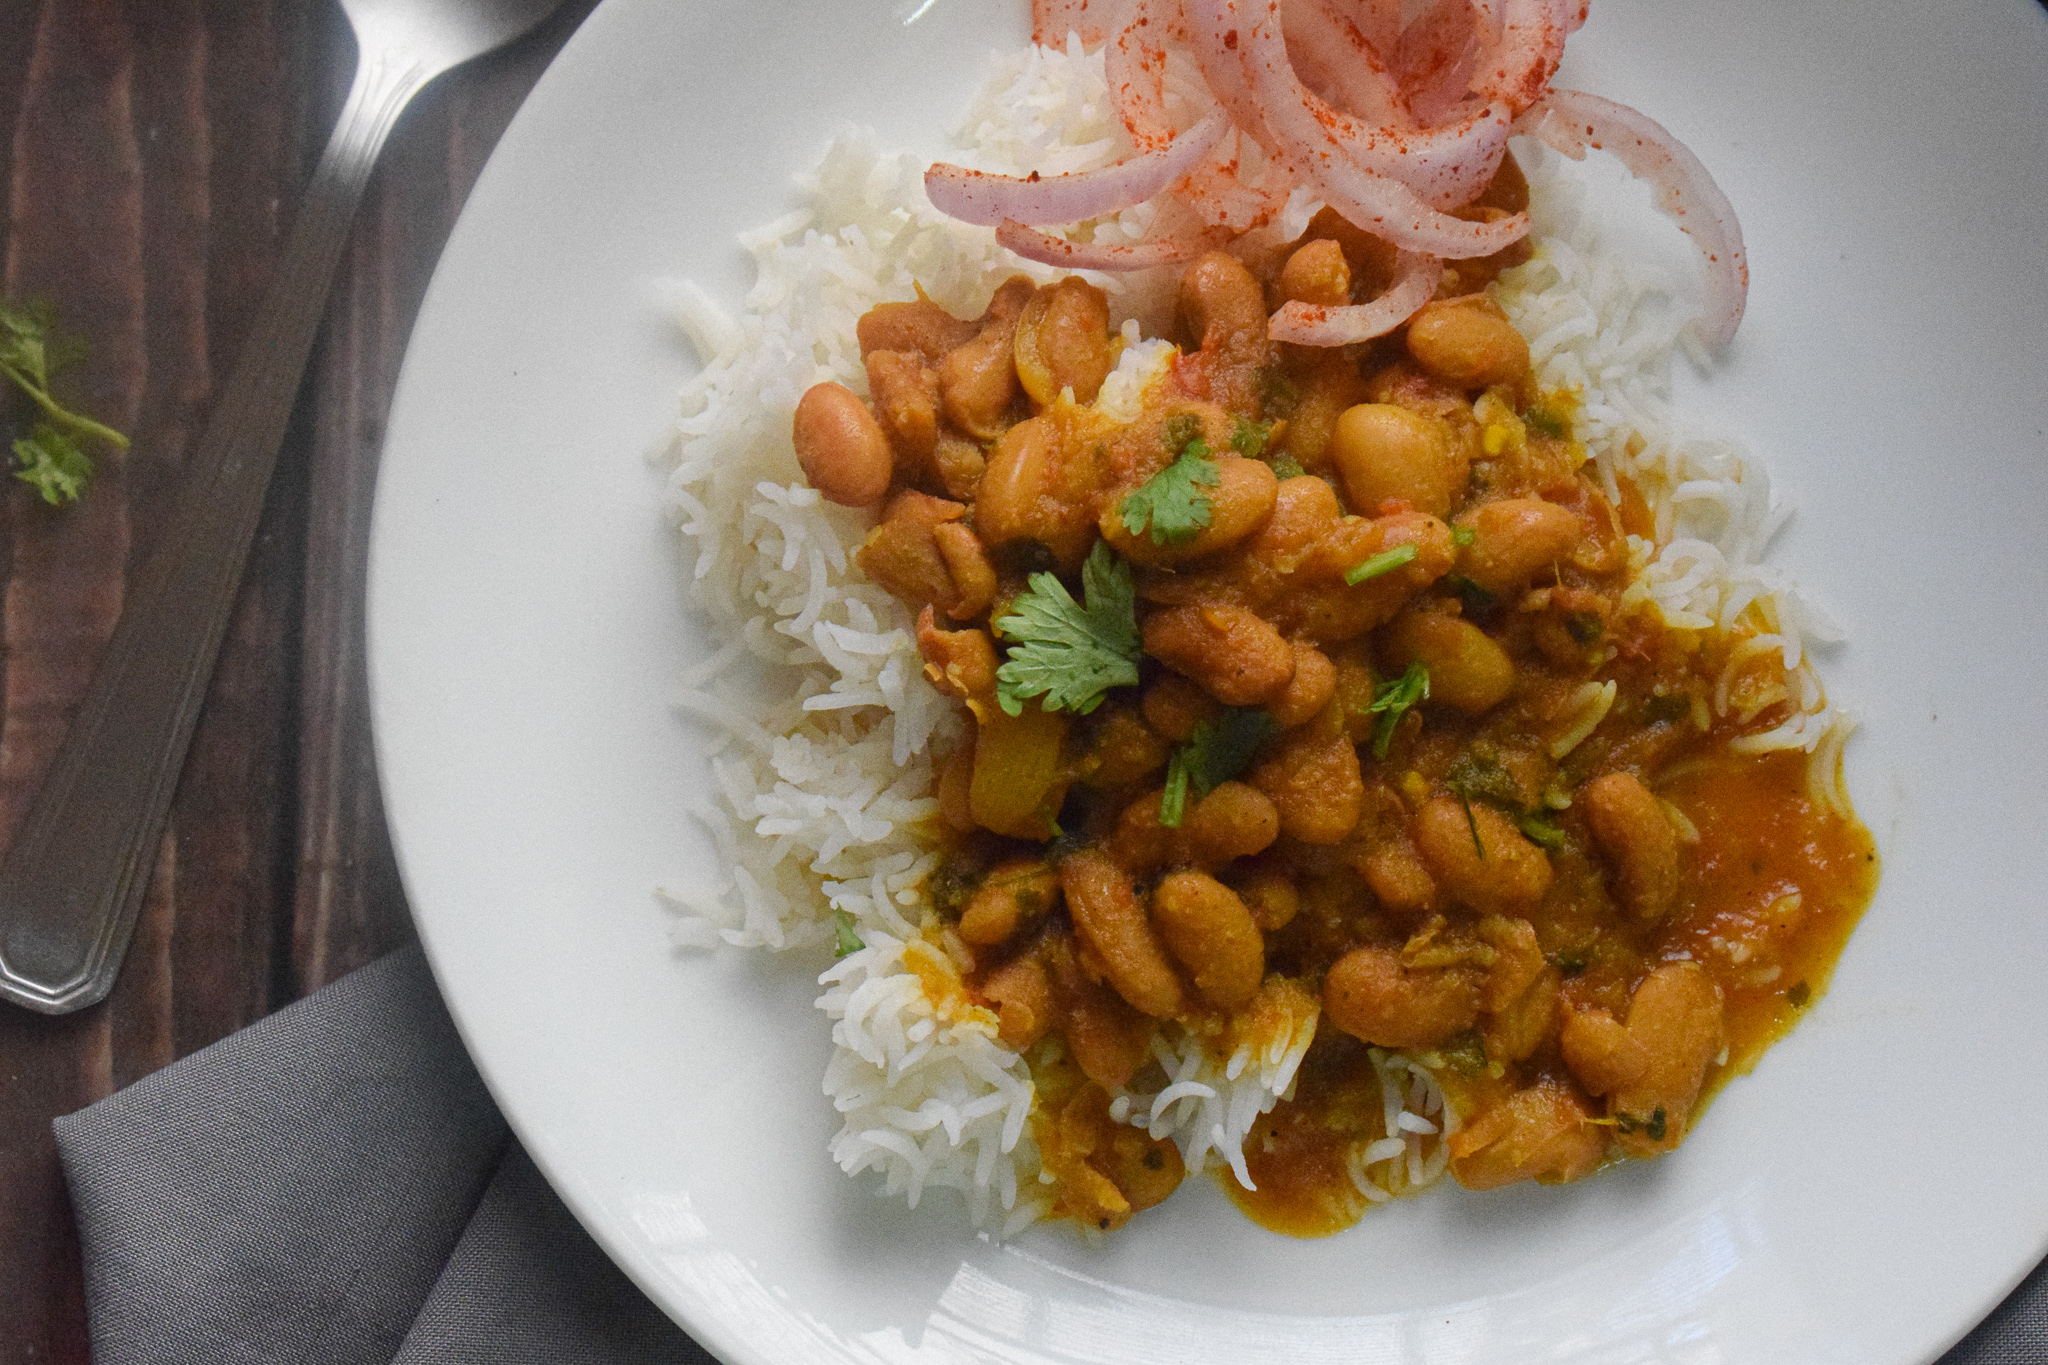
Rajma Masala is one of my most favorite comfort foods of all time. It wasn’t always this way. I never even thought about rajma or kidney beans while growing up because it was never a major part of my diet. Assamese people consume rajma once in a while and we mostly have it with rotis. Savoring it with rice has only been recent.

My first exposure to proper Rajma Masala was when I moved to Delhi for my studies. I used to live as a paying guest in a house and rajma masala with rice or rajma chawal used to be the highlight of our Sunday meals. At first, I really didn’t get it as the definition of Sunday comfort meals for me comprised of so many things (including generous portions of fish and meat). Classmates in college would also fondly talk about this combination and the idea was non-relatable to me. I could not romanticize rajma chawal as comfort food.

rajma masala

Fast forward a decade later, I have started to love this combination. Also, you need to know how to make the perfect rajma masala to fall in love with it. I clearly wasn’t having good ones in my college days. But the rajma at a good dhaba or a north Indian eatery made me slowly realise why people love it so much. And I found the best rajma is found in people’s homes in Delhi. Friends moms and grandmoms who had magic in their hands. I could not crack the code for many years. I kept practicing for a long time until I finally cracked the code to the perfect rajma masala.

rajma masala

How To Make The Perfect Rajma Masala

So here I am sharing the perfect rajma masala recipe for you. This one is very close to my heart and this is how I make it. Here are some tips and tricks that I can give from my learning of this beautiful recipe.

  • Soak the rajma or kidney beans

It is important that you soak the kidney beans or rajma overnight. This step ensures that the cooking time of the beans becomes lesser and removed the possibility of having them raw in the curry. Soaking the kidney beans helps to fluff them up so that they bloom beautifully in the morning.

  • Season well

It is very important that you season the rajma and water well with salt when you boil them. And the amount of salt has to be enough for all the kidney beans to soak it as well as the broth to have a lot of flavors. It will ensure that each bite is seasoned and not bland when you add the boiled kidney beans to the masala.

  • Use fresh spices

A lot of spices go into the making of this rajma masala that lends it a distinct set of flavors, aroma, and taste. To get the best out of this recipe, I recommend you keep your spices as fresh as possible. By fresh I mean get the whole spices and grind them at home instead of using store-bought masalas. Trust me, there is nothing simpler you can do to make your food taste stunning every single time. This is the best tip for making any recipe taste gorgeous! I make a big batch of spices every month at my home – be it cumin, coriander, or garam masala! The fresh spices elevate the taste and quality of recipes to a whole new level.

  • Cook the masala well

This base of this rajma masala is a mixture of onions, tomatoes, ginger, garlic, and some wonderful spices. Everything is ground to a paste and to make sure the rawness fades completely. it’s important to be a little patient and cook the masala through. This requires 15-20 minutes of slow cooking until you see the oil release from the sides. The last thing you want in your rajma is an undercooked tomato base. A little investment in terms of time, but the results are absolutely worth it.

rajma masala

rajma masala

Techniques in making this version of Rajma Masala

In this particular version of rajma masala, there are four steps.

  1. Step 1 – Boiling the soaked rajma with salt and water in a pressure cooker.

  2. Step 2 – Making the masala in a kadhai

  3. Step 3 – Mixing the masala with the boiled rajma in the pressure cooker

  4. Step 4 – Cooking the rajma for two more whistles in the pressure cooker

These steps ensure you can get a thick and luxurious curry, that is packed with flavors and taste. I have been making rajma this way for many years now after having tried many other ways. And I have always found it to be the tastiest!

So without any further delay, let’s get straight to the recipe:

Preparation time – 30 minutes

Cook time – 60 minutes

Serves – 8

[ingredients title=”Ingredients”]

  • 2 cups rajma/kidney beans
  • 1 bay leaf (optional)
  • 1 1/2 tbsp salt (for boiling the rajma)
  • A liter of water
  • 2 medium onions
  • 4 medium ripe tomatoes
  • 1-inch ginger
  • 4 garlic cloves
  • 1 green chili
  • 3 tbsp mustard oil
  • Salt to taste
  • 1/2 tbsp coriander powder
  • 1/2 tbsp cumin powder
  • 1/2 tsp black pepper powder
  • 1/2 tsp amchur/dry mango powder
  • 1 tsp turmeric powder
  • 1/2 tsp Kashmiri red chili powder
  • 1 tsp garam masala
  • Kasuri methi, a handful
  • Fresh coriander for garnish
  • 1 tbsp ghee for garnish [/ingredients]

[directions title=”Directions”]

  1. Soak the rajma is enough water and leave them overnight (12-15 hours). Wash and drain.
  2. Make a paste of the onions, ginger, and chili.
  3. Grind the tomatoes to a paste.
  4. In a pressure cooker, add the soaked rajma, a liter of water and a bay leaf. Cook for 8-10 whistles. Let the pressure release on its own.
  5. Heat oil in a kadhai or skillet. Add the onion paste and saute for a few minutes.
  6. Add the ginger-garlic and chili paste and saute on medium to low flame till the raw aroma disappears.
  7. Season the masala with salt, cumin powder, coriander powder, black pepper powder, turmeric powder, and dry mango powder. Saute on low heat.
  8. Add a splash of water to prevent the masalas from sticking.
  9. Pour the tomato paste and stir. Cook on high heat for two minutes.
  10. Reduce the flame to low, cover, and let it simmer on low heat for 15 minutes.
  11. Take the lid off and check if the oil is separating from the masala. If yes, switch off the flame and trasfer the masala to the pressure cooker. Stir.
  12. Add some garam masala and kasuri methi. Stir well and cook for another two whistles.
  13. Once the pressure is released, open the lid of the pressure cooker. Give one last stir to the rajma masala.
  14. Garnish with a dollop of ghee and fresh coriander.
  15. Serve hot with jeera rice, plain rice or pulao. [/directions]

rajma masala

rajma masala

If you have any questions, feel free to reach out to me with a comment or connect with me on Instagram or Facebook. For all my videos, you can subscribe to me on YouTube.

Happy cooking!
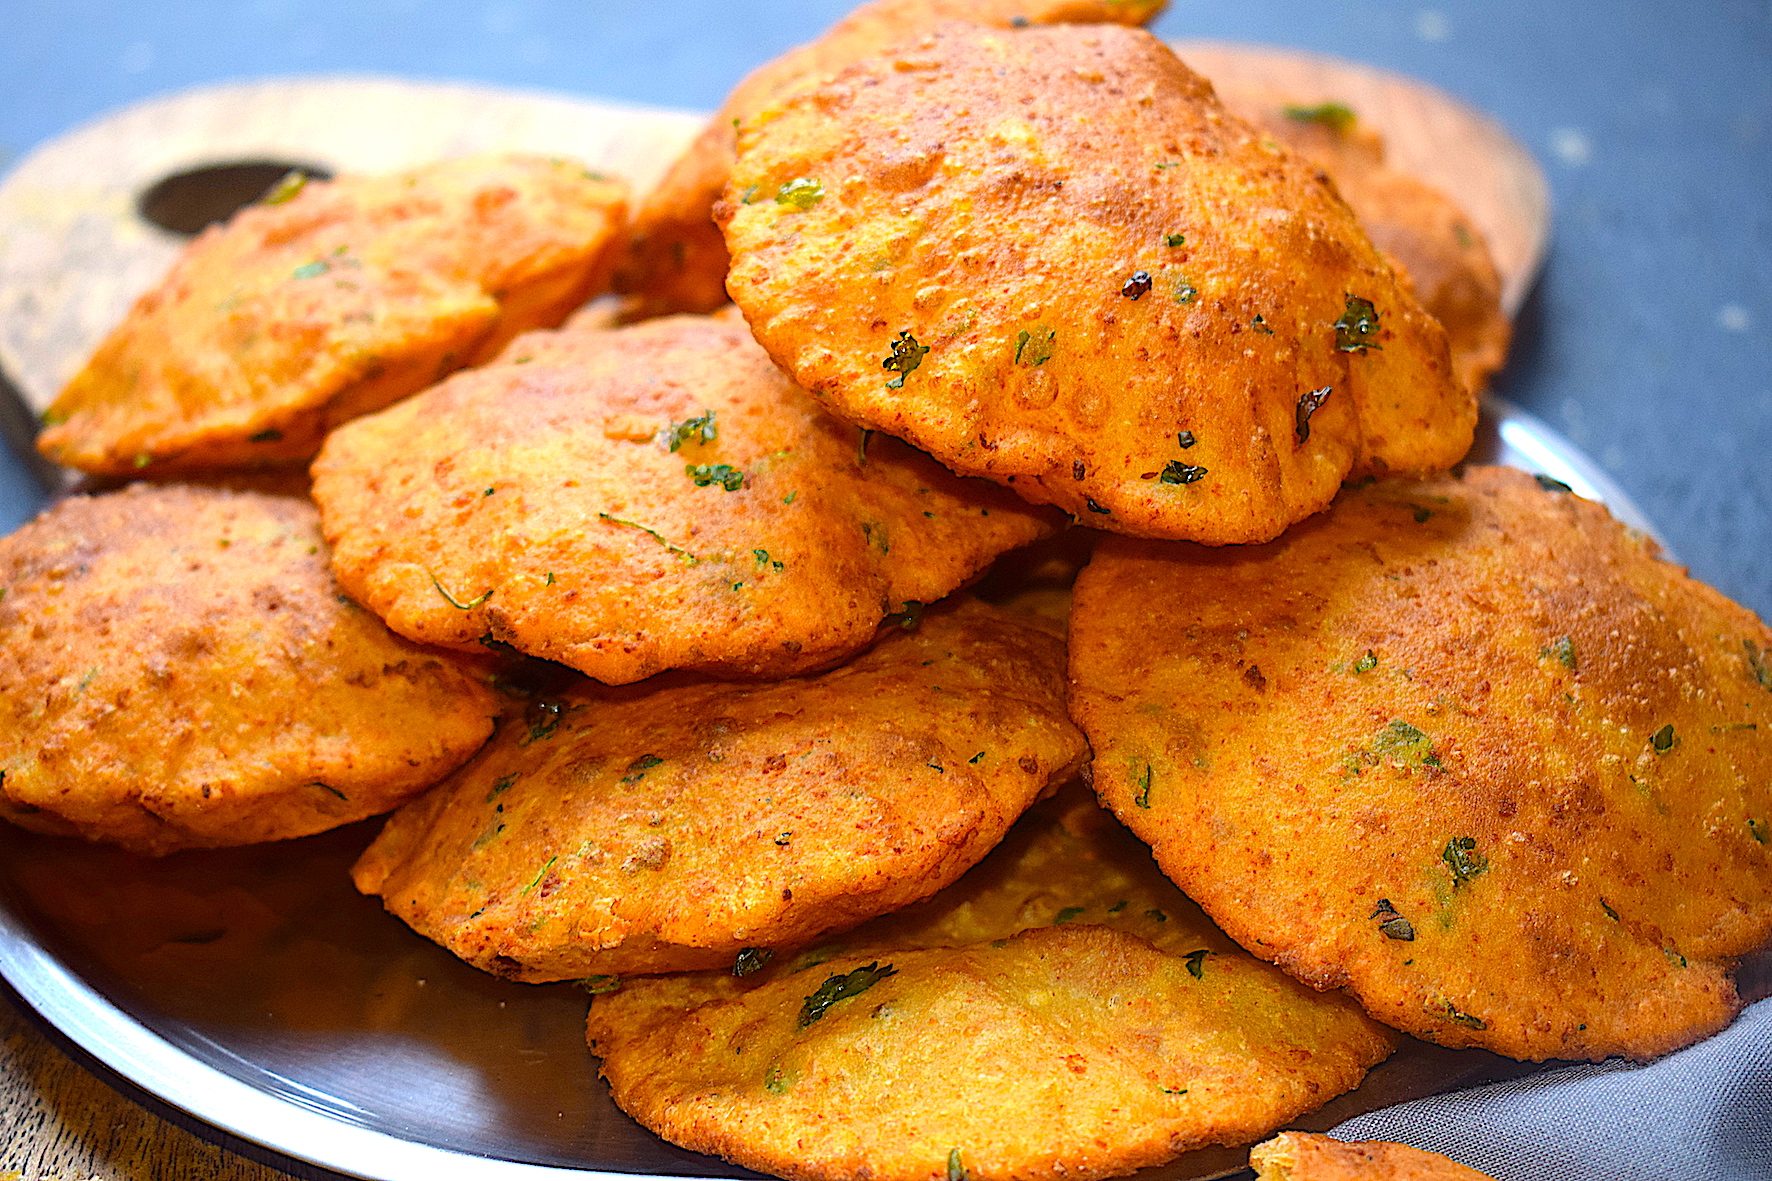
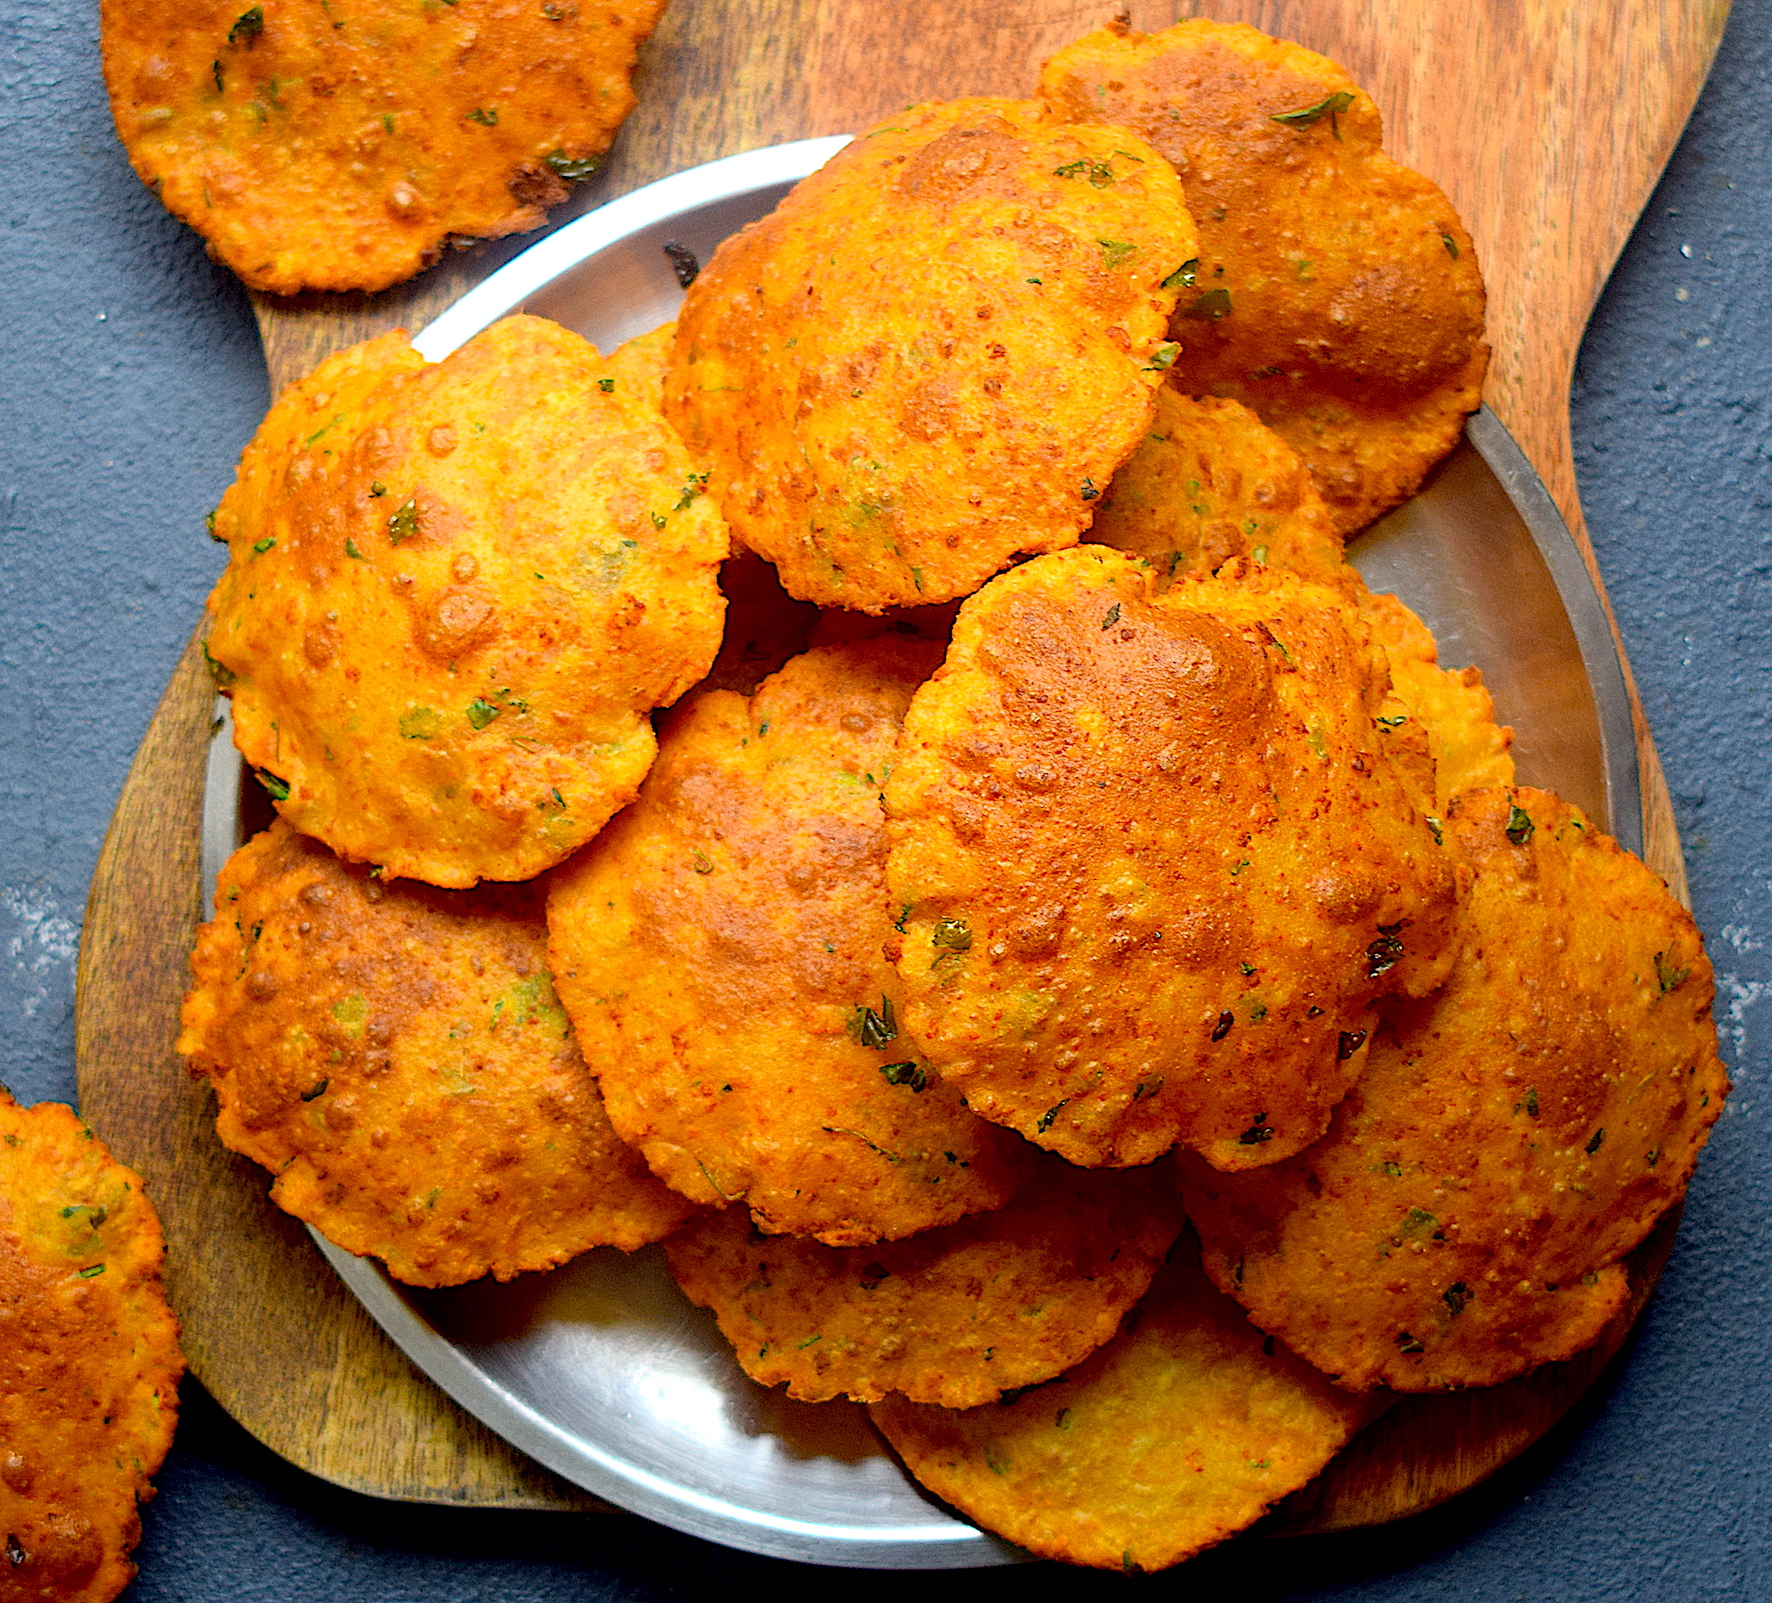
Whole Wheat Masala Paneer Puris

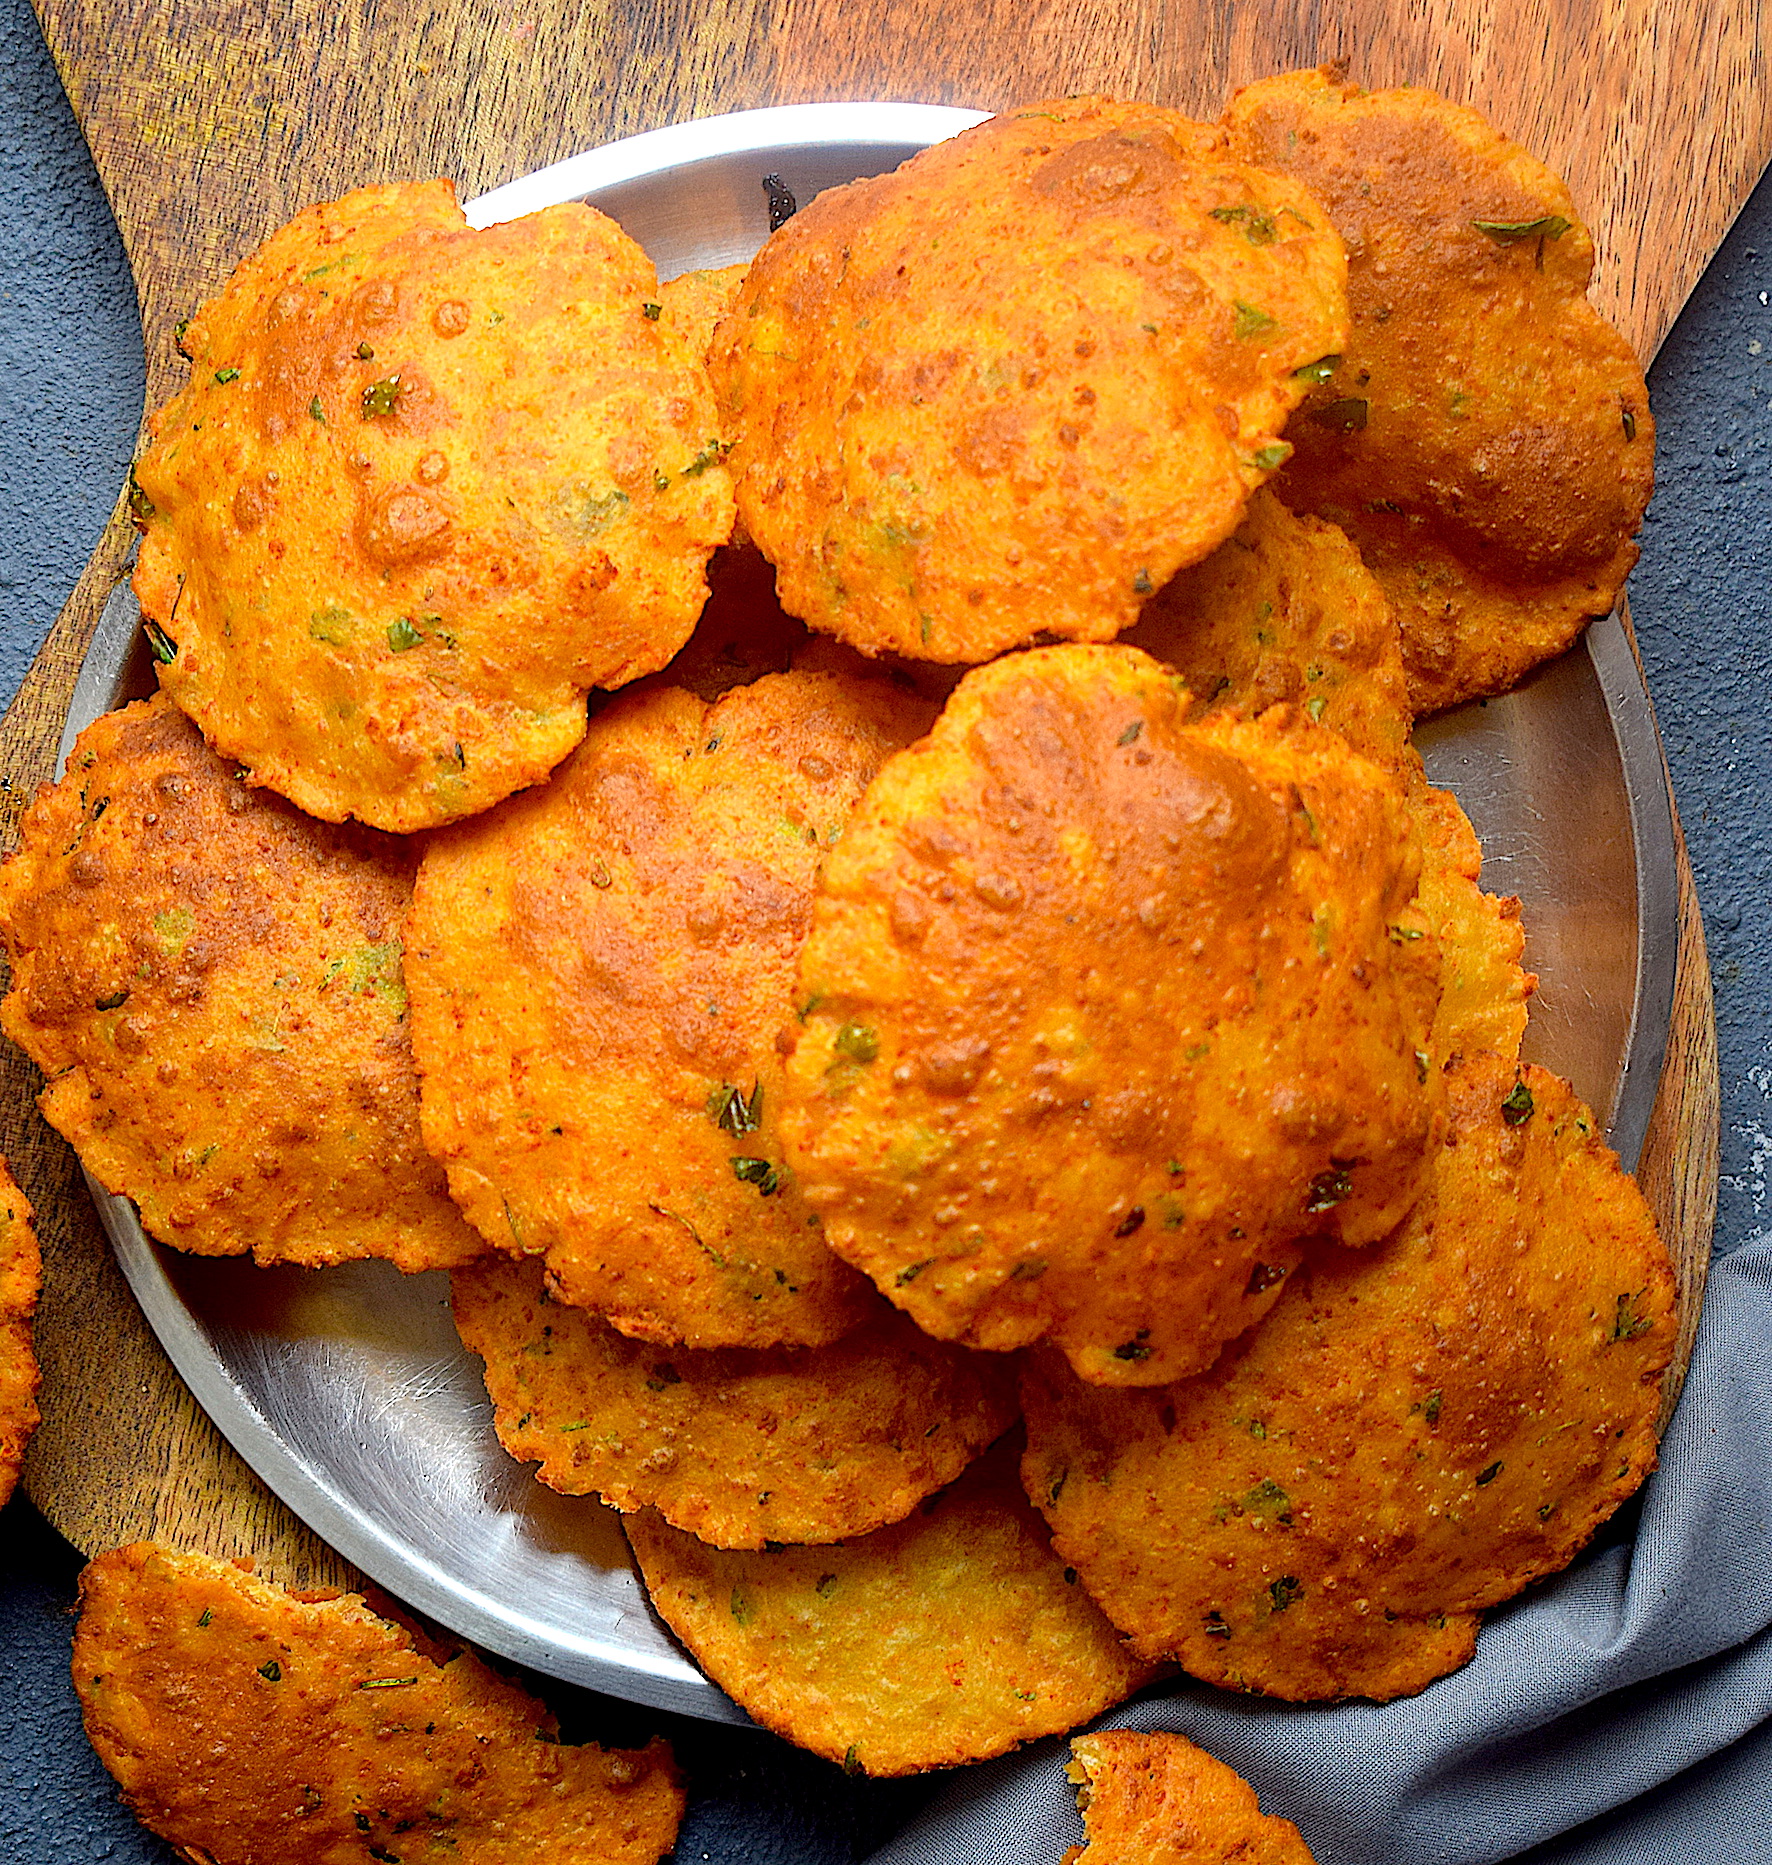
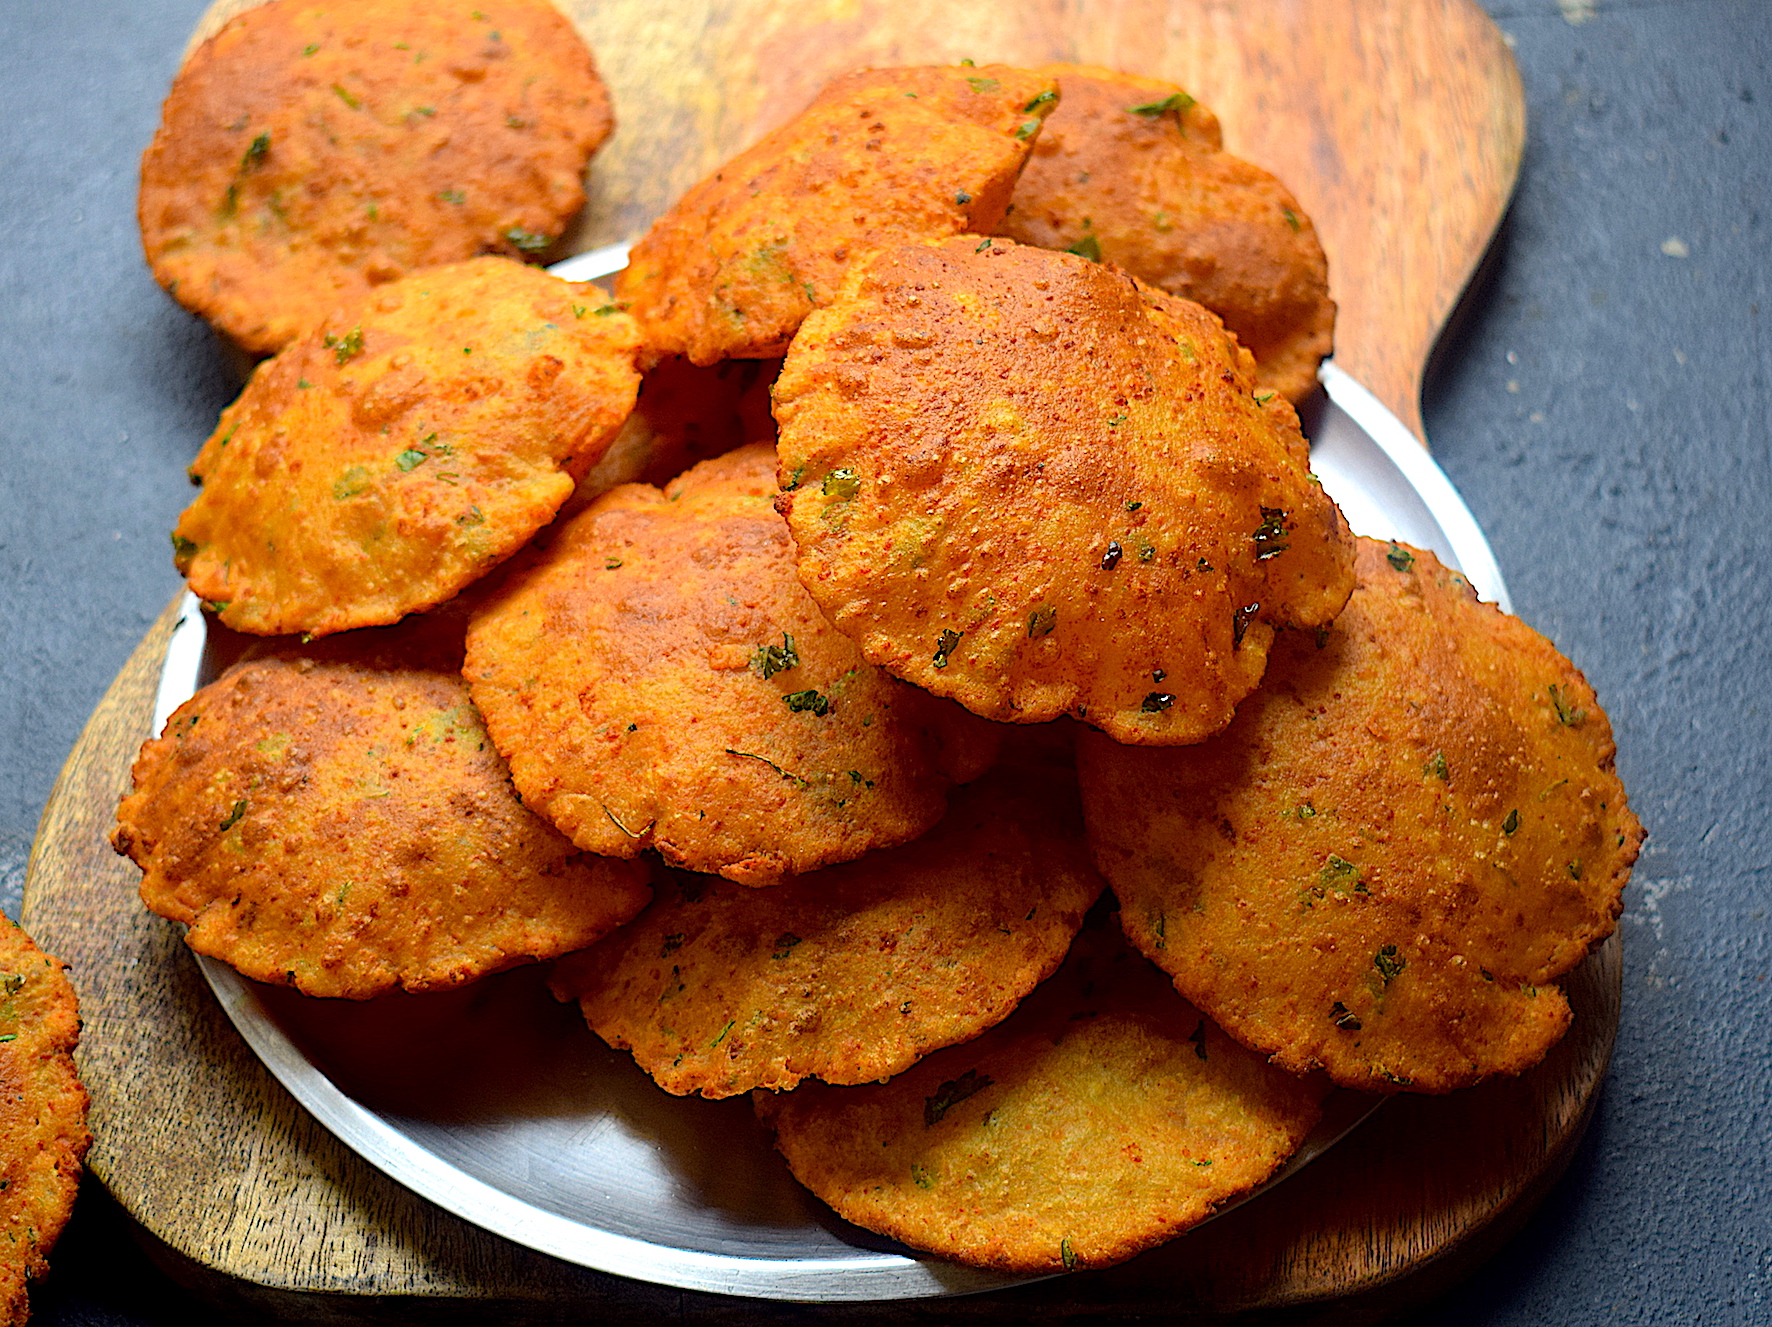
I am a big fan of puris. Though in Assam we have luchis, which are lighter and fluffier flatbreads, I don’t mind puris as well. India serves its people so many varieties of puris. Spinach, masala, potatoes – there is something for everyone! But have you ever heard of masala paneer or cottage cheese puri?

whole wheat paneer puris

whole wheat paneer puris

Well, I had not either till I experimented with these whole wheat paneer puris one day. The results were so fabulous that it took me by surprise. These puris are not just yummy, but so crunchy and perfect. It is just one of my best discoveries and it will blow you away too, I promise.

So let’s get straight to the recipe without any delay:

Preparation time – 30 minutes

Cook time – 20 minutes

Serves – 3-4 people

[ingredients title=”Ingredients”]

  • 250 g whole wheat flour (atta)
  • 1 tbsp ghee
  • 200 g paneer (cottage cheese)
  • 2 tsp Kashmiri red chili powder
  • 50 g coriander leaves, finely chopped
  • 2 tsp carrom seeds (ajwain)
  • 1 tsp garam masala
  • Salt to taste
  • 2 tbsp Kasuri methi or dried fenugreek leaves
  • Water for kneading
  • Refined oil for deep frying [/ingredients]

[directions title=”Directions”]

  1. Grate the paneer and add it to the whole wheat flour in a mixing bowl. Mix the two together gently with your fingers, forming a light crumble.
  2. Add the ghee and mix it well with the flour.
  3. Mix the salt, carrom seeds, red chili powder, fenugreek seeds, chopped coriander leaves and garam masala to the flour and paneer mix. Combine everything well with your hands.
  4. Add water at room temperature, little by little, till a soft dough is formed. Add water in intervals, to ensure the dough doesn’t get too sticky. You will not need too much water because the cottage cheese will release some water into the dough as well.
  5. Once the dough is ready, rub it with some oil on all sides. Cover and keep it aside for 30 minutes.
  6. Make small rounds with the dough. Roll them out with a rolling pin into small puris. Don’t make them too thick or thin.
  7. Heat oil in a kadhai. The oil should be enough that the puri gets completely immersed in it.
  8. Once the oil is hot, fry the puris. Press it with your cooking spoon and let the puri get immersed in the oil. Flip the puri and cook both sides.
  9. Enjoy hot and crispy with chole, raita, subzi or gobble them up just like that! [/directions]

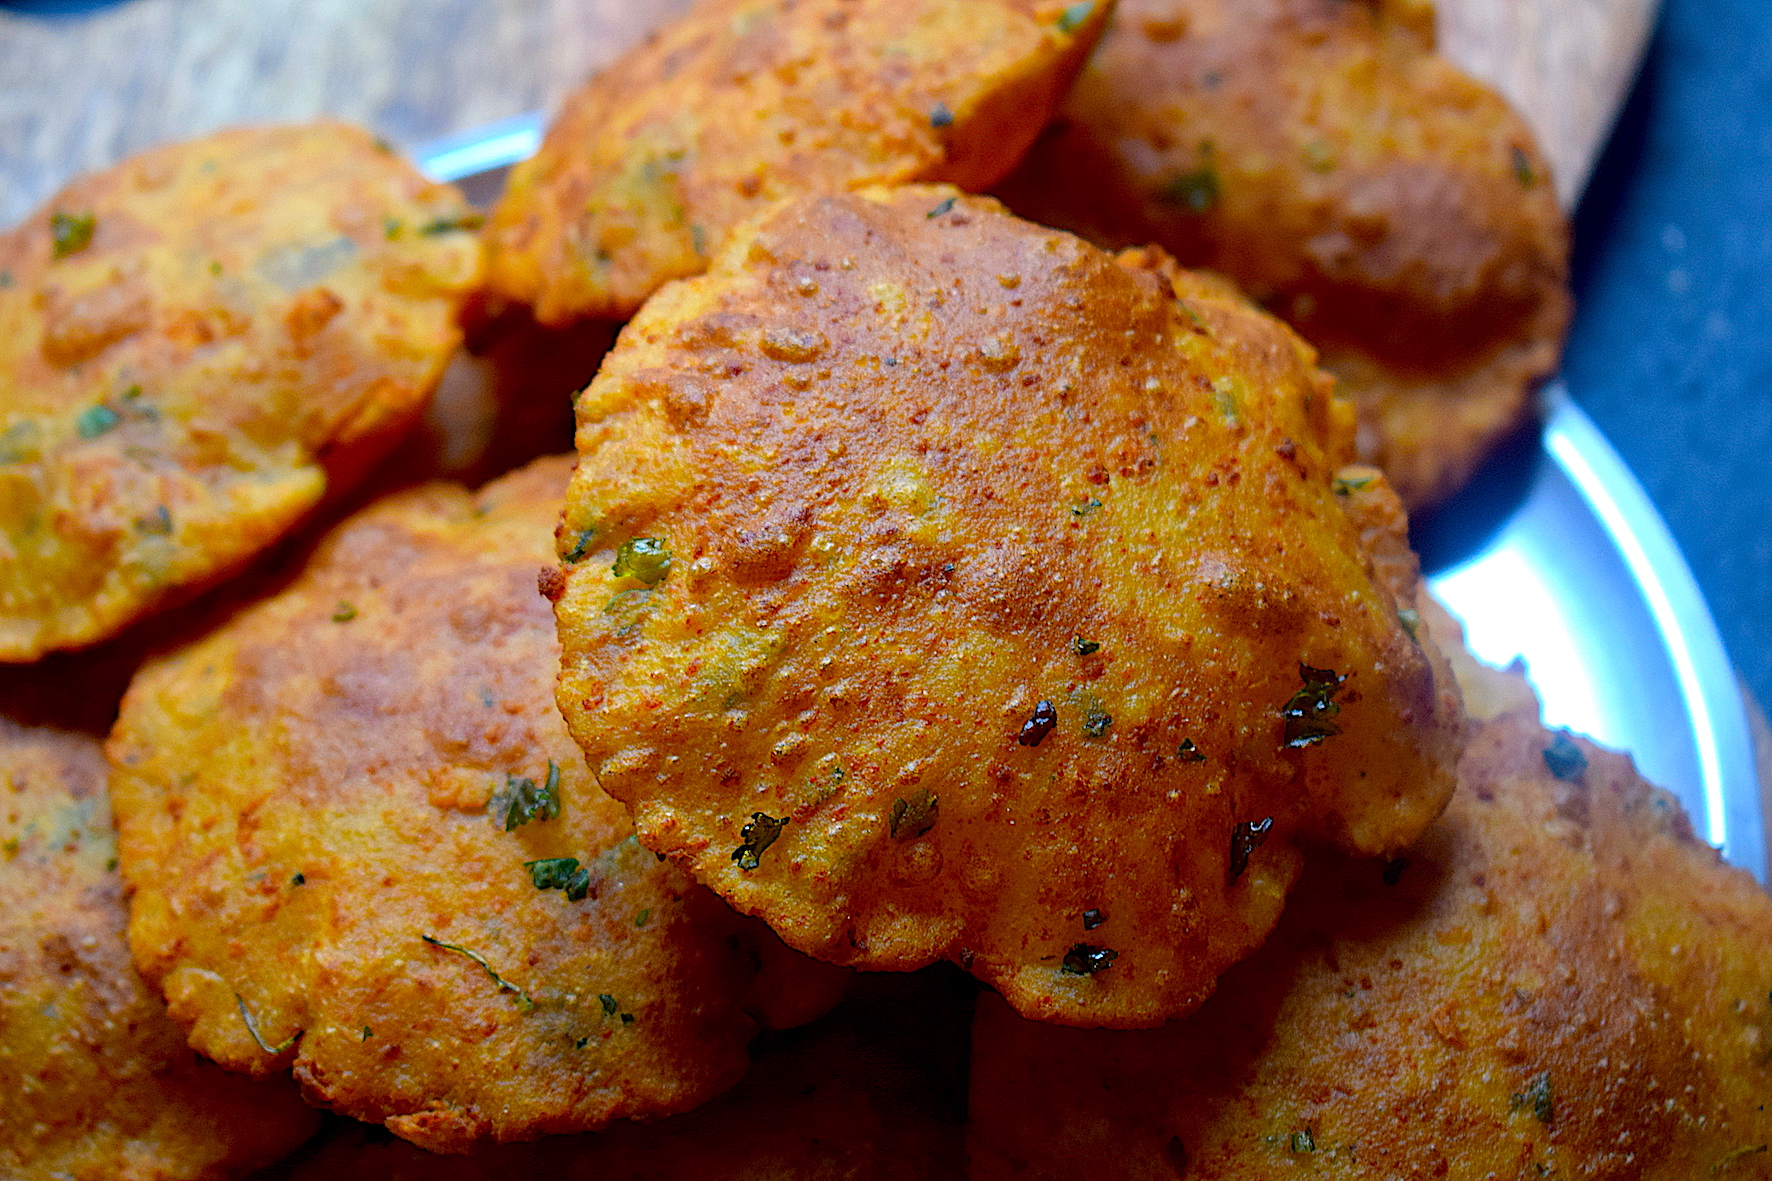
whole wheat paneer puris

whole wheat paneer puris

whole wheat paneer puris

For more such delightful food, follow me on Facebook, Instagram, Twitter, and YouTube.

If you are new to the kitchen or are confused about what to buy for my recipes/kitchen tools, I can help. I have curated a special list that you can order right from Amazon and get the best products for your kitchen. Click here to explore.

whole wheat paneer puris

And as always, happy cooking! <3

Tomato Chicken Curry | Dinner Recipes

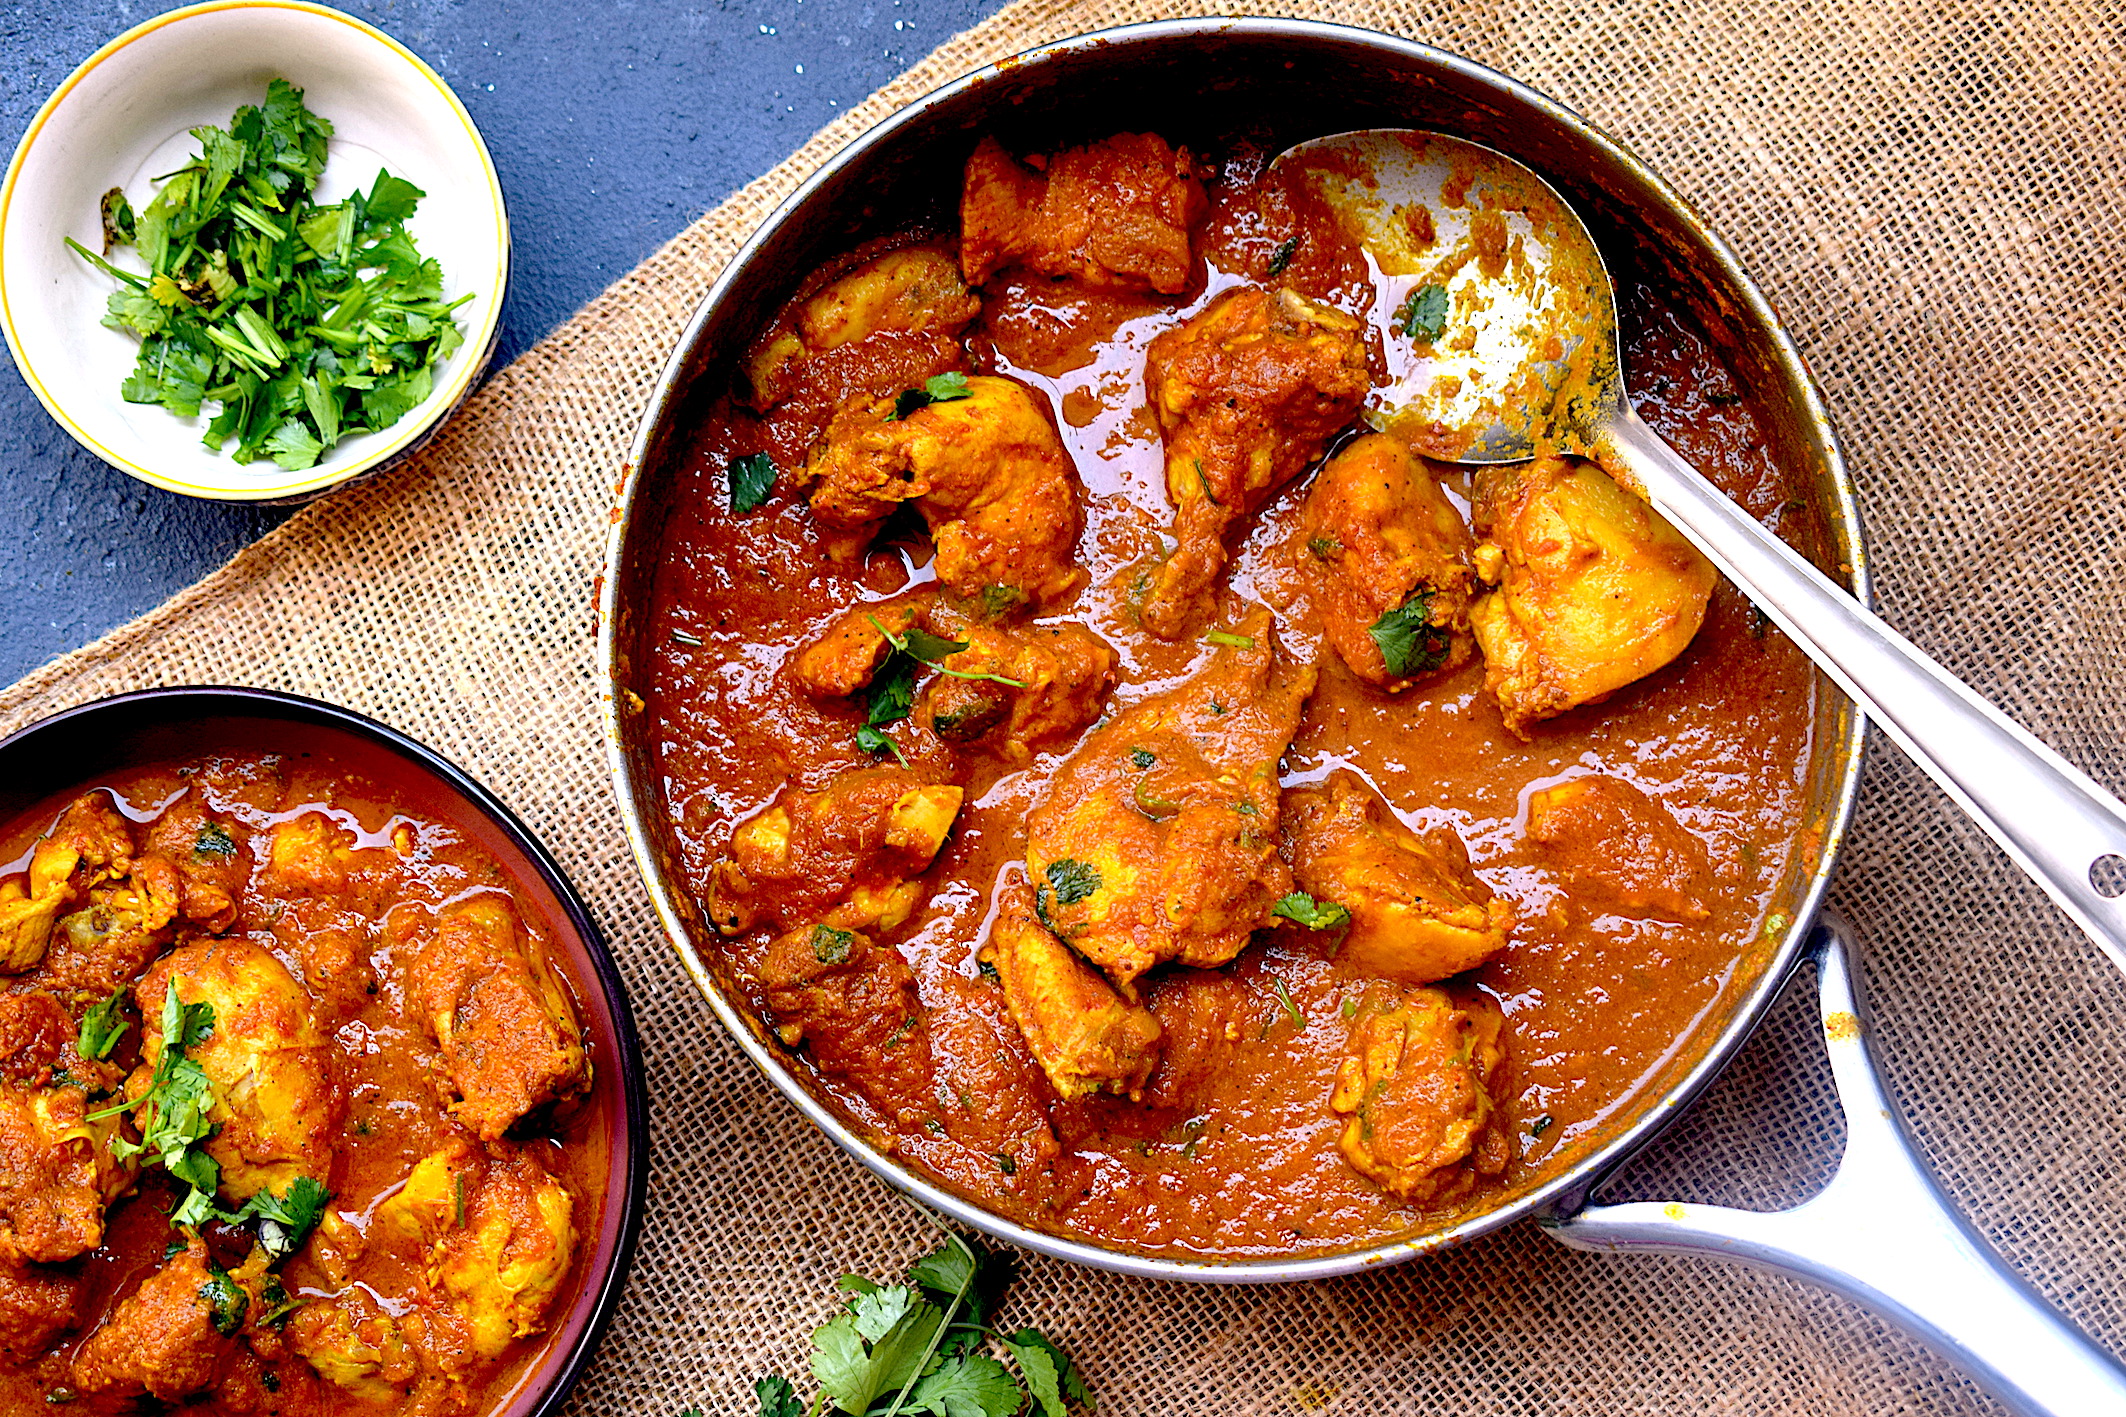
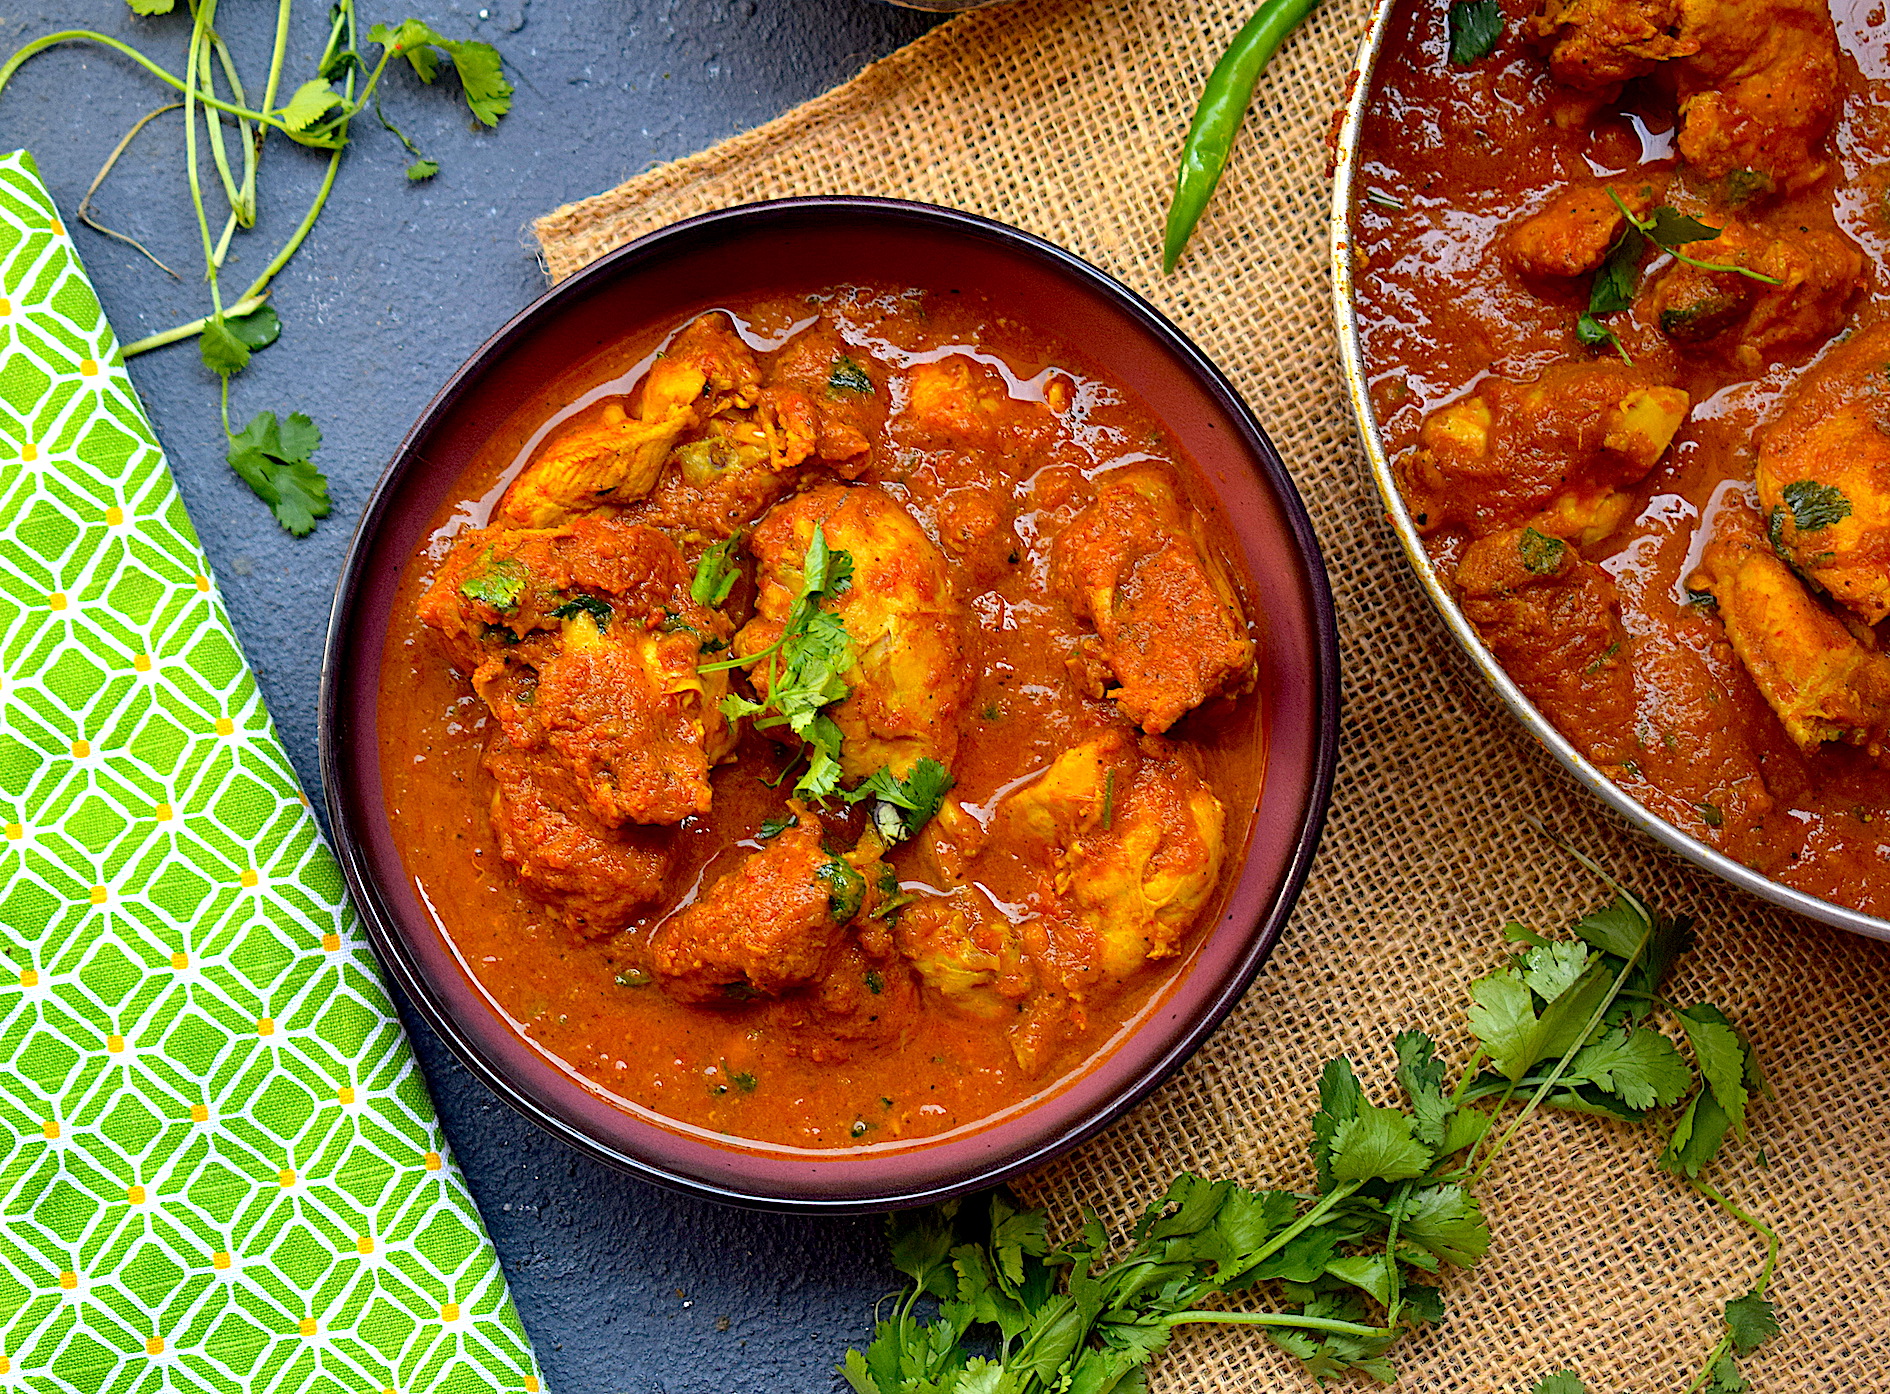
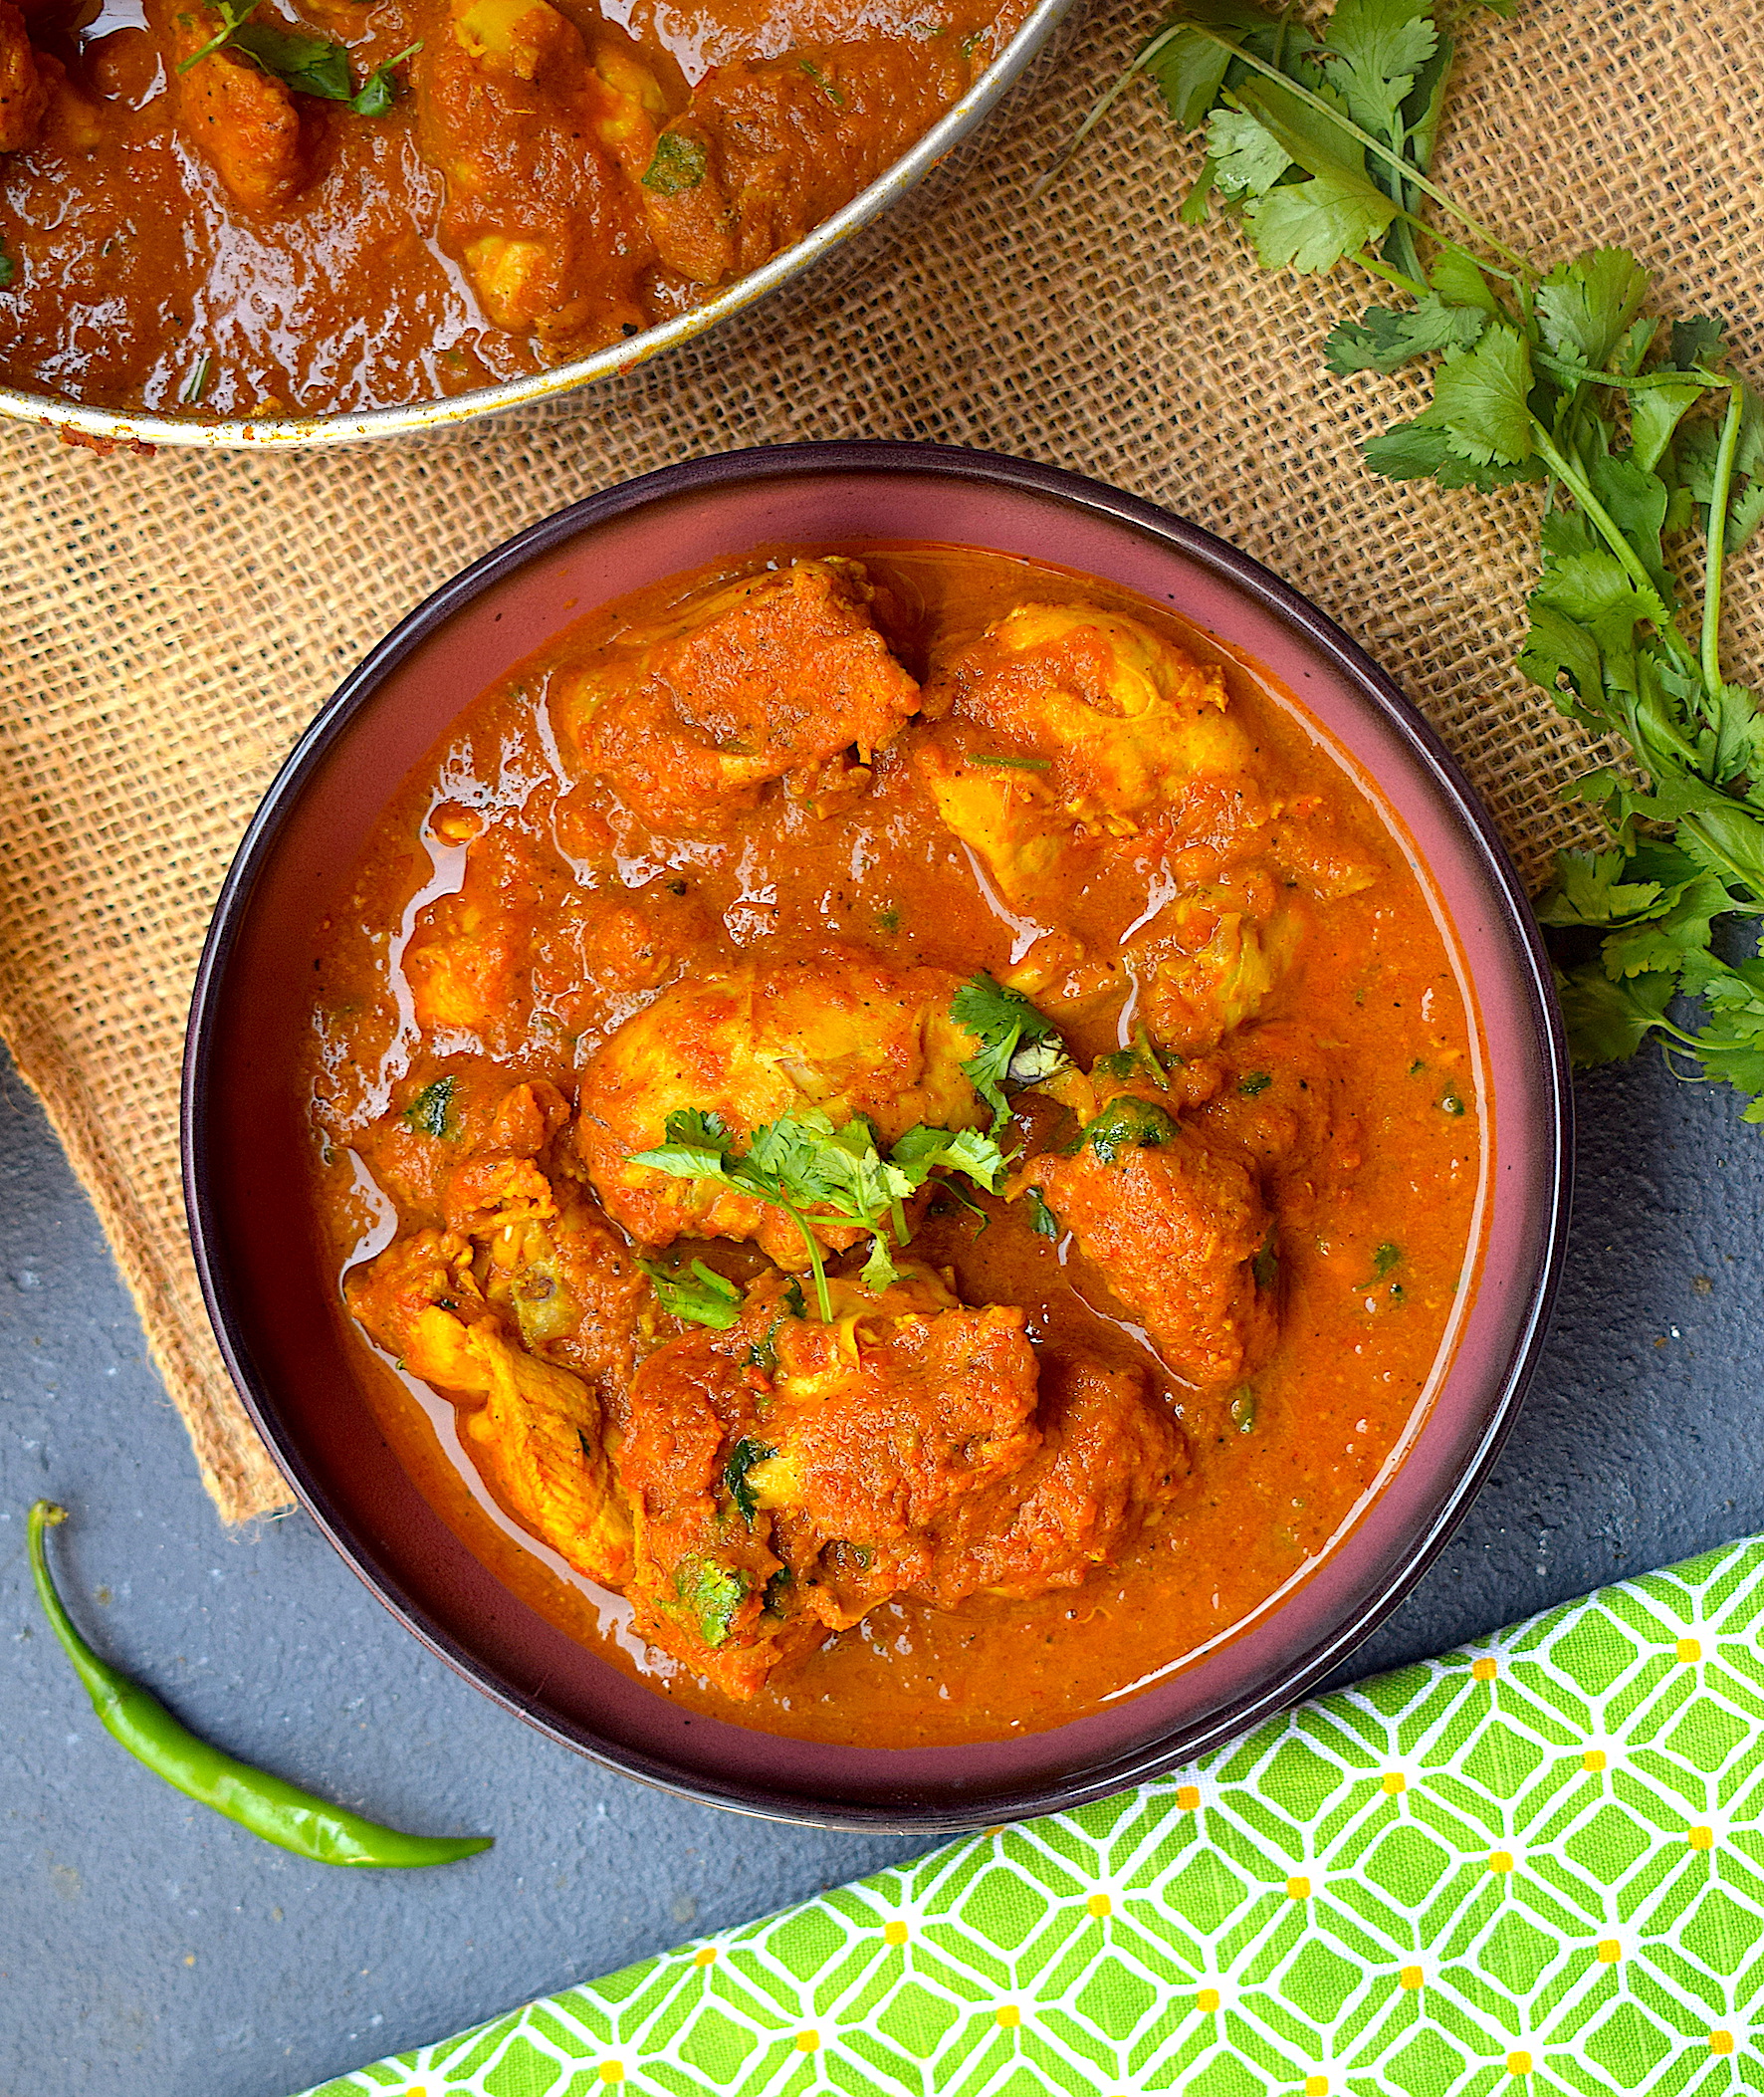
There are certain kinds of recipes that stay your favorite all life. They evoke memories, take you back to happier times and definitely make your meal special. This simple chicken curry holds that kind of significance for me.

It is one of the most comforting recipes that I love whipping up every now and then in my kitchen. This recipe is easy, takes a little bit of patience, and comes together as a gorgeous combination with rice and parathas. Just like everyone has their own version of homemade chicken curry, this one is mine. And it never disappoints!

chicken curry

chicken curry

The main difference in this chicken curry comes from everything being used in its paste form. This mainly means that you have to cook the onion and tomato paste for a tad longer than usual, making sure it is cooked through to make way for a rich gravy. And it tastes best that way. The highlight, of course, is the fresh tomatoes which add lots of flavor, texture, and color to the chicken gravy.

chicken curry

chicken curry

The curd or yogurt is also a common man’s addition to make any gravy taste and look royal. I have used curd here as well, the thickest kind you can find around you. Please do not opt for “slim” or “toned” versions of dairy, because full fat is what we need!

Preparation time – 20 minutes

Cook time – 40 minutes

Serves – 3-4 people

[ingredients title=”Ingredients”]

  • 1 kg of chicken
  • 4 tbsp mustard oil
  • 3 medium onions, ground to a paste
  • 4 medium tomatoes, ground to a paste
  • 1 tbsp fresh ginger garlic paste
  • 1 tsp cumin powder
  • 1 tsp coriander powder
  • 1 tsp turmeric powder
  • 1 tsp black pepper powder
  • 100 g thick curd
  • 1 tsp garam masala
  • 500 ml hot water
  • 2 green chilies
  • Chopped coriander for garnish
  • Salt to taste [/ingredients]

[directions title=”Directions”]

  1. Wash and pat dry the chicken pieces with a kitchen towel. Set aside.
  2. Heat mustard oil in a pan. Once it starts smoking and turns into a pale yellow color add the onion paste. Saute for about eight minutes on medium flame till the raw aroma of the onion disappears and the water from it evaporates.
  3. Add the fresh ginger garlic paste to the onions and saute for two to three minutes.
  4. Once the onions and ginger garlic cooks, add the fresh tomato paste. Saute this till all the water from the tomato reduces and a thick paste gets formed. This step is absolutely crucial otherwise you will have a curry with raw tomato smell.
  5. Season with salt, cumin powder (jeera), black pepper powder, turmeric powder, and coriander powder. Mix well till the spices completely assimilate with the rest of the ingredients in the masala.
  6. Once the tomato forms a thick paste and is completely cooked, add the chicken pieces. Saute the chicken pieces gently mixing it into the tomato and onion masala. Make sure every part of the chicken gets assimilated well with the masala. Stir for five to seven minutes till chicken starts to cook.
  7. Pour in hot water into the masala and stir well. Cover and cook this on a medium flame for twenty minutes.
  8. Take the lid off and check if the consistency of the gravy is at your desired level. Based on the consistency you want, you can let the curry simmer for more or less time.
  9. Add garam masala and fresh coriander leaves for garnish. Serve hot with rice, pulao or flaky parathas! [/directions]

chicken curry

If you want regular access to more such delightful food, you can follow me on Facebook, Instagram, Twitter, and YouTube.

Happy cooking!
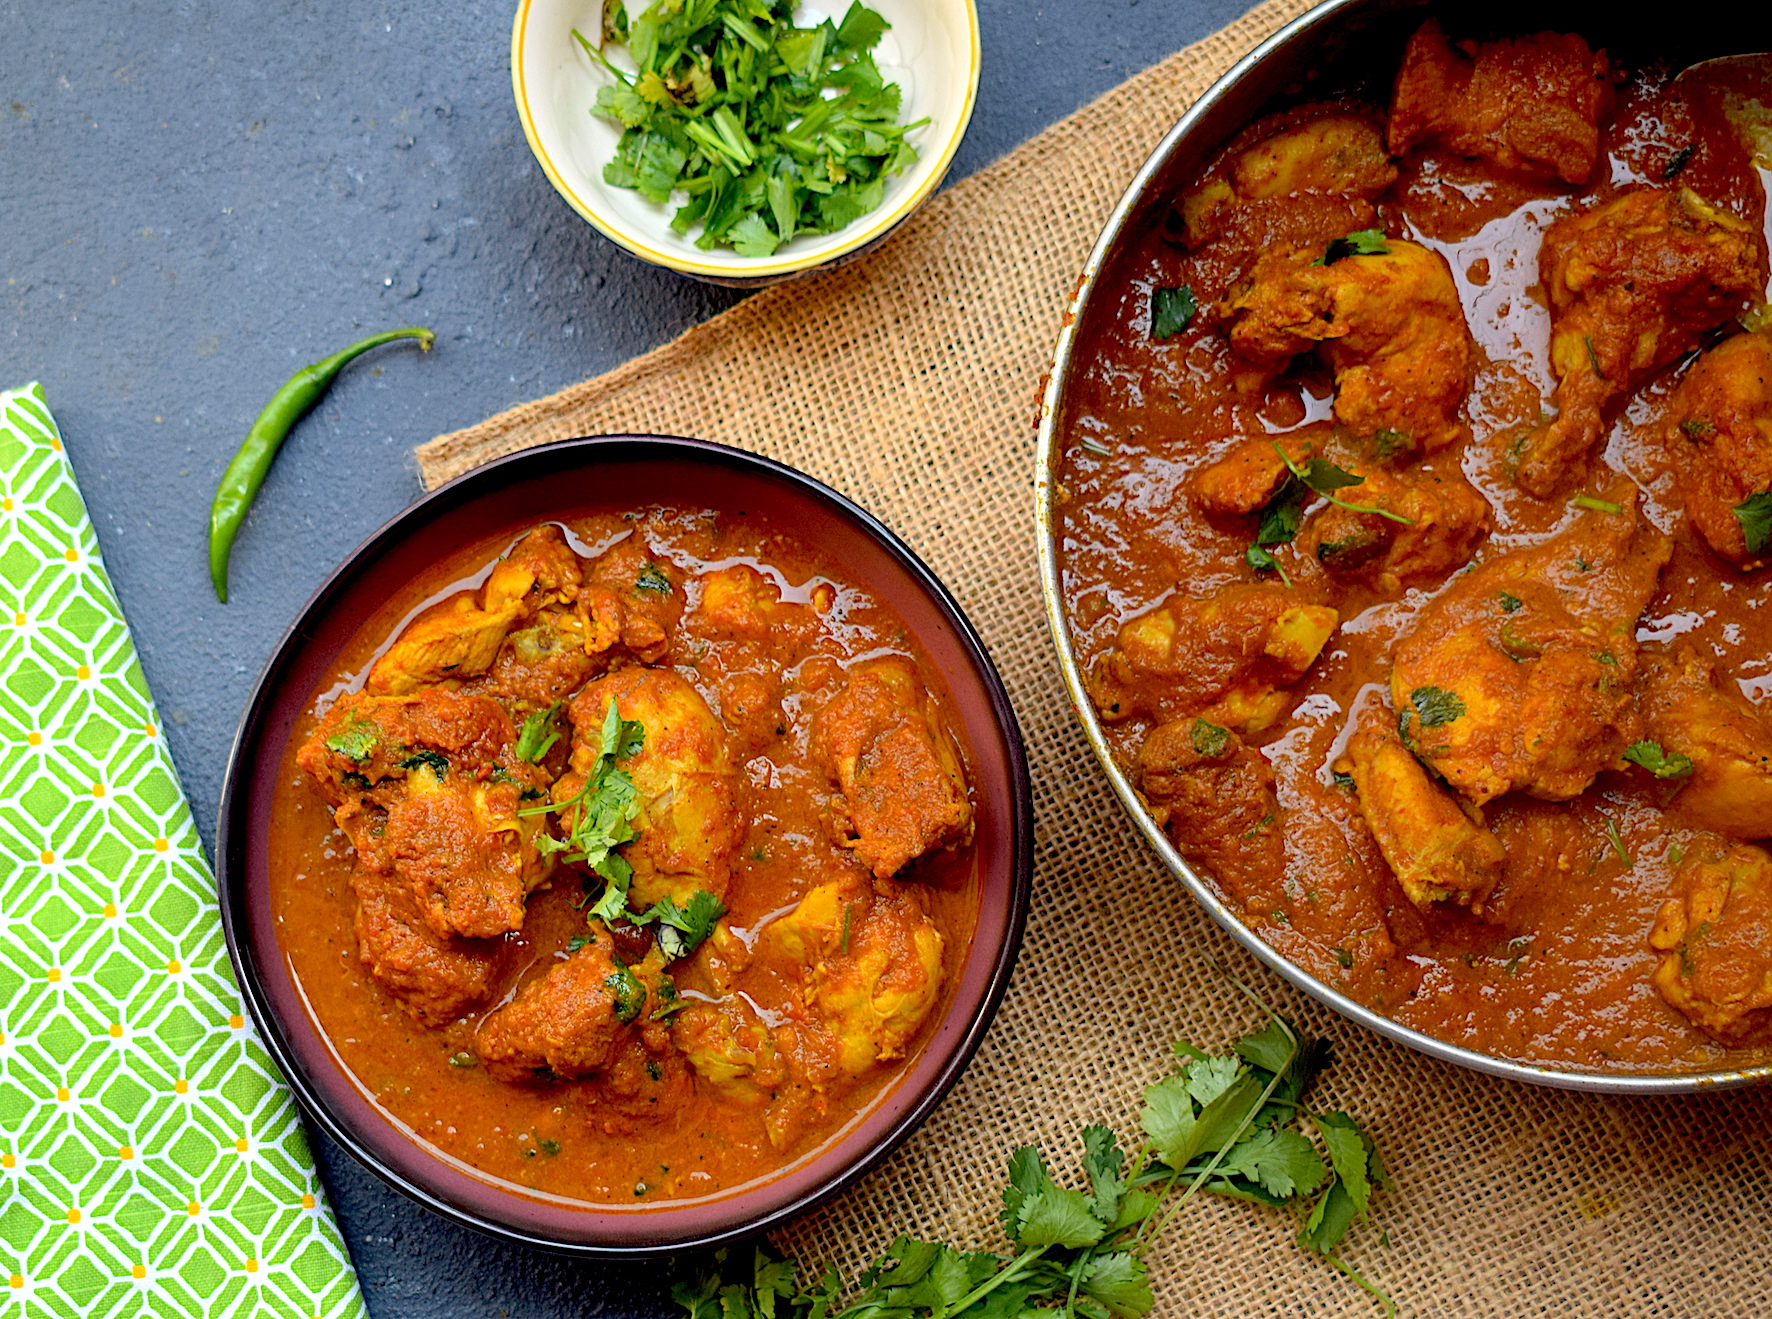
 

Chicken Dak Bungalow

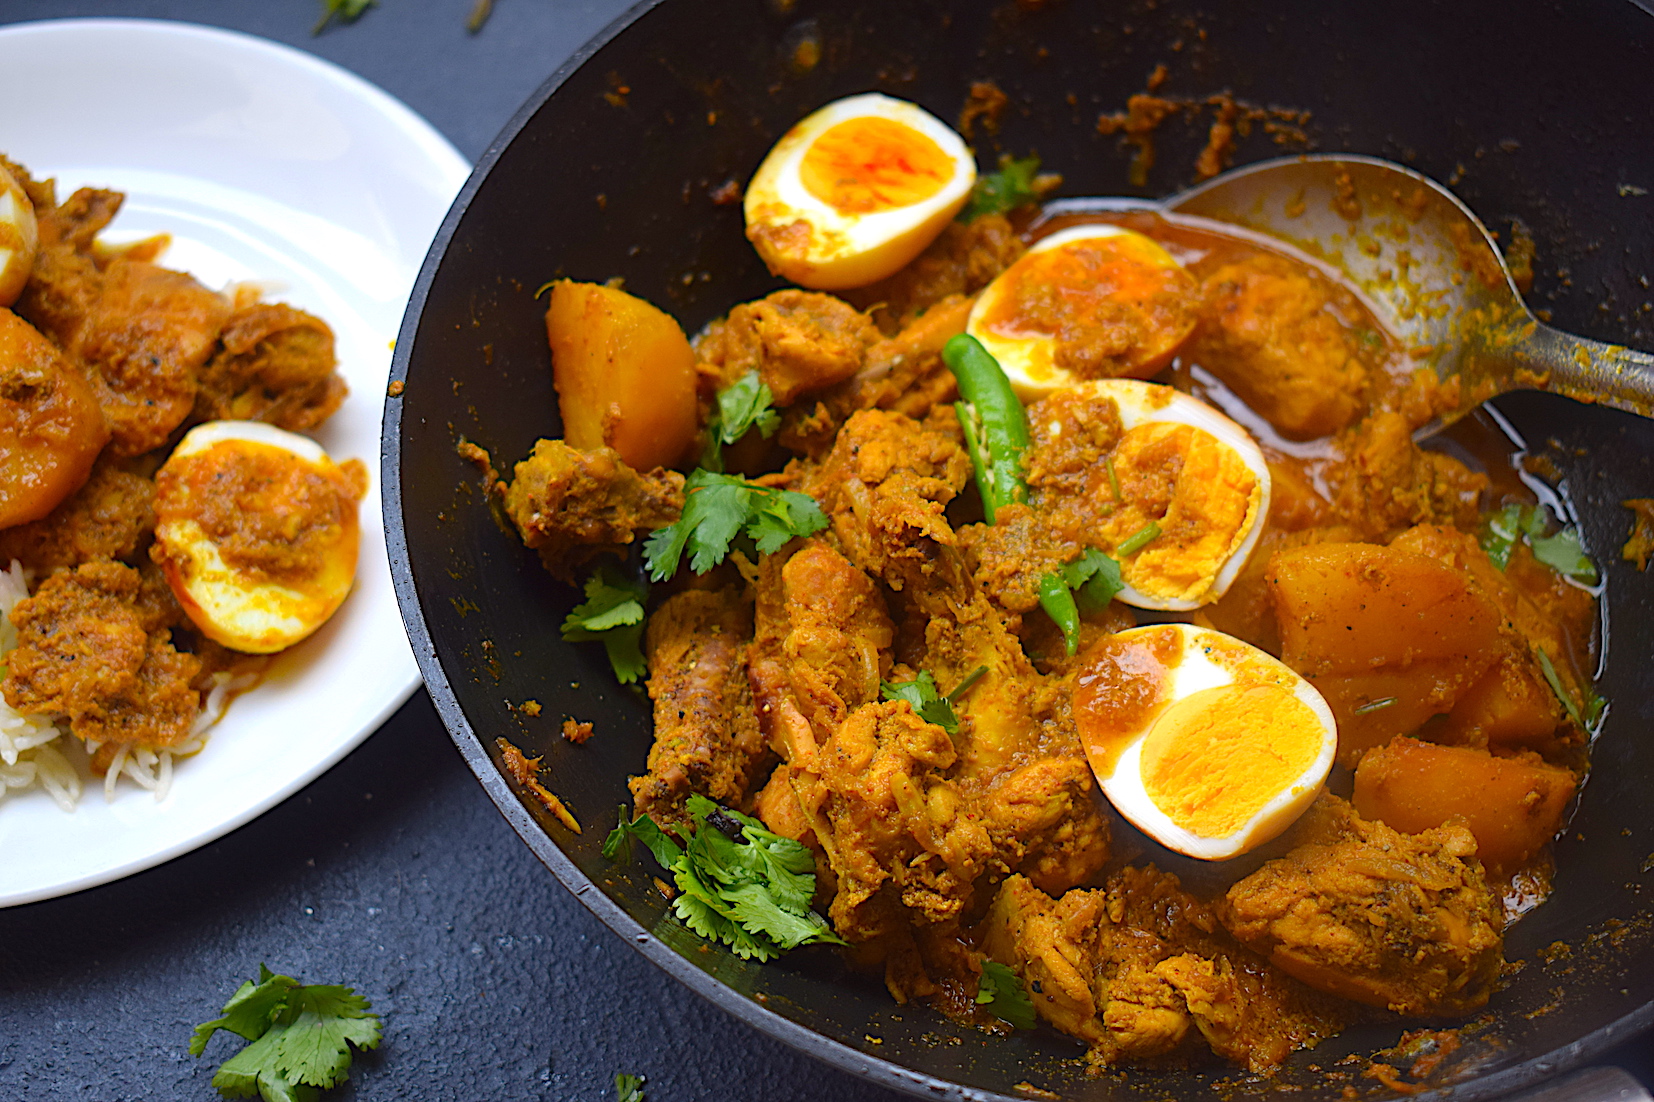
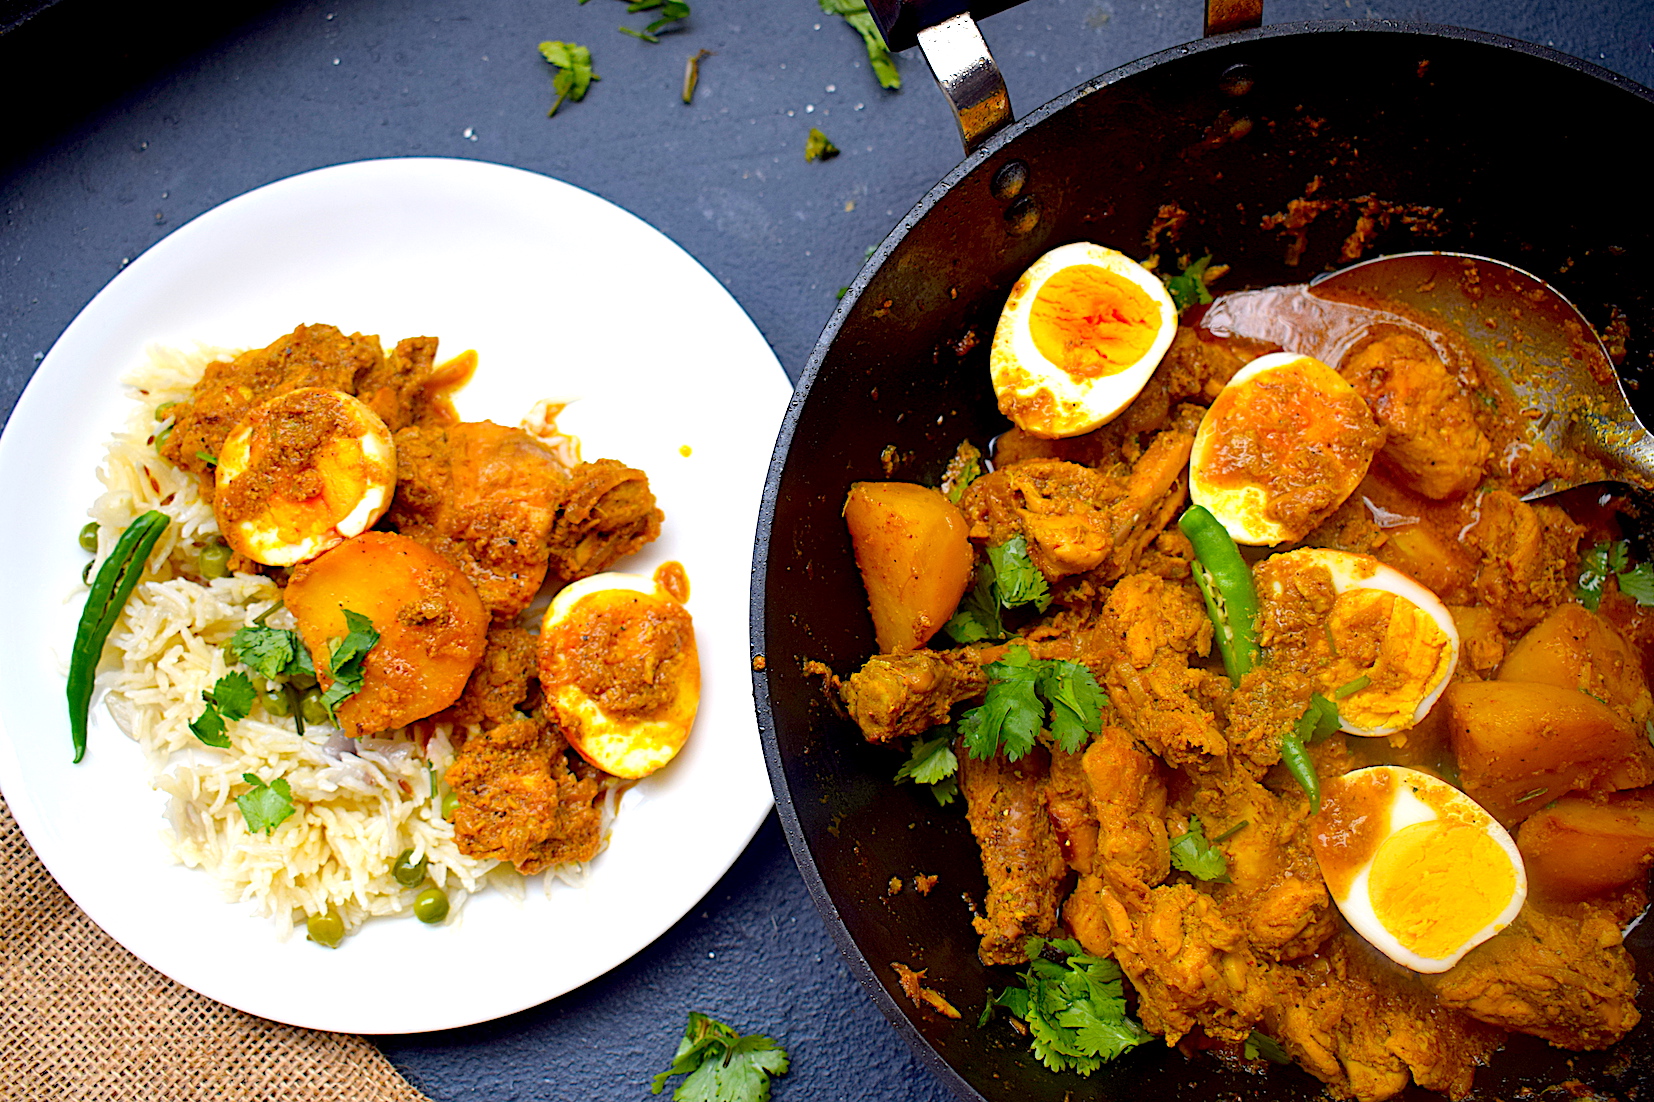
As a true Assamese, my favorite thing to have in any curry is potatoes! Fellow Assamese people will understand what I mean. And Bengali food also uses potato in all its glory, which is why it is one of my favorite cuisines as well. But chicken dak bungalow is all the more special because it has chicken, potatoes and eggs, all in one curry! Sounds like an Eastern dream to me.

Do not get intimidated by the name here. Chicken Dak Bungalow is a heritage recipe from the British era. Dak bungalows refer to the rest houses in the British era that were used to host government officials and other travelers. During these visits, the khansama or the steward would make delicious food using local ingredients for the guests using meat and other vegetables.

chicken dak bungalow

As for my story, I was used to having it at some of my favorite restaurants serving Bengali food. That helped me explore more about this dish and make it for myself at home. It is a simple chicken curry at the end of the day to be very honest. But the key to a delicious chicken dak bungalow lies in its marination. And before I go ahead and share it. I would clearly like to state that this is my own version that I have come to develop from my own understanding of this recipe and my own limited knowledge of food. All I can be sure of is that it is one tasty curry!

Here’s a look at the ingredients and procedure.

Preparation time – 20 minutes

Cook time –  30-40 minutes

Serves – 4 people

[ingredients title=”Ingredients”]

For the marination:

  • Chicken, 1 kg
  • Thick curd, 150 g
  • 1 tbsp cumin powder
  • 1 tbsp coriander powder
  • 1 tbsp ginger paste
  • 2 tsp garlic paste
  • 1 tbsp mustard oil

For the curry:

  • 1 tbsp mustard oil
  • 1 tsp sugar
  • 1 tsp salt
  • 3 hard-boiled eggs
  • 2 potatoes, cut in four cubes each
  • 4 medium onions, thinly sliced
  • 1 tsp turmeric powder
  • 1 tsp black pepper powder
  • 1 cup hot water
  • 2 tsp garam masala
  • Salt to taste [/ingredients]

[directions title=”Directions”]

  1. Wash and pat dry the chicken pieces. Make sure they are dry before you marinate.
  2. In a bowl, add curd, cumin powder, coriander powder, ginger paste, garlic paste and mustard oil with the chicken pieces. Use your hands to mix it all well, ensuring each chicken piece is thoroughly layered with the curd mix.
  3. Cover with a plastic sheet and marinate for at least three hours. Overnight marination works best, but do not marinate for more than ten to twelve hours, otherwise, the chicken might get too soft.
  4. Heat mustard oil in a wok. Add salt and sugar to the oil and give it a light stir. Fry the boiled eggs and potatoes on medium heat till they turn golden. Set aside for later.
  5. In the same kadhai, add some more mustard oil. Once it gets hot and starts to smoke add the onions. Saute for five to eight minutes on medium heat till onions get translucent and brown.
  6. Once the onions are fried well, add the marinated chicken to the kadhai. Gently stir everything together. Continue this till everything comes together really well.
  7. Let the chicken start cooking in its own juices for about ten minutes. Keep the flame on medium and keep stirring from time to time. Ensure the chicken does not stick to the kadhai. Add a little hot water if required.
  8. Once the chicken is cooked halfway, add the fried potatoes to it. Add hot water, cover and cook on medium heat for ten more minutes till the potatoes and chicken are done.
  9. Reach your desired consistency and add the boiled eggs. Serve hot with rice or pulao. [/directions]

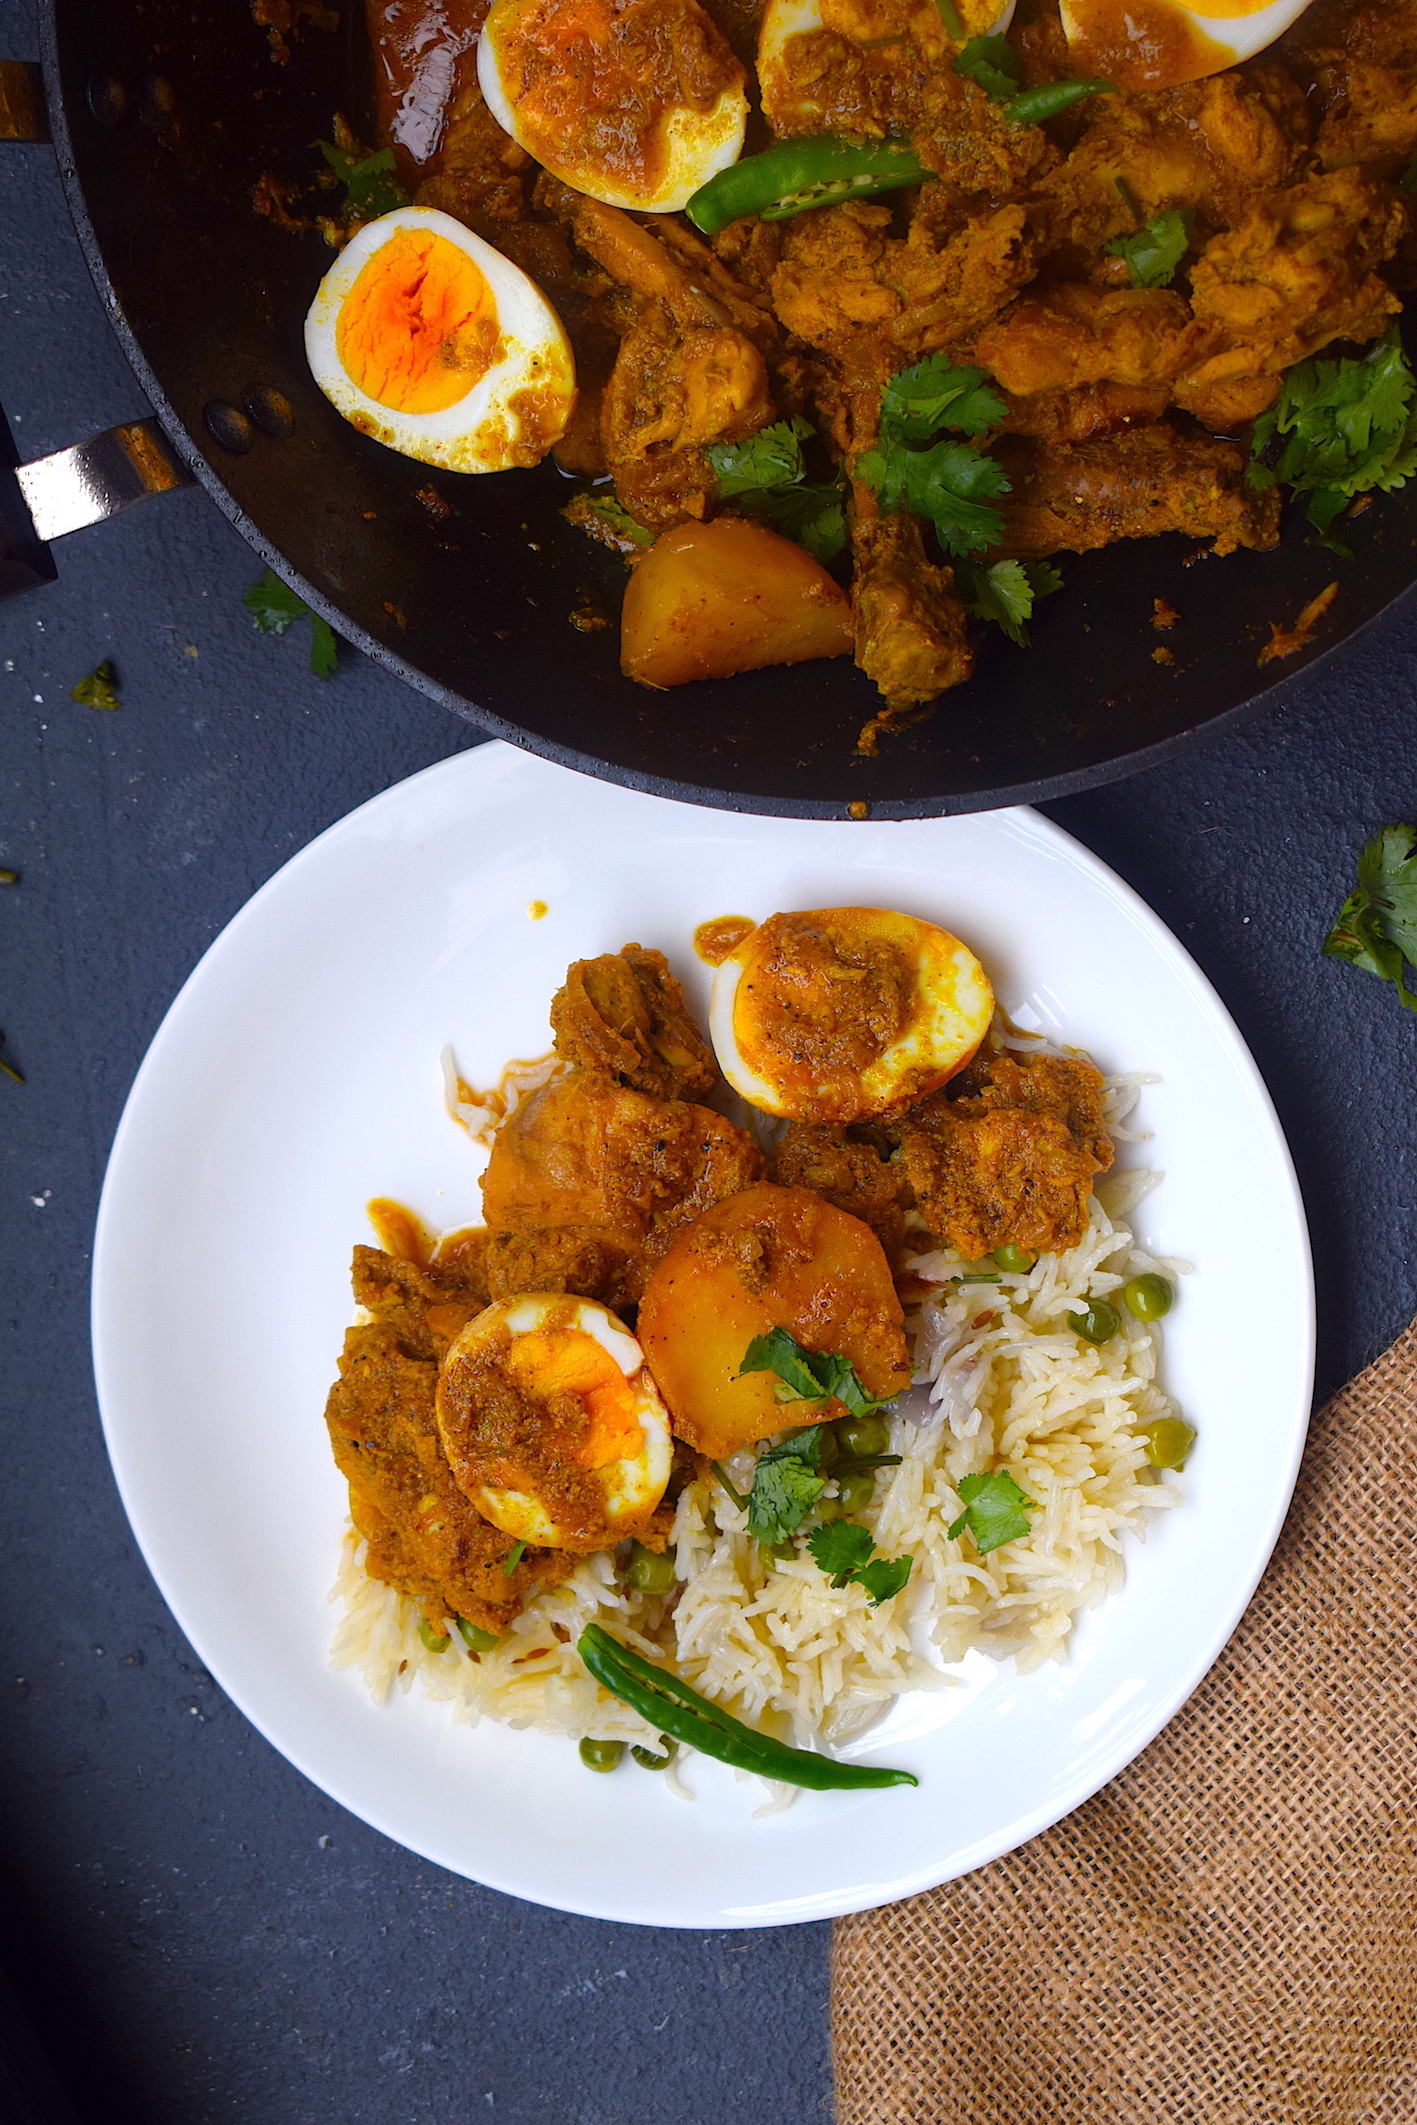
chicken dak bungalow

chicken dak bungalow

I hope you do try this simple, mouth-watering chicken dak bungalow recipe. It is a perfect option for guests coming over, or if you want to whip up a feast for your family on a special occasion (or just a Sunday).

If you have any questions, feel free to reach out to me with a comment or connect with me on Instagram or Facebook.

Happy cooking!

Lauki Kofta Curry | Slurrp

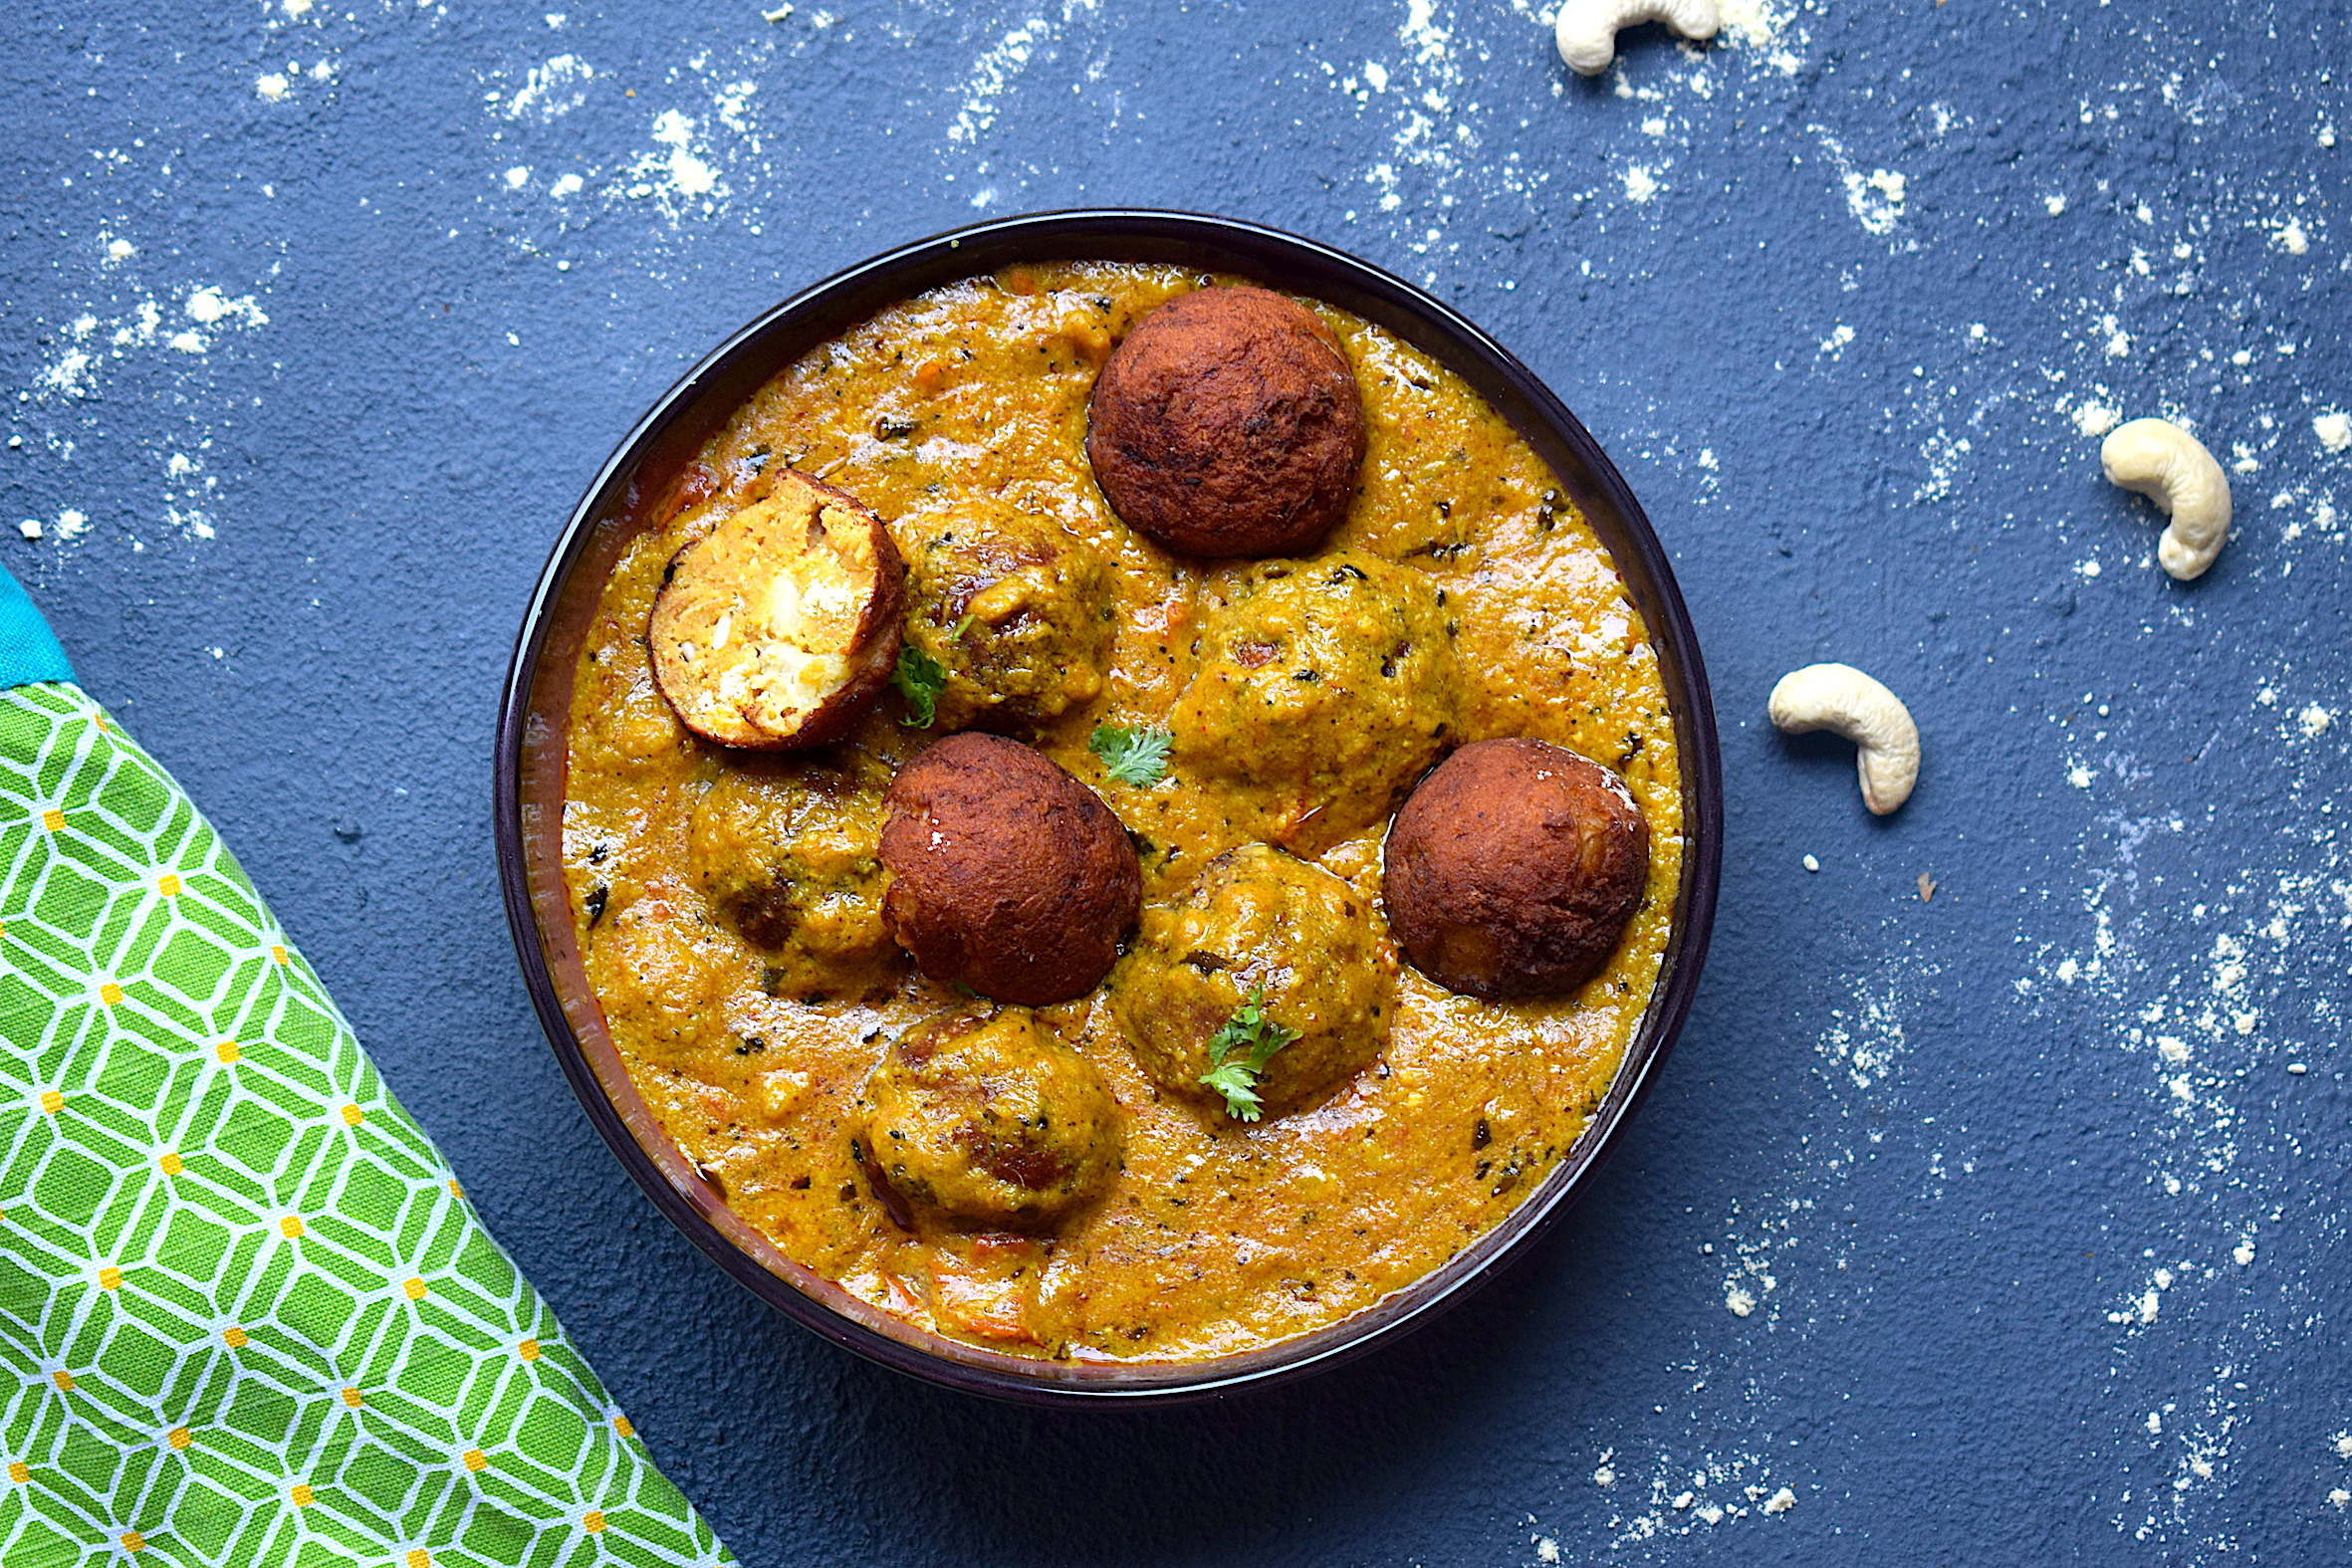
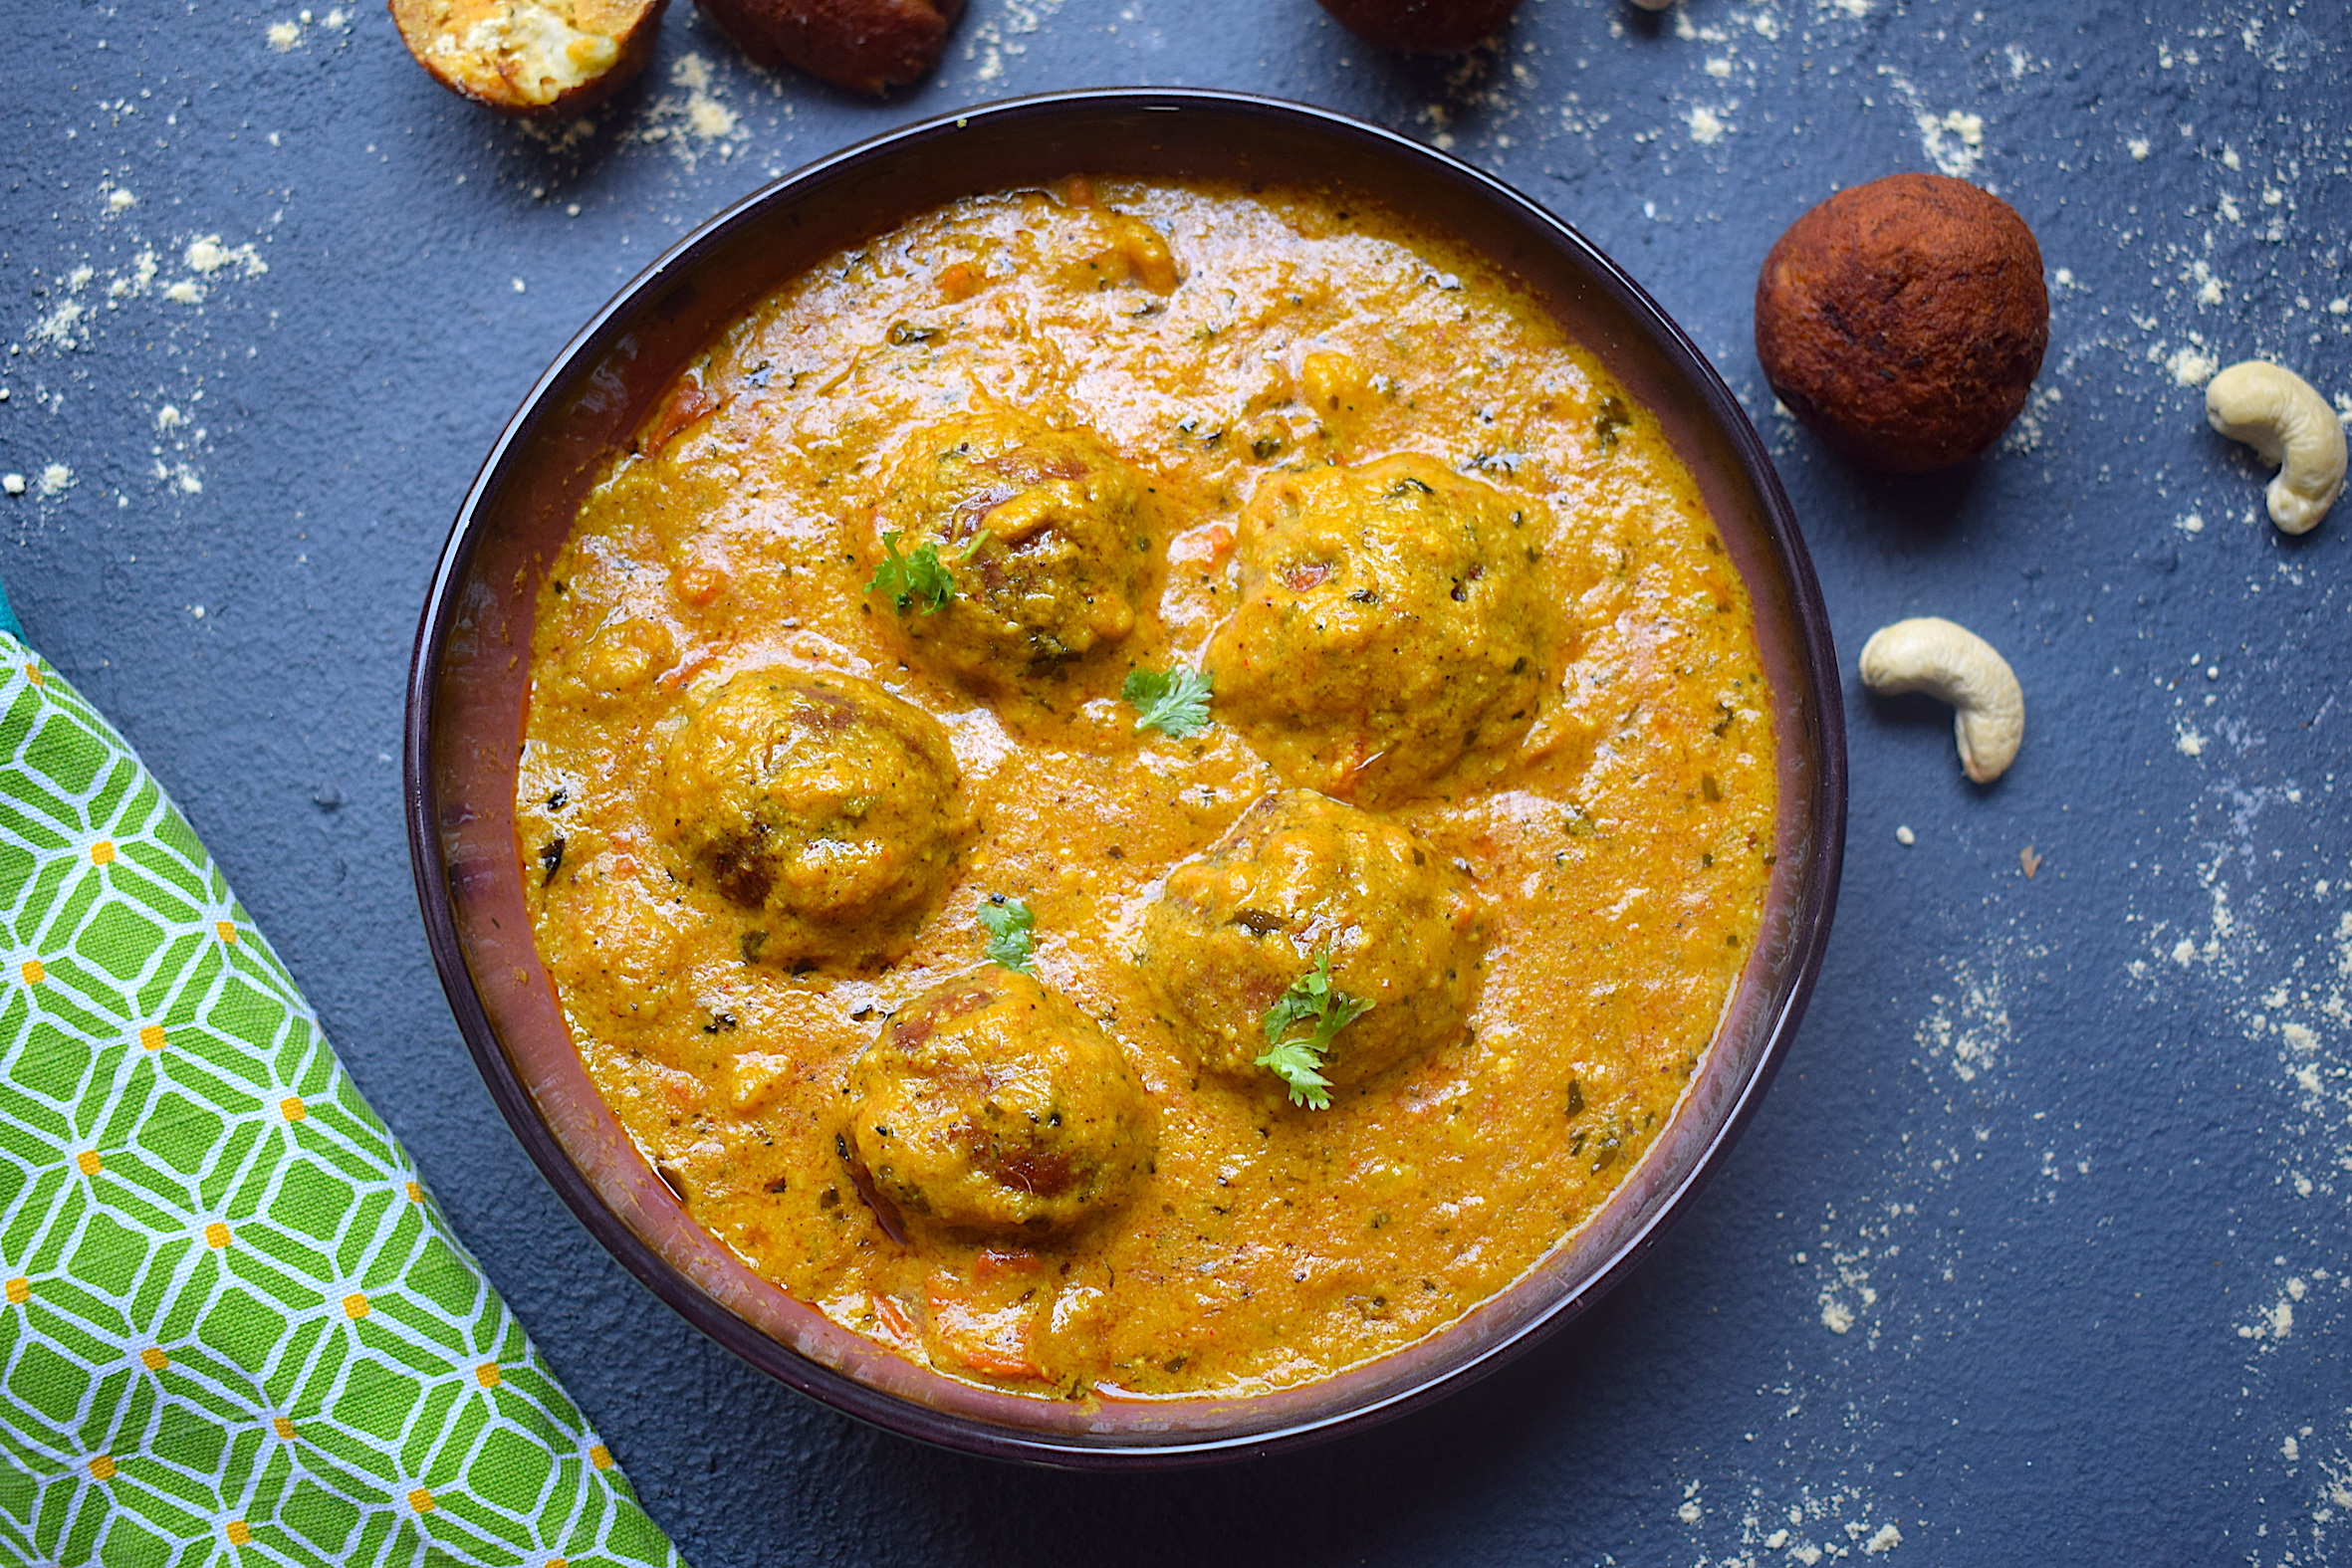
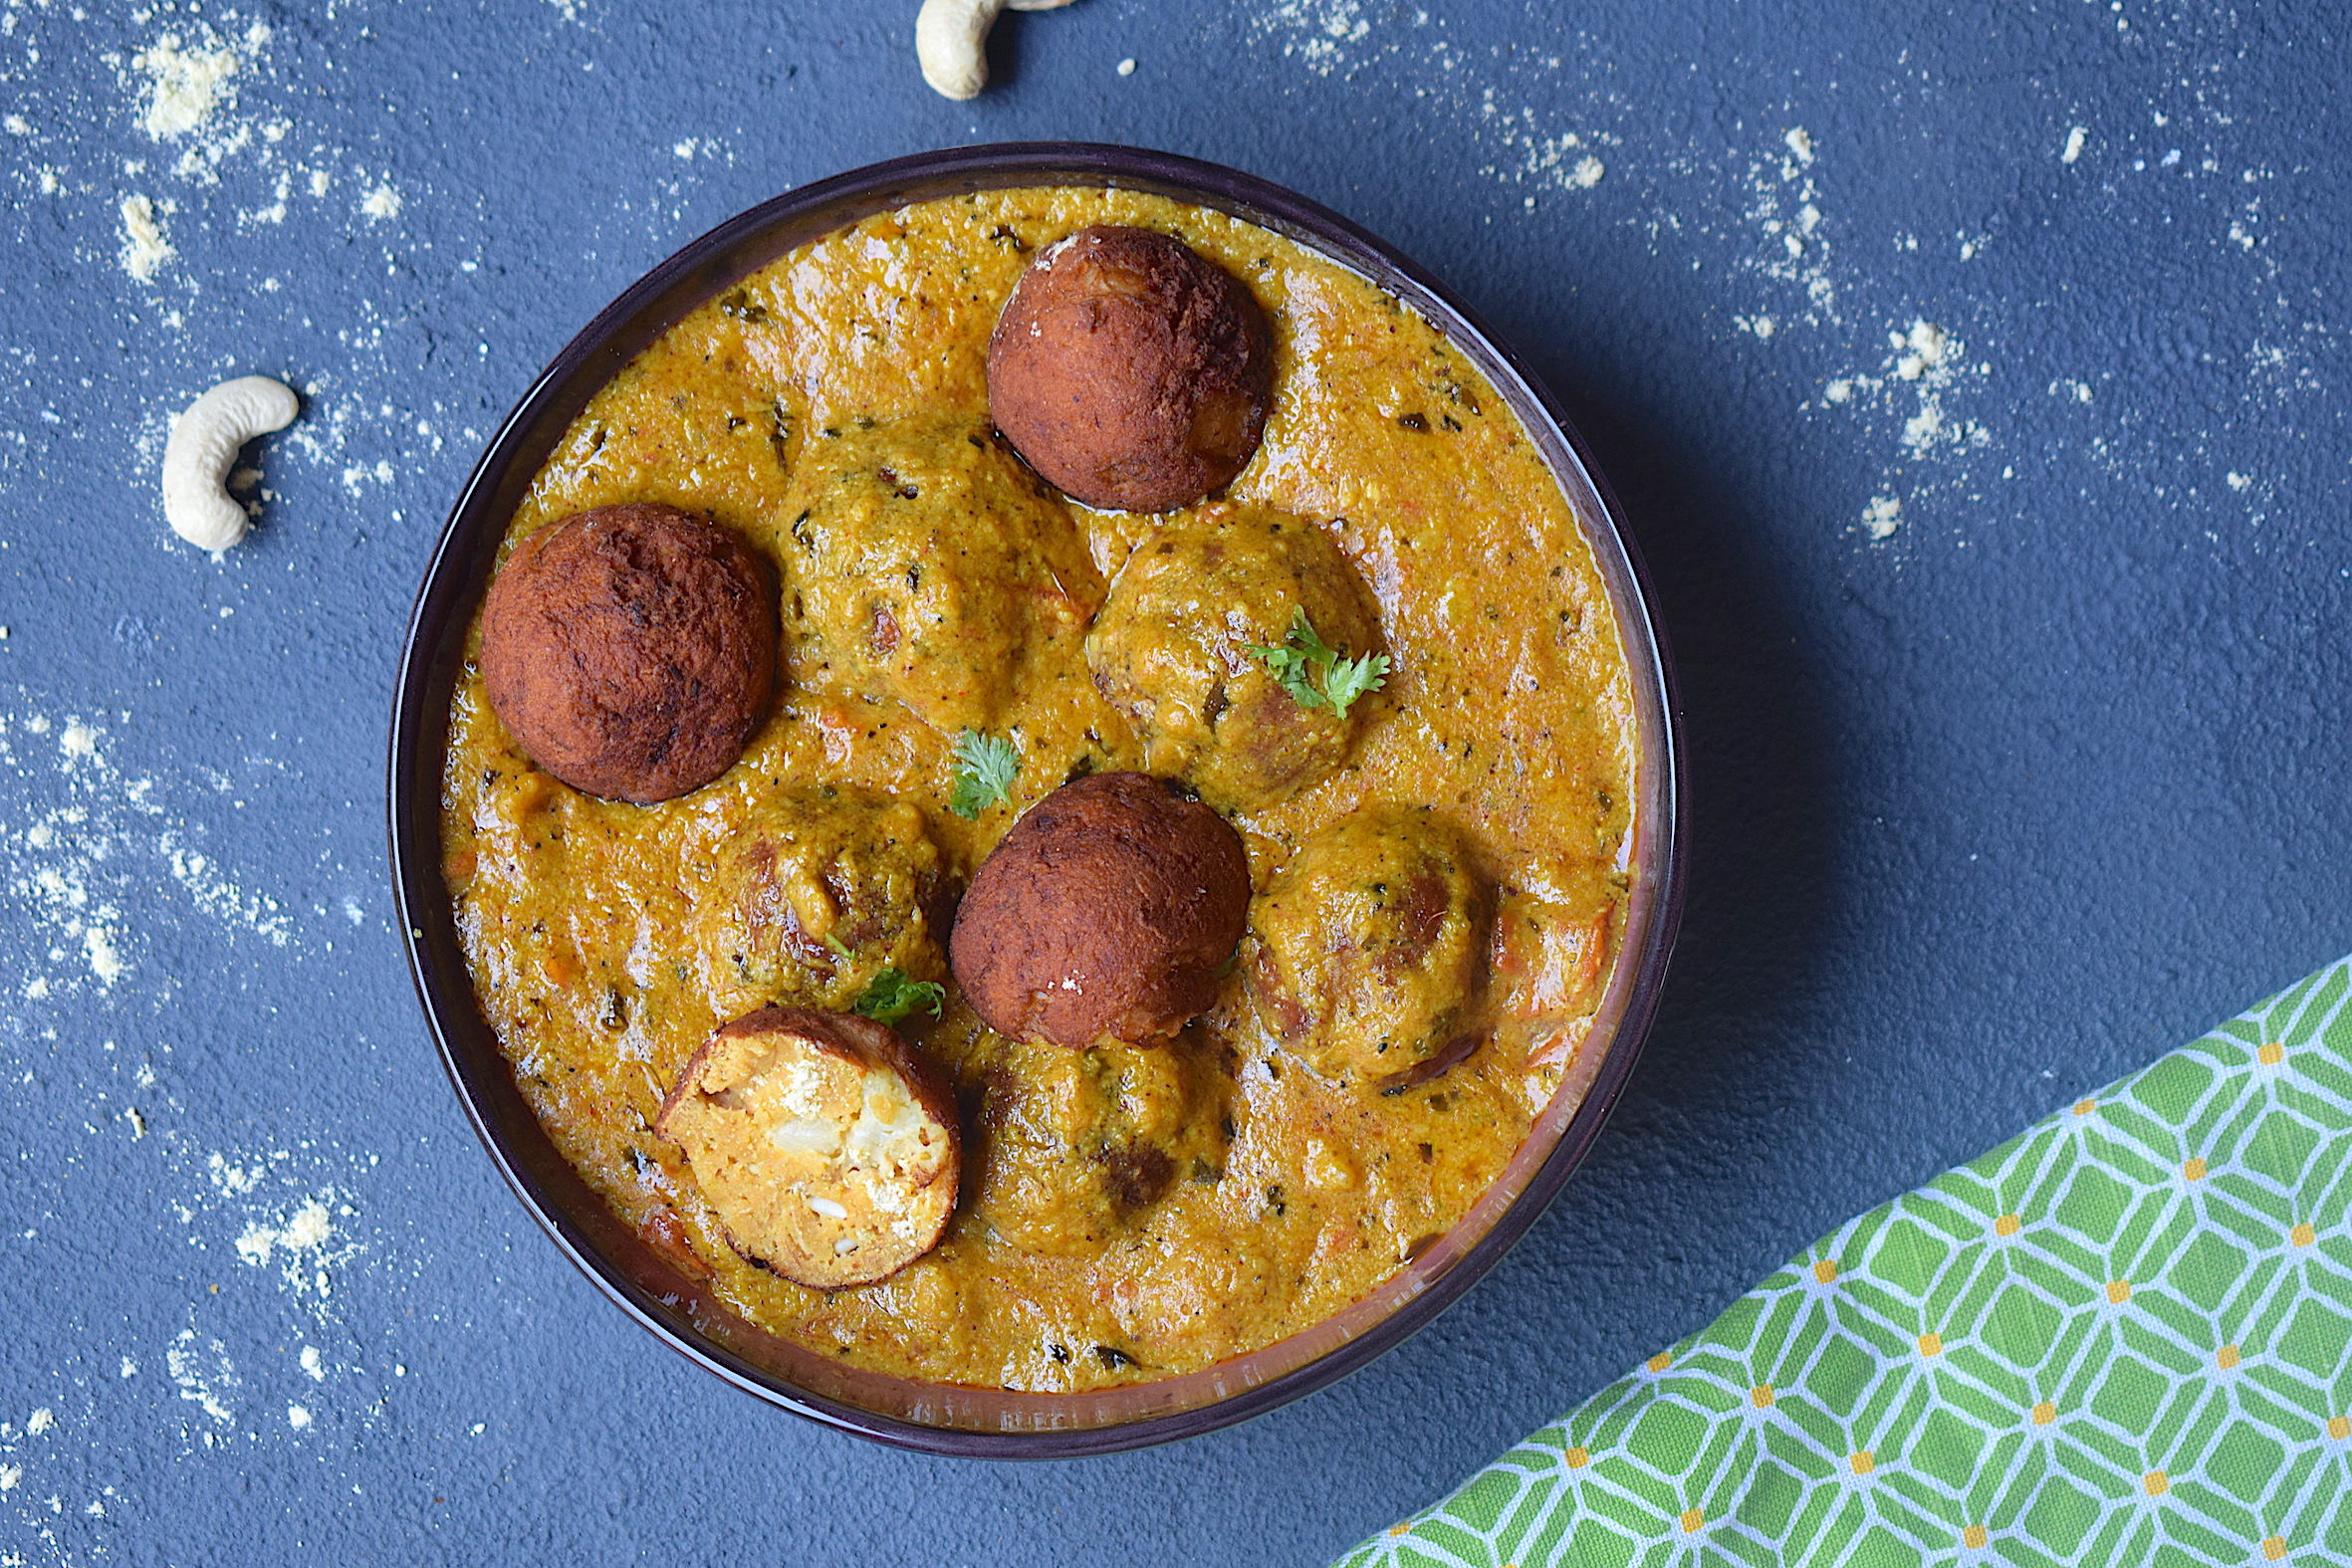
I know most people would cringe even on the idea of lauki or bottle gourd. Though I do like lauki in all its forms, I will never argue with someone whether lauki kofta curry is one of the best ways to eat it. Because it is! And this particular recipe is simply stunning.

This is my own version of lauki kofta curry after many experimentations in the kitchen. I have done it all – from making soggy lauki koftas, to ones that break even before I add them to the curry and also thise that are harder than stone. But after multiple experiments, I finally have a full proof recipe of my favorite way to make (and eat) lauki kofta curry. I hope you try it.

lauki kofta

The curry is creamy, slightly sweet, luxurious and dreamy. It is thick as it is a smooth paste of a variety of elements.

Preparation time – 30 minutes

Cook time – 45 minutes

Serves – 3-4 people

[ingredients title=”Ingredients”]

For the koftas:

  • 1 medium bottle gourd
  • 1 tsp garam masala
  • Salt to taste
  • 1 tsp cumin powder (jeera)
  • Chopped coriander leaves
  • 4-4.5 tbsp gram flour (Besan)
  • 1 tsp red chili powder
  • 1 tbsp bread crumbs
  • Lukewarm water, as required
  • Oil (for deep frying the koftas)

For the lauki kofta curry:

  • 2 onions, ground to a paste
  • 2 tomatoes, ground to a paste
  • 2 green chilies, finely chopped
  • 20 g ginger paste
  • 20 g garlic paste
  • 1 bay leaf
  • 100 g cashews, ground to a paste
  • 1 tsp cumin
  • 1 tsp black pepper powder
  • 1 tbsp sugar
  • 1 tsp Kashmiri red chili powder
  • 1 tsp turmeric powder
  • 1 tbsp desi ghee
  • 1 tsp coriander powder
  • 1 tsp garam masala
  • 200 ml warm water
  • 1 tbsp Kasuri methi for garnish
  • Salt to taste [/ingredients]

[directions title=”Directions”]

  1. Rinse and peel the lauki. Finely grate it with a grater. Squeeze the excess water out. Save the water for later.
  2. Make the koftas by mixing the ingredients together. The breadcrumbs help to make the koftas firmer. Do not add too much water as you do not want a watery batter.
  3. Make small round shapes or patties.
  4. Heat oil in a kadhai or wok. Deep fry the koftas until golden brown and crispy from all sides. Set them aside.
  5. Keep the koftas on a tissue to drain the excess oil.
  6. In another kadhai, heat ghee. Add the bay leaf, followed by the onion paste. Saute the onions till the raw aroma disappears, they turn brown and the oil starts to separate from it.
  7. Add some sugar into the onions. This will help to give it a beautiful brown color and also enable the onions to cook faster. It will also add some sweetness to your final recipe.
  8. Add the chilies, ginger paste and garlic paste at this point and saute till its raw aroma disappears.
  9. Add the fresh tomato paste. It is important that you cook this tomato mixture with some patience as all the ingredients in it are raw at this point. Keep stirring till the tomatoes are thoroughly cooked and the oil starts to separate from the paste.
  10. Once the tomato is cooked, season with salt, turmeric powder, cumin powder, black pepper powder, coriander powder, and Kashmiri red chili powder. If you do not want too much chili flavor, skip adding the green chilies in the beginning.
  11. Add in some warm to avoid the paste from sticking to the pan.
  12. Time to add in the cashew paste. Stir well and make sure everything comes together well.
  13. Once everything is cooked, add some more warm water depending on the consistency you want.
  14. Season with garam masala and Kasuri methi just before turning off the gas. Give it one last stir.
  15. Add the koftas to the gravy just before serving.
  16. Enjoy with hot rotis, naan or jeera rice.[/directions]

lauki kofta

lauki kofta

I hope you try this really easy and delicious lauki kofta curry for yourself and enjoy it as much as I do. If you have any questions, feel free to reach out to me with a comment or connect with me on Instagram or Facebook.

Happy cooking!

Related recipe – Restaurant style alu matar


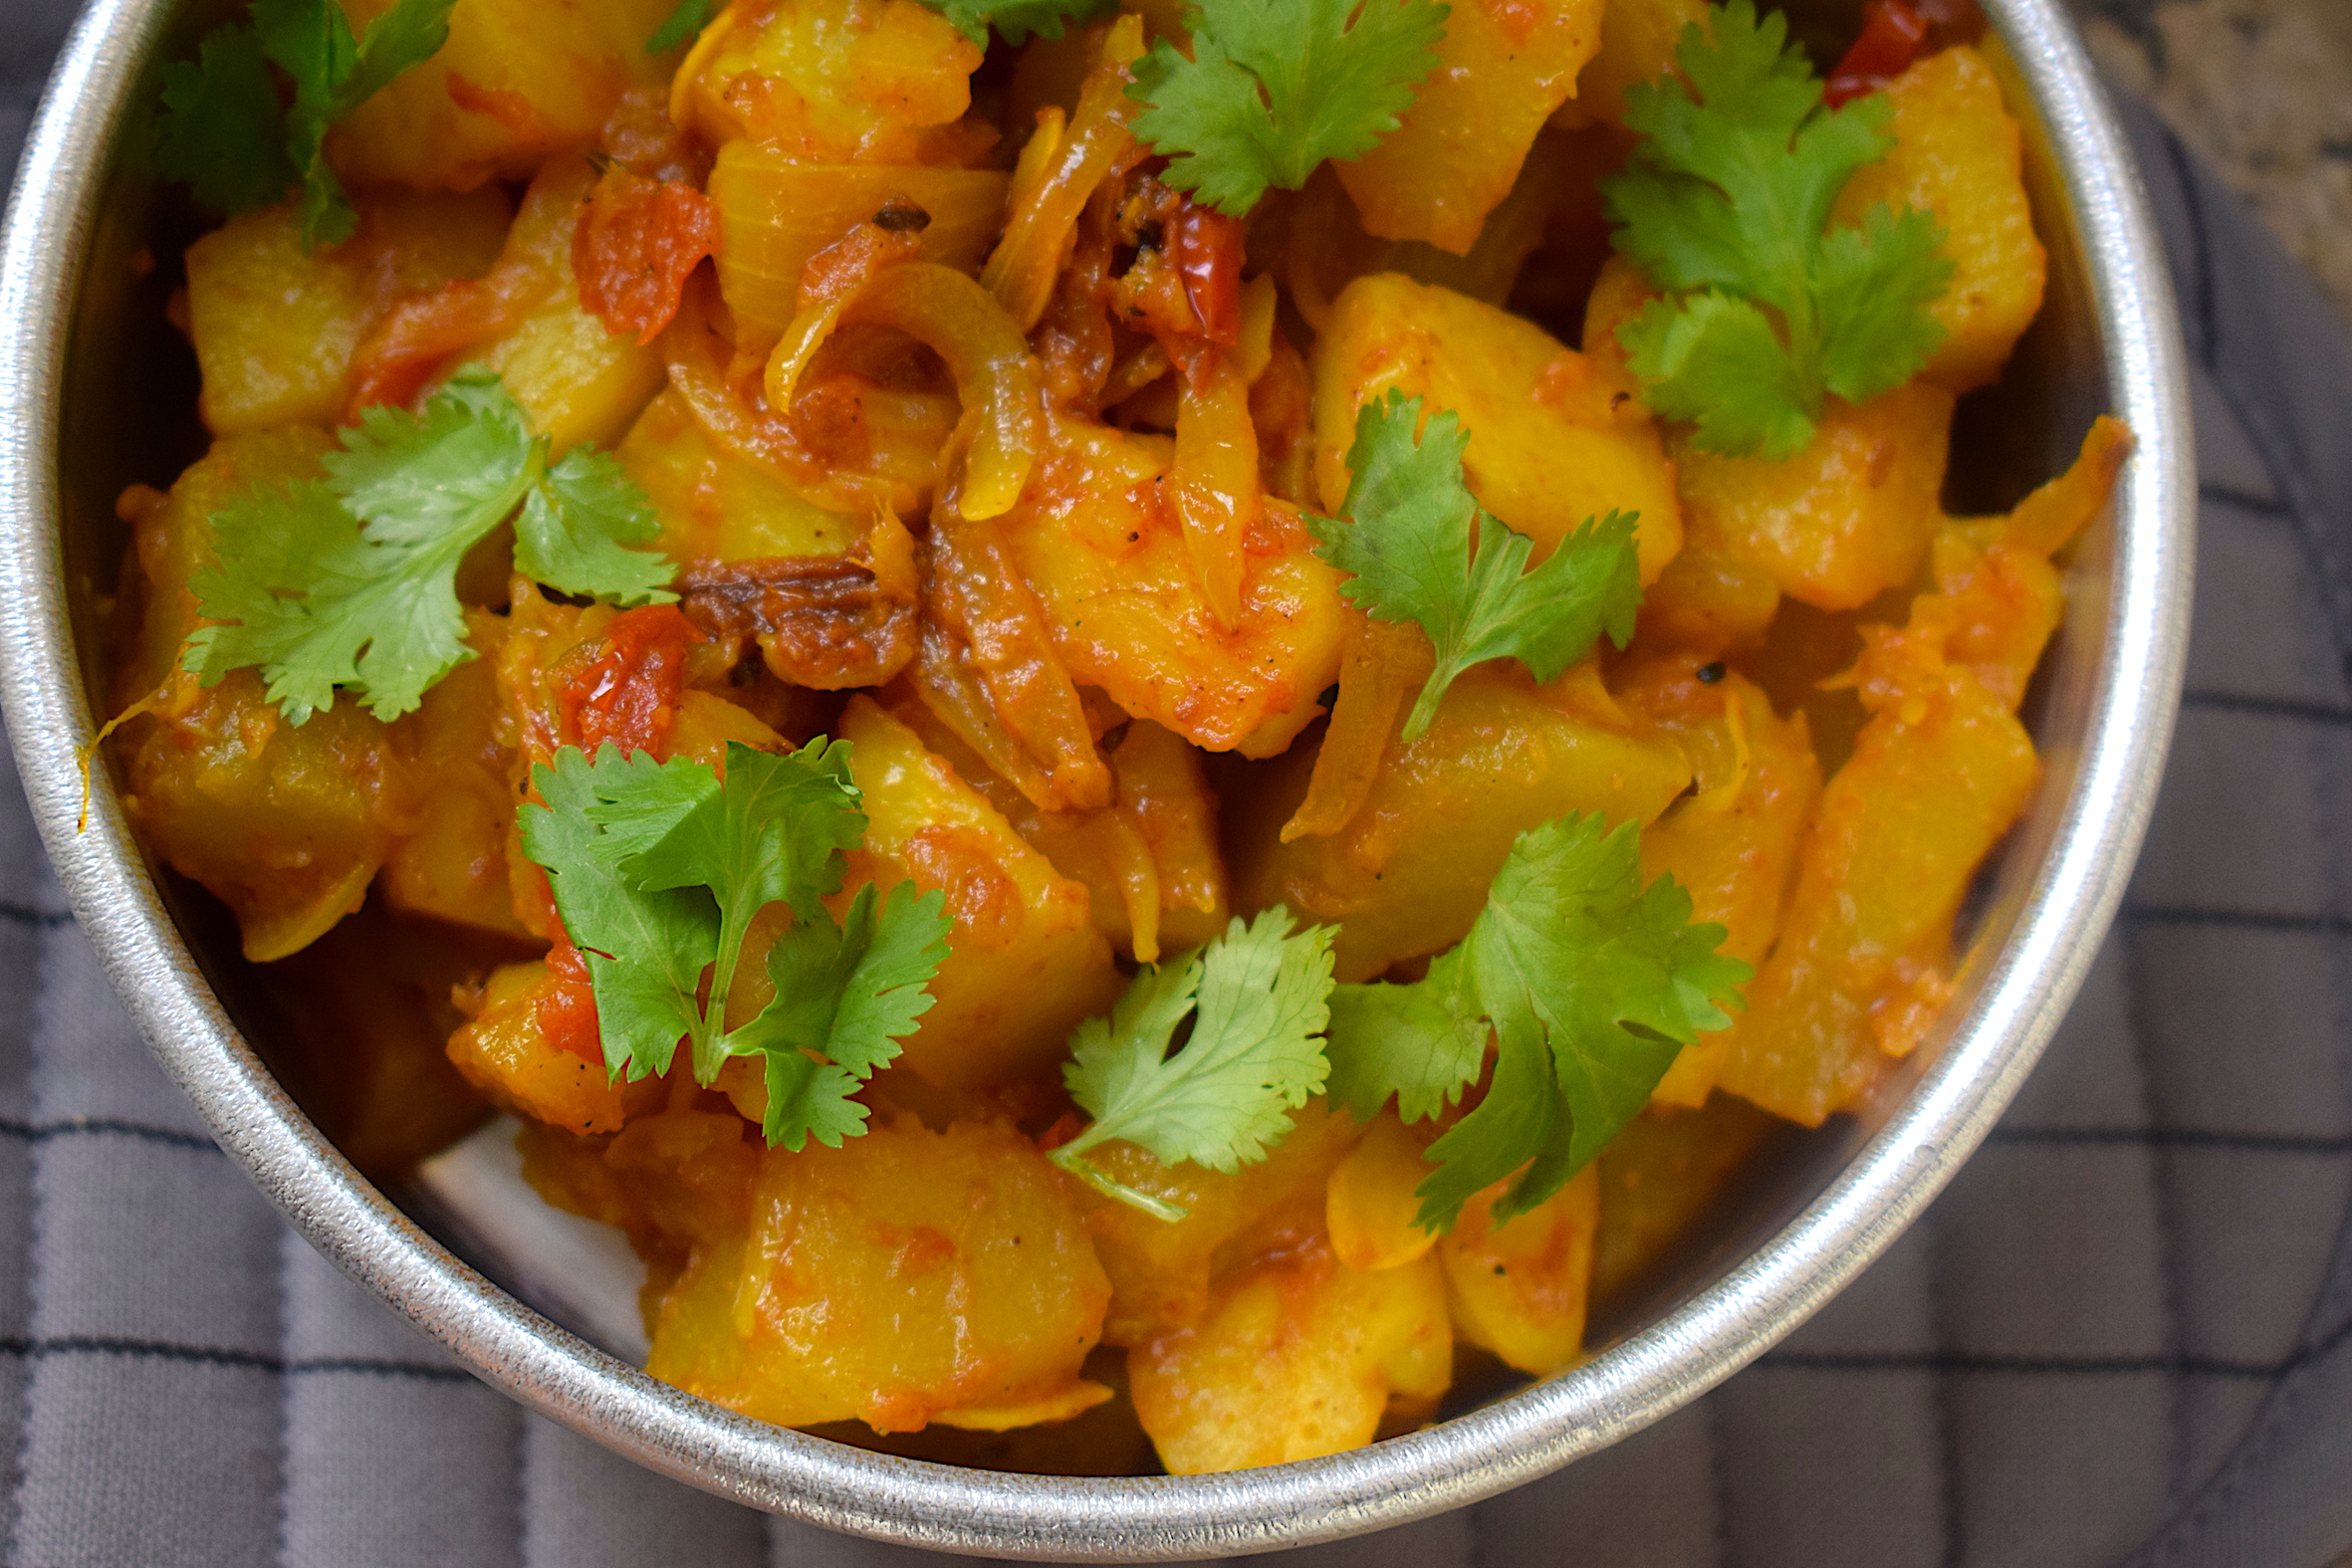
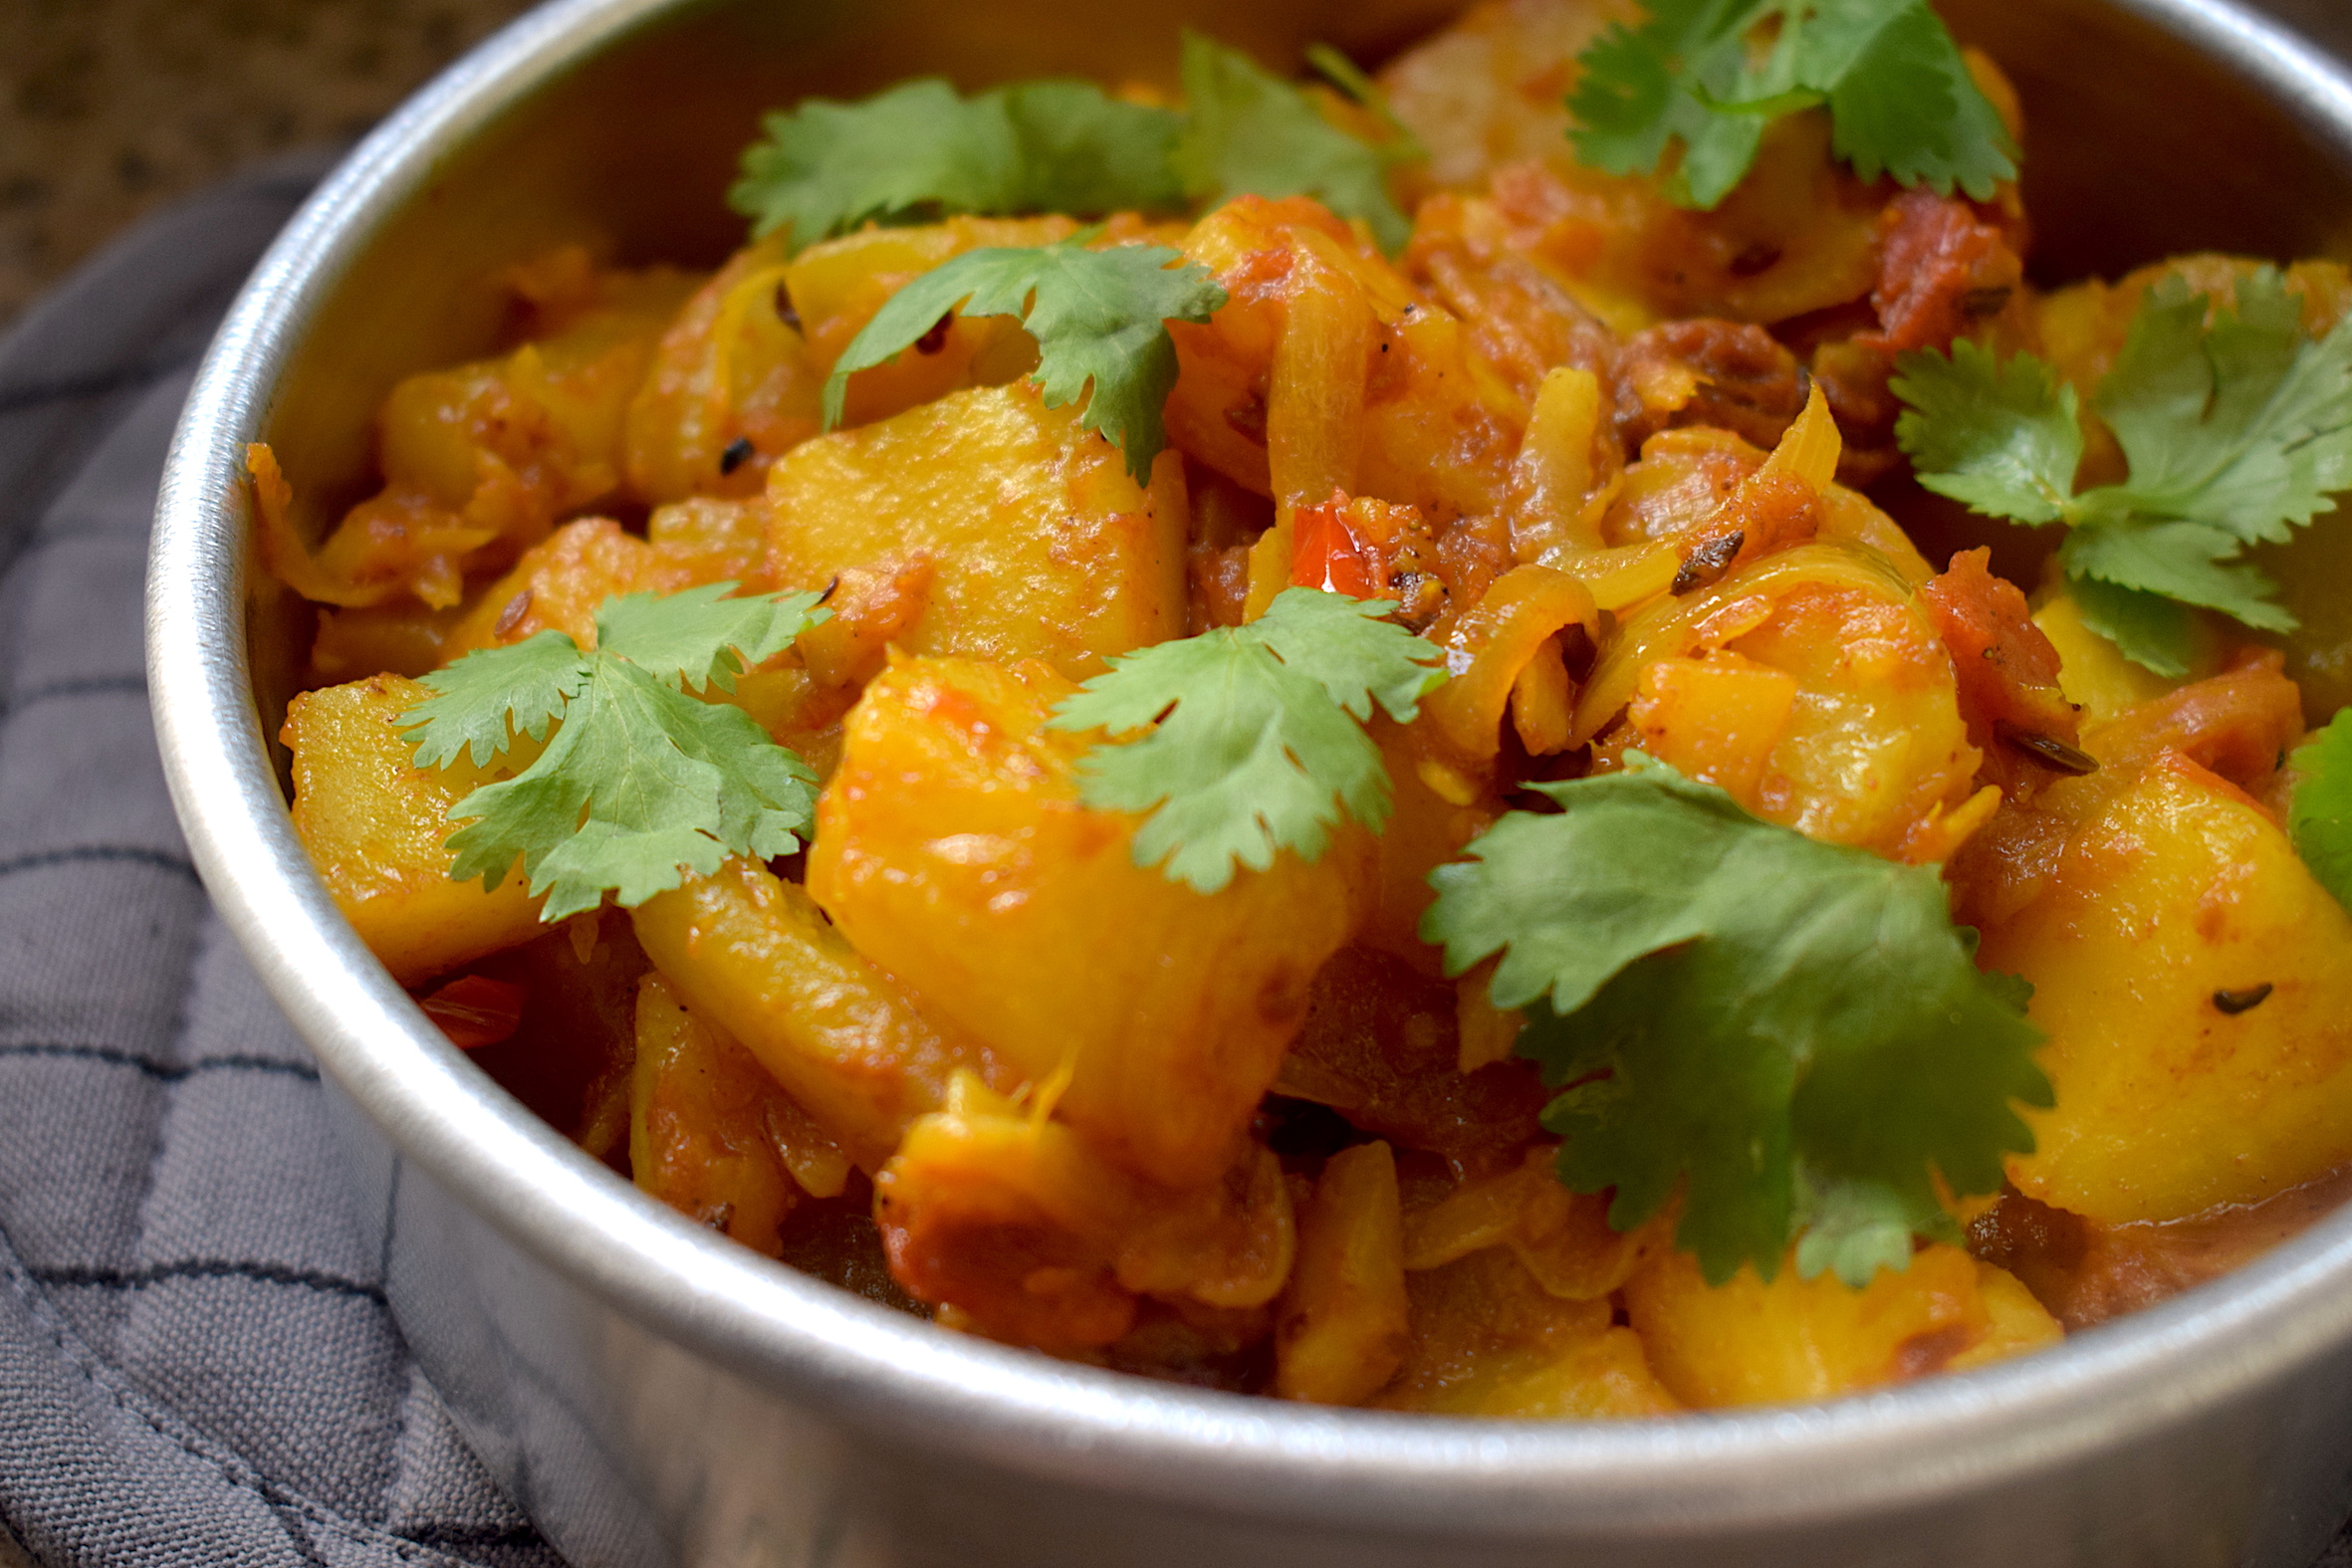
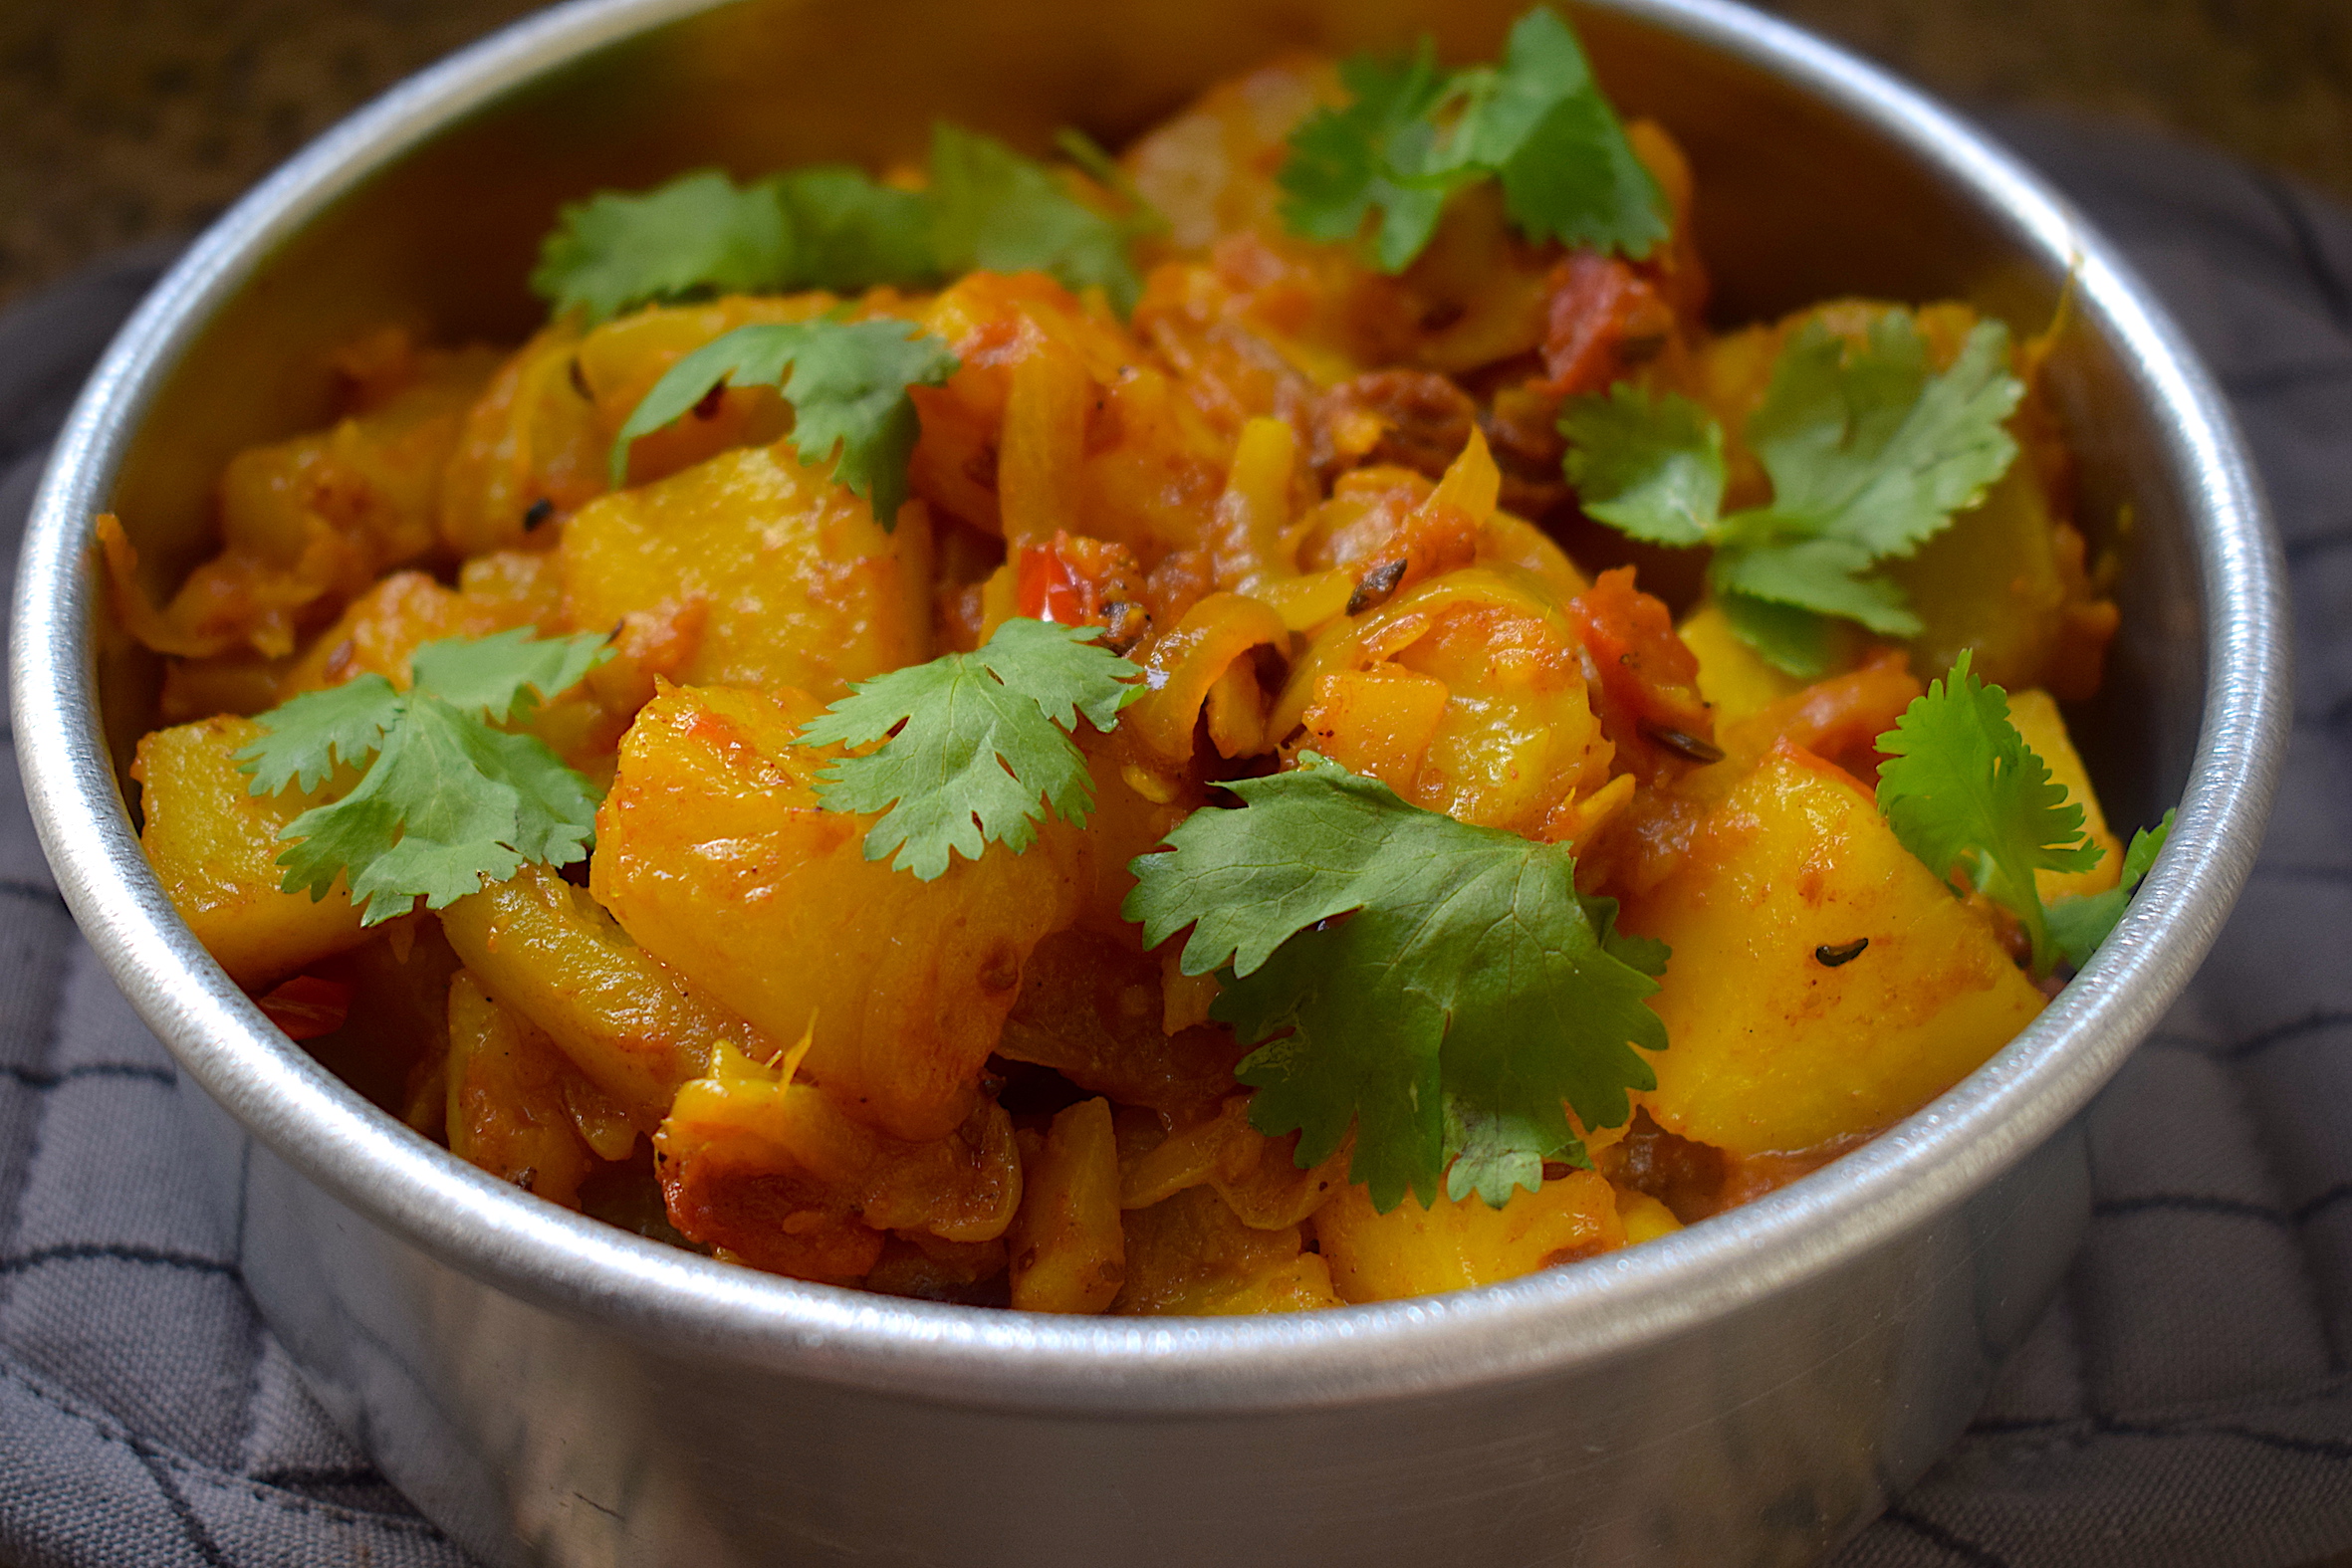
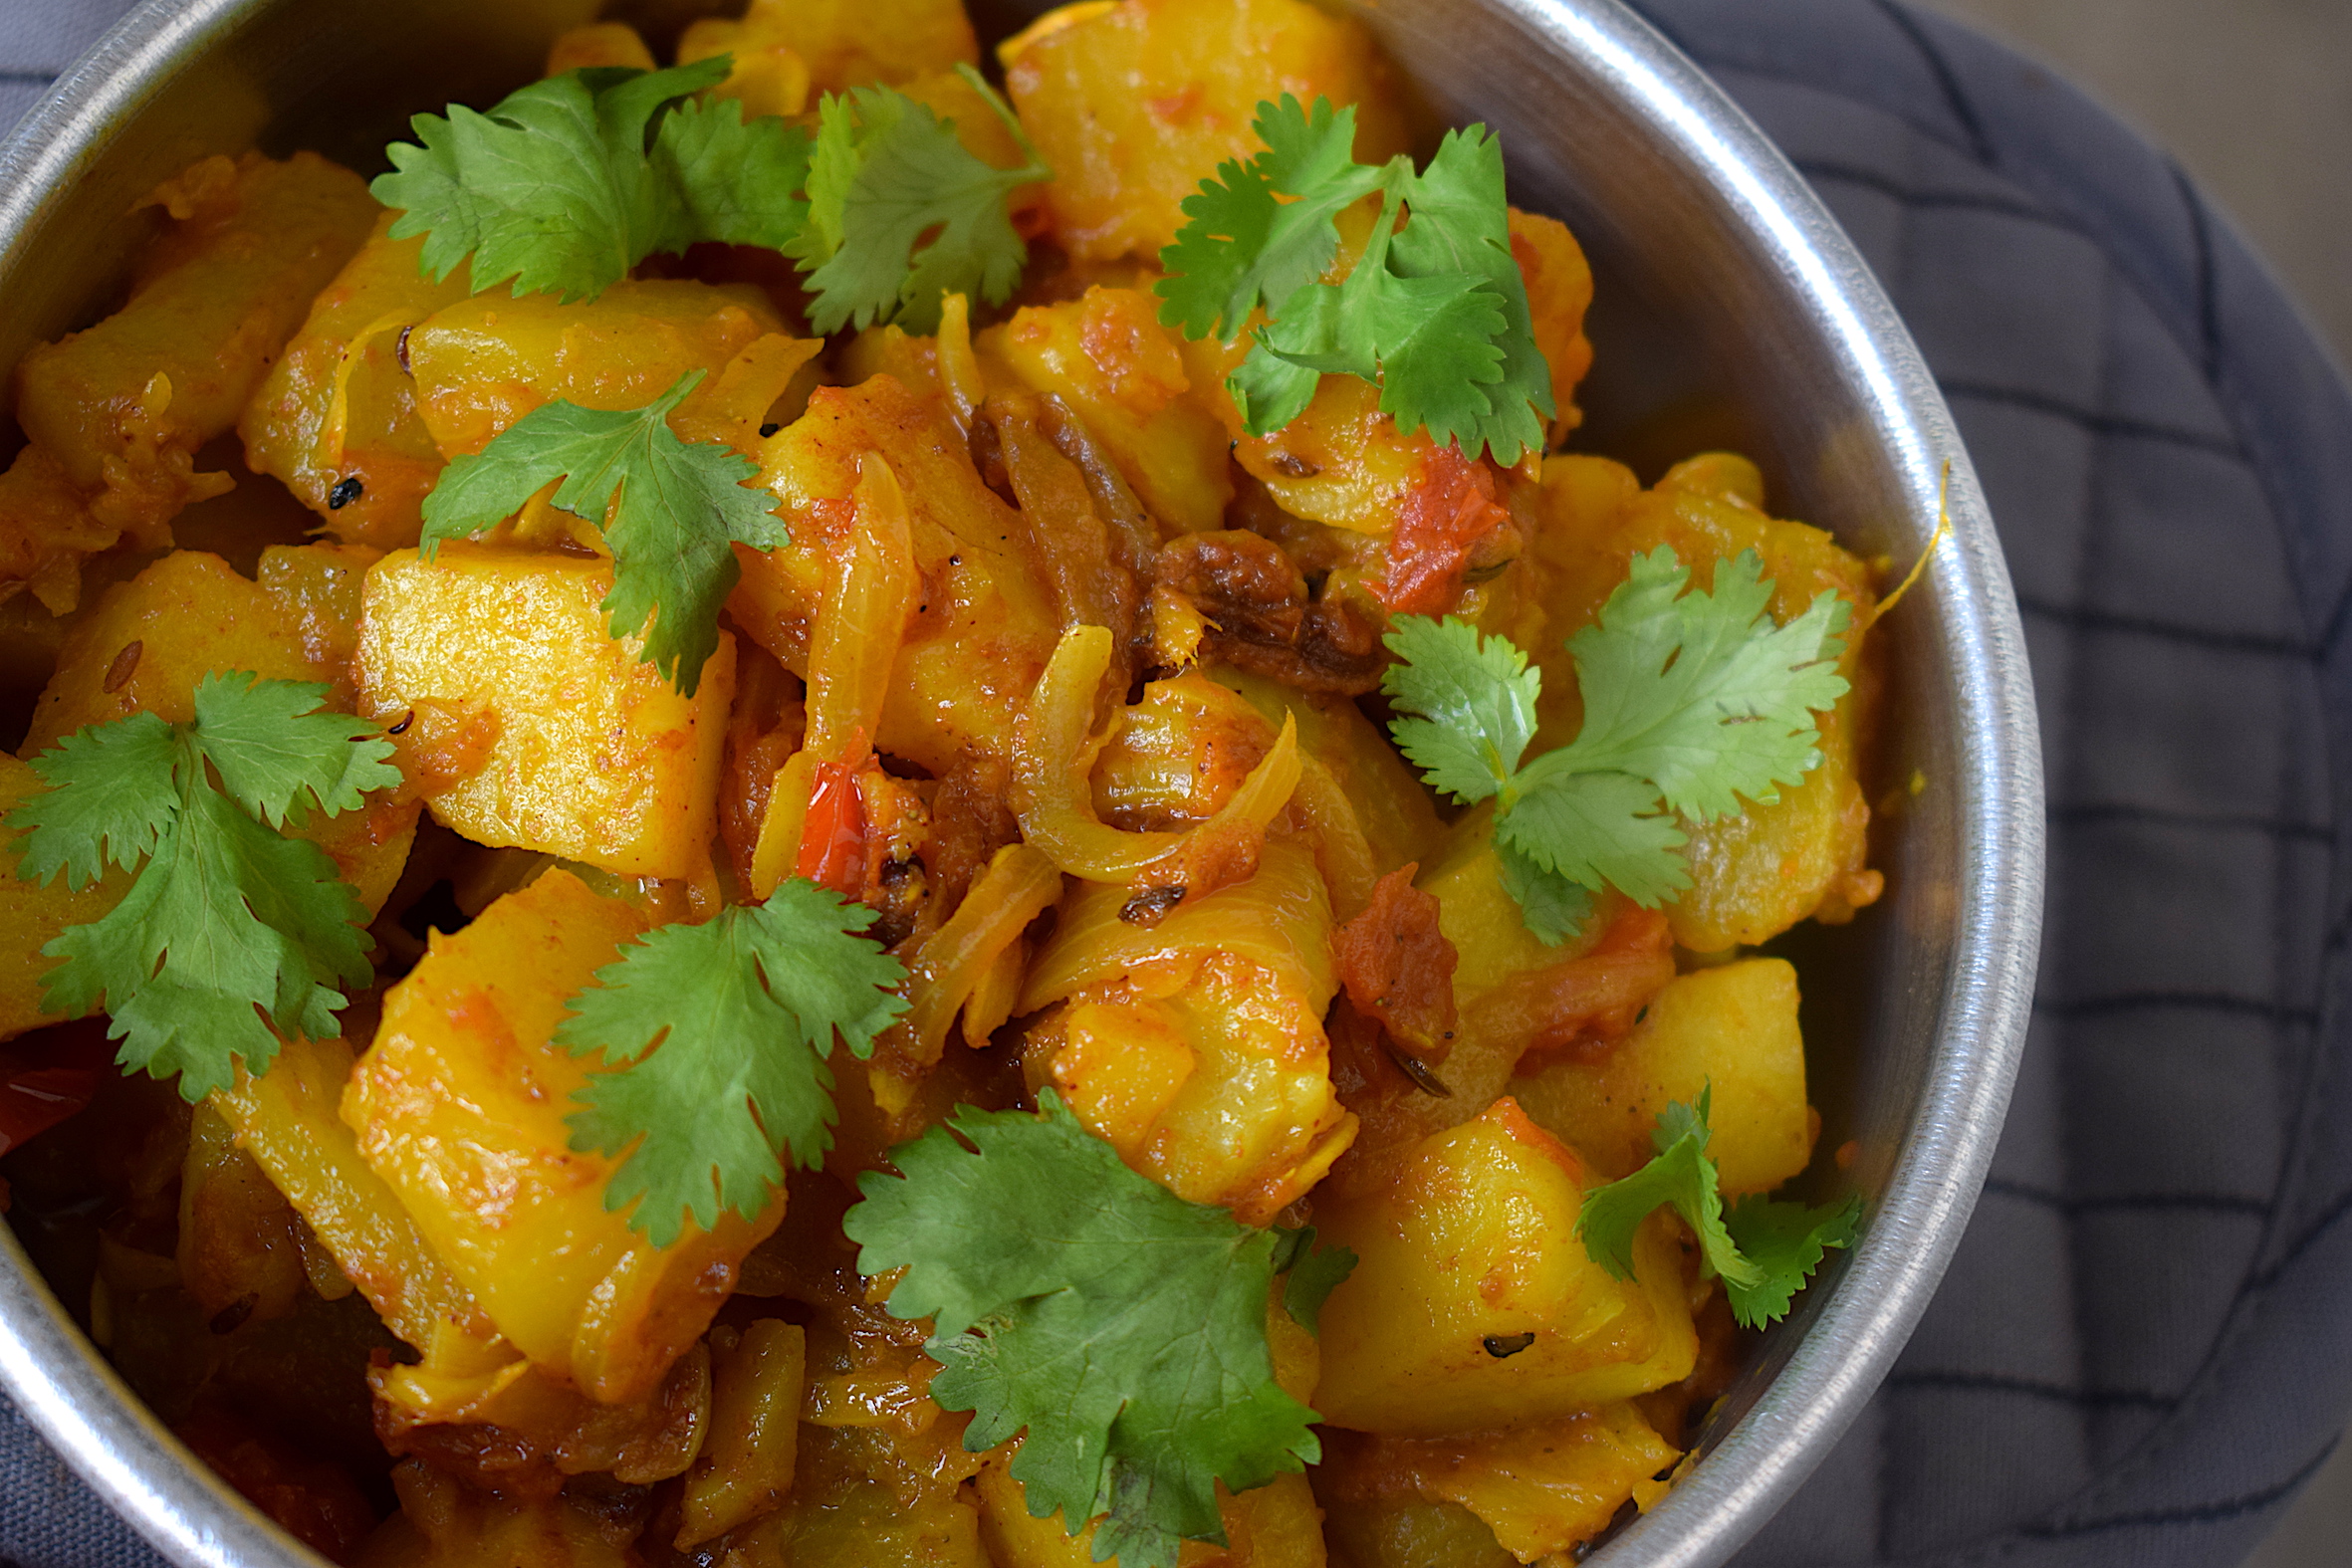
Pumpkin fry with potatoes | Veg recipes

I remember being a fussy child when it came to food. I didn’t like most vegetables and gave my parents a hard time when it came to eating healthy food. I would say no to most veg recipes.

My father used to be very worried about me. He would always come up with creative ways to make veg recipes to make me gulp down some greens. Who would’ve thought that same kid would one day become an advocate of eating healthy and homemade food😁

veg recipes

veg recipes

But for some strange reason, I always loved pumpkin. I think the idea of a sweet vegetable was intriguing to my childlike brain. But again, the fussy me only liked when my mom made it a particular way.

veg recipes
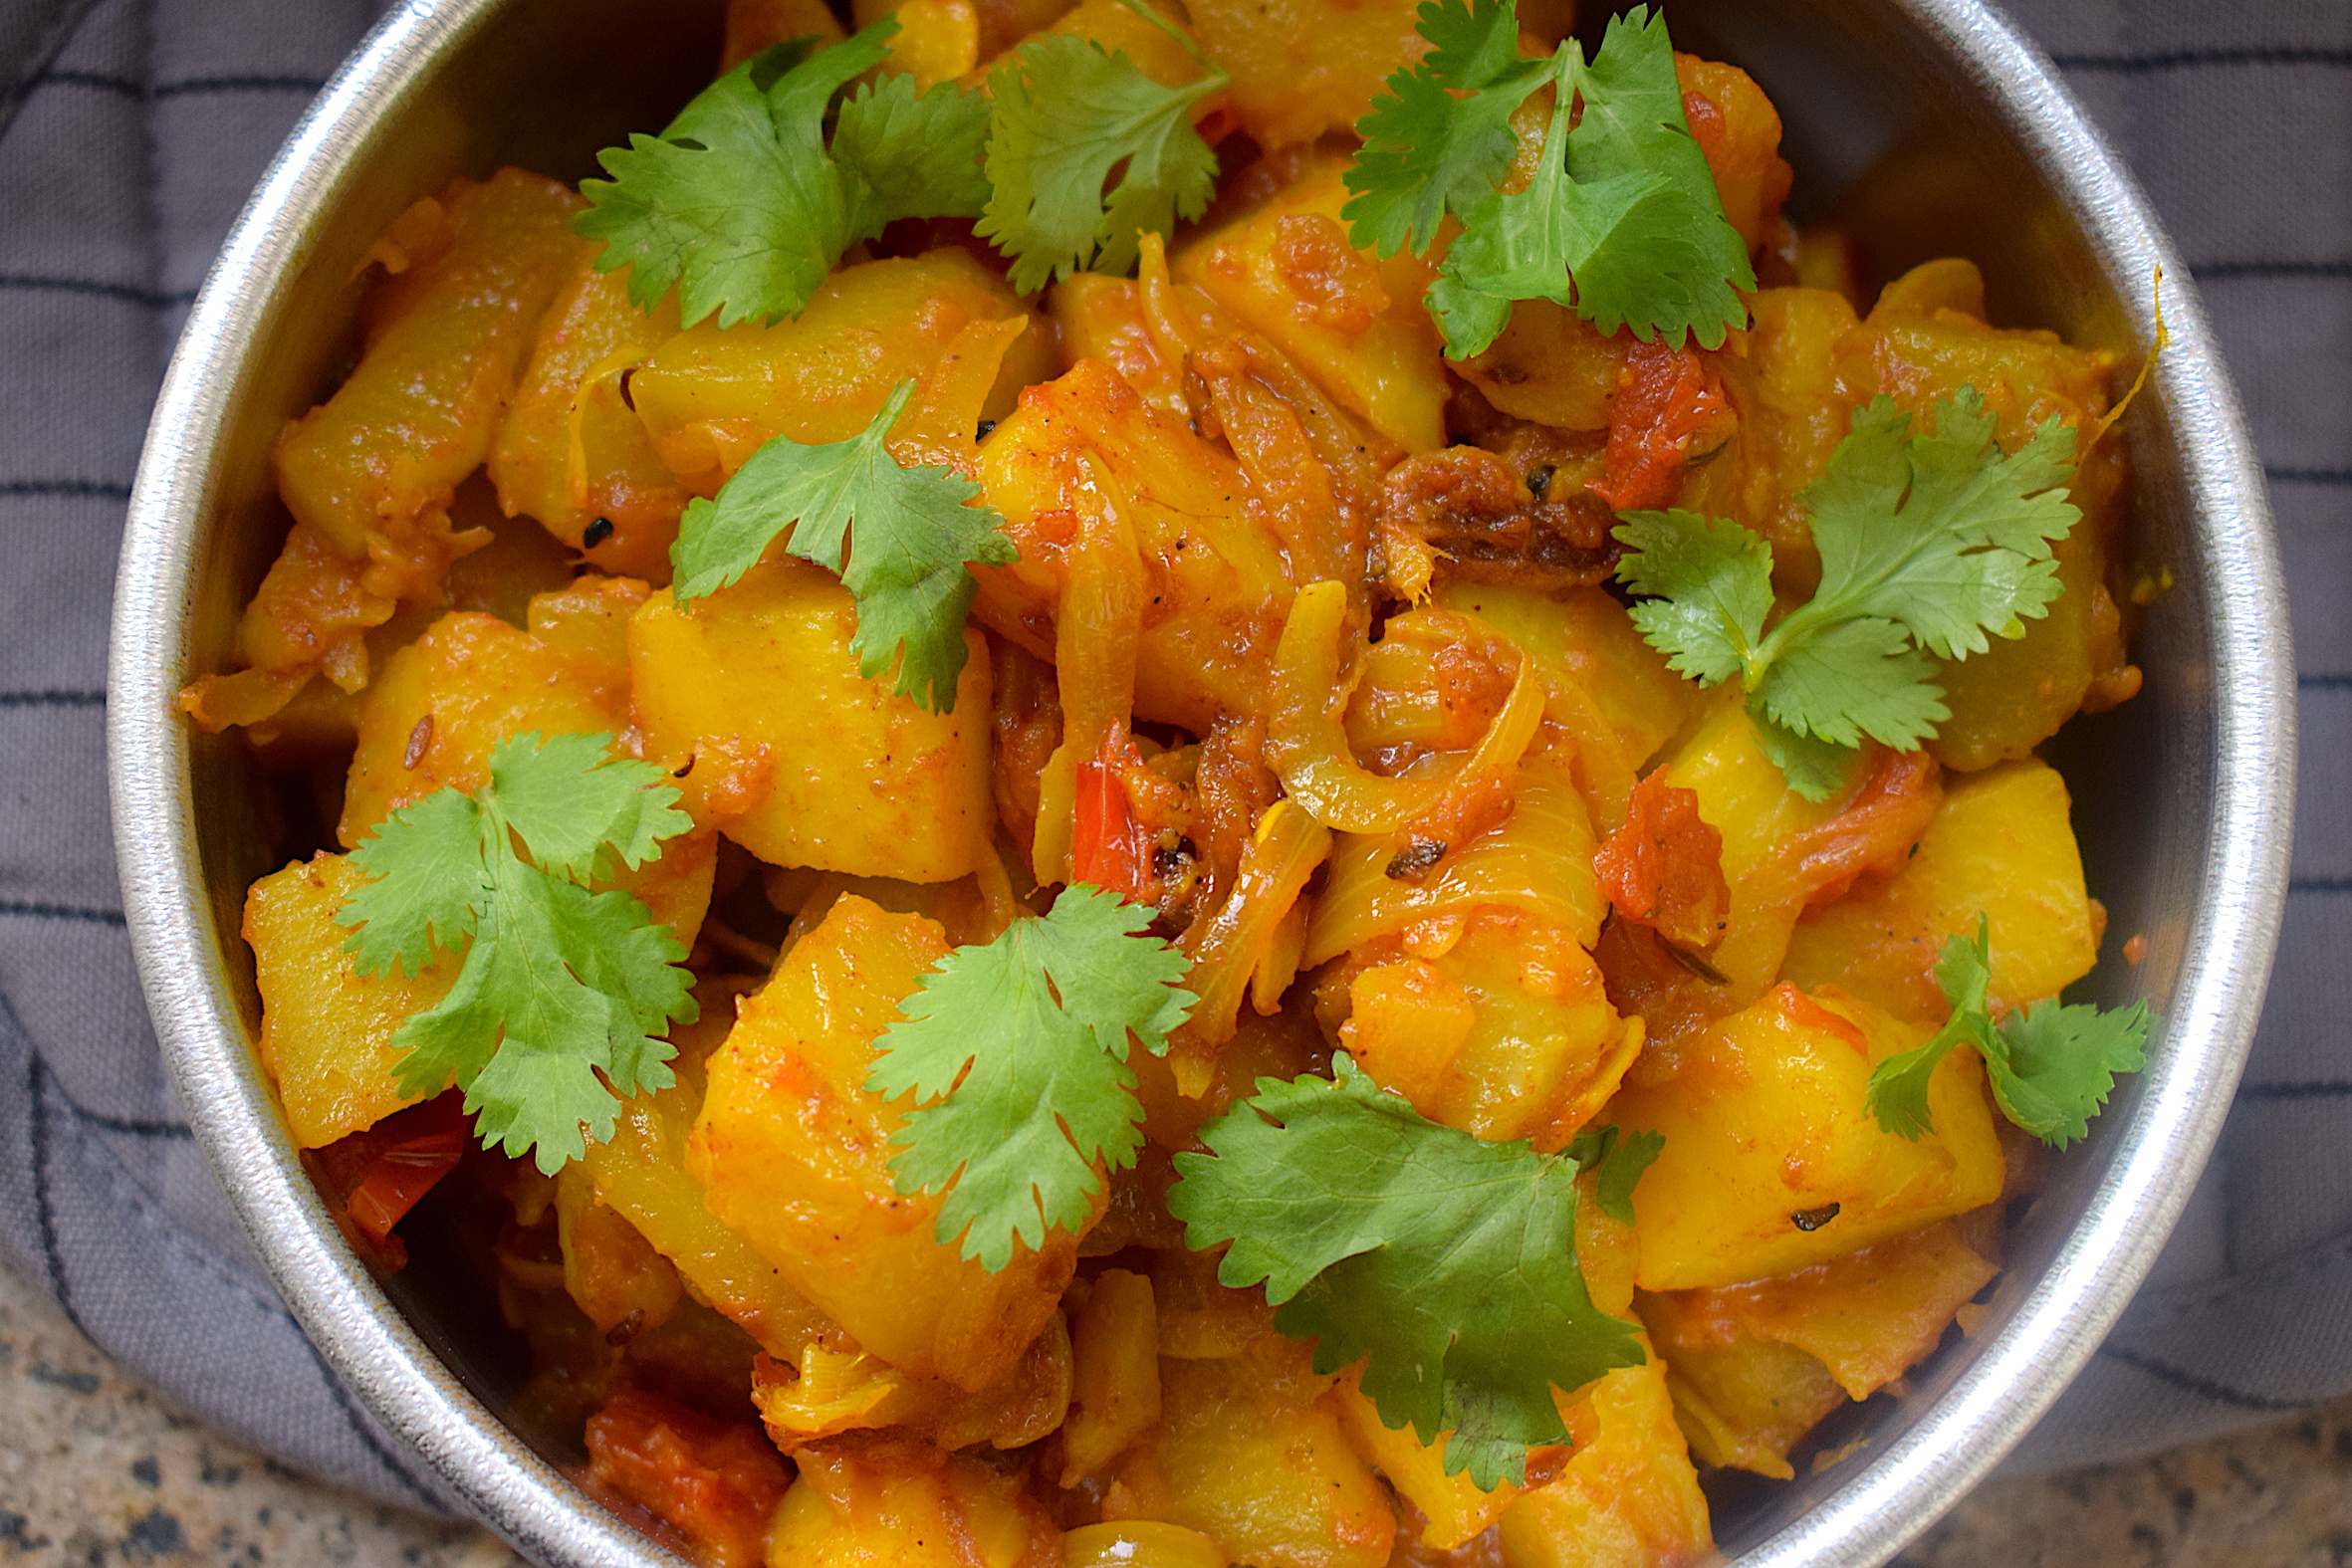
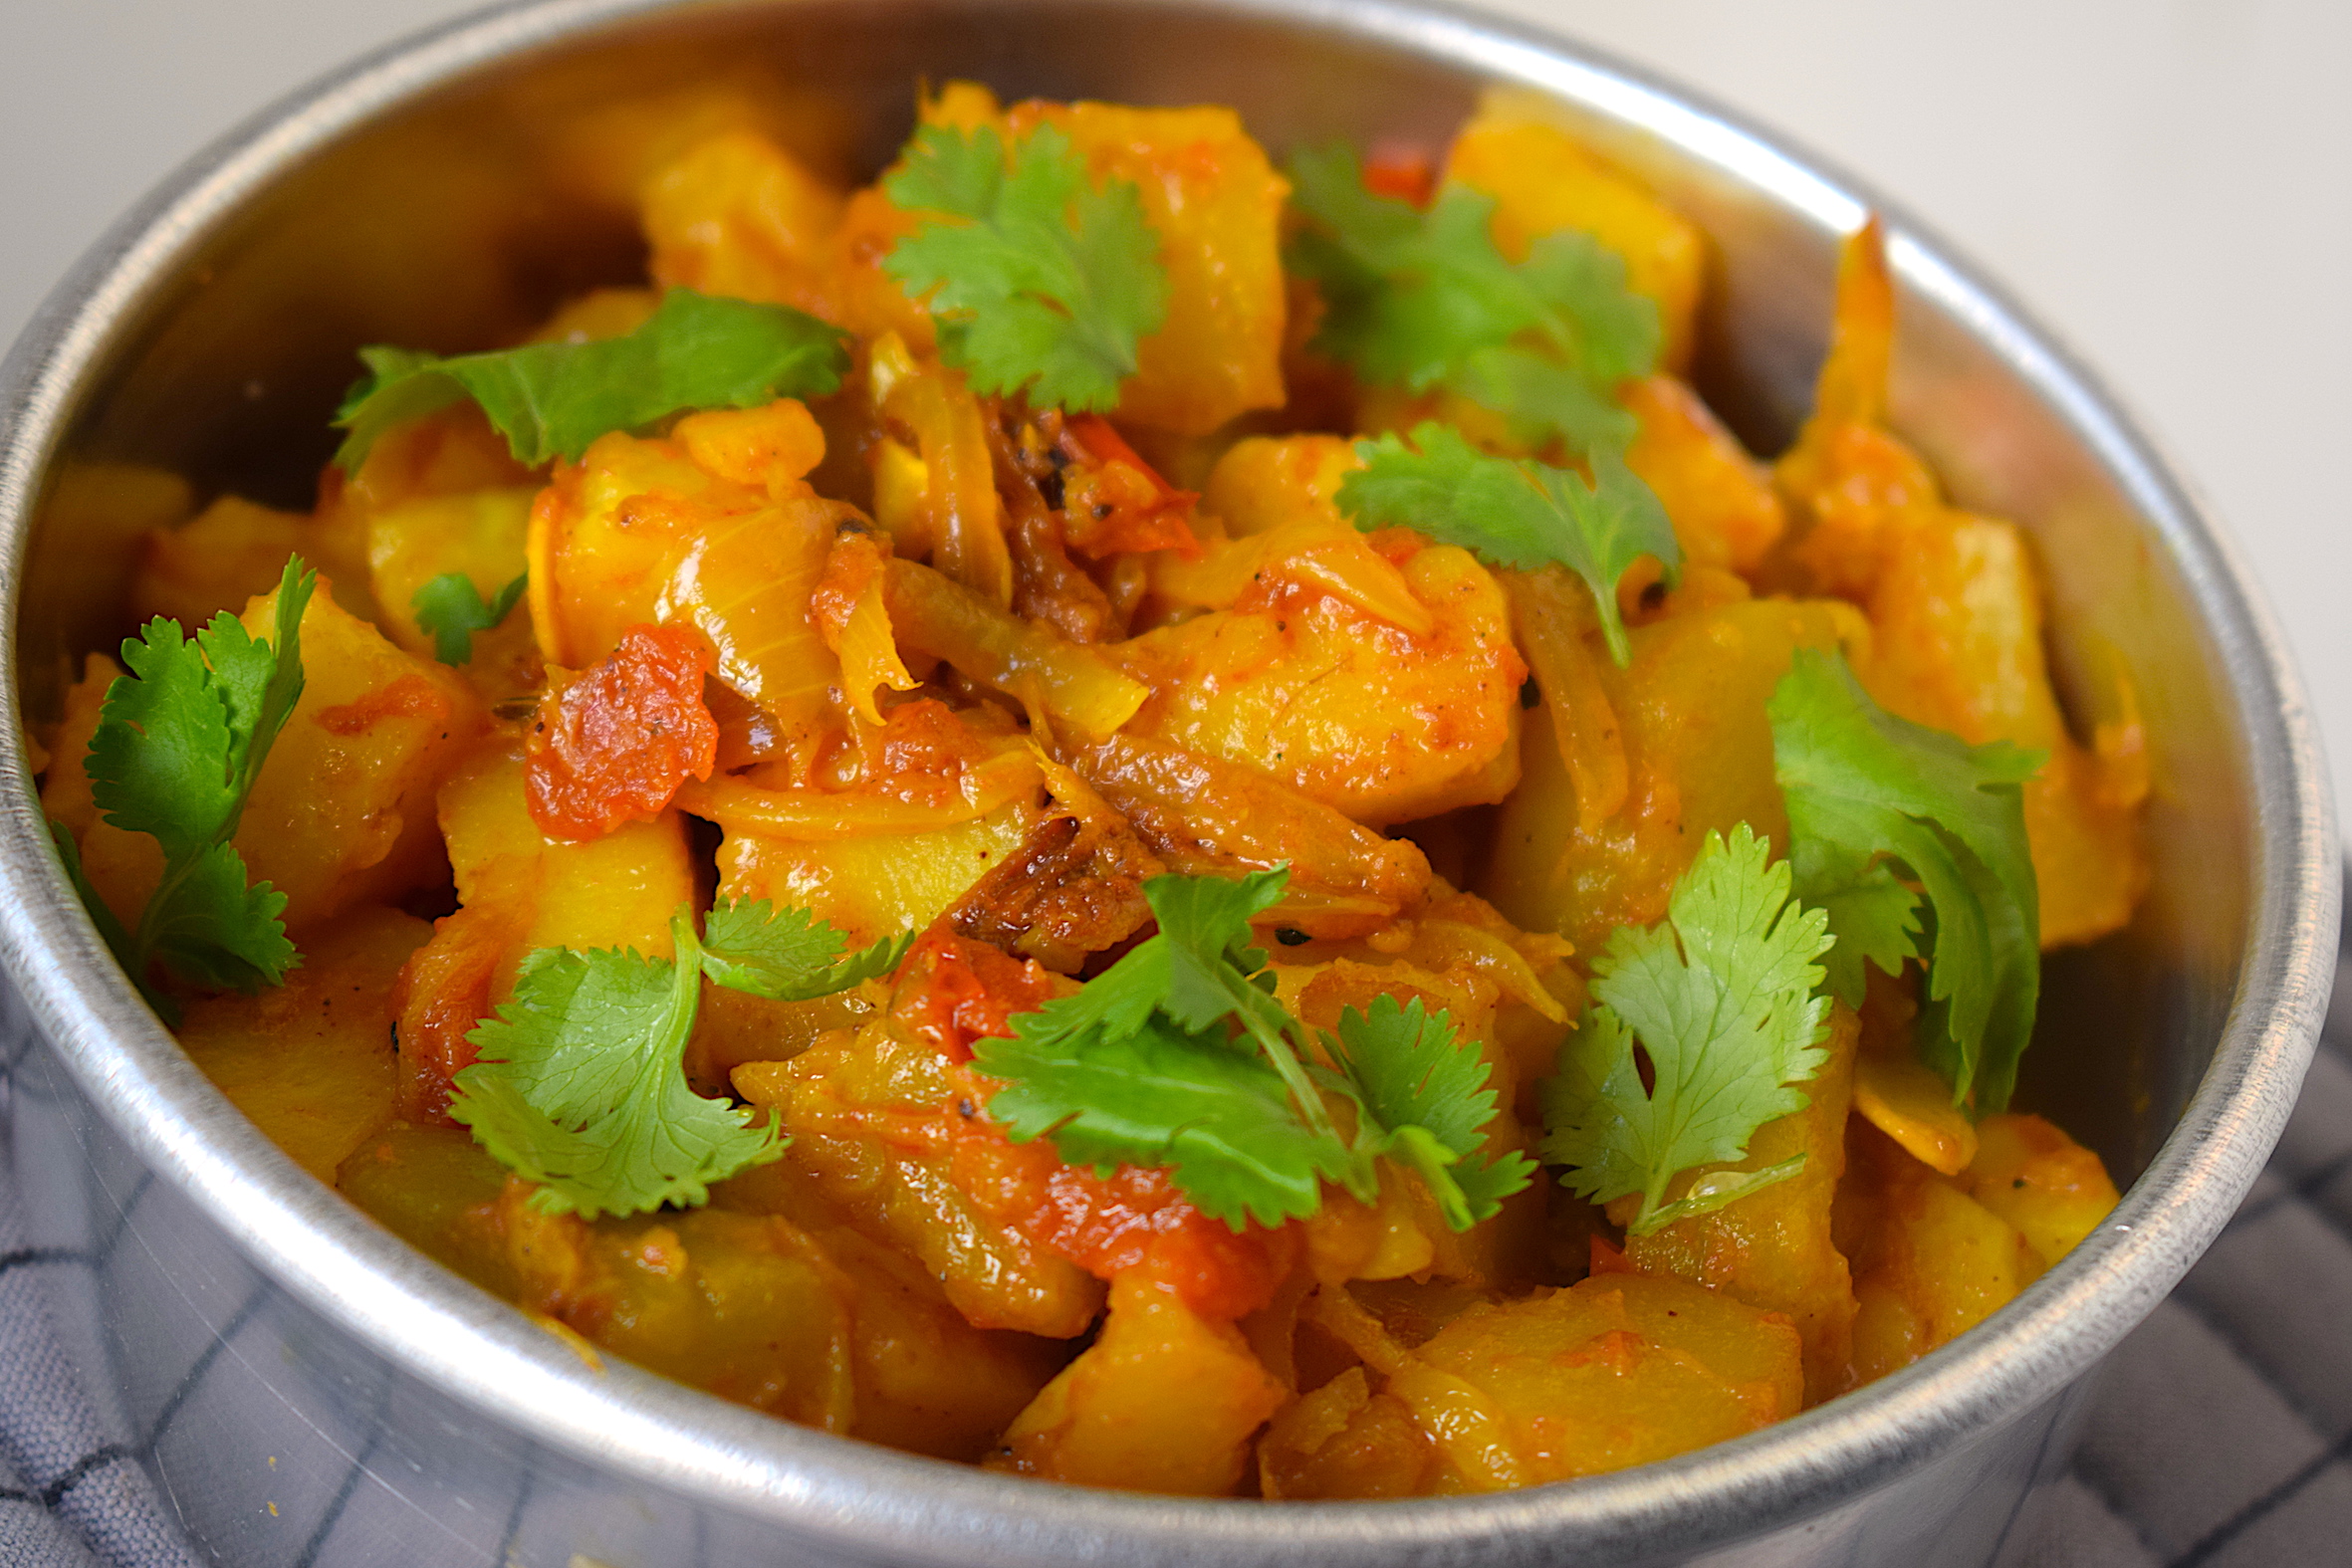
So here is an attempt at recreating that wonderful and sweet pumpkin with potatoes. I have used nigella seeds, raw mango powder, ginger, chili, and some basic spices. It is my mother’s recipe. Didn’t turn out as good as hers but still was quite tasty. A perfect accompaniment to some fluffy luchis. Make sure you eat those seasonal pumpkins before they run out of stock.

Preparation time – 20 minutes

Cook time – 30 minutes

Serves – 4

[ingredients title=”Ingredients”]

  • 1/2 kg seasonal pumpkin, cut in chunks
  • 1 big potato, cut in chunks
  • 1 large tomato, finely chopped
  • 2 tbsp mustard oil
  • 1 bay leaf
  • 1 large onion, finely chopped
  • 2 green chilies
  • 1 tsp panchphoran
  • 1 tsp turmeric powder
  • 1 tsp raw mango powder (amchur)
  • 10 g grated ginger
  • 20 g ginger garlic paste
  • 1 tbsp sugar
  • 1 tsp cumin powder
  • 1 tsp black pepper powder
  • 100 ml water
  • 1/2 tsp garam masala
  • Coriander leaves for garnish
  • Salt to taste [/ingredients]

[directions title=”Directions”]

  • Heat mustard oil in a kadhai. Allow it to come to a smoking point. Add a bay leaf and the panchphoran (The Indian five spice mix).
  • Add the chopped onions and add it to the mustard oil at this time. Stir for two to three minutes till onions start to get translucent.
  • Time to add the ginger paste. Stir all the ingredients together in the kadhai till the raw aroma of it dissipates.
  • Once the onions are cooked, add the tomatoes and stir till tomato starts releasing its own water to form a thick gravy. This would take about ten more minutes.
  • If the mixture gets stuck to the kadhai, add just a dash of water to prevent it from happening.
  • Season with salt, turmeric, cumin, and raw mango powder. Mix well for another minute.
  • Once the tomatoes are cooked, add the pumpkin and the potatoes. Stir this for about two to three minutes. Add some water if it gets stuck to the kadhai.
  • Cover and cook on low flame for ten minutes. If you want a gravy version, you can add some more water.
  • Remove the lid, sprinkle the garam masala and give it one last stir.
  • Garnish with fresh coriander leaves.
  • Garnish with some freshly chopped coriander leaves and green chili.
  • Serve hot with parathas or roti. [/directions]

veg recipes

veg recipes

If you want regular access to more such delightful food, you can follow me on Facebook, Instagram, Twitter, and YouTube.

Happy cooking!
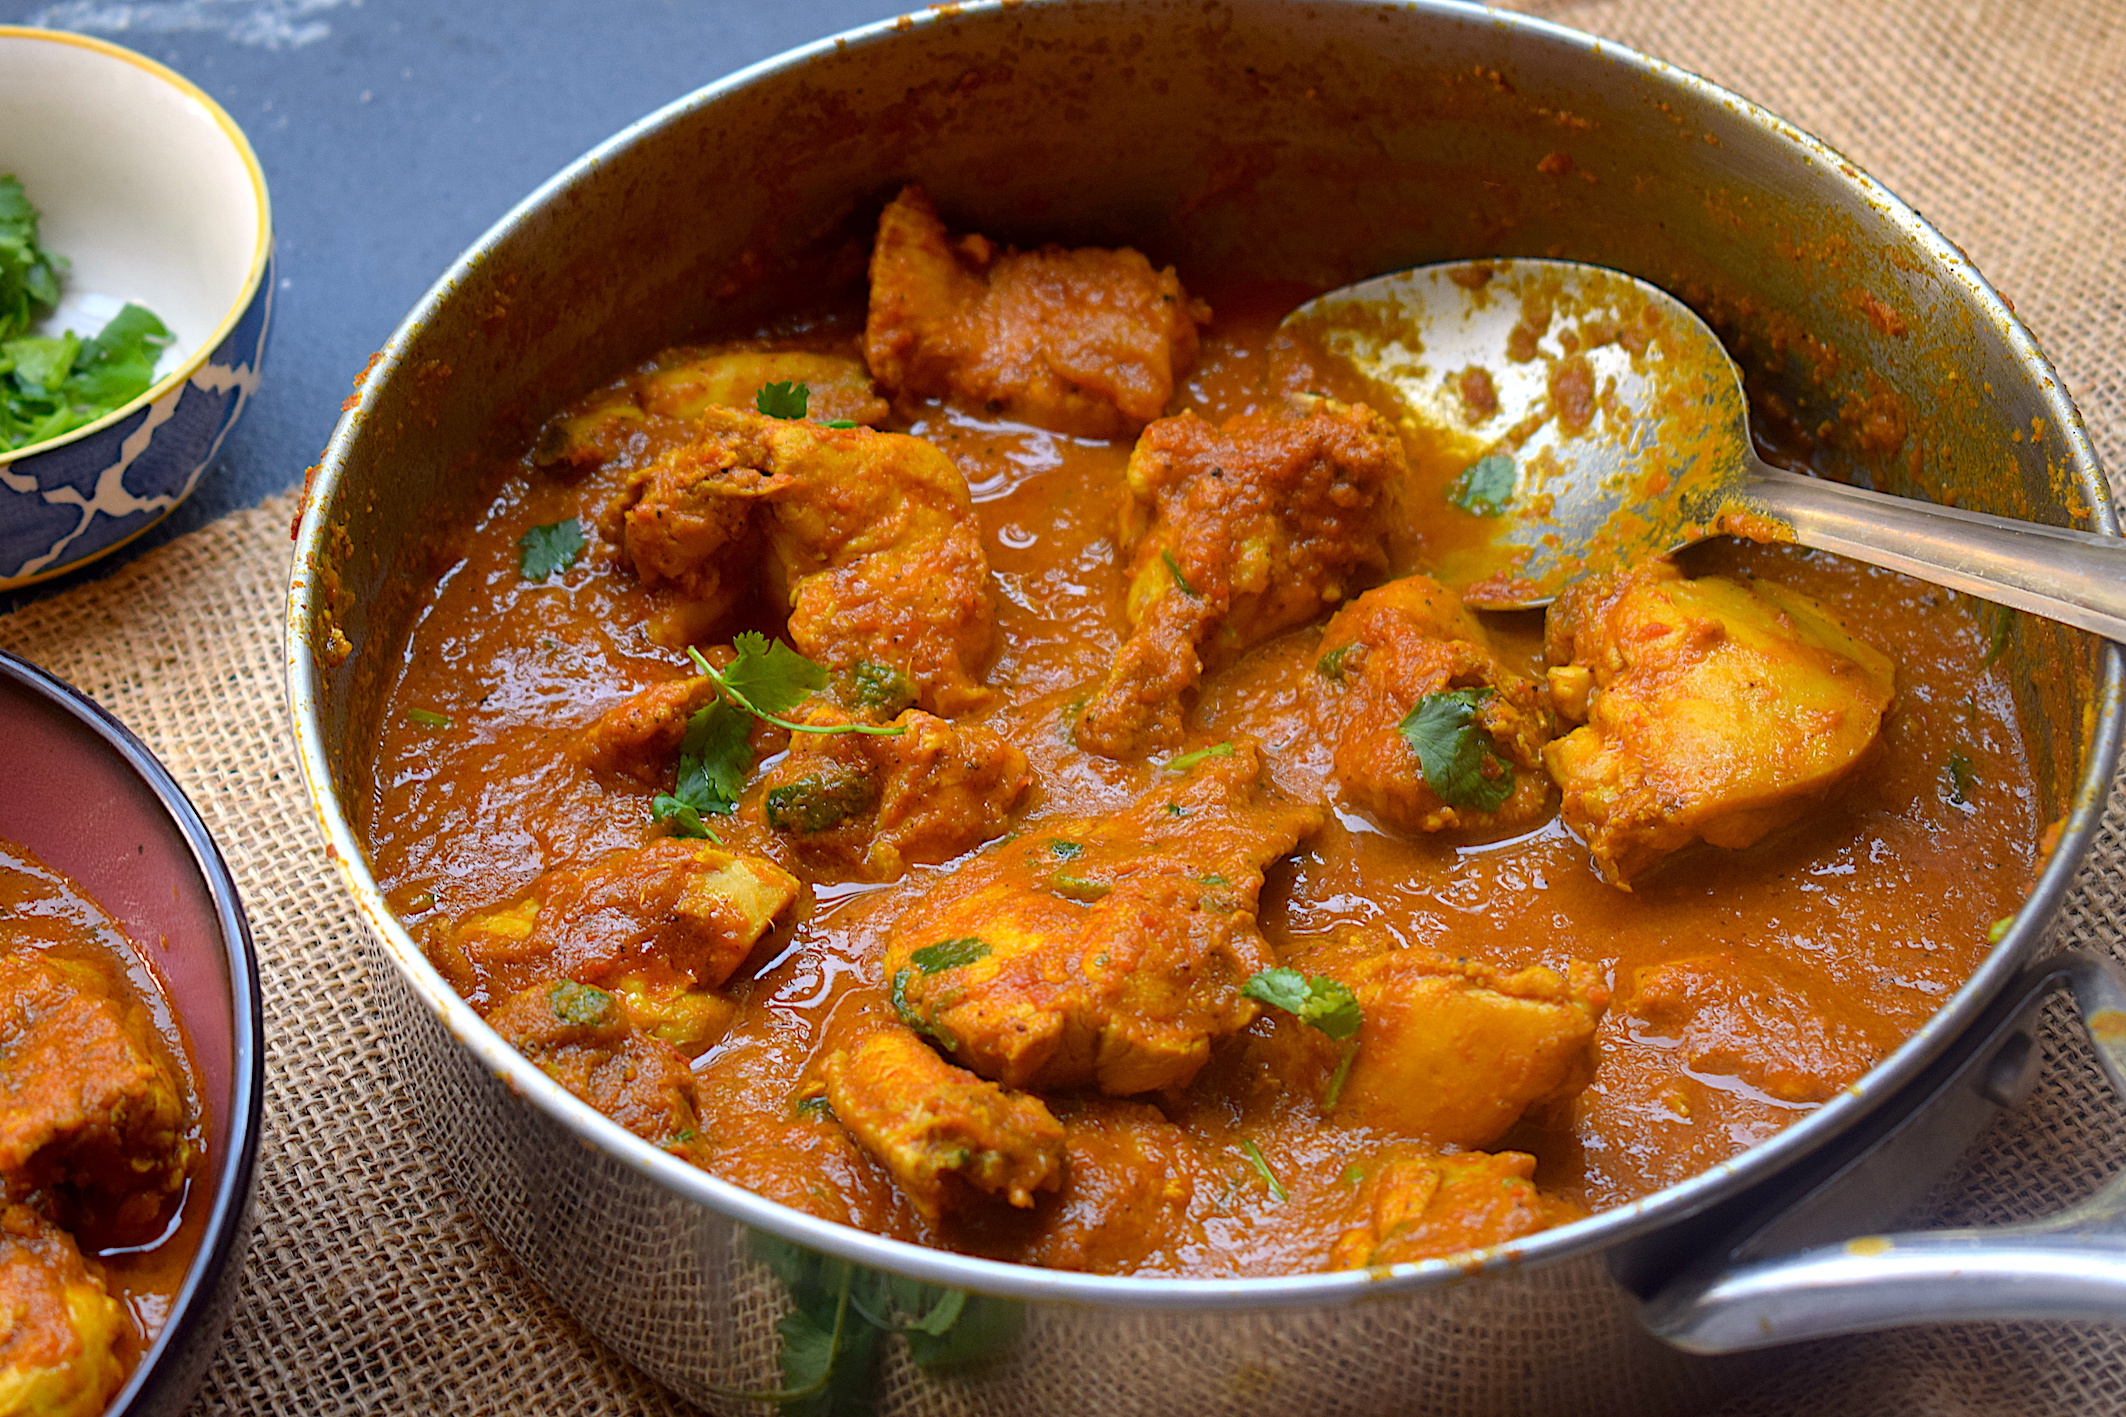
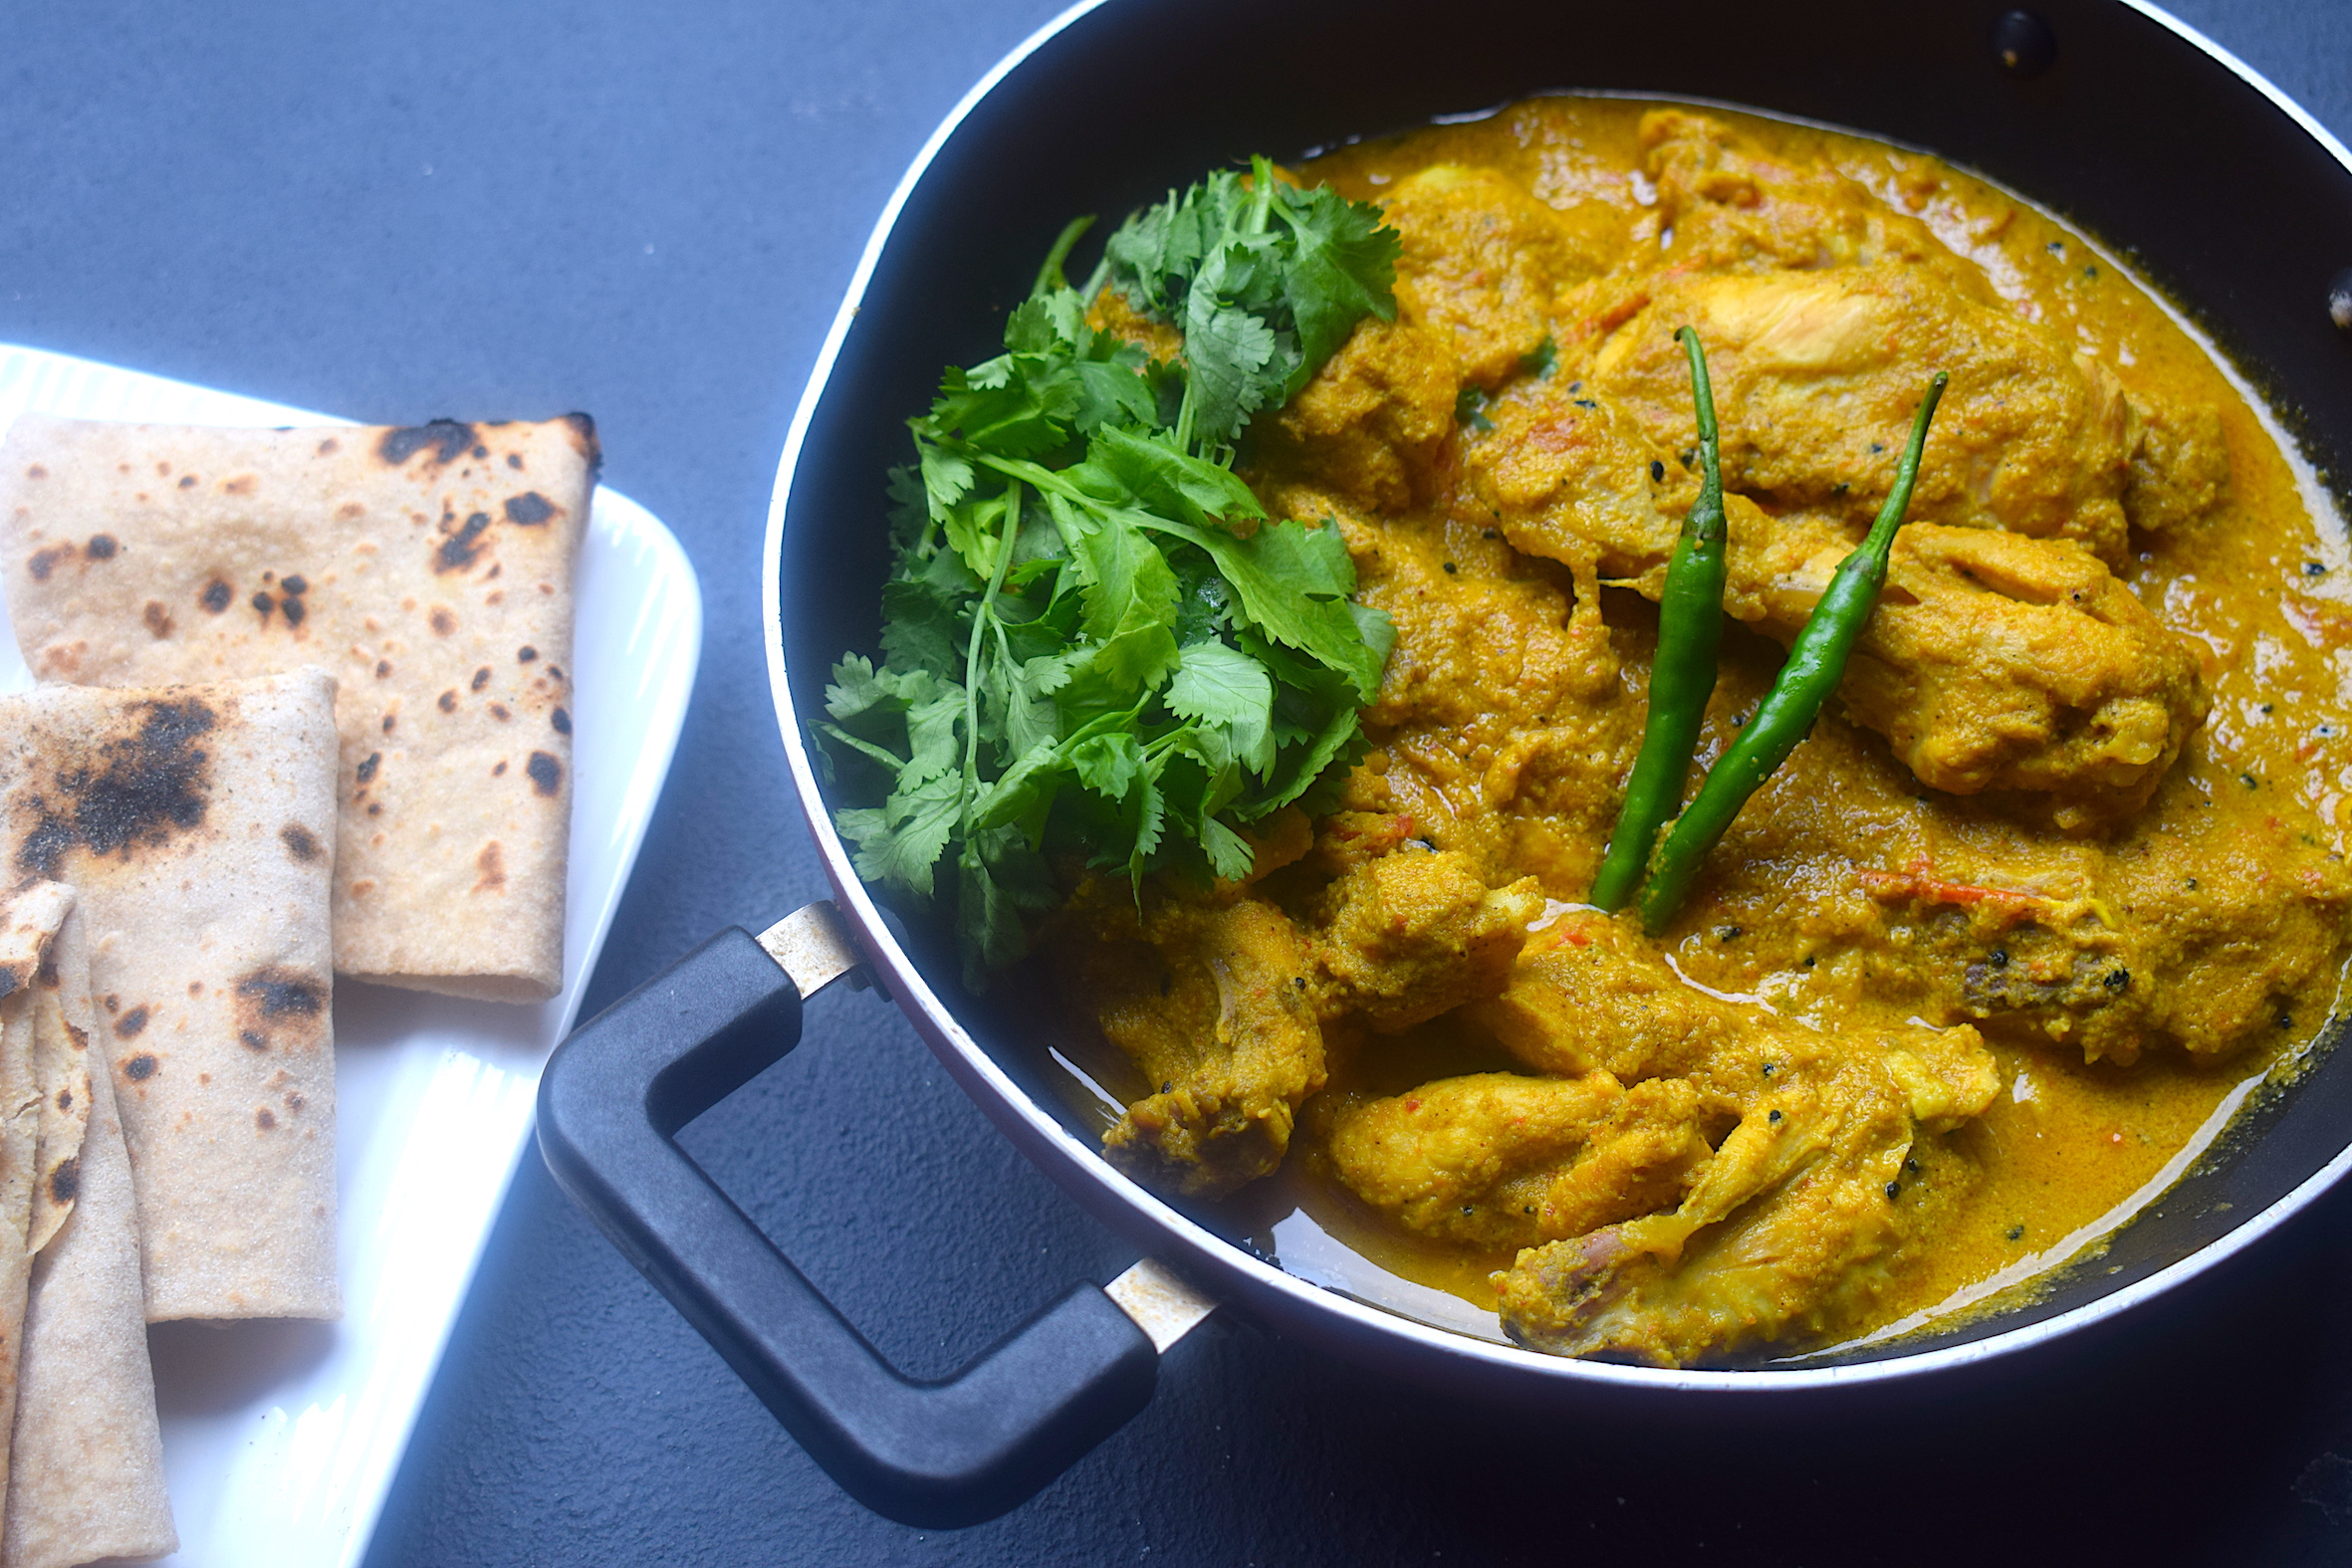
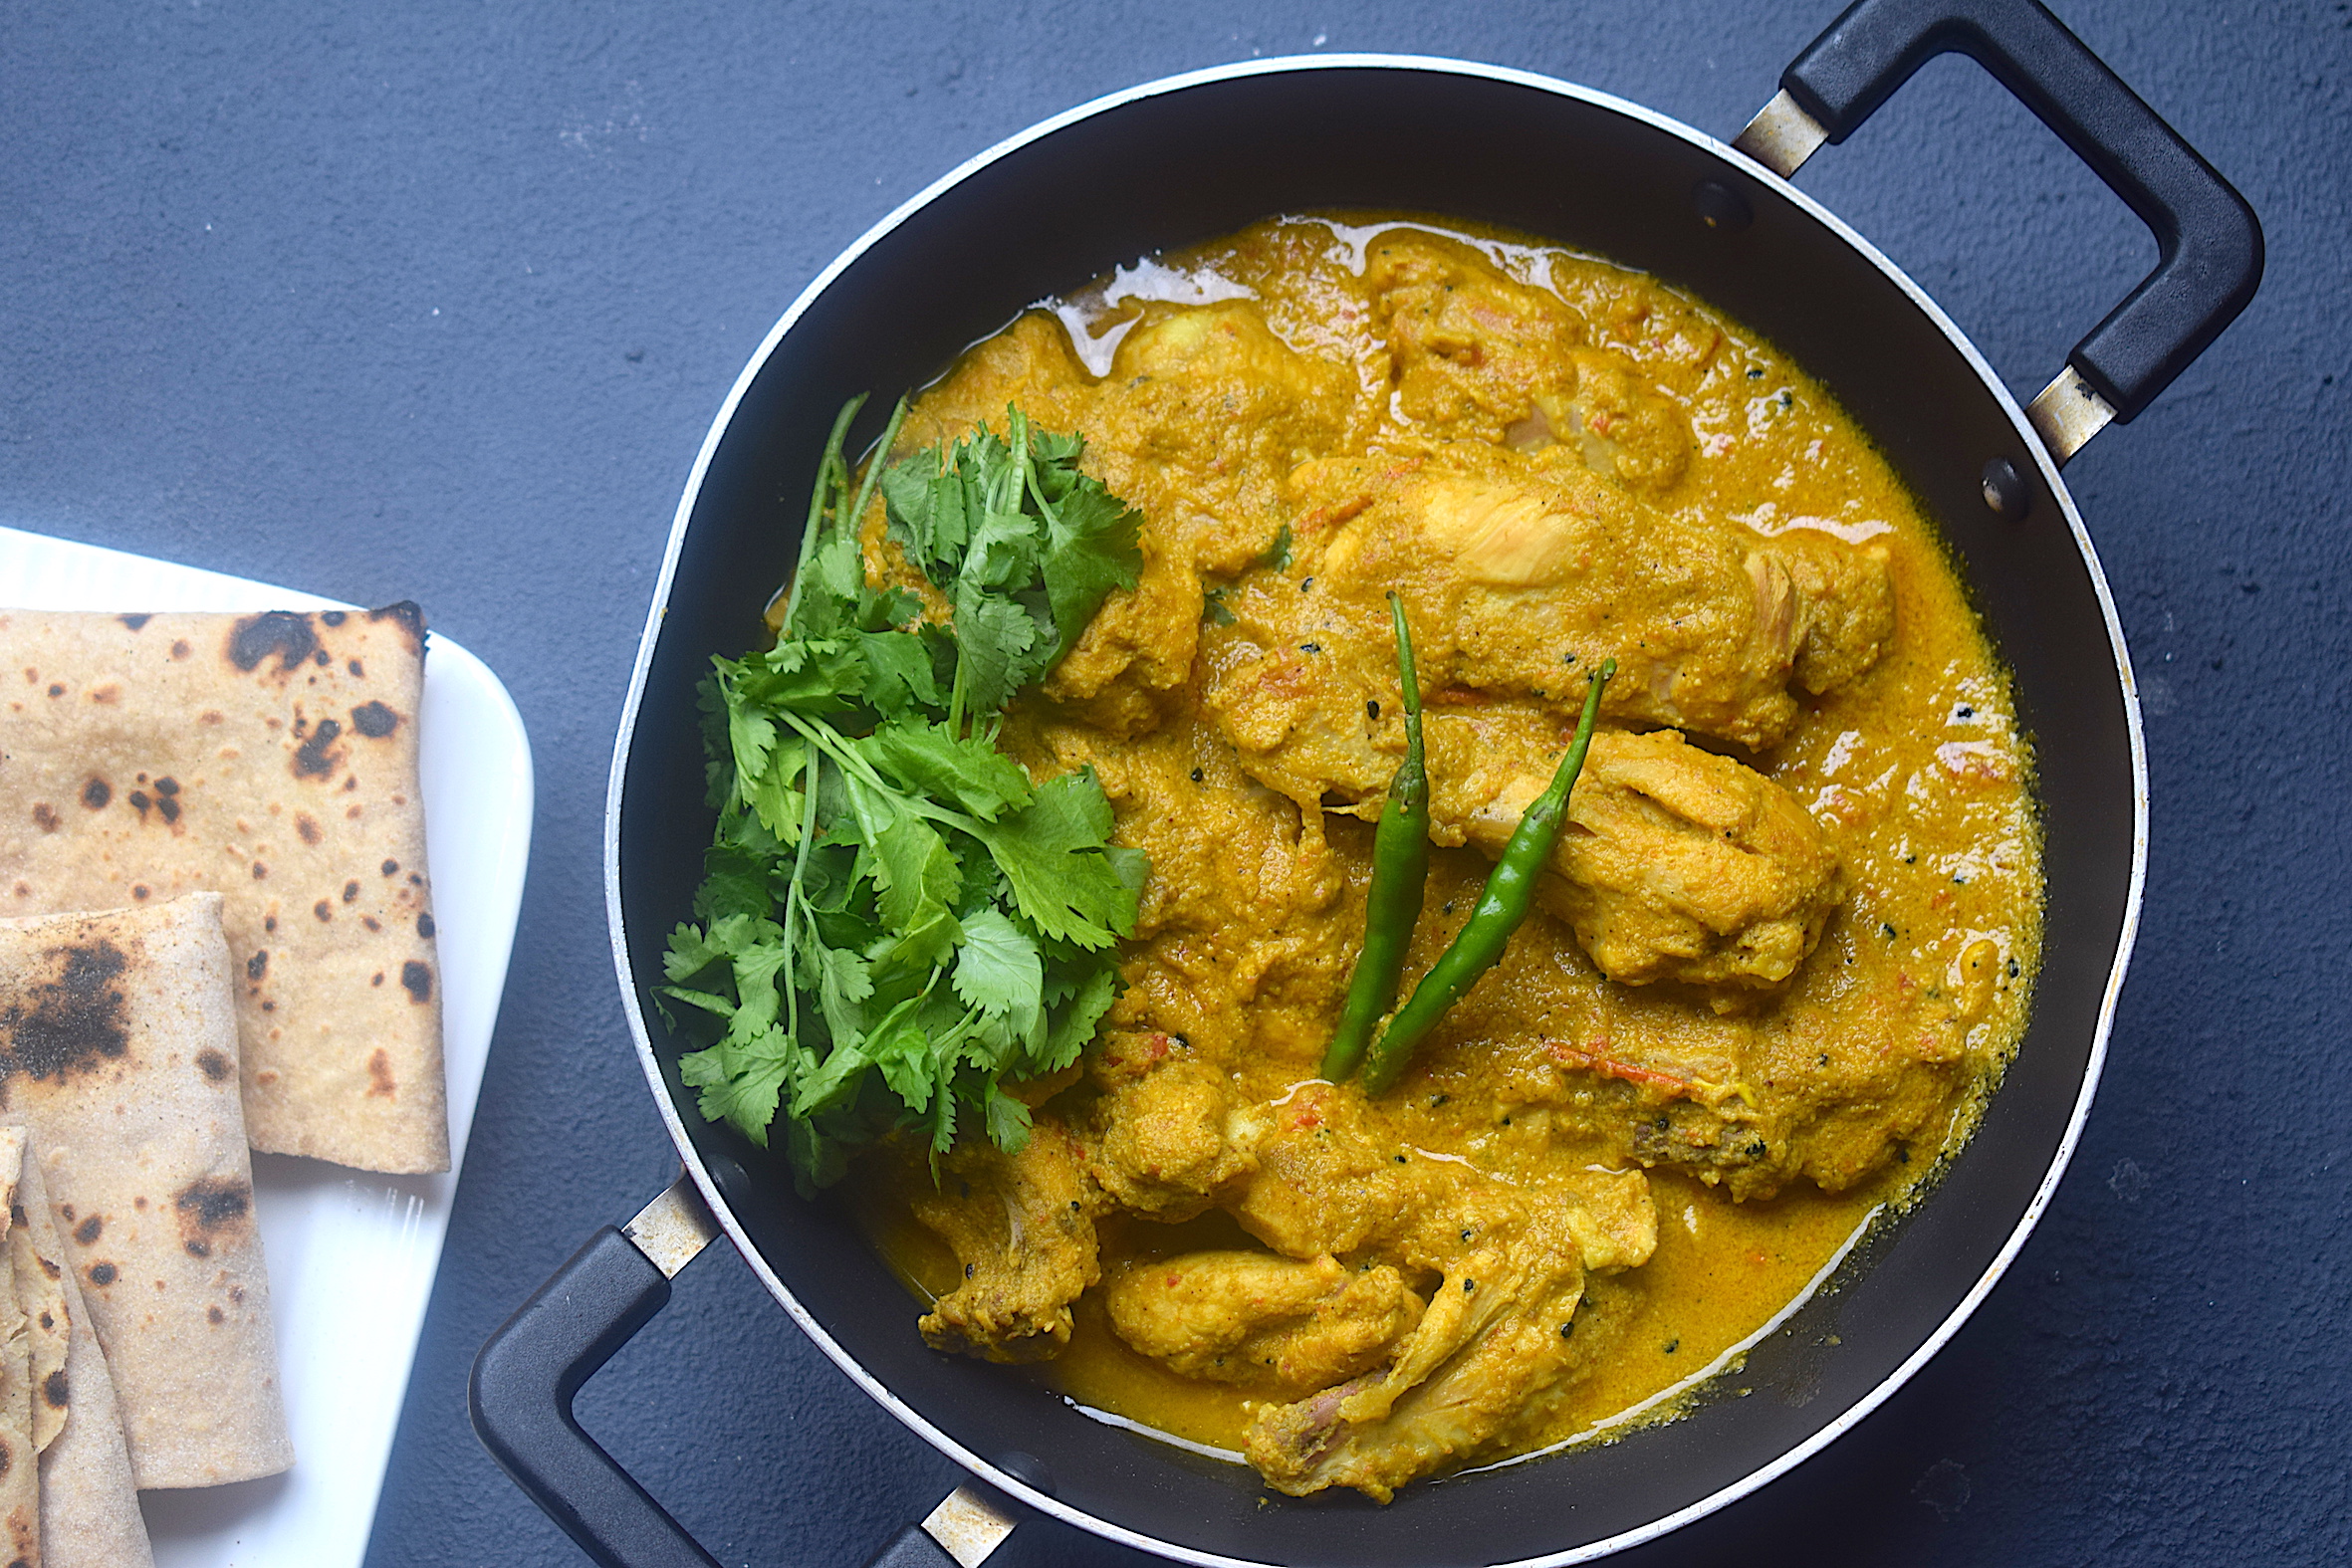
Chicken With Poppy Seeds and Cashew | Chicken Recipes

Poppy seeds or khus khus is an oilseed obtained from poppy. It is used extensively in Bengali and Assamese cuisine, and I have been quite familiar with it since my childhood. It is what we also call posto in Bengali cuisine.

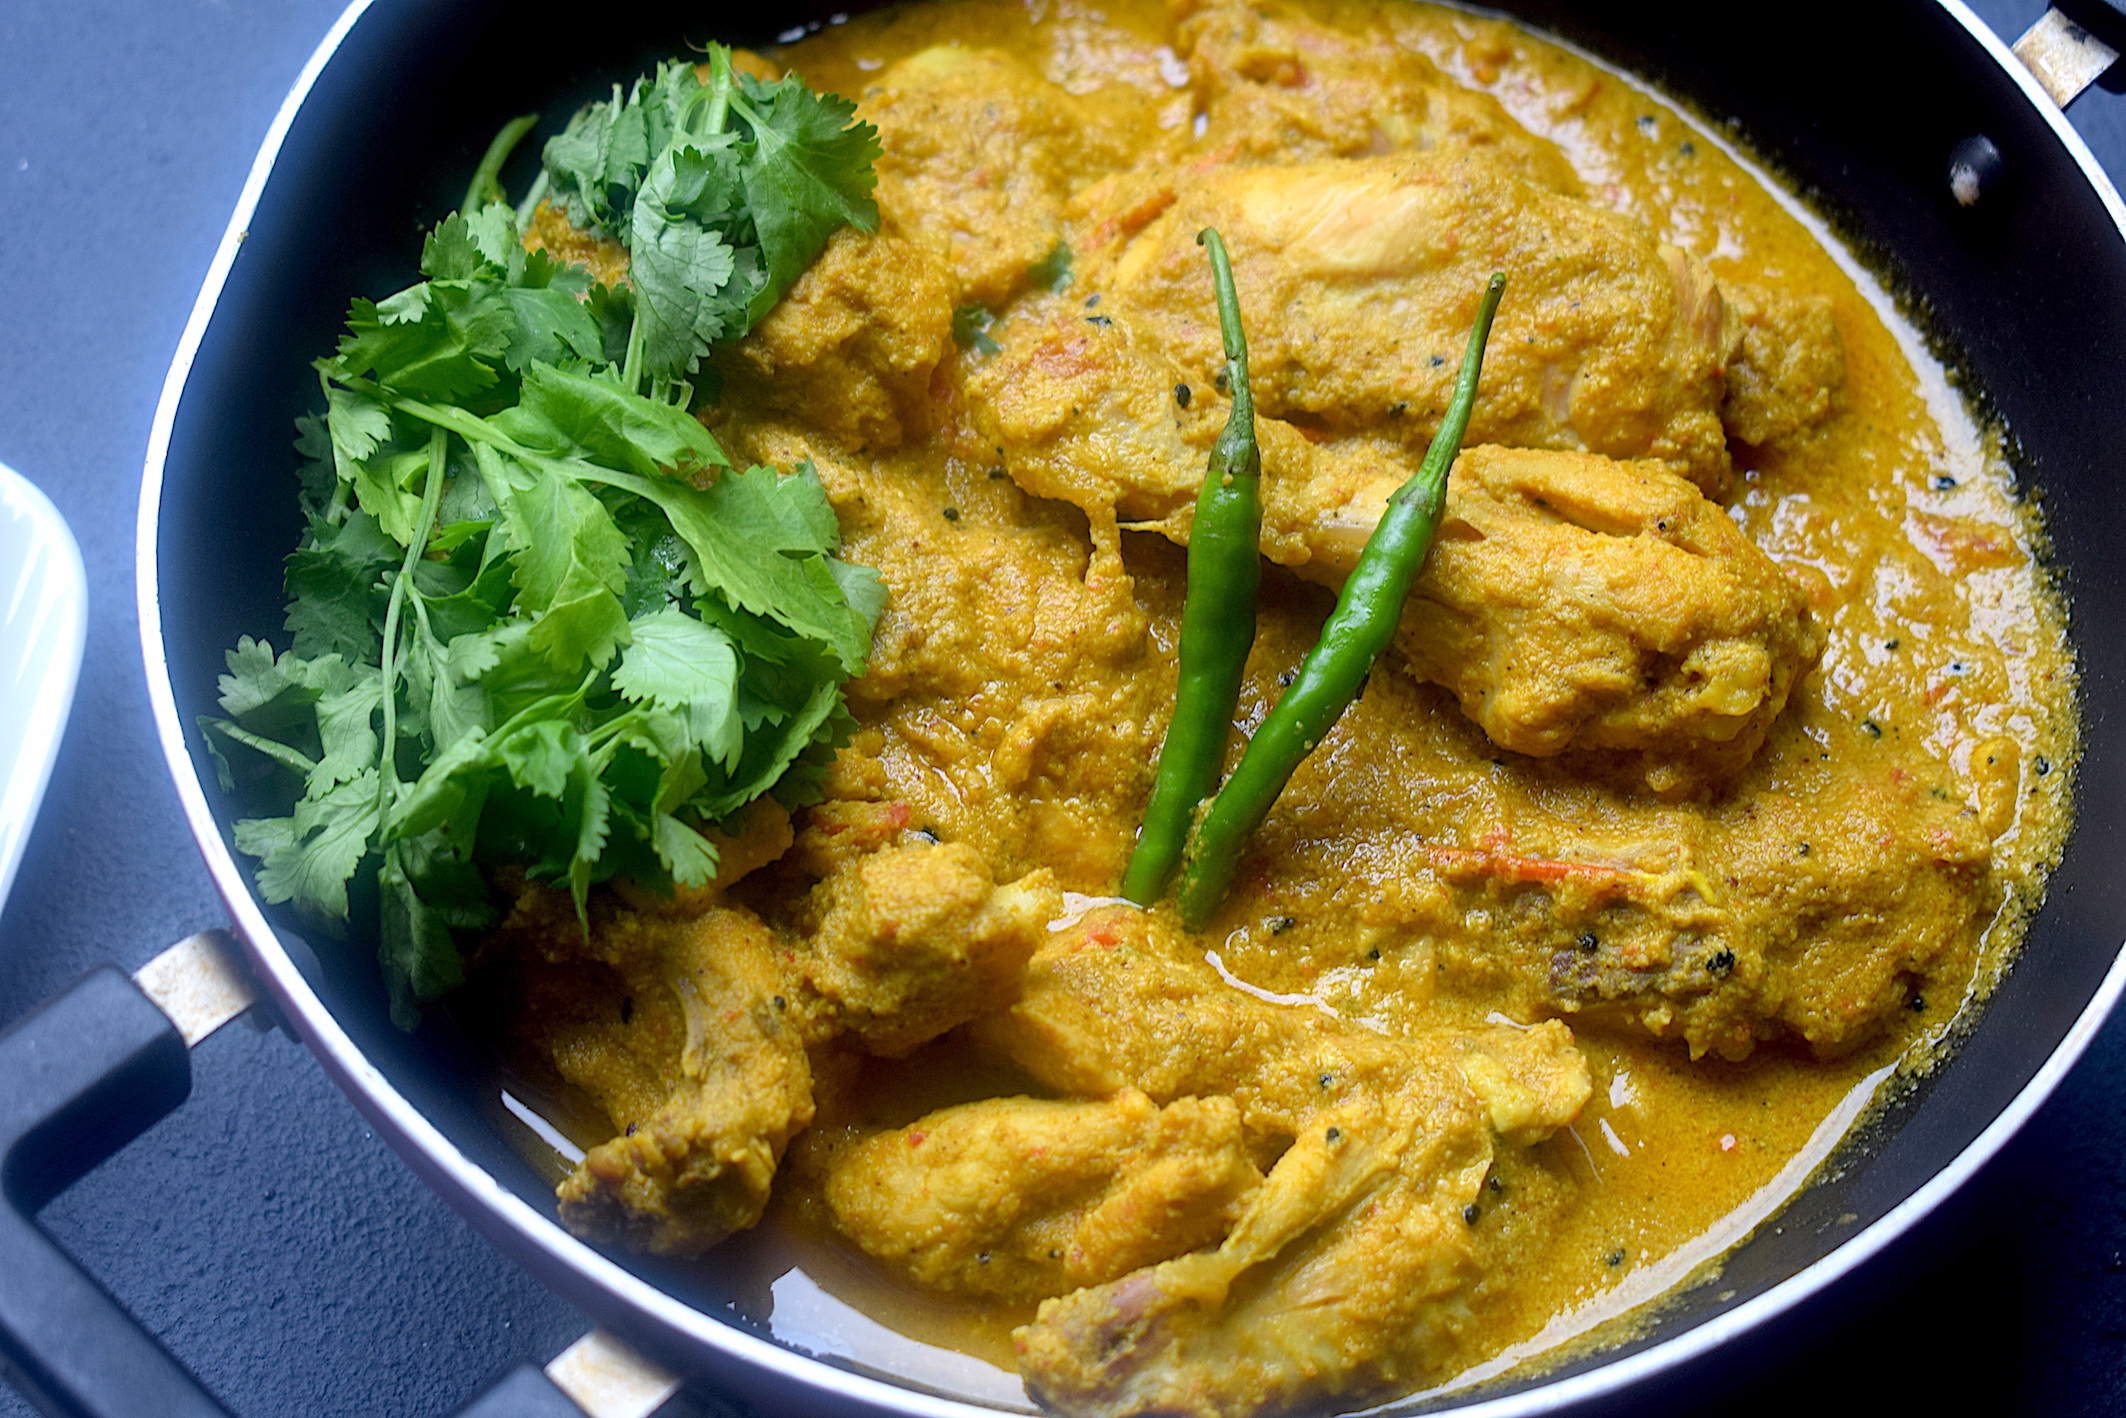
While I love alu posto and potol posto, I also like the usage of poppy seed paste in chicken curry. This chicken curry recipe with poppy seeds and nigella seeds is creamy, luxuriously thick and extremely delicious.

It goes very well with parathas, roti or rice. I like mine in a semi gravy but you can get the consistency as per your preference.

chicken recipes
Chicken with poppy seeds and cashew

Before you make this recipe, make sure you soak the poppy seeds in lukewarm water for at least 3-4 hours. This step is essential to get a thick paste when you grind the seeds.

You also need to soak 6-7 cashews in water for about the same time before grinding it into a fine paste with some water.

Preparation time – 20 minutes

Cook time – 50-60 minutes

Serves – 4

[ingredients title=”Ingredients”]

  • 1 kg chicken
  • 1 bay leaf
  • 50 g poppy seeds
  • 2 medium onions, ground to a paste
  • 2 medium tomatoes, finely chopped
  • 6-7 cashews, ground to a paste
  • 2 green chilies
  • 20 g ginger garlic paste
  • 1 tbsp sugar
  • 1 tsp nigella seeds (kalonji)
  • 3 tbsp mustard oil
  • 1 tsp cumin powder
  • 1 tsp meat masala
  • 1 tsp turmeric powder
  • 1 tsp black pepper powder
  • 500 ml water
  • 1 tsp garam masala
  • Salt to taste [/ingredients]

[directions title=”Directions”]

  1. Soak the poppy seeds in lukewarm water for three to four hours. Drain them and put it in a grinder. Add the green chilies to it with one tablespoon of water. Grind it to a thick paste.
  2. Heat mustard oil in a kadhai. Allow it to come to a smoking point. Add a bay leaf and nigella seeds at this time.
  3. Make a fine paste with the onions and add it to the mustard oil at this time. Stir for two to three minutes till onions start to get translucent.
  4. Time to add the ginger garlic paste. Stir all the ingredients together in the kadhai till the raw aroma of it dissipates.
  5. Once the onions are cooked, add the tomatoes and stir till tomato starts releasing its own water to form a thick gravy. This would take about ten more minutes.
  6. If the mixture gets stuck to the kadhai, add just a dash of water to prevent it from happening.
  7. Season with salt, pepper, cumin, turmeric powder, and meat masala. Mix well for another minute.
  8. Once the tomatoes are cooked, add the chicken pieces. Fry the chicken in the tomato and onion paste for about fifteen minutes till they start to brown and all the water gets released. Make sure the chicken pieces are clean and dry, otherwise there will be too much water.
  9. Once the chicken is semi-cooked, add the poppy seeds paste and cashew paste, and mix well. Make sure every piece of the chicken gets coated in this thick masala. Be gentle with the stirring so that you do not break any meat.
  10. Keep stirring at regular intervals for another five minutes. Add water, cover and cook for another 15 minutes on medium heat. This is an essential step to ensure the chicken gets super soft.
  11. Take the lid off and check the chicken. It will be done by this time. As the last step, sprinkle some garam masala on top and give it one last stir.
  12. Garnish with some freshly chopped coriander leaves and green chili.
  13. Serve hot with parathas or roti. [/directions]
chicken recipes
Chicken with poppy seeds and cashew

chicken recipe

chicken recipes

Related recipe – Kasturi Chicken

If you want regular access to more such delightful food, you can follow me on Facebook, Instagram, Twitter, and YouTube.

Happy cooking!