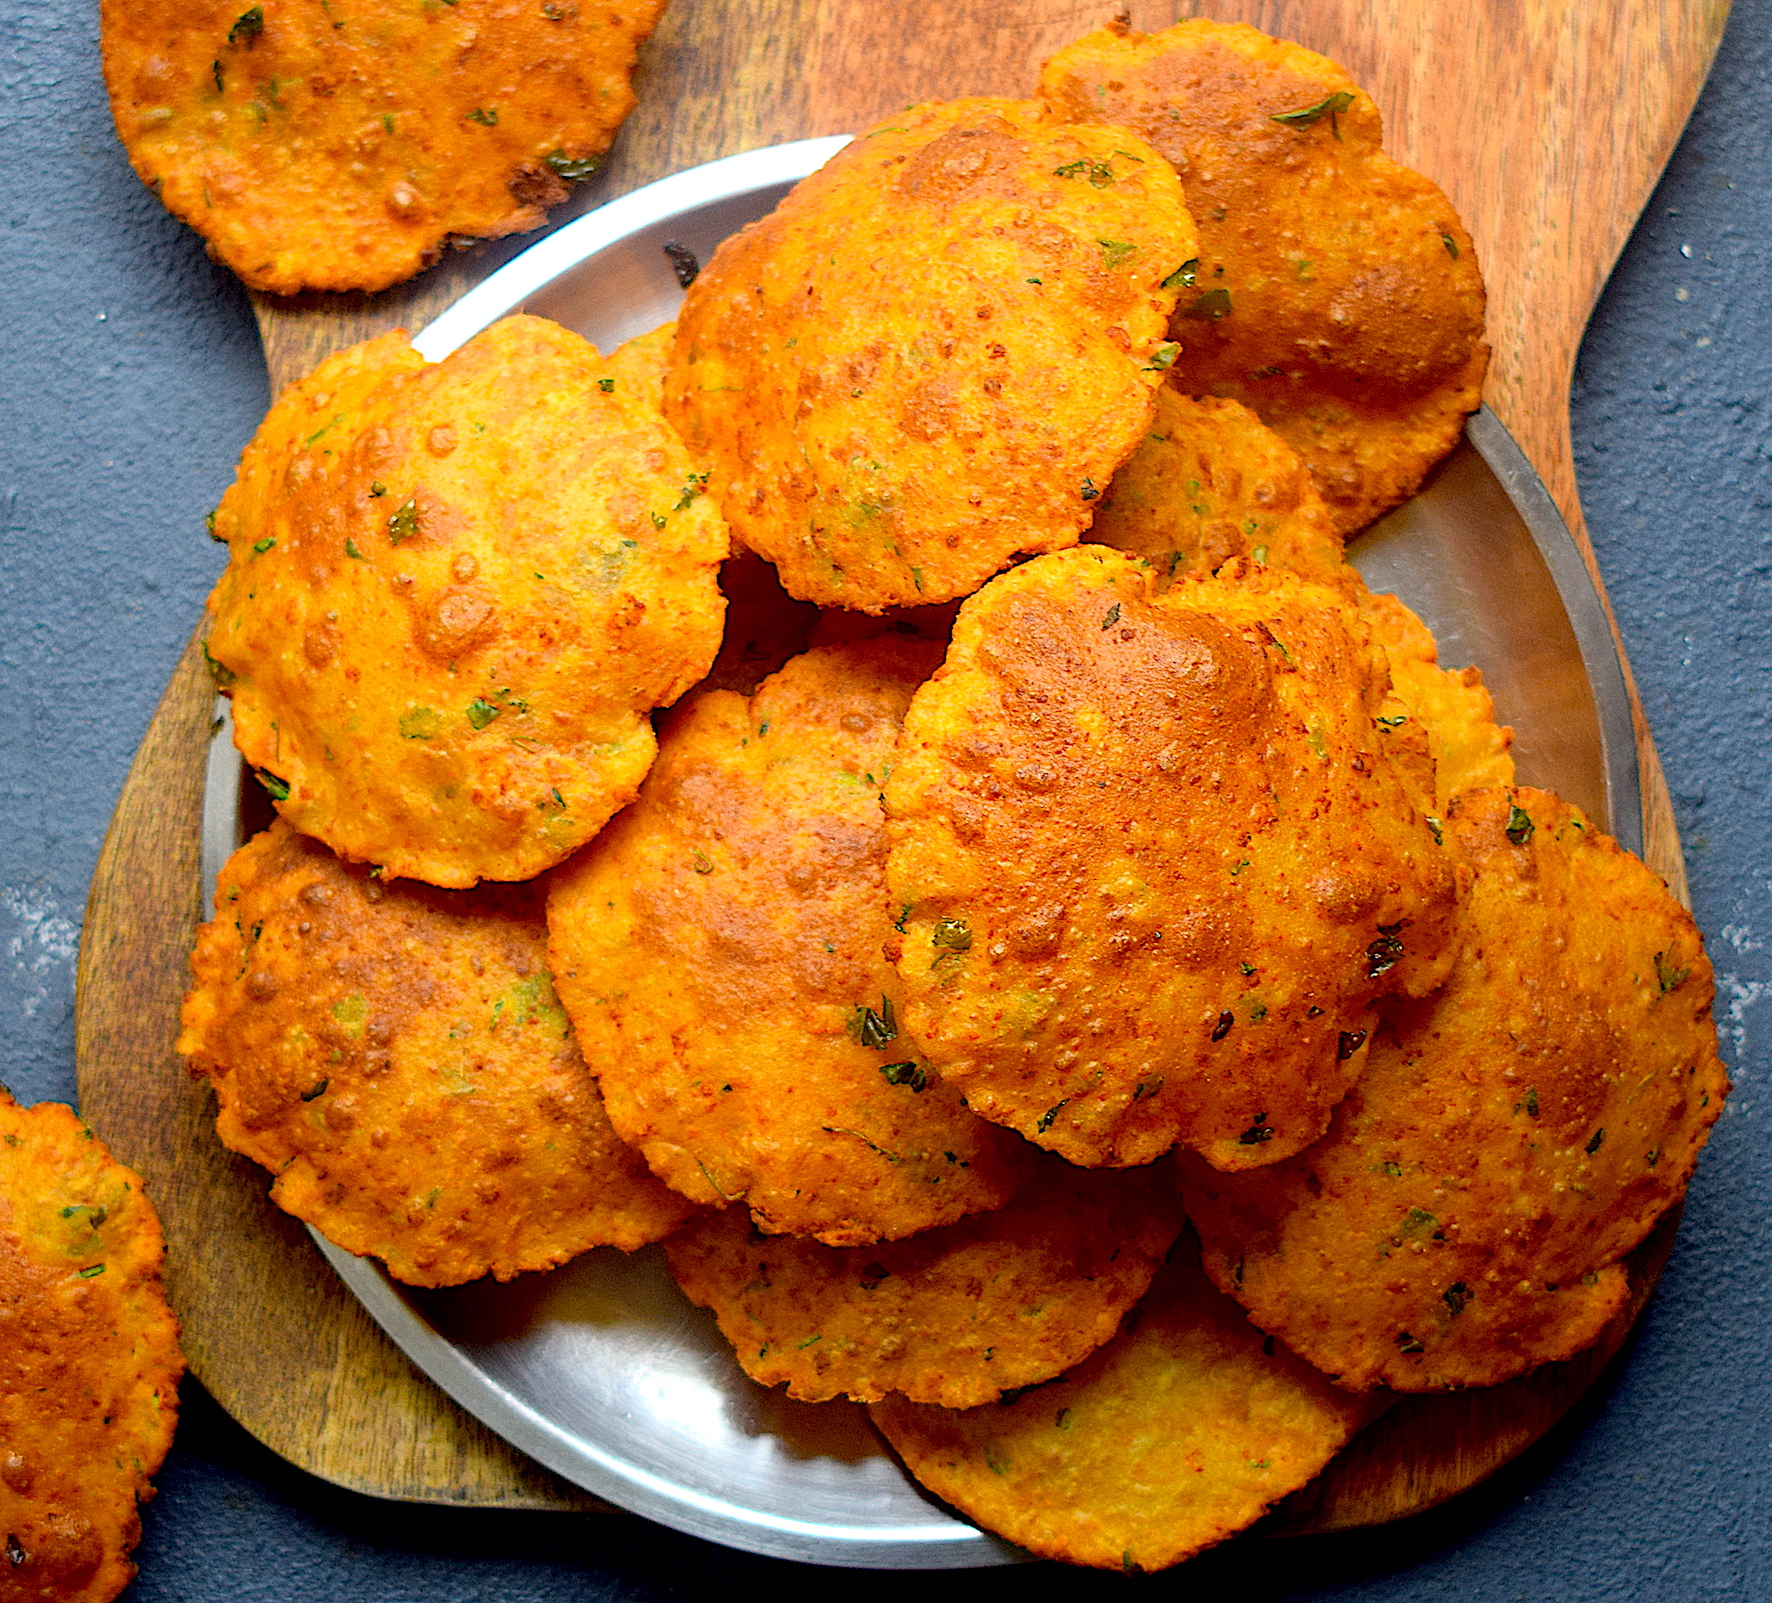
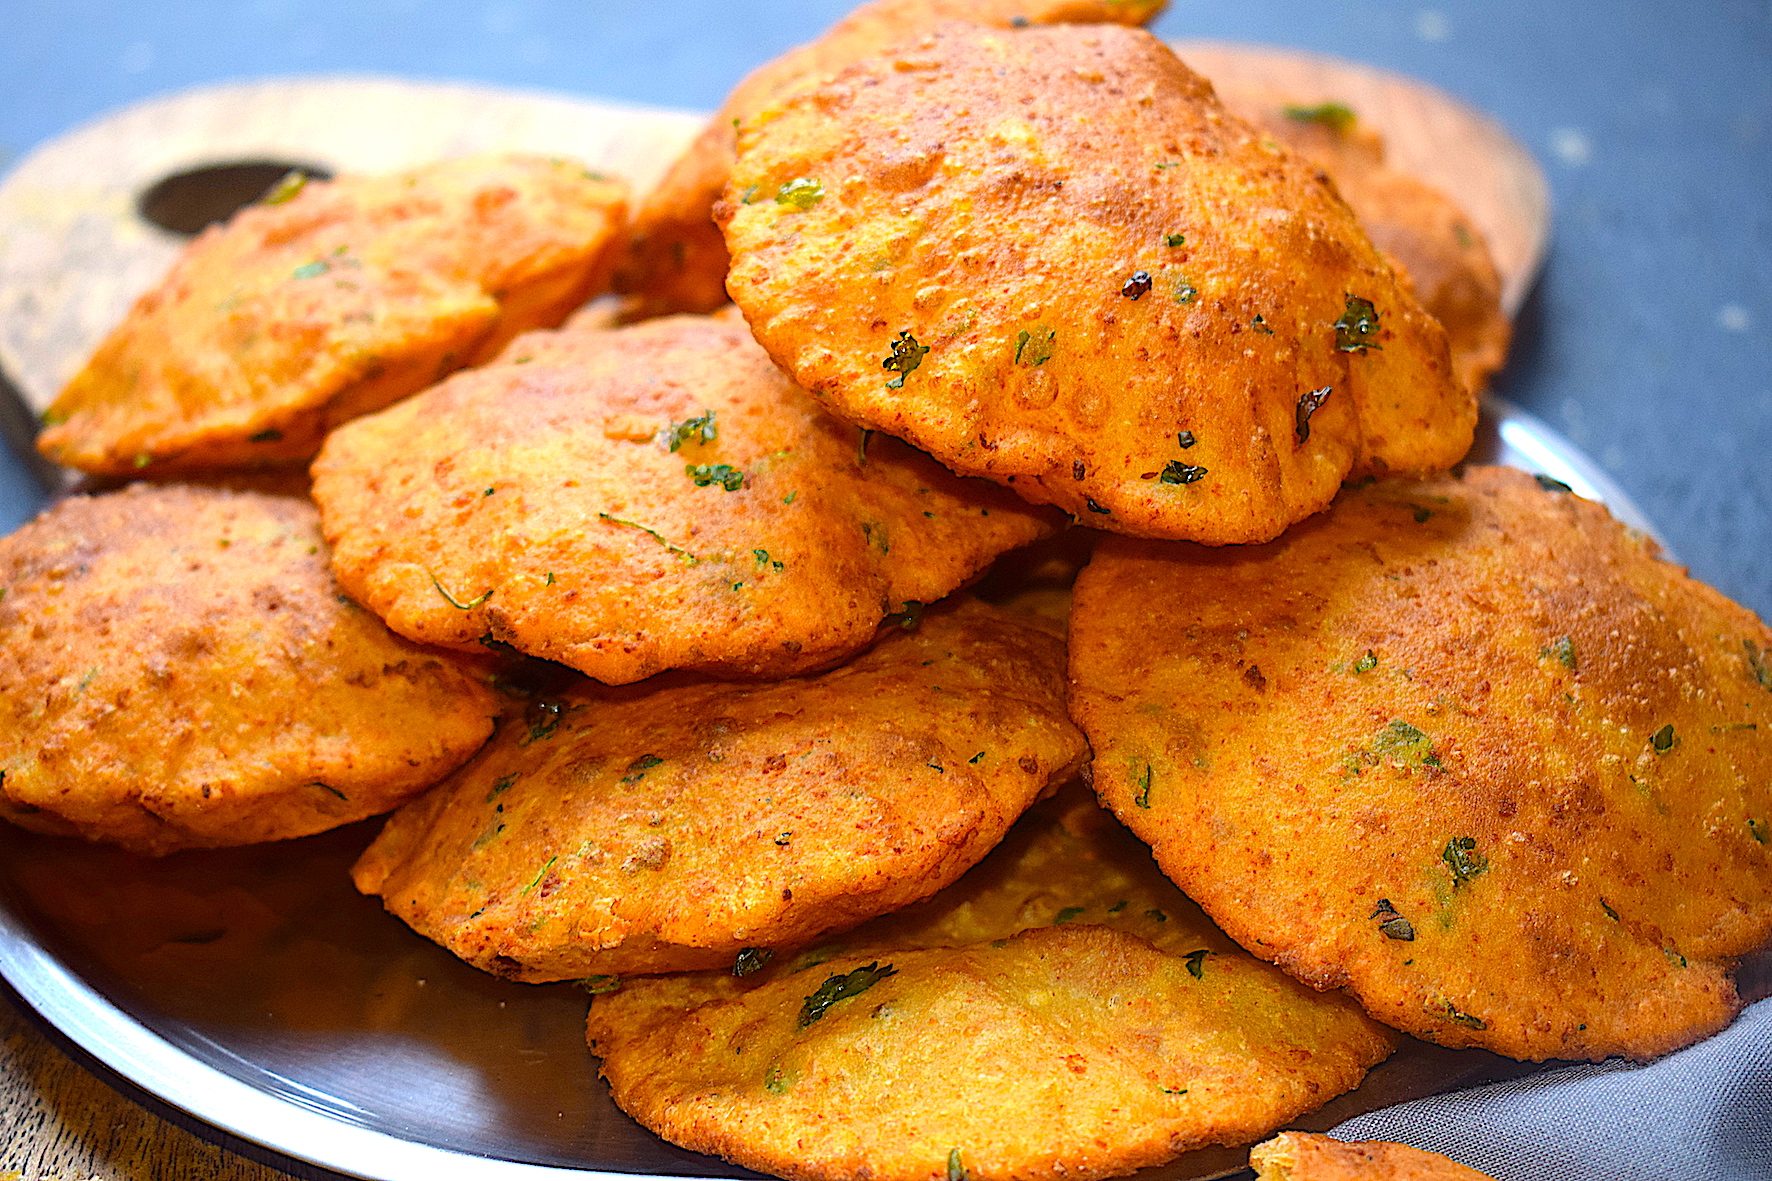
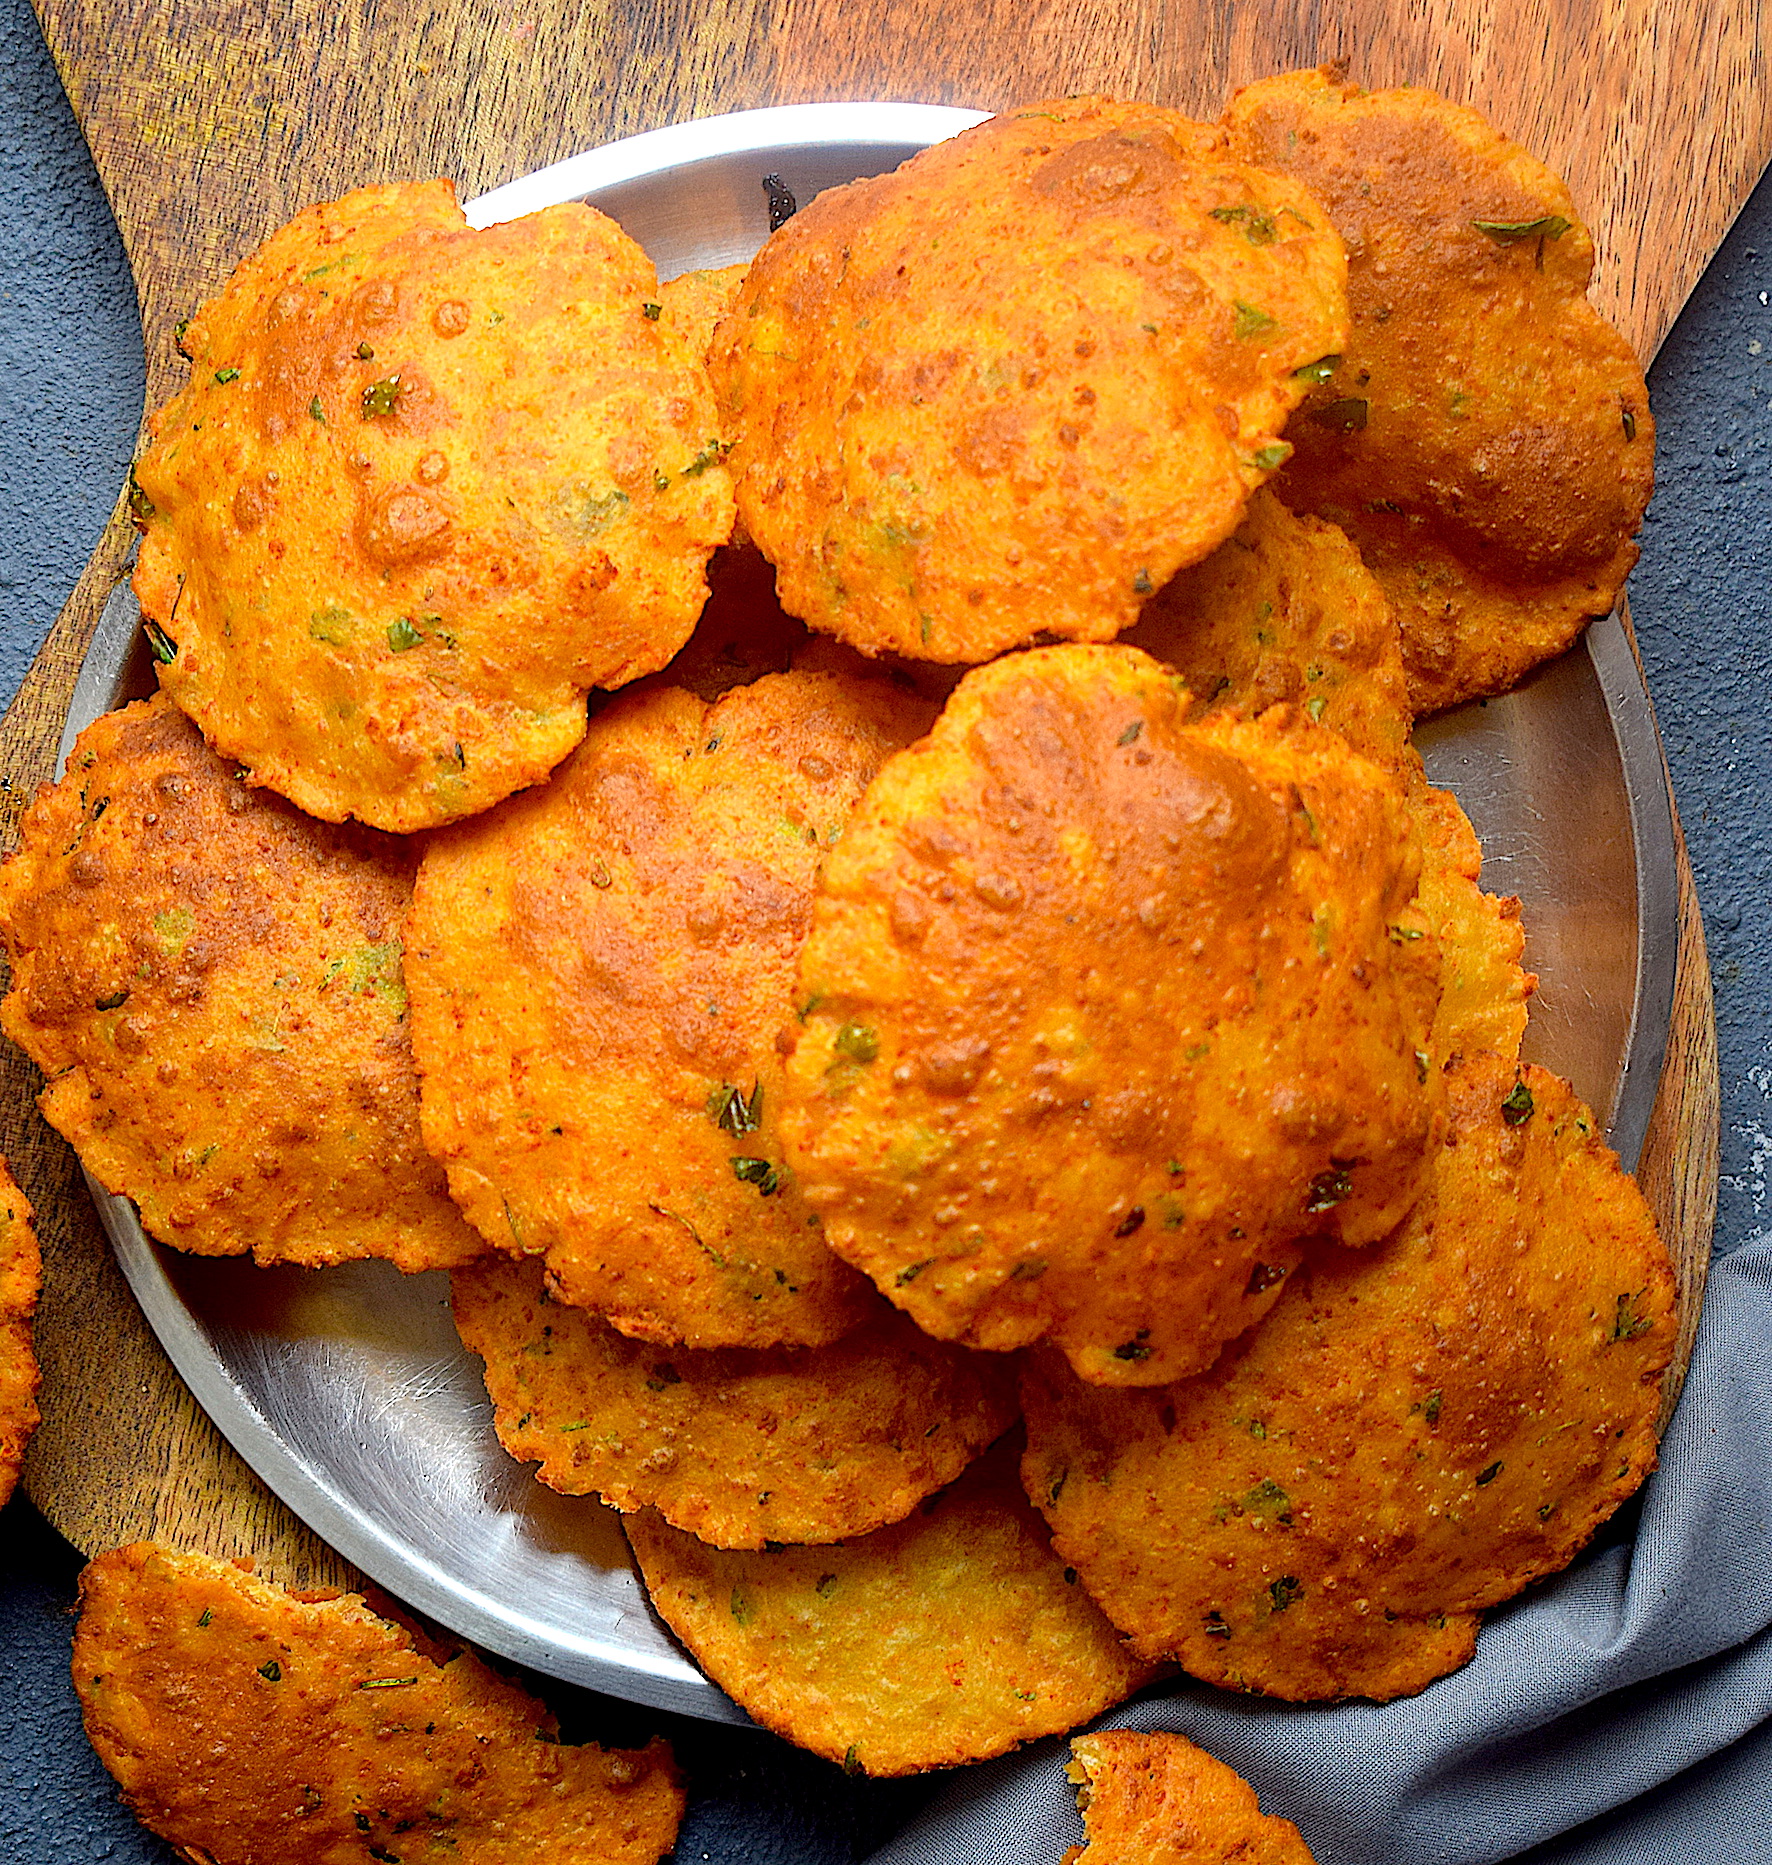
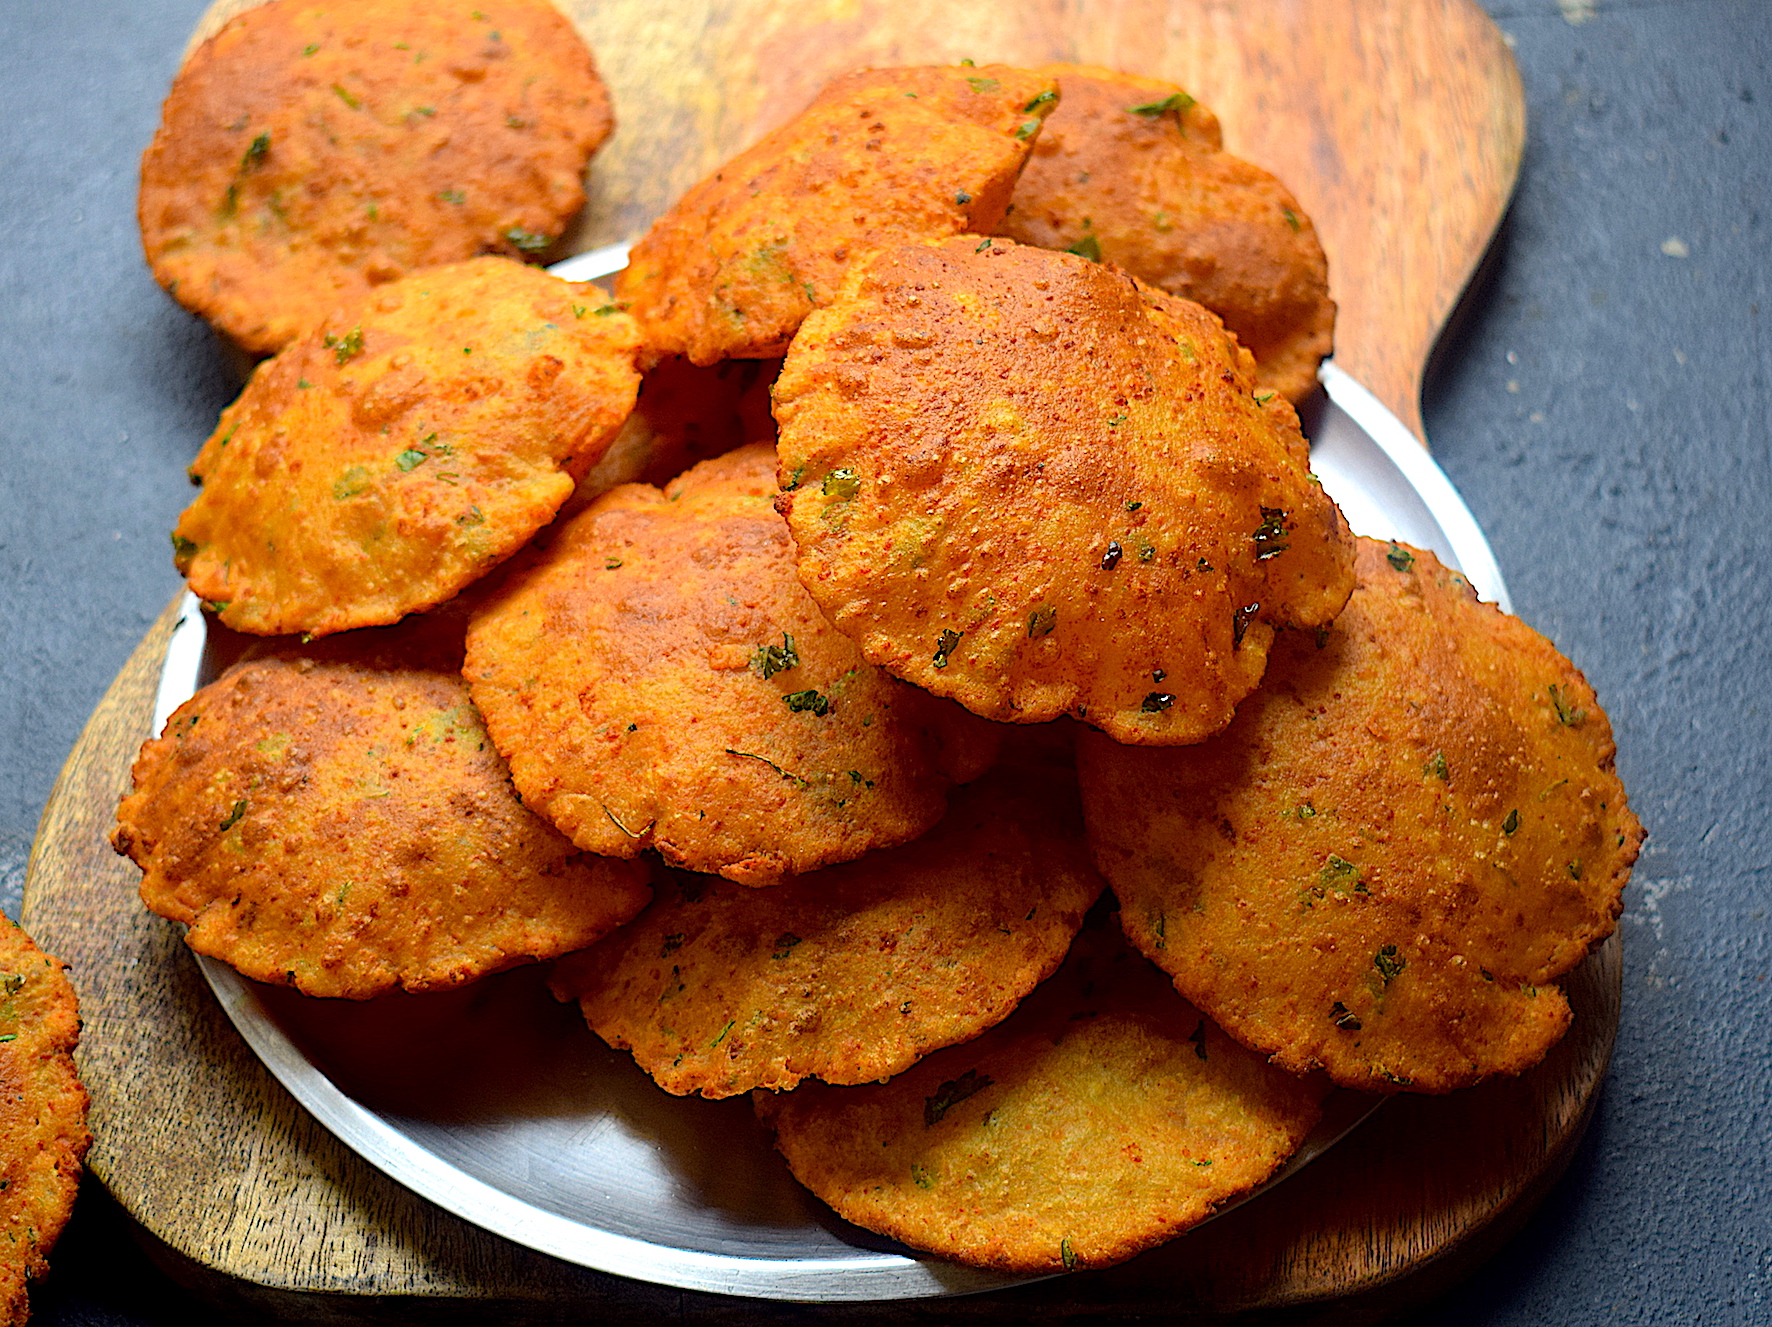
I am a big fan of puris. Though in Assam we have luchis, which are lighter and fluffier flatbreads, I don’t mind puris as well. India serves its people so many varieties of puris. Spinach, masala, potatoes – there is something for everyone! But have you ever heard of masala paneer or cottage cheese puri?
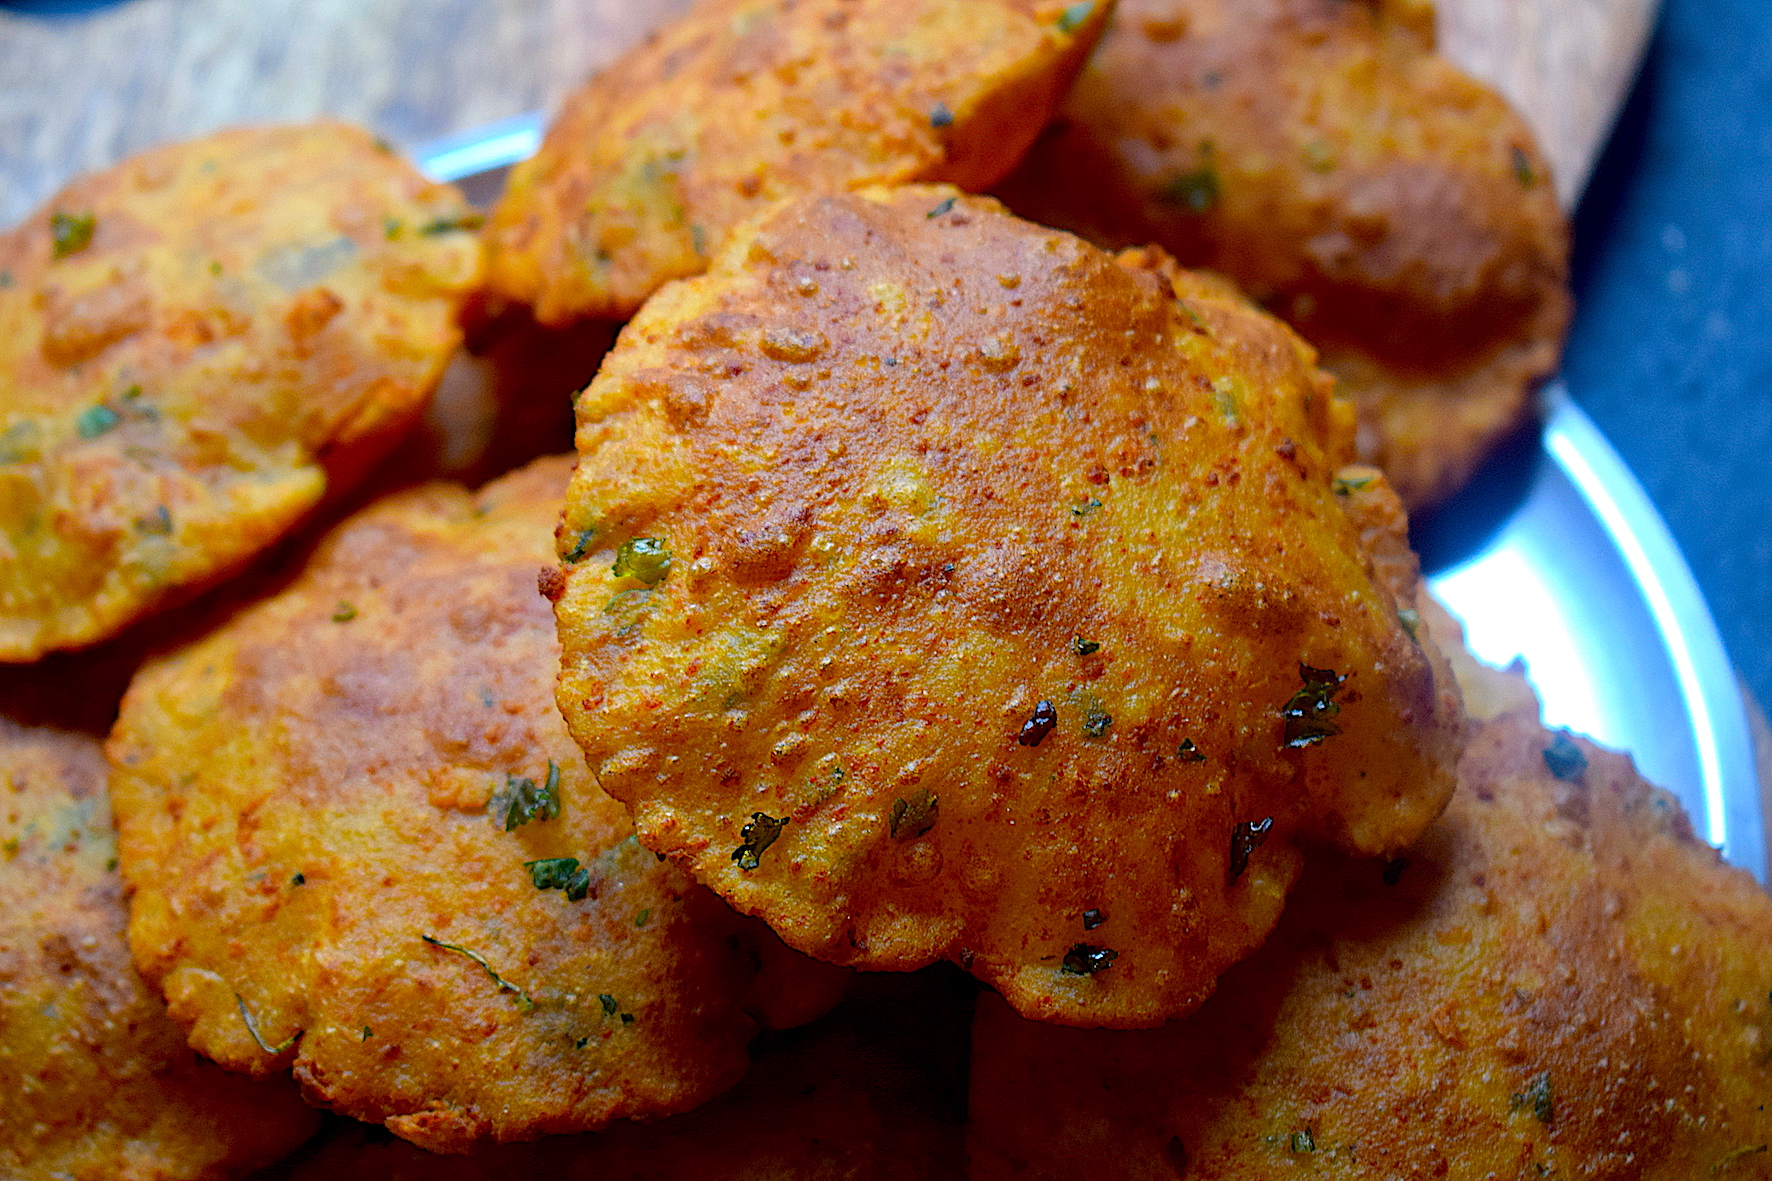
Well, I had not either till I experimented with these whole wheat paneer puris one day. The results were so fabulous that it took me by surprise. These puris are not just yummy, but so crunchy and perfect. It is just one of my best discoveries and it will blow you away too, I promise.
So let’s get straight to the recipe without any delay:
Preparation time – 30 minutes
Cook time – 20 minutes
Serves – 3-4 people
[ingredients title=”Ingredients”]
250 g whole wheat flour (atta)
1 tbsp ghee
200 g paneer (cottage cheese)
2 tsp Kashmiri red chili powder
50 g coriander leaves, finely chopped
2 tsp carrom seeds (ajwain)
1 tsp garam masala
Salt to taste
2 tbsp Kasuri methi or dried fenugreek leaves
Water for kneading
Refined oil for deep frying [/ingredients]
[directions title=”Directions”]
Grate the paneer and add it to the whole wheat flour in a mixing bowl. Mix the two together gently with your fingers, forming a light crumble.
Add the ghee and mix it well with the flour.
Mix the salt, carrom seeds, red chili powder, fenugreek seeds, chopped coriander leaves and garam masala to the flour and paneer mix. Combine everything well with your hands.
Add water at room temperature, little by little, till a soft dough is formed. Add water in intervals, to ensure the dough doesn’t get too sticky. You will not need too much water because the cottage cheese will release some water into the dough as well.
Once the dough is ready, rub it with some oil on all sides. Cover and keep it aside for 30 minutes.
Make small rounds with the dough. Roll them out with a rolling pin into small puris. Don’t make them too thick or thin.
Heat oil in a kadhai. The oil should be enough that the puri gets completely immersed in it.
Once the oil is hot, fry the puris. Press it with your cooking spoon and let the puri get immersed in the oil. Flip the puri and cook both sides.
Enjoy hot and crispy with chole, raita, subzi or gobble them up just like that! [/directions]
If you are new to the kitchen or are confused about what to buy for my recipes/kitchen tools, I can help. I have curated a special list that you can order right from Amazon and get the best products for your kitchen. Click here to explore.
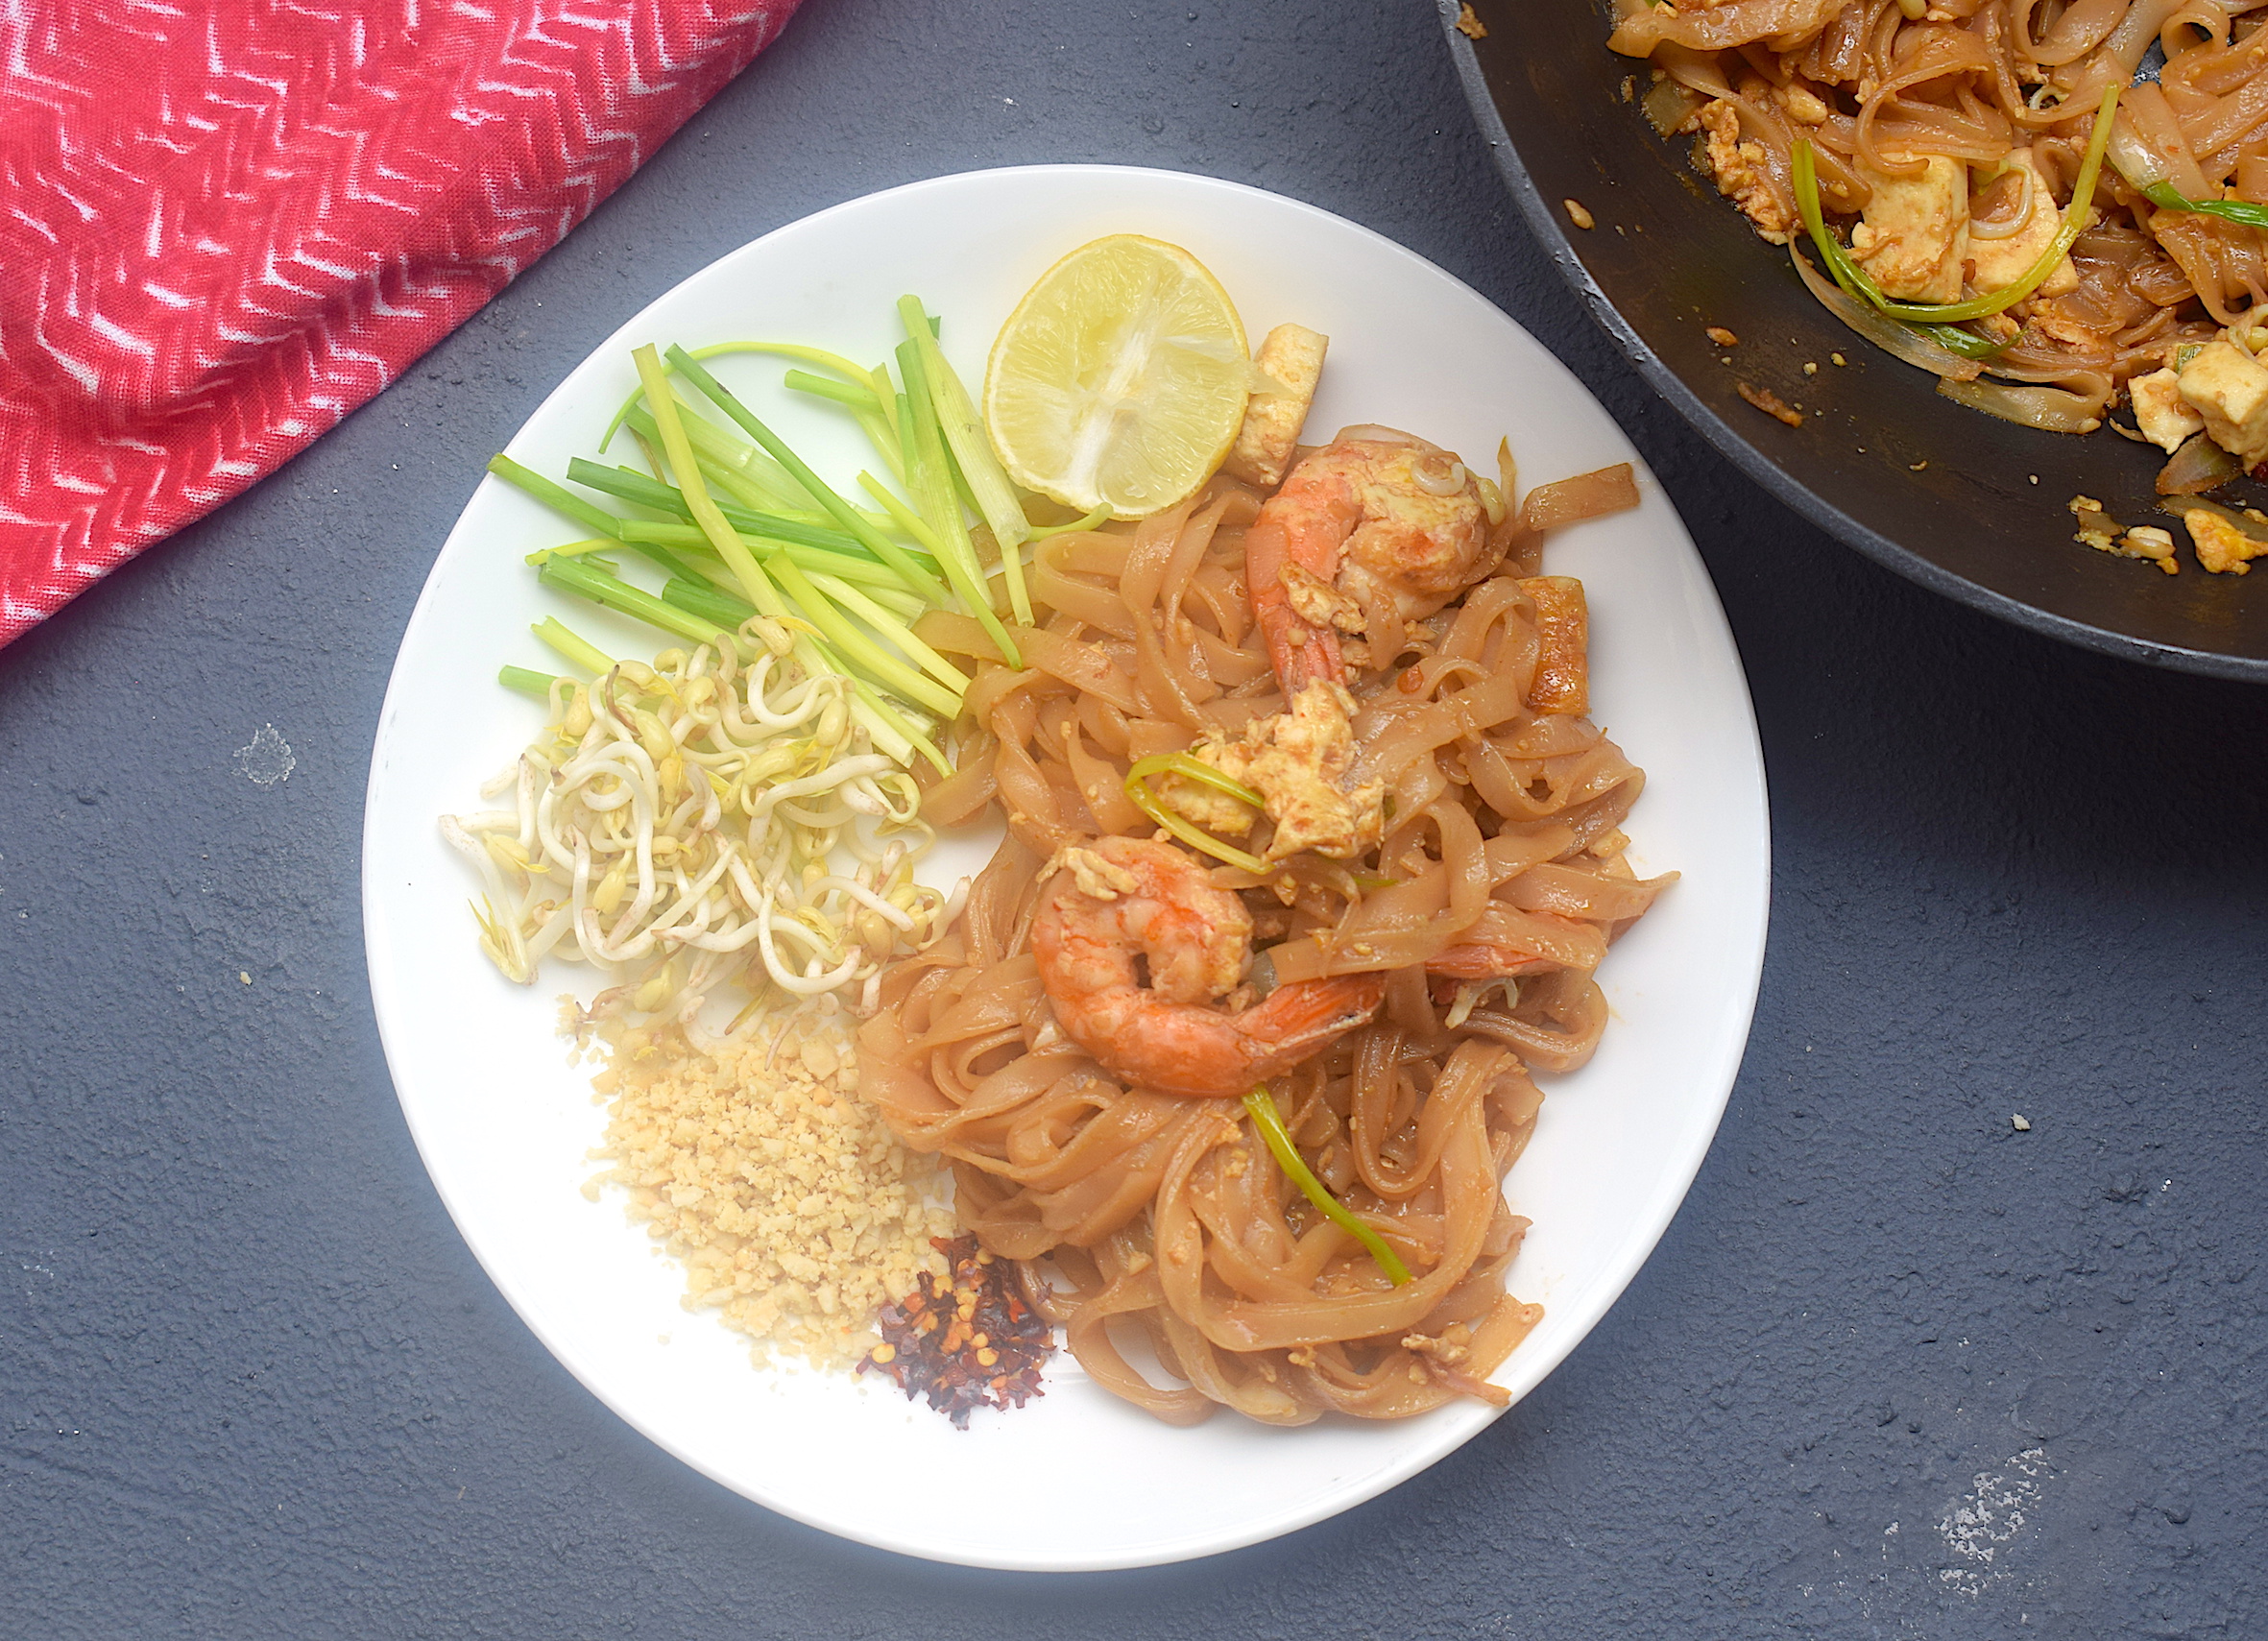
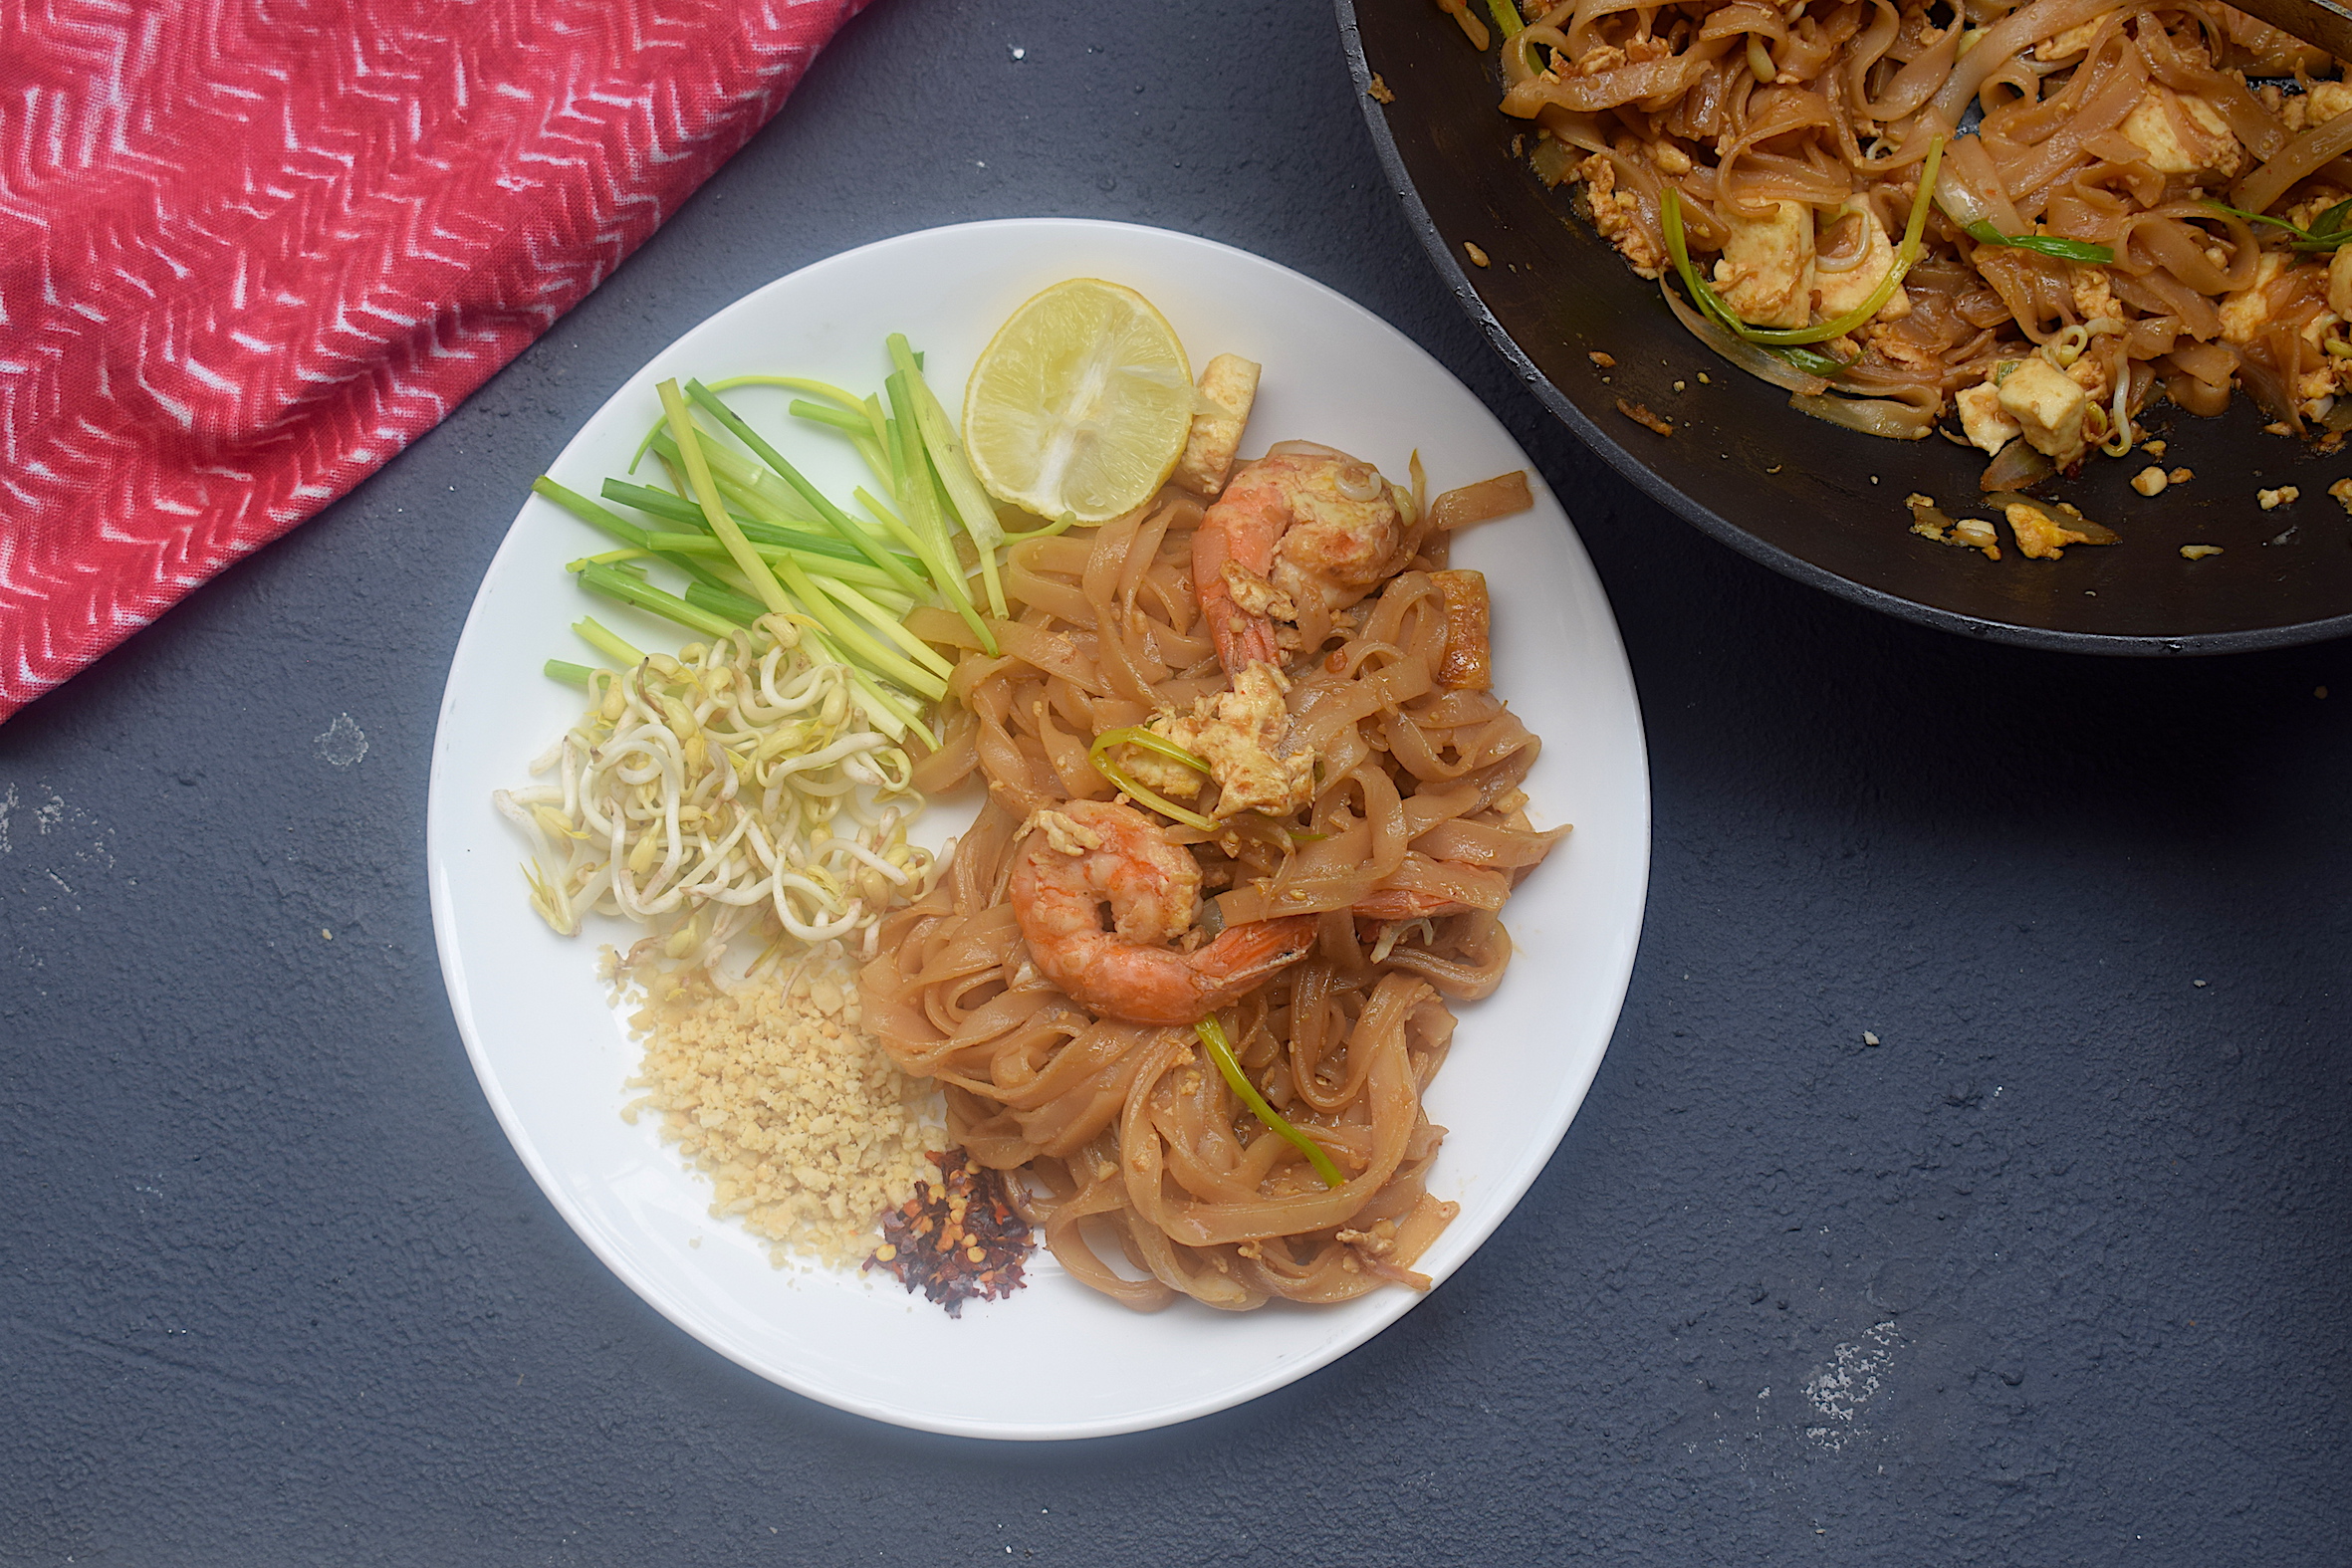
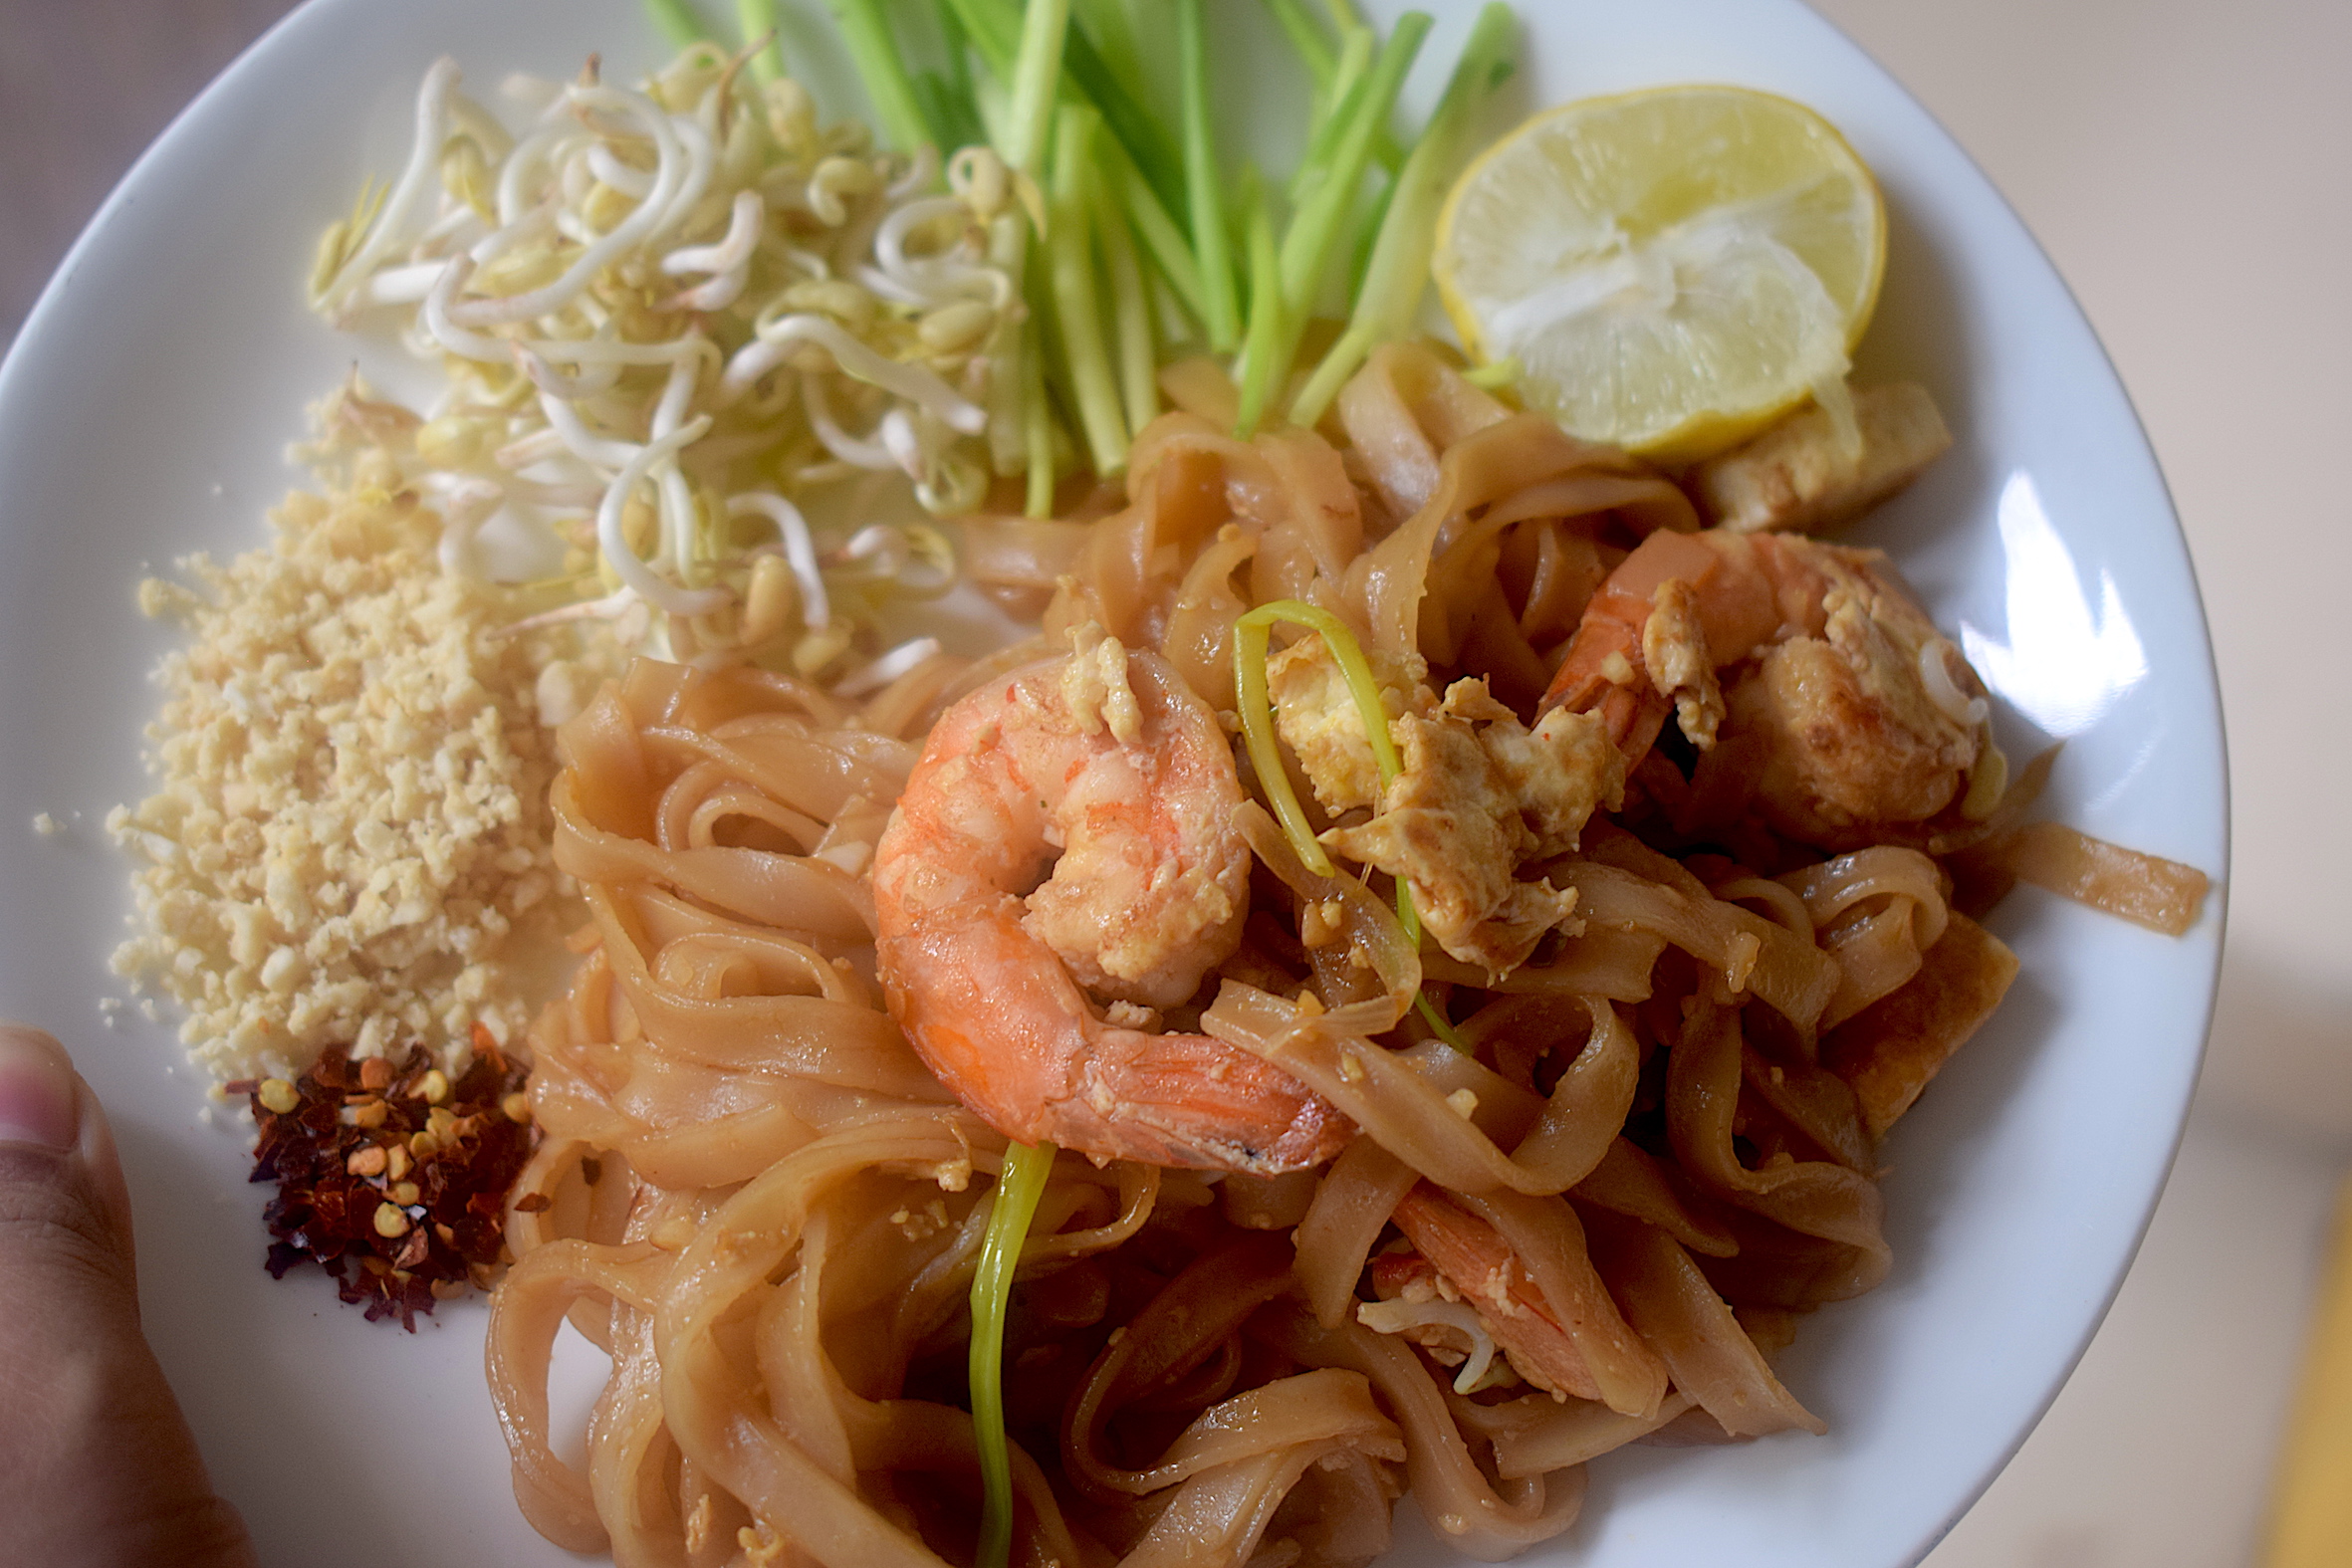
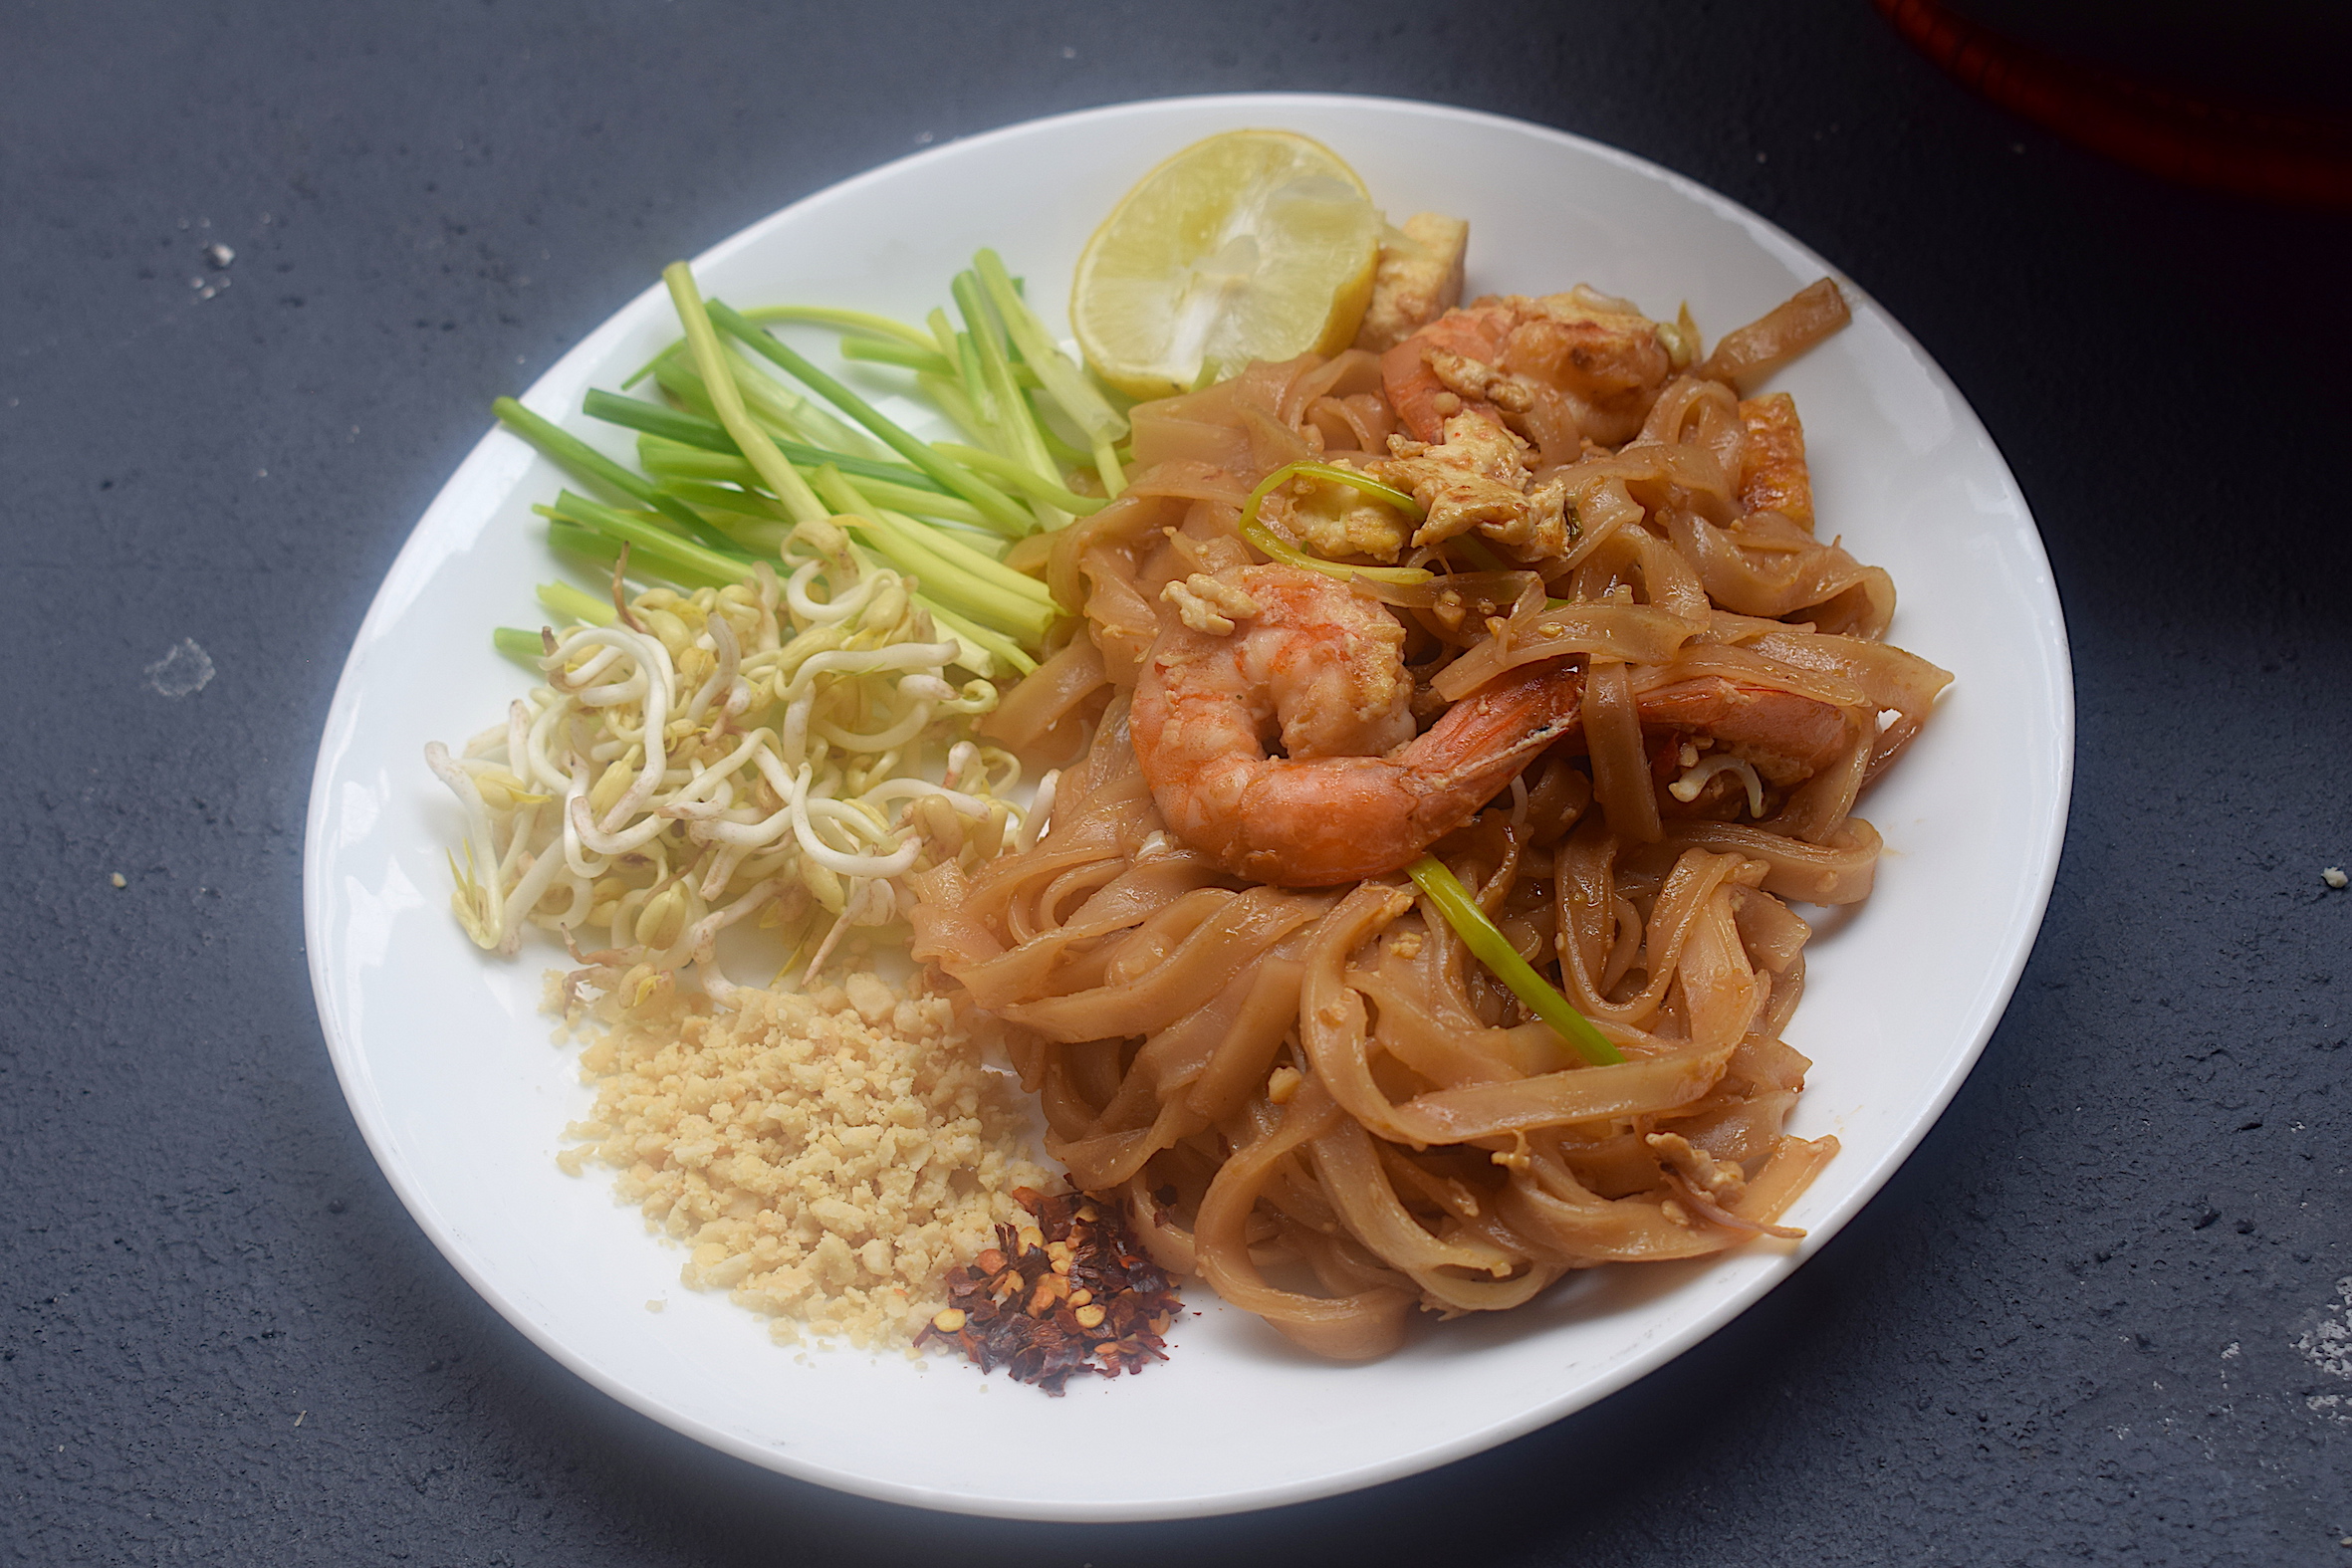
Pad Thai noodles is an epic dish. It is not only found in almost every street corner in Thailand, the world has opened its arms and embraced this beautiful noodle dish because of its simplicity and divine taste. I have been a big fan for years now. I whip it up in my kitchen every once in a while. Trust me, it is very easy. Just make sure you have some key ingredients and in no time you can make this recipe for yourself in the comfort of your homes!
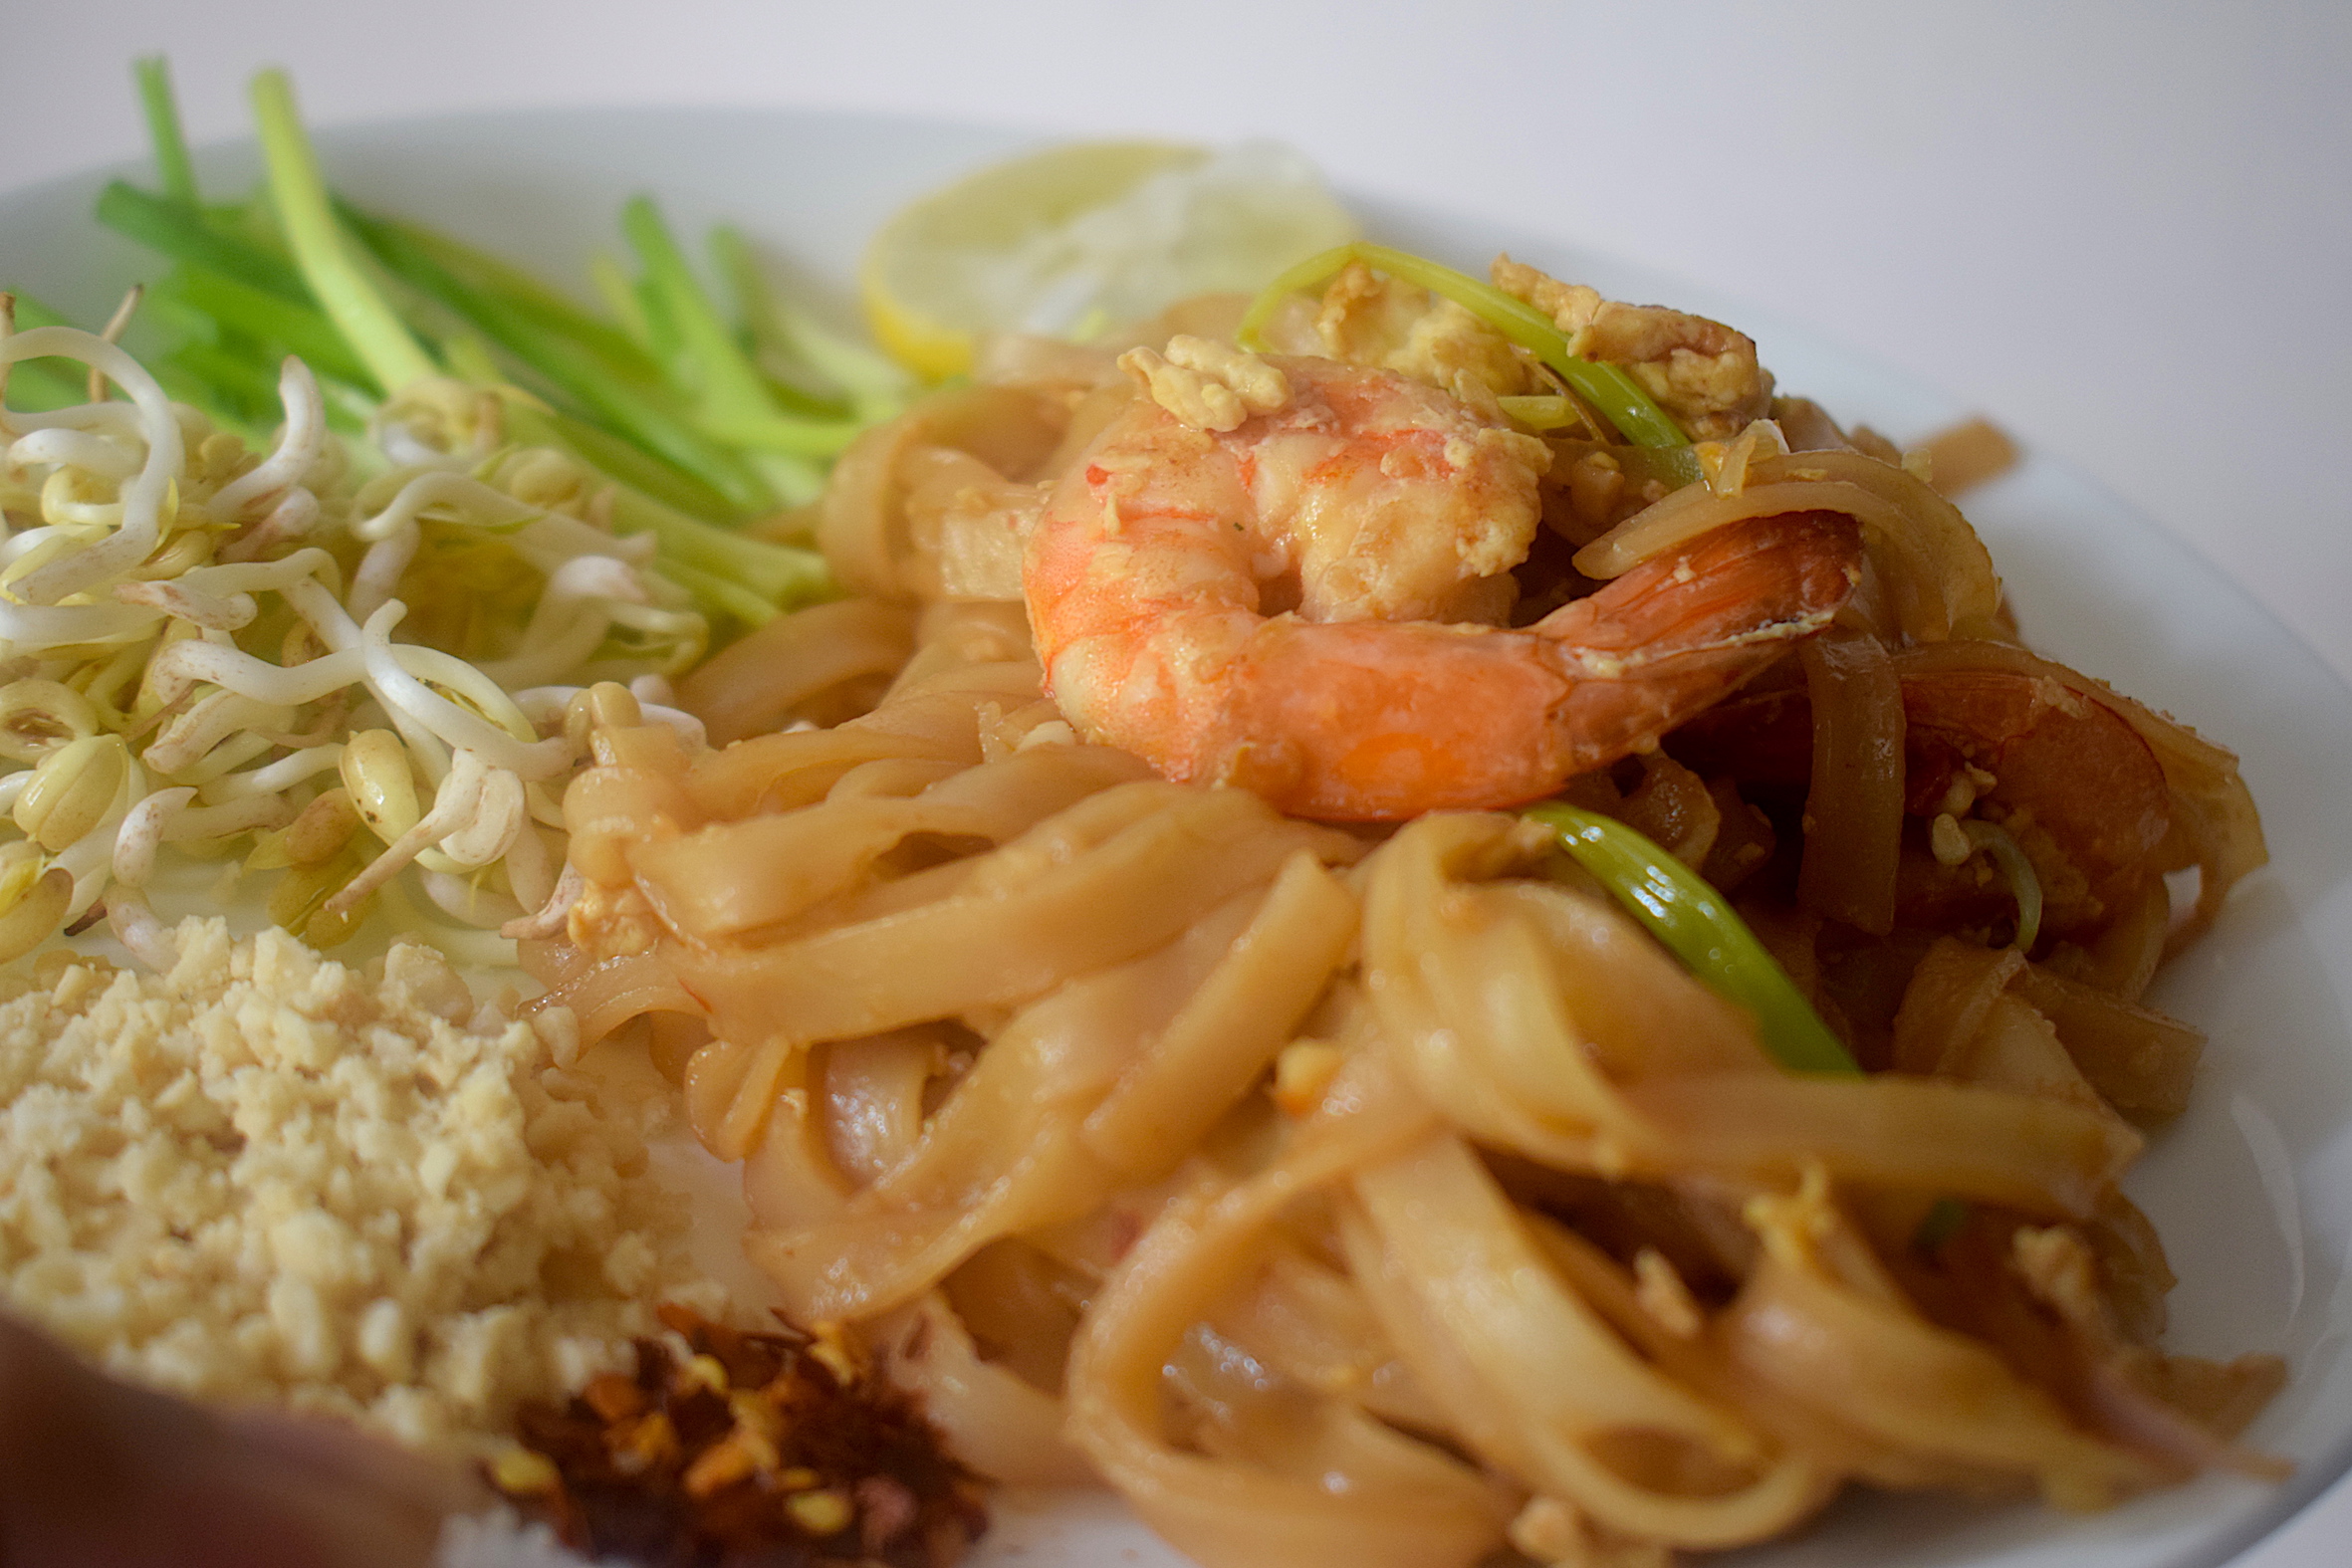
Pad Thai Noodles has it all in terms of taste and texture. Flavors include sweetness, fiery sauces, salt and an equal amount of sourness from lime and vinegar. You can add one or more protein to your pad thai noodles, be it chicken, shrimp or tofu. Eggs are a must add in street style pad thai noodles and they make it extra yum! I have gone ahead and added more than one protein because, why not? 😀
The most important ingredient that you most probably might not have are mung bean sprouts. I usually grow them at home, it takes about 3-6 days. They are also available in the market but not so much in India. So you can either grow your own (they are super simple to grow btw) or get it from a store if you wish. I suggest a homemade version because that will be super fresh. I usually make a large batch and store it for weeks in the refrigerator.
So take note of some key ingredients and you will be good to go.
Preparation time – 15 minutes
Cook time – 15 minutes
Serves – 2
[ingredients title=”Ingredients”]
For the sauce:
4 tbsp lime juice
1 tbsp crushed palm sugar/regular sugar
2 tbsp rice vinegar
2 tbsp Sriracha sauce
2 tbsp fish sauce
For the noodles:
1 tbsp vegetable oil
1/2 onion, finely diced
20 g garlic, finely chopped
50 g tofu, cut into cubes
100 g shrimps, deveined and cleaned
2 eggs
100 g flat rice noodles
Green onions for garnish
A handful of mung bean sprouts
50 g crushed peanuts
Chili flakes for garnish
Salt to taste [/ingredients]
[directions title=”Directions”]
Soak the flat rice noodles in warm water for 30 minutes.
Make the pad thai sauce by mixing all the ingredients mentioned – lime juice, rice vinegar, sugar, Sriracha sauce and fish sauce. Mix well and save for cooking.
Heat oil in a wok. Add the garlic and onion and saute for about a minute.
Add the tofu and the shrimp to the wok, and fry for another two minutes. Cook the shrimp one minute on each side.
Shift the tofu and the shrimp to the sides of the wok, clearing out the middle. Break open to eggs into this and let it cook.
Be gentle with the egg and give it a light stir, eventually mixing it up with the rest of the ingredients in the wok.
Time to add the soaked noodles to the wok and mix well.
Pour in the pad thai sauce to this and mix it all up till every strand of the noodles gets soaked in the sauce.
Once done, add green onions, mung bean sprouts, and crushed peanut for extra crunch. Give it one last toss.
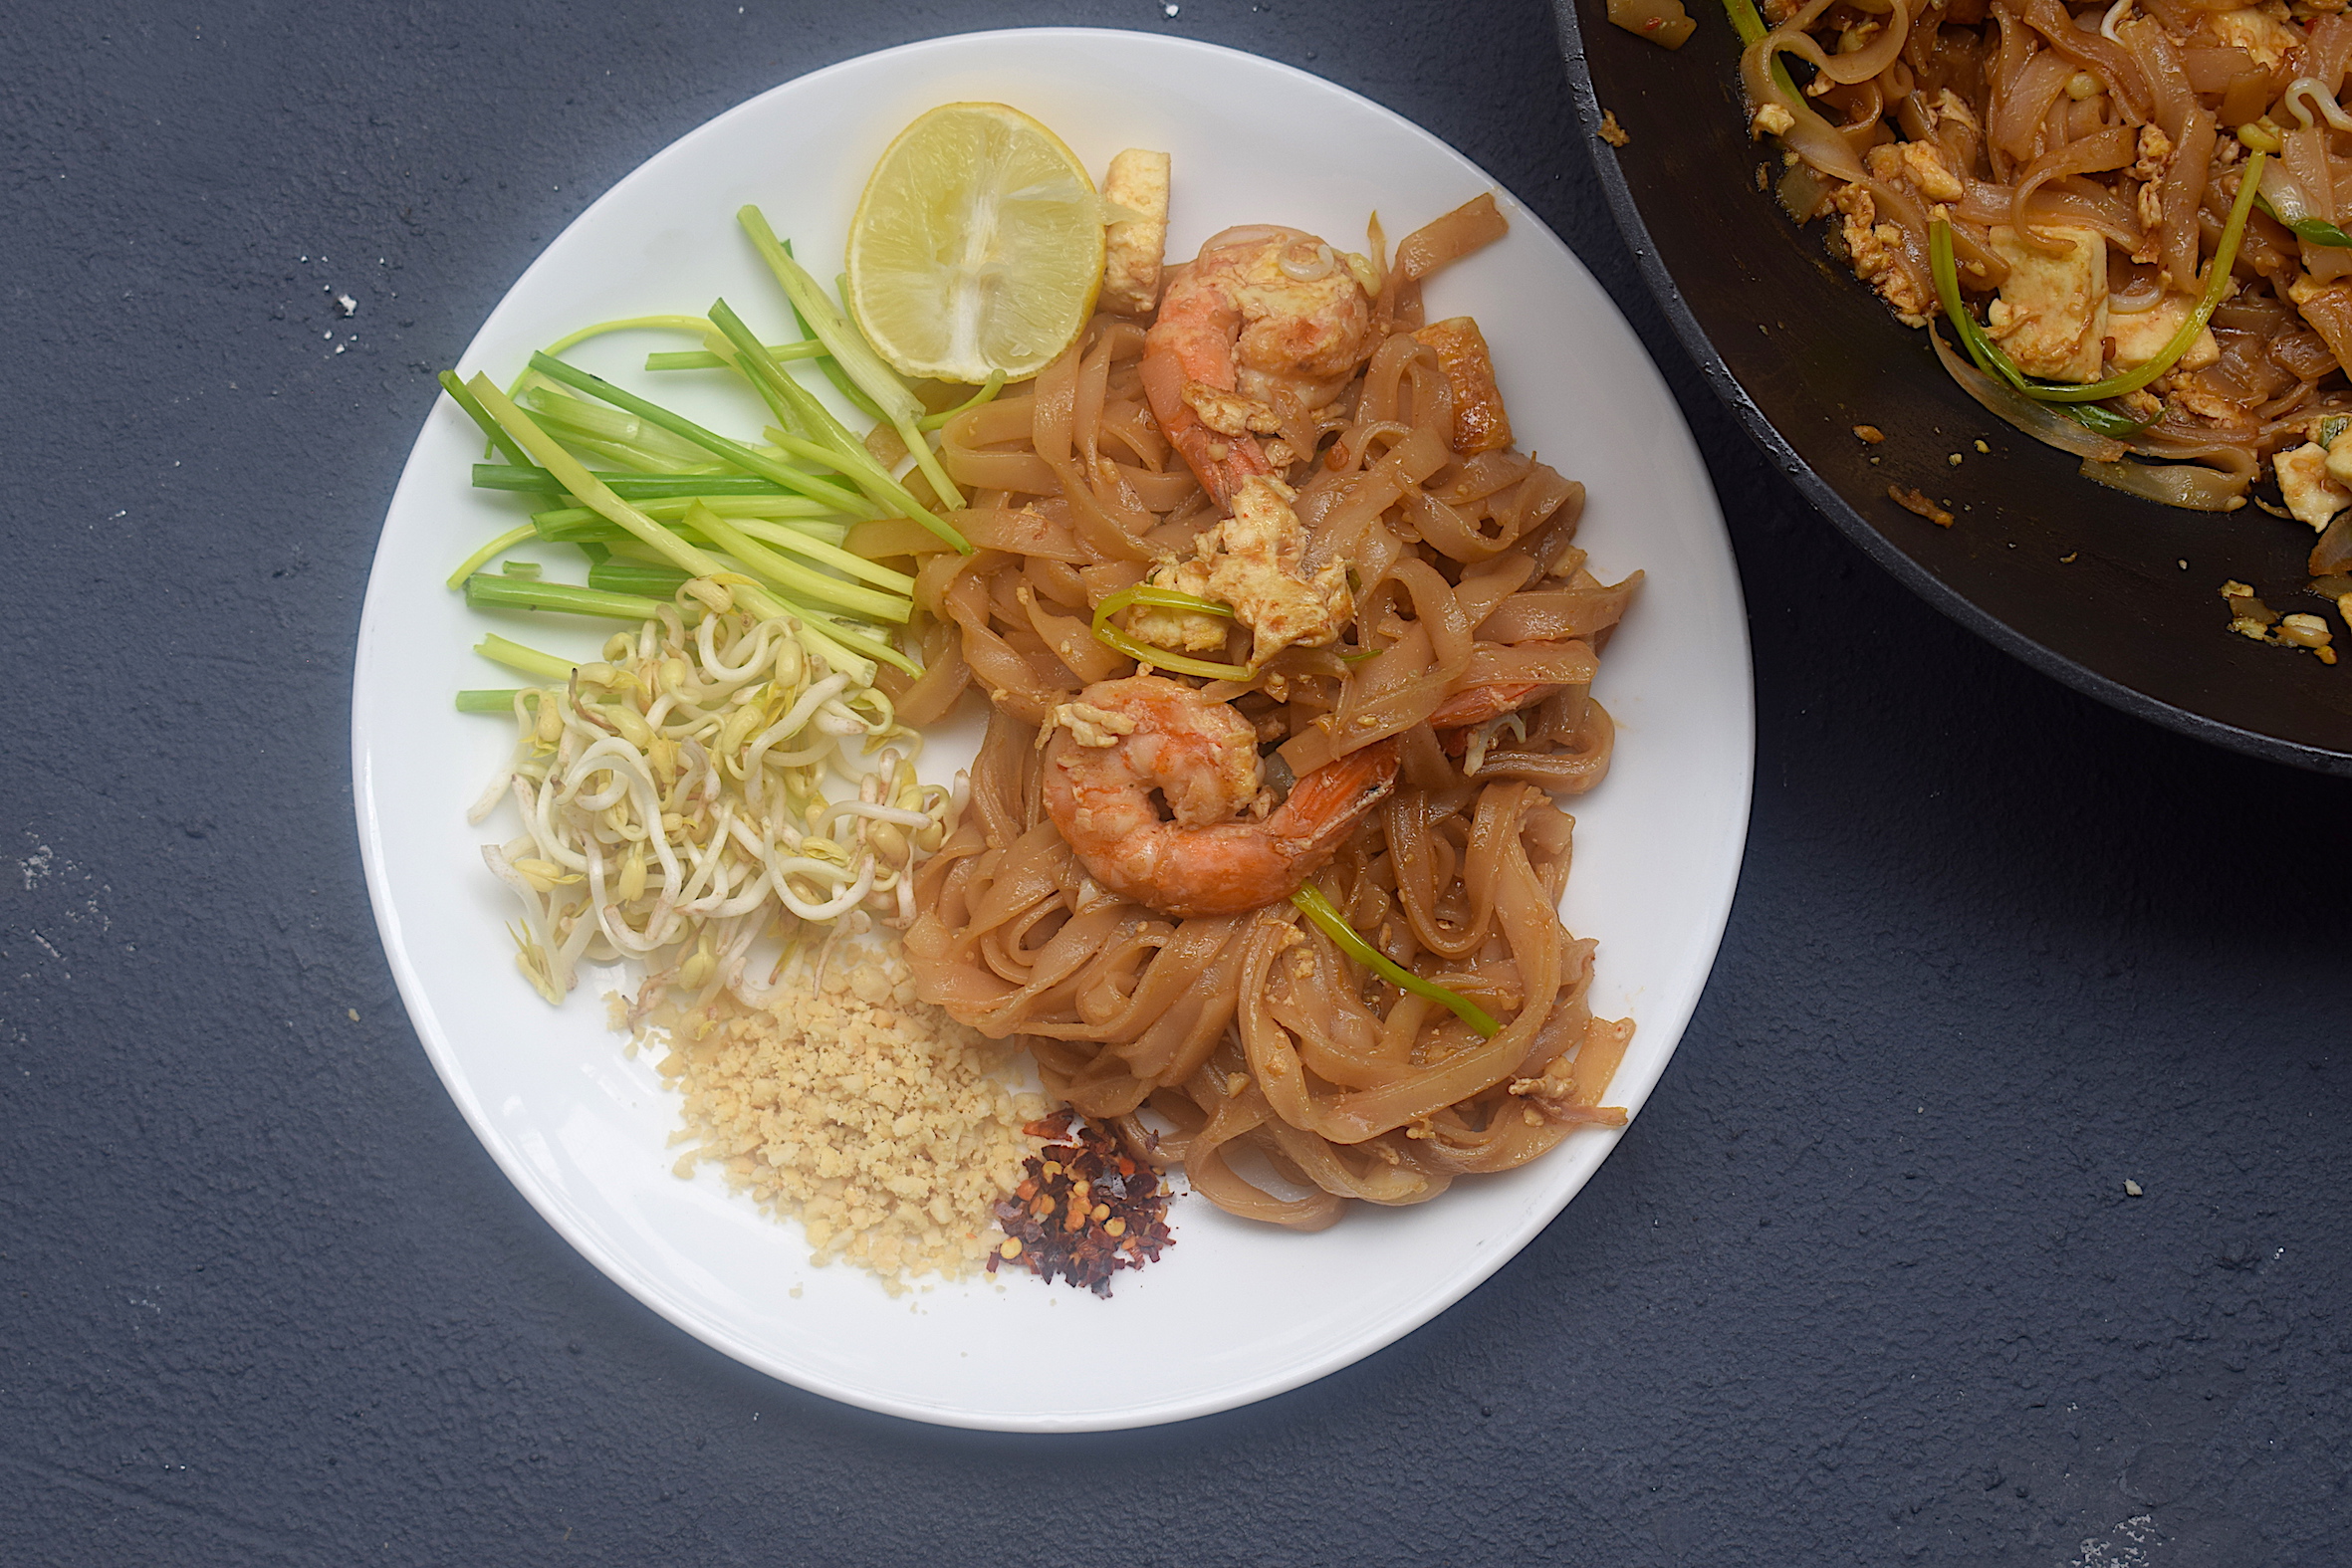
Serve on a plate with lime, bean sprouts, crushed peanut and chili flakes on the side. Serve hot! [/directions]
You will be amazed at how good this simple preparation tastes. Do try and let me know how it came out. Happy cooking!
My love for Thai cuisine has only grown recently. I was completely unaware of how amazing Thai food is until I actually started trying it out a lot at restaurants and Thailand itself. And man was I blown away!
The best part about Thai cuisine according to me is its freshness and the use of seasonal produce. There is way too much variety, be it for vegetables, herbs or fruits. Thailand is one place where I would even love to live for a while and learn about their cuisine from the local people. Any sponsors?
Why this Thai Basil Chicken?
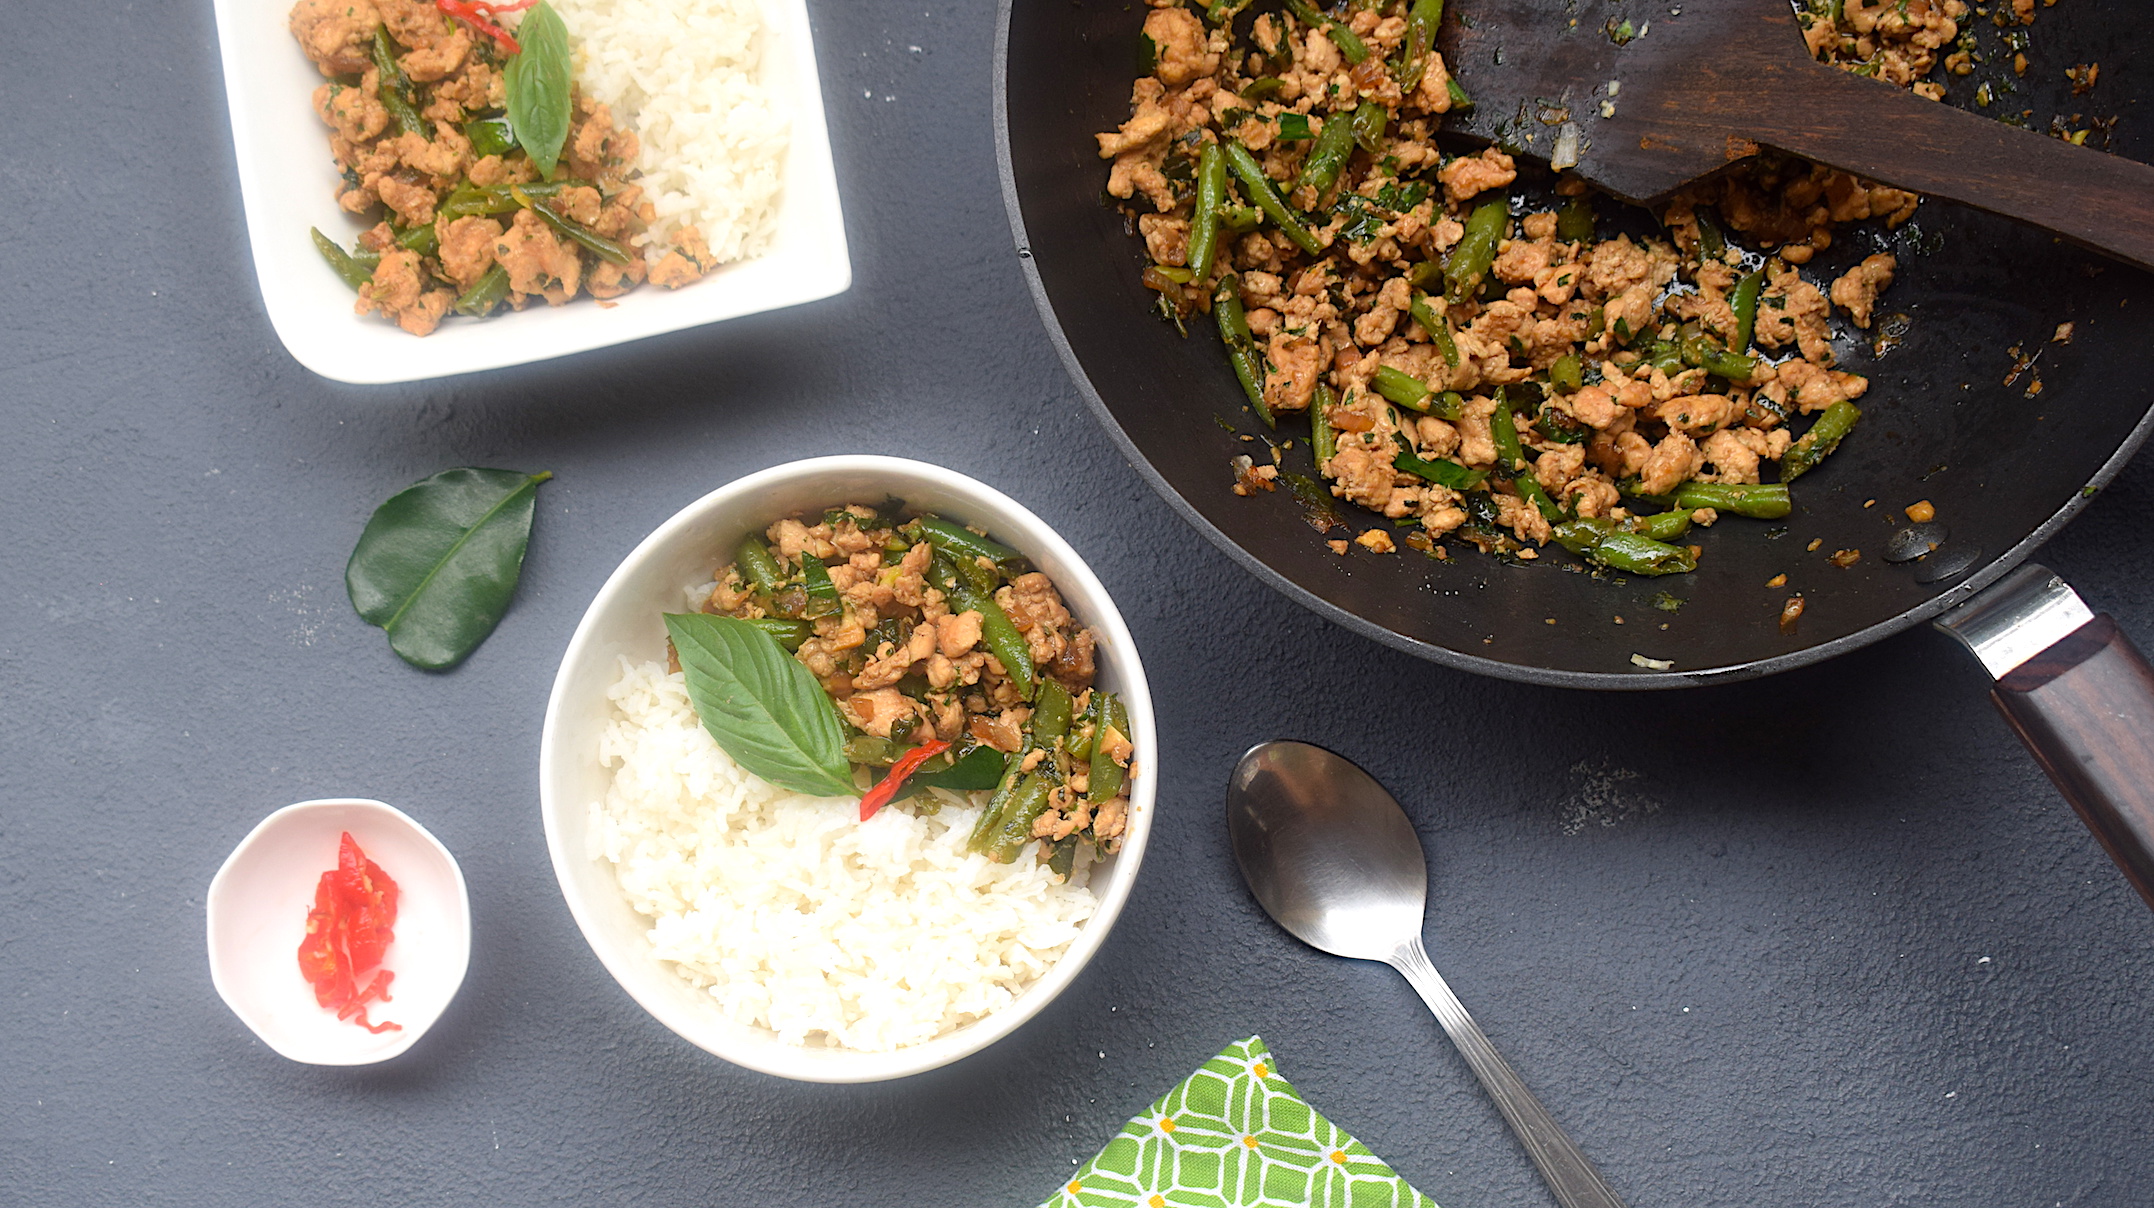
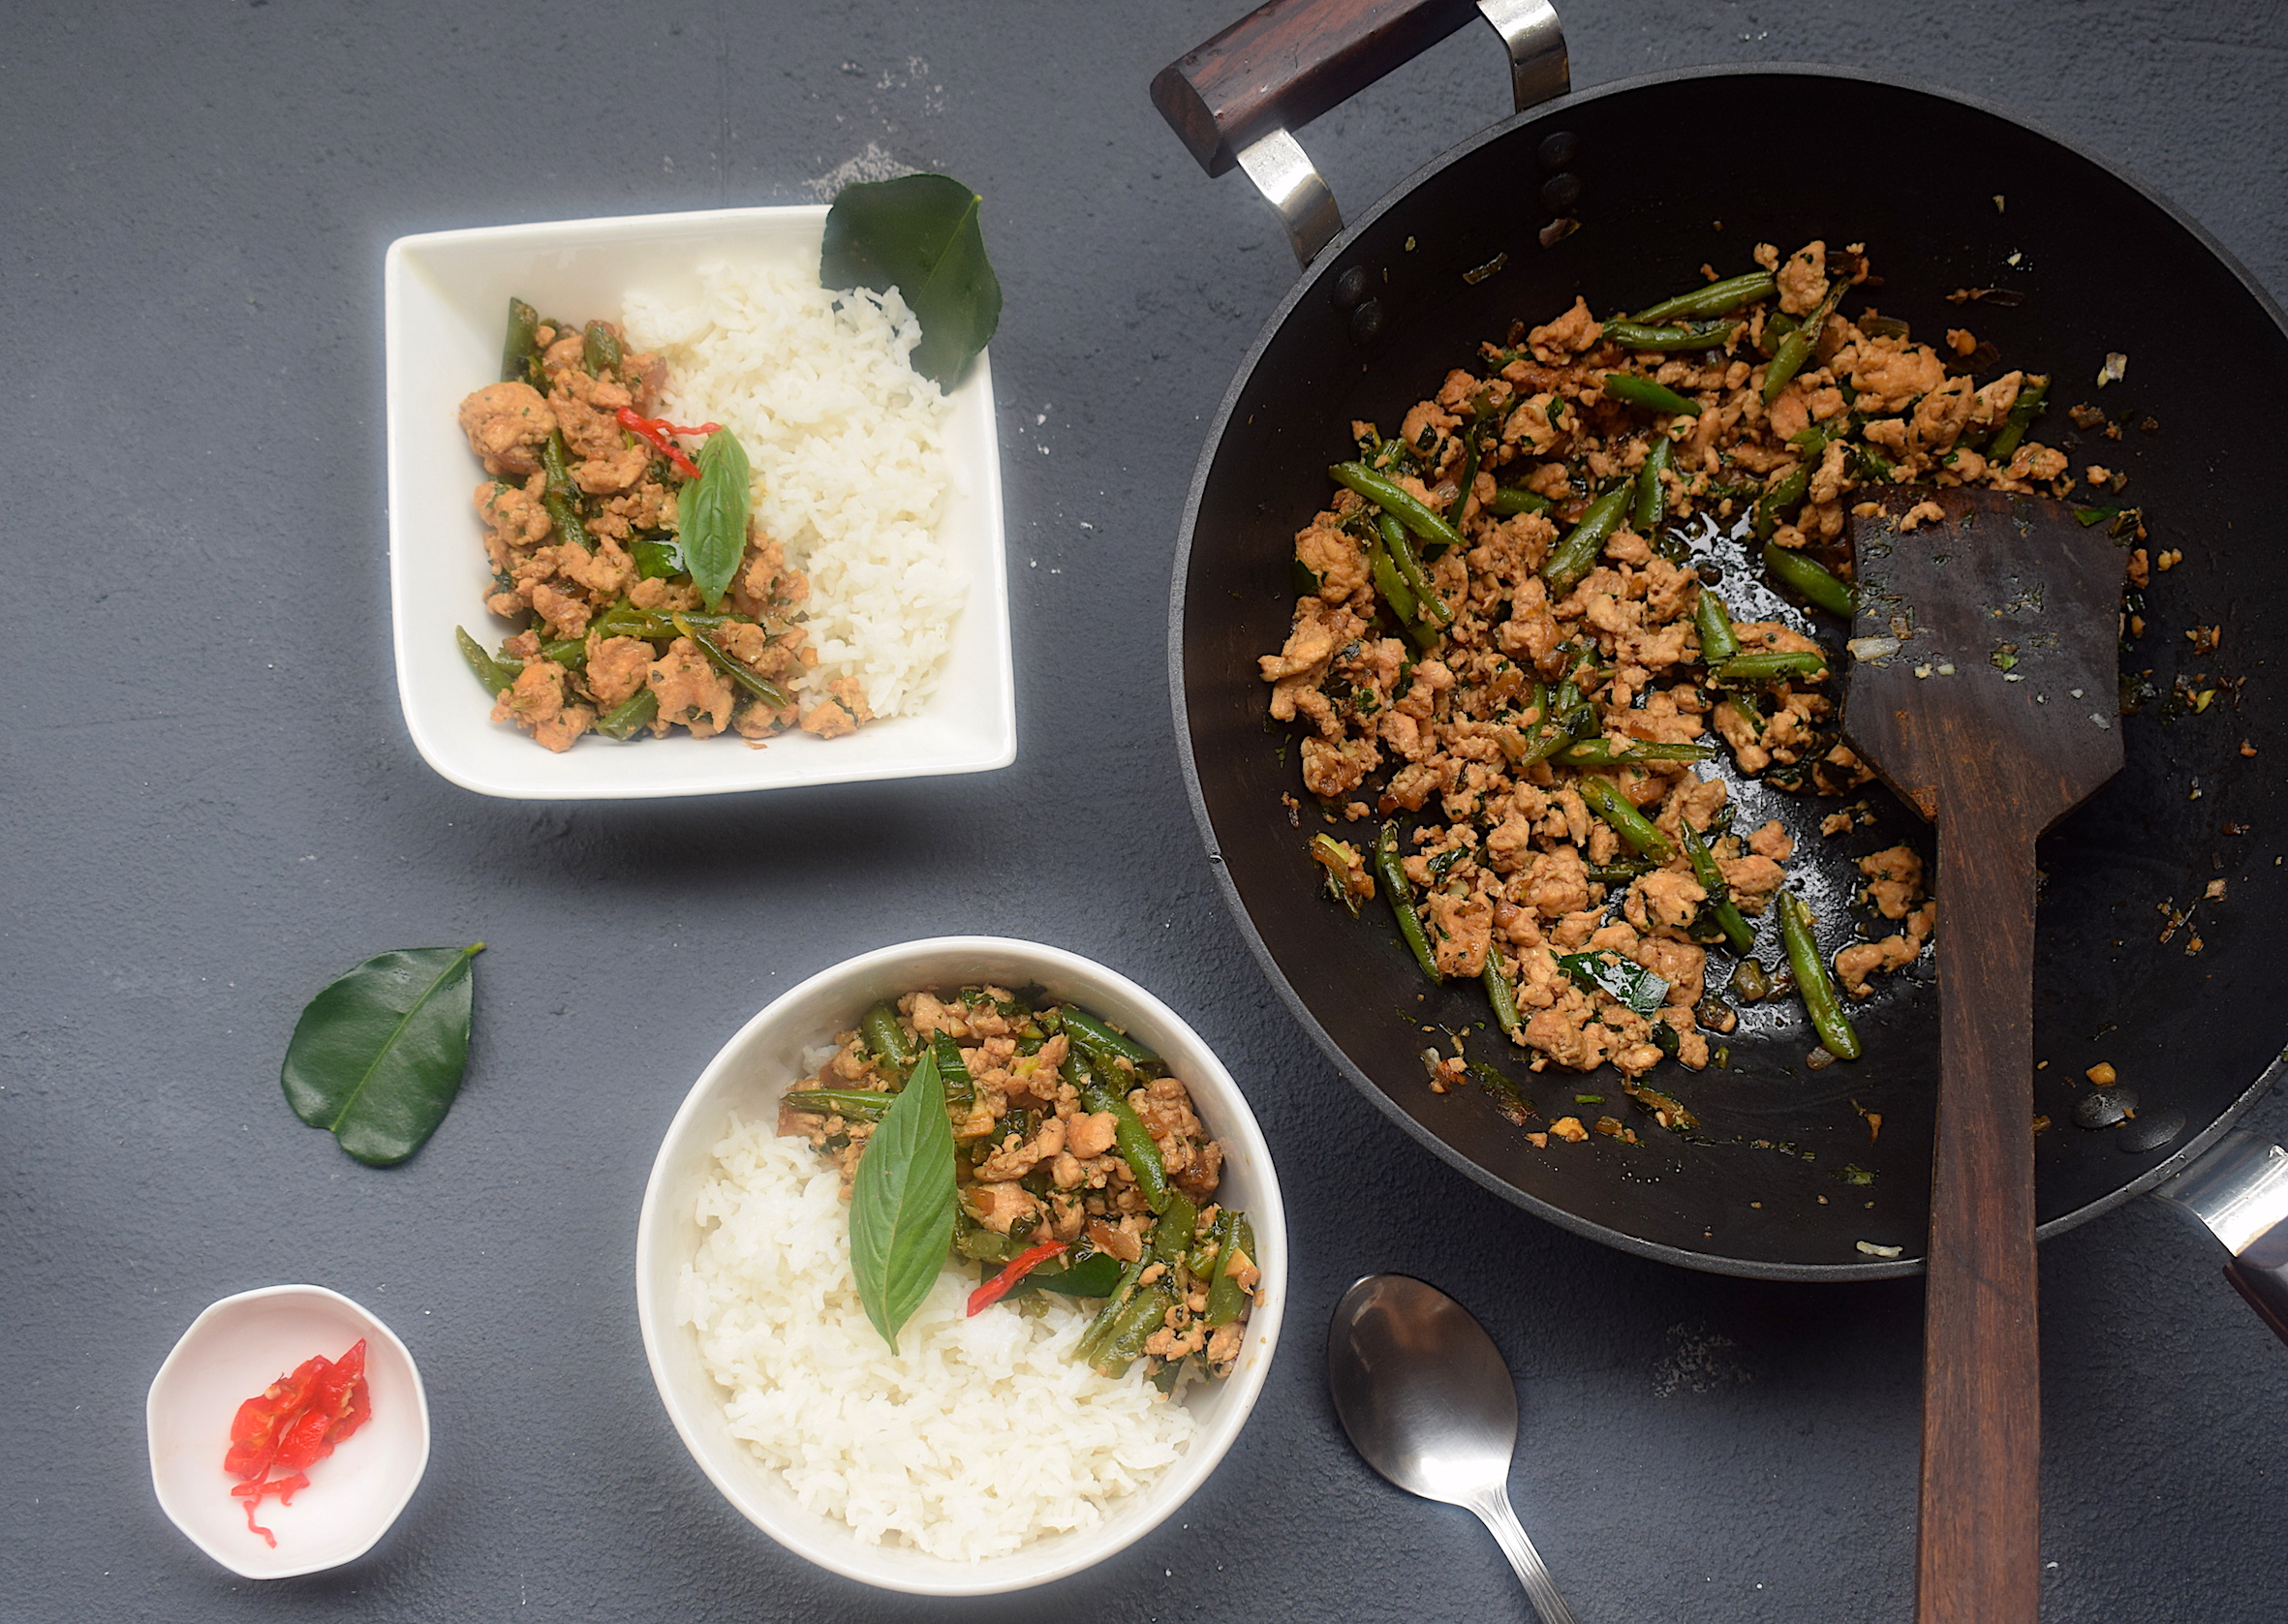
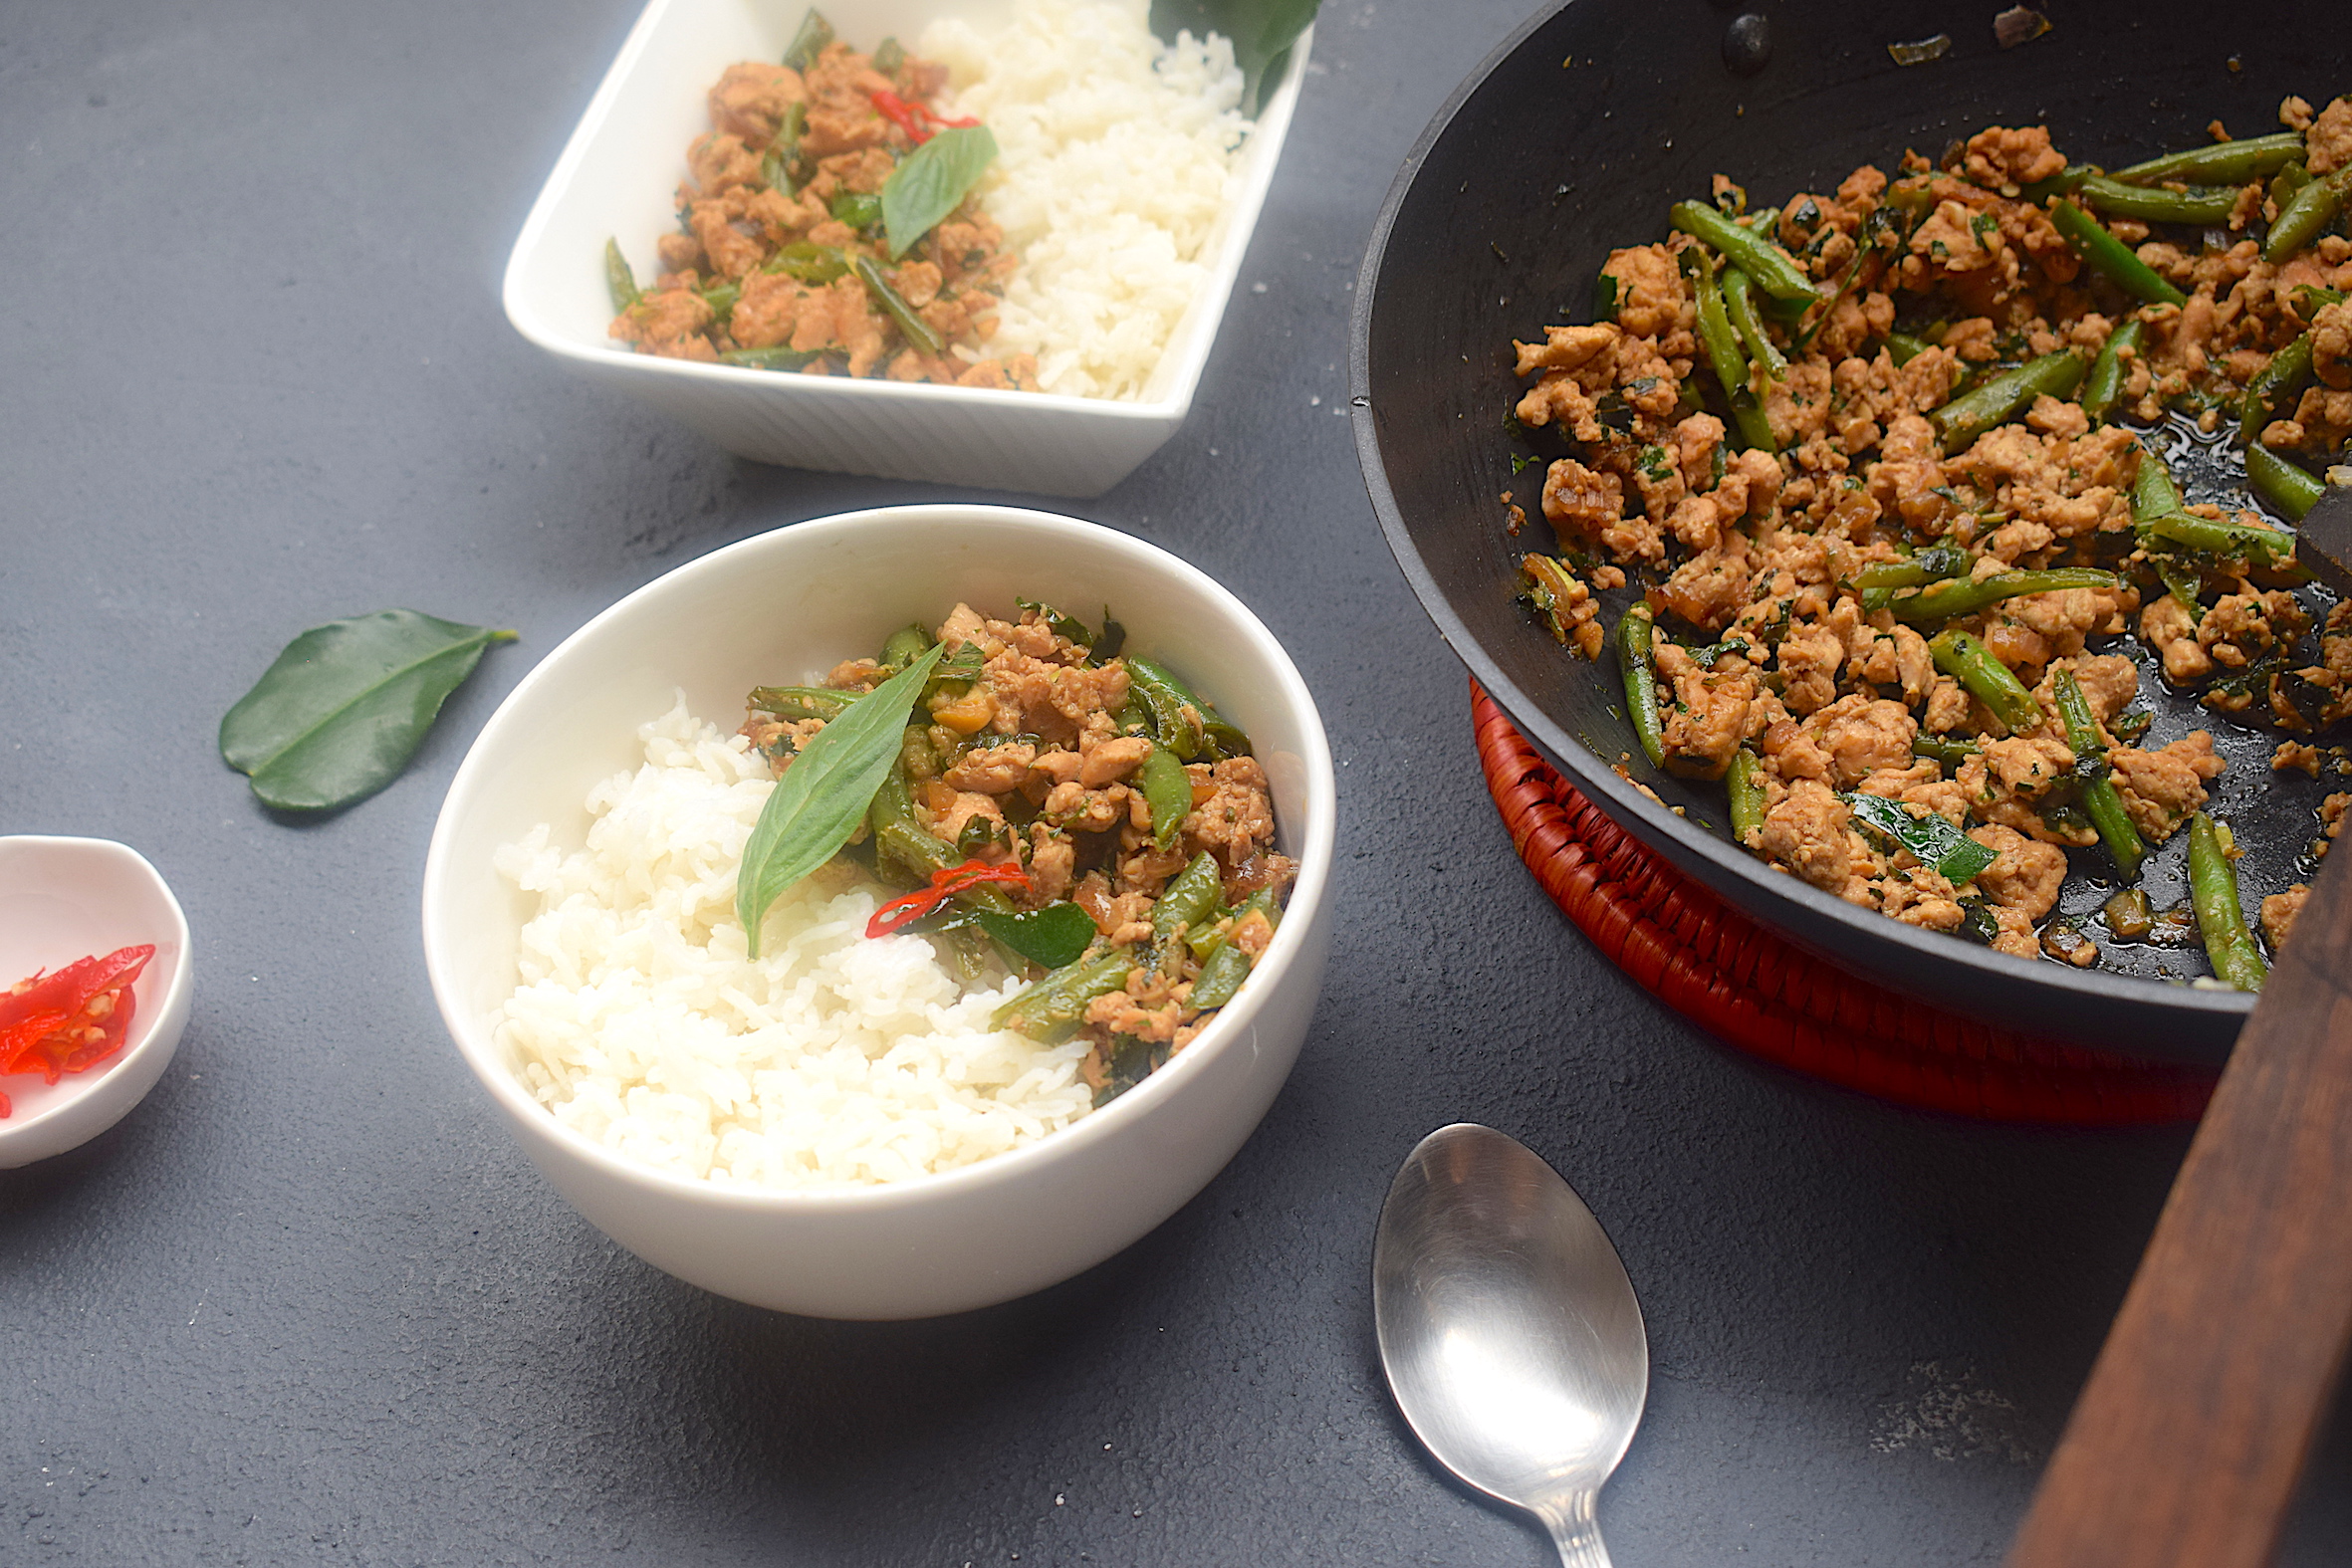
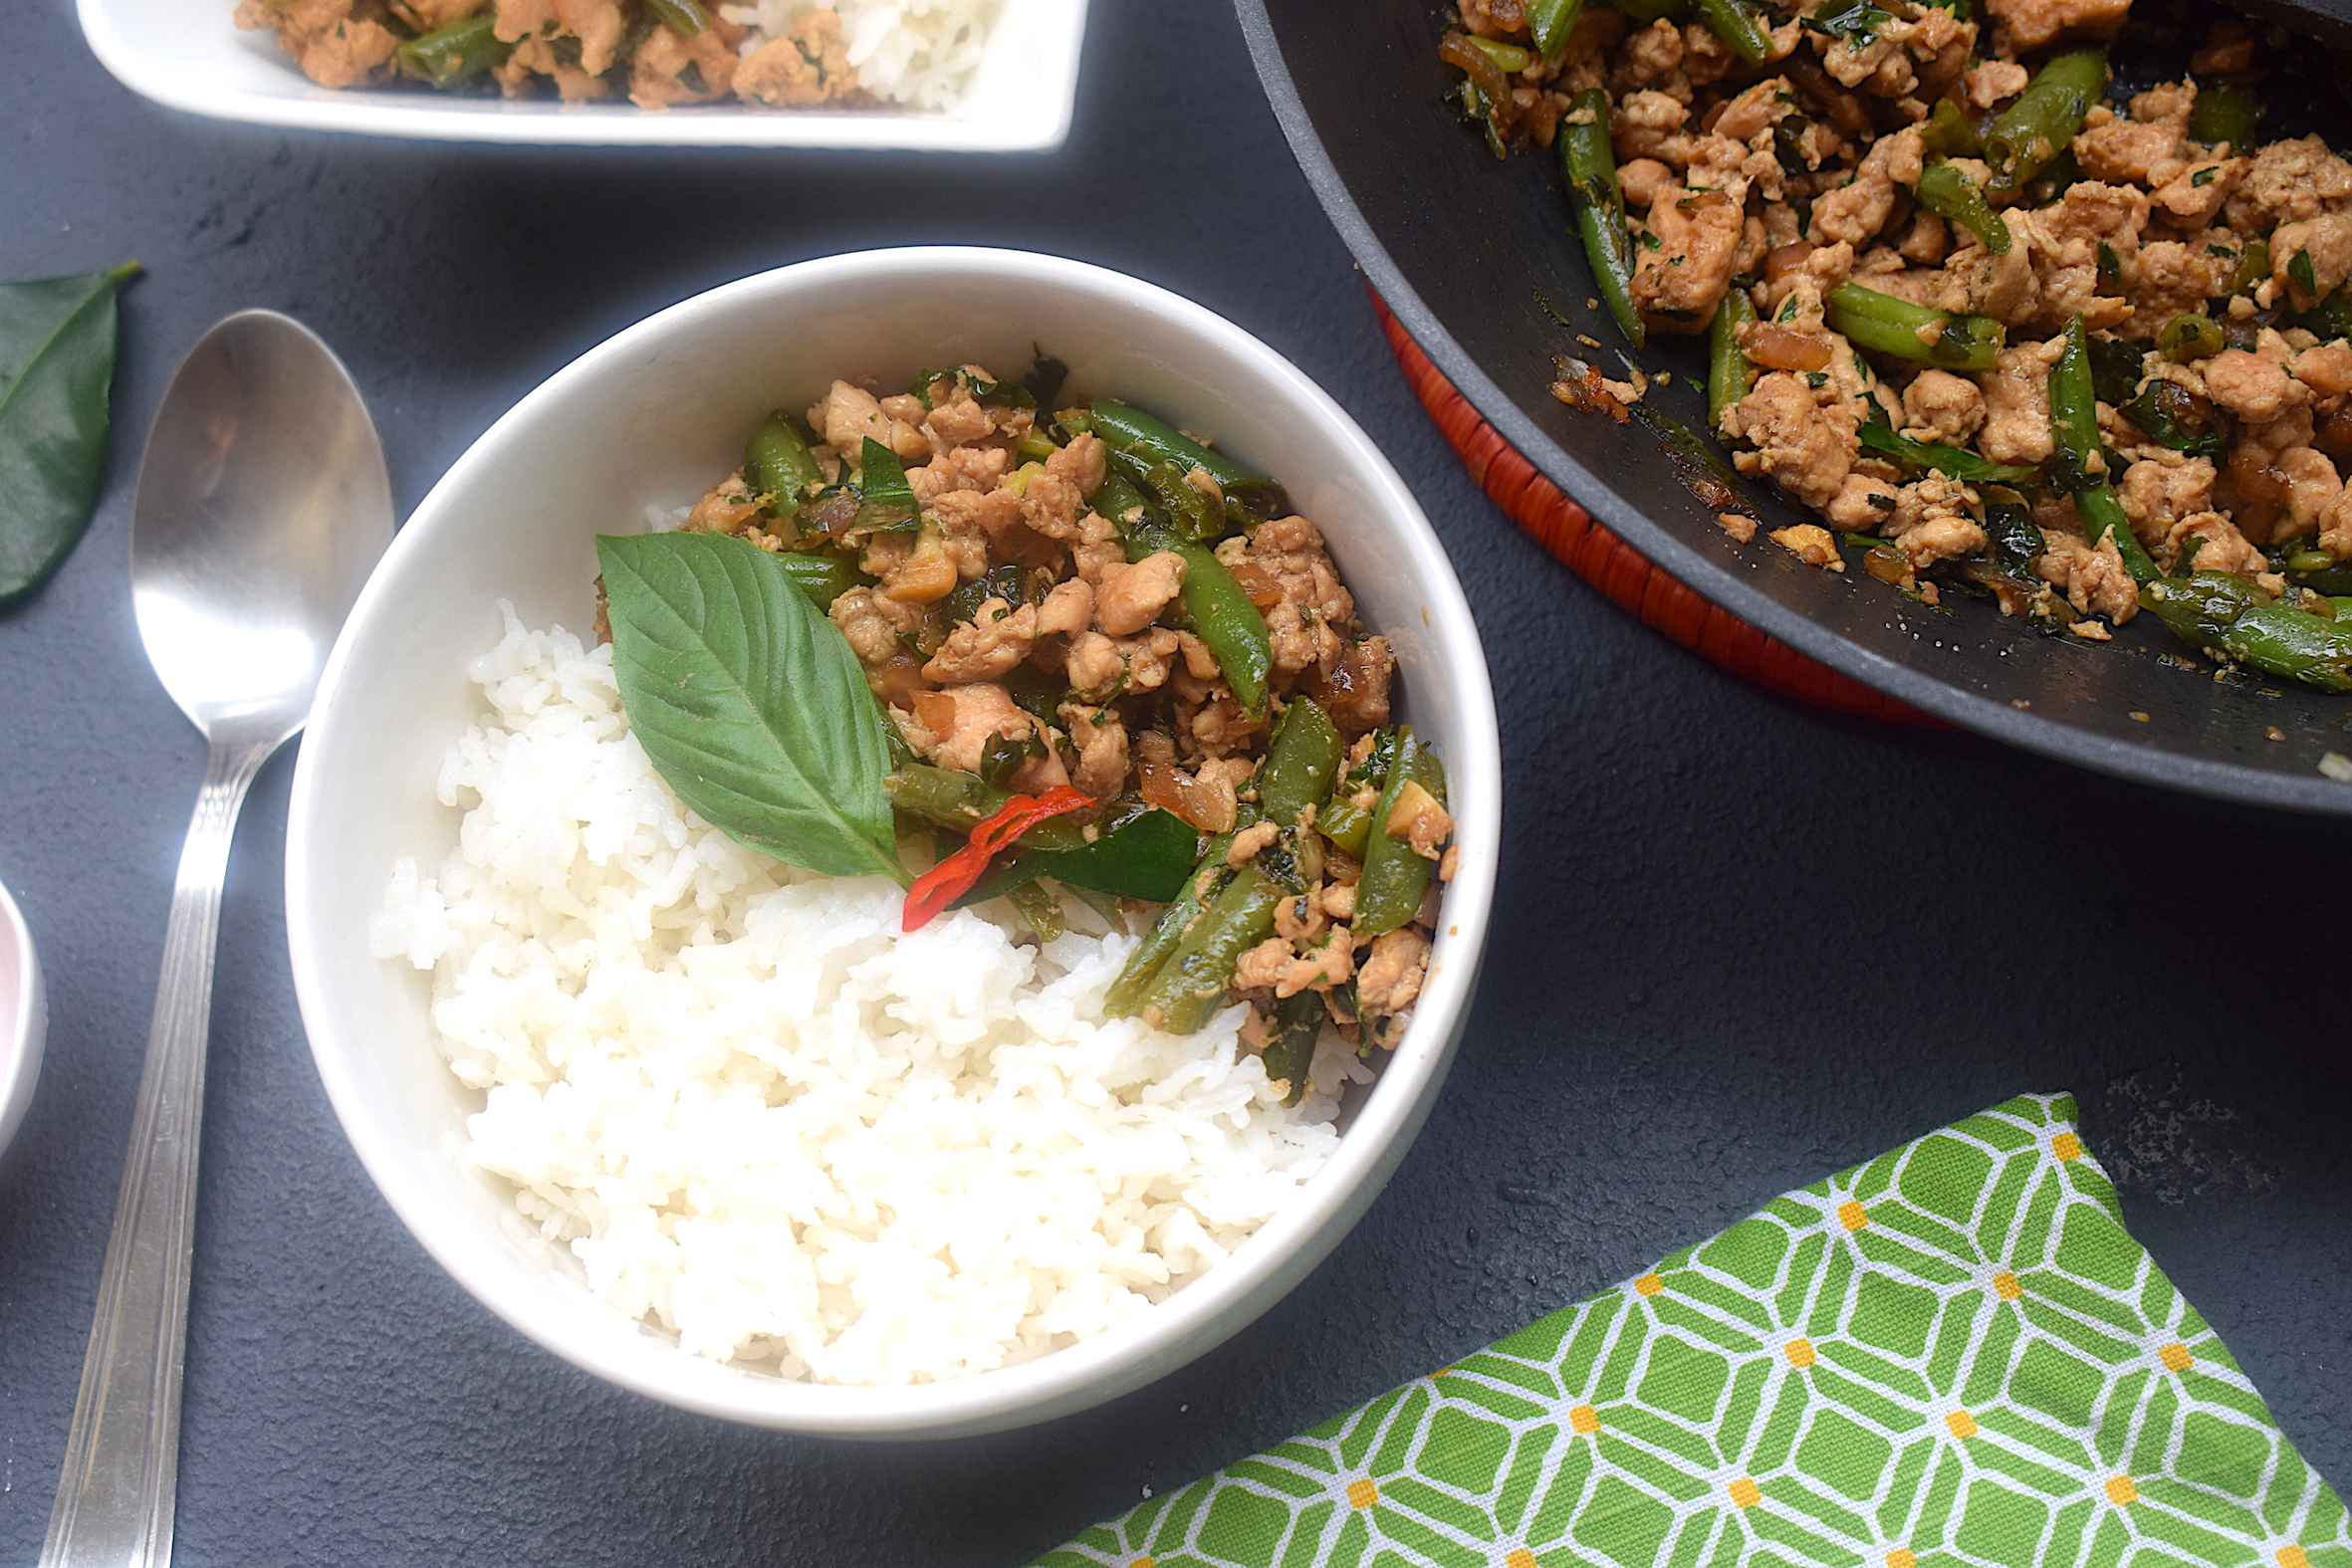
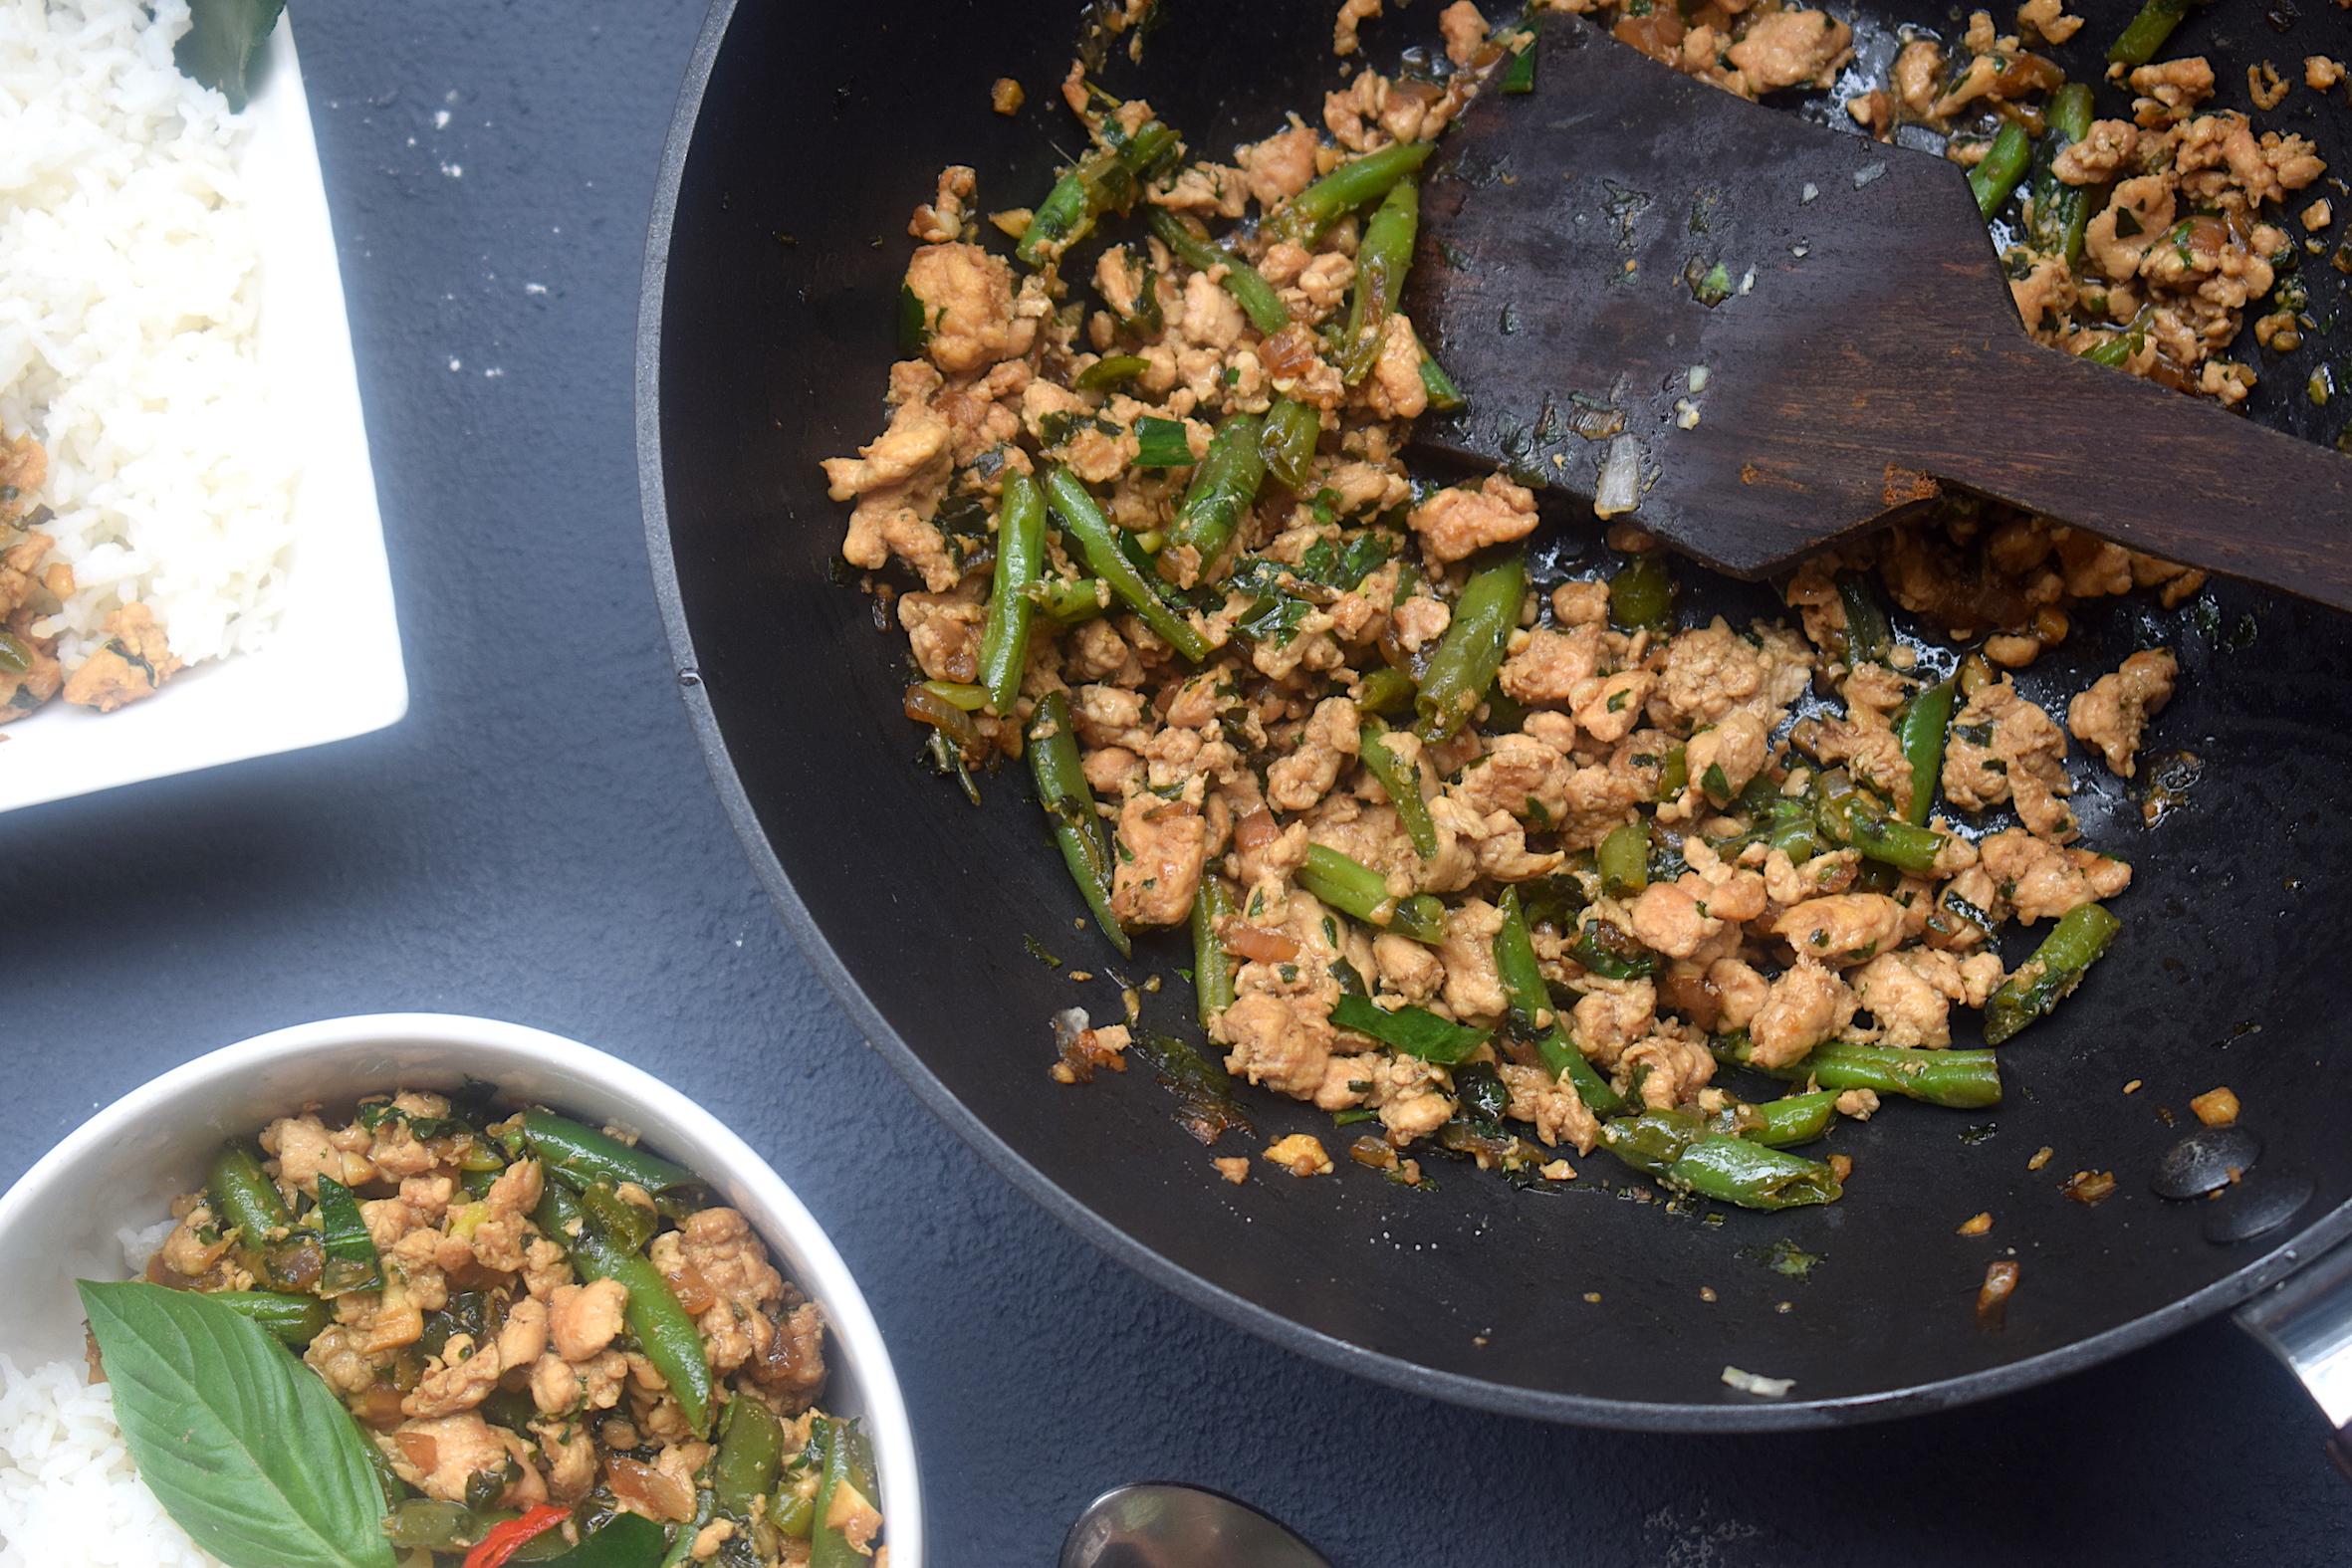
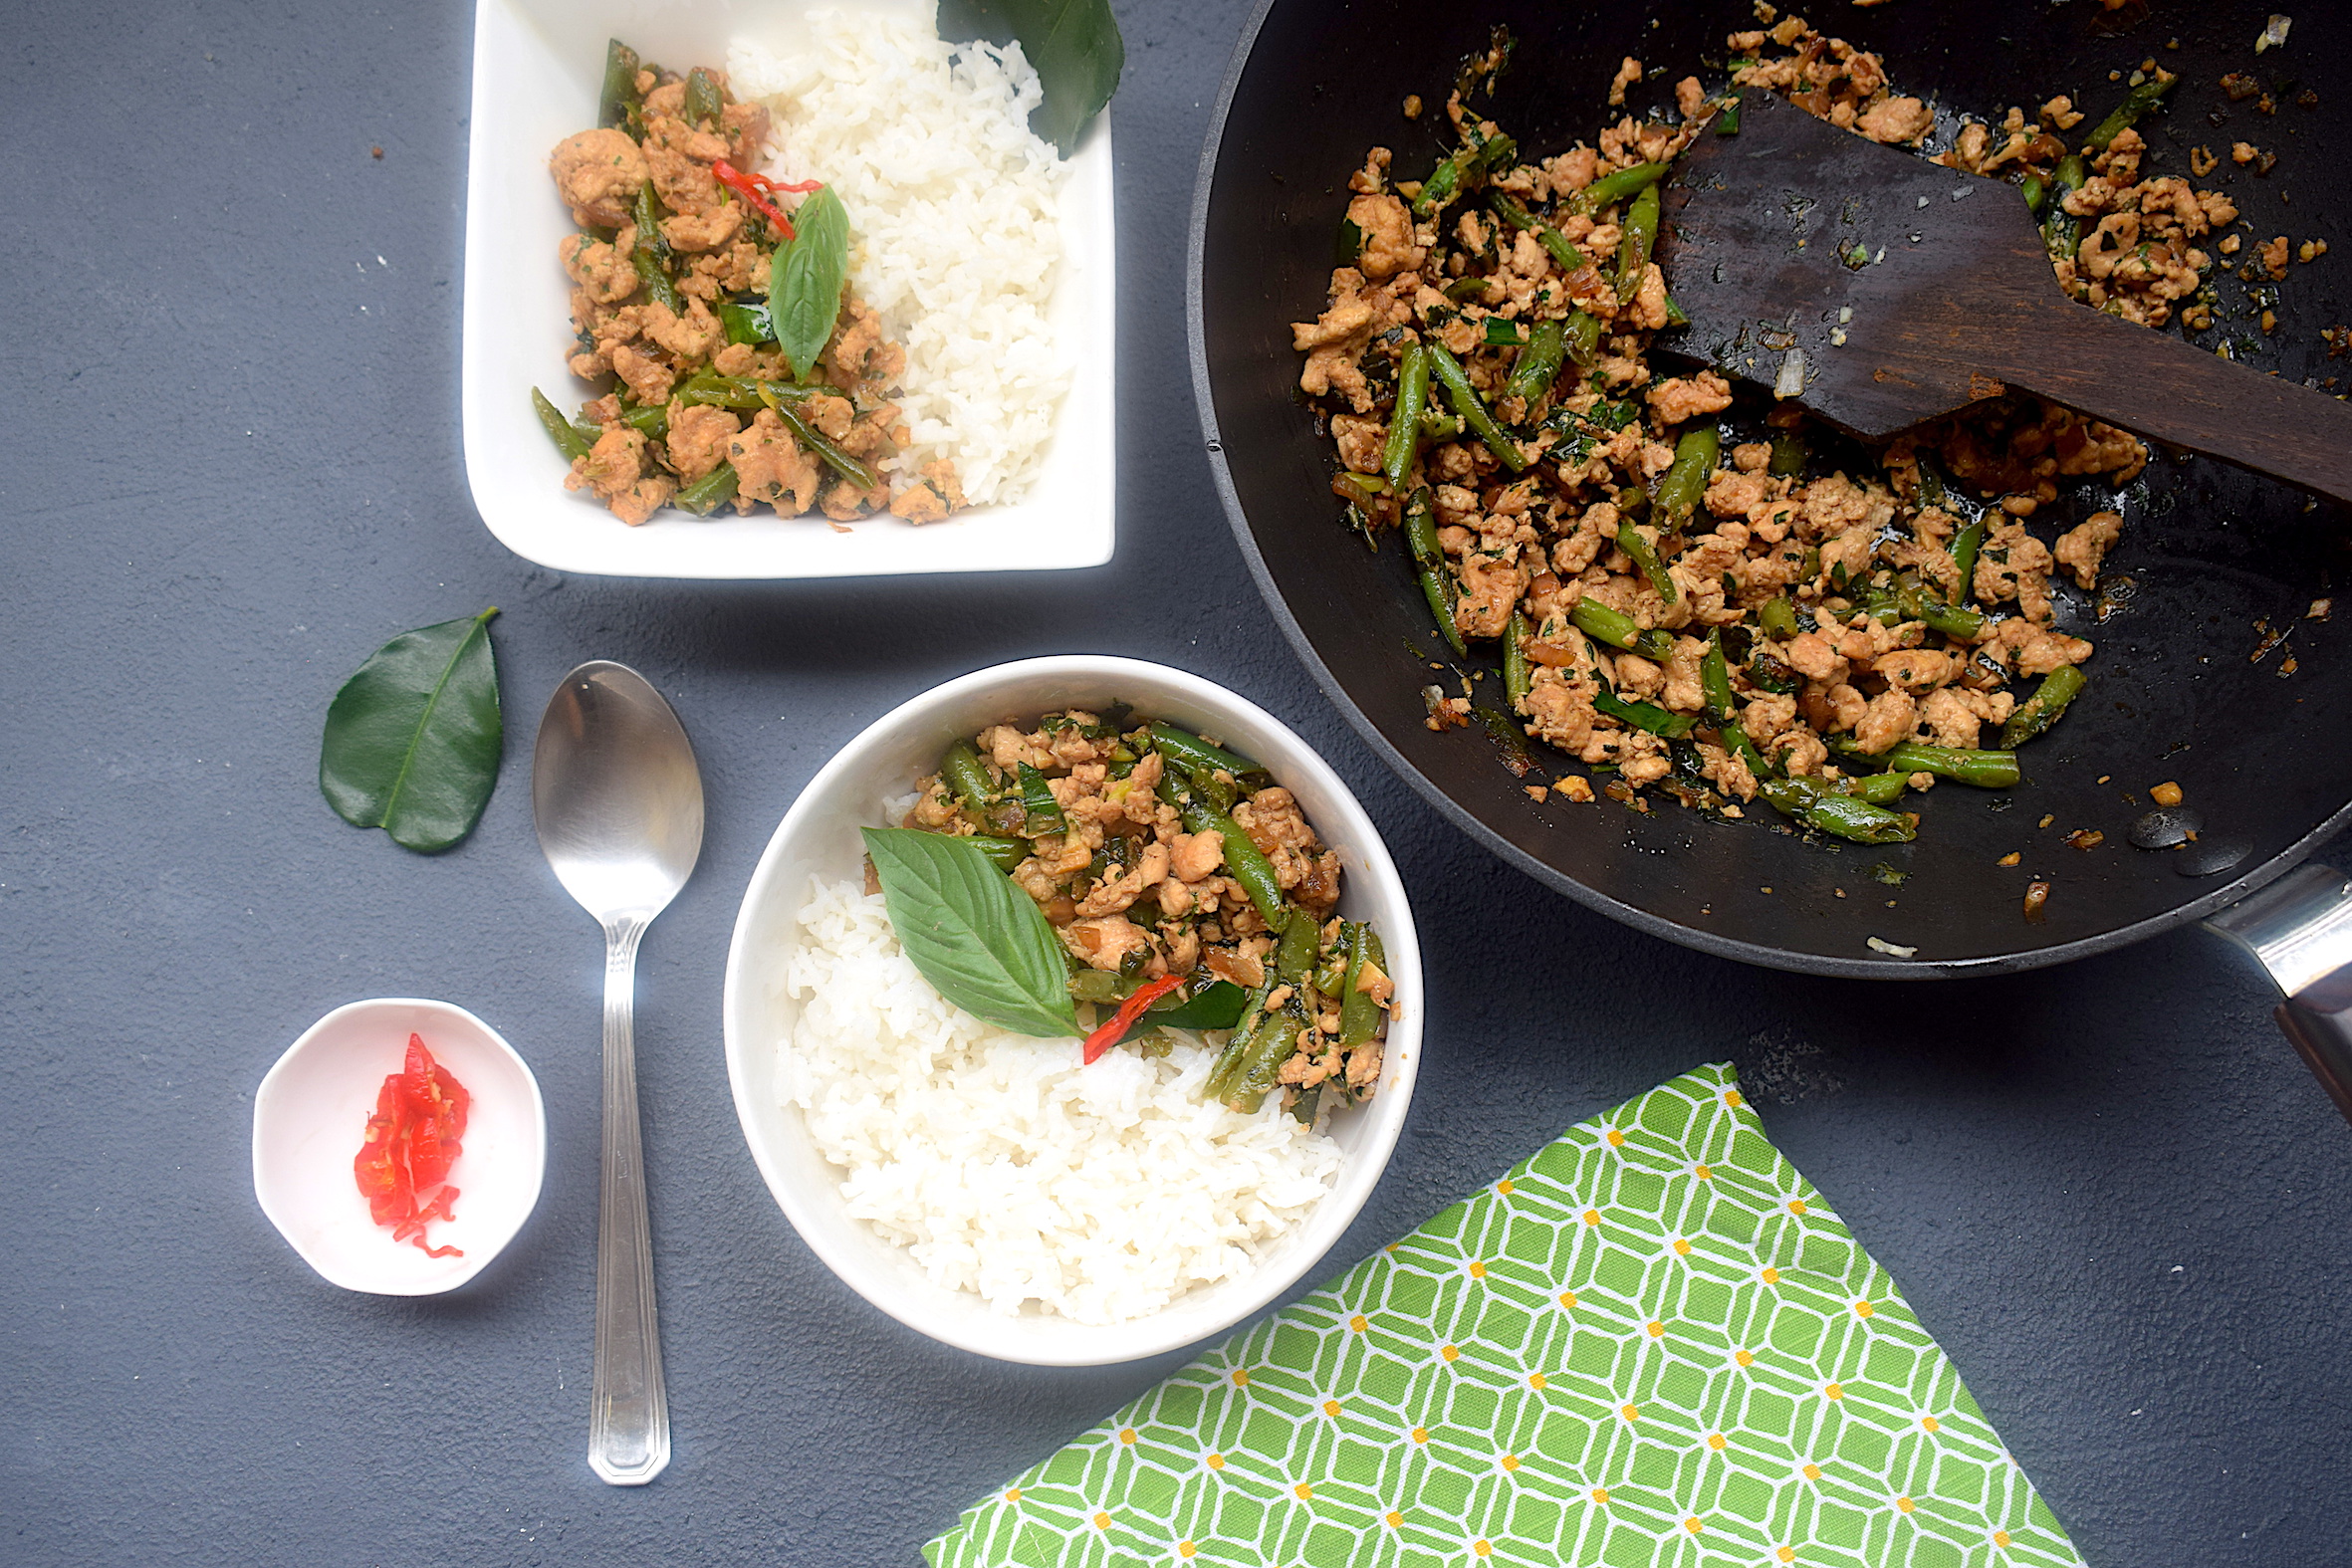
This Thai basil chicken is an explosion of flavours in the mouth. It has all the elements that makes it a winner – sweetness, some fieriness to open your senses, crunch and colour. The use of just the right herbs and sauces make it taste like you’re eating at a professional pan-Asian restaurant. And it makes for a super doable weeknight meal. Here are some more reasons why you need to make this asap:
It is quick and super easy to make.
Tastes brilliant with some rice.
Ingredients can be found in any supermarket.
It makes for a wholesome meal.
It is healthy.
You can customize the flavors as per your wish.
A pleasant accident!
The background story to this chicken recipe is quite interesting. I had gone to my local farmer’s market on a whim and ended up buying a host of Thai spices and aromatics (along with other unplanned checks on my invisible food list). I was obviously craving for some Thai goodness in my mind. I came home and tried this stir-fry. I must say I was surprised by the results. It’s too good to be true kind of a chicken recipe!
What kind of basil can you use?
As the name suggests, basil is the star ingredient of this recipe. I absolutely love basil and do not leave any chance to use it in my food. Thai basil chicken is a very common dish in Thailand and found almost everywhere. Thai people usually make it with the holy basil (Indian tulsi) that grows abundantly over there. That is the traditional way of cooking it.
The holy basil is more pungent and sharp in its taste as compared to normal basil. But you can also use Italian basil, and the taste is still marvelous. I personally prefer Italian basil over the Thai basil.
Few techniques to keep in mind
Preparing the minced chicken
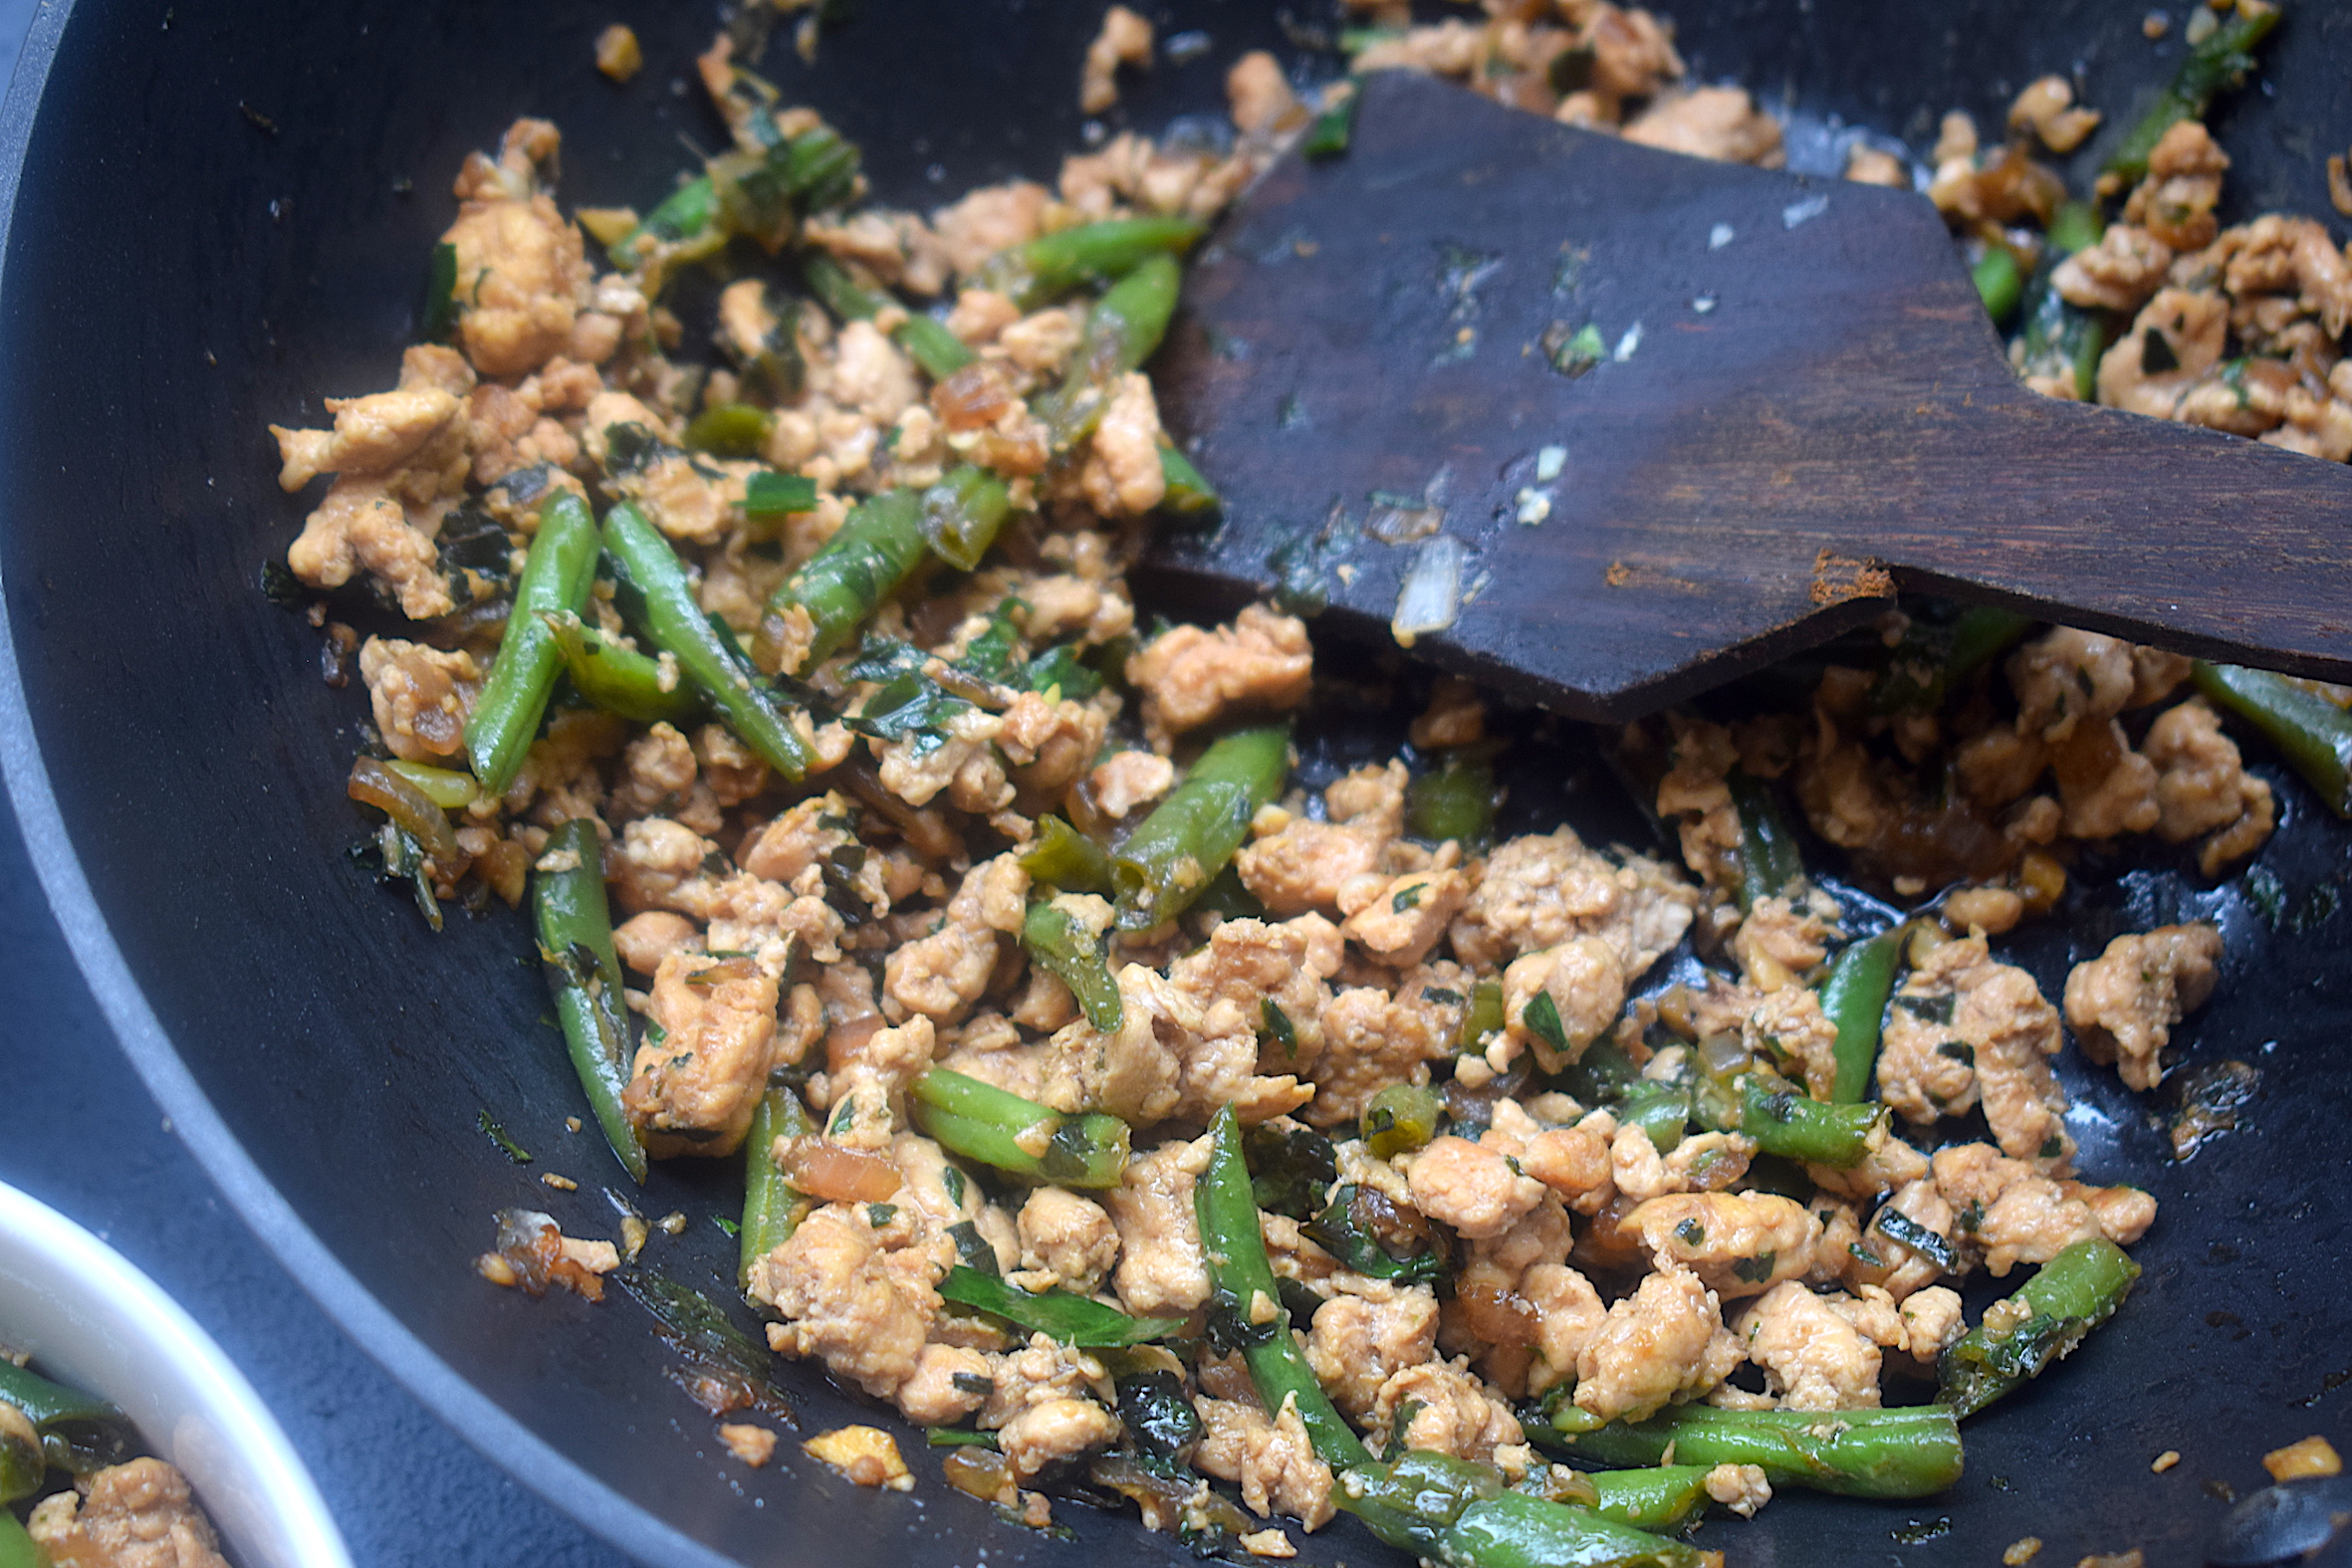
As you can see from the pictures, this recipe used chicken in its minced form. I have minced it myself because that way I know it is as fresh as it can get. Don’t fret already, it’s very simple!
All you have to do is take a chef’s knife and beat the boneless chicken breast till it flattens out. Then you need to mince the breast into tiny pieces by breaking it using vertical force with your knife. It is then cooked with Thai spices and aromatics, basil and kaffir lime being the best addition. Note them all down and surprise yourself with this amazing chicken recipe.
Adding the herbs
This recipe required the addition of two herbs – Kaffir lime leaves and basil leaves. The time of adding both these herbs will vary in the recipe. The addition of Kaffir lime leaves is before the basil leaves as it is a sturdy leaf that does not wilt. And the more you cook it, the more it releases its flavor. So the Kaffir lime leaves can be added to the chicken once it’s half cooked.
The basil leaves, on the other hand, are very tender. So they need to be added right at the end after switching off the flame. This ensures that their freshness is intact and you do not get a recipe with wilted leaves.
Use of chili
Over here, I have used just a bit of Naga chili or bhoot jolokia, which is also the hottest chili in the world. But you can add any chili you like. Just make sure it’s hot as this recipe tastes good when spicy. But again, that is also up to your taste. The traditional recipe uses bird’s eye chili, which a super hot Thai chili.
The Recipe
Preparation time – 15 minutes
Cooking time – 30 minutes
Serves – 3
[ingredients title=”Ingredients”]
500 g minced chicken
1 tbsp sugar
1 tbsp oyster sauce
2 tbsp dark soy sauce
1 tbsp fish sauce
150 ml chicken stock
2 tbsp cooking oil
1 large onion, finely chopped
7-8 garlic cloves, finely chopped
2 Thai green bird’s eye chilies, finely chopped
100 g green beans
2 fresh Kaffir lime leaves
50 g basil leaves, finely chopped
1/2 naga chili (bhoot Jolokia)
Salt to taste [/ingredients]
[directions title=”Directions”]
Make the Thai sauce first. In a bowl/cup, mix the following and stir well – oyster sauce, dark soy sauce, fish sauce, sugar, and chicken stock. This is the sauce we will use for cooking, and is the highlight of the flavors.
Heat cooking oil in a wok. You can also use sesame oil for extra punch. Add the minced chicken breast and fry it in the oil till it disintegrates completely.
Cook the minced chicken for about five minutes, till the water from the chicken evaporates. Add the onion, garlic, and chopped chilies to the same wok and fry till onions become translucent. You can use any kind of chilies here in case you do not have bird’s eye chili.
Add the green beans to this mix and stir until the chicken is cooked thoroughly.
Season with salt.
Pour in the sauce into the chicken and cook until the meat soaks in the goodness of the liquid. Make sure it does not become too dry.
Roughly chop two fresh Kaffir lime leaves and add to the chicken and give it a slight mix.
Turn the gas off and add the chopped basil to the chicken. Keep stirring till the basil turns into a beautiful dark green color.
Add some Bhoot Jolokia or Naga chili in the end, if you like it extra spicy like me.
Serve with white rice.
[/directions]
I hope you try this recipe out. I have been getting a lot of engagement from the video that I posted on my Instagram and Facebook page. I honestly love this Tha basil chicken recipe and it is so easy to pull it off. You can also make it with pork. Vegetarians can try the same with vegetables or tofu. And you will feel like you are at a great Thai restaurant.
I am all about quick and tasty dinners. And this, my friends, is the ultimate of all minced chicken recipes that are going to fill you up with comfort and happiness. Do let me know how you like it. Happy cooking! Here’s the video. Do subscribe to my YouTube channel for all my videos.
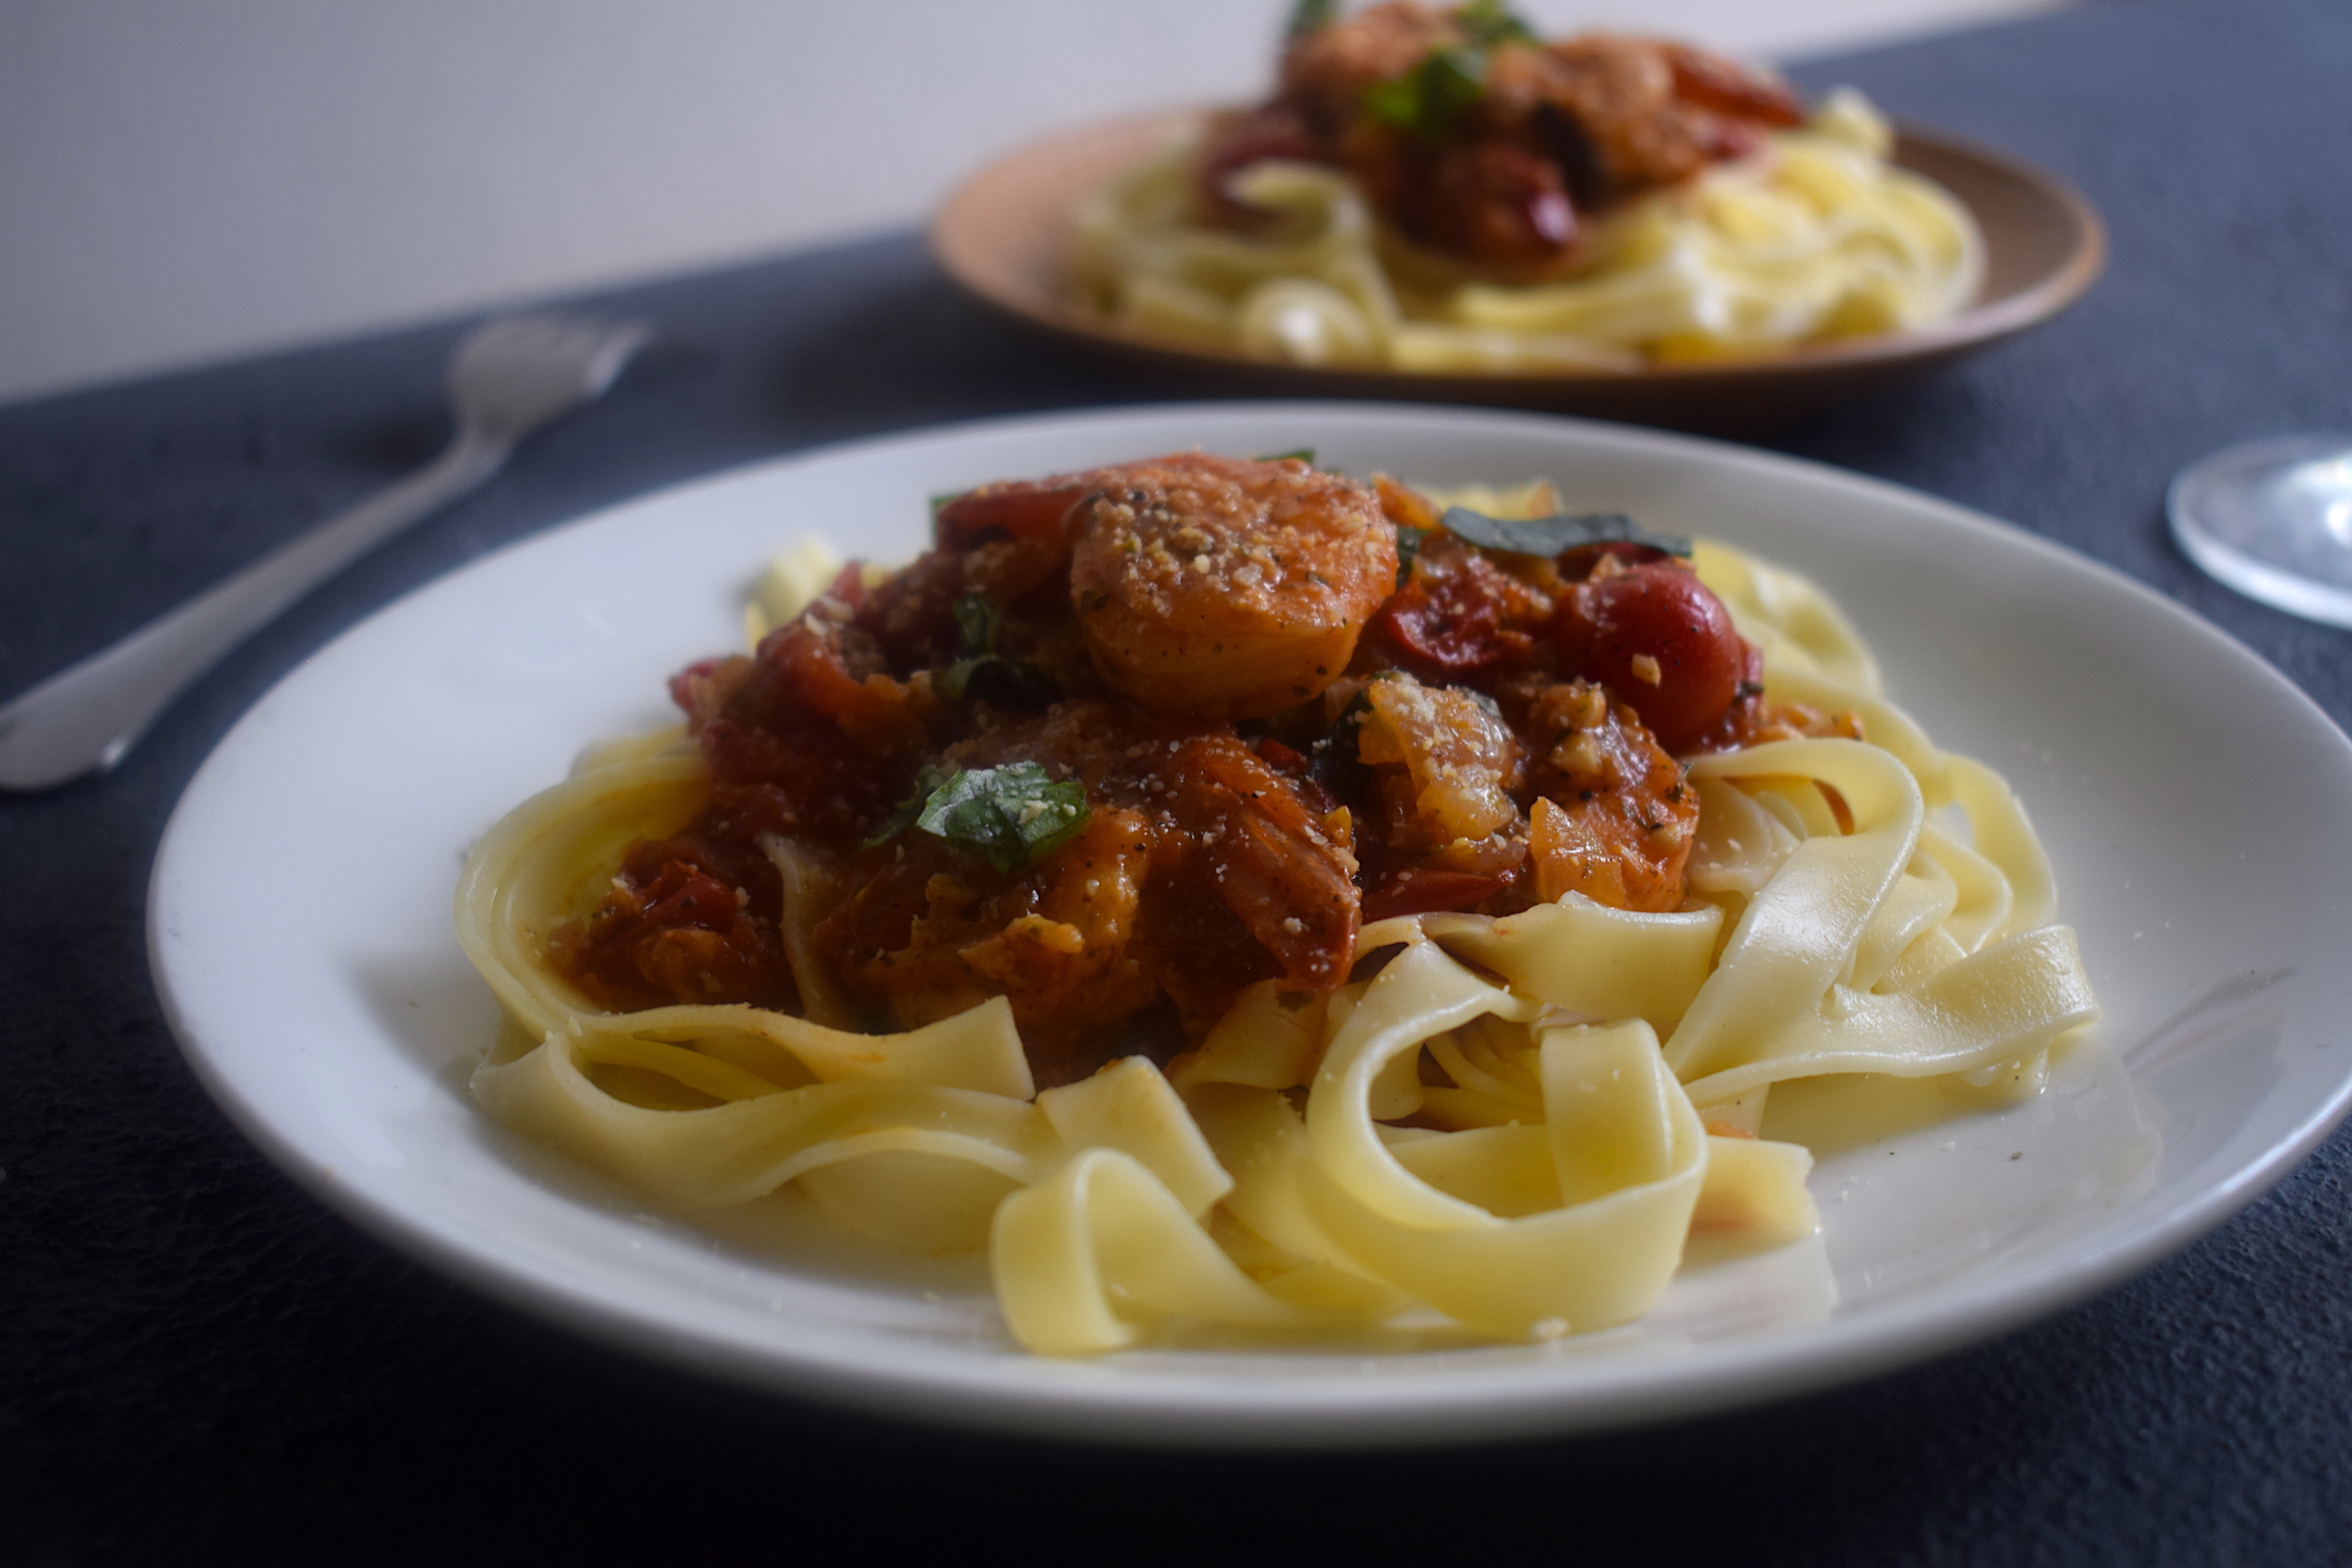
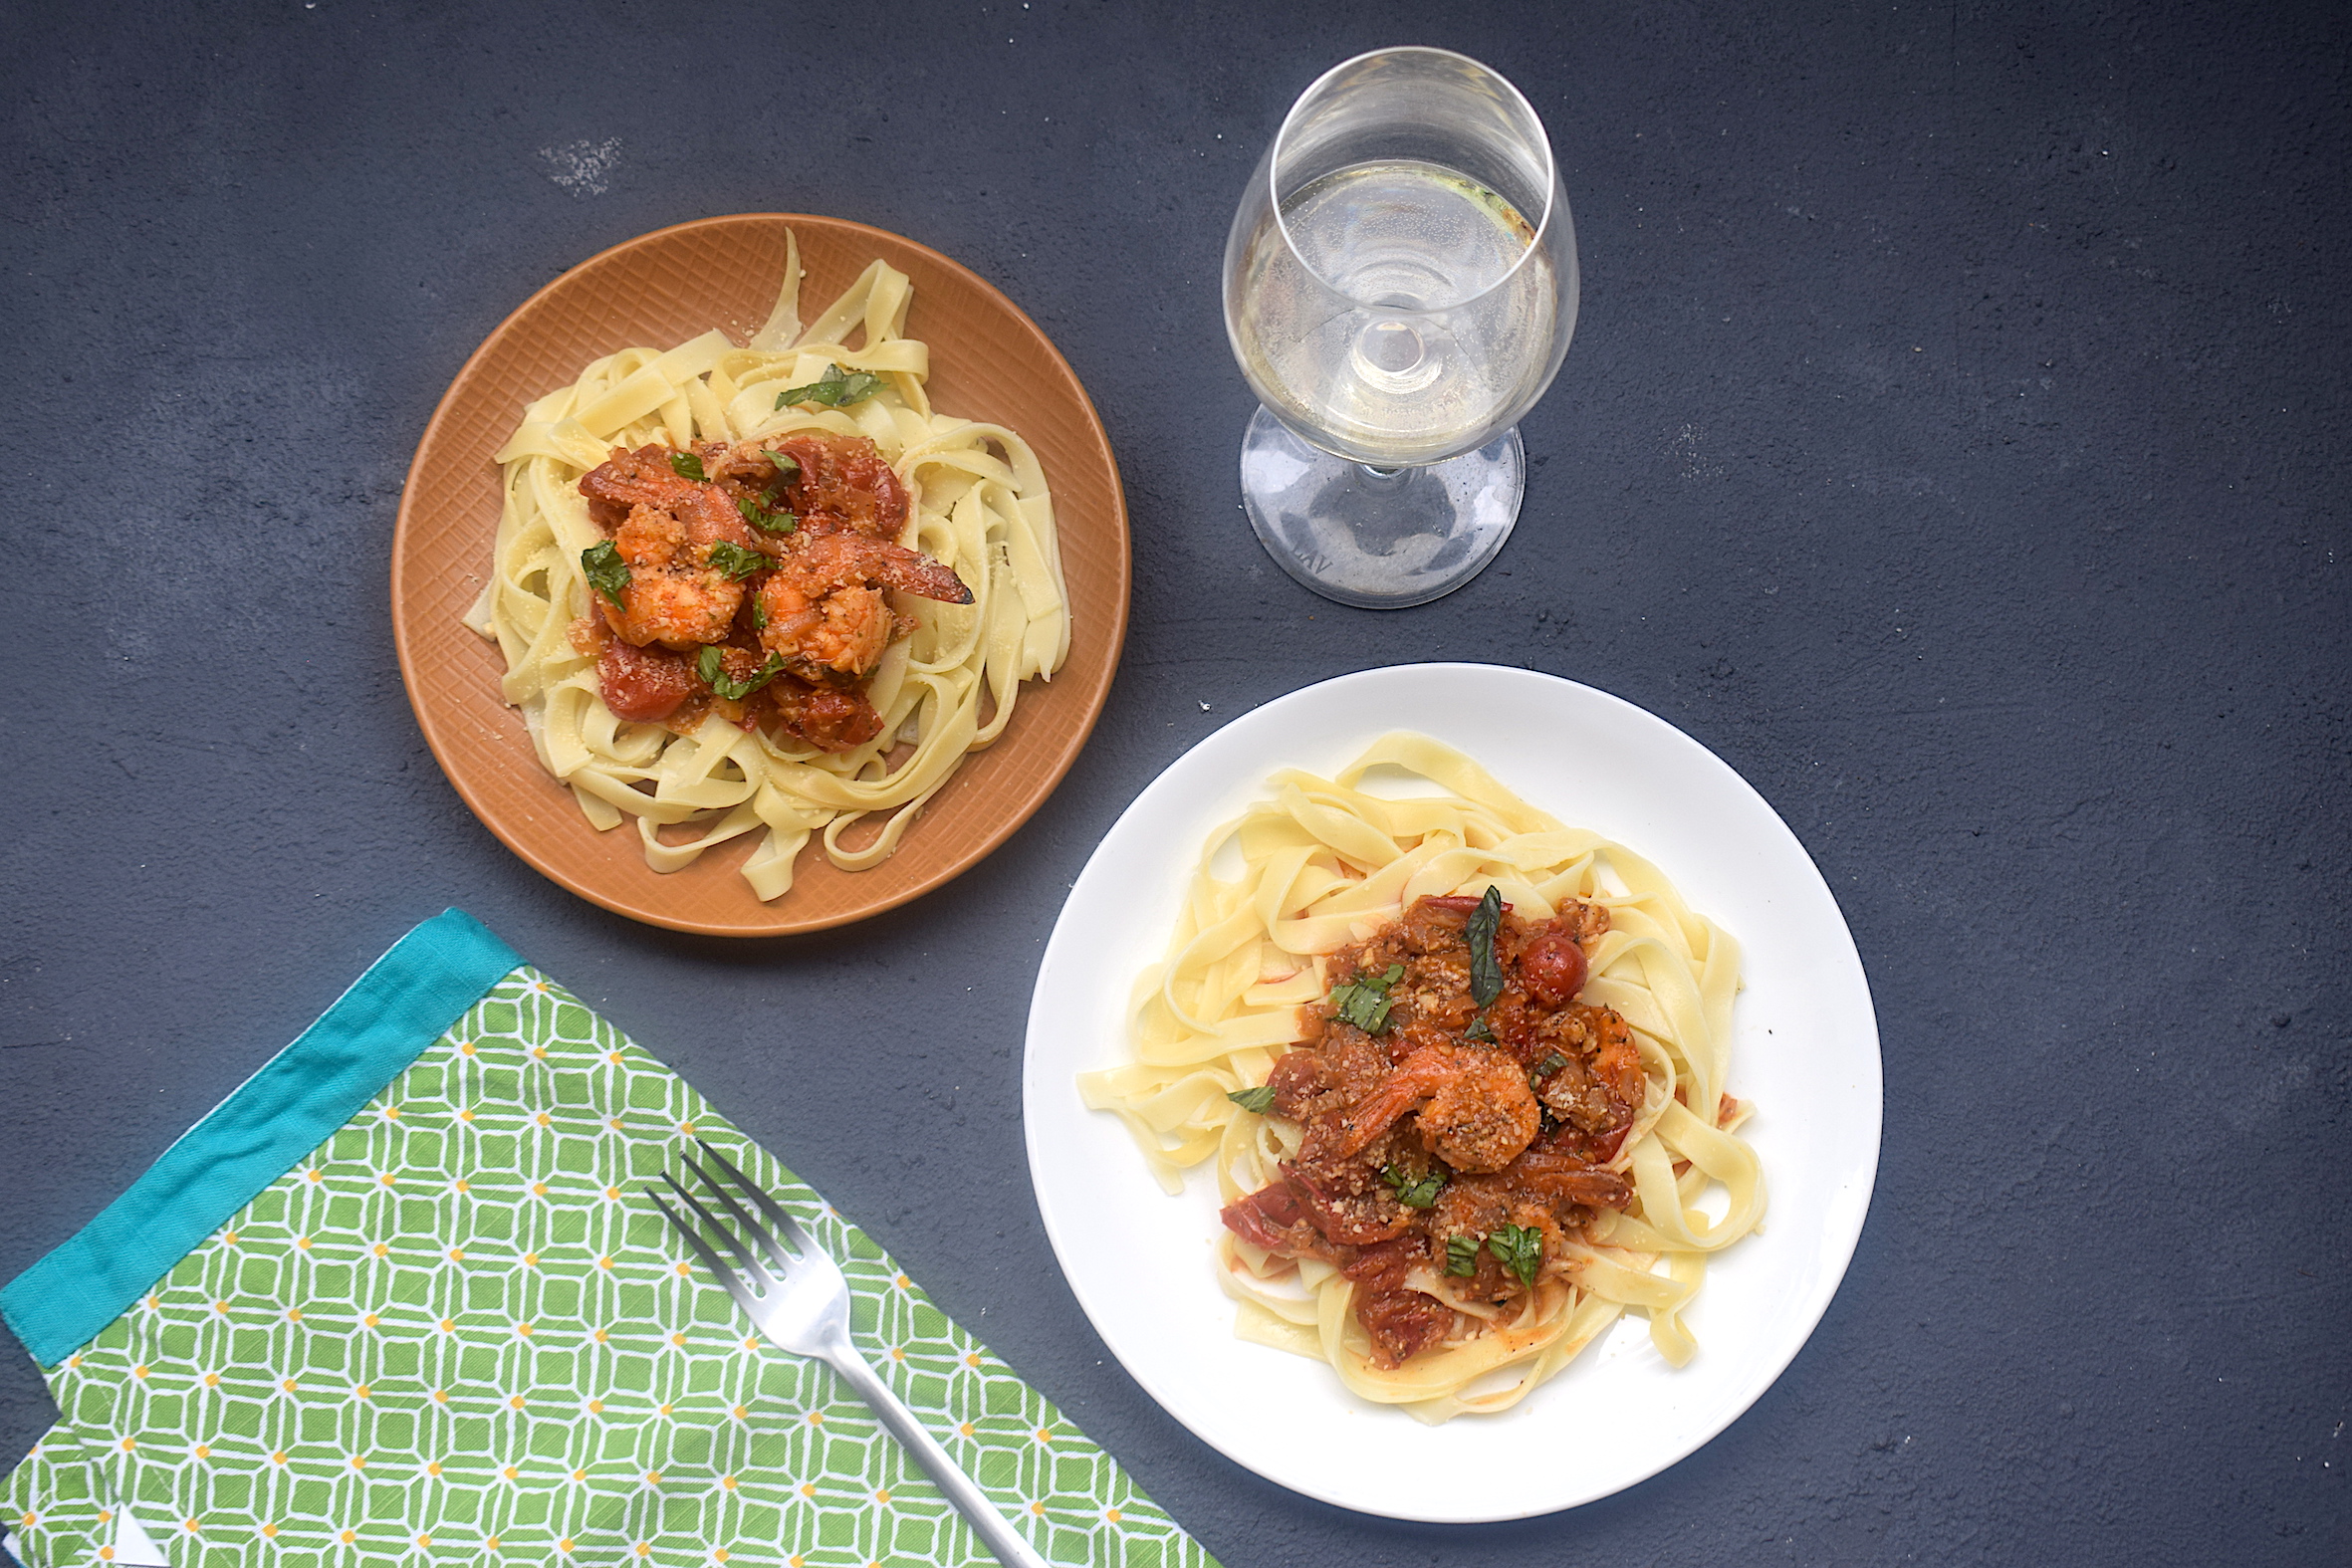
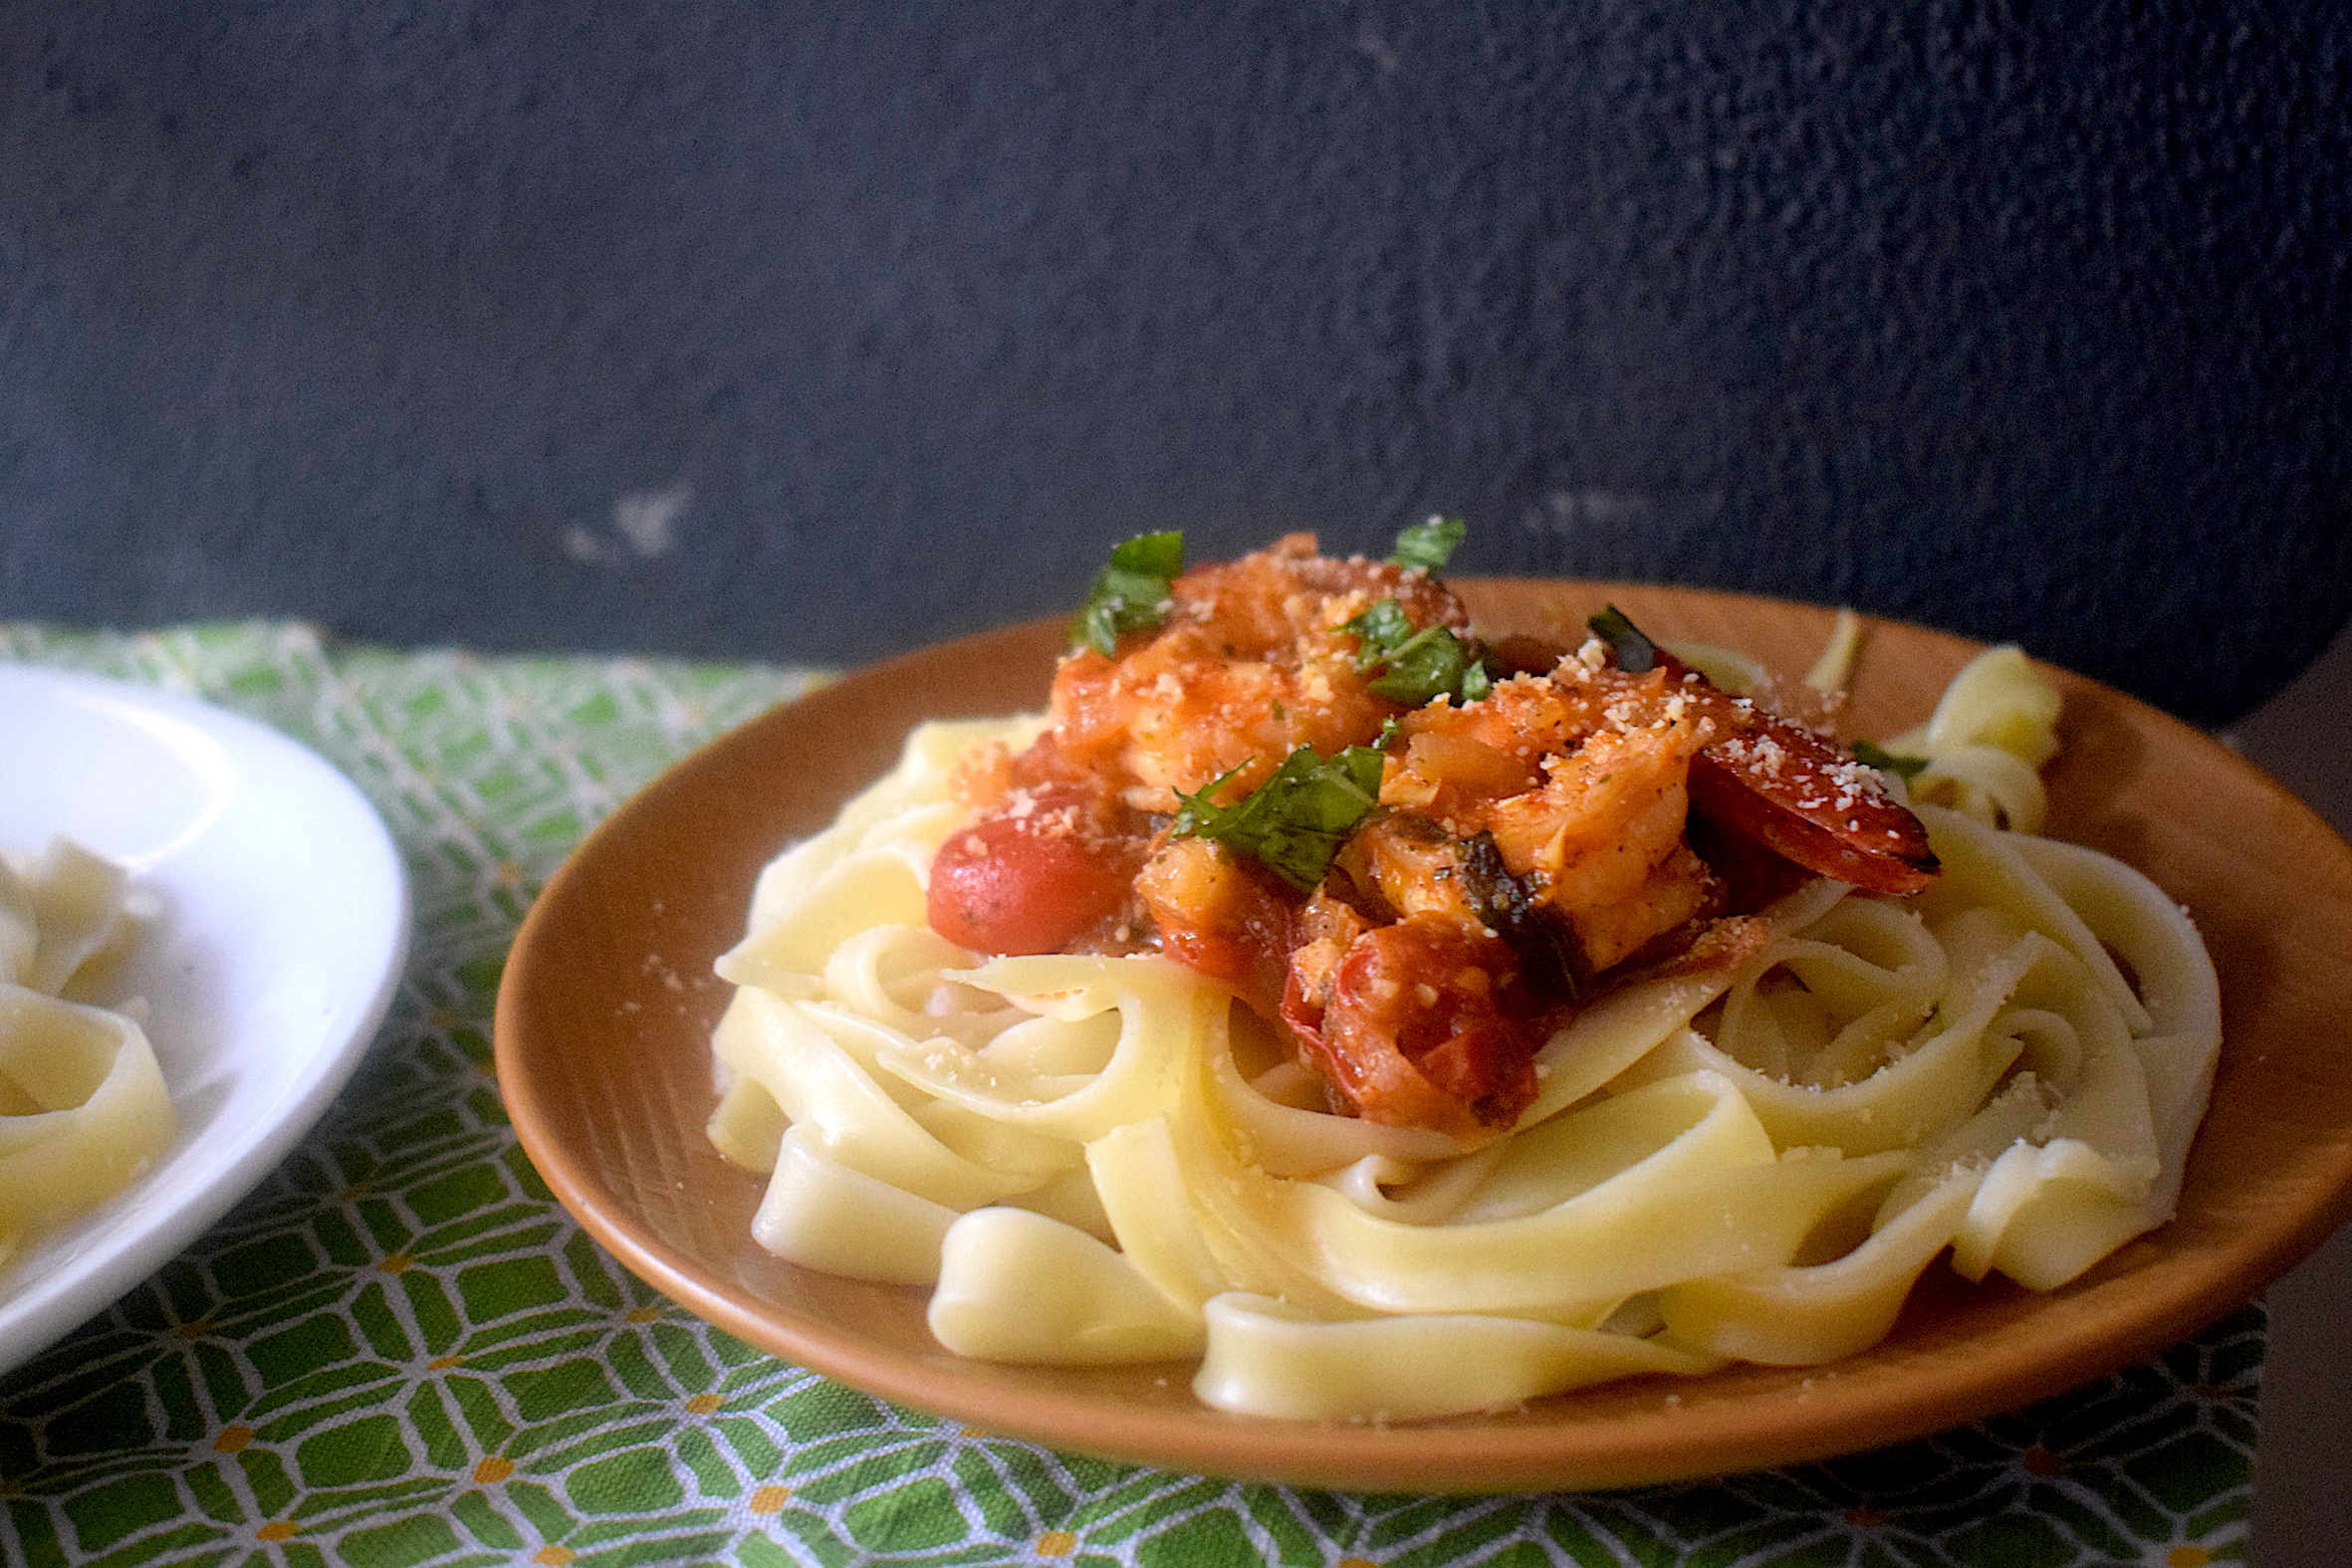
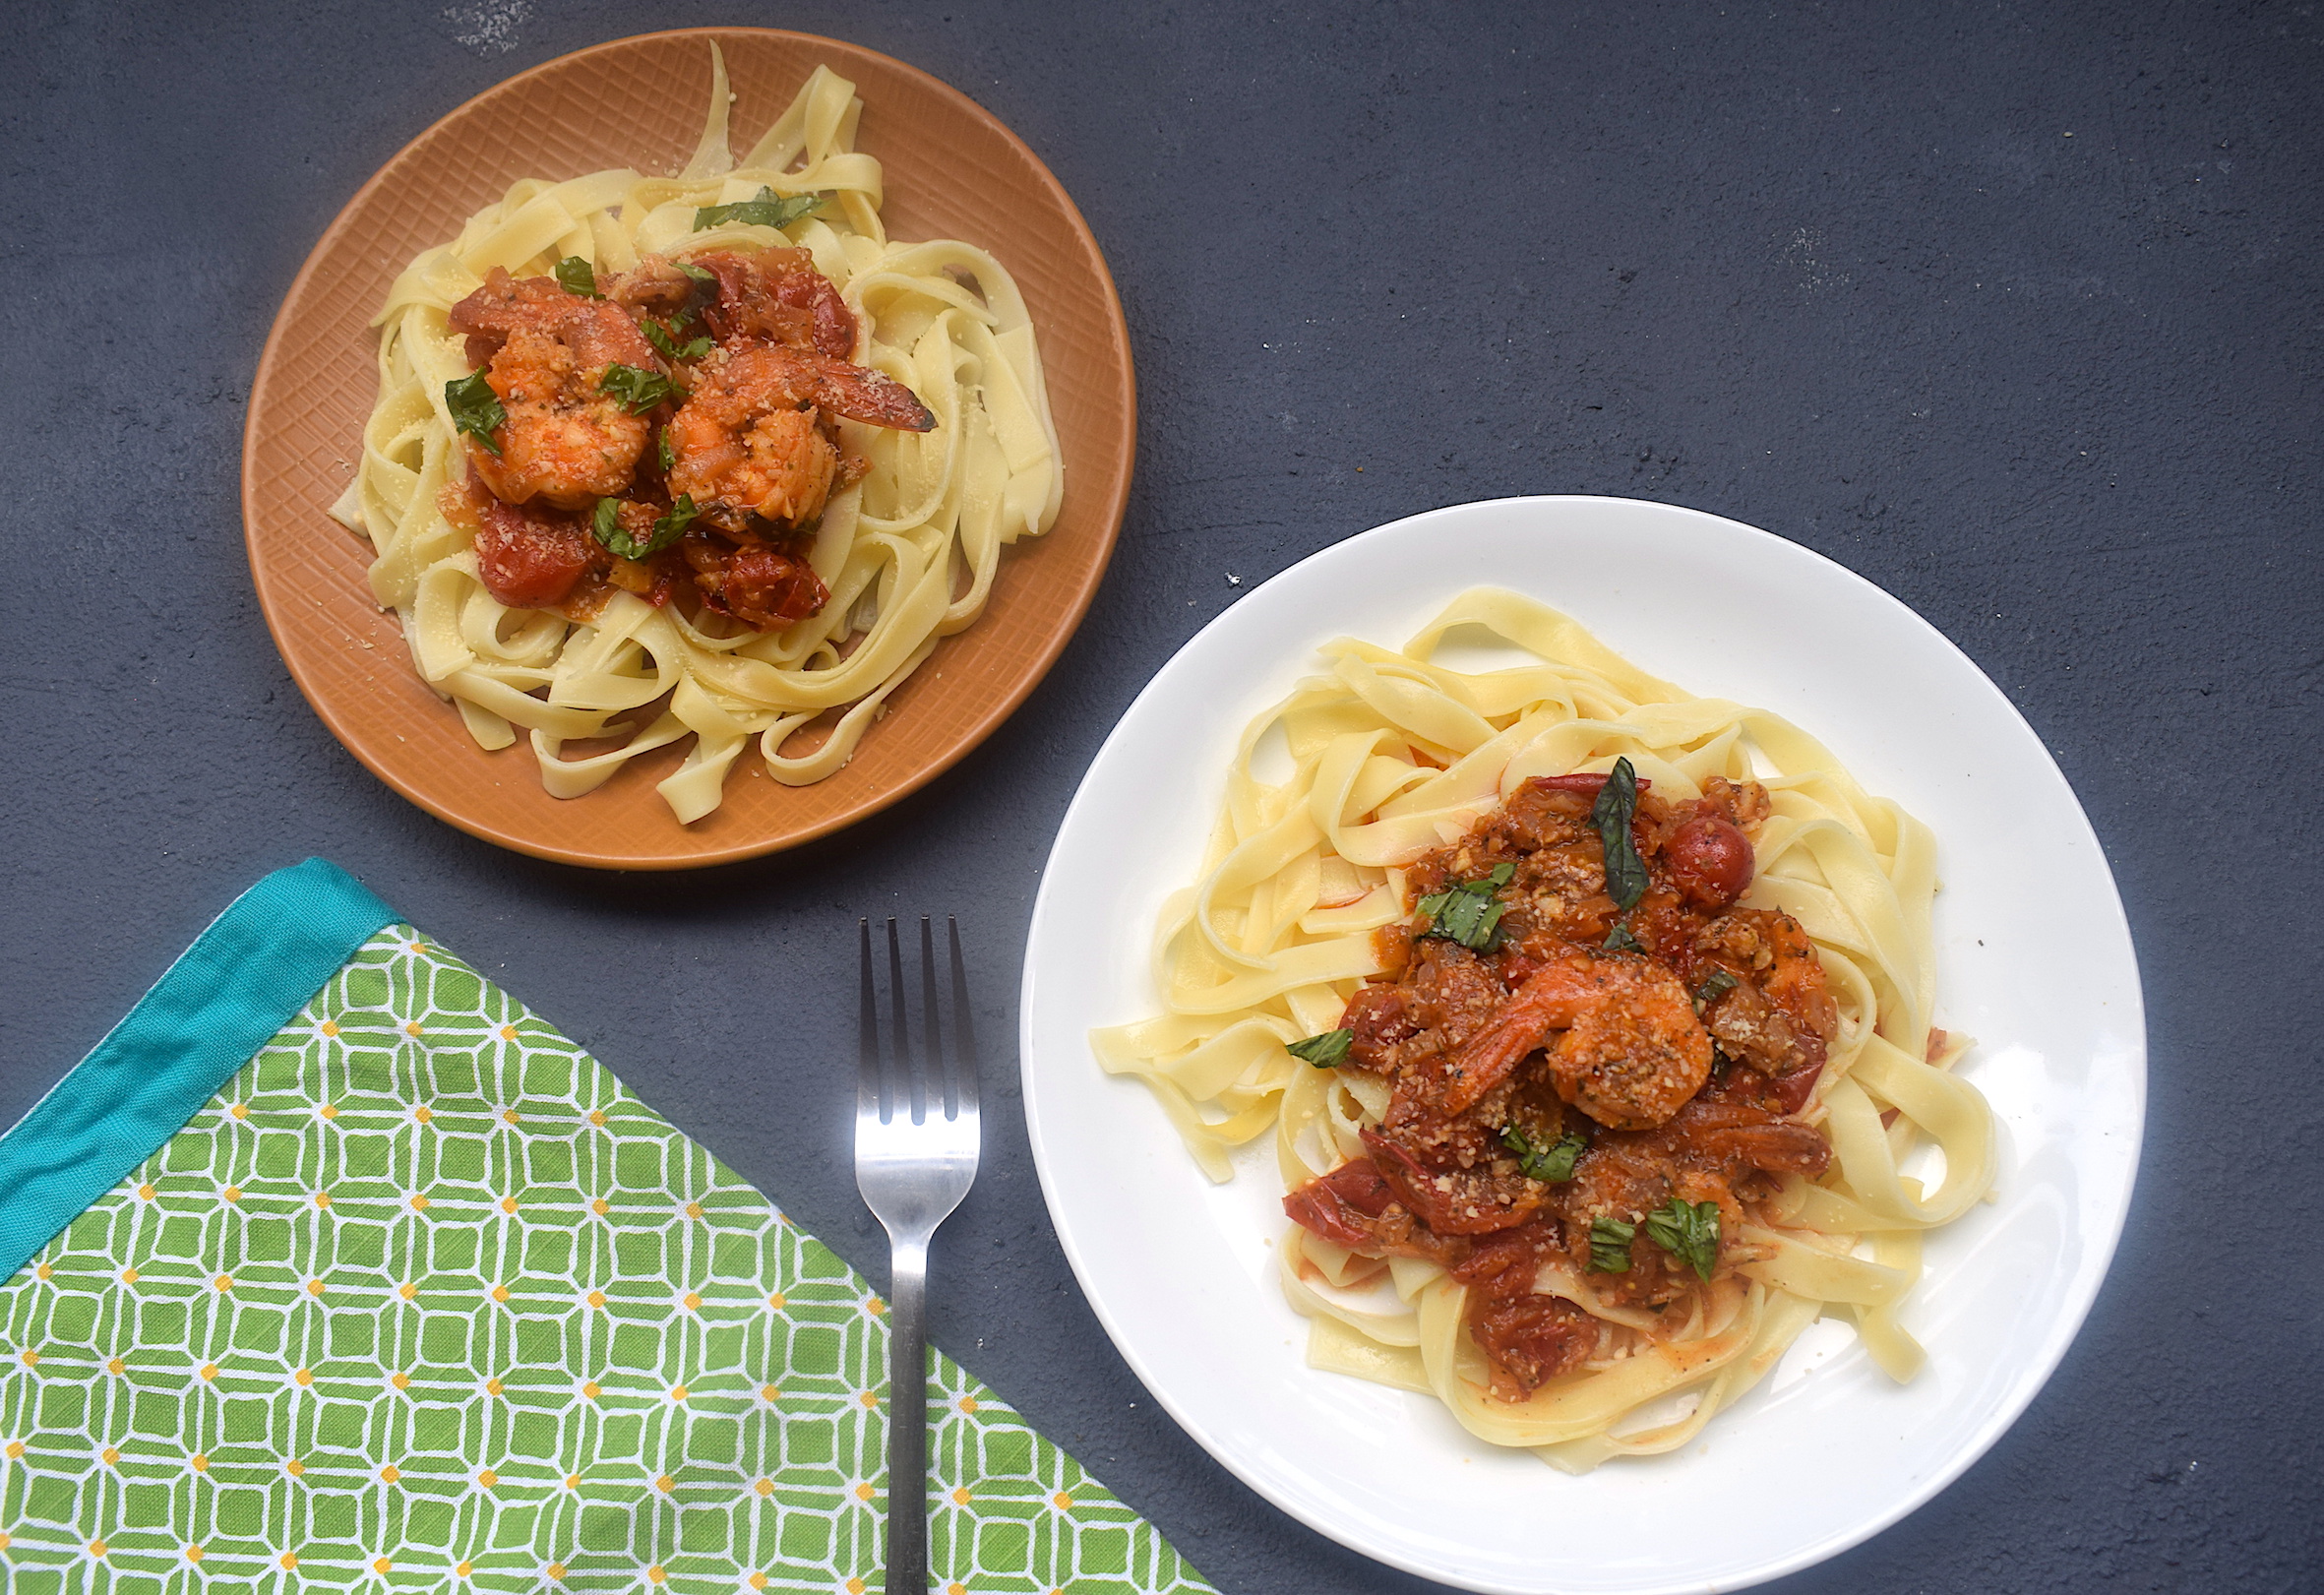
I love cooking with wine! I love the complexity and flavors that wine can give to define some wonderful sauces. This shrimp fettuccine with white wine is one of my absolute favorite dinner recipes of all times.
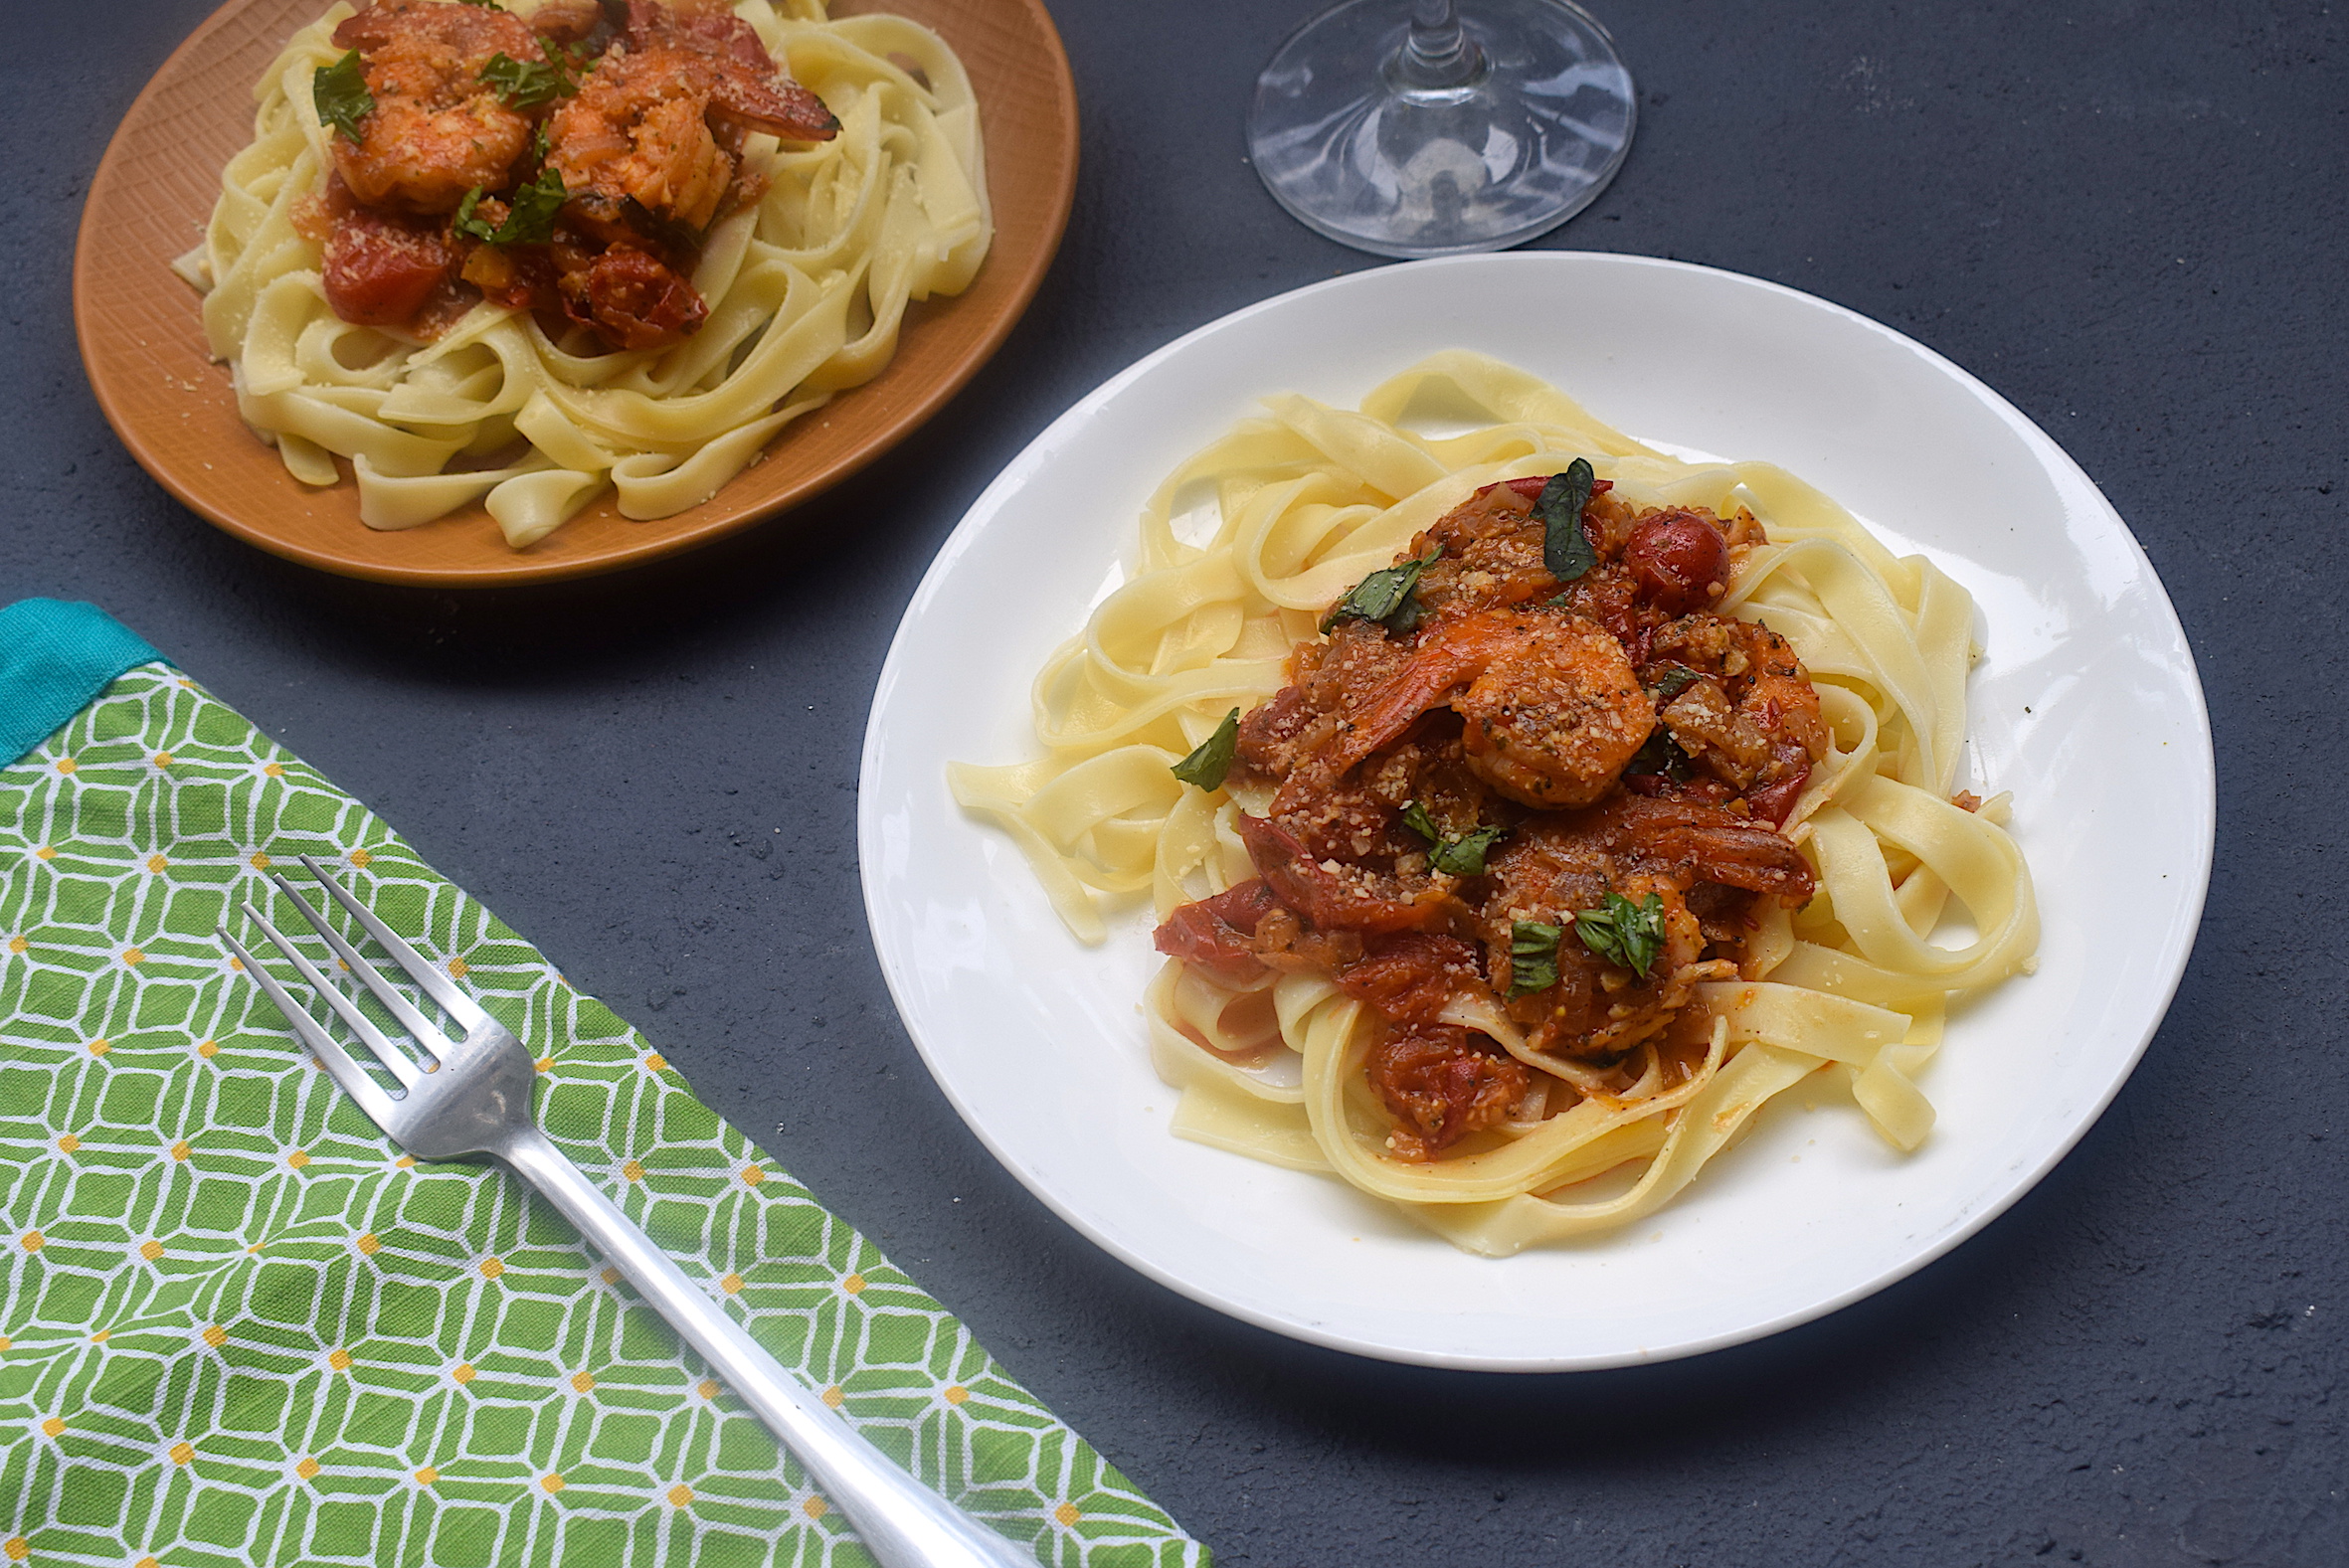
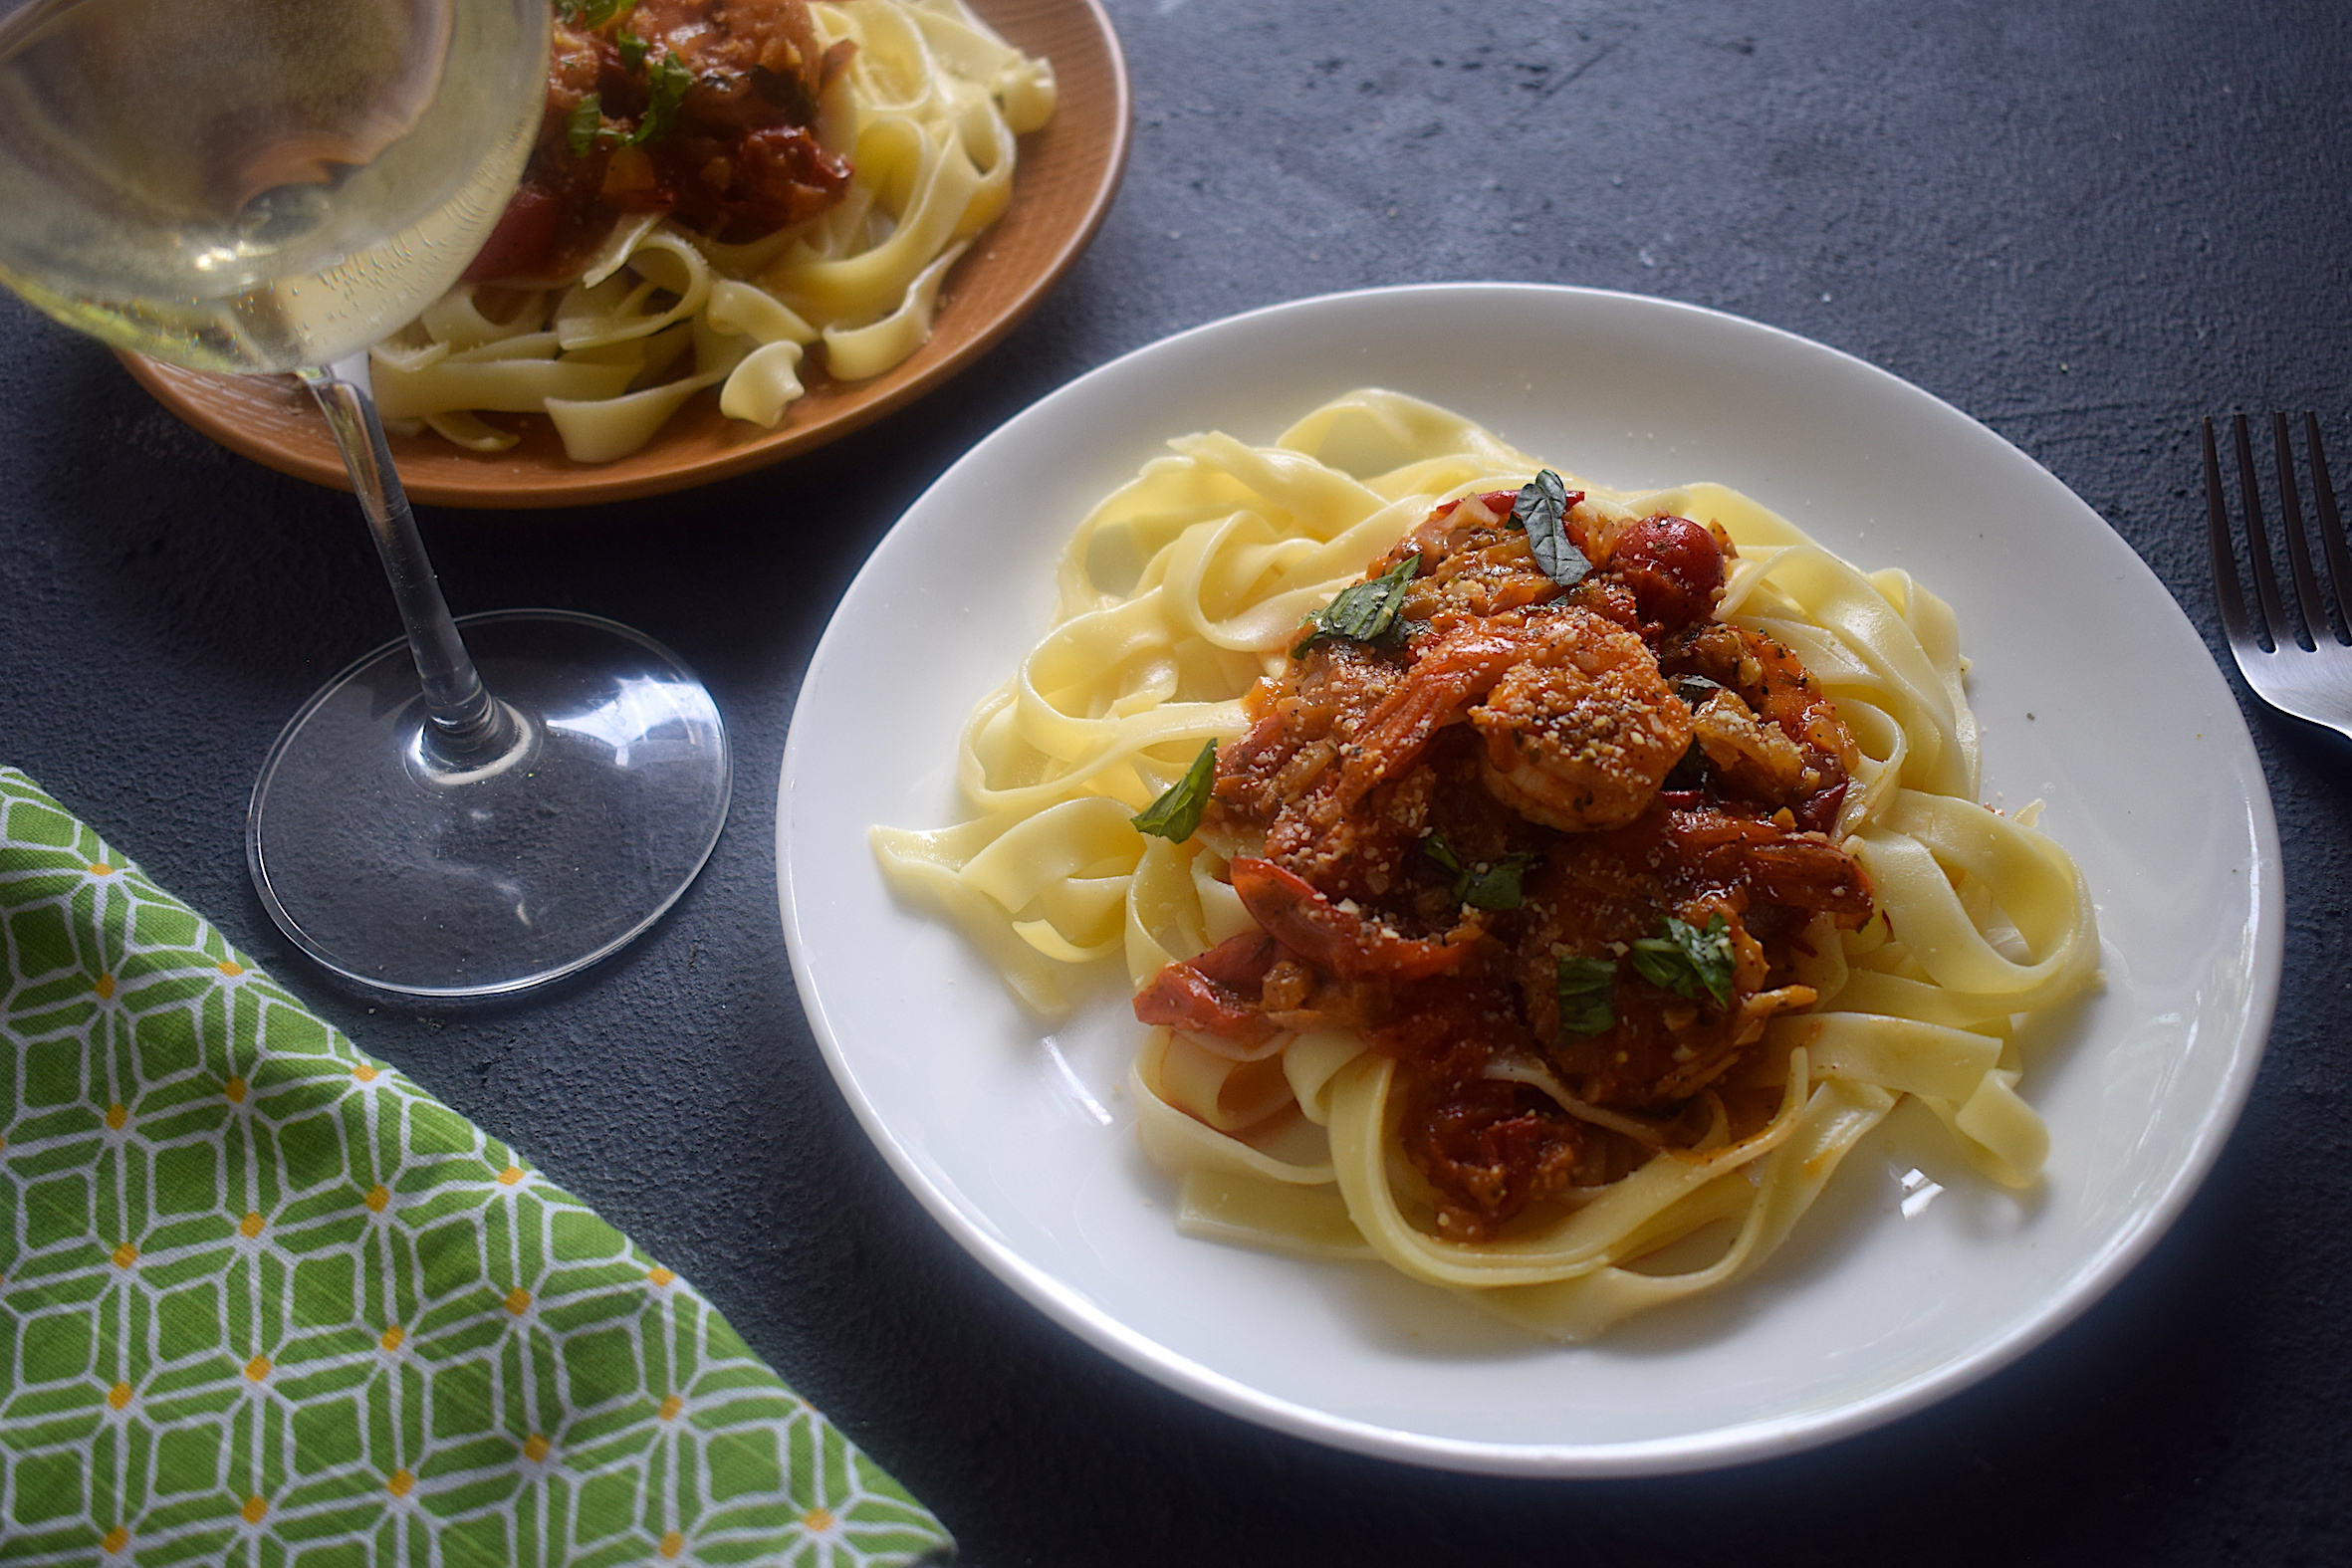
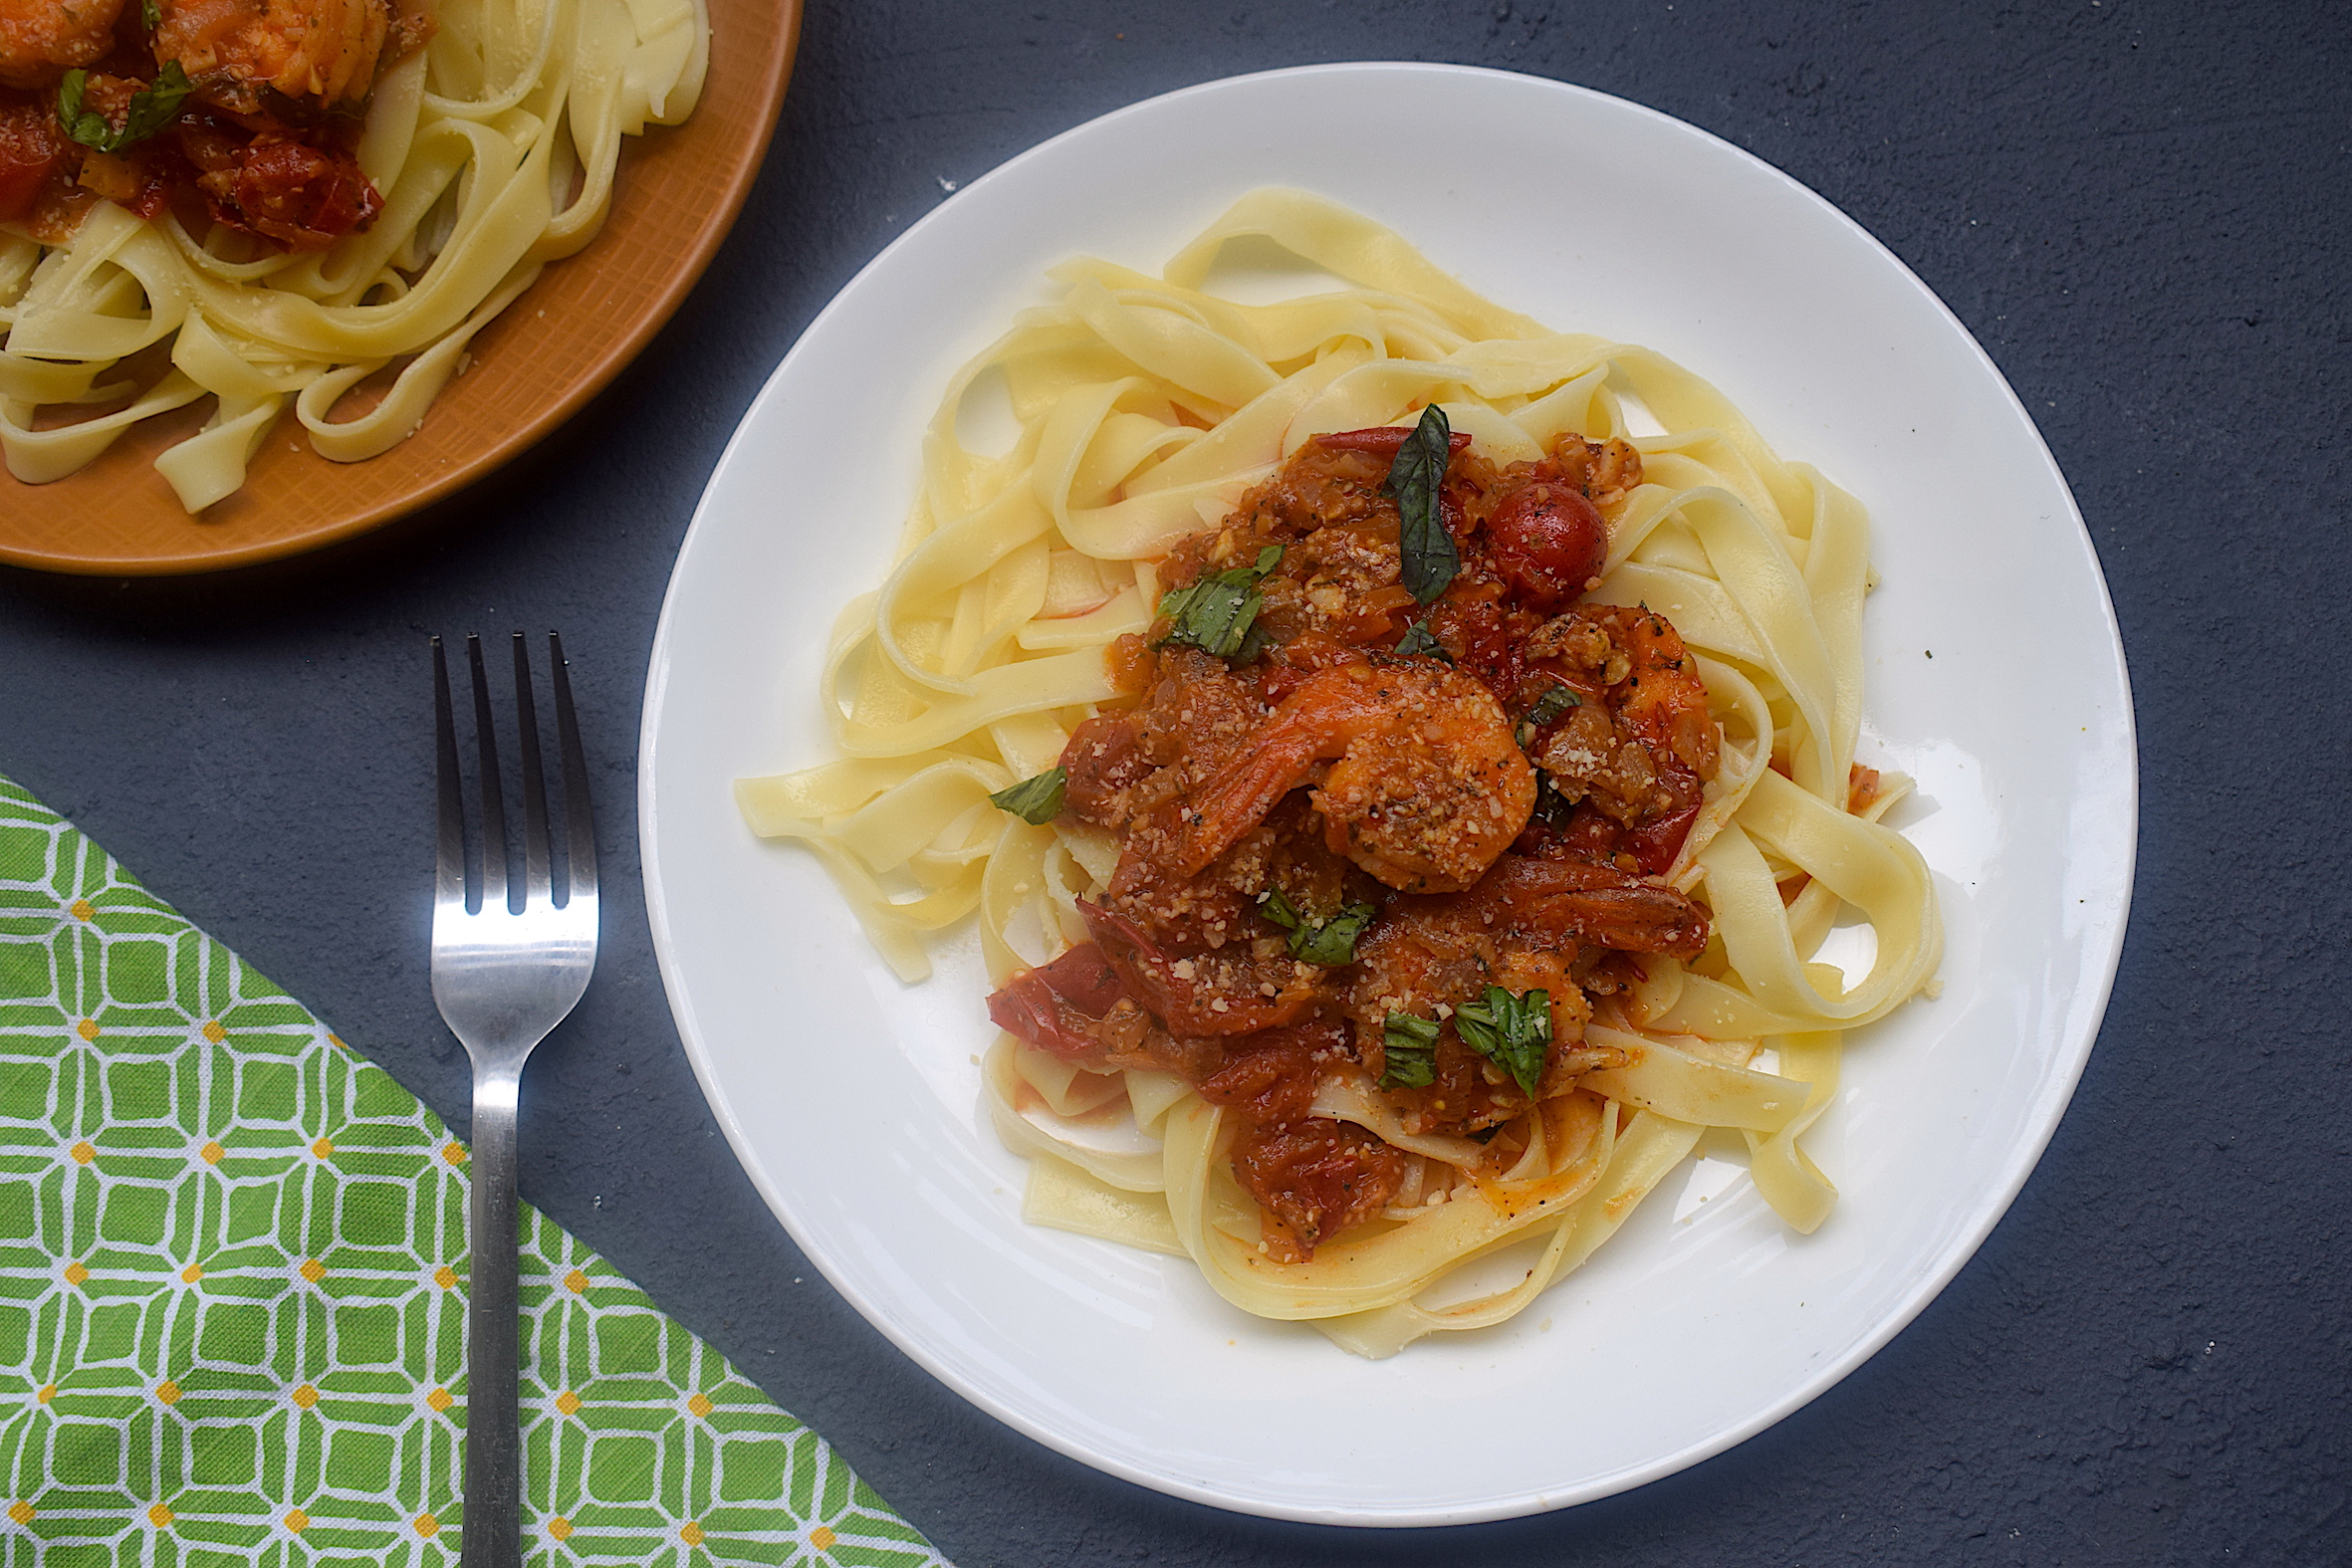
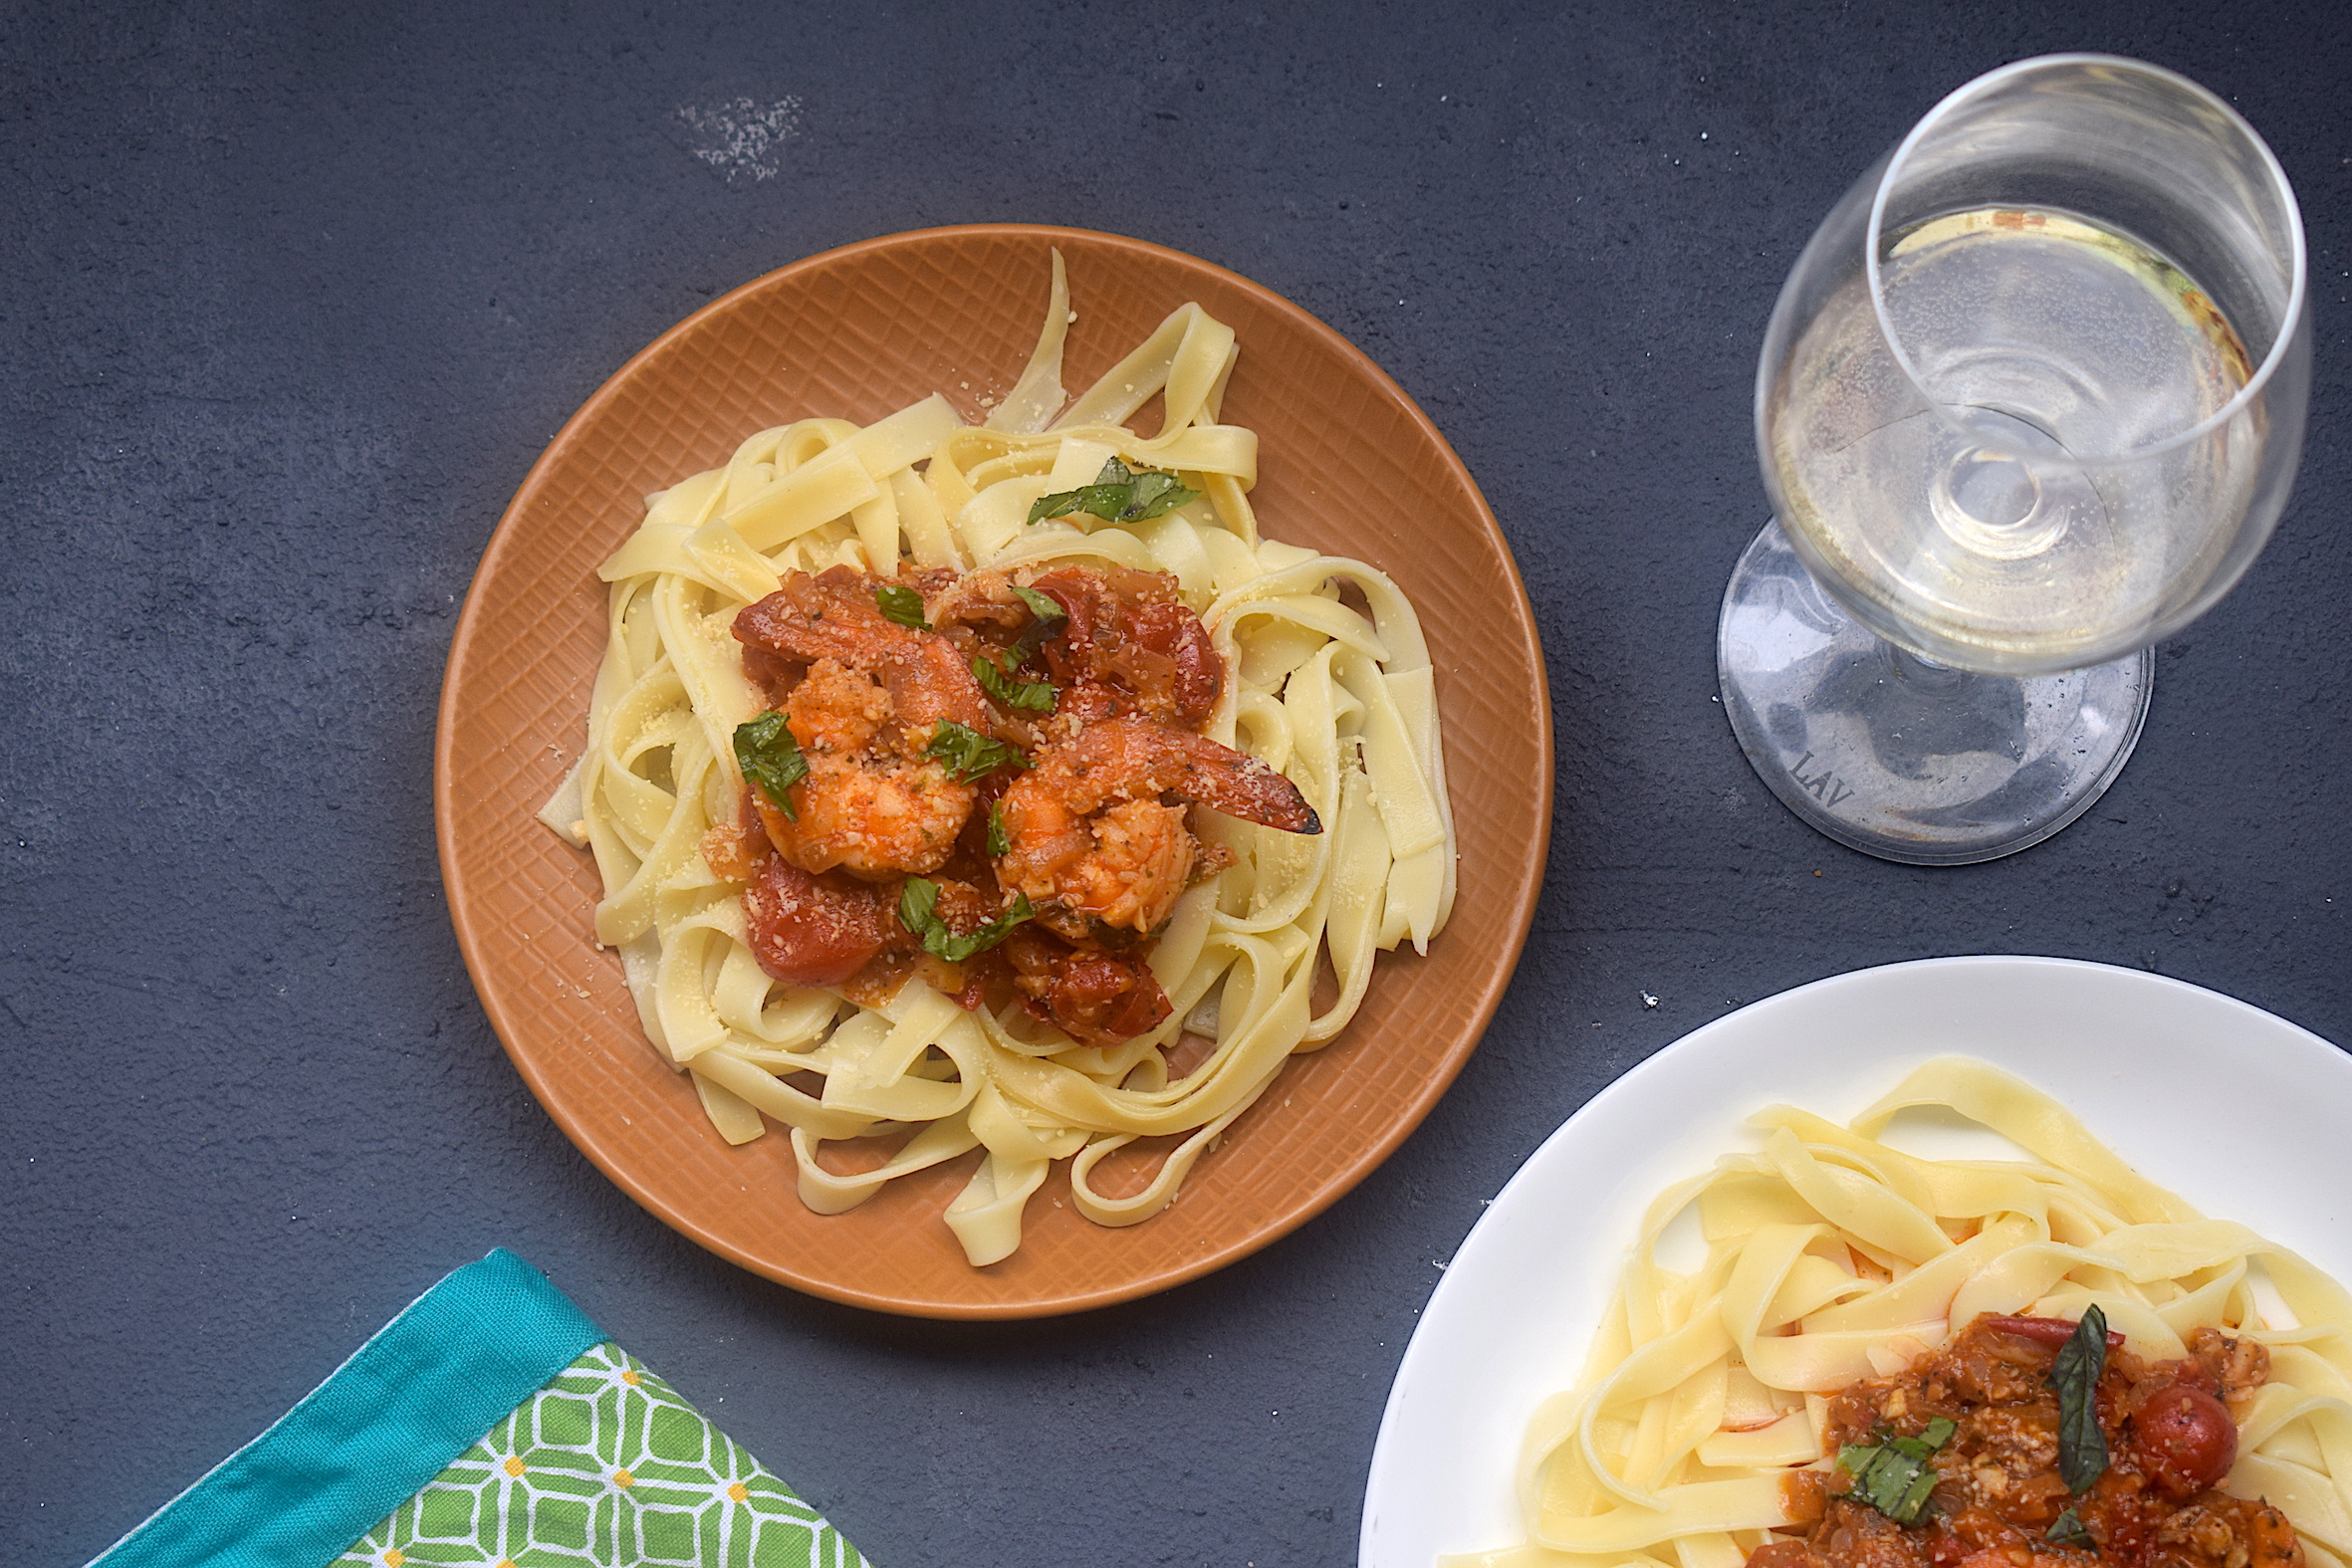
This pasta is comfort food with fresh ingredients. The base of the sauce is a sweet and sour mix of lots of fresh cherry tomatoes, coupled with onions, garlic, and fresh Italian herbs for seasoning. This pasta is also that perfect recipe for your date night. I usually do not mix the cooked fettuccine with the sauce entirely. I rather enjoy mine separately as shown below. The perfect crunch of the shrimp fried in garlic butter, that glaze of the olive oil, the hint of fresh basil and thyme, oh this recipe is serious dinner goals!
Like all other kinds of pasta, here we cook the fettuccine separately with some aromatics and simultaneously prepare for a basic, yet luxurious sauce to serve with. Let’s get started!
Preparation time – 15 minutes
Cooking time – 30 minutes
Serves – 2
[ingredients title=”Ingredients”]
250g fettuccine
10 medium sized shrimps
1 tbsp butter
3 tbsp extra virgin olive oil
1 onion, finely chopped
5 garlic cloves, finely chopped
200g ripe cherry tomatoes
150 ml white wine (Chardonnay)
1 tsp fresh ground black pepper powder
7-8 Italian basil leaves, chopped
1 tbsp dried thyme (Use fresh if available)
1/2 cup grated parmesan cheese
Salt to taste [/ingredients]
[directions title=”Directions”]
Heat water in a pot. Add salt to it, one bay leaf and a cinnamon stick.
Cook the fettuccine in the water as per the package instructions till al dente. Reserve some of the salty pasta water in a cup to be used for cooking later.
While the pasta is cooking, heat olive oil and butter in another pot. Fry the shrimps in this, three minutes each side. Set them aside.
In the same pot, saute the onions and chopped garlic for a minute. Add the cherry tomatoes to that and cook for another ten minutes till the tomatoes start to crack open.
Once the cherry tomatoes melt, let the reserved pasta water and let it simmer.
Season with salt and black pepper powder. Make sure you do not add too much salt as the fettuccine will already have it.
As the sauce gets slightly thicker, add the white wine and stir gently. At this point, add the fried prawns to the sauce.
Cook this on medium flame till the sauce reduces to a beautiful consistency.
Roughly chop some fresh basil and thyme and add to the sauce. Add the parmesan cheese to the sauce to make it thicker. If at any point you feel like the mixture is getting too thick, add some reserved salty pasta water.
Once you have your desired consistency, turn off the stove.
For plating, add some cooked fettuccine on the plate. Pour the shrimp sauce cooked in white wine on top. Garnish with fresh basil and parmesan. Serve hot.
[/directions]
There is a burst of a variety of flavors in each bite of this delicious pasta. It is tangy, sweet, cheesy, and salty, all at the same time. If you like some spice in your pasta, you can add some chili flakes to the sauce.
So cook restaurant level deliciousness in your kitchen with these fresh ingredients and surprise yourself with how easy cooking can be!
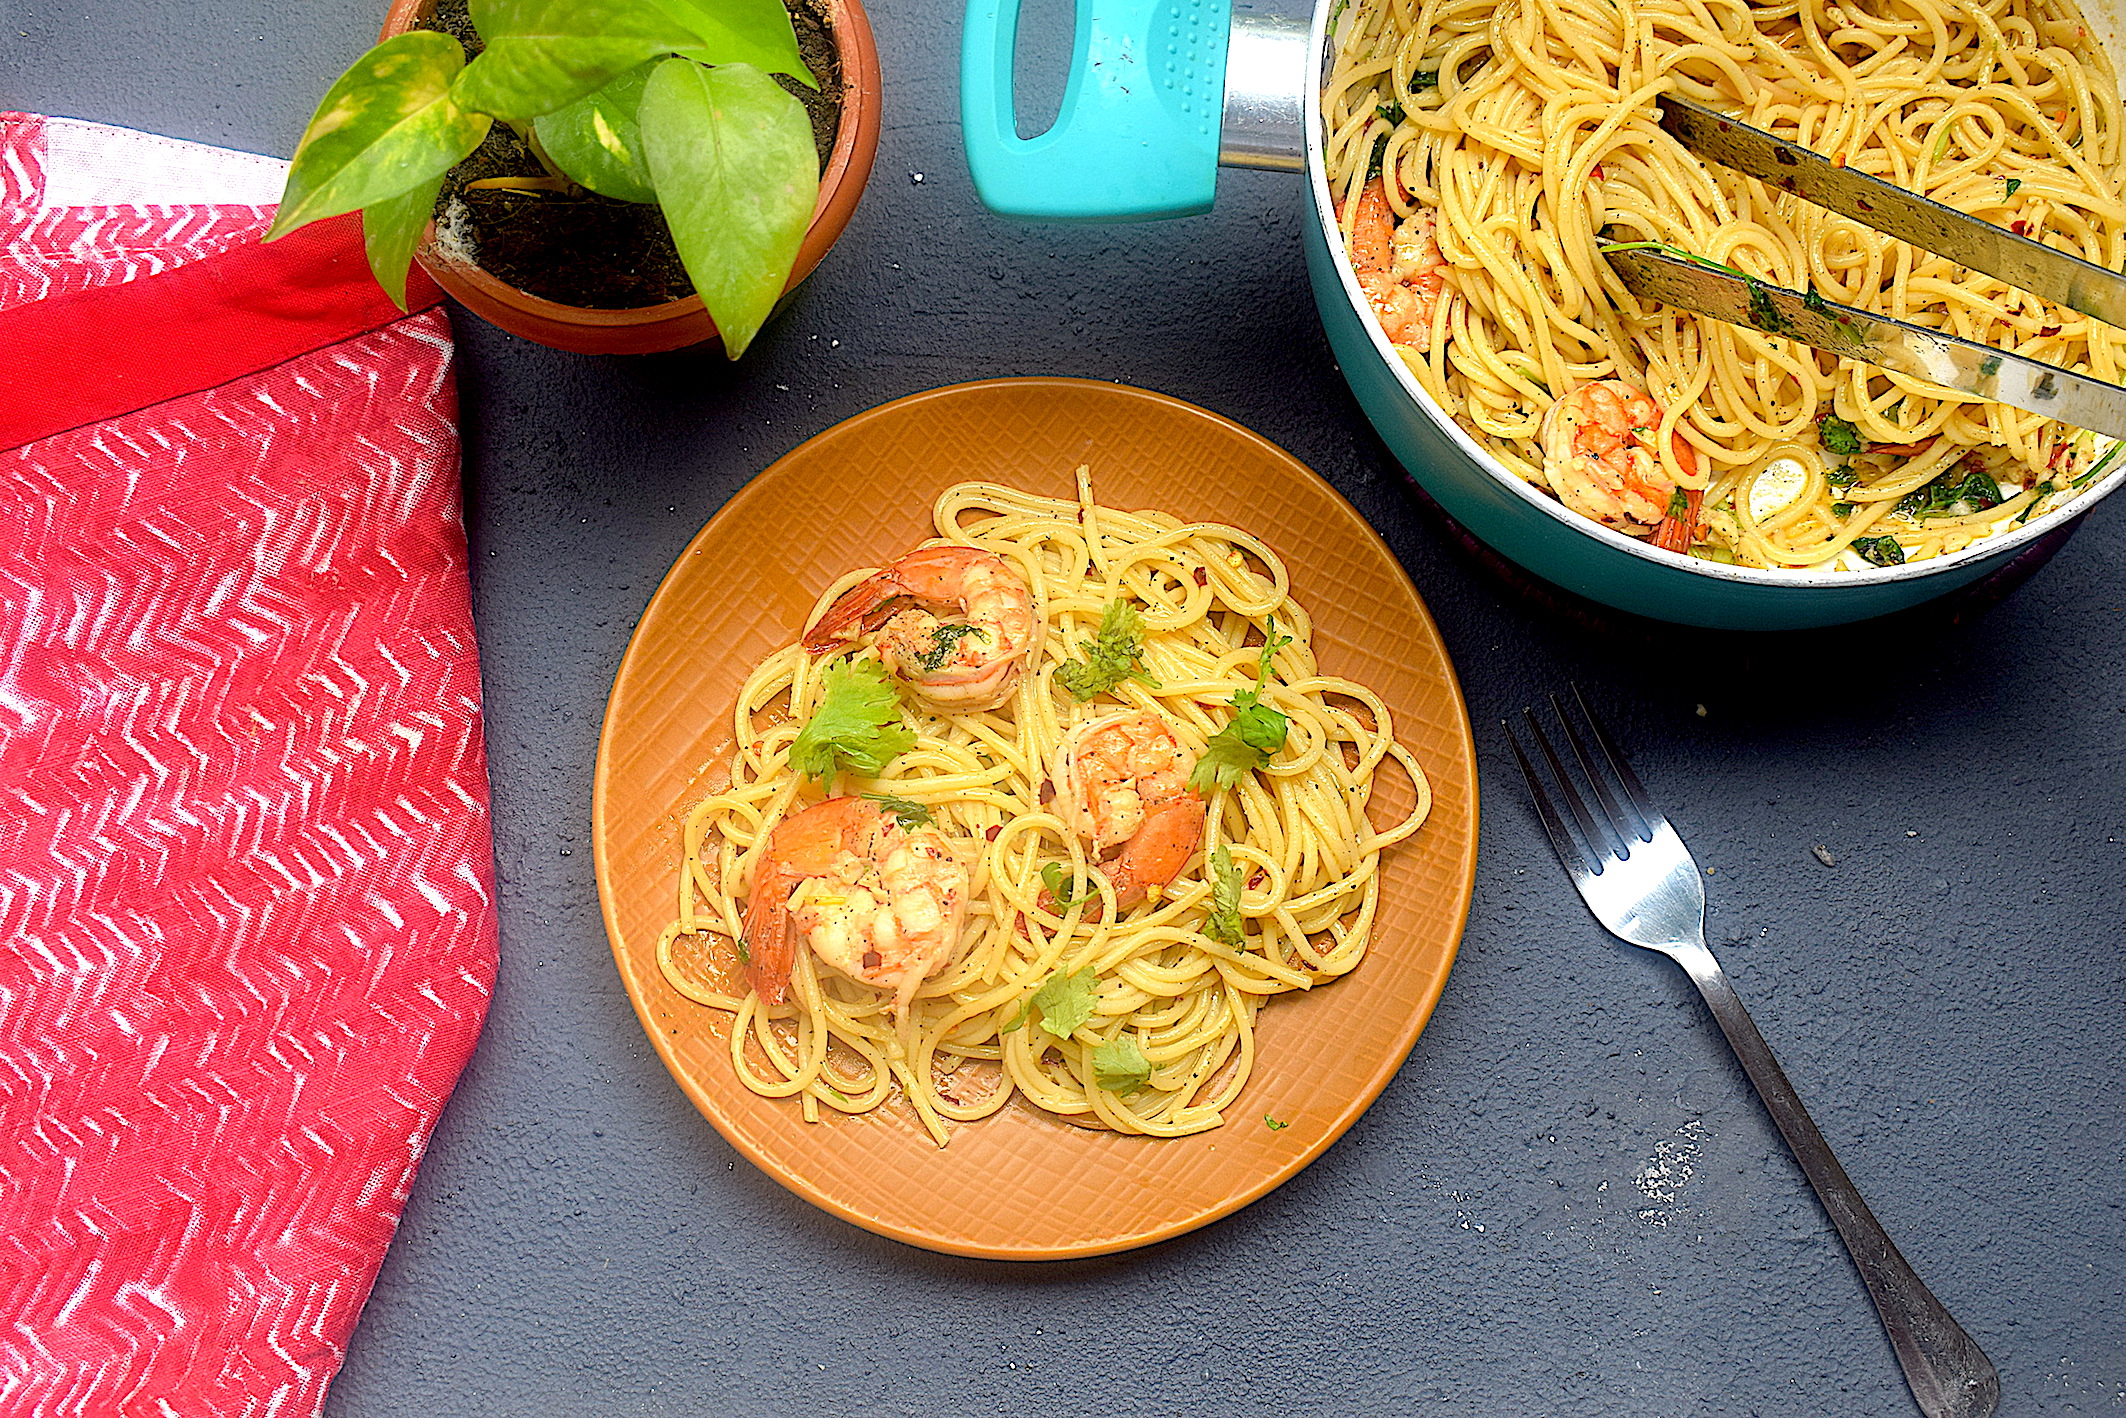
Okay, here’s the truth. This recipe actually gets ready in 15 minutes or less. Provided you cook the scampi and the pasta simultaneously of course!
What is scampi?
Scampi refers to a luxurious sauce that is made with garlic, butter, lime juice, and olive oil. This simple, yet exotic sauce is what makes everything that goes with it a clear winner! With just a handful of ingredients, scampi is a secret everyone should know when it comes to making amazing dinner recipes.
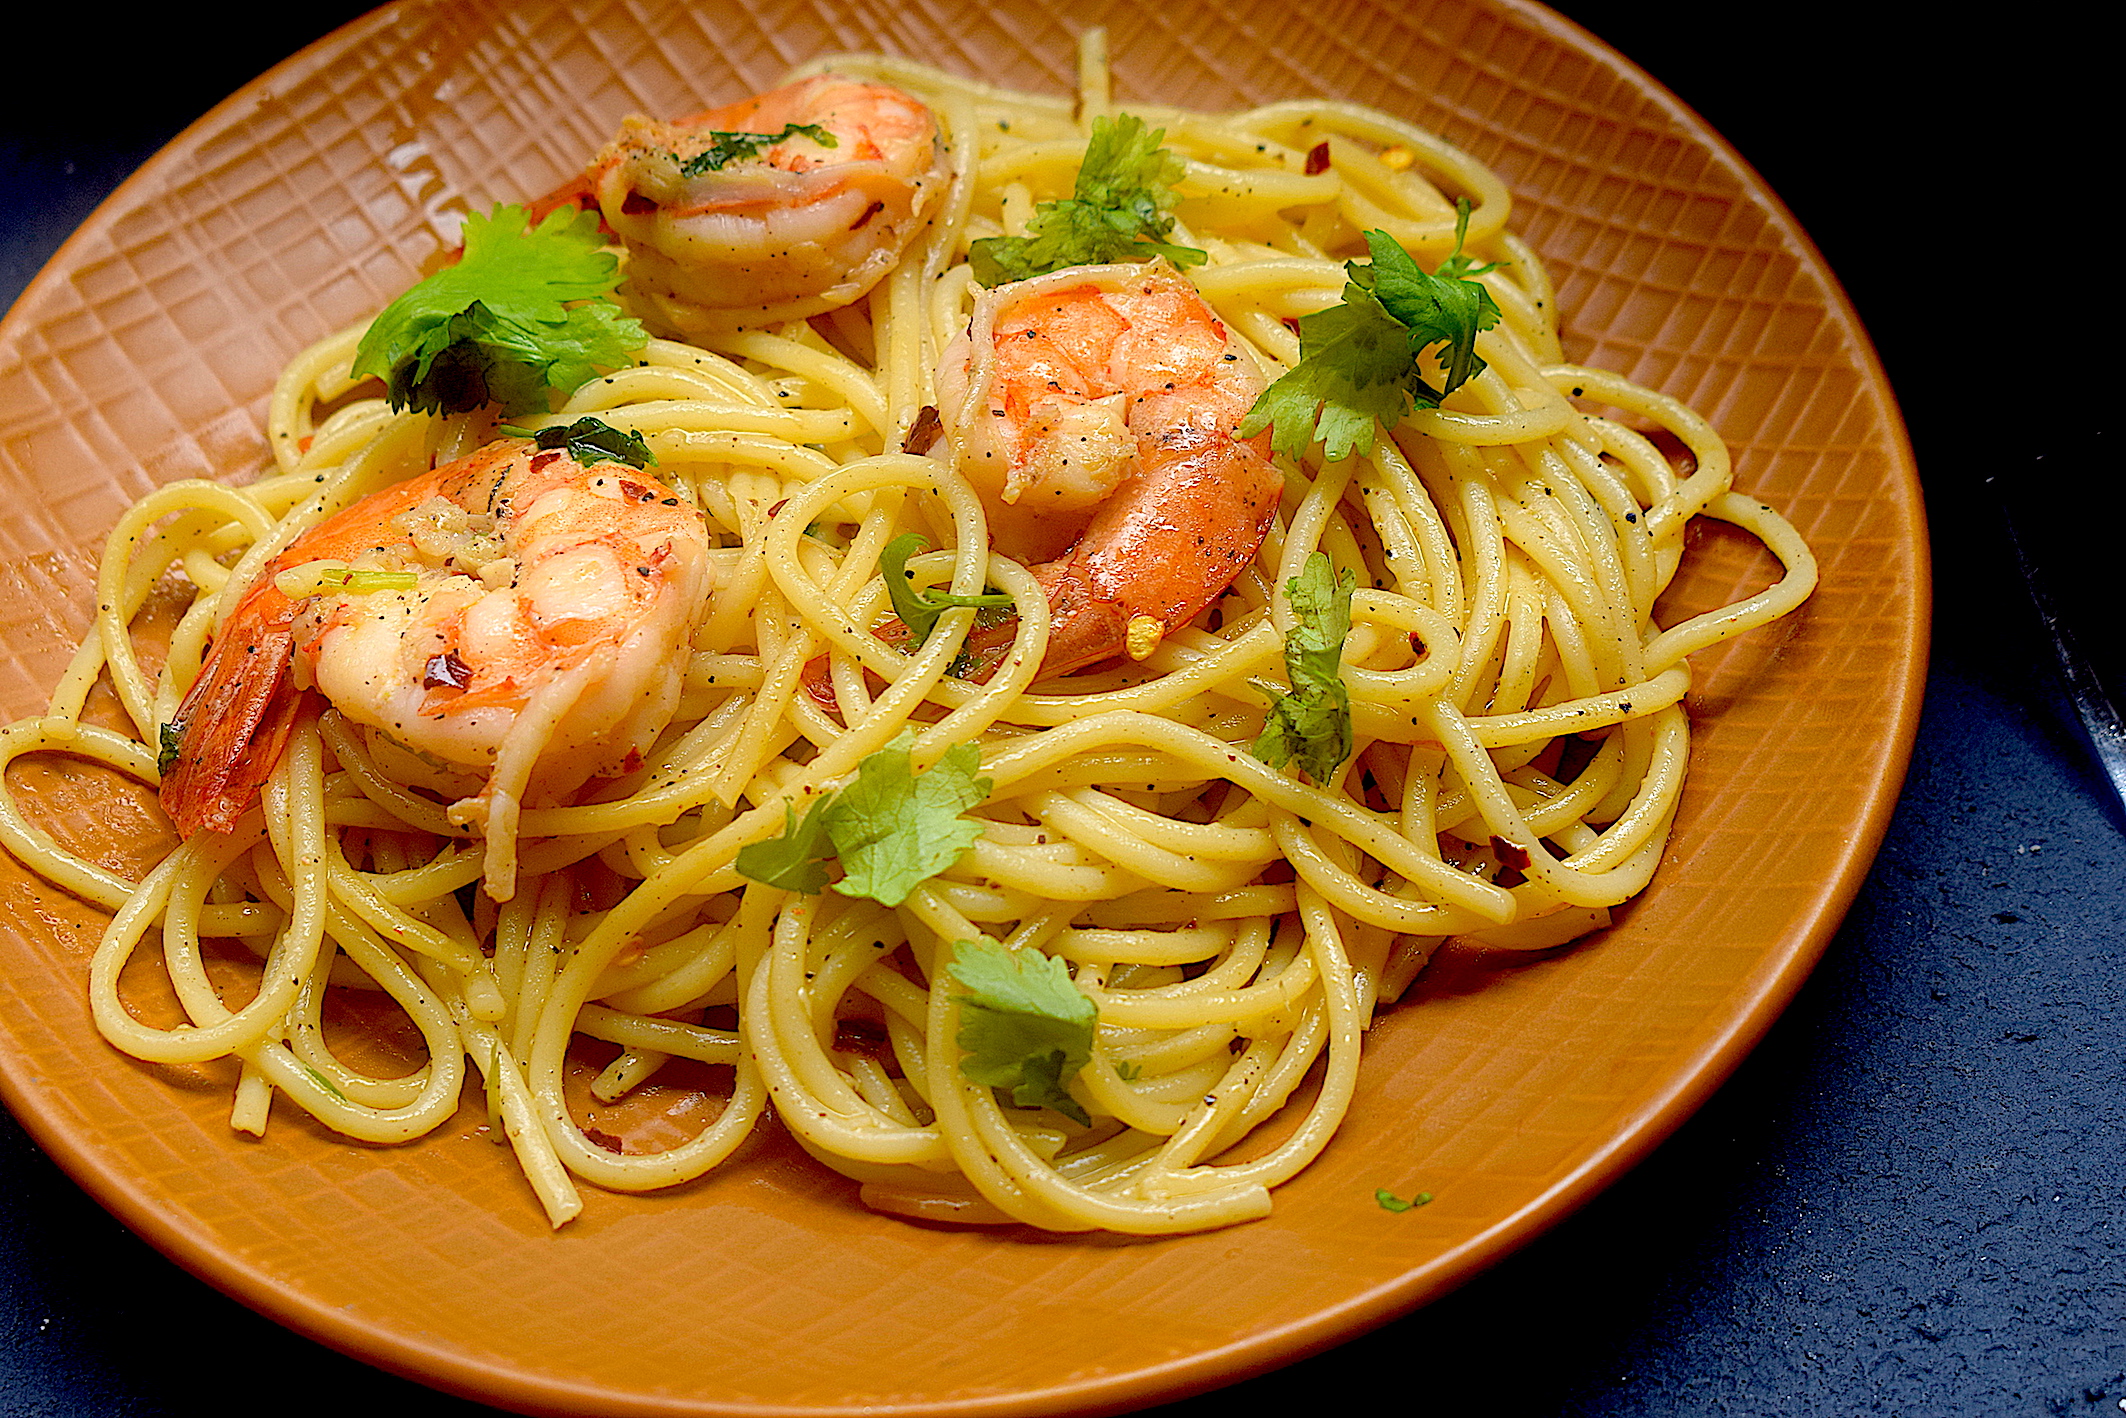
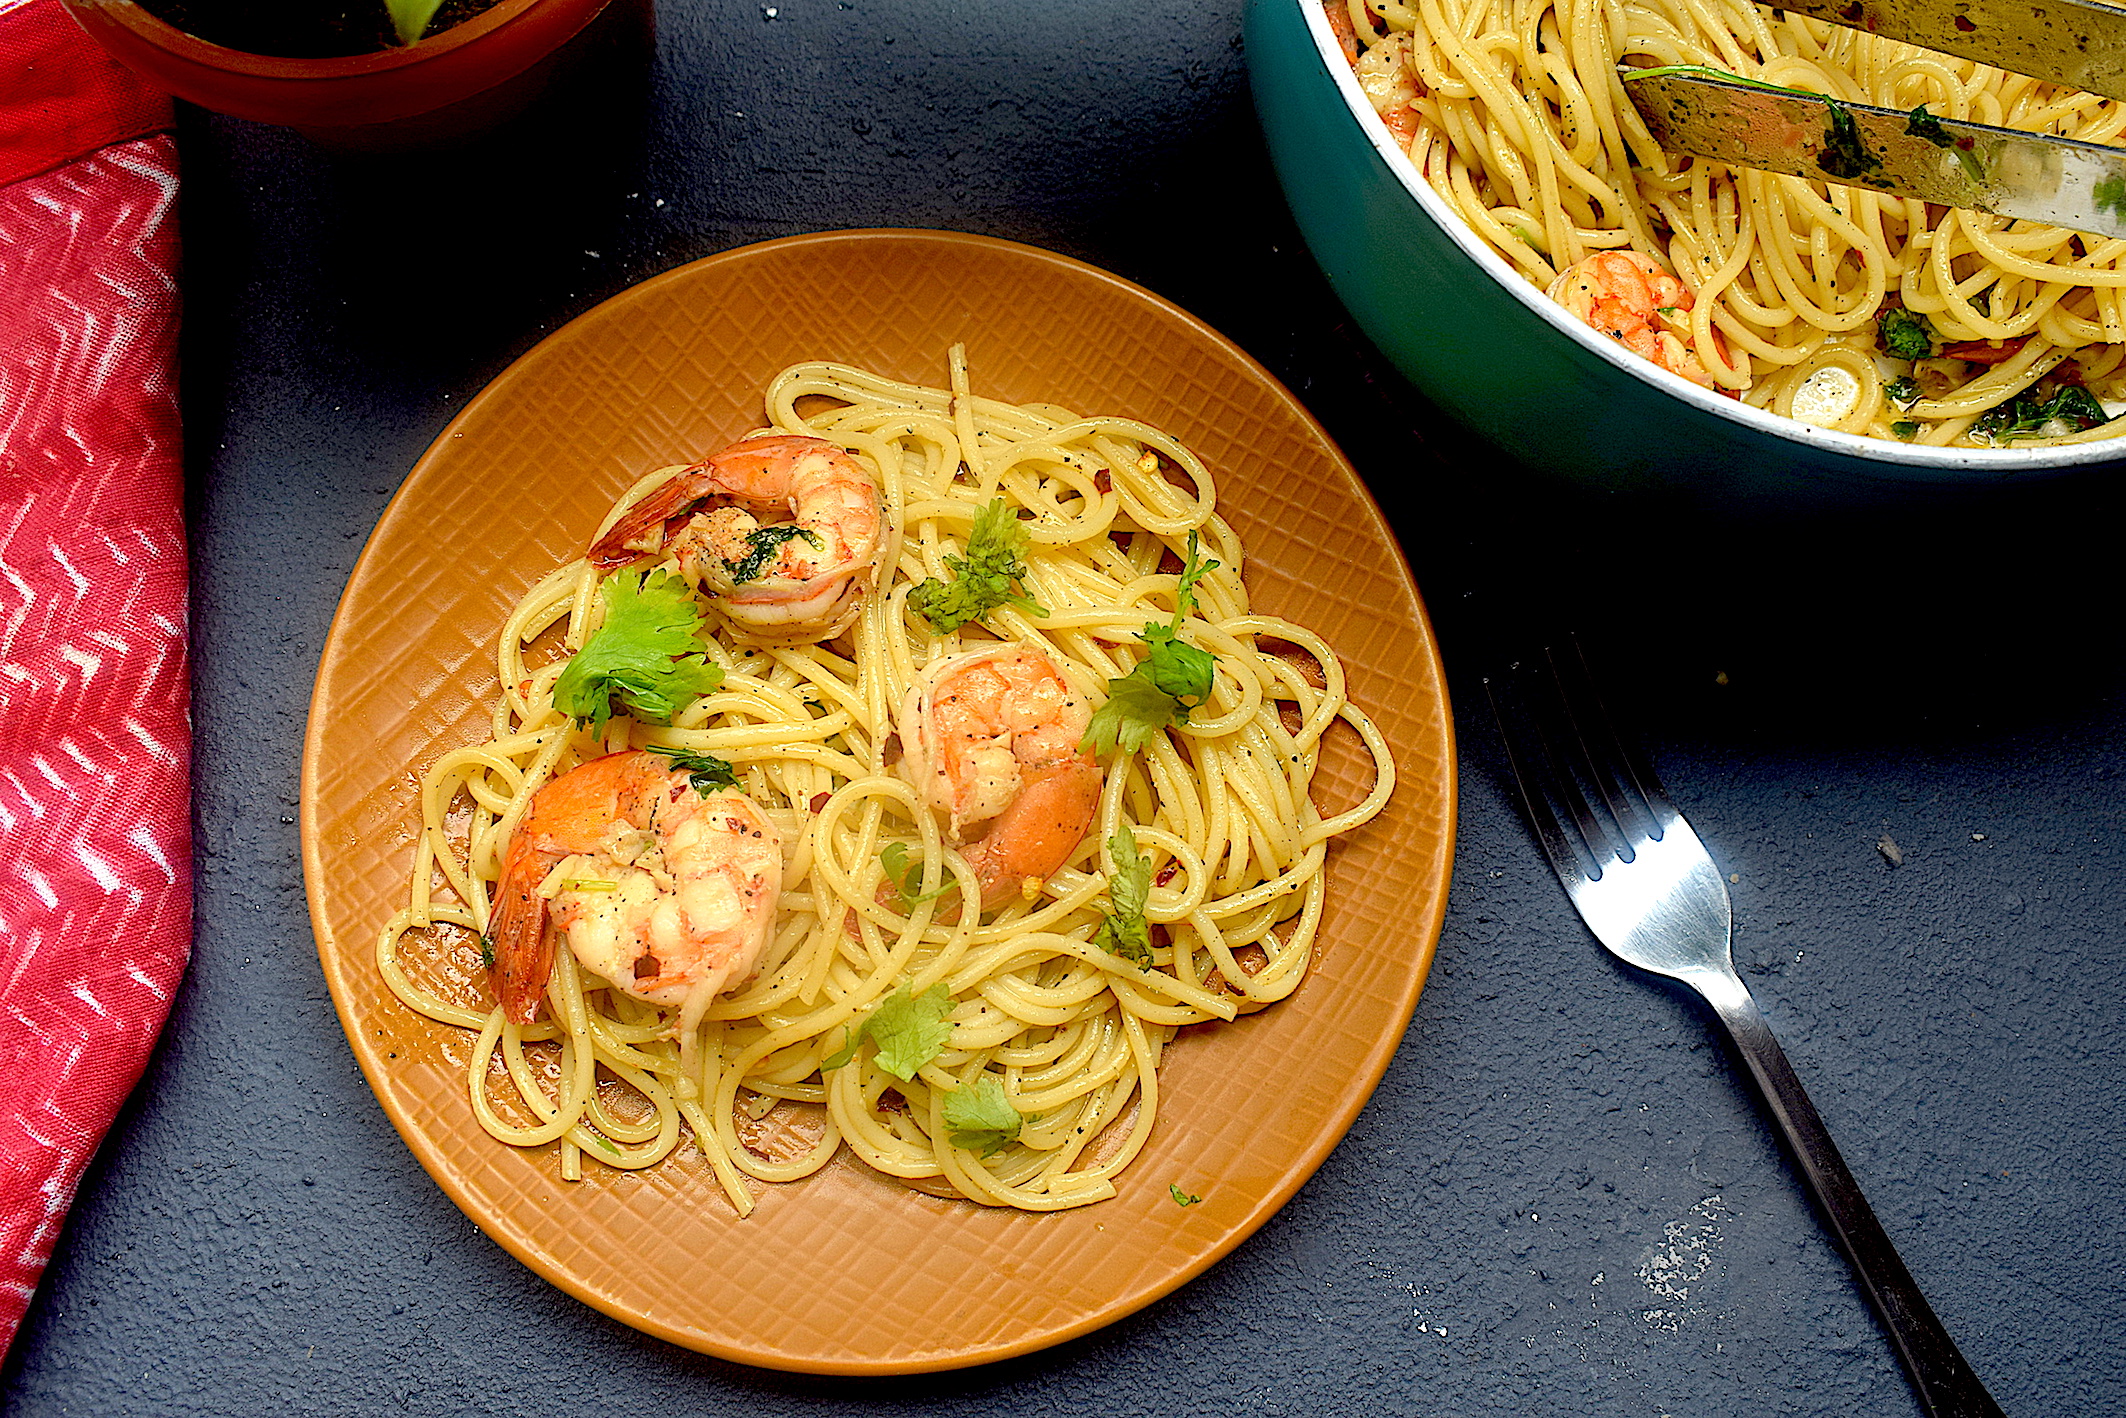
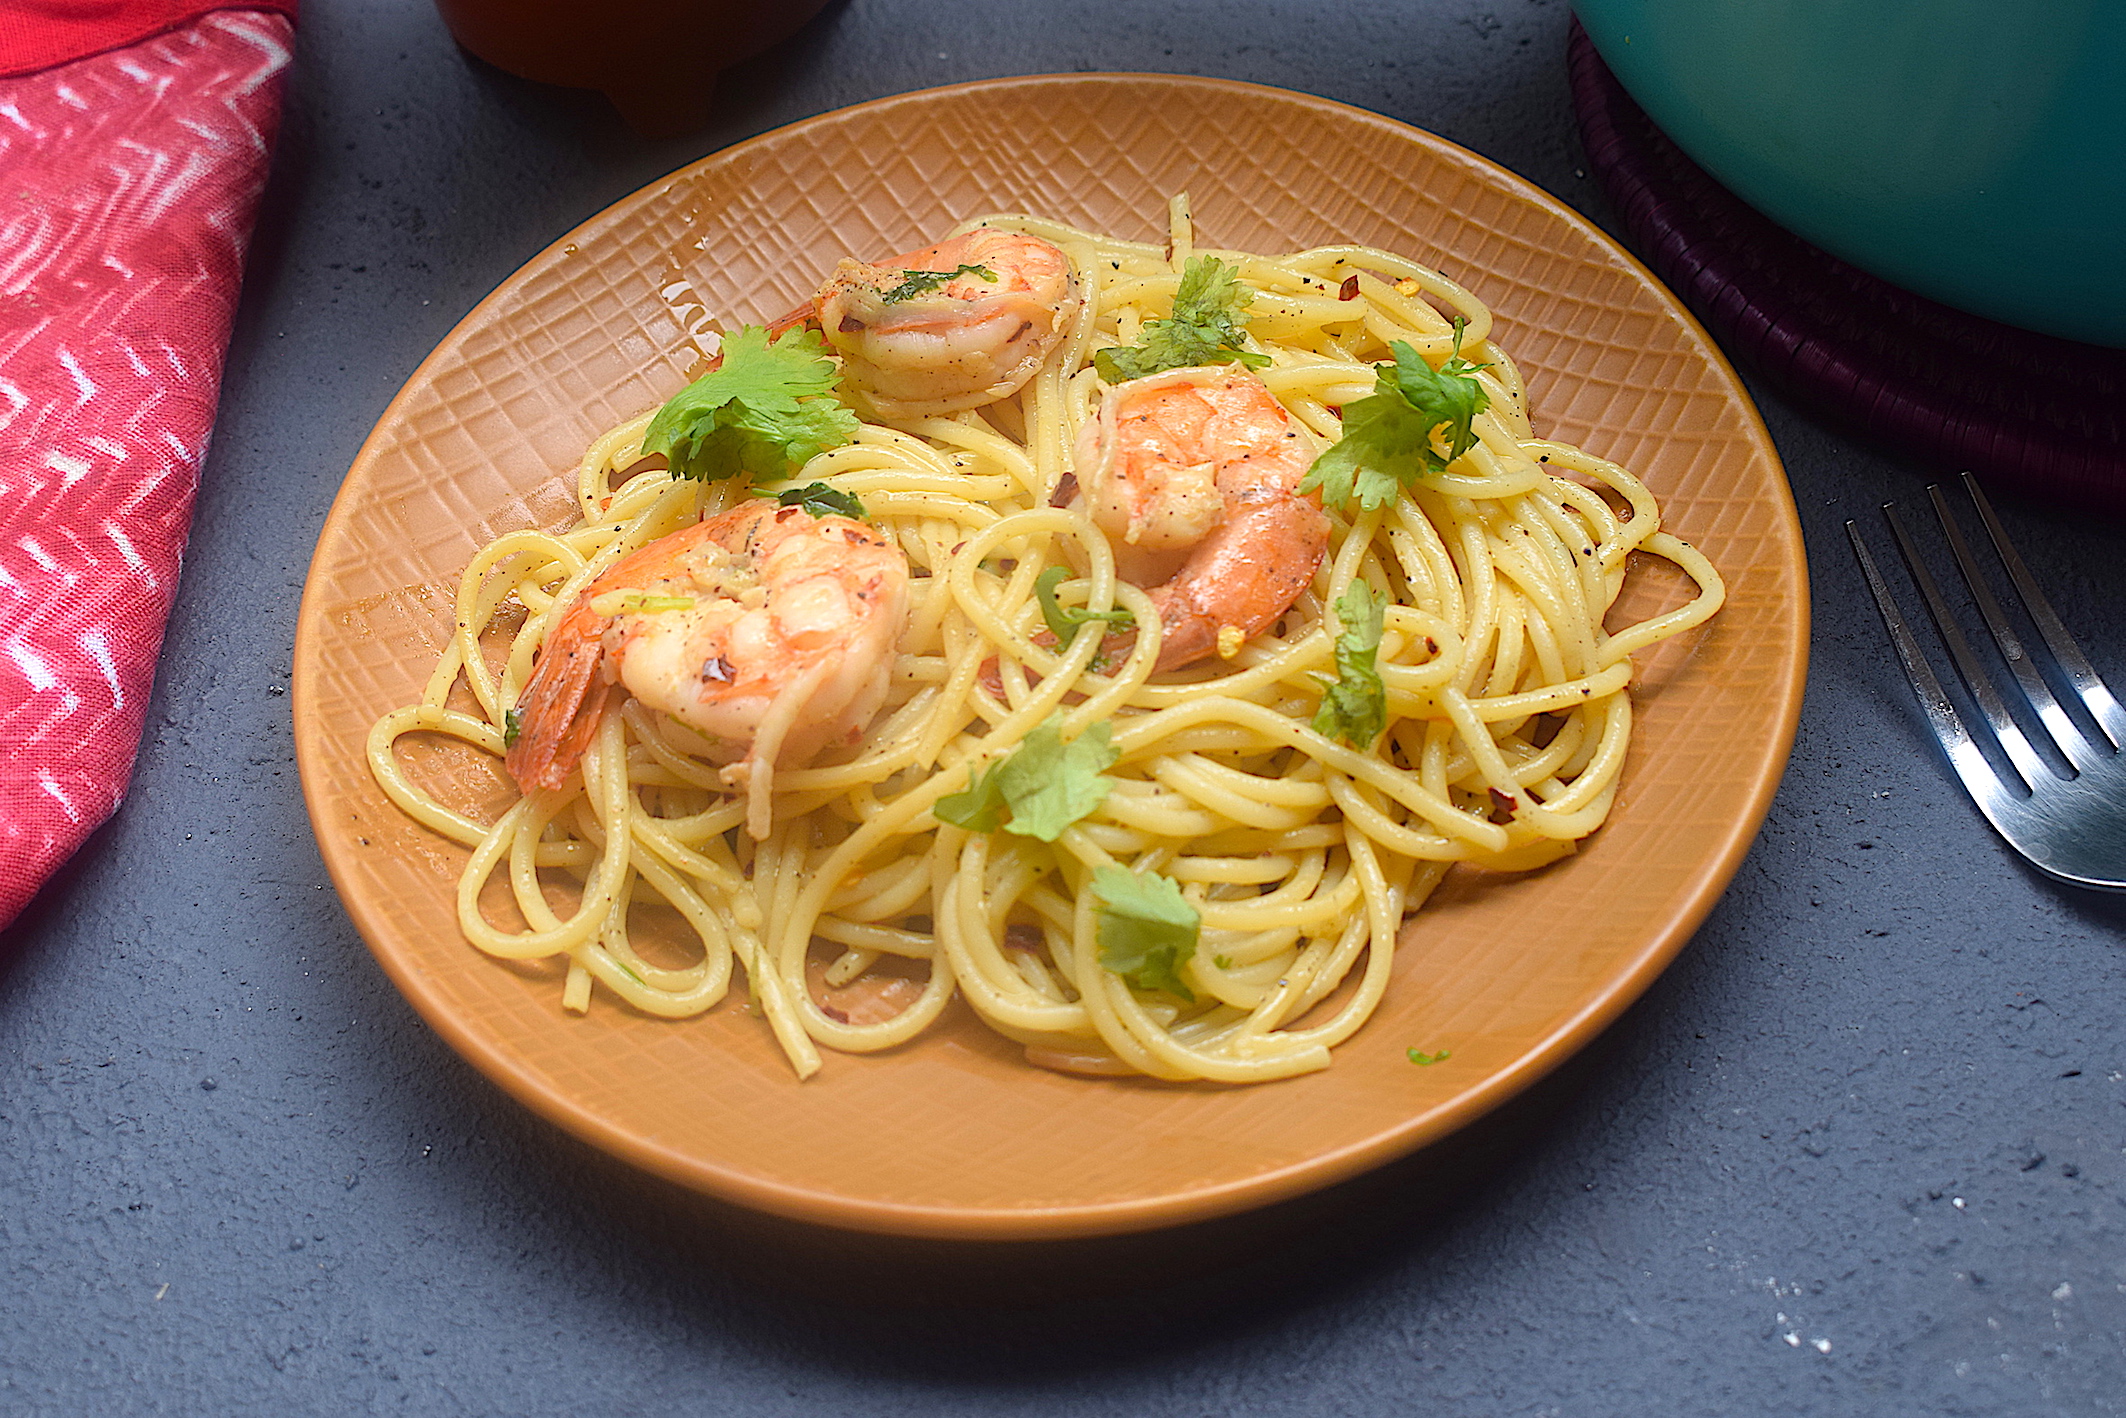
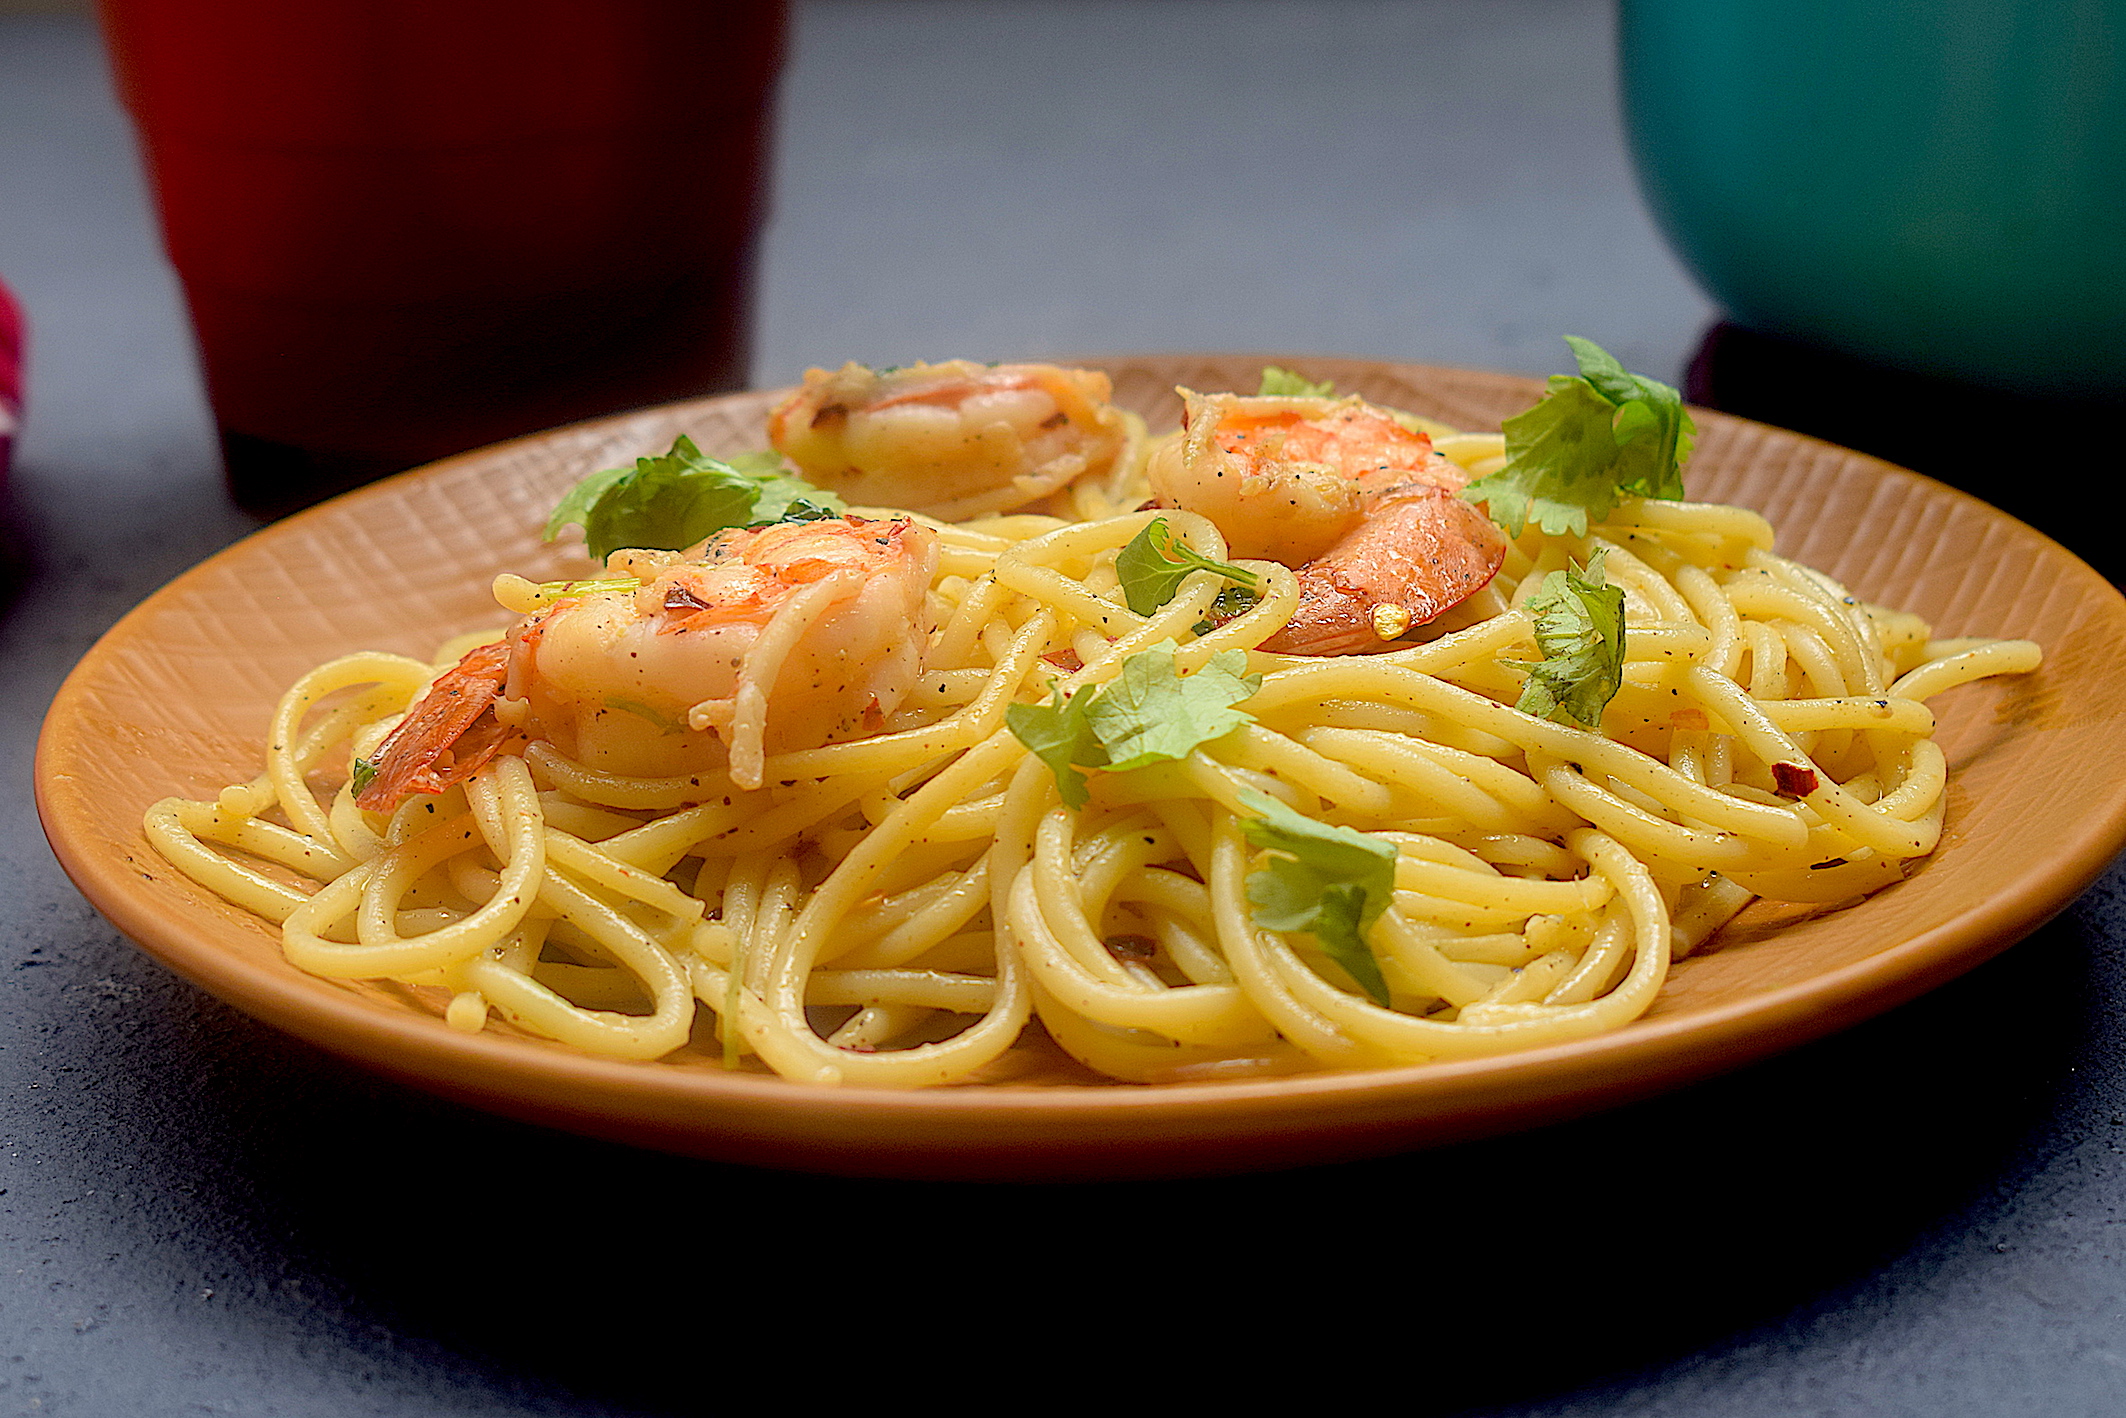
Shrimp scampi is all the more special because it has this beautiful and glazy butter garlic sauce infused into those juicy shrimps. Oh, my mouth is salivating at just the thought of it!
Follow the basic rules
I think everyone has their own version of shrimp scampi. Mine is a little different than the usual, and I have never been disappointed by it. There are some 101’s when it comes to making this extremely simple dish. while this recipe is super simple and has minimal steps, you also need to get each step right.
The garlic is the champion – Let’s start with the garlic. The most important step in this recipe is infusing the flavors of the garlic into the olive oil right in the beginning. You don’t want to burn the garlic or make it crispy in hot olive oil. You need to infuse the flavors emanating from the garlic into the olive oil. Also, olive oil does not have a very high smoking point. Caution needs to be exercised while cooking dishes with it so that the oil retains its aroma and taste. For this, I put the finely chopped garlic into the olive oil before even starting the stove, letting it cook slowly so that the garlic gets infused into the oil.
Perfectly cooked pasta – The second rule is obviously cooking the spaghetti to perfection. There is no universal rule to cook pasta right, it varies as per the product you are using. So make sure you follow the instructions in your package and cook the pasta in hot boiling water. The most common way is to cook the pasta till al dente (almost cooked, but not completely cooked) and then drain it. The rest of the cooking happens in the final pan.
NEVER overcook the shrimp – Shrimps cook super fast and overcooking them can make them chewy and hard. Here’s how you get the perfect shrimp – Always keep the tails on, because it has so much flavor! Second, wash and pat your shrimps dry with a paper towel so that there is no water on it. Third, marinate the shrimps with salt and black pepper powder and use your hands to mix it well. Last and most important – cook each side in olive and butter for 30 seconds each. That’s it!
Simultaneous cooking – The sauce needs to be prepared while you cook the pasta on the side. This will make you utilize time in the best possible way like a ninja. Oh yeah!
Should I add salt to the pasta?
Yes, yes and a million times yes. This is such a crucial step for a good plate of pasta. You do not want the sauce to have all the seasoning correct, and the actual spaghetti strands to be bland!
The reason why you need to boil pasta in salty water is that that’s the only time you are going to actually season the pasta. The spaghetti needs to have its own flavor too, and adding salt during the boiling process can give that elevated feel to your recipe.
Preparation time – 15 minutes
Cooking time – 15 minutes
Serves – 2
[ingredients title=”Ingredients”]
50 g spaghetti
200 g shrimps, tail on
4 tbsp extra virgin olive oil
8 garlic cloves, finely chopped
150 ml white wine
1 tbsp chili flakes
20 g butter
Juice of 1 whole lime
1 tsp black pepper powder
Finely chopped fresh parsley for garnish
Salt to taste [/ingredients]
[directions title=”Directions”]
Cook the spaghetti in a pot as per instructions in the package till al dente.
Prepare the sauce simultaneously. For the sauce, pour olive oil in a pot and add the garlic in it. Put it on the stove in medium flame and stir for a minute. This is done so that the garlic does not burn, but instead, its flavor gets infused into the oil.
Add the shrimps to this oil, and cook for three minutes each side.
Once the shrimps are golden brown, pour in the white wine and give it a light stir. To this sauce, add chili flakes and butter. Season with salt and black pepper powder. Let it simmer till the sauce reduces to a thick consistency.
Add some fresh parsley into the sauce and give it a light stir. Add the cooked spaghetti to this and give it a light stir.
Turn off the stove and drizzle lime juice over the pan. Give it one last toss, garnish with some more parsley and serve![/directions]
I love my shrimp scampi with loads of chili, so I add quite a lot. The number of ingredients is so limited, and hence you can adjust them depending on what flavor or taste you like best.
I hope you try this delicious shrimp scampi for yourself. This is my version and I like it this way. If you have any questions, do leave me a comment 🙂
If you have any questions, feel free to reach out to me with a comment or connect with me on Instagram or Facebook. For all my videos, you can subscribe to me on YouTube.