Egg Chowmein

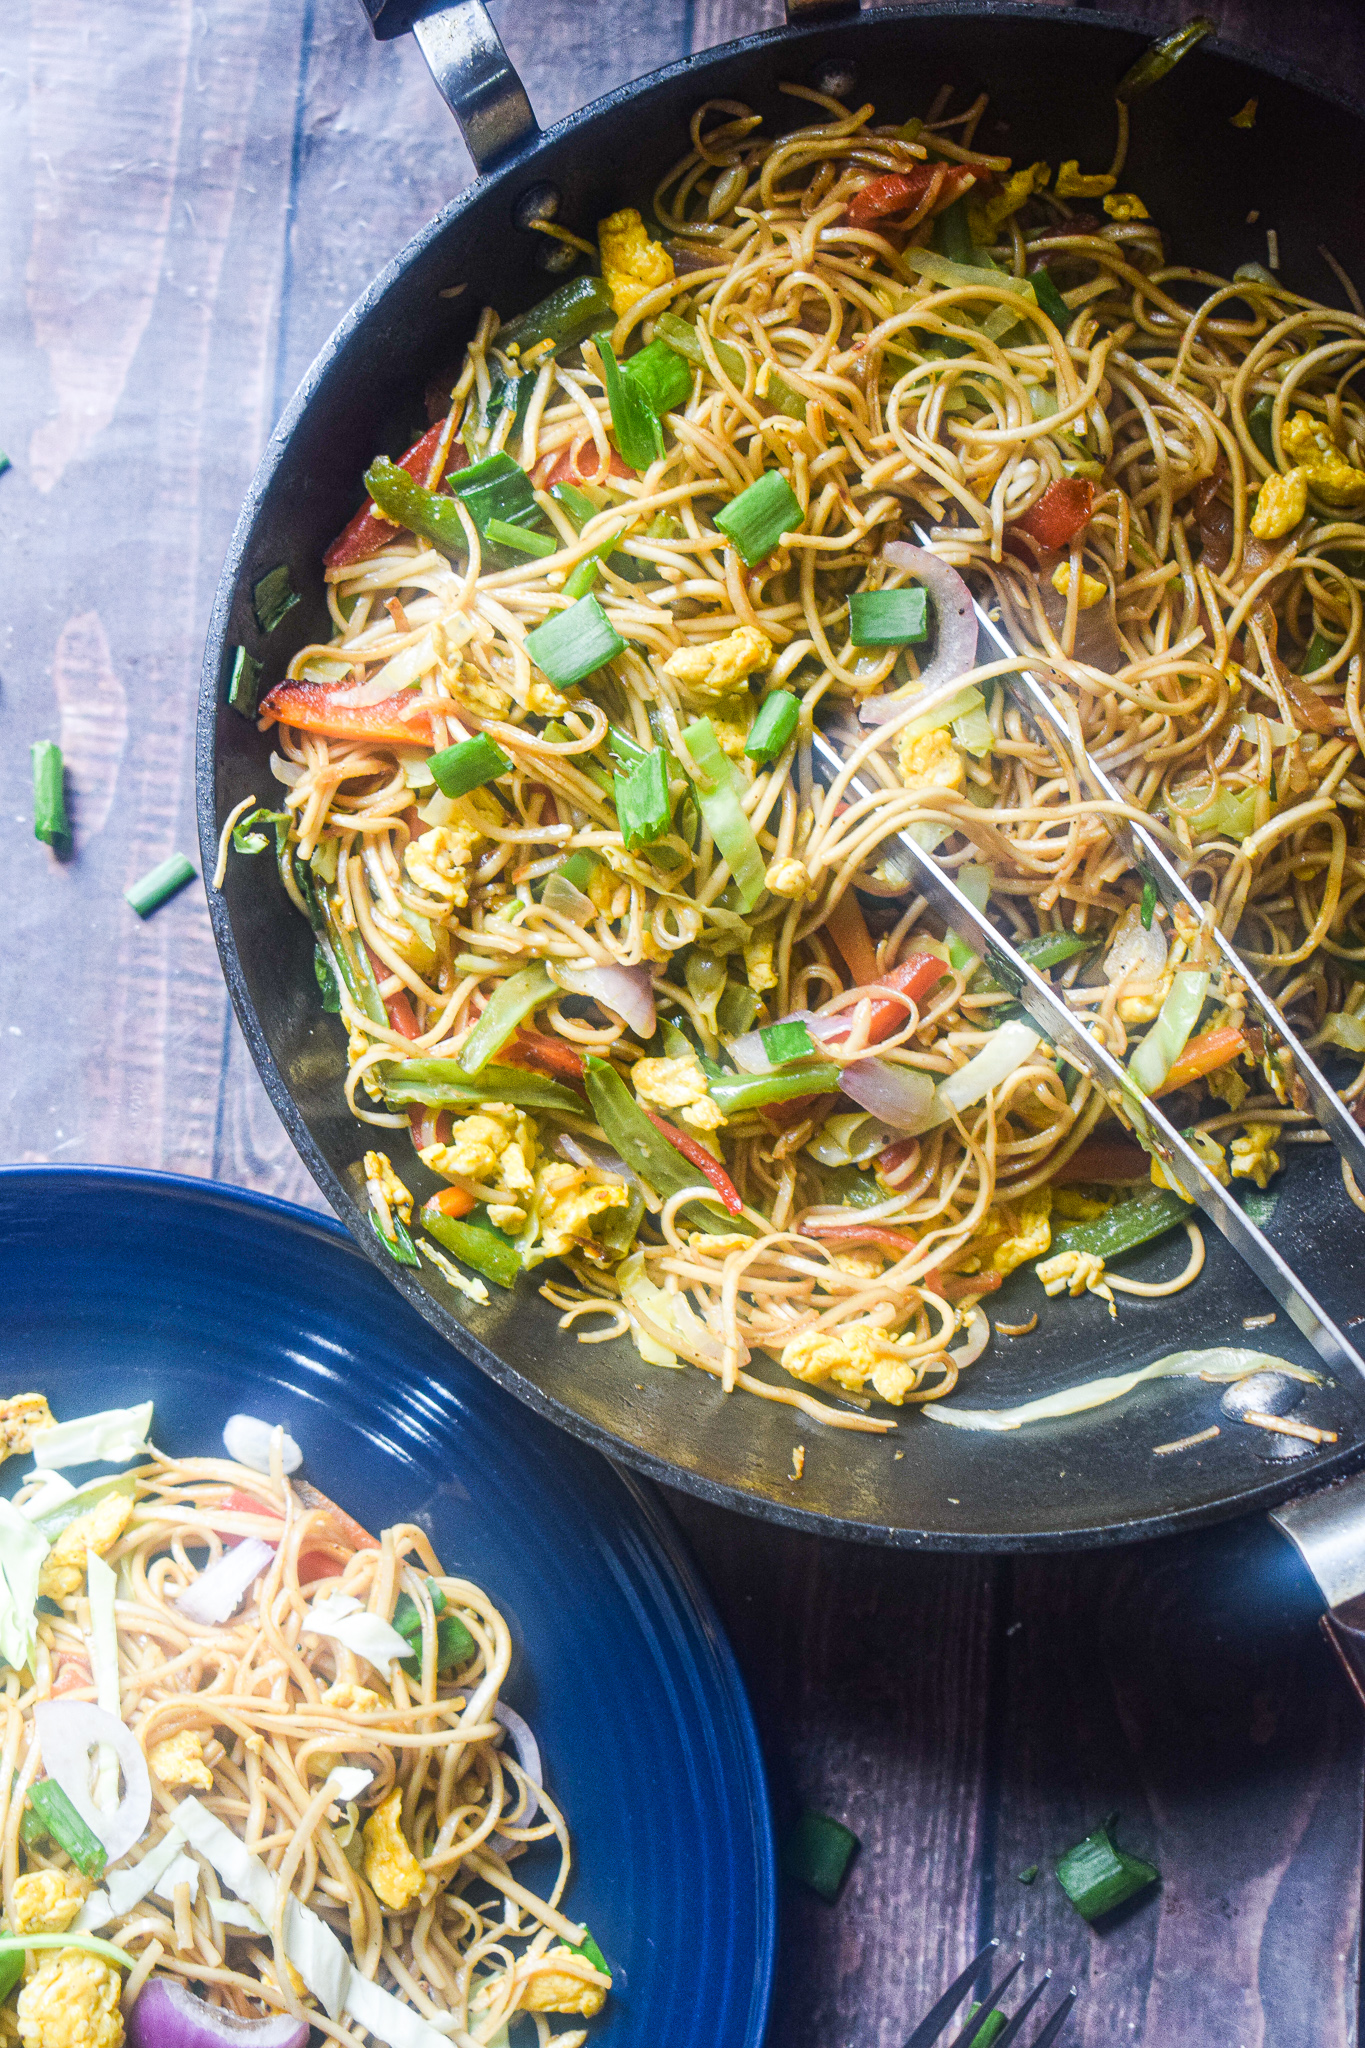
Everybody loves a good egg chowmein, but finding a good one is rare. I have grown up eating the best kind of chowmein in streets as well as restaurants in north-east India. And I still feel the quality and taste of Chinese food in that region goes unmatched. Having lived more than a decade in the capital, I am yet to find the taste in Chindian or Chinese food that takes me back home. But I do love whipping up something close to what I have grown up eating in my own kitchen. And here I am sharing my recipe of egg chowmein with you all.

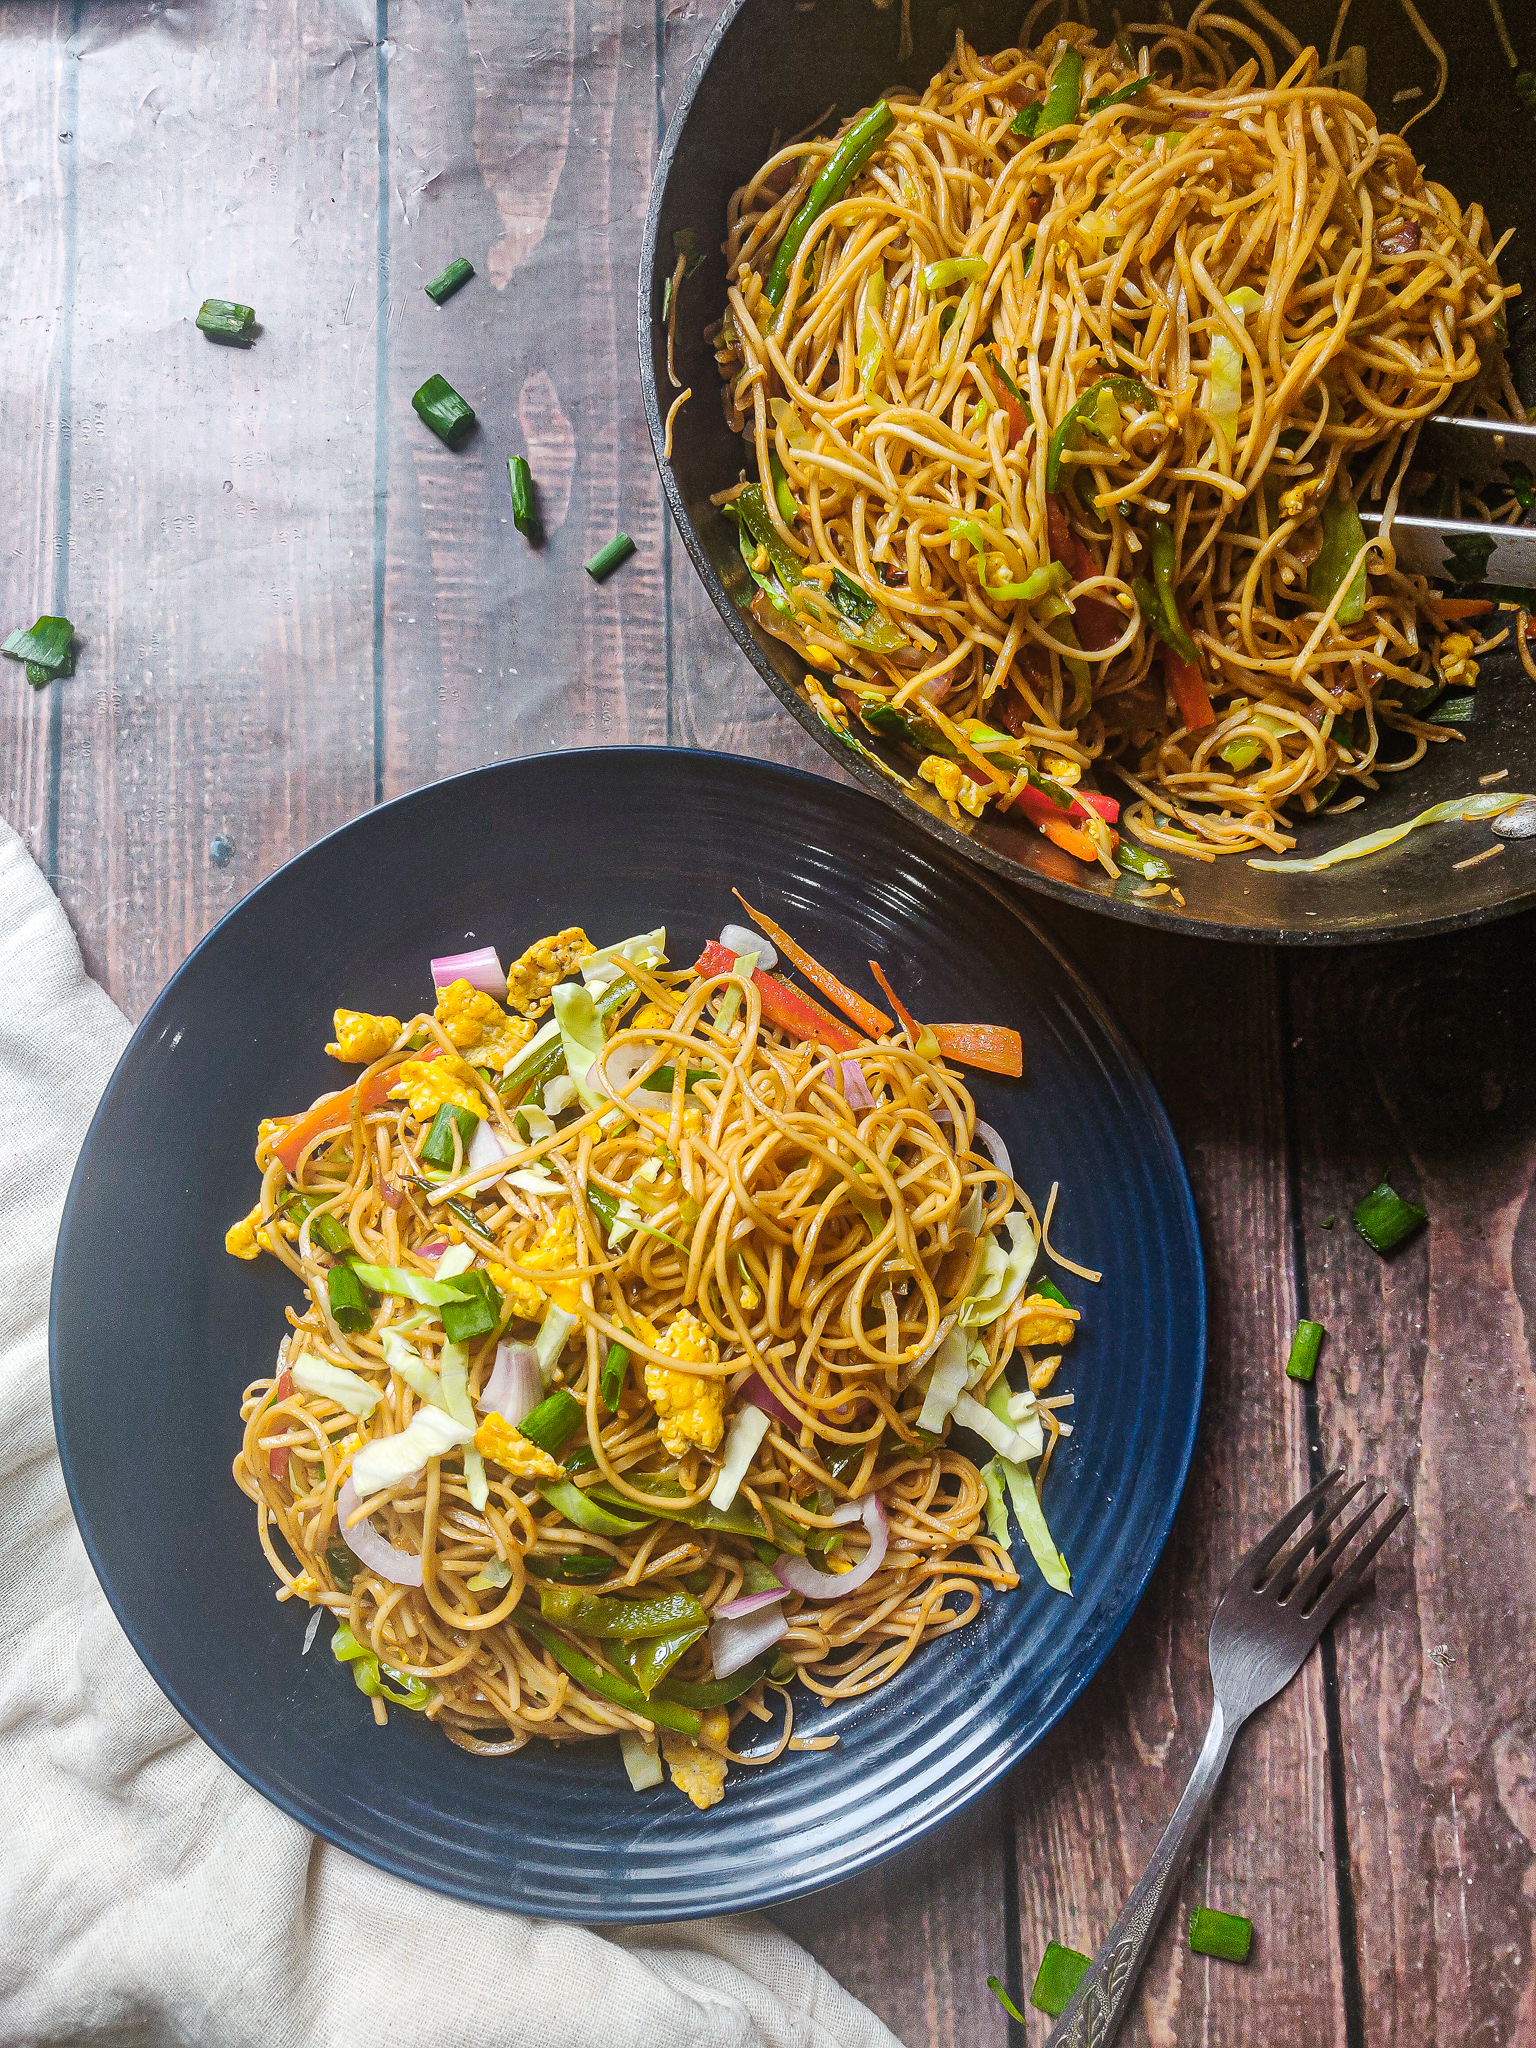
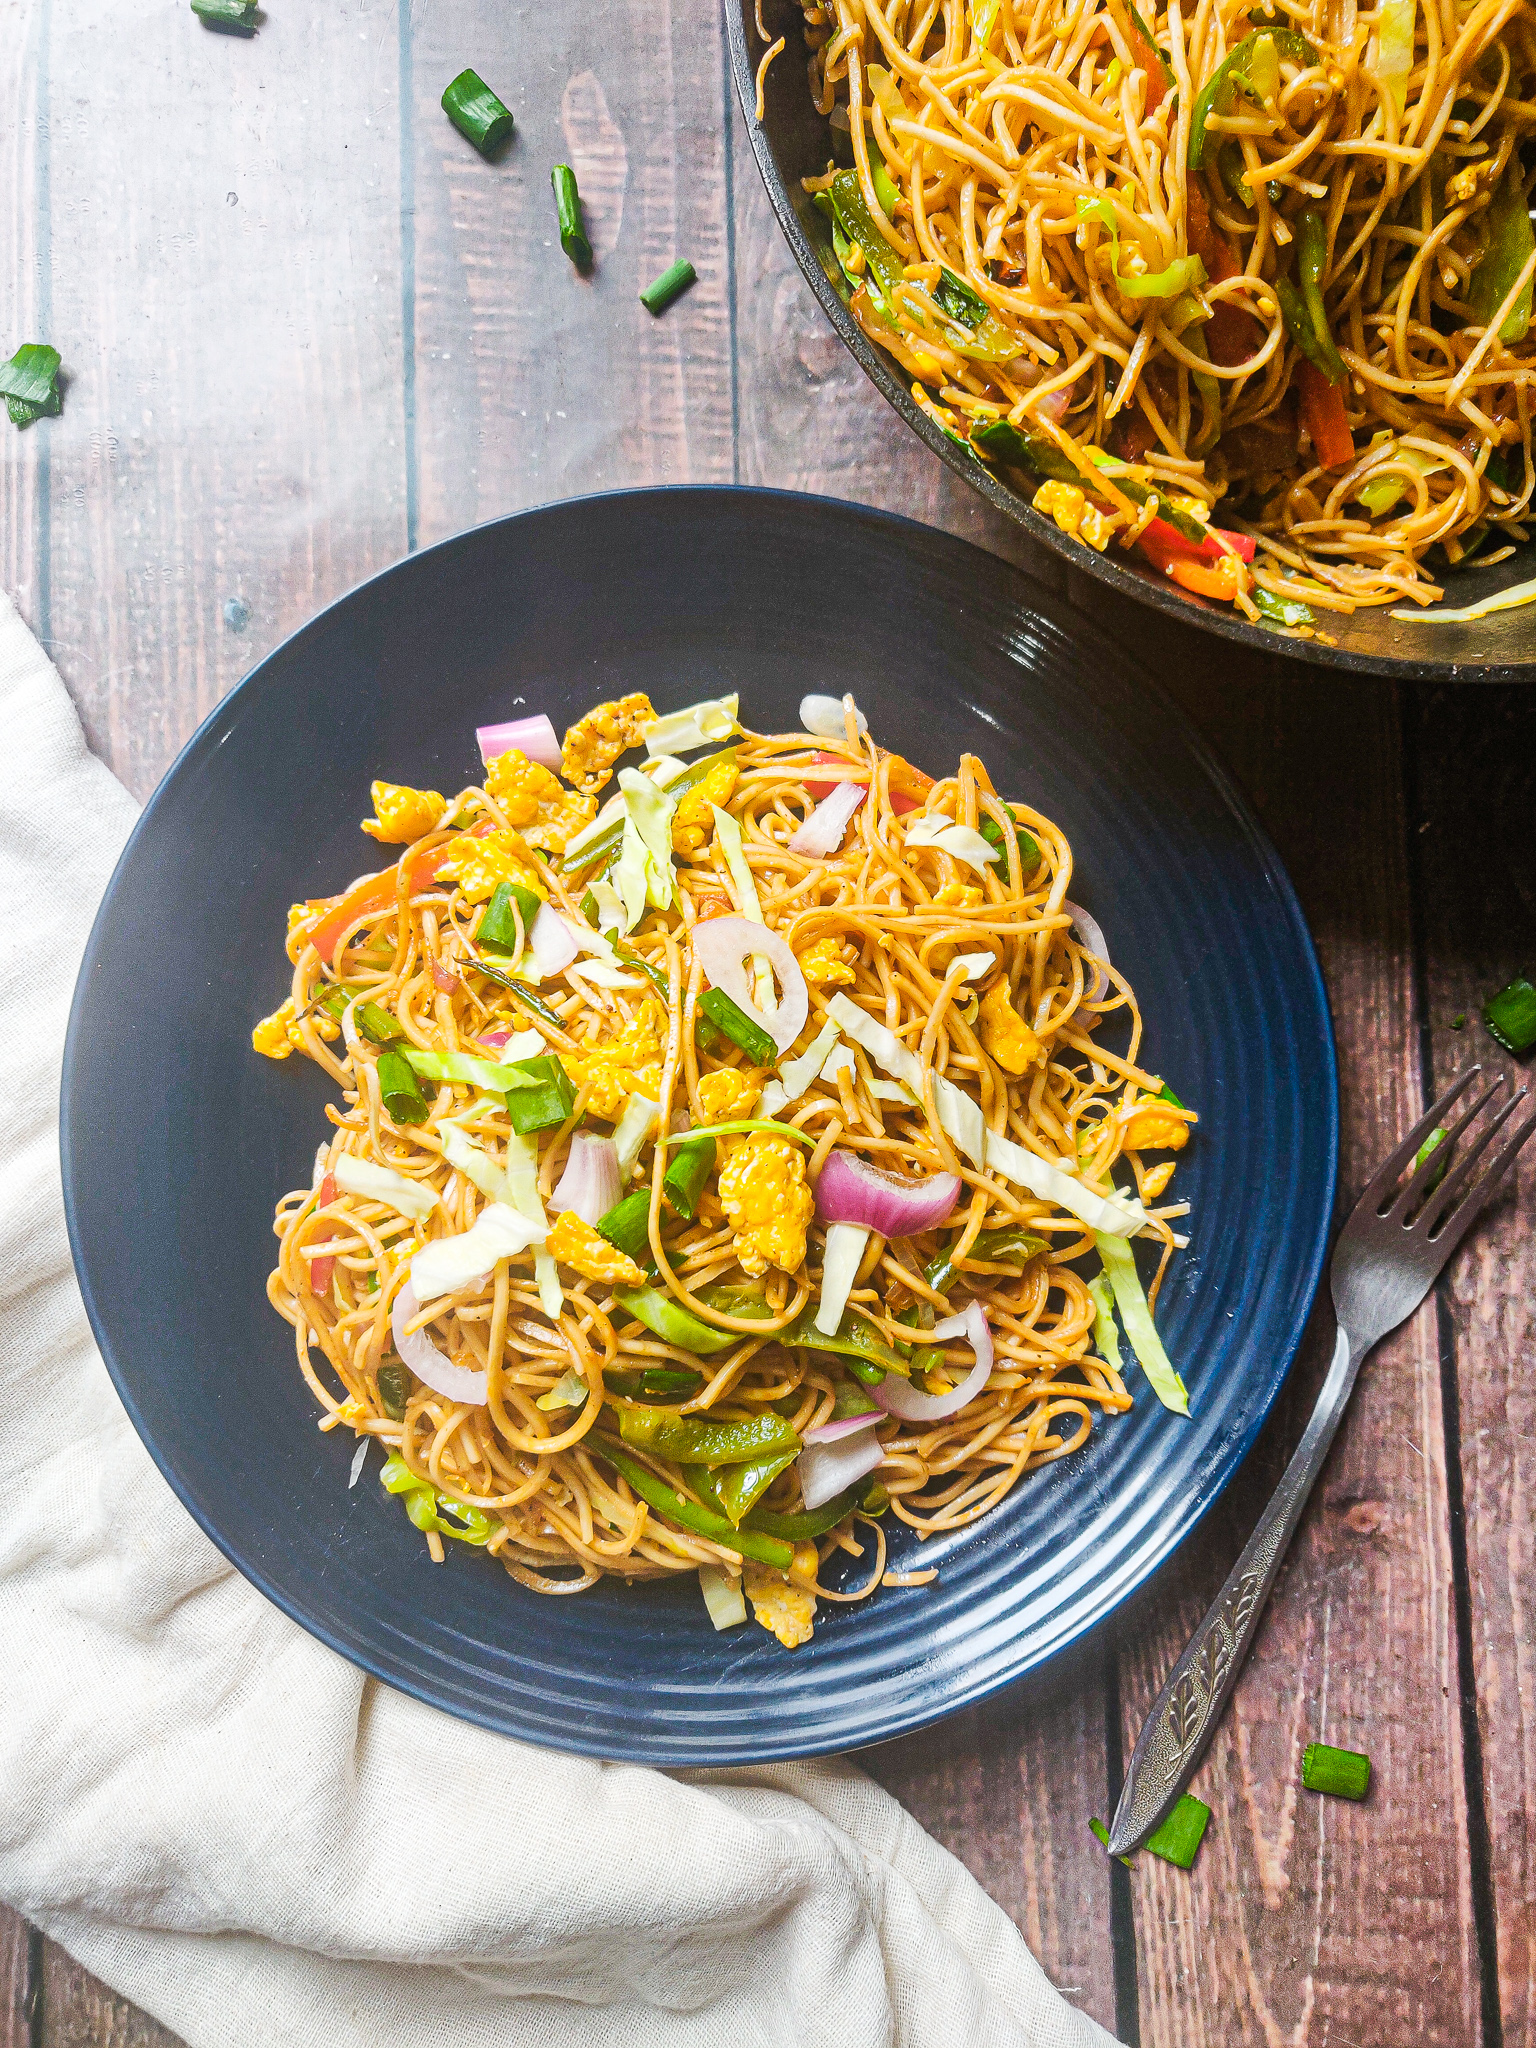
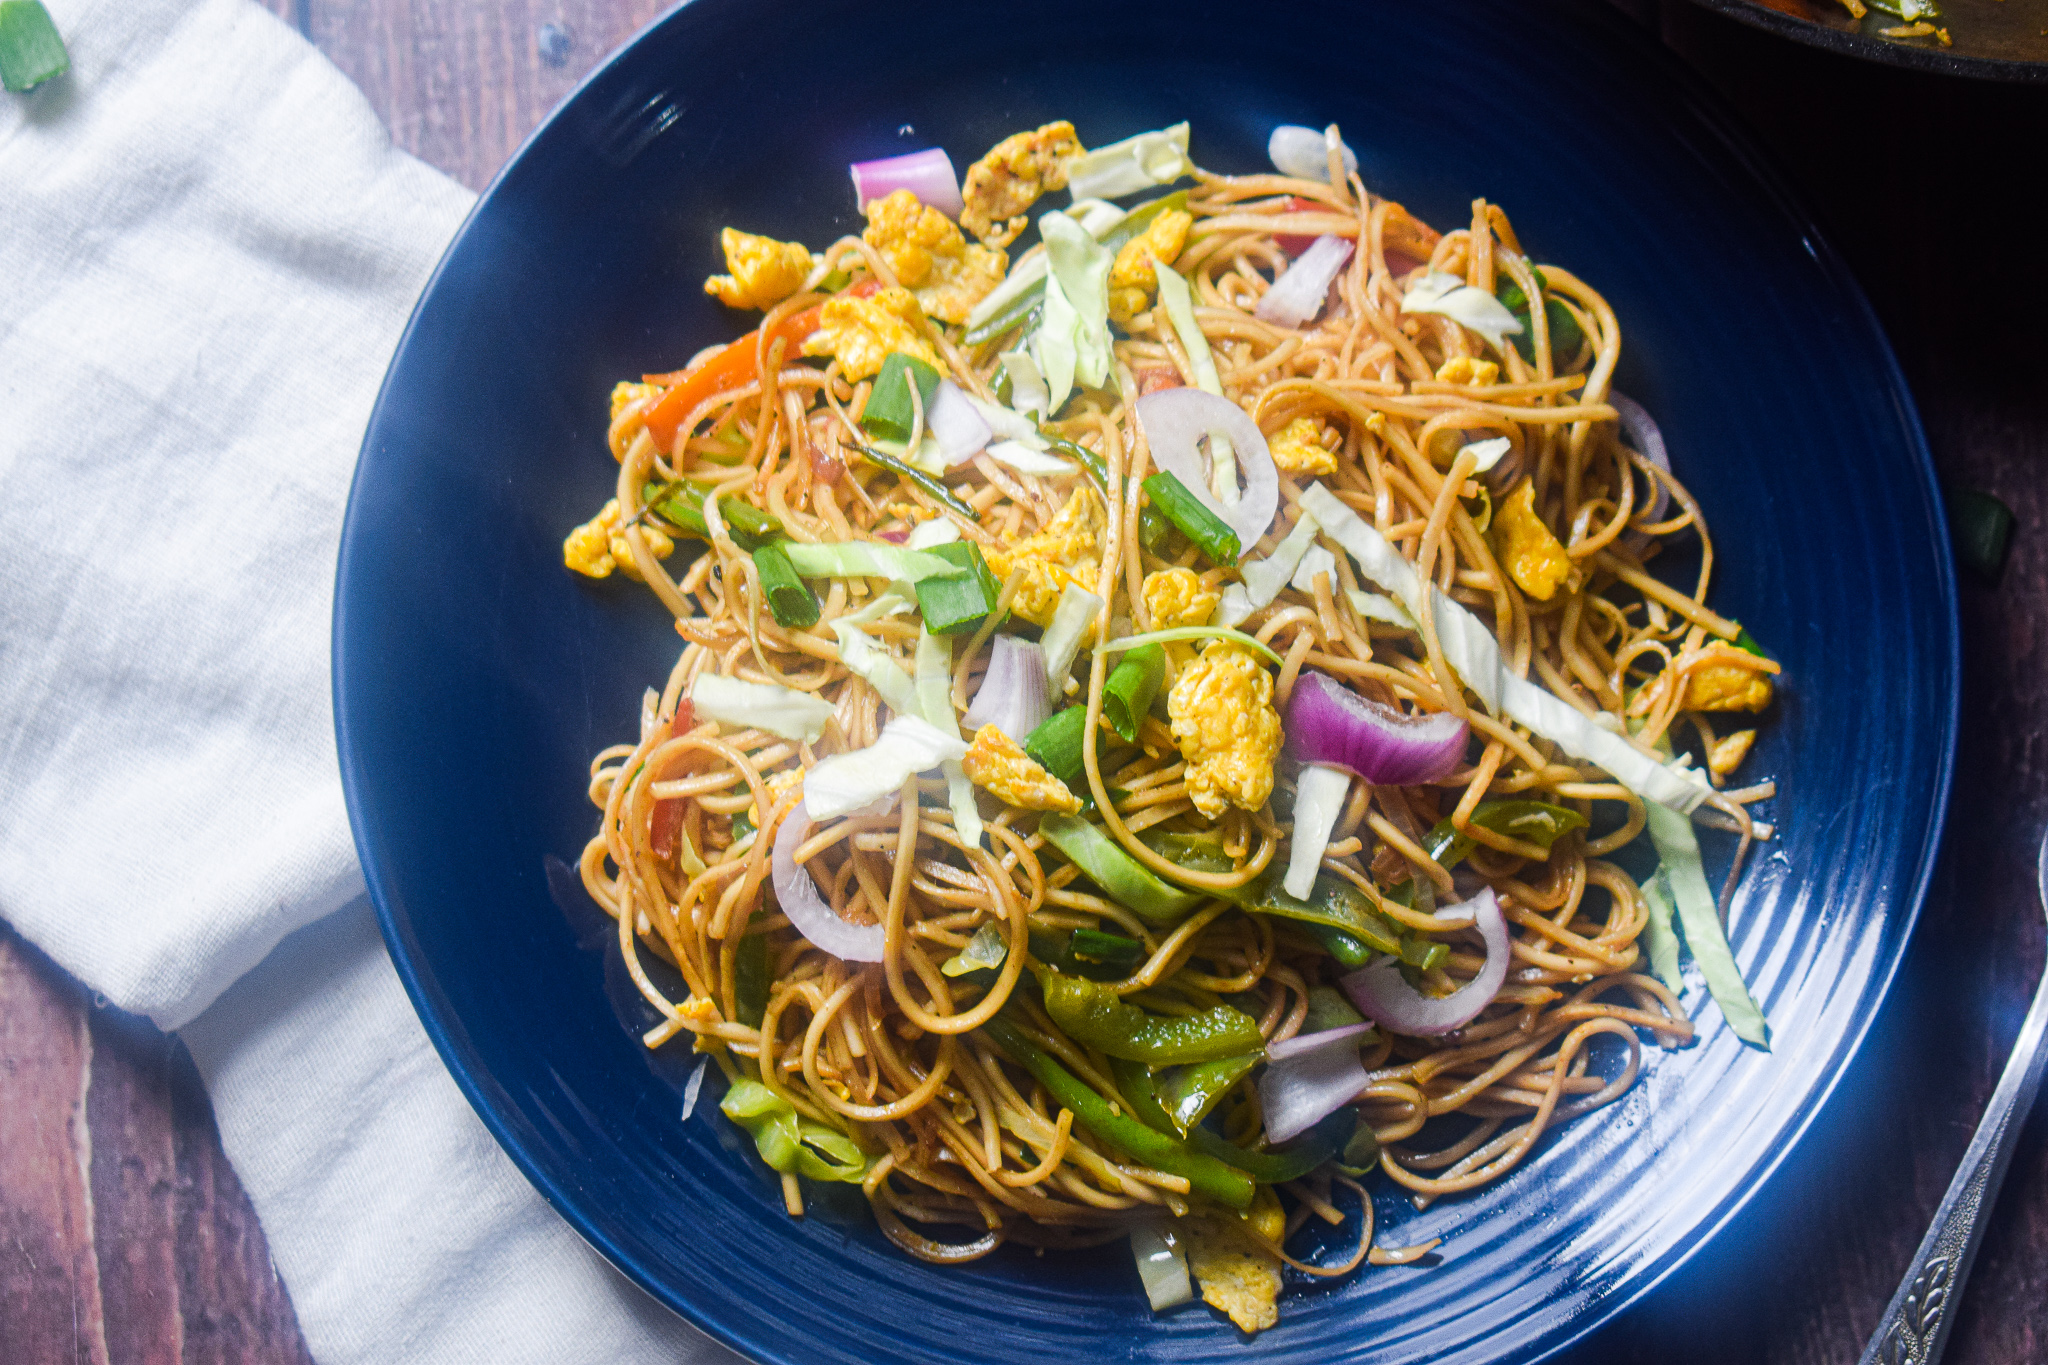
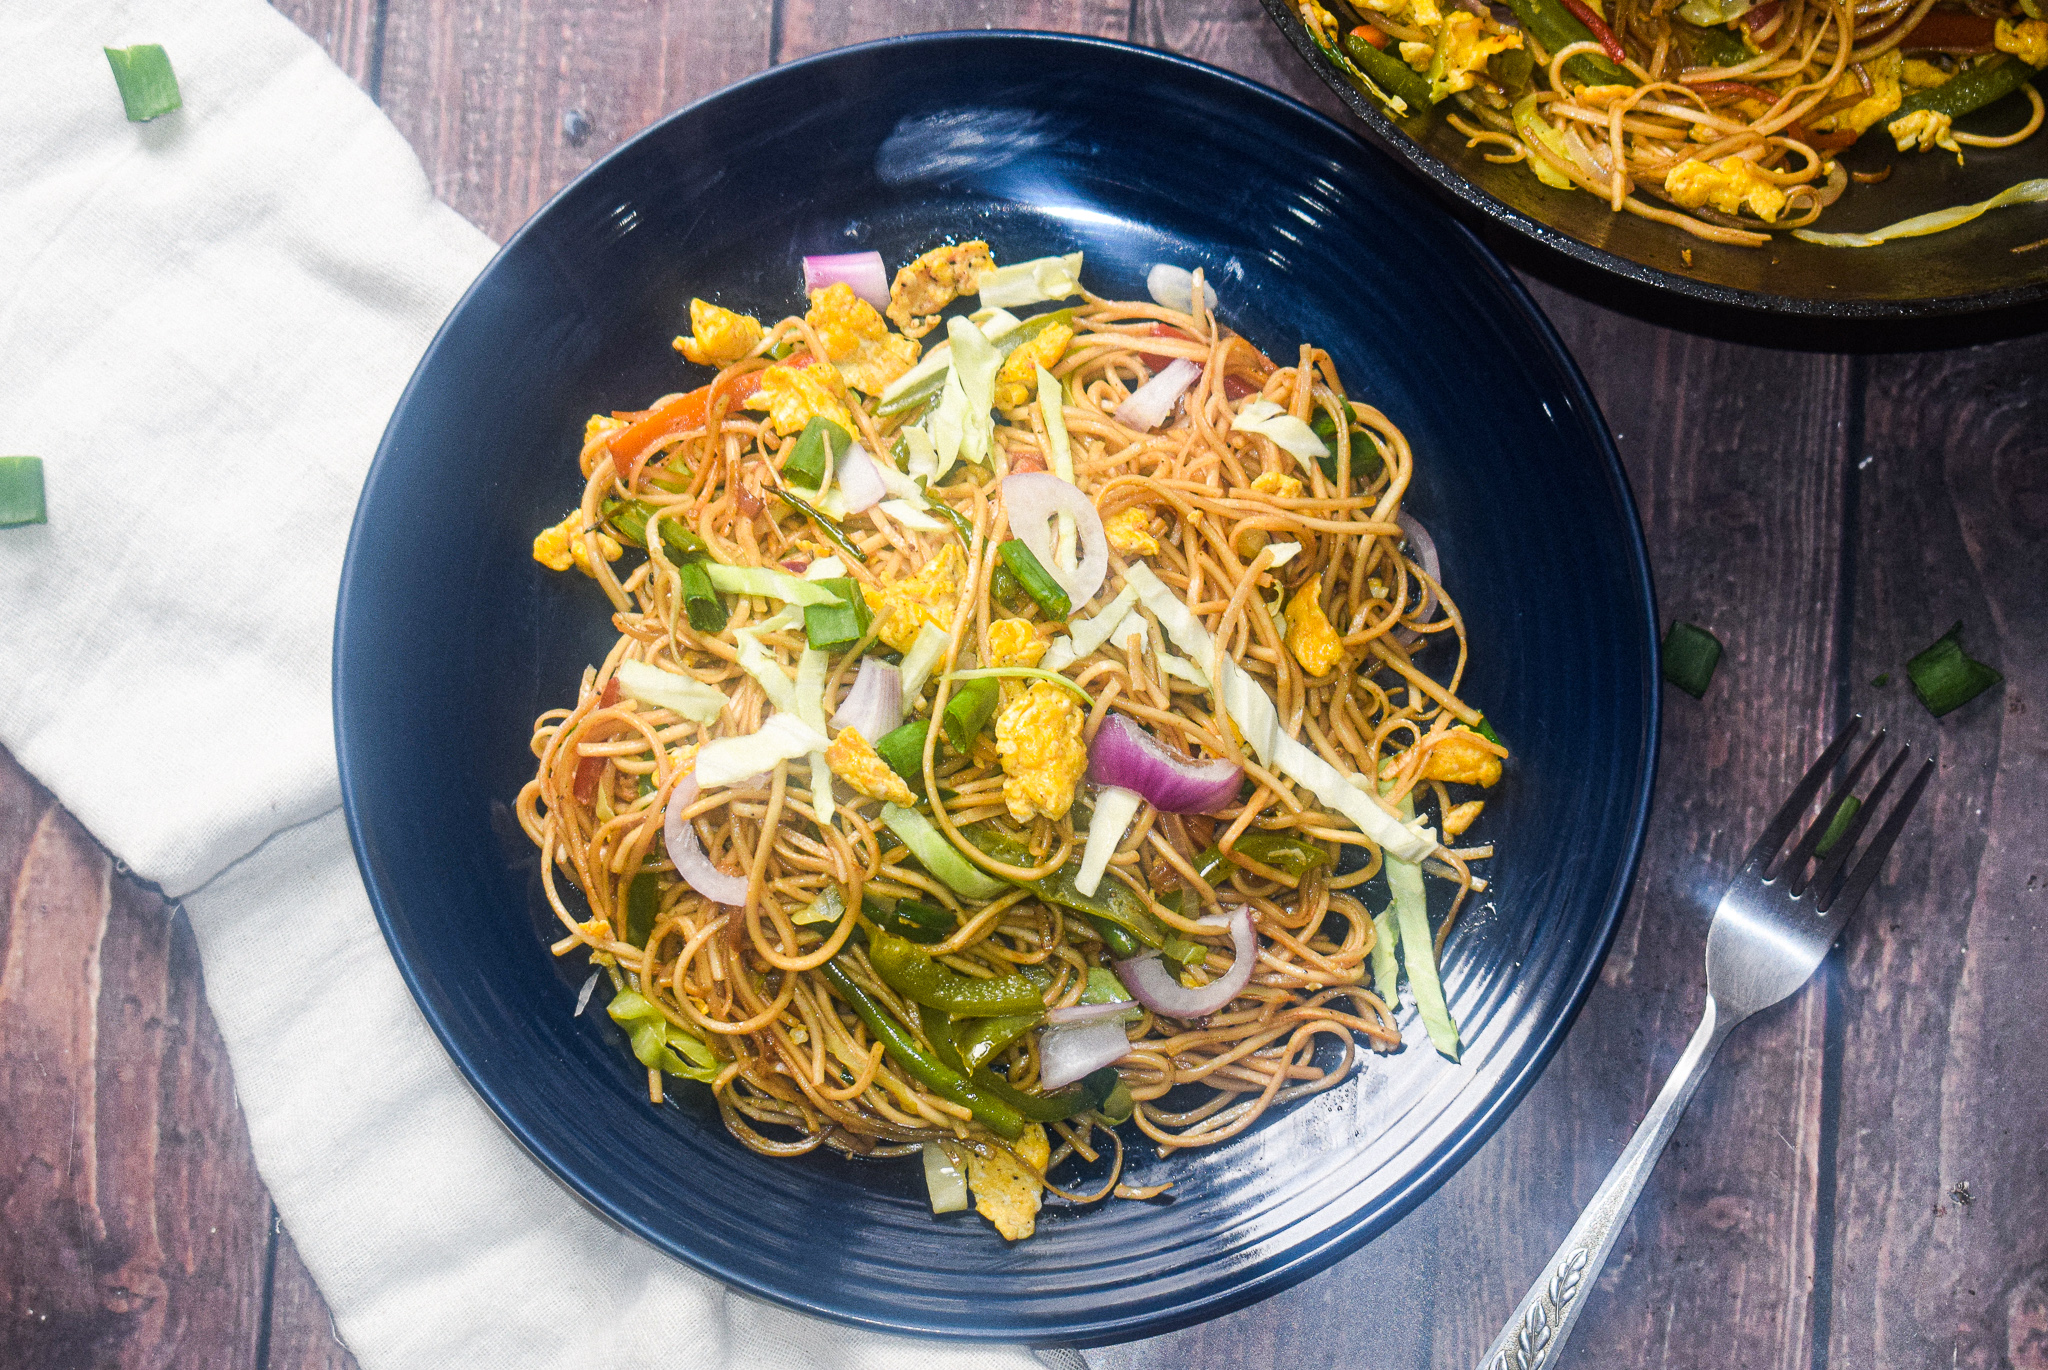
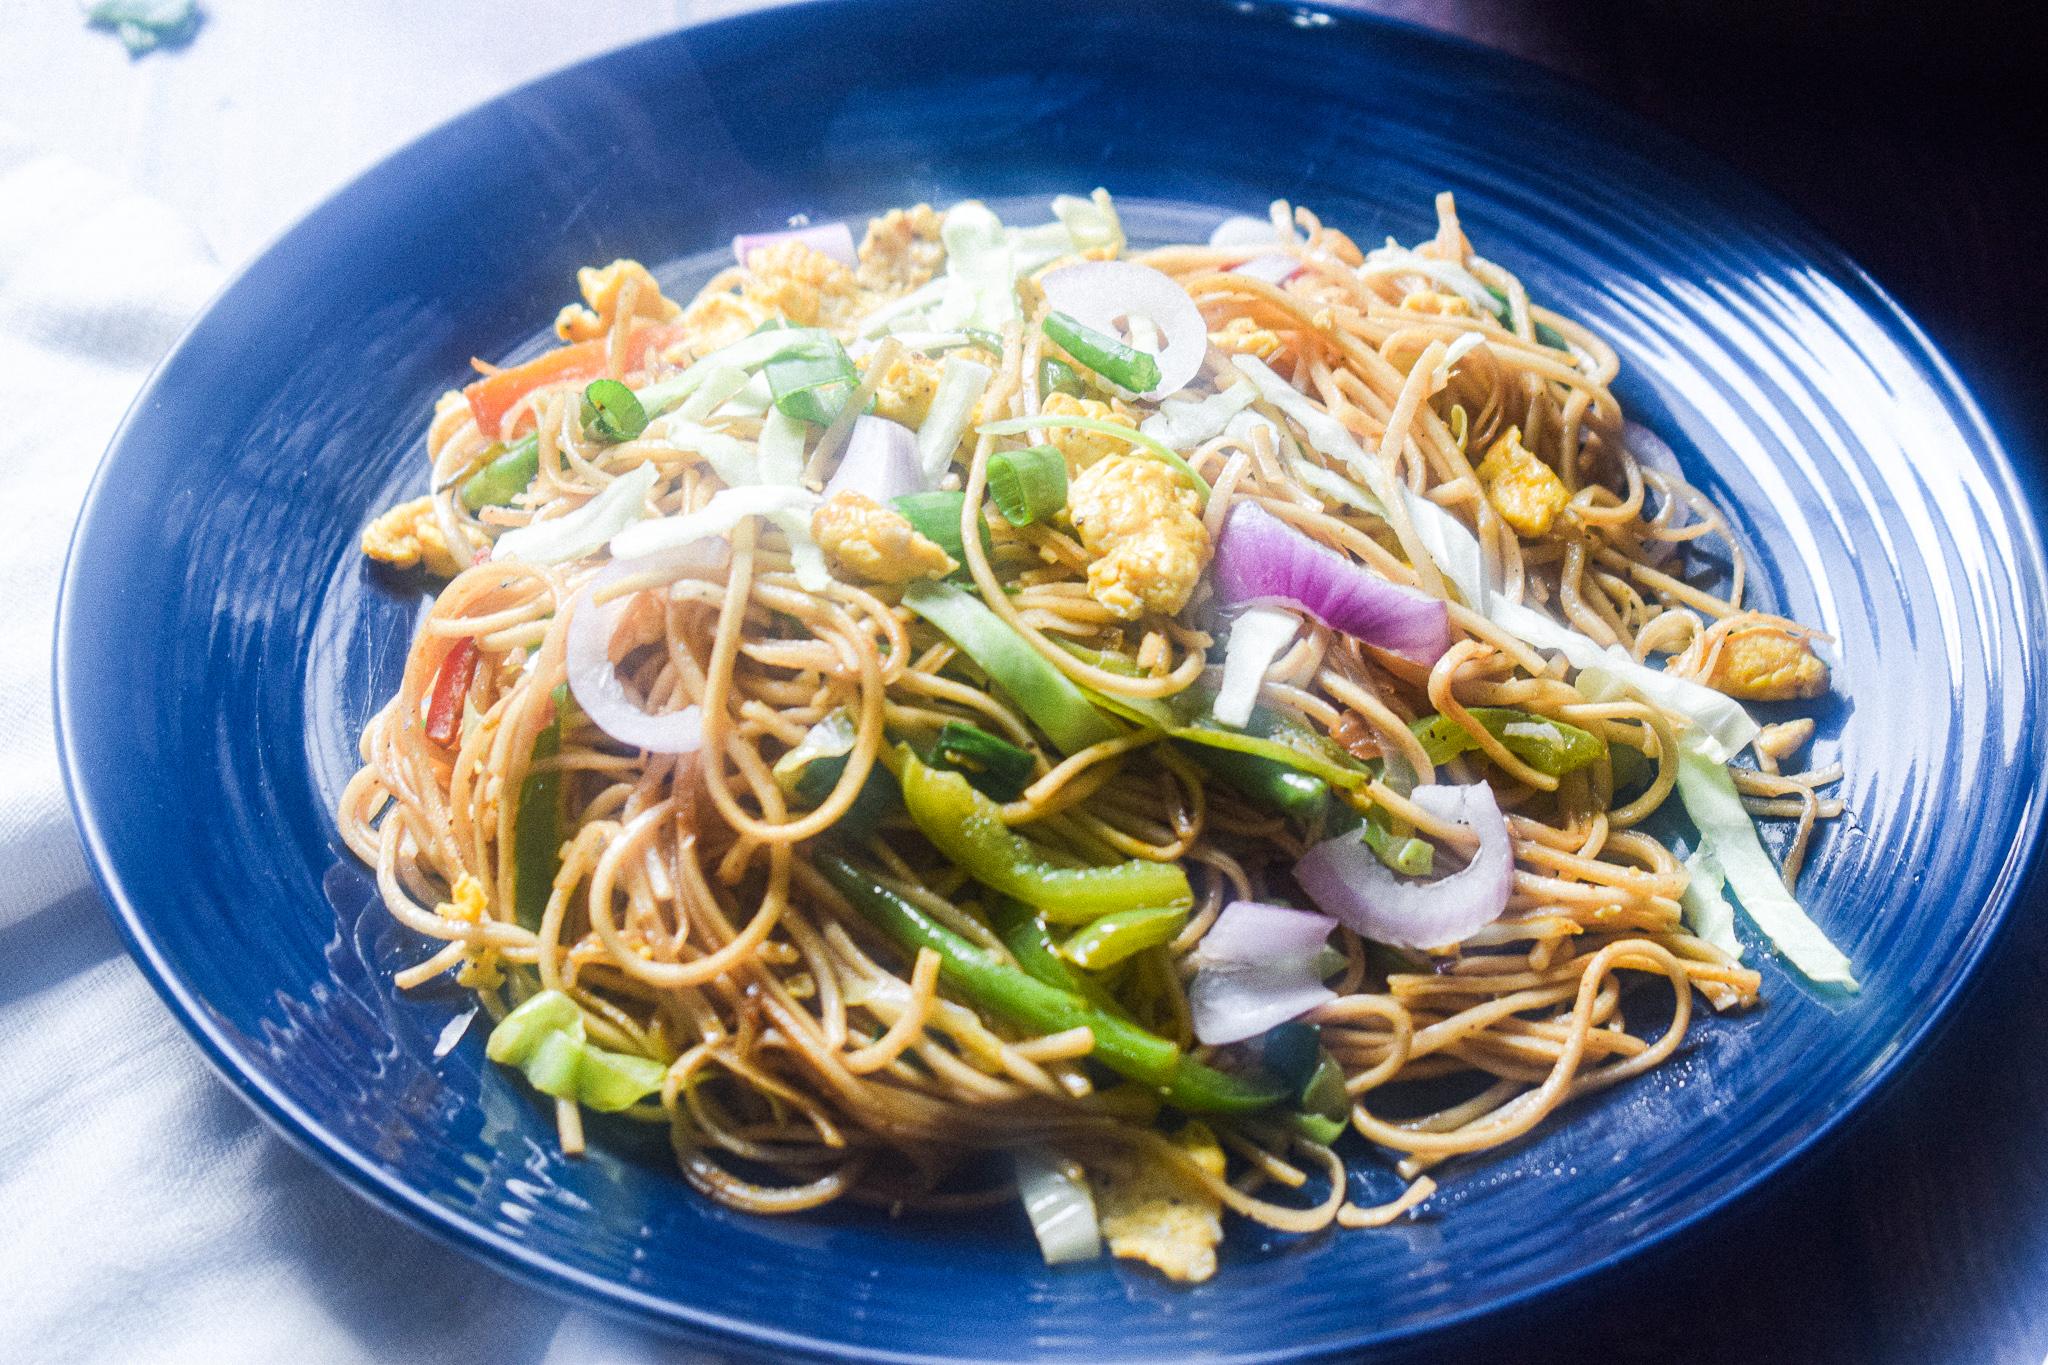
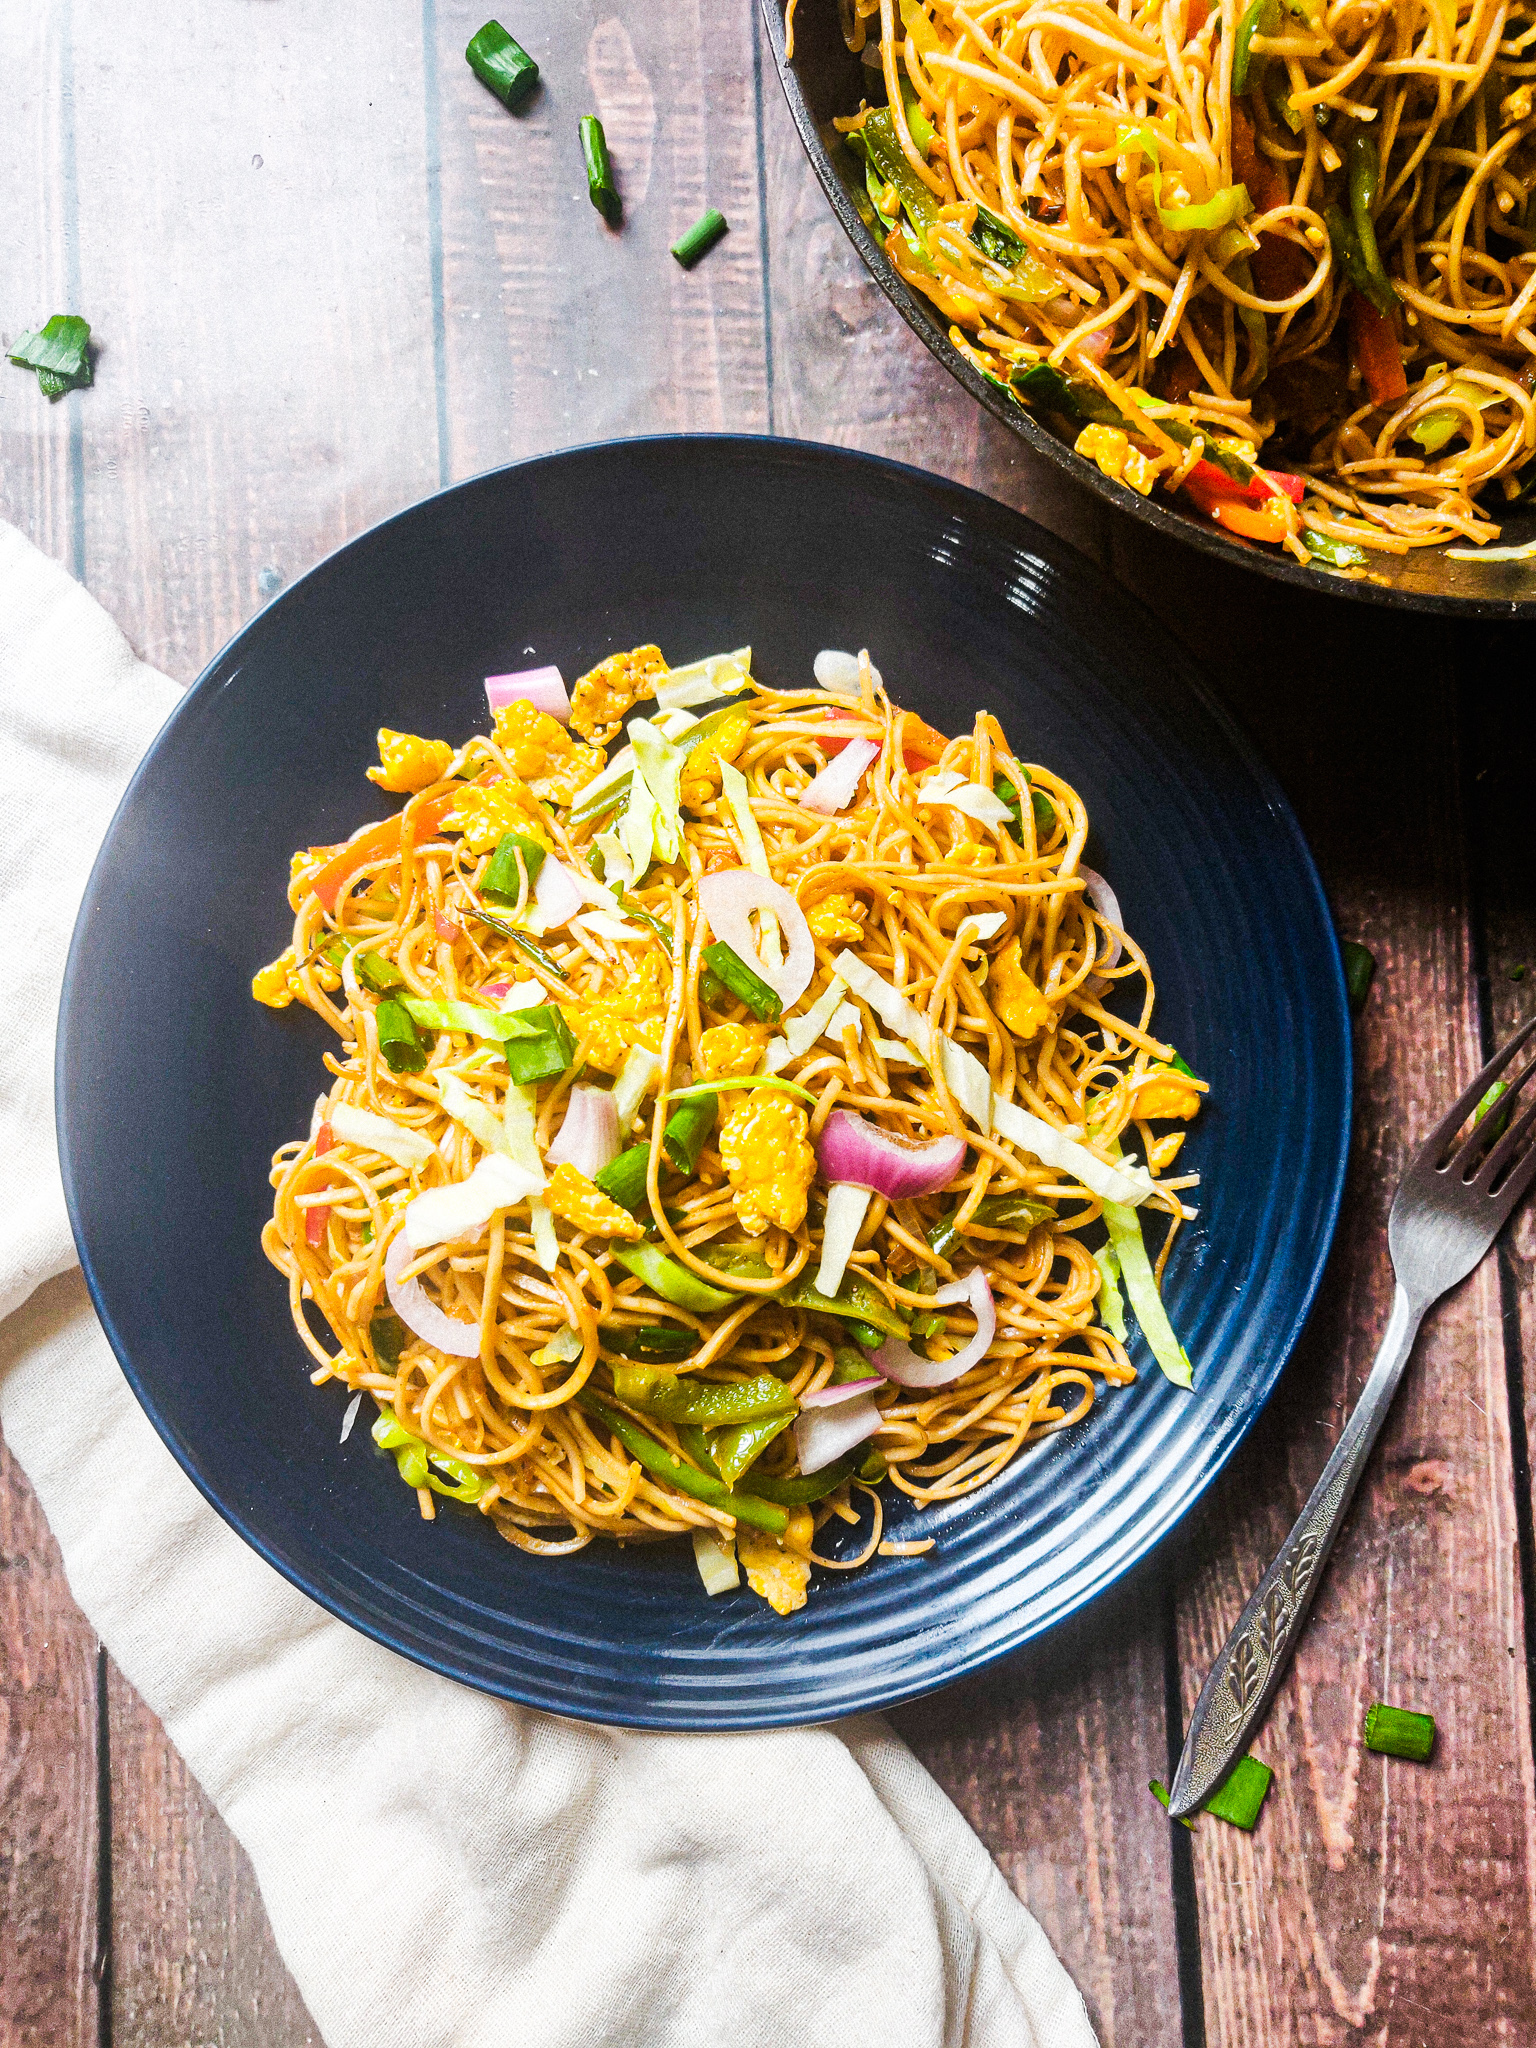
The kind of egg chowmein I like is filled with vegetables and soft, scrambled eggs. The texture of the vegetables defines this dish, as it has to remain crunchy and not even a but soggy. The crunch also comes from a garnish of fresh onions, spring onion greens and raw cabbage (yes, you read that right) on top of a steaming plate of egg chowmein just before serving. The noodles also have to be cooked perfectly, with every strand being separate from the other.
egg chowmein

There are some tricks that I have learnt over years of cooking to get the perfect egg chowmein recipe. I am listing them down in detail here so that you do not have to waste any time learning them.

Here are my tips on how to get the perfect egg chowmein recipe out of your own kitchen every single time.

-Cooking the noodles

Making noodles the perfect way requires some amount of precision. You have to make sure that it is cooked just right – not over or under. Different kinds of noodles require different methods to get cooked perfectly. For lo mein or stir fry noodles recipe like this one, make sure you follow the package instructions.
egg chowmein

  • For this particular recipe, I boiled the egg noodles for 2-3 minutes in salted water (that’s what my package instructions said). Make sure the water is bubbling when you put in your noodles. The trick is to take it out when it is 80 percent cooked because the noodles will keep getting softer while they are still hot. So take it out immediately once they are 80 percent there. You can check it by tasting the noodles and take them out while they still have a bite to them.
  • Add enough water so that the noodles are completely submerged in it. I usually fill up the whole pot with water (about 1.5 litres of water). Otherwise, there is a chance of noodles getting stuck at the bottom or worse – getting burnt!
  • Use a heavy bottomed pan to boil your noodles so that there are no chances of them getting stuck to the bottom.
  • Strain off every last bit of water and mix any neutral oil without any smell. I use vegetable oil.  The oil prevents the noodles from sticking to each other and acquiring a lumpy texture.

– The vegetables

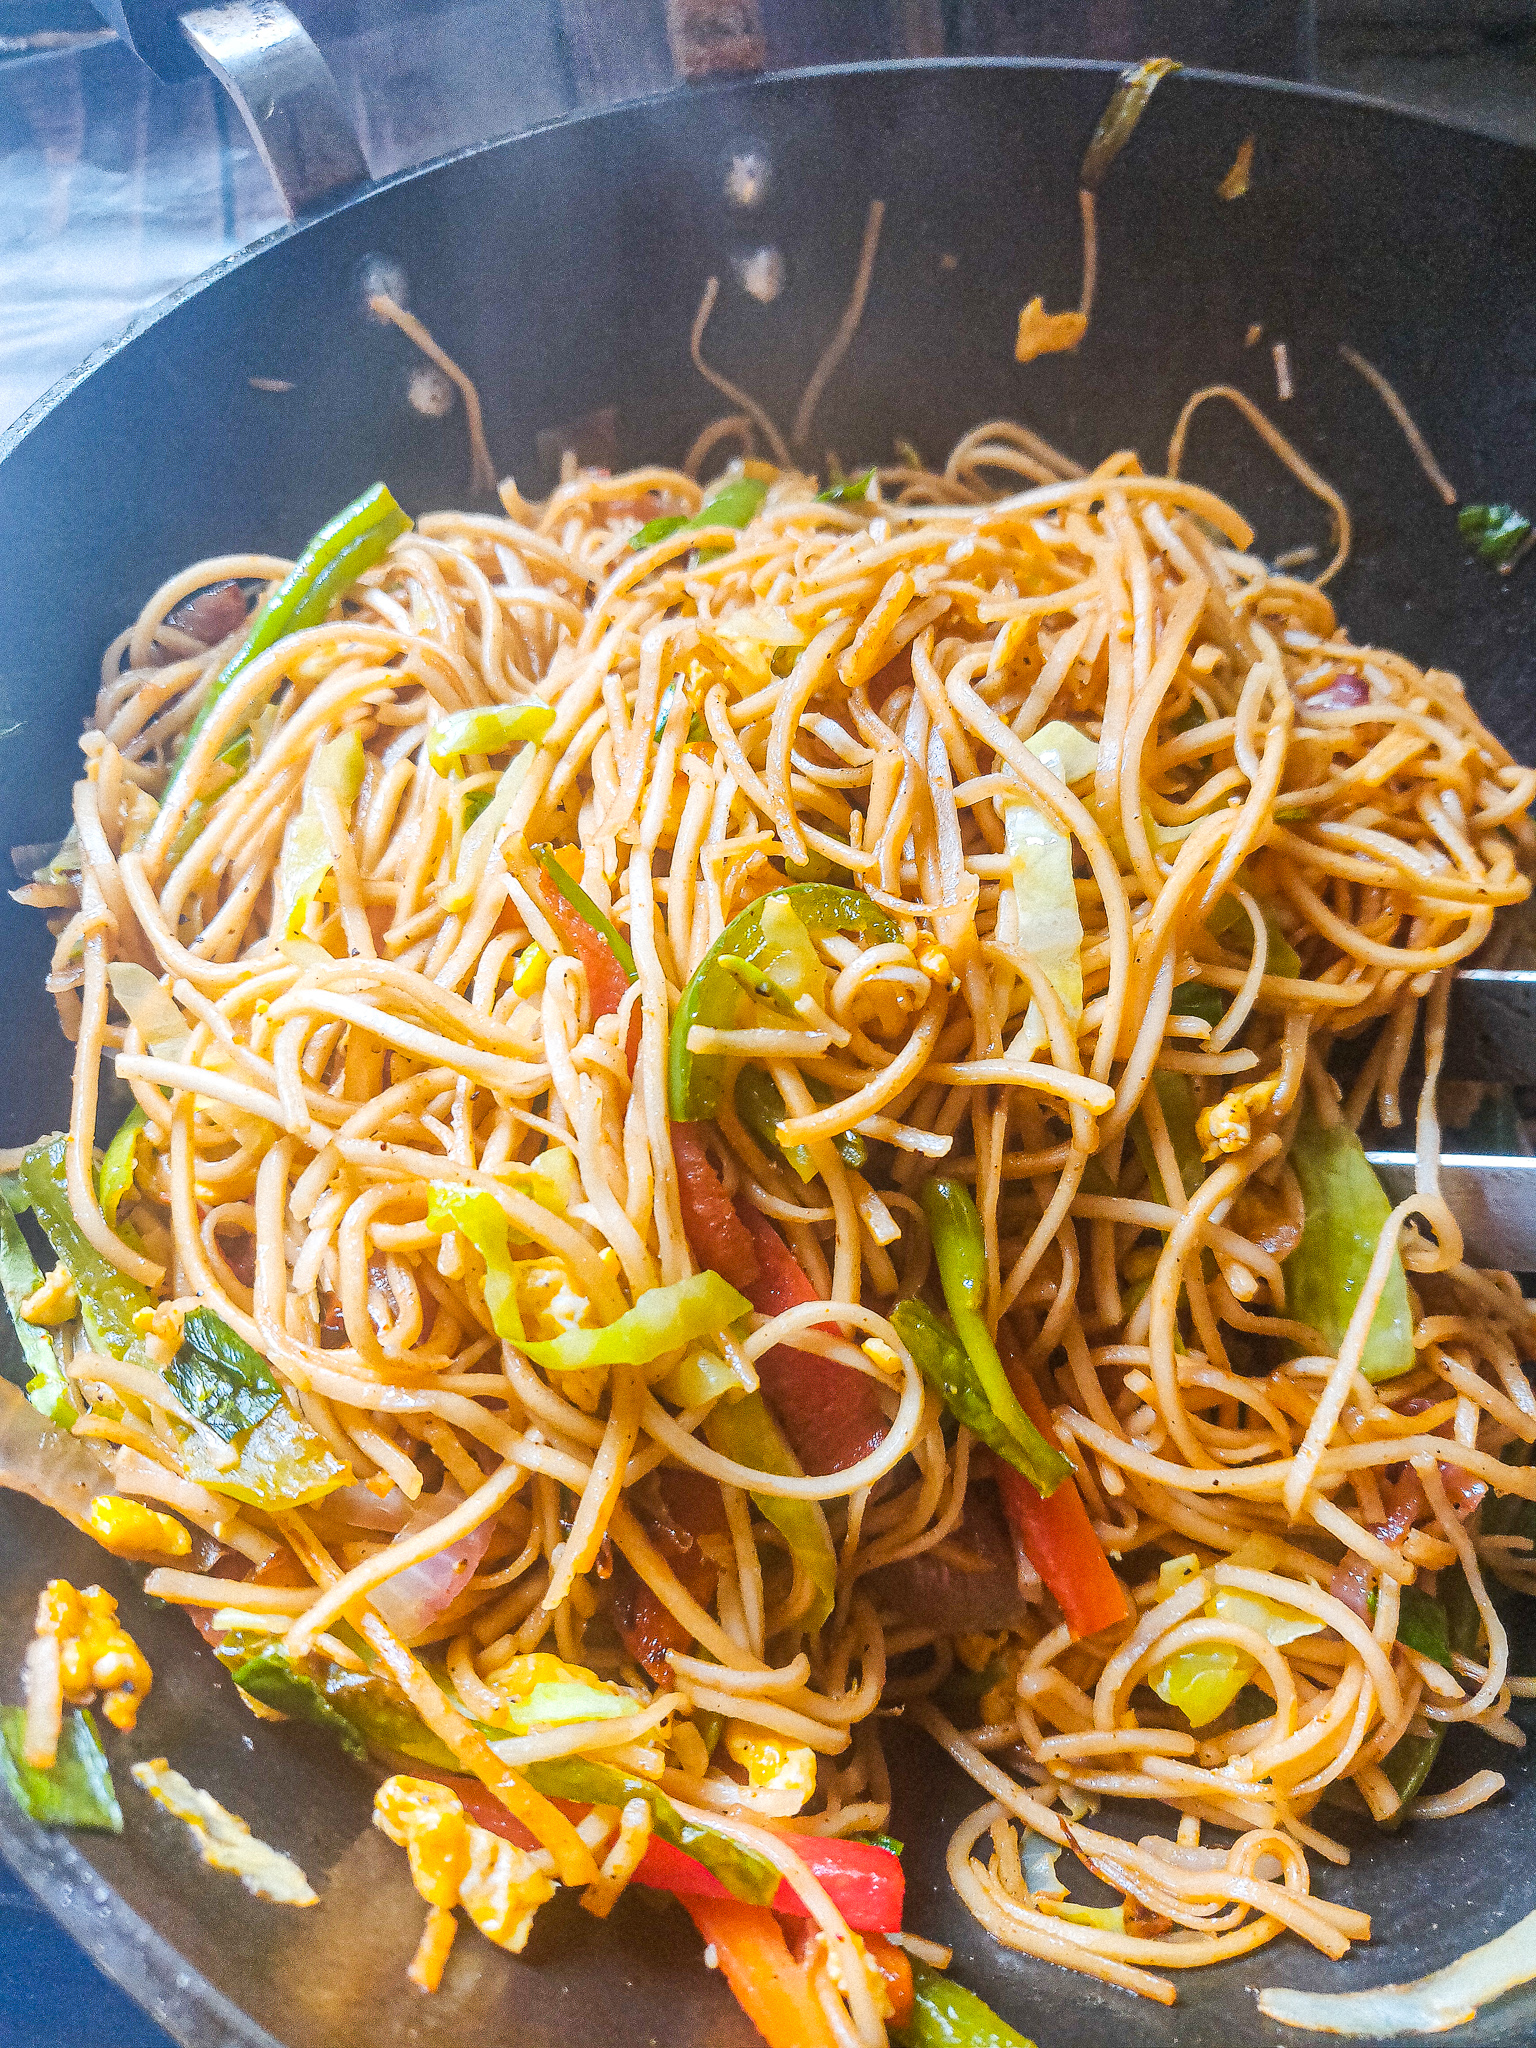
I love to add lots of vegetables to my egg chowmein recipe. It is a great way to consume colourful vegetables and also adds a lot to the flavour profile. I have used carrots, green beans, cabbage, capsicum and onions. All the vegetables need to be cut in the same manner so that they cook uniformly. As you can see in the video, I have cut the vegetables into thin slices. Finely chopping them too fine (like in fried rice) won’t add to the look and consistency desired in a noodles recipe. The longish shape helps the vegetables to assimilate well with the noodles, and also give it an aesthetic appeal.
egg chowmein

Keep all your vegetables cut and ready before you start making this recipe. We add the hardy vegetables like carrot and beans first, followed by the cabbage and capsicum. The vegetables only need to be stir fried for a minute or so to help them retain the crunch and not turn soggy.

– The eggs

Since this is an egg chowmein recipe, the eggs are the star. The eggs are seasoned with salt and freshly ground black pepper powder and beaten till smooth. They are then scrambled into medium chunks and added to the noodles right in the end. You can also make an omelette and slice them thinly to add to the noodles. You can also fry the eggs in butter to add more flavour to the recipe.
egg chowmein

– The sauce base

The secret to this delicious egg chowmein recipe is the sauce base that we use to bind it all together. Street style chowmein usually uses a mix of red chilli sauce, green chilli sauce, white vinegar (for the tang) and dark soy sauce. You can substitute the white vinegar with lemon juice but the rest of the sauces are essential. You can also add a teaspoon of sugar to balance all the flavours, but I have skipped that. Mix all the sauces well and keep it handy before starting to make the egg chowmein.

– Keep everything ready

Once of the most important things to remember in this recipe is to keep everything ready before you start making the recipe in a hot wok. Everything moves really fast in this recipe and keeping everything at your arm’s reach will ensure the vegetables remain crunchy, and the noodles cook perfectly overall.
egg chowmein

egg chowmein

Now that you know all the tips and tricks on how to make the perfect egg chowmein, let’s take a look at the recipe.

Preparation time – 15 minutes

Cook time – 15 minutes

Serves – 4 people

[ingredients title=”Ingredients”]

  • 250 g noodles
  • 4 eggs 1/2 cup onions, thinly sliced
  • 2 tbsp minced garlic
  • 1 cup carrots, thinly sliced
  • 1 cup cabbage, thinly sliced
  • 1 cup green beans, thinly sliced
  • 1/2 green capsicum, thinly sliced
  • 3 tbsp oil – to fry the noodles
  • 1 tbsp oil – to layer the cooked noodles
  • 2 tbsp oil – to fry the eggs
  • 3 tbsp dark soy sauce
  • 2 tbsp green chilli sauce
  • 2 tbsp red chilli sauce
  • 1 tsp white vinegar
  • 1 tsp black pepper powder
  • Salt to taste
  • Fresh spring onion greens, chopped – for garnish
  • Chopped onion, for garnish
  • Chopped cabbage, for garnish [/ingredients]

[directions title=”Directions”]

  1. Boil water in a pot. Add a handful of salt and stir. The water should be saline like you would want in a soup.
  2. Once the water starts to boil, add the noodles to it and cook for 2-3 minutes (or follow package instructions).
  3. Drain water using a sieve. Transfer the noodles to another vessel and layer it with vegetable oil so that the noodles don’t stick to one another. Use a pair of tongs to mix the oil uniformly. Tongs will ensure the noodles don’t break. Set aside.
  4. Break open the eggs into a bowl. Season with salt and a pinch of black pepper powder. Whisk until smooth.
  5. Heat oil in a pan or wok. Once hot, pour the egg mix. Gently scramble the eggs, disintegrating them into medium sized chunks. Once done, set aside for use later.
  6. Heat oil in a wok. Wait for the oil to get really hot. Once the oil starts to smoke, add the onions. Stir on high flame for a minute.
  7. Add the carrots and beans and stir on high flame for another minute.
  8. Finely grate or mince the garlic and add it to the wok. Stir for a few seconds until its raw aroma fades completely.
  9. Add the rest of the vegetables – capsicum and cabbage. Stir for another 30 seconds on high flame.
  10. Throw in the noodles and pour the sauce mix on top.
  11. Toss everything together, making sure the sauce and vegetables mix well with the noodles.
  12. Season with black pepper powder and salt (if needed).
  13. Turn off the fire and garnish with some onions, spring onion greens and cabbage (a tip to elevate your dish up a notch).
  14. Serve hot! [/directions]

egg chowmein

egg chowmein

If you have any doubts, comments, or feedback, please reach out to me in comments or my social media handles.

Find me on Instagram – www.instagram.com/slurrpilicious

Join me on Facebook – www.facebook.com/slurrpilicious

Watch me on Youtube – https://www.youtube.com/channel/UCA-cJoo27OLSCswI4sy6lzA?

Happy cooking!


Butter Garlic Mushroom

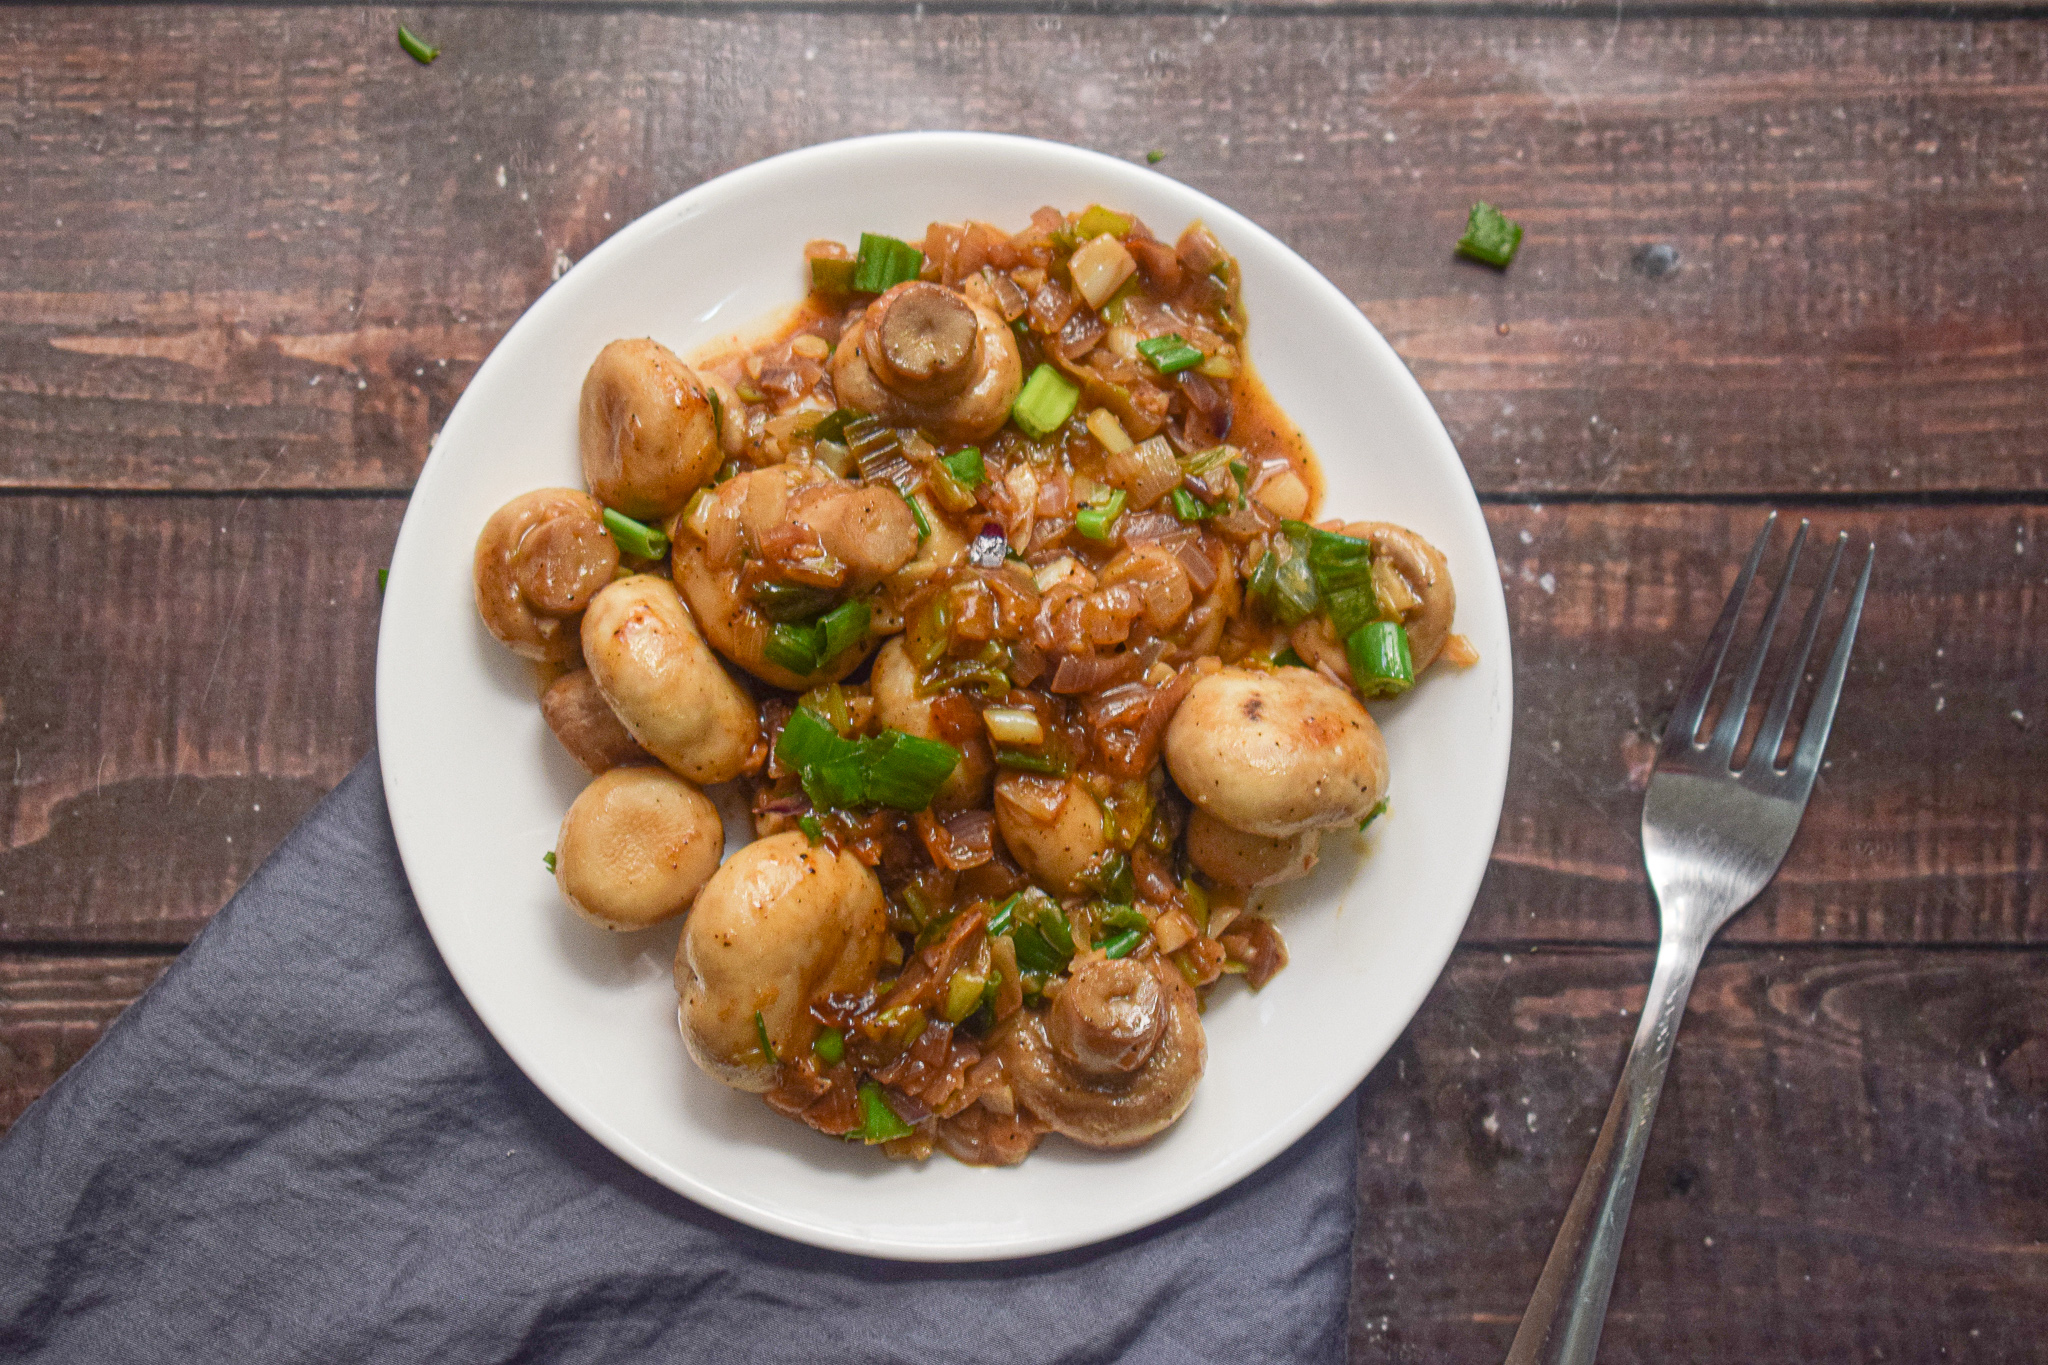
Are you a mushroom lover? If yes, this recipe is for you. I mean what can seriously go wrong with butter, garlic and mushroom, right? These heavenly ingredients make for an easy, fuss-free and drop dead delicious butter garlic mushroom recipe that is packed with so much flavour. This recipe is different from my viral creamy butter garlic mushrooms recipe as it involves a few Asian ingredients. These butter garlic mushrooms scream comfort, and are juicy and infused with punchy flavours.

butter garlic mushroom

butter garlic mushroom

The best thing that I like about this recipe (apart from the amazing flavour profile of course) is how easy it is. Such a simple recipe and such great flavours equals the kind of food we do in this blog. Each bite into the mushrooms will ooze out so much flavour. And the best part about cooking button mushrooms in their whole form is that it soaks up the juices and spices of the base really well. The result is a delicious sauce that penetrates every bit of that mushroom, making the entire eating experience a divine one.

butter garlic mushroom

Here’s a look at the recipe.

Preparation time – 15 minutes

Cook time – 20 minutes

Serves – 3

[ingredients title=”Ingredients”]

  • 20 ml vegetable oil (any neutral oil like Sunflower/Canola etc.)
  • 15 g butter
  • 100 g finely chopped onions
  • 80 g chopped spring onions
  • 200 g whole button mushrooms, cleaned thoroughly and pat dried
  • 15 g finely chopped garlic
  • 3 g freshly crushed black pepper powder
  • Salt to taste
  • 80 ml hot water
  • 15 ml Schezwan sauce
  • 8 g butter (for later)
  • Chopped spring onion greens, for garnish [/ingredients]

[directions title=”Directions”]

  1. Heat a wok. Once it’s hot, add the oil and let it heat up well.
  2. Add the butter along with the onions and spring onions and stir for a few seconds on medium to high heat. Add the butter after the oil to prevent it from burning.
  3. Once the onions are brown and translucent, add the whole button mushrooms. Mix everything well together. Cook this on medium to high flame for 3-4 minutes.
  4. Add the garlic and mix it with the rest of the ingredients. Let it cook till the raw aroma of the garlic fades completely (should take about a minute).
  5. Season with salt and freshly ground black pepper powder. Mix well.
  6. Pour the hot water and mix everything together to prevent it from sticking to the pan or burning.
  7. Add the Schezwan sauce and butter and give it a last mix till all is well combined and you have a thick sauce for the mushrooms.
  8. Turn off the flame once the mushrooms cook completely.
  9. Garnish with spring onion greens. Serve hot with noodles or fried rice. [/directions]

butter garlic mushroom

butter garlic mushroom

I hope you try this delicious butter garlic mushrooms recipe soon.

If you have any doubts, comments, or feedback, please reach out to me in comments or my social media handles.

Find me on Instagram – www.instagram.com/slurrpilicious

Join me on Facebook – www.facebook.com/slurrpilicious

Watch me on Youtube – https://www.youtube.com/channel/UCA-cJoo27OLSCswI4sy6lzA?

Happy cooking!
Asian Style Vegetables in Oyster Sauce

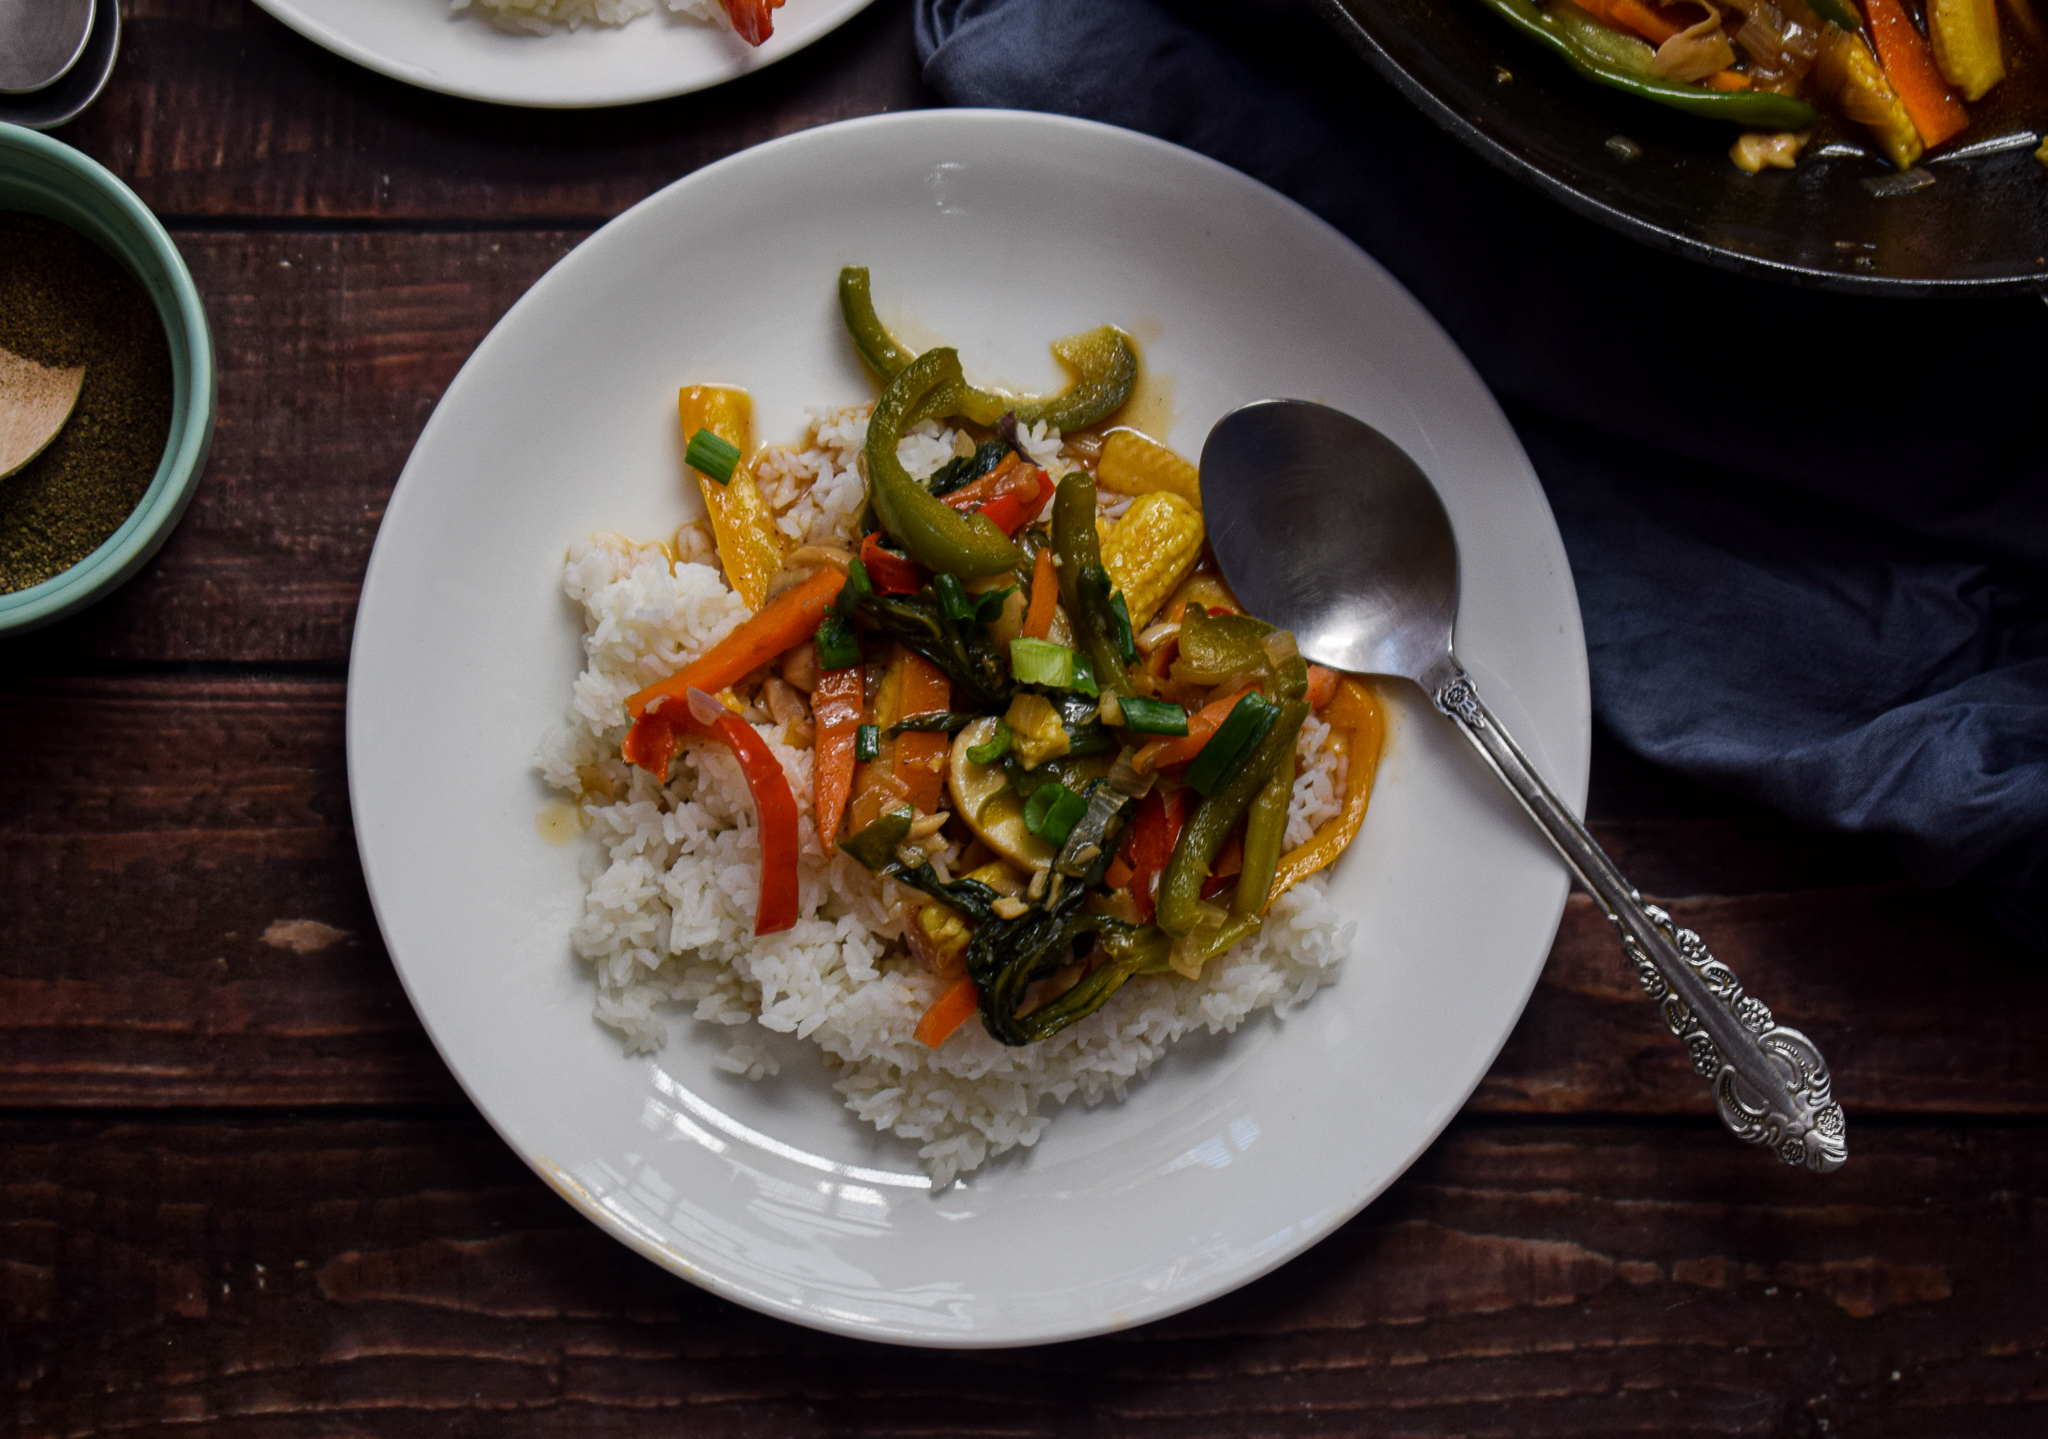
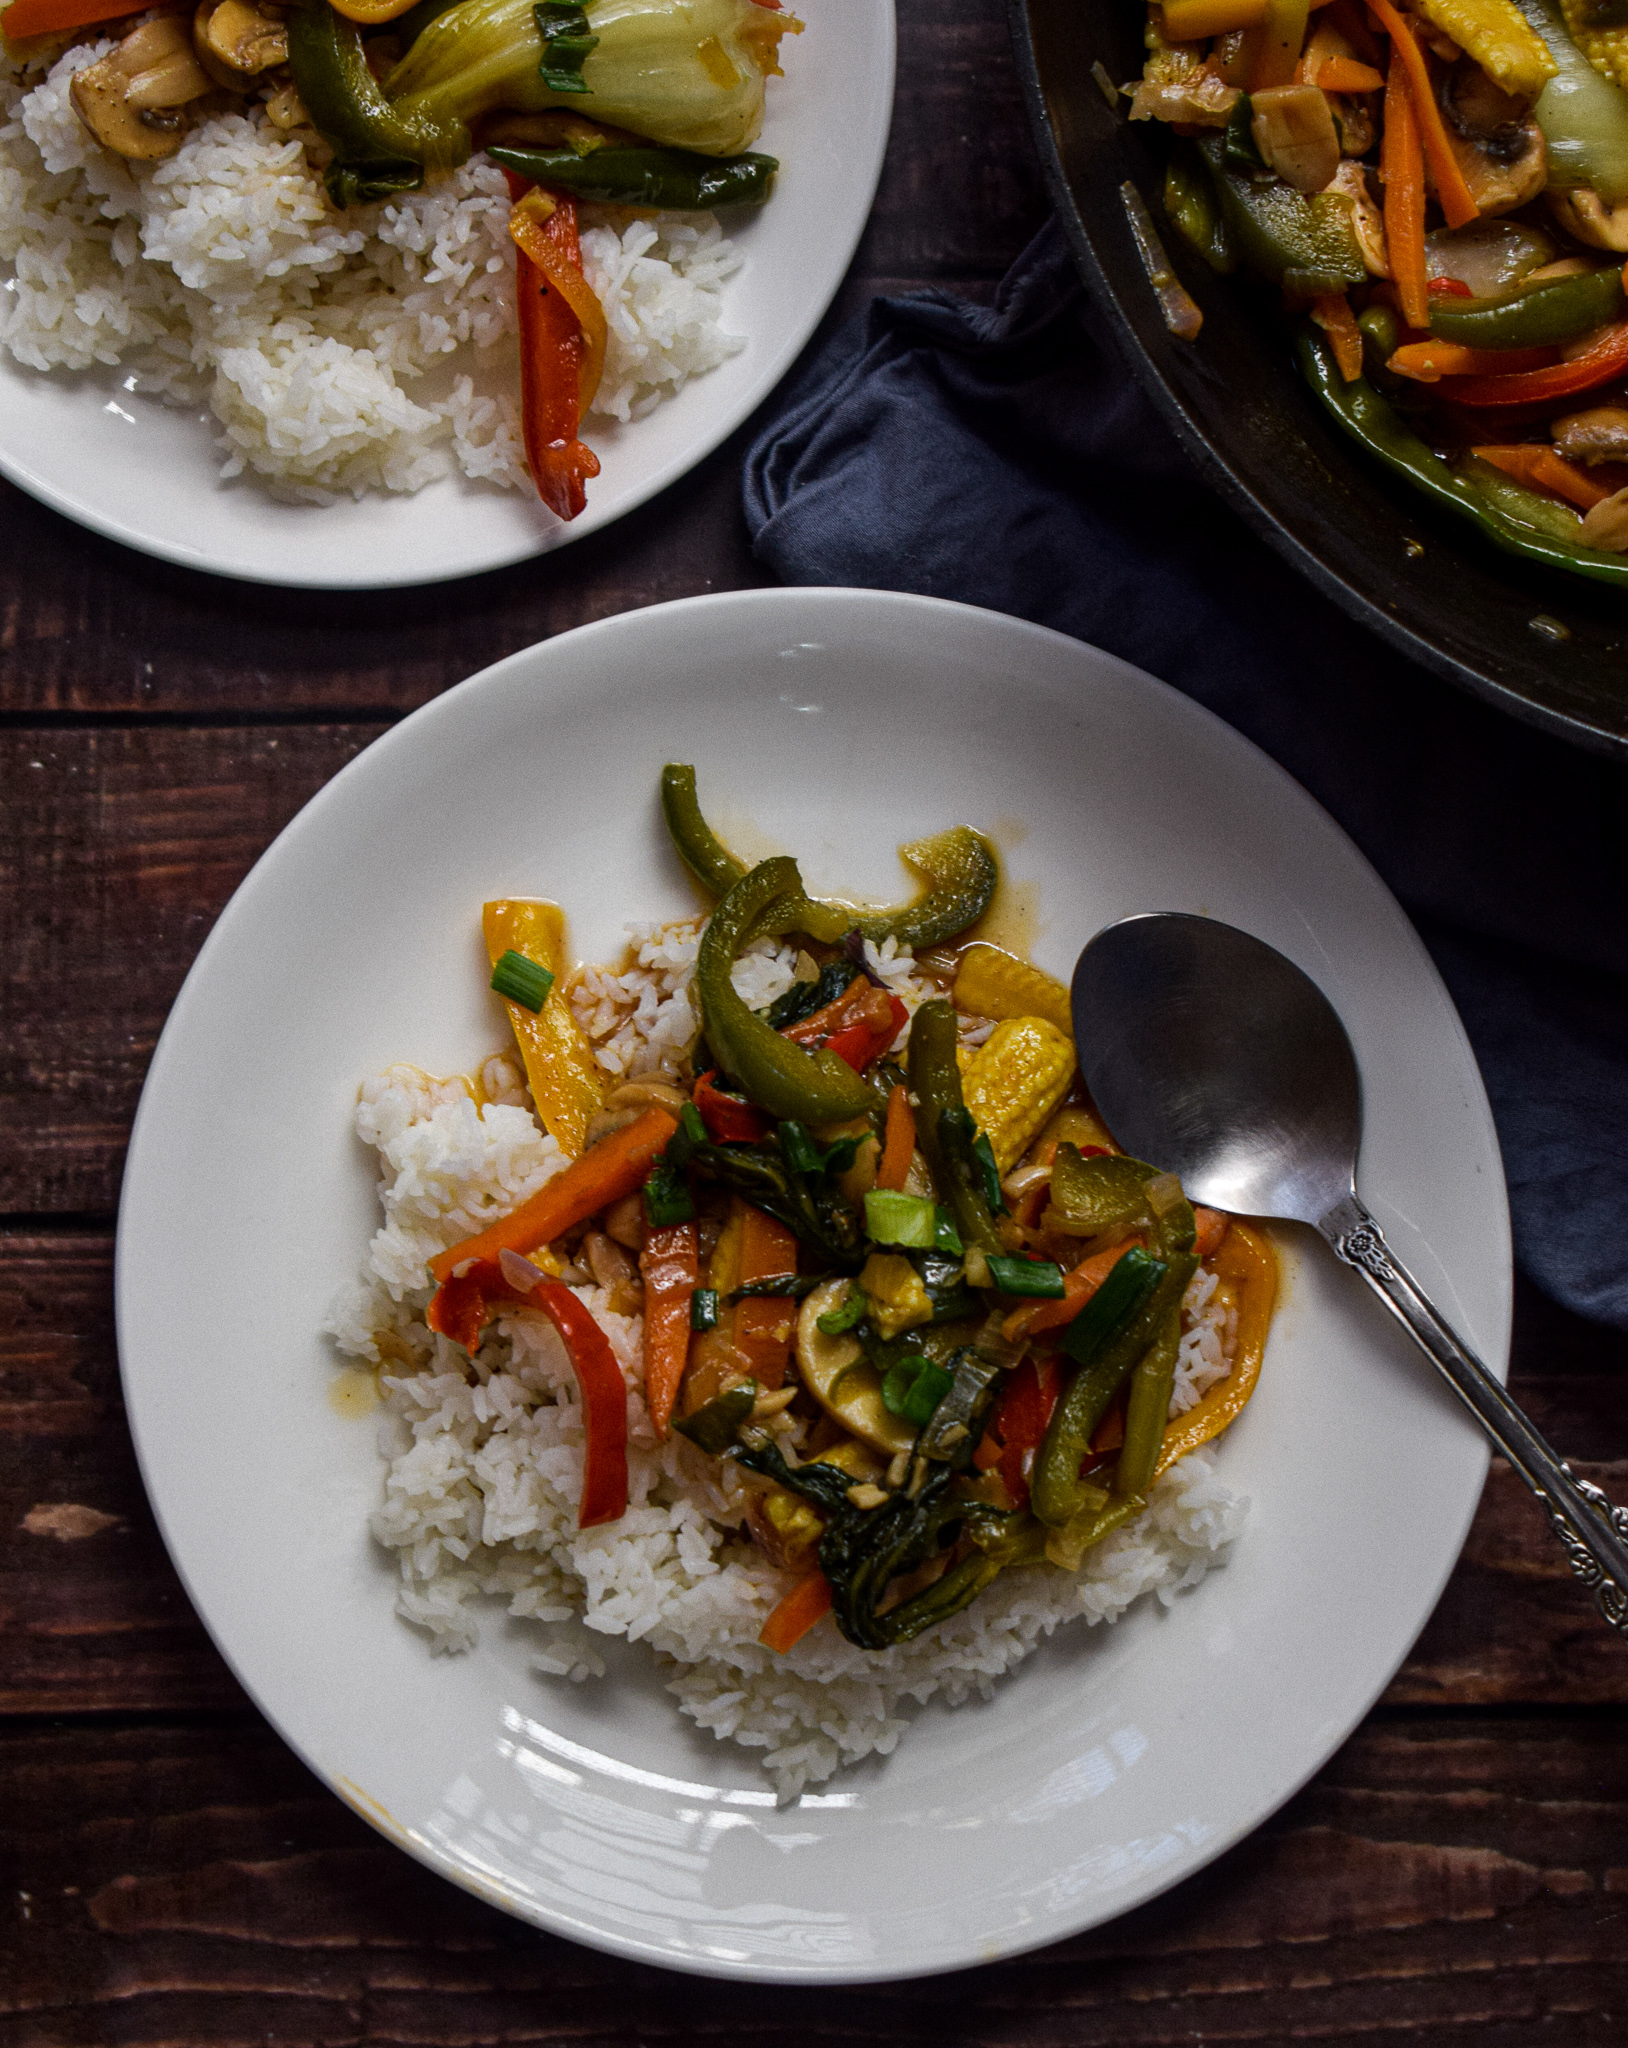
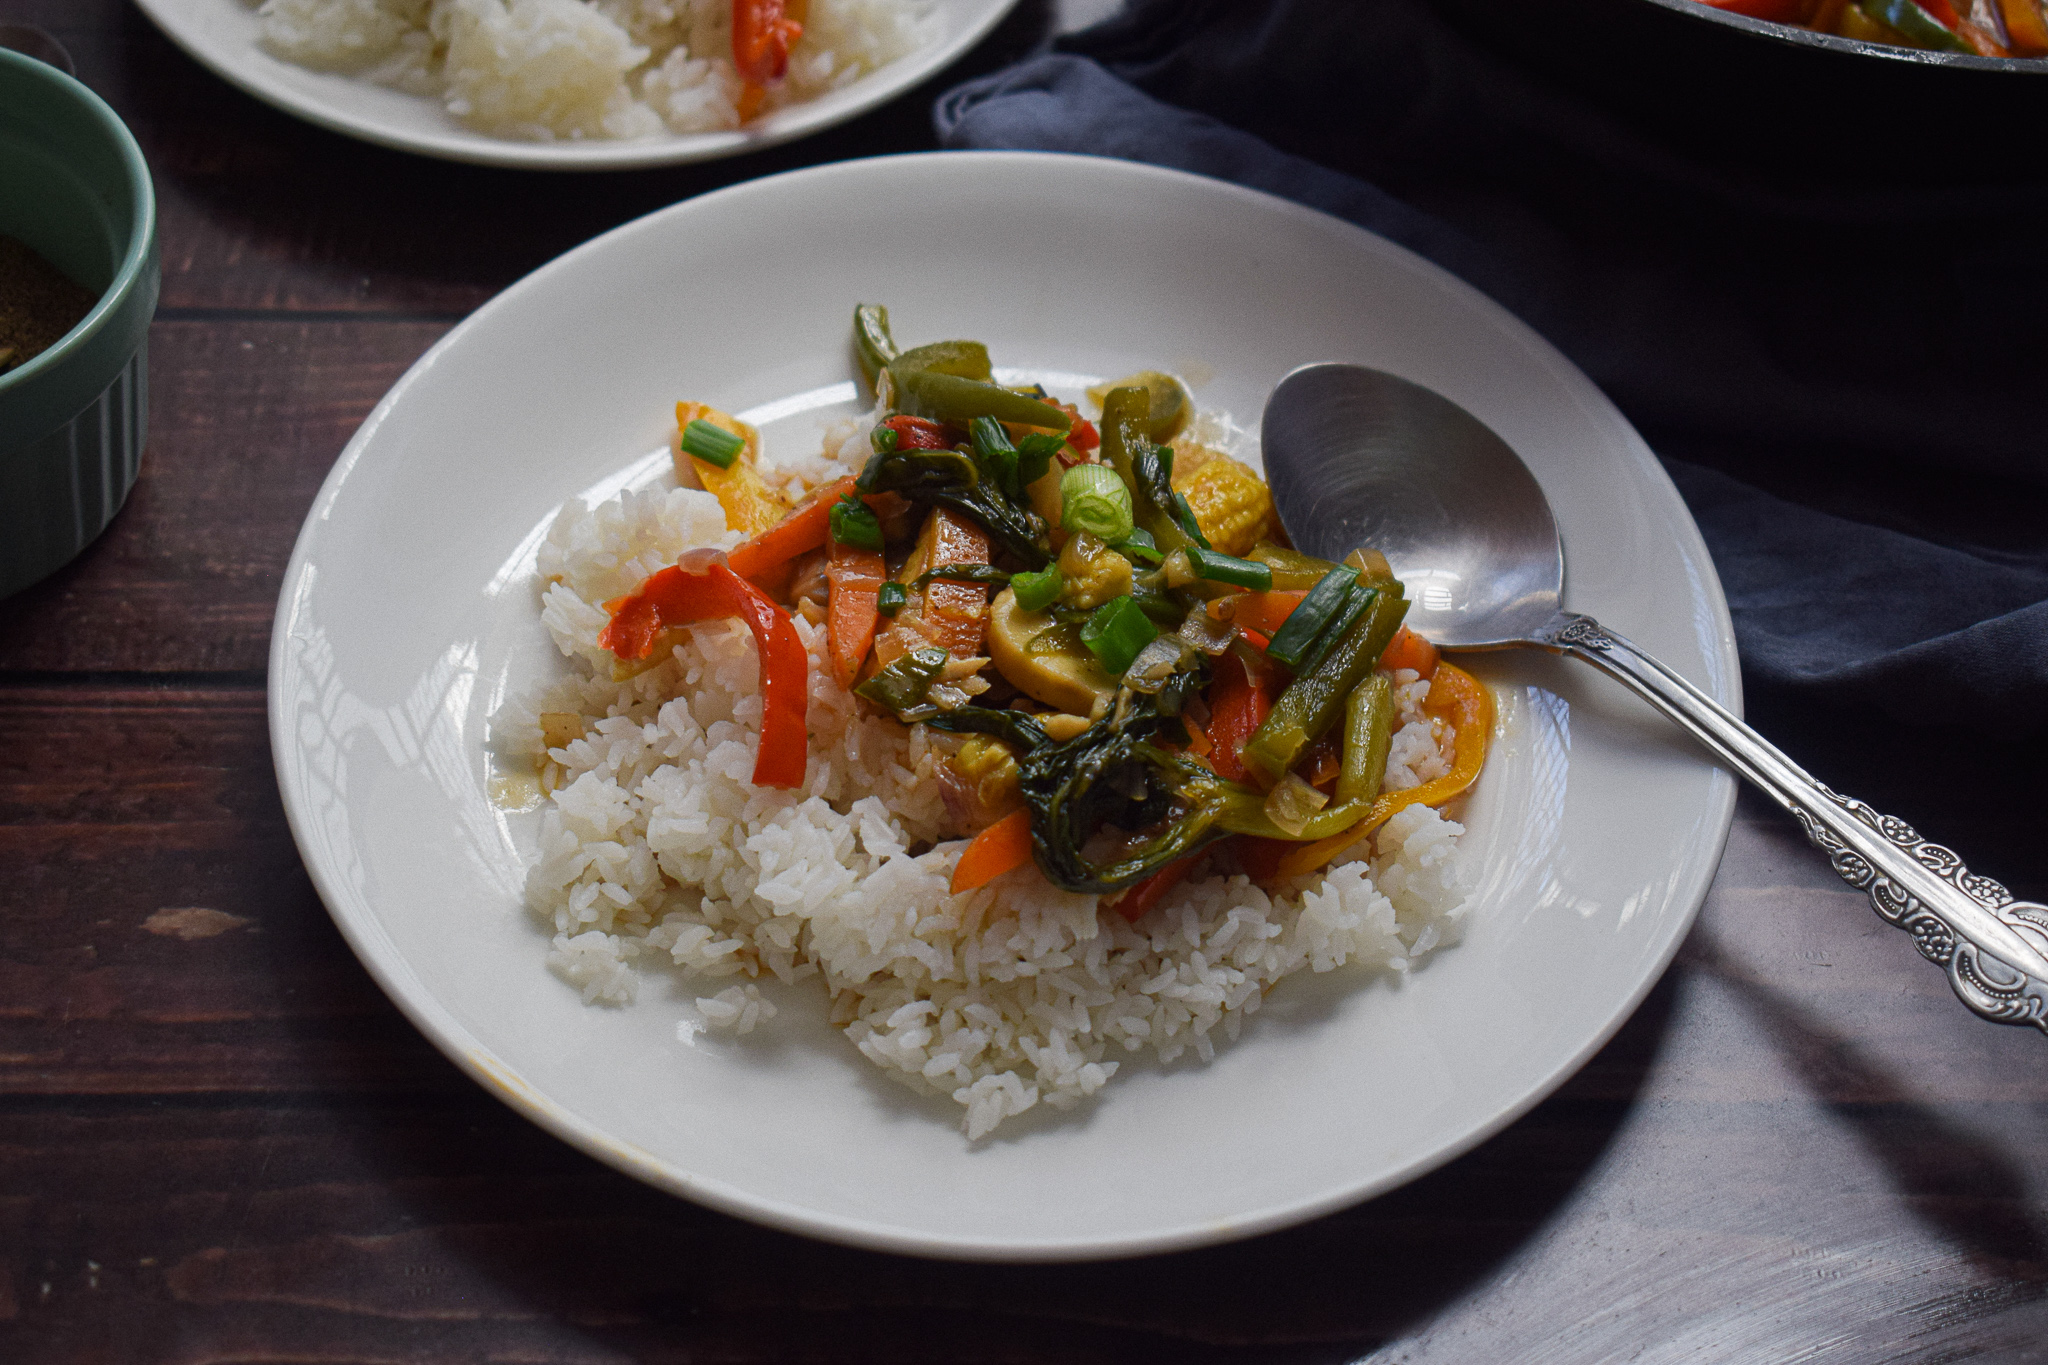
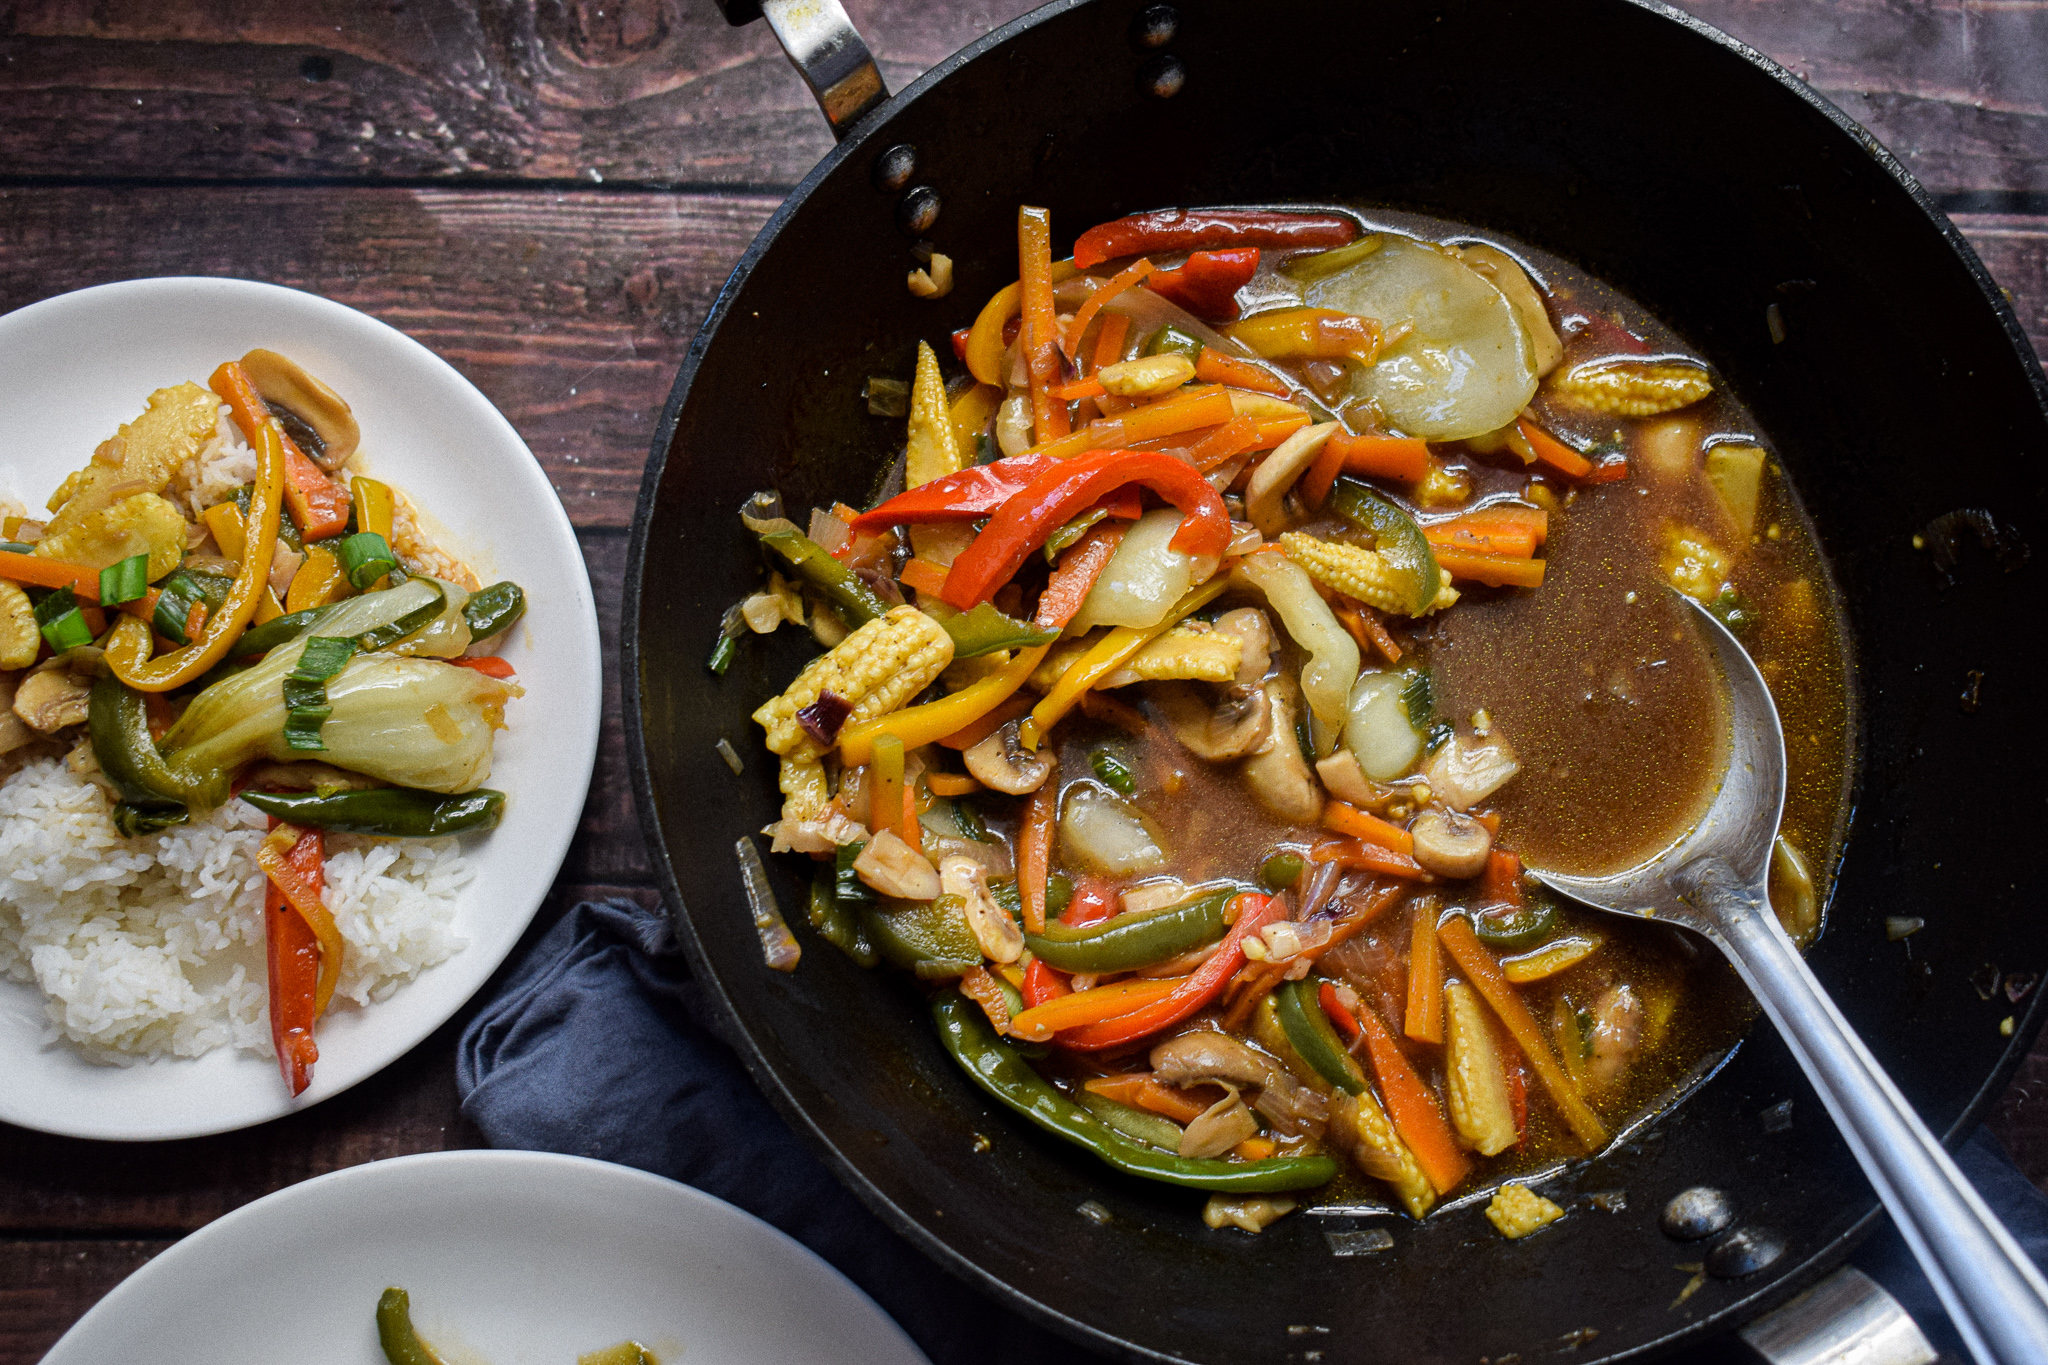
I love eating my vegetables and here is a treasured way to do that. An easy, simple and absolutely stunning preparation of vegetables in oyster sauce, this recipe is a weeknight favourite. Pair it up with some jasmine rice and you will have a wholesome, healthy and luscious meal in 30 minutes cook time.

vegetables in oyster sauce

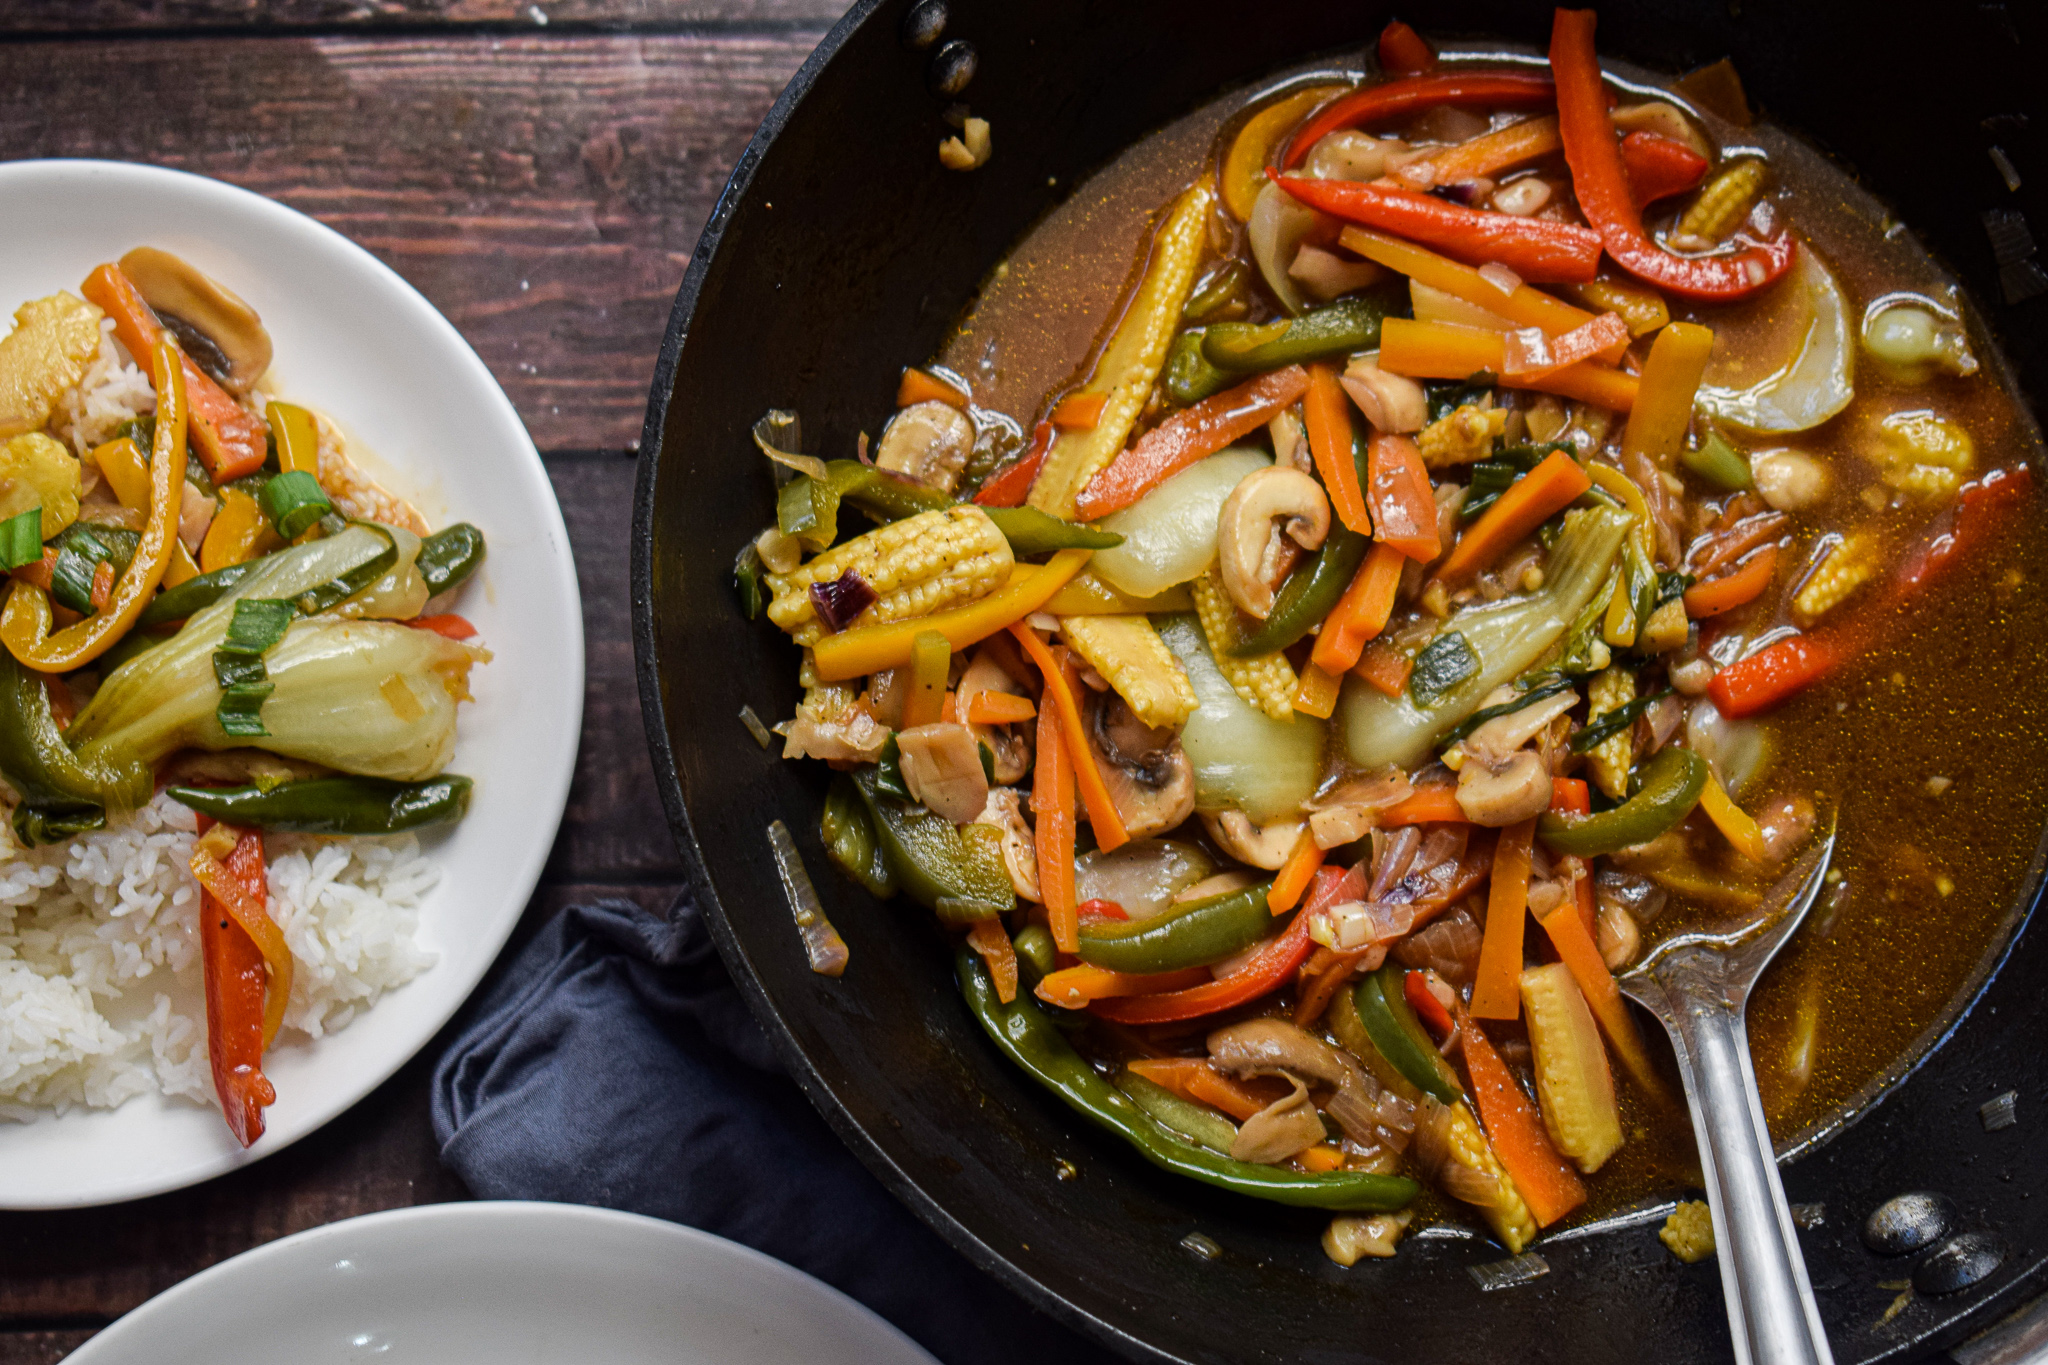
The beauty of this recipe lies in its innate simplicity. It just involves cutting up those colourful and nutritious vegetables, mixing up some basic Asian sauces and bringing it all together in a wok. There is no secret ingredient, technique or trick. Anybody can pull this off. I have had people tell me in the lockdowns how this recipe helped them eat their vegetables when they were too scared to consume meat. This vegetables in Oyster sauce preparation is an easy hack to relish vegetables in a beautiful stock that is healthy and nutritious.

vegetables in oyster sauce

vegetables in oyster sauce

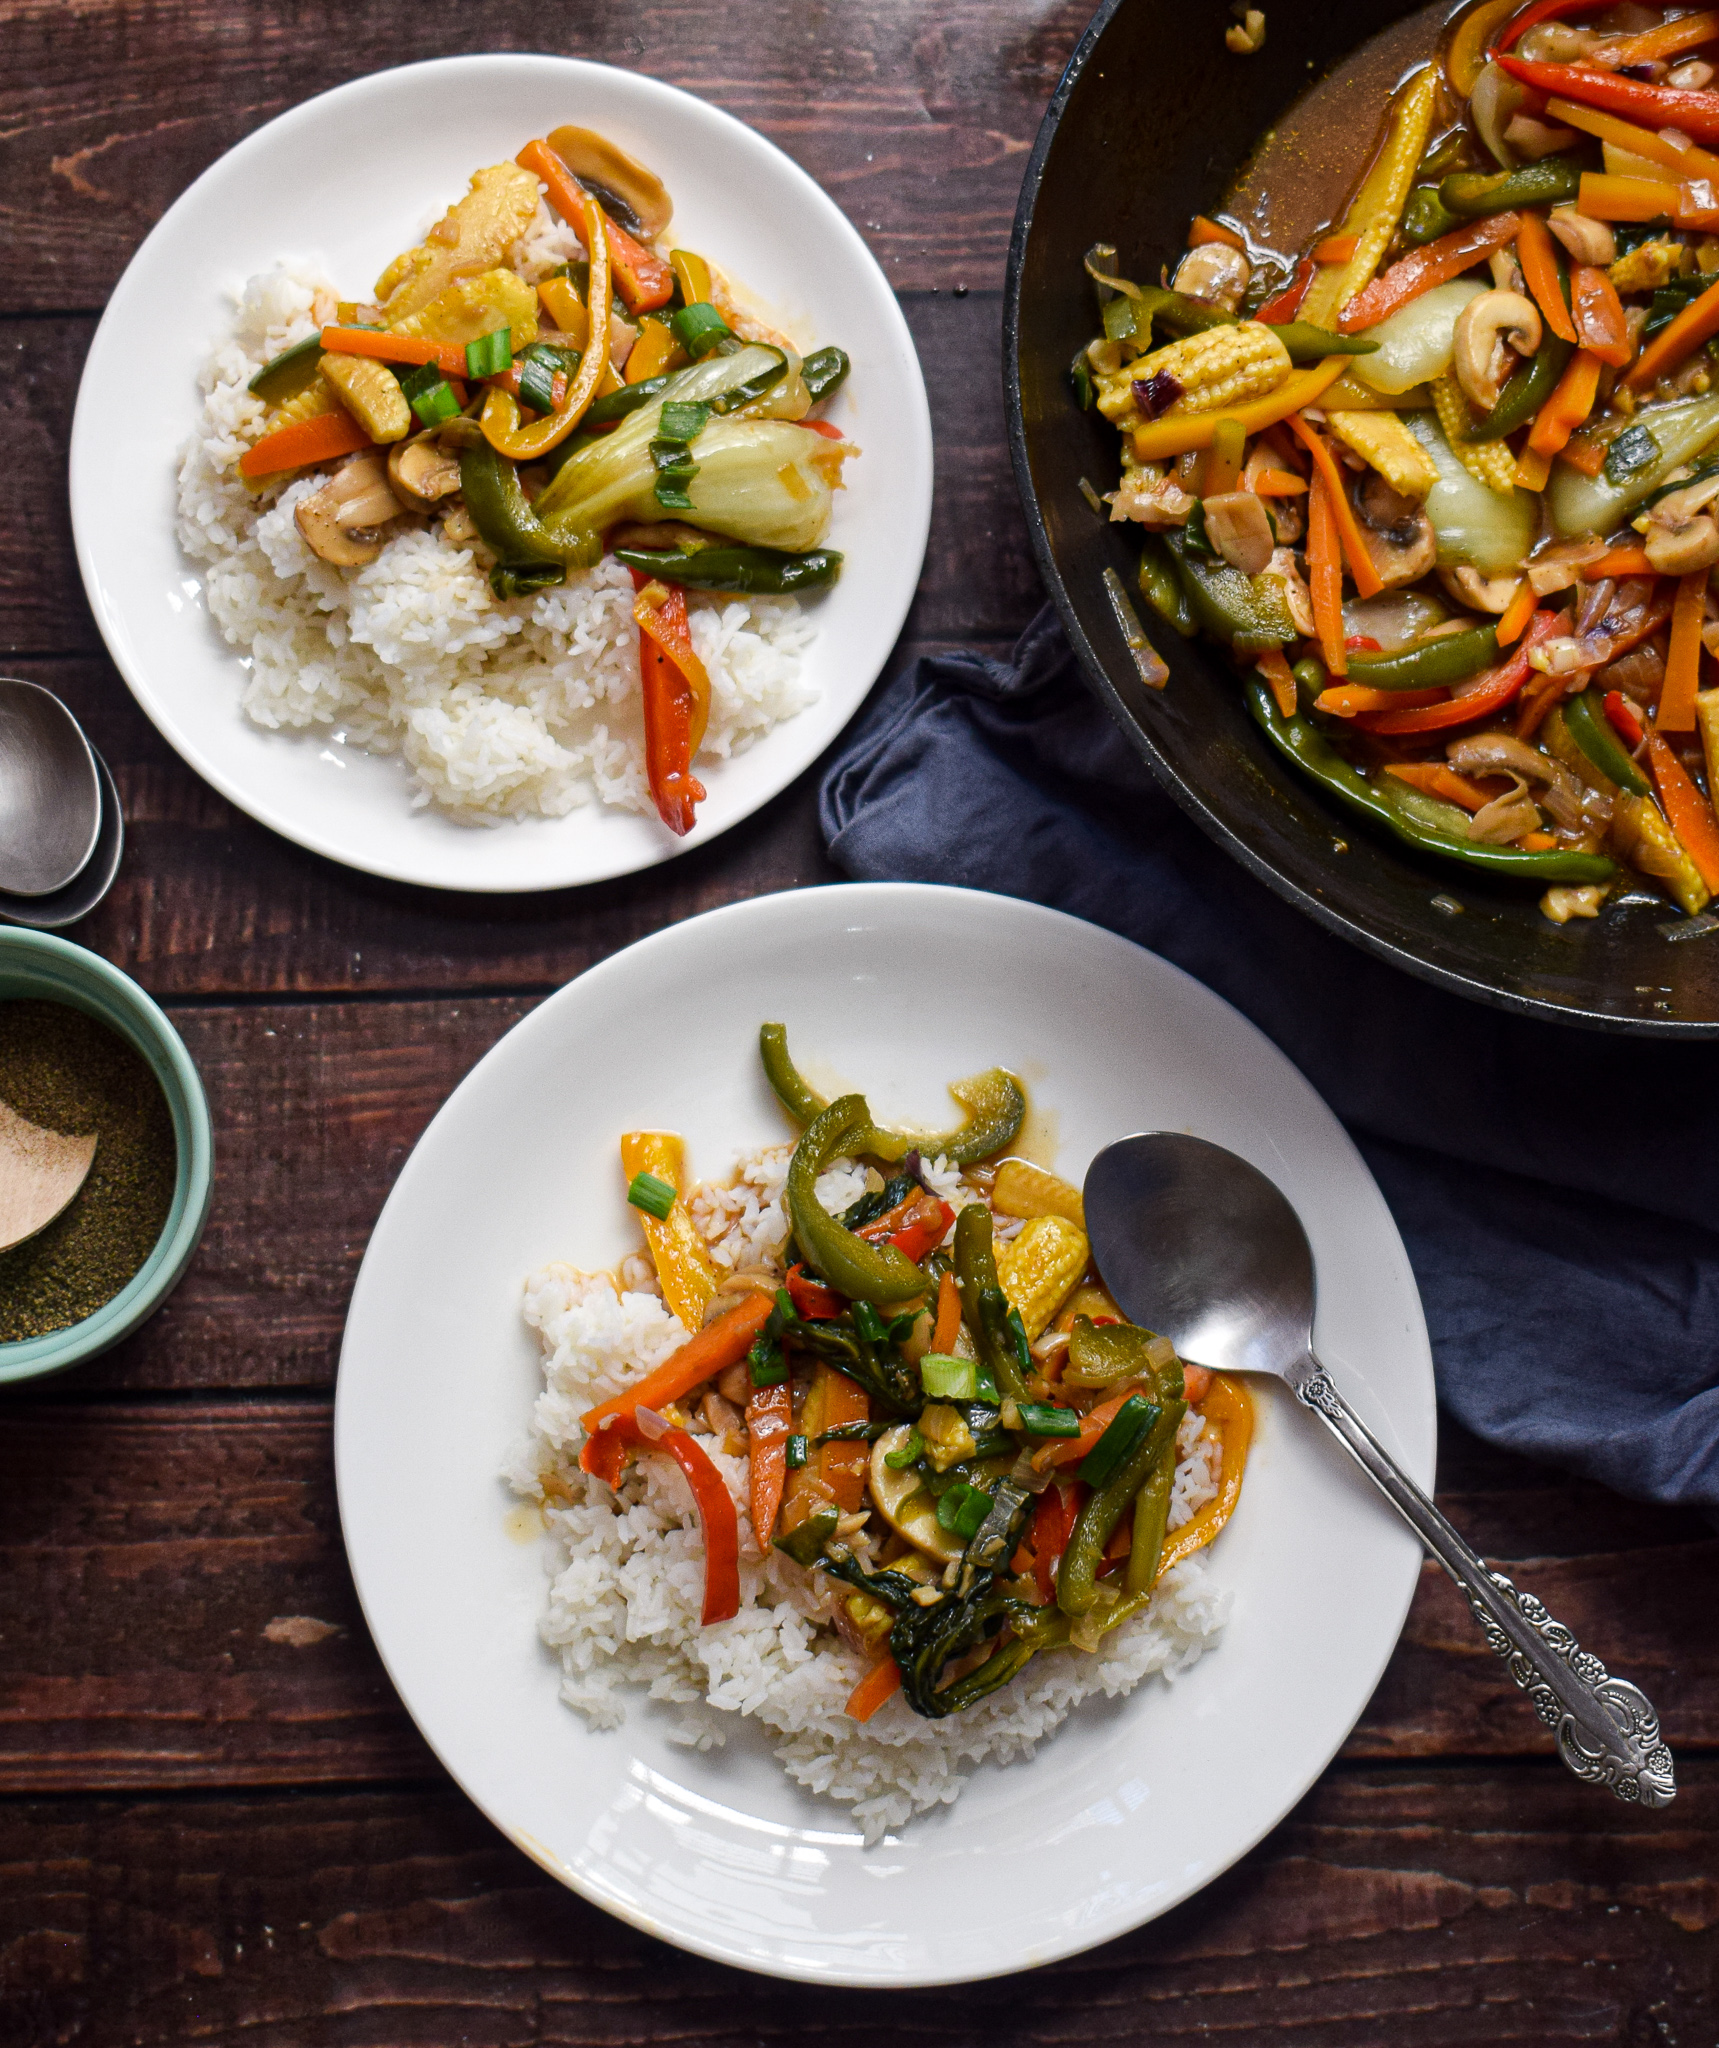
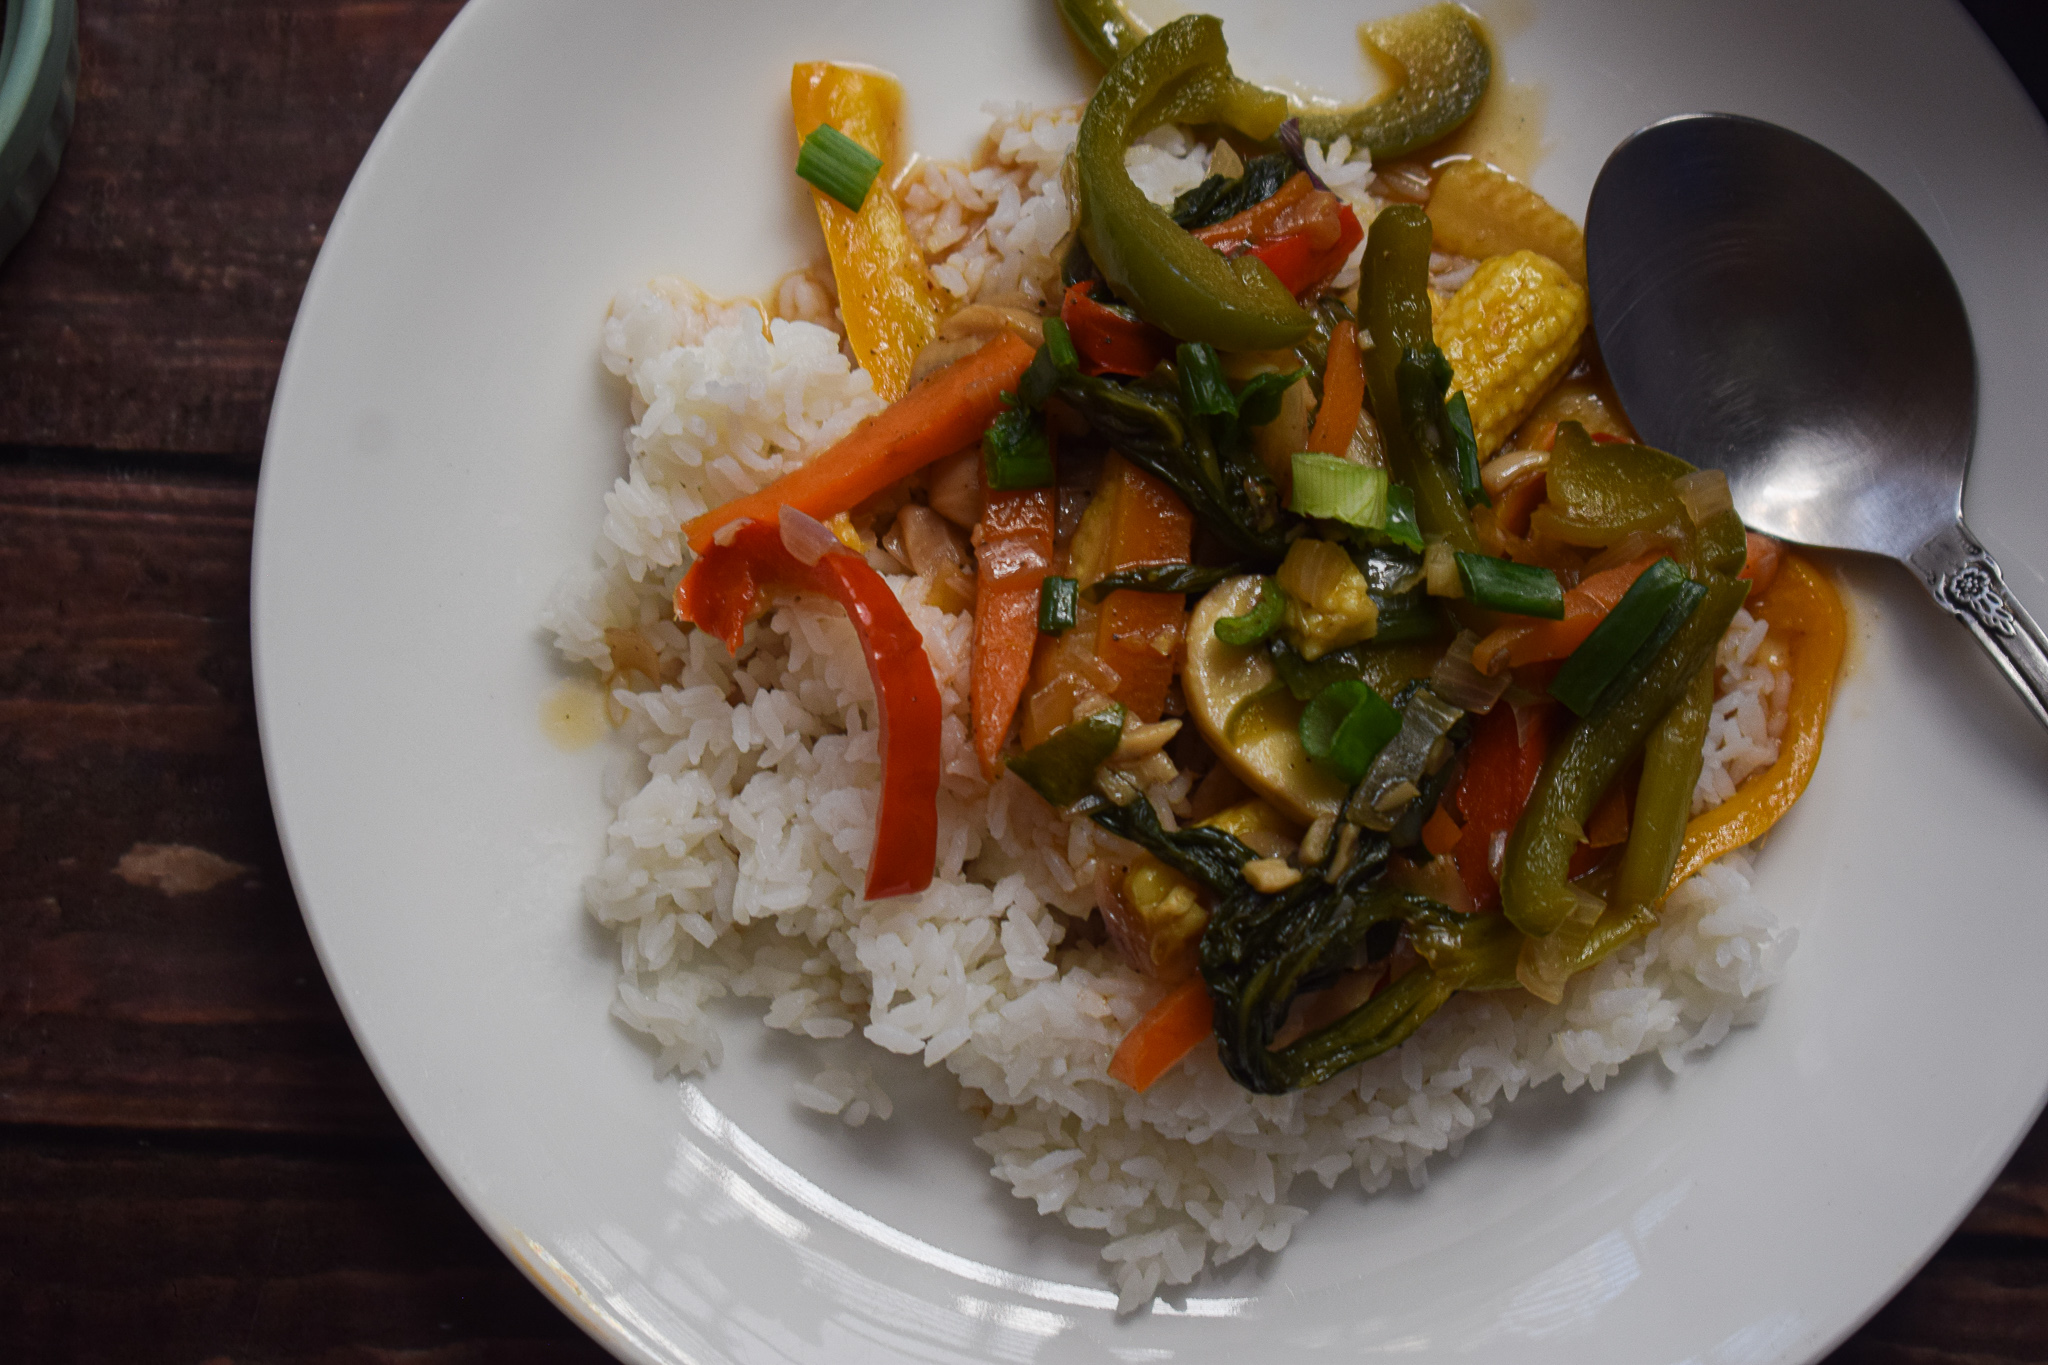
Since the vegetables are the key ingredients in this preparation, I have chosen naturally sweet vegetables that can add a lot of crunch and flavour to the dish. The red and yellow bell peppers add colour and sweetness, the baby corn and carrots add their own crunch and sweet flavour and the mushrooms add an earthy flavour. The sauces are soy and Oyster sauce. If you’d like to make this vegan, you can opt for vegan variations of Oyster sauce or use any other Asian sauce like Schezwan or Red Chilli. This recipe is highly customisable basis your preferences.

vegetables in hot garlic sauce

Let’s take a look at the ingredients and procedure to make this delicious recipe – Vegetables in Oyster Sauce :

Preparation time – 20 minutes

Cook time – 30 minutes

Serves – 4 people

[ingredients title=”Ingredients”]


  • 30 ml vegetable oil (2 tbsp approx.)
  • 15 ml sesame oil (1 tbsp approx.)
  • 15 g finely chopped garlic (1 tbsp approx.)
  • 10 finely chopped ginger (3/4 tbsp approx.)
  • 80 g finely chopped onions (2/3 cup approx.)
  • 110 g sliced carrots
  • Red bell pepper, sliced – 100g
  • Green capsicum, sliced – 100g
  • Yellow bell pepper, sliced – 100g
  • Baby corn, sliced – 100g
  • Button mushroom – 100g
  • Bokchoy – 150g
  • 4 whole green chillies
  • Salt to taste
  • 12g black pepper powder
  • Oyster sauce – 15 ml(1 tbsp approx.)
  • Red chilli sauce – 15 ml (1 tbsp approx.)
  • Dark soy sauce – 30 ml (2 tbsp approx.)
  • Balsamic vinegar – 15 ml (1 tbsp approx.) (Substitute – while vinegar)
  • 1 tbsp cornflour
  • 1 cup hot water
  • Chopped spring onion greens for garnish [/ingredients]

[directions title=”Directions”]

  1. Chop all the vegetables and keep ready.
  2. Heat oil in a hot wok.
  3. Toss in the ginger and garlic and stir on high heat for ten seconds.
  4. Add the chopped onions and stir till they turn translucent. Do not brown.
  5. Once the onions are translucent, add the carrots, green capsicum, red bell pepper, yellow bell pepper and baby corn. Stir all this on high heat for 2-3 minutes.
  6. Add the mushrooms, bokchoy and whole green chillies and stir them into the mix.
  7. Season with salt and black pepper powder.
  8. Pour the Oyster sauce, soy sauce, red chilli sauce and vinegar. Mix well and let it all assimilate into the vegetable mix.
  9. Mix 1 tbsp cornflour in one cup hot water. Add this to the gravy and stir well.
  10.  Boil the mixture till you get your desired consistency.
  11. Garnish with fresh spring onions greens.
  12. Serve hot over rice. [/directions]

vegetables in oyster sauce

vegetables in oyster sauce

vegetables in oyster sauce

Every bite of this delicious vegetables in Oyster sauce will instantly comfort you! I hope you try out this recipe soon.If you do, let me know how it turned out for you.

If you have any questions, suggestions or feedback, please leave me a comment here. Or connect with me Instagram, Facebook or YouTube.

Happy cooking!

Pressure Cooker Chana Masala

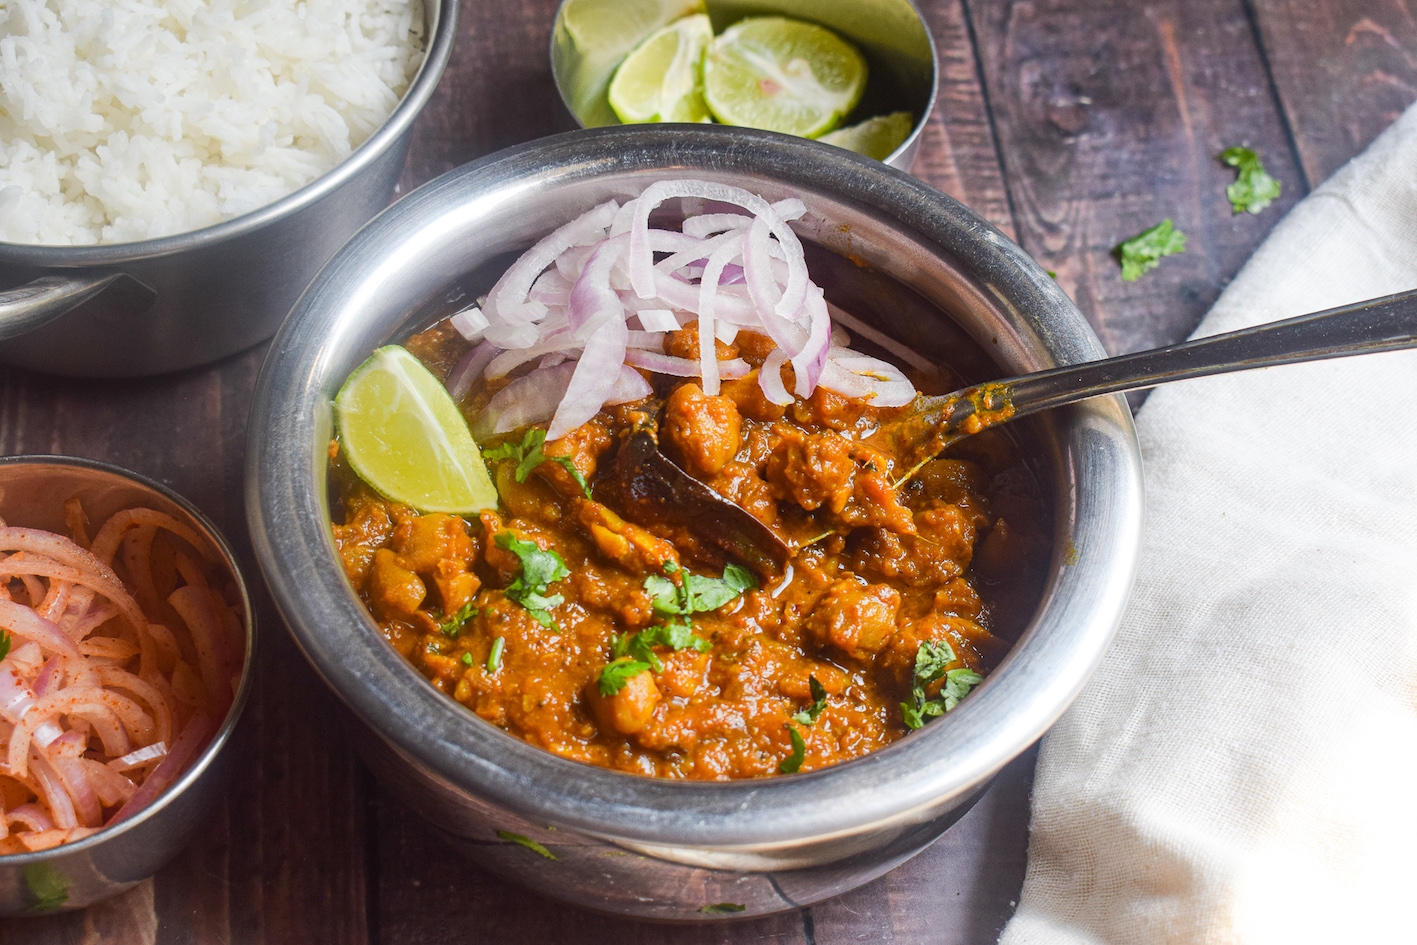
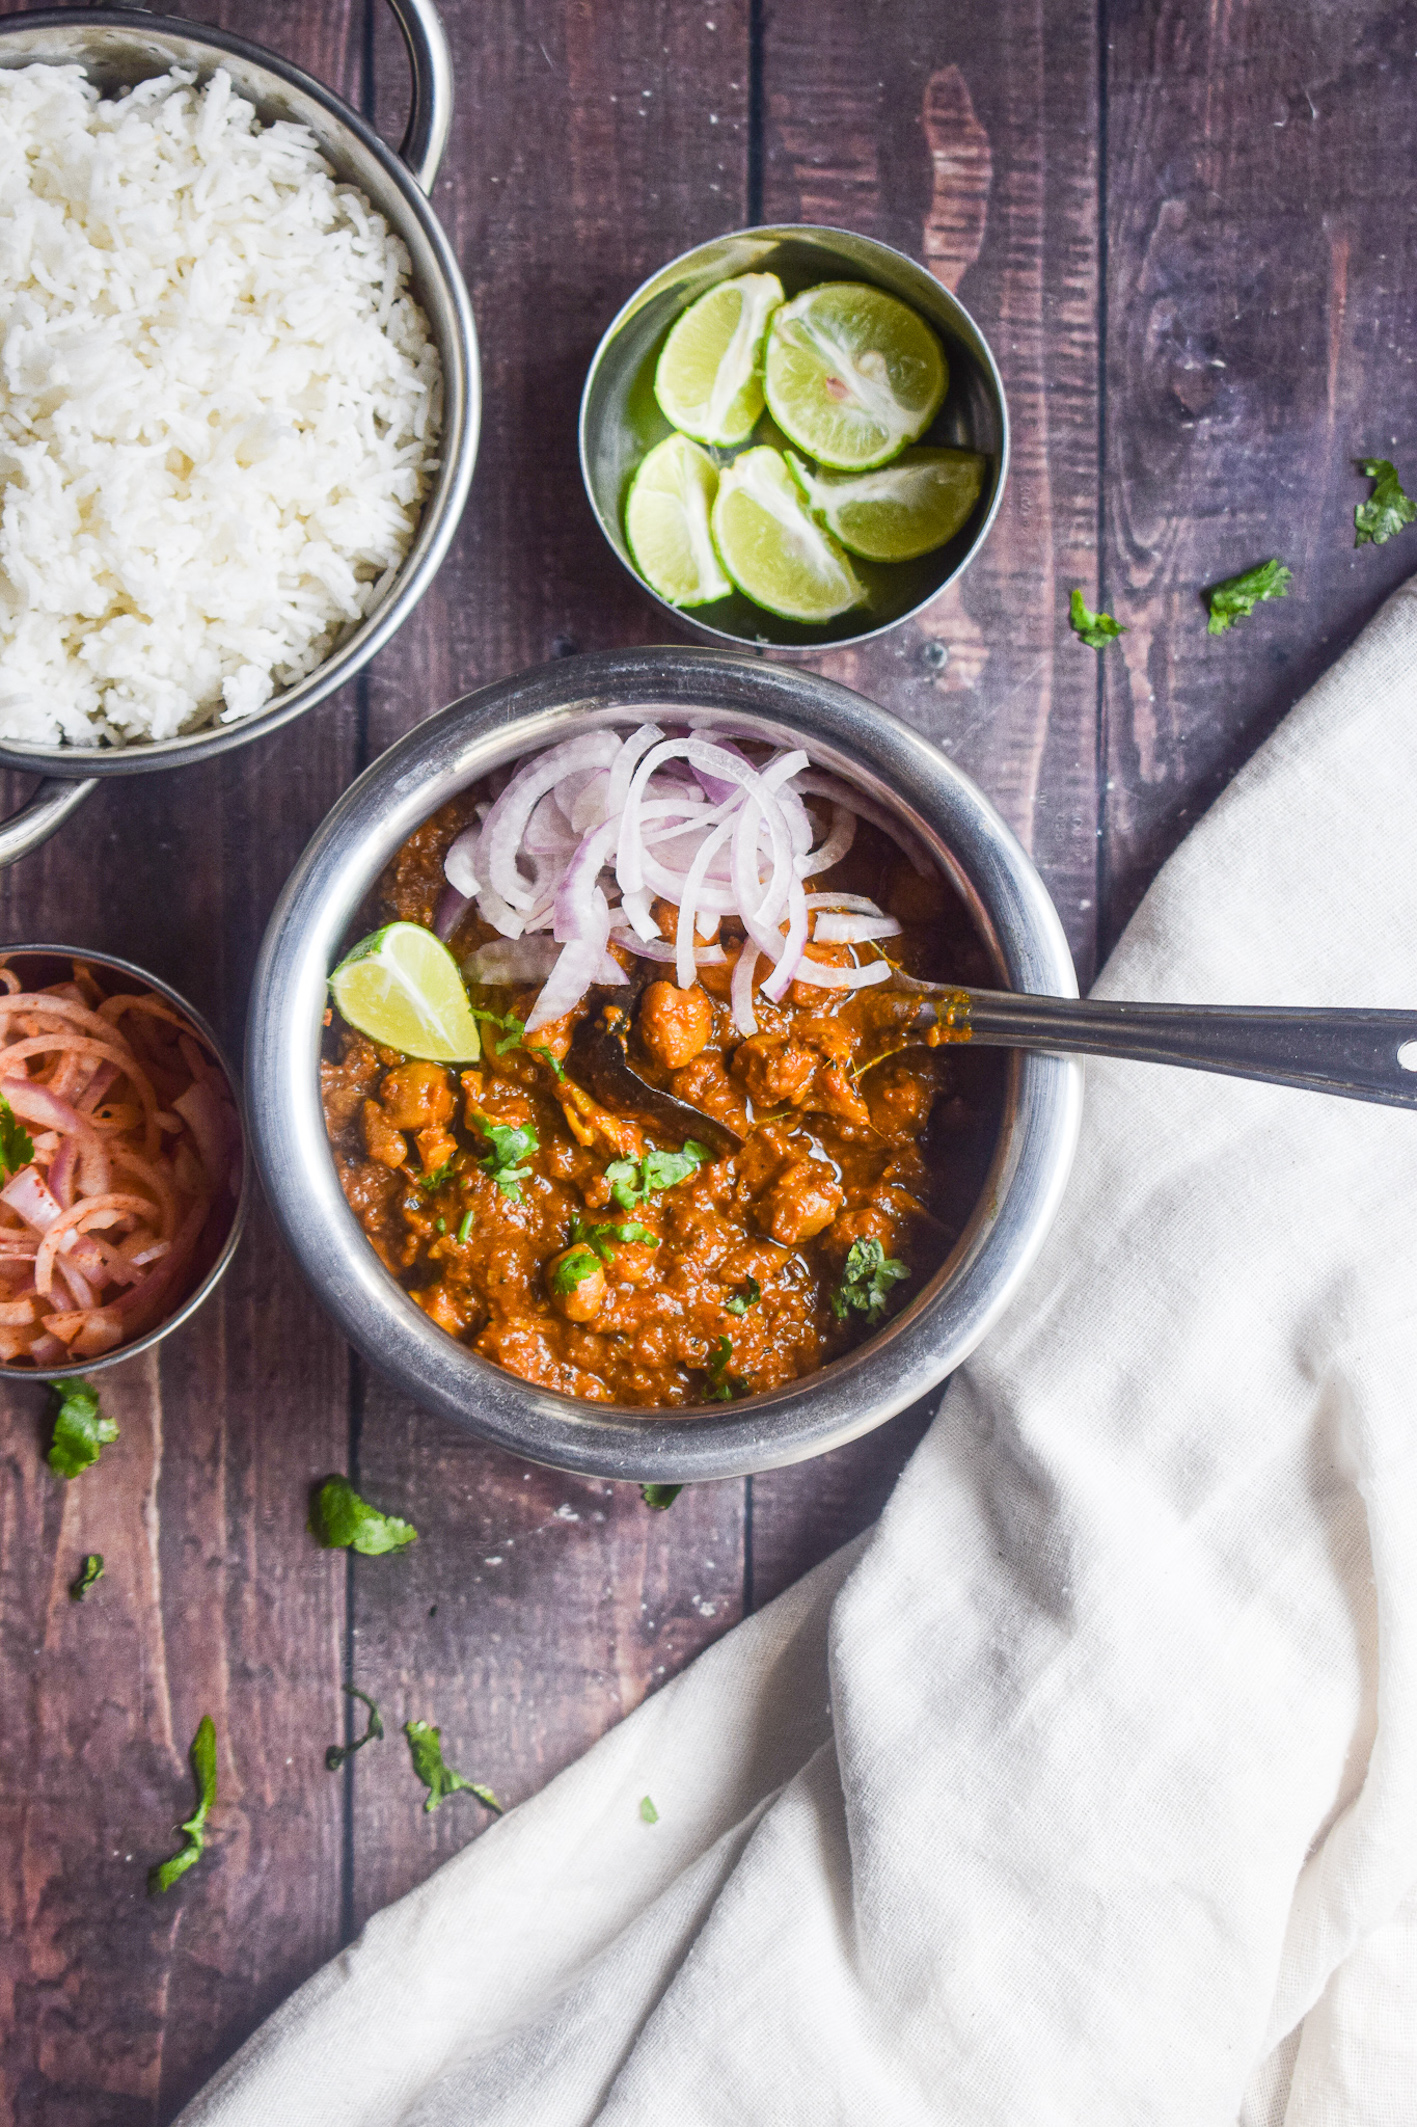
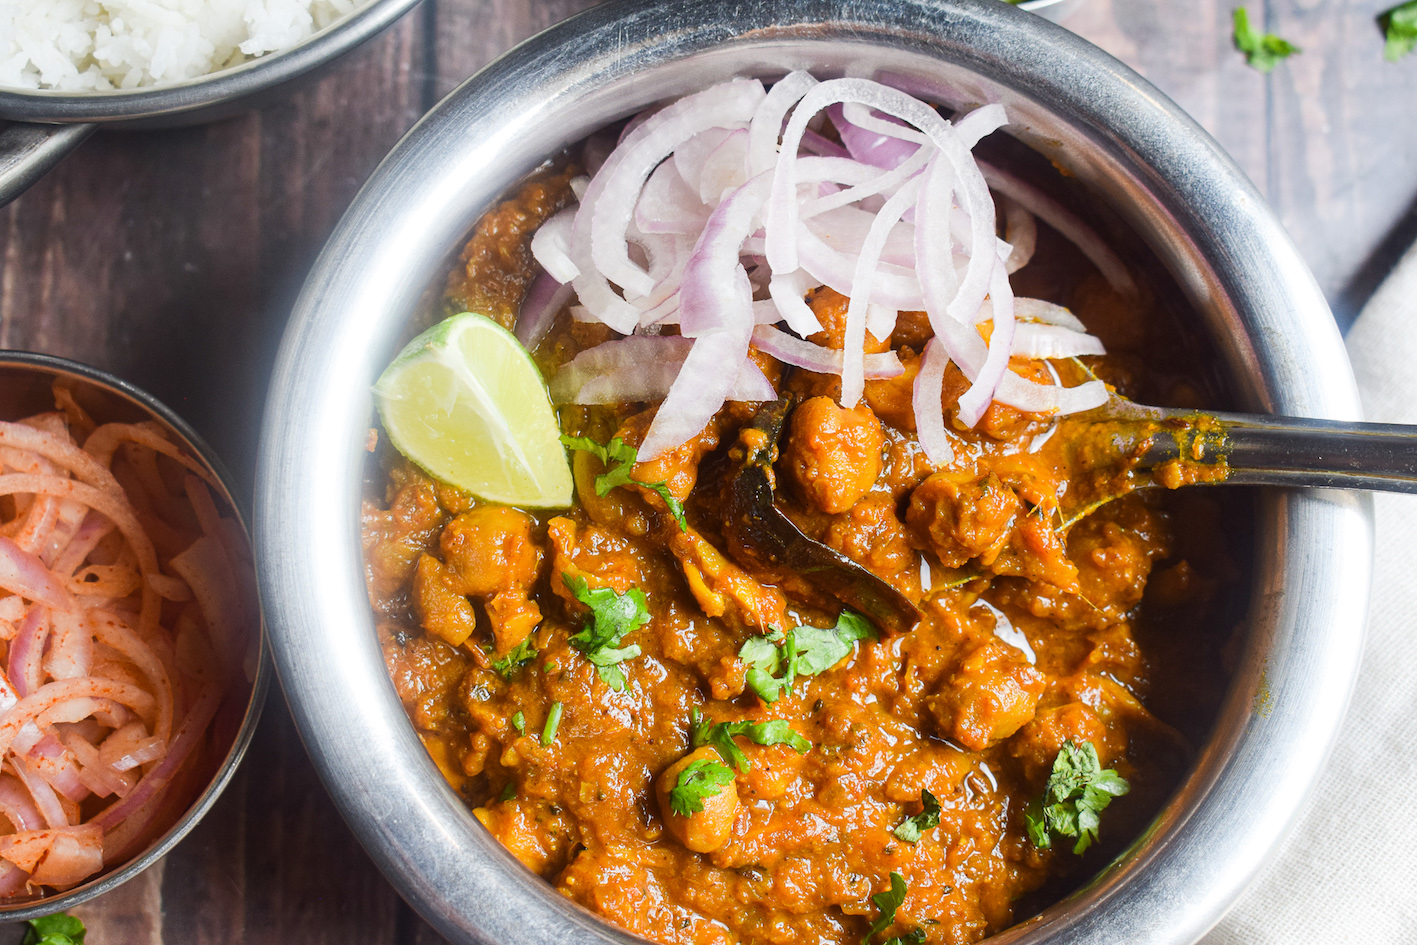
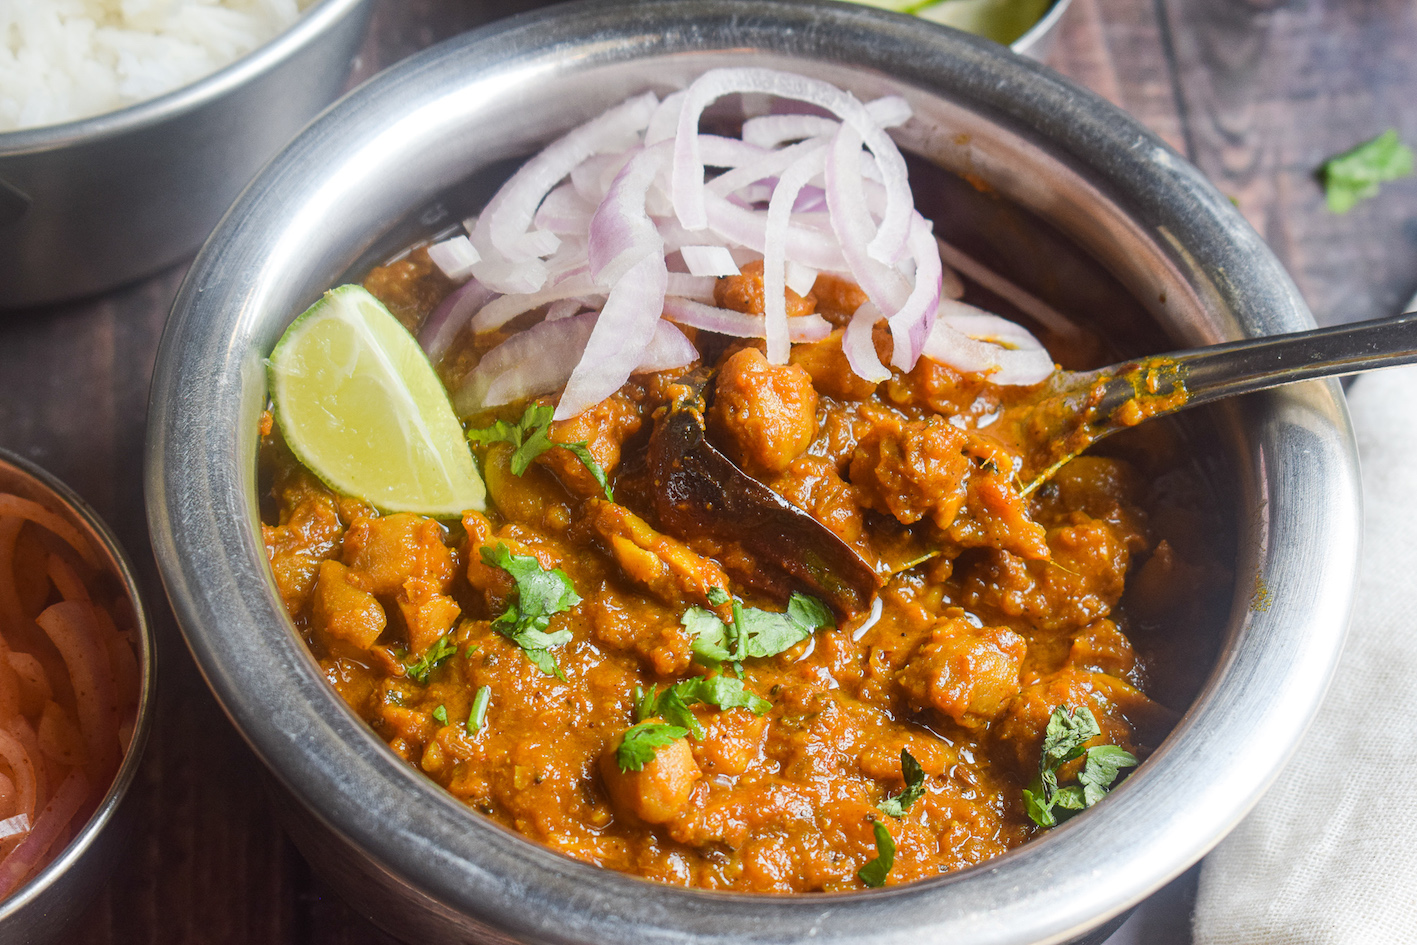
Here’s a pressure cooker chana masala recipe that is full-proof, easy and insanely delicious! It all comes together in one pot, i.e. the pressure cooker. And that tempering in the end elevates the recipe to another new level, so do not skip on the tempering! This pressure cooker chana masala recipe does not require you to boil the chickpeas separately and add it to the curry. Instead, we make the masala or the base of the curry in the pressure cooker, add the soaked chickpeas to it and let it whistle till it’s soft and absorbs all the flavours.

pressure cooker chana masala

pressure cooker chana masala

While this version of chana masala is very easy to pull off, it does come with a tiny handbook of tips and tricks. For instance, the beautiful colour of this chana masala is not because of the addition of any colours or tea leaves. It’s just a method of cooking that I learned from my grandmother-in-law. It literally opened my eyes to a technique of cooking that I knew, but never really paid attention to! Read on to know what that trick is. Besides the colour, there are also a tons of tips that I will share on the timing of cooking, the temperatures to cook at, and other little nuggets of information that you can use to elevate your chana masala to a level of utmost deliciousness. Let’s begin.

Tips to Make the Perfect Chana Masala

Colour

Most of the chana masalas in restaurants have a deep brown colour that gets us drooling at the very first sight. For the longest time, I thought that brown colour comes from soaking the chickpeas in tea bags. While that is the case and I do have a recipe with the same technique, it’s not a necessary thing to do to get the deep brown colour. In fact, you do not need anything other than the normal ingredients to get it brown colour! The trick lies in the way you cook your onions. Yes, you read that right.

pressure cooker chana masala

The method you use to fry the onions can make or break your chana masala. The trick is to have them finely chopped and cook them in medium flame till they are completely brown. This is a slightly time consuming process and you will have to spend anywhere between ten to fifteen minutes to achieve this stage. But the effort will be so worth it because of the results you’ll get. So have a little bit of patience while you deal with your onions and see how it gives a sensational colour to your final chana masala.

Timing

To get the perfect chana masala that tastes outstanding, it is important to know the timing of adding ingredients, and the duration of their cooking. I have already explained the timing for the onions. But we also add a lot of other ingredients to make the base of the curry. A crucial ingredient here is the fresh tomato puree. Because the puree is made from fresh tomatoes, it is raw and needs its own time to cook. This makes it extremely crucial for us to cook it to perfection before we add the chickpeas to it.

pressure cooker chana masala

How do we know if the tomatoes are cooked? When the oil starts to release from the edges of the masala pasta, the tomatoes turn into a thick base and there is no aroma of anything raw in the air. When you achieve these three outcomes, you know your tomatoes are ready.

Chickpeas

For this particular version of chana masala, we only have to soak the chickpeas overnight. There is no need to boil them separately and add them to the masala base. Everything happens in one pot, in this case – the pressure cooker. We cook the chickpeas for a long time on medium flame in the pressure cooker and the whistles do their own magic. What we end up getting is a scrumptious curry along with the softest chickpeas that absorb all the flavours of the ingredients.

Tempering

Tempering is very essential in this chana masala recipe. Without the tempering, the recipe will be incomplete. It is the tempering in the end that makes this chana masala the best version you will ever make! So make sure you do not skip on this delicious tadka!

pressure cooker chana masala

Now that you know the most important aspects of nailing this pressure cooker chana masala, let’s dive straight into the ingredients and procedure for the recipe.

Preparation time – 20 minutes

Cook time – 40 minutes

Serves – 5 people

[ingredients title=”Ingredients”]

  • 1 cup chickpeas, soaked overnight
  • 1/4 cup mustard oil
  • 1 1/2 cups finely chopped onions
  • 1/4 tsp asafoetida
  • 1/2 tsp carrom seeds
  • 1 tsp cumin seeds
  • 2 cardamoms
  • 1 inch cinnamon stick
  • 2 cloves
  • 1 tsp cumin powder
  • 2 tsp garlic paste
  • 1 tbsp ginger paste
  • Salt to taste
  •  1/2 tsp turmeric powder
  • 1 tsp coriander powder
  • 1/2 tsp Kashmiri red chilli powder
  • 1 1/2 cups fresh tomato puree
  • 4 cups hot water
  • 1/2 tsp raw mango powder
  • 2 tbsp Kasuri methi (dried fenugreek leaves)
  • 1/2 tsp garam masala

For the tempering:

  • 2 tbsp ghee
  • 3 dried red chillies
  • 1 tsp cumin seeds
  • 10-12 strips of julienne ginger
  • 1/4 tsp Kashmiri red chilli powder [/ingredients]

[directions title=”Directions”]

  1. Soak the chickpeas overnight in room temperature water. Drain, rinse and set aside.
  2. Heat oil in a pressure cooker. Once the oil starts to smoke gently, turn the heat to low. Temper with cumin seeds, carrom seeds, asafoetida, cardamom, clove and cinnamon stick. Give it a good mix.
  3. Add the onions and fry on medium heat till they transform from a translucent colour to a deep brown colour. This step is very important and can take anywhere between 10-15 minutes.
  4. The aim is to allow the onions to brown without burning them. This step will help us achieve a deep brown colour in the final curry.
  5. Once the onions are deep brown, add the ginger and garlic paste. Stir till the raw aroma disappears. Do not burn and keep a check on the flame.
  6. Season with salt, turmeric powder, cumin powder, coriander powder, Kashmiri red chilli powder and raw mango powder.
  7. Cook the masalas well.
  8. Pour the fresh tomato puree into the masala and stir well. Cook this for another 8-10 minutes till the rawness of the tomatoes is gone and oil starts to release from the sides. Add a splash of water if necessary.
  9. Add the soaked chickpeas to this spice base and coat them well.
  10. Pour 4 cups of hot water and mix.
  11. Season with some Kasuri methi and garam masala.
  12. Close the lid of the pressure cooker and allow one whistle on high flame. Turn the flame to medium at cook the chickpeas for 20 minutes. The number of whistles will vary according to the pressure cooker you’re using. 20 minutes is a good time to ensure the chickpeas are soft.
  13. Once done, let the pressure cooker release its steam automatically. Prepare the tadka or the tempering only once you open the lid of the cooled down cooker.
  14. For the tempering, heat ghee in a tadka pan. Once the ghee smokes up, turn off the flame and add the dried red chillies, cumin seeds, julienne ginger and Kashmiri red chilli powder. Give it a quick mix with a spoon and immediately add it to the chana masala. Mix well and we are done!
  15. Serve the chana masala with some onions, rice, puris, parathas or bhaturas! Enjoy! [/directions]

pressure cooker chana masala

pressure cooker chana masala

It’s almost unbelievable how good this pressure cooker chana masala tastes. It is a recipe I am definitely proud of and I want you to try it at-least once. Trust me, you will not be able to stop eating this!

I hope you try this delicious pressure cooker chana masala super soon. If you have any doubts, comments, or feedback, please reach out to me in comments or my social media handles.

Find me on Instagram – www.instagram.com/slurrpilicious

Find me on Facebook – www.facebook.com/slurrpilicious

Find me on Youtube – https://www.youtube.com/channel/UCA-cJoo27OLSCswI4sy6lzA?

Happy cooking!
 

Egg Curry

Egg curries are such a regular in my home. I cook them up whenever I am in no mood for an elaborate meal. And there are some versions of egg curries that I keep coming back to. This egg curry recipe is one of those homestyle and comforting version that reminds me of warmth and love of the times gone by.

The preparation of this egg curry is extremely simple. The taste of the curry is also quite subtle, but the flavours are on point. It’s not a loud recipe with a lot of oil or spices, but a simple one that you can make with the essentials in your pantry. The style of cooking is very Assamese as I grew up eating Assamese food and hence the cuisine has a big influence on my style of cooking. For instance, I love to use mustard oil in my cooking. And this recipe uses cold pressed mustard oil, that lends the curry a unique pungency and sweetness.

egg curry

The key to a good egg curry is boiling the eggs perfectly. Egg curries always have hard boiled eggs that are seasoned, deep fried and added to the gravy right towards the end. We follow a similar procedure in this recipe. Let’s take a look on how you can boil eggs perfectly for your egg curry.

How to Cook Perfectly Boiled Eggs

egg curry

Making a perfectly boiled egg has a few tips and tricks. Nobody wants a broken egg, de-shaped egg or an under-boiled or over-boiled egg in their egg curry. The egg has to be firm and evenly cooked. Here are the tips I always follow that can help you become a pro at boiling eggs specifically meant for an egg curry.

  • Add salt to water

Whenever you boil eggs, the first thing to do is to use a wide mouthed pot. Fill it up with water so that the eggs can be submerged completely in the water. Once the water starts to boil, add about two teaspoons of salt to it. Addition of salt prevents the eggs from cracking.

  • Boil the water before adding the eggs

Now let this water come to an aggressive boil before you add the eggs. Adding the eggs to room temperature water can give them a shock when the temperature rises, causing the skin to stick to the shell. So add the eggs only when the water is boiling hot.

  • Be gentle

Because we need to add the eggs to a boiling pot of water, you must be gentle. Raw eggs break very easily so make sure you use a spoon to gently place the eggs into the boiling water. Do not let go of the spoon till you drop the egg right at the bottom.

  • Check the timing

After placing the eggs into the pot of boiling water, I let it boil on high flame for exactly ten minutes. Remove the eggs and place it immediately in ice cold water so that it stops cooking. De-shell the eggs after ten minutes.

Okay, now that you know how to boil the perfect eggs, let’s get on to the ingredients in the curry. Note down the recipe and I hope you try this soon.

Preparation time – 15 minutes

Cook time – 40 minutes

Serves – 3

[ingredients title=”Ingredients”]

  • 6 large eggs
  • 3 tbsp mustard oil
  • 1/2 tsp Kashmiri red chilli powder
  • 1/2 tsp turmeric powder
  • 1 tsp salt (adjust as per taste)
  • 2 dried red chillies
  • 1 bay leaf
  • 1 green chilli, finely chopped
  • 2 cardamoms
  • 1 inch cinnamon stick
  • 2 cloves
  • 2 cups finely chopped onions
  • 1 tbsp ginger-garlic paste
  • 2 cups pureed tomatoes
  • 1 tsp cumin powder
  • 1/2 tsp black pepper powder
  • 1 tsp coriander powder
  • 2 cups hot water
  • 3 tbsp whisked curd
  • 2 tbsp Kasuri methi
  • 1 tsp garam masala
  • Fresh coriander (chopped) for garnish [/ingredients]

[directions title=”Directions”]

  1. Boil water in a wide mouthed pot. Add salt to it and mix well.
  2. Once the water starts to boil, gently add six eggs to it (see video for reference).
  3. Boil the eggs for ten minutes and transfer to ice cold water. De-shell the eggs after ten minutes. Set aside.
  4. Heat mustard oil in a kadhai. Once it starts to smoke gently, add Kashmiri red chilli powder, turmeric powder and salt. Give it a good mix.
  5. Add the boiled eggs into the kadhai and fry on high heat till all of the them are golden brown and crispy. Fry the eggs uniformly and set them aside.
  6. Reduce the heat to low and temper the same oil with bay leaves, dried red chillies, chopped green chilli, cardamoms, cloves and cinnamon. Give it a quick stir.
  7. Add the finely chopped onions and cook for around five minutes till they turn translucent and start to brown.
  8. Throw in the ginger garlic paste and cook this for another five to seven minutes on medium to low flame till everything combines well and the rawness disappears.
  9. Once the onions and ginger garlic paste cook well, add the pureed tomatoes. Stir for two minutes.
  10. Season with cumin powder, coriander powder and black pepper powder. Mix well.
  11. Cover and cook on low flame for five to seven minutes.
  12. Take off flame and pour hot water. Mix well and let it come to a boil.
  13. Add whisked curd and kasuri methi to the boiling gravy. Mix well.
  14. Once you have achieved your desired consistency, add the fried eggs and boil for another two minutes.
  15. Garnish with freshly coriander. Serve hot with steamed rice. Enjoy!  [/directions]

egg curry

I hope you try this egg curry recipe super soon! If you have any doubts, comments, or feedback, please reach out to me in comments or my social media handles.

Instagram – www.instagram.com/slurrpilicious

Facebook – www.facebook.com/slurrpilicious

Youtube – https://www.youtube.com/channel/UCA-cJoo27OLSCswI4sy6lzA?

Happy cooking!
Roasted Bell Pepper Pasta

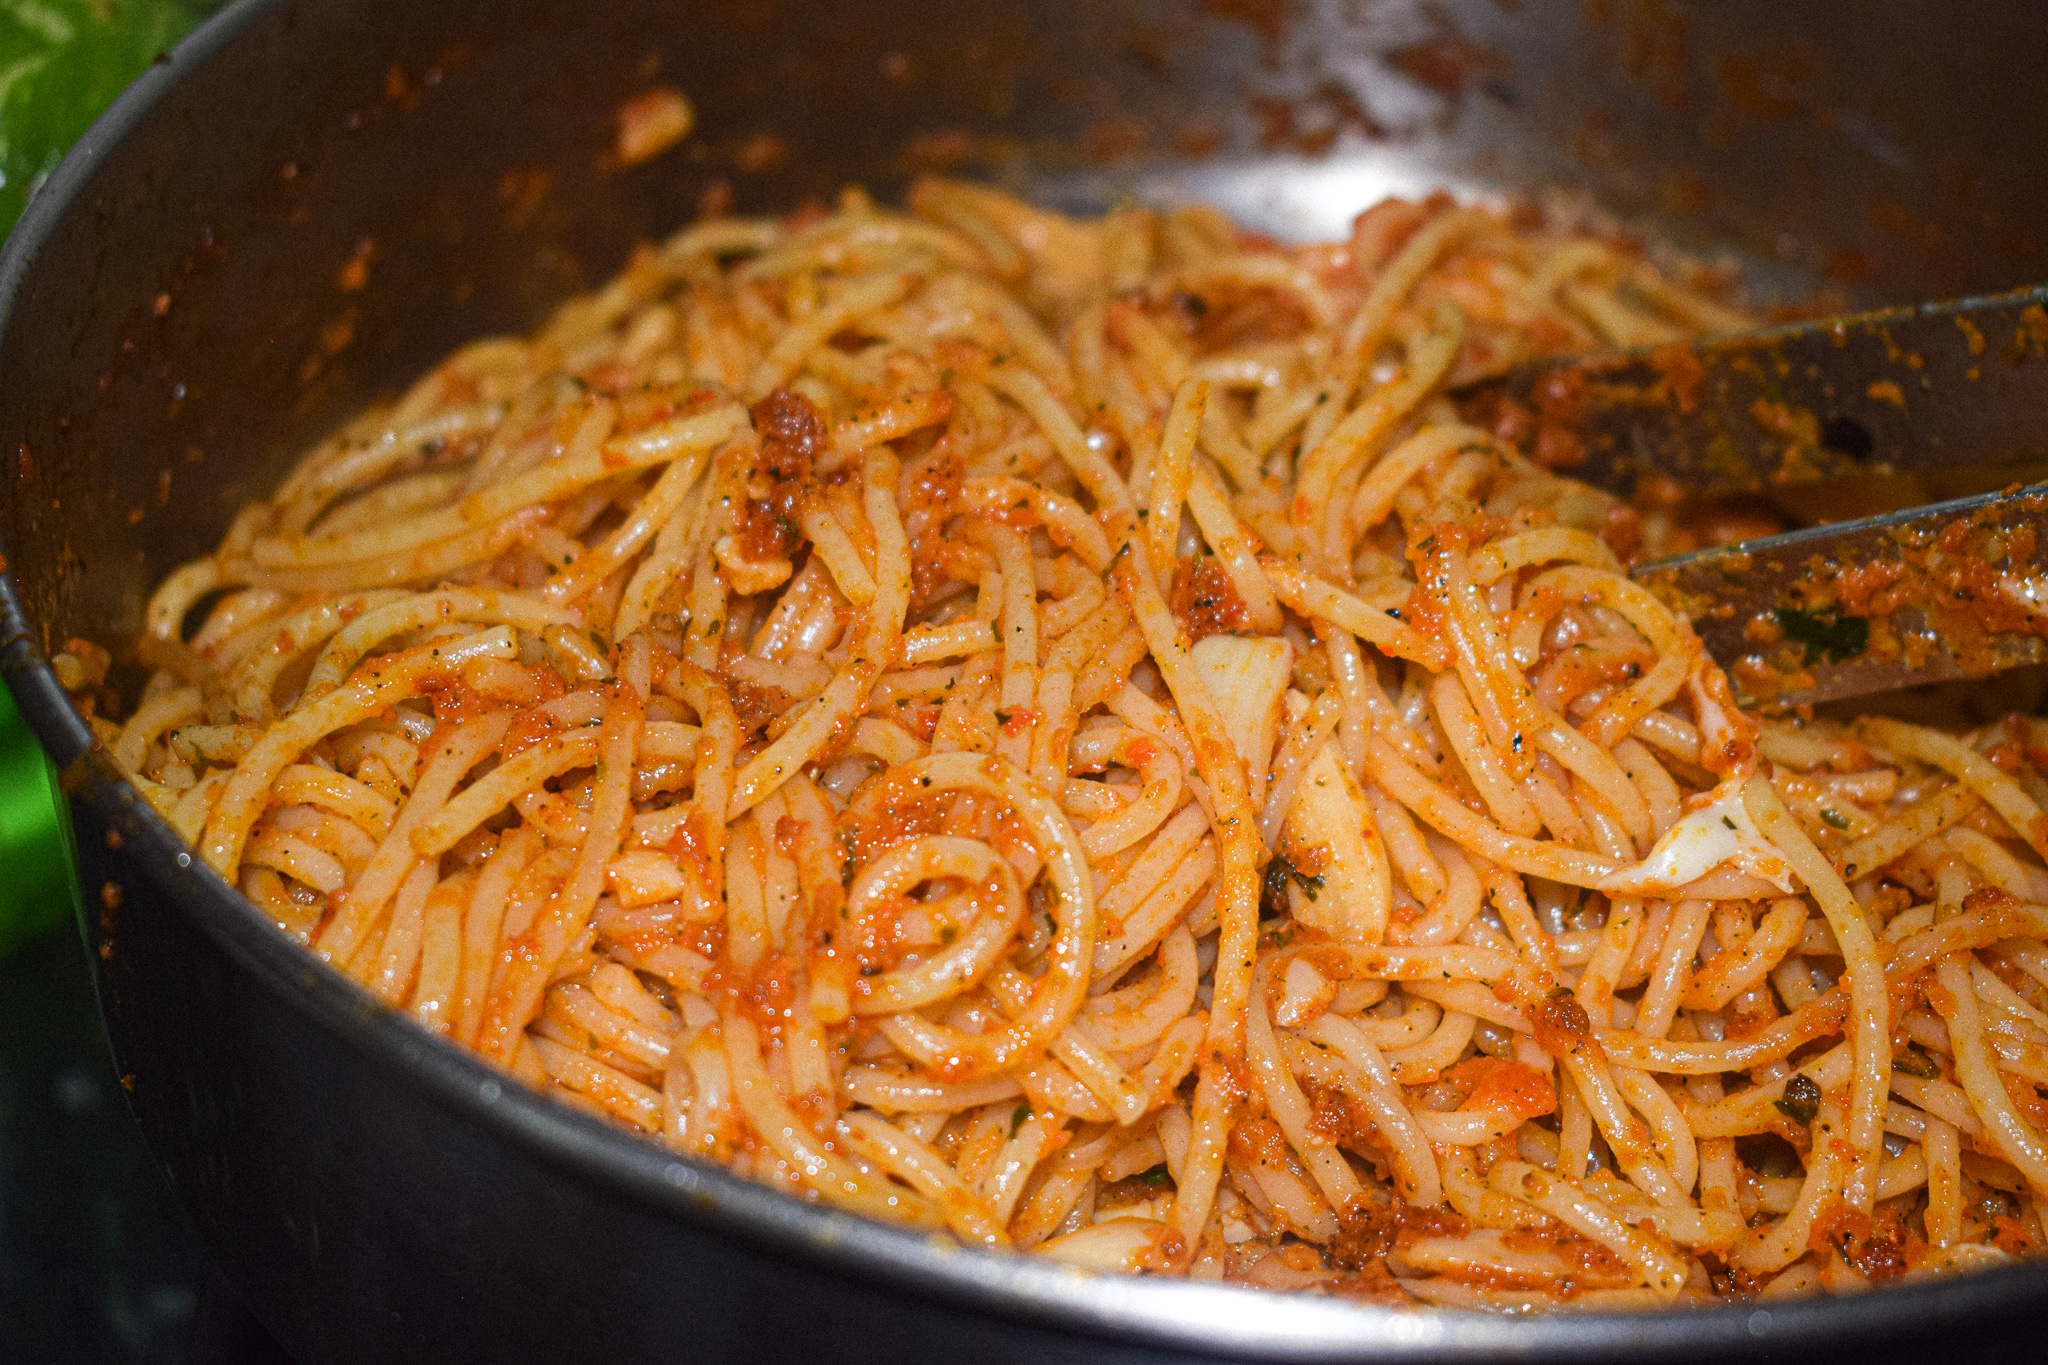
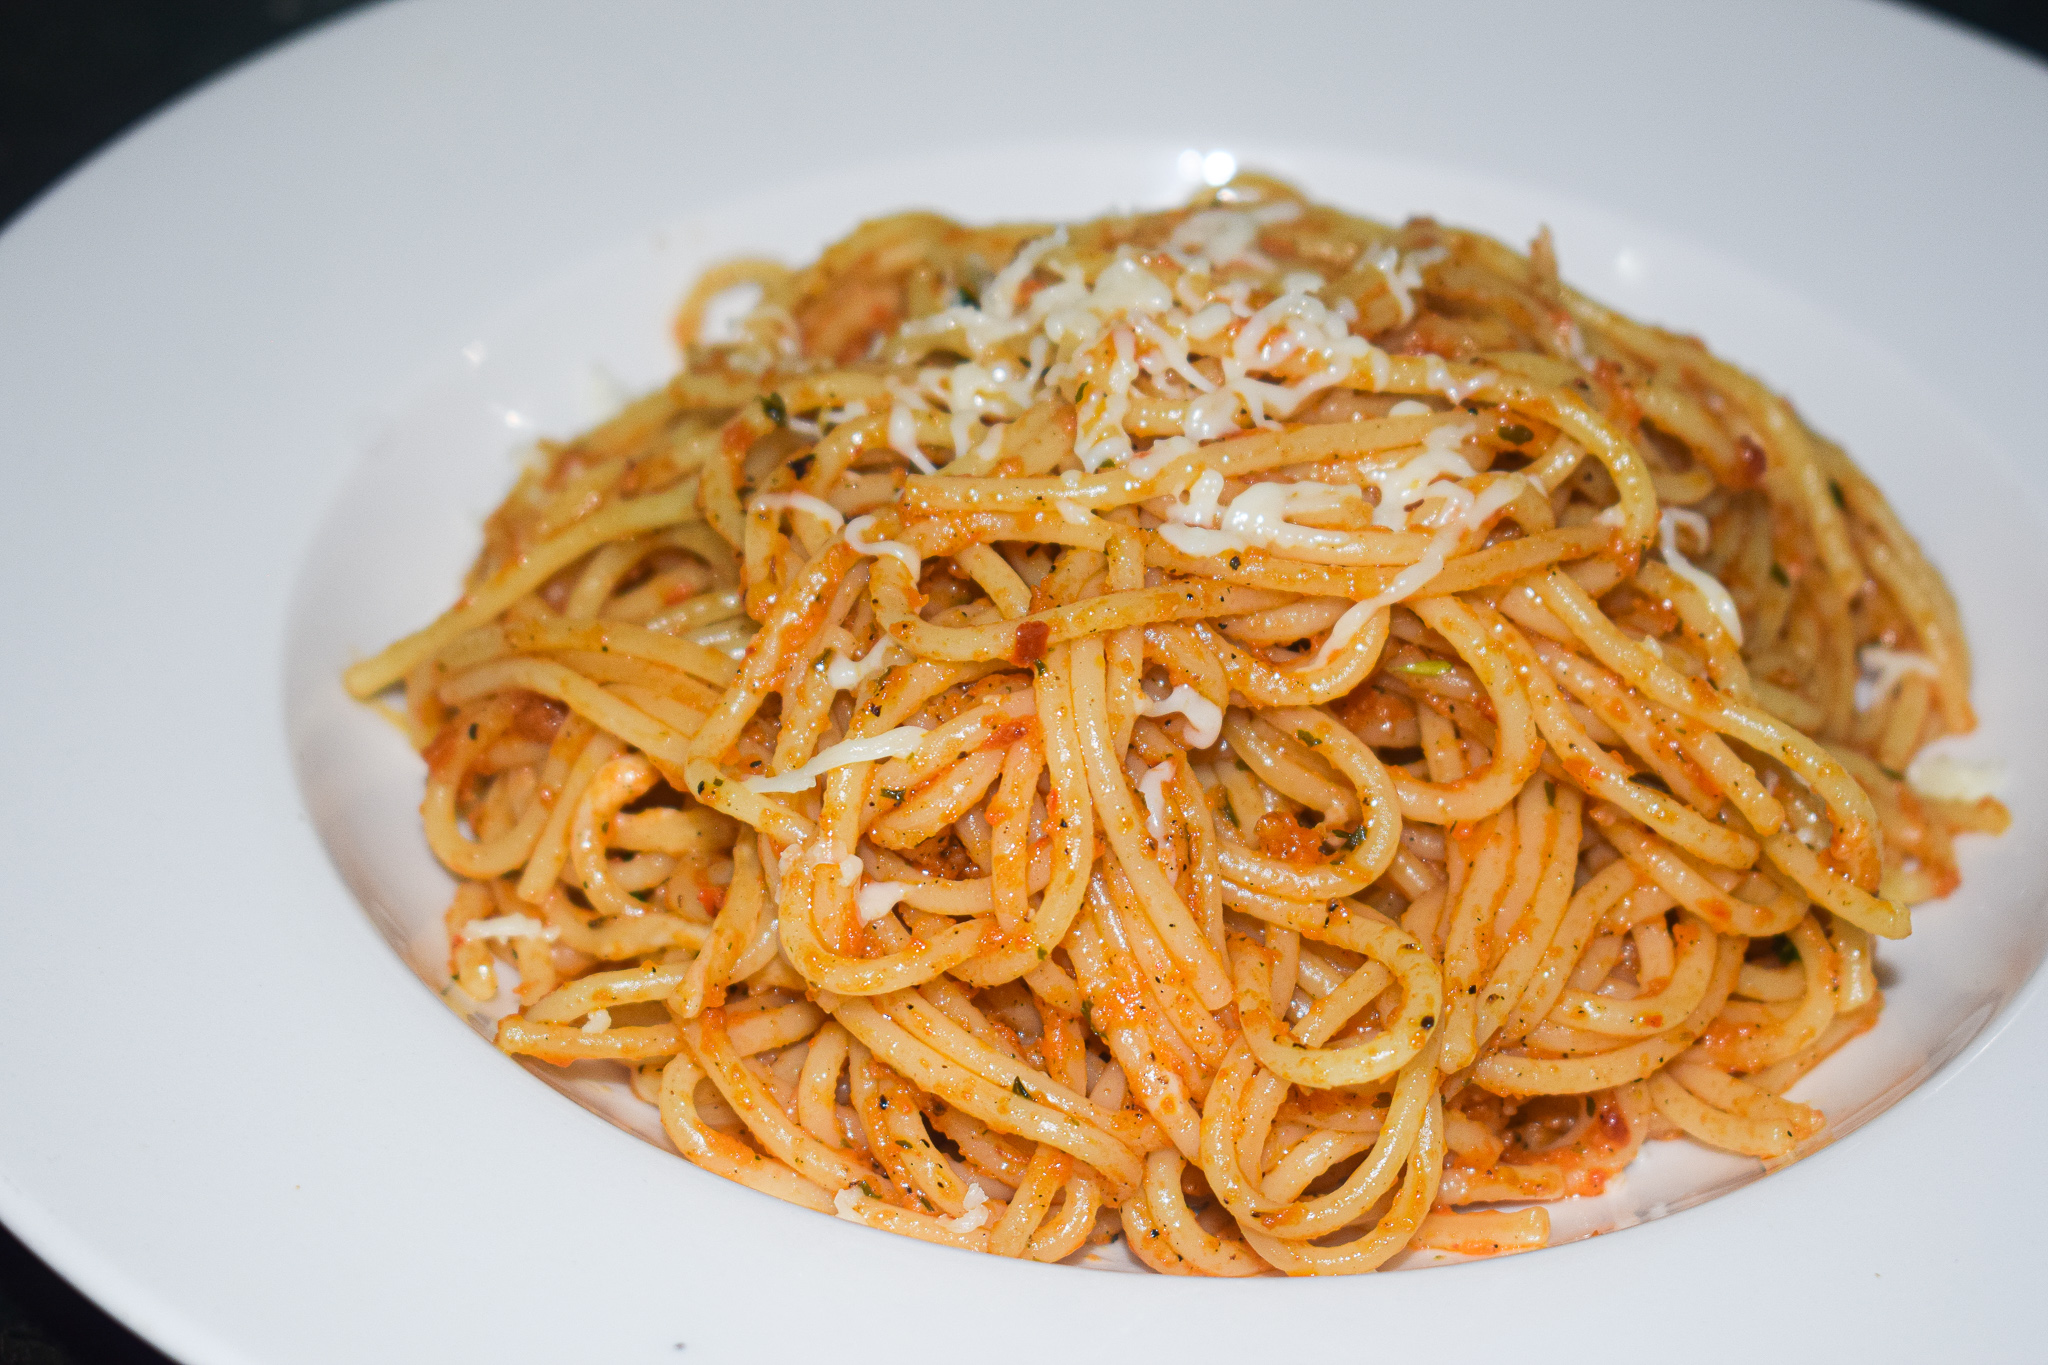
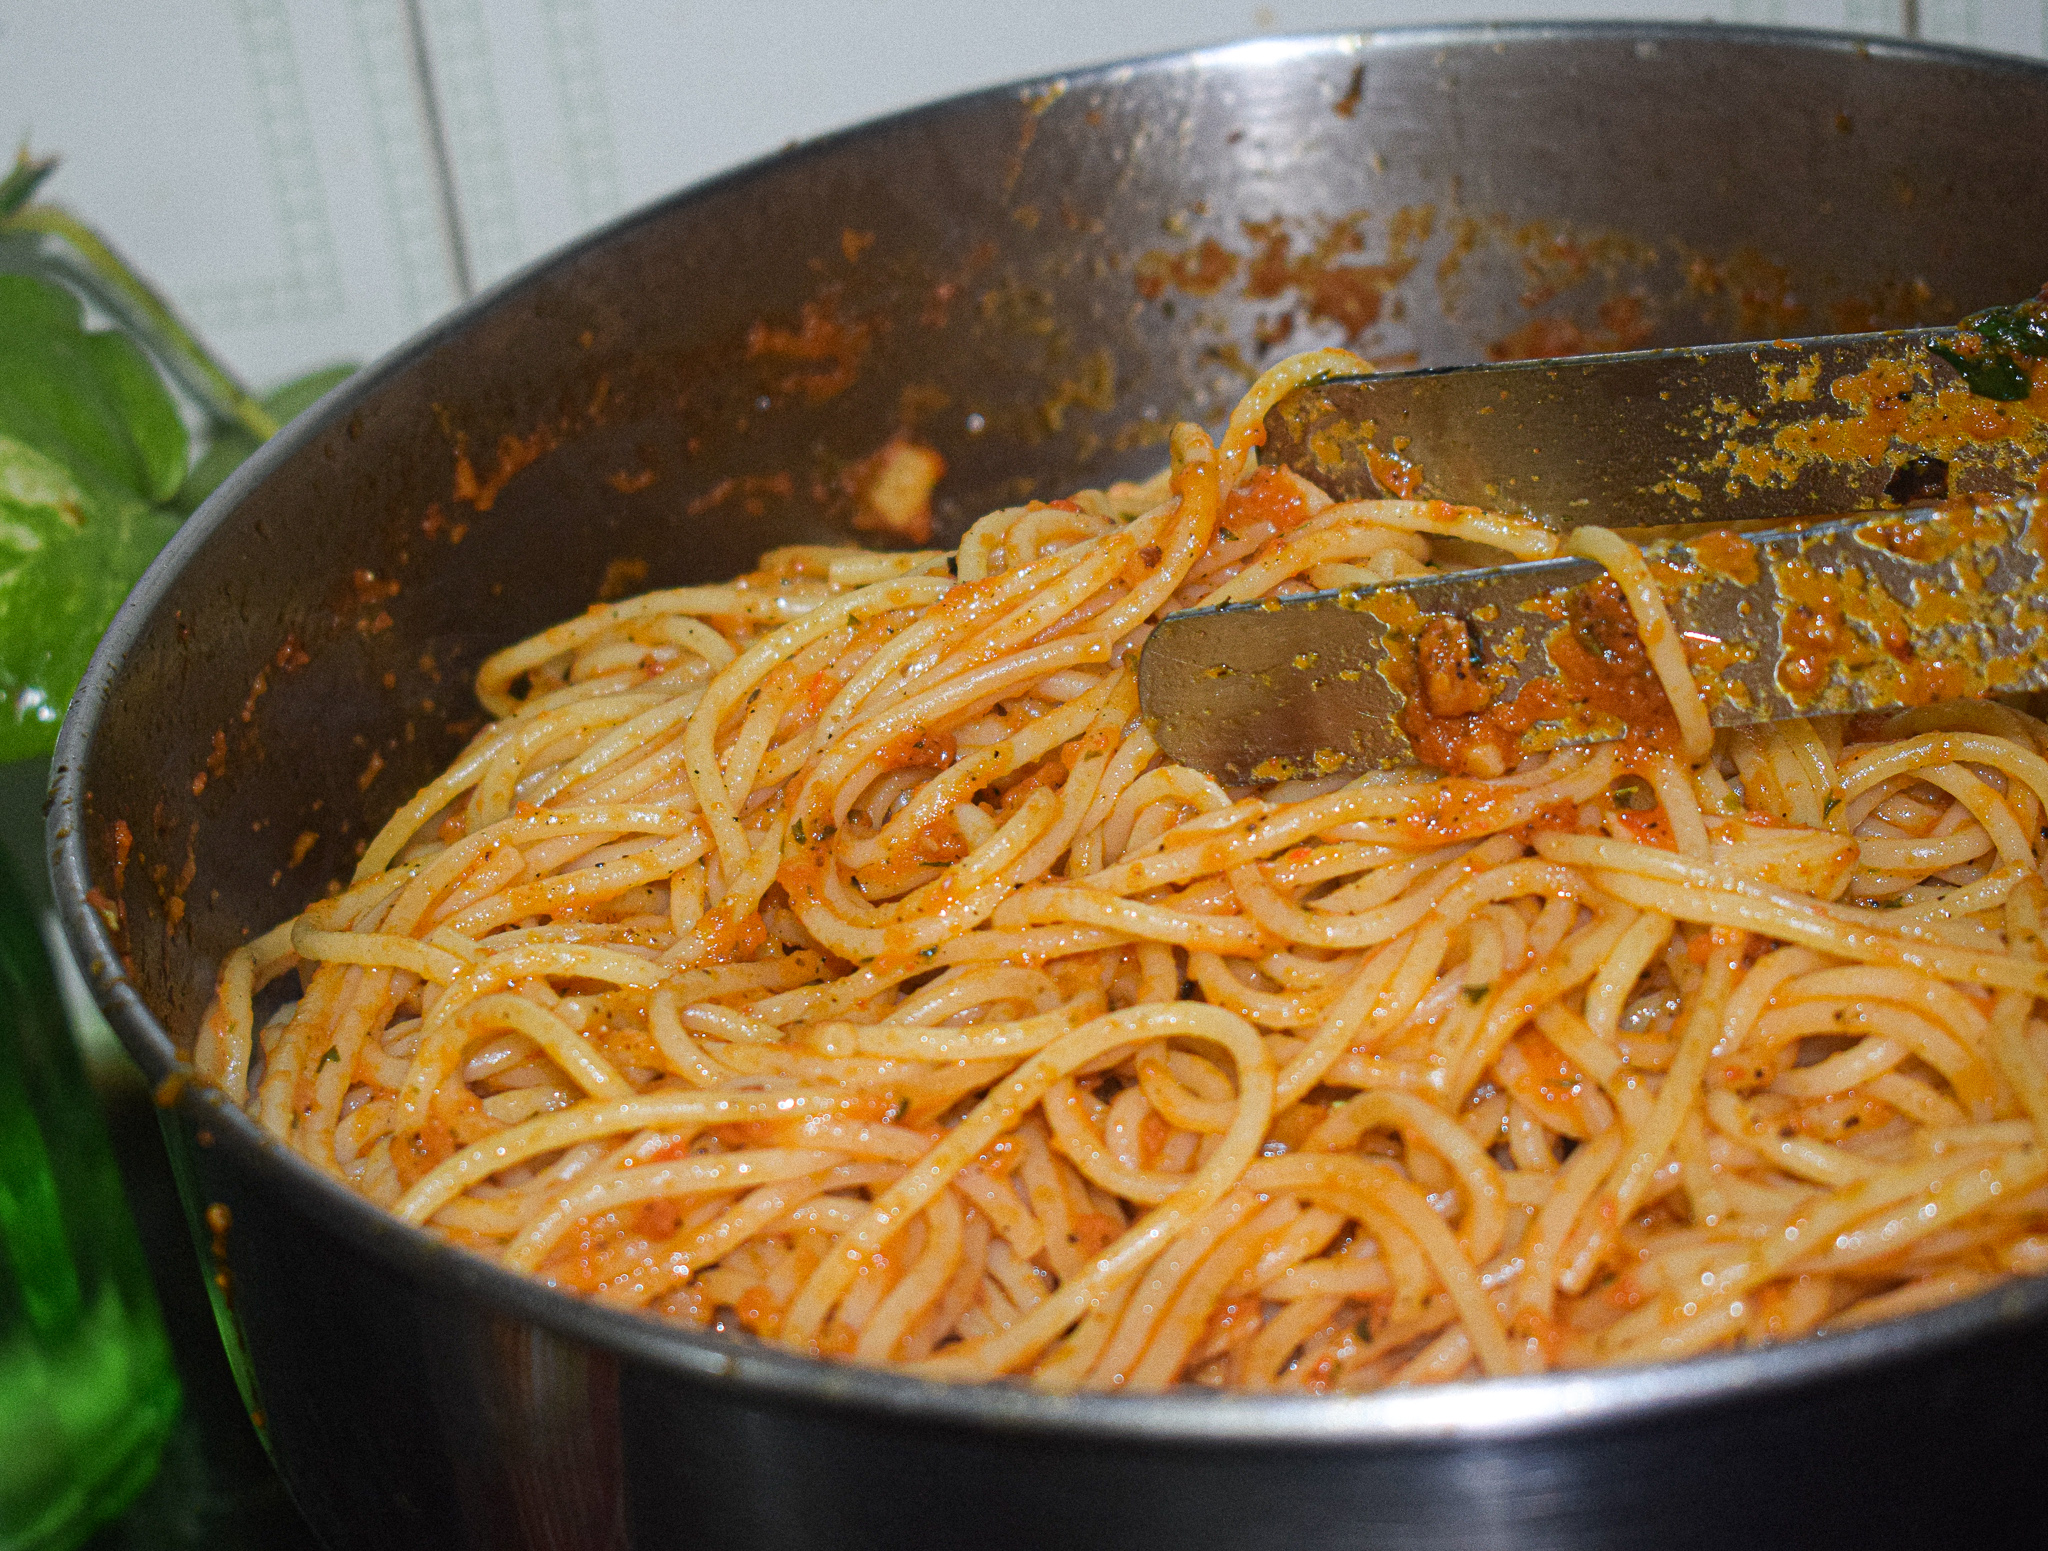
So the other day I had to use two bell peppers that were in my fridge. All of us at home wanted to eat some pasta so I thought of combining the peppers with some spaghetti. But it had to be interesting too. So I charred one each of red and yellow bell peppers on my gas stove, along with two tomatoes. I removed the seeds and the char and blended it all to a bright paste with salt. I started cooking the pasta in lots of salt and water by this time. I then put some olive oil and butter in a pan in very low heat, added lots of garlic and allowed it to cook together. The garlic released its oils into the butter and EVOO, filling my kitchen with an appetising aroma. I then added the blended roasted bell peppers and tomato sauce and cooked it on low flame will oil started to accumulate on the sides. And in went the al dente pasta, along with salted pasta water (the secret weapon to any great pasta).

roasted bell pepper pasta

roasted bell pepper pasta

For this recipe, I didn’t have any fancy cheese or fresh herbs, so I added whatever I had – Amul cheese blocks grated on top and dried herbs (it was the second week of Lockdown). Chilli flakes is a must! Well, all I can say is we licked everything off our plates and the effort was worth it. I hope you try this recipe to see what I’m talking about. Also, special thanks to the husband who has been helping me with all the pictures. Be prepared to see some of me in the coming days 😀

roasted bell pepper pasta

Here’s the recipe:

Preparation time – 30 minutes

Cook time – 30 minutes

Serves – 4

[ingredients title=”Ingredients”]

  • 1 red bell pepper
  • 1 yellow bell pepper
  • 3 medium sized tomatoes
  • 300 g spaghetti
  • Salt to taste
  • 3 tbsp extra virgin olive oil
  • 20 g butter (1 1/2 tbsp approx)
  • 8-10 garlic cloves, thinly sliced
  • 1 tbsp dried basil/fresh Italian basil leaves
  • 1 tbsp dried Oregano
  • 2 tsp chili flakes
  • 1 tbsp black pepper powder
  • Fresh herbs, if any (basil/cilantro)
  • Grated cheese [/ingredients]

[directions title=”Directions”]

  1. Wash the bell peppers tomatoes and pat them dry with a kitchen towel or cloth. Rub oil on them. Char them directly on fire till they blacken. Let them cool down.
  2. Once cooled down, remove the blackened parts of the bell peppers and tomatoes. Don’t worry if a few tidbits are left. De seed the bell peppers and roughly chop them with a knife. Do the same with the tomatoes.
  3. Blend all the vegetables together to a fine and thick paste.
  4. Heat water in a wide mouthed pot. Allow it to boil. Add enough salt to it so that it tastes saline.
  5. Cook the spaghetti in this pot as per package instructions till al dente. Reserve some of this hot and starchy pasta water for later use.
  6. While the pasta is cooking, start the sauce simultaneously. Heat olive oil and butter in a skillet on very low heat. Add the thinly sliced garlic and let it cook slowly. Let the garlic release its aroma and juices into the oil.
  7. Once the butter starts to brown and the flavour of the garlic is assimilated into the oil, add the blended bell pepper and tomato puree. Stir on high heat for two to three minutes.
  8. Season with dried basil, oregano, salt, black pepper powder and chilli flakes. Mix well.
  9. Cover and cook on low flame for seven to eight minutes till the oil starts to release from the sides.
  10. Add the cooked spaghetti into the sauce along with a ladle or two of reserved pasta water. Mix well on low flame till it all comes together. Add more starchy water if required. It helps keep the noodles soft and glazy.
  11. Garnish with any fresh herbs of choice like basil, parsley or cilantro.
  12. Garnish with grated Parmesan cheese (or cheddar if you’re out of Parmesan) [/directions]

roasted bell pepper pasta

roasted bell pepper pasta

I hope you try this delicious roasted bell pepper pasta super soon! If you have any doubts, comments, or feedback, please reach out to me in comments or my social media handles.

Find me on Instagram – www.instagram.com/slurrpilicious

Find me on Facebook – www.facebook.com/slurrpilicious

Find me on Youtube – https://www.youtube.com/channel/UCA-cJoo27OLSCswI4sy6lzA?

Happy cooking!
Tomato Chicken Curry | Dinner Recipes

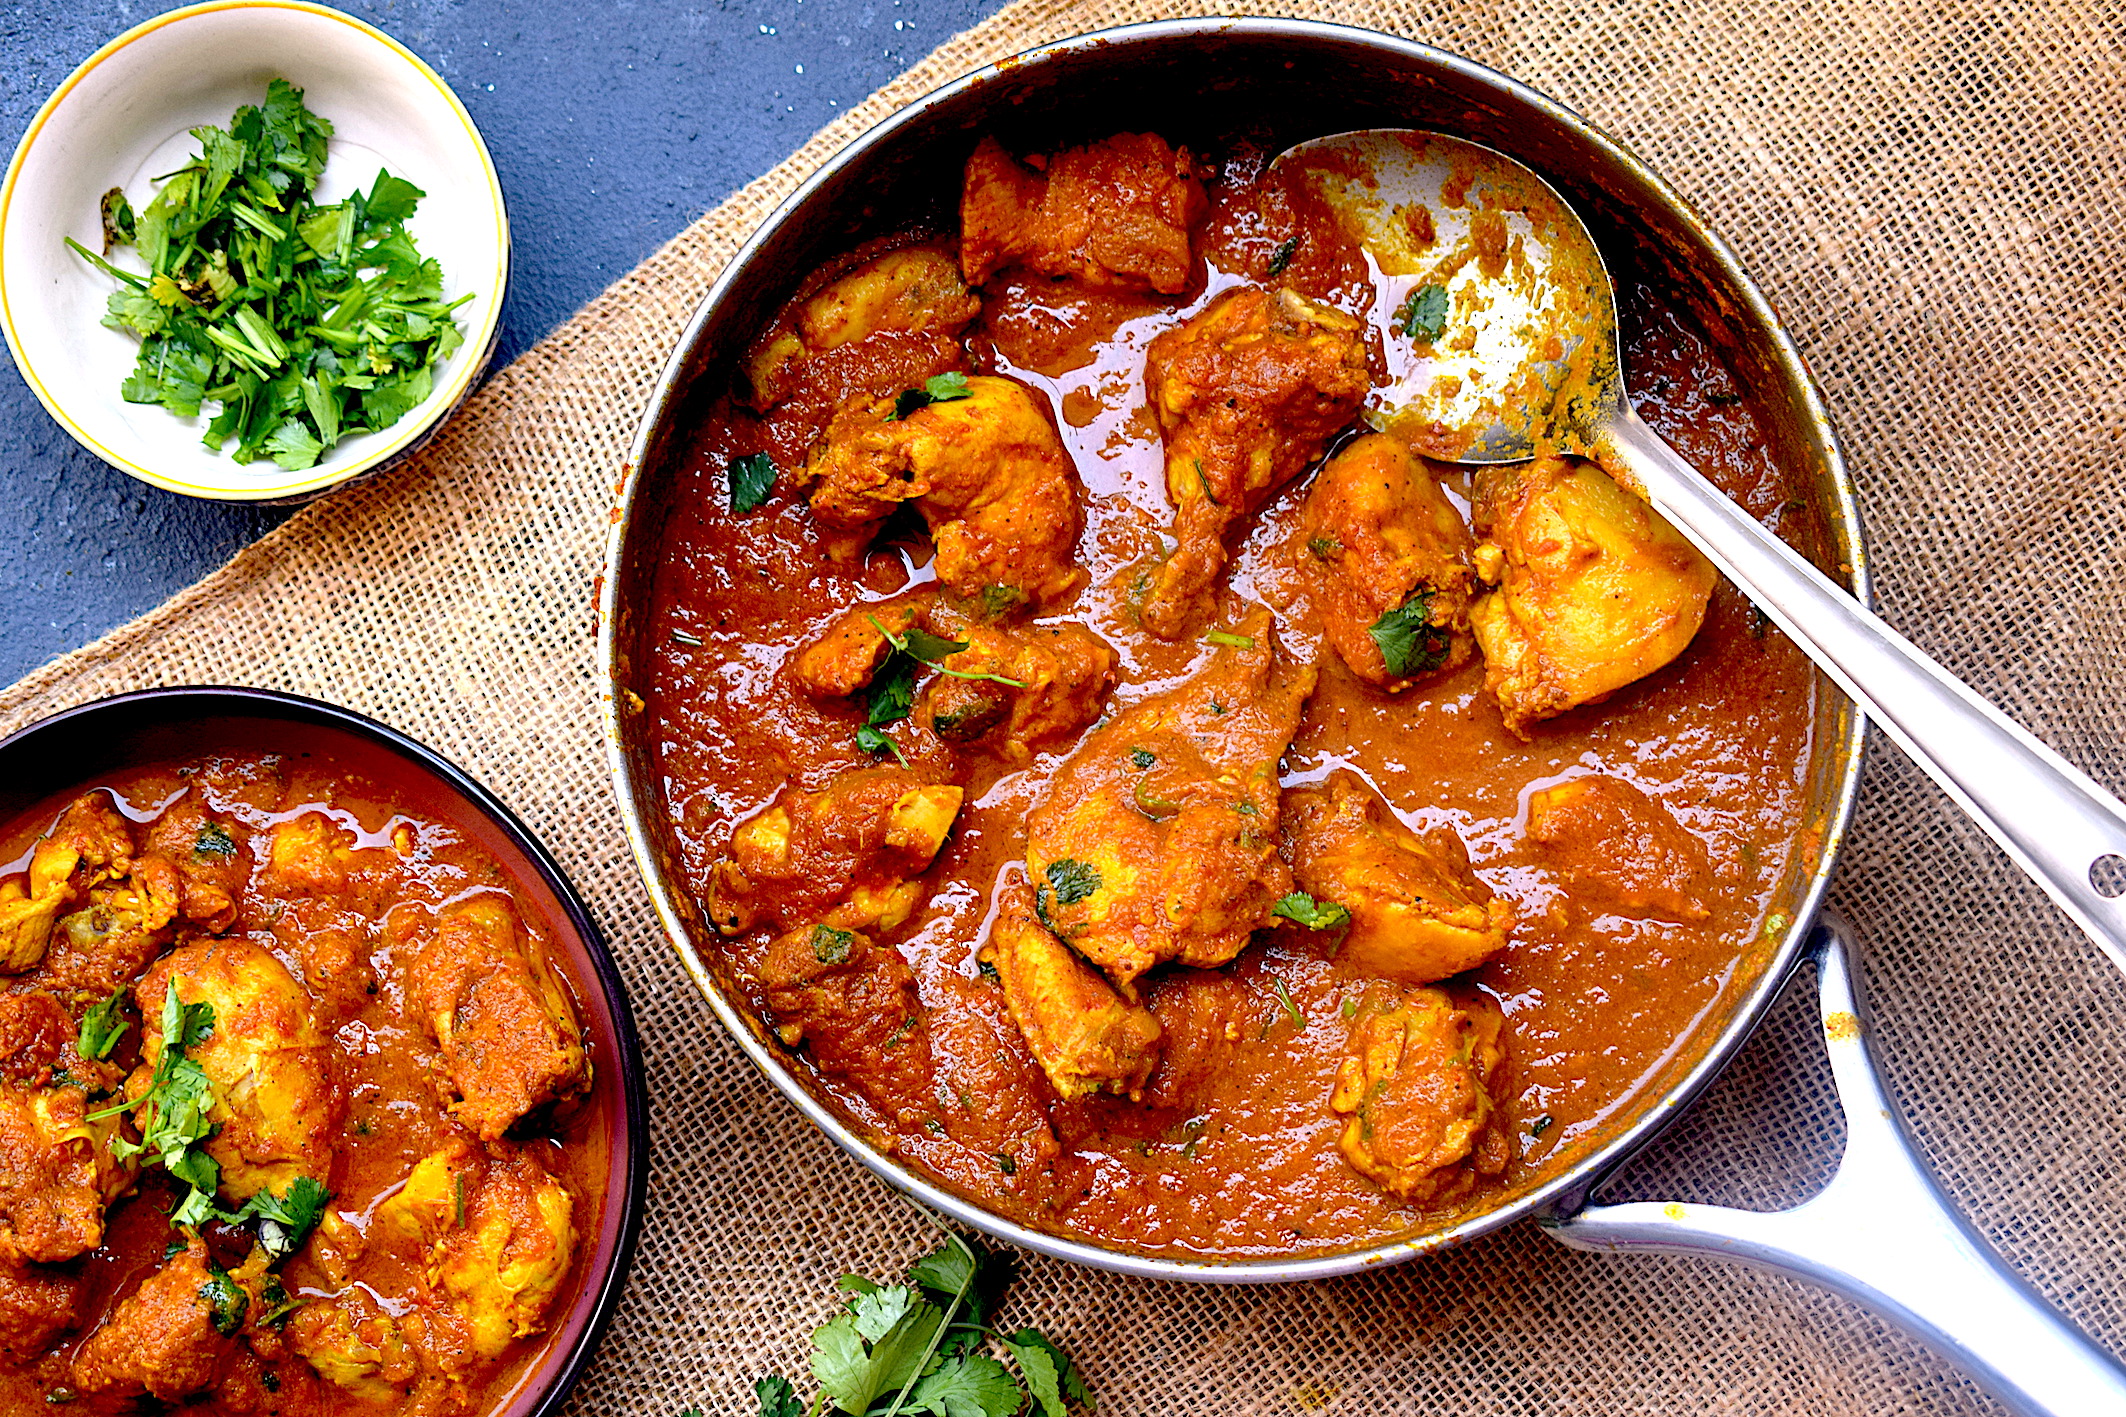
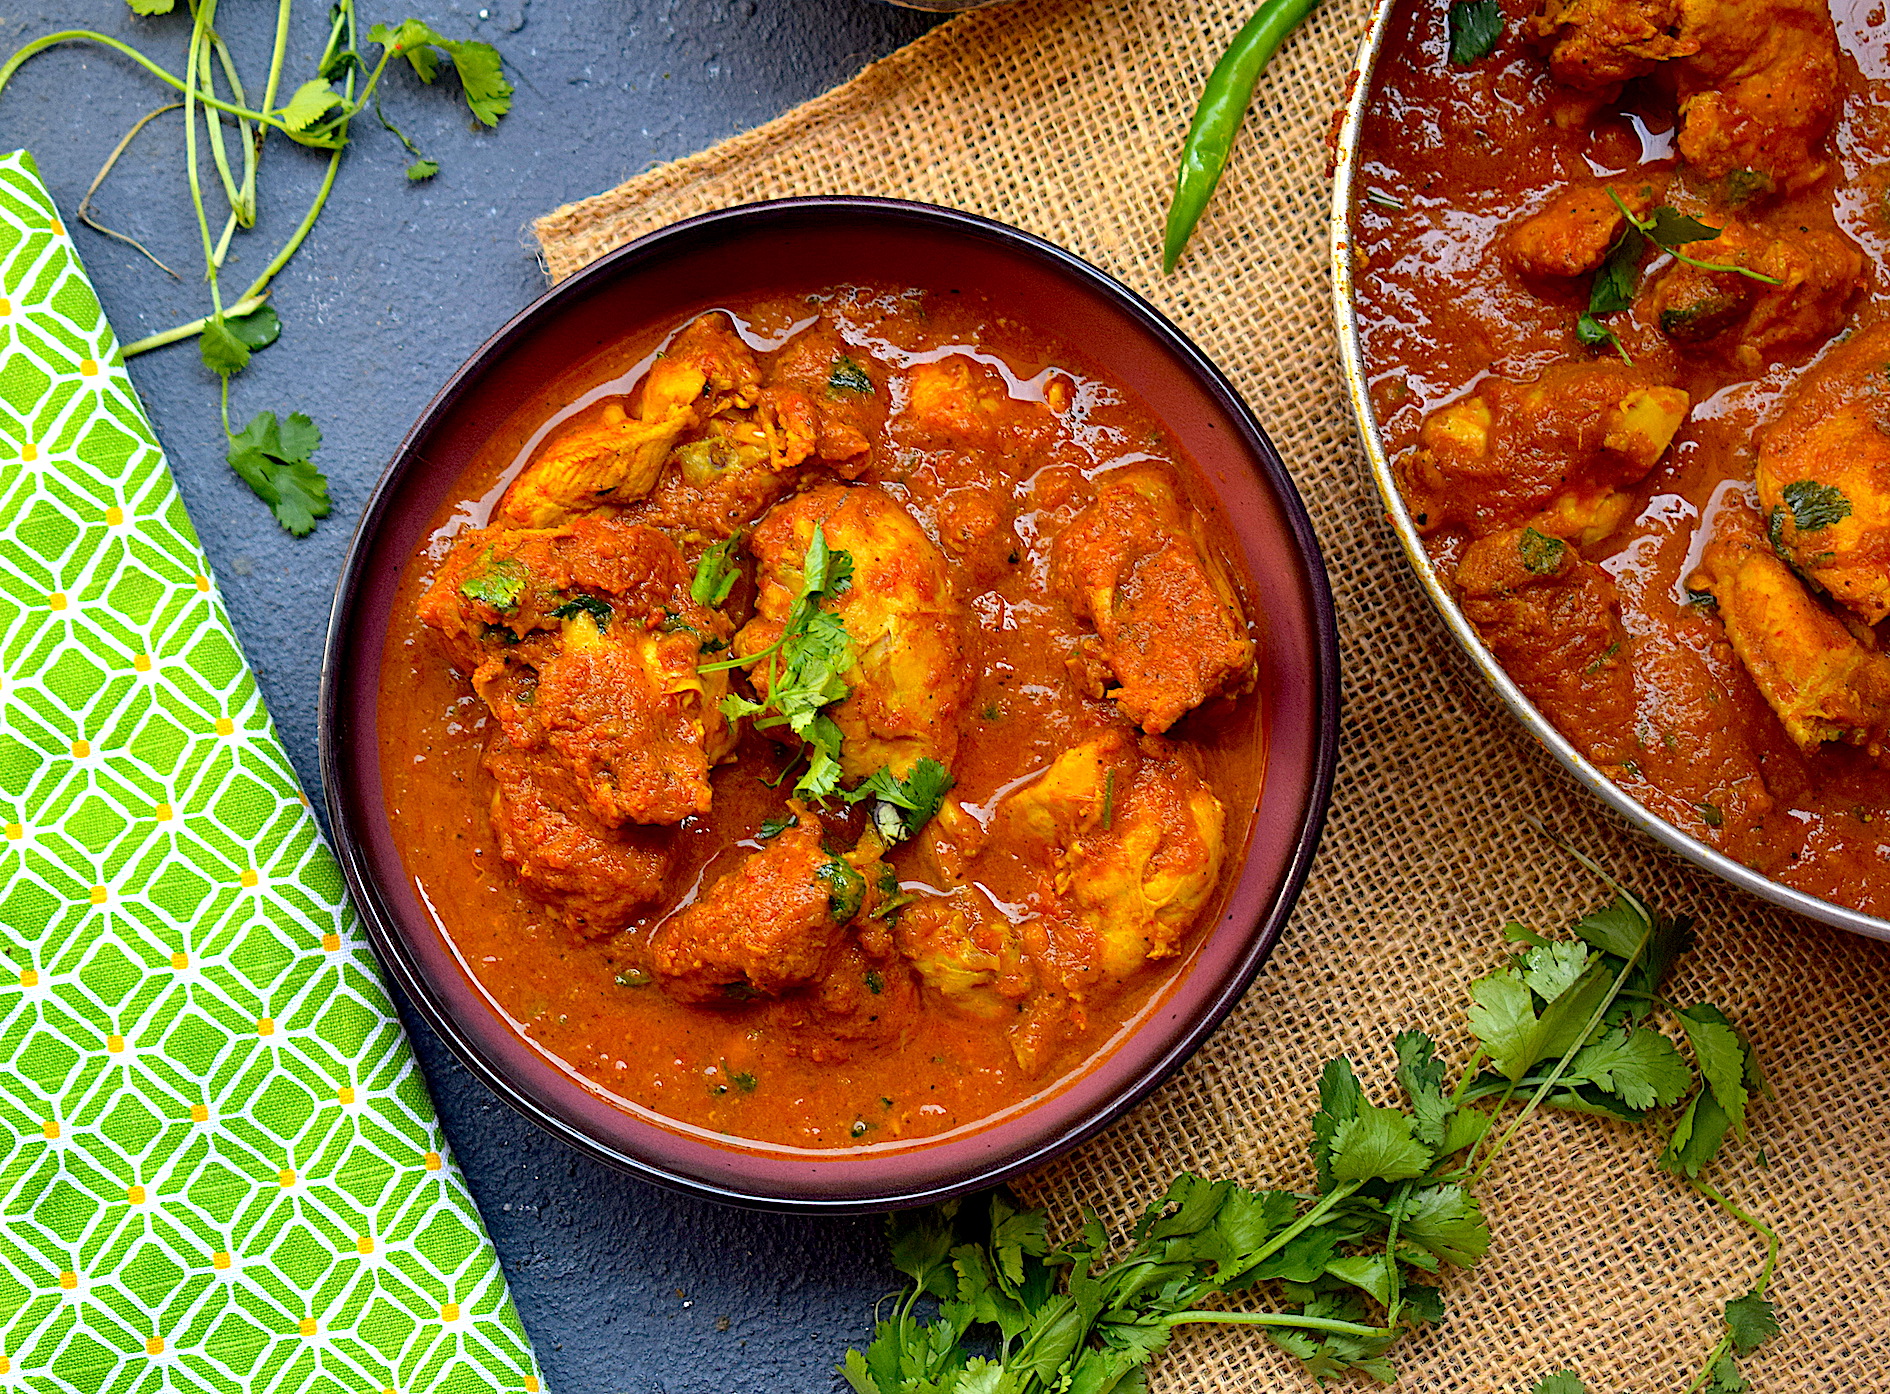
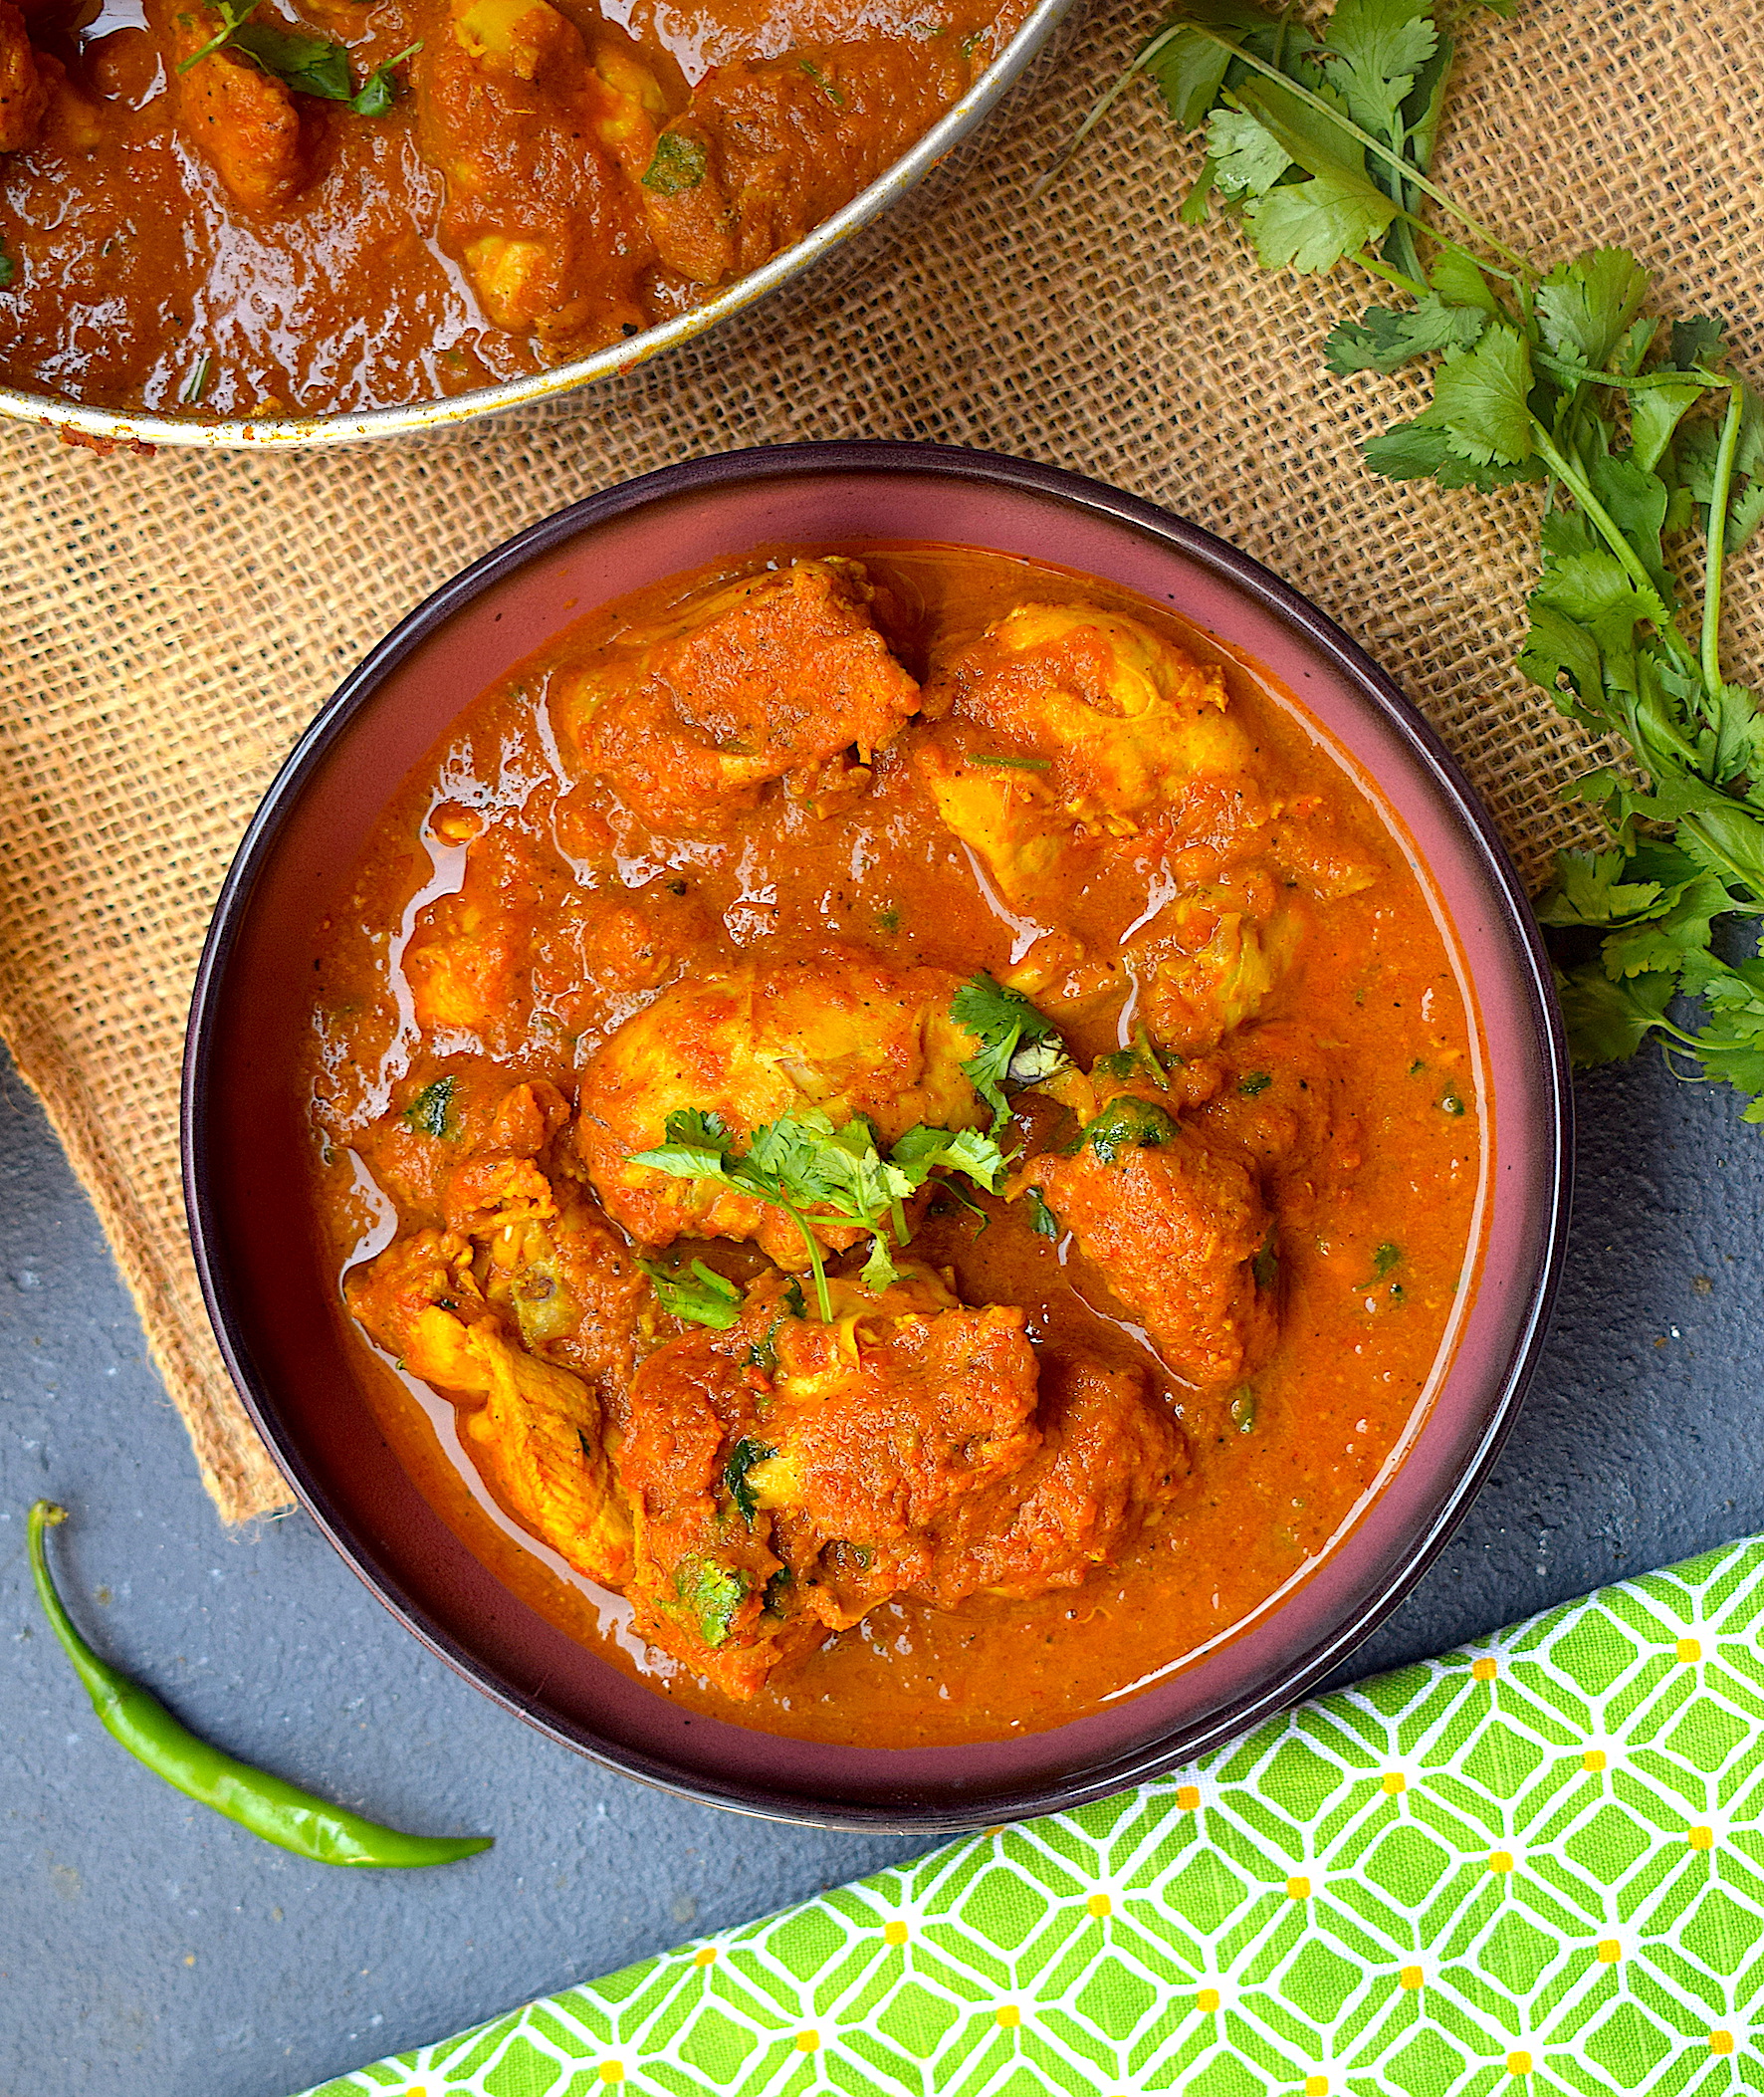
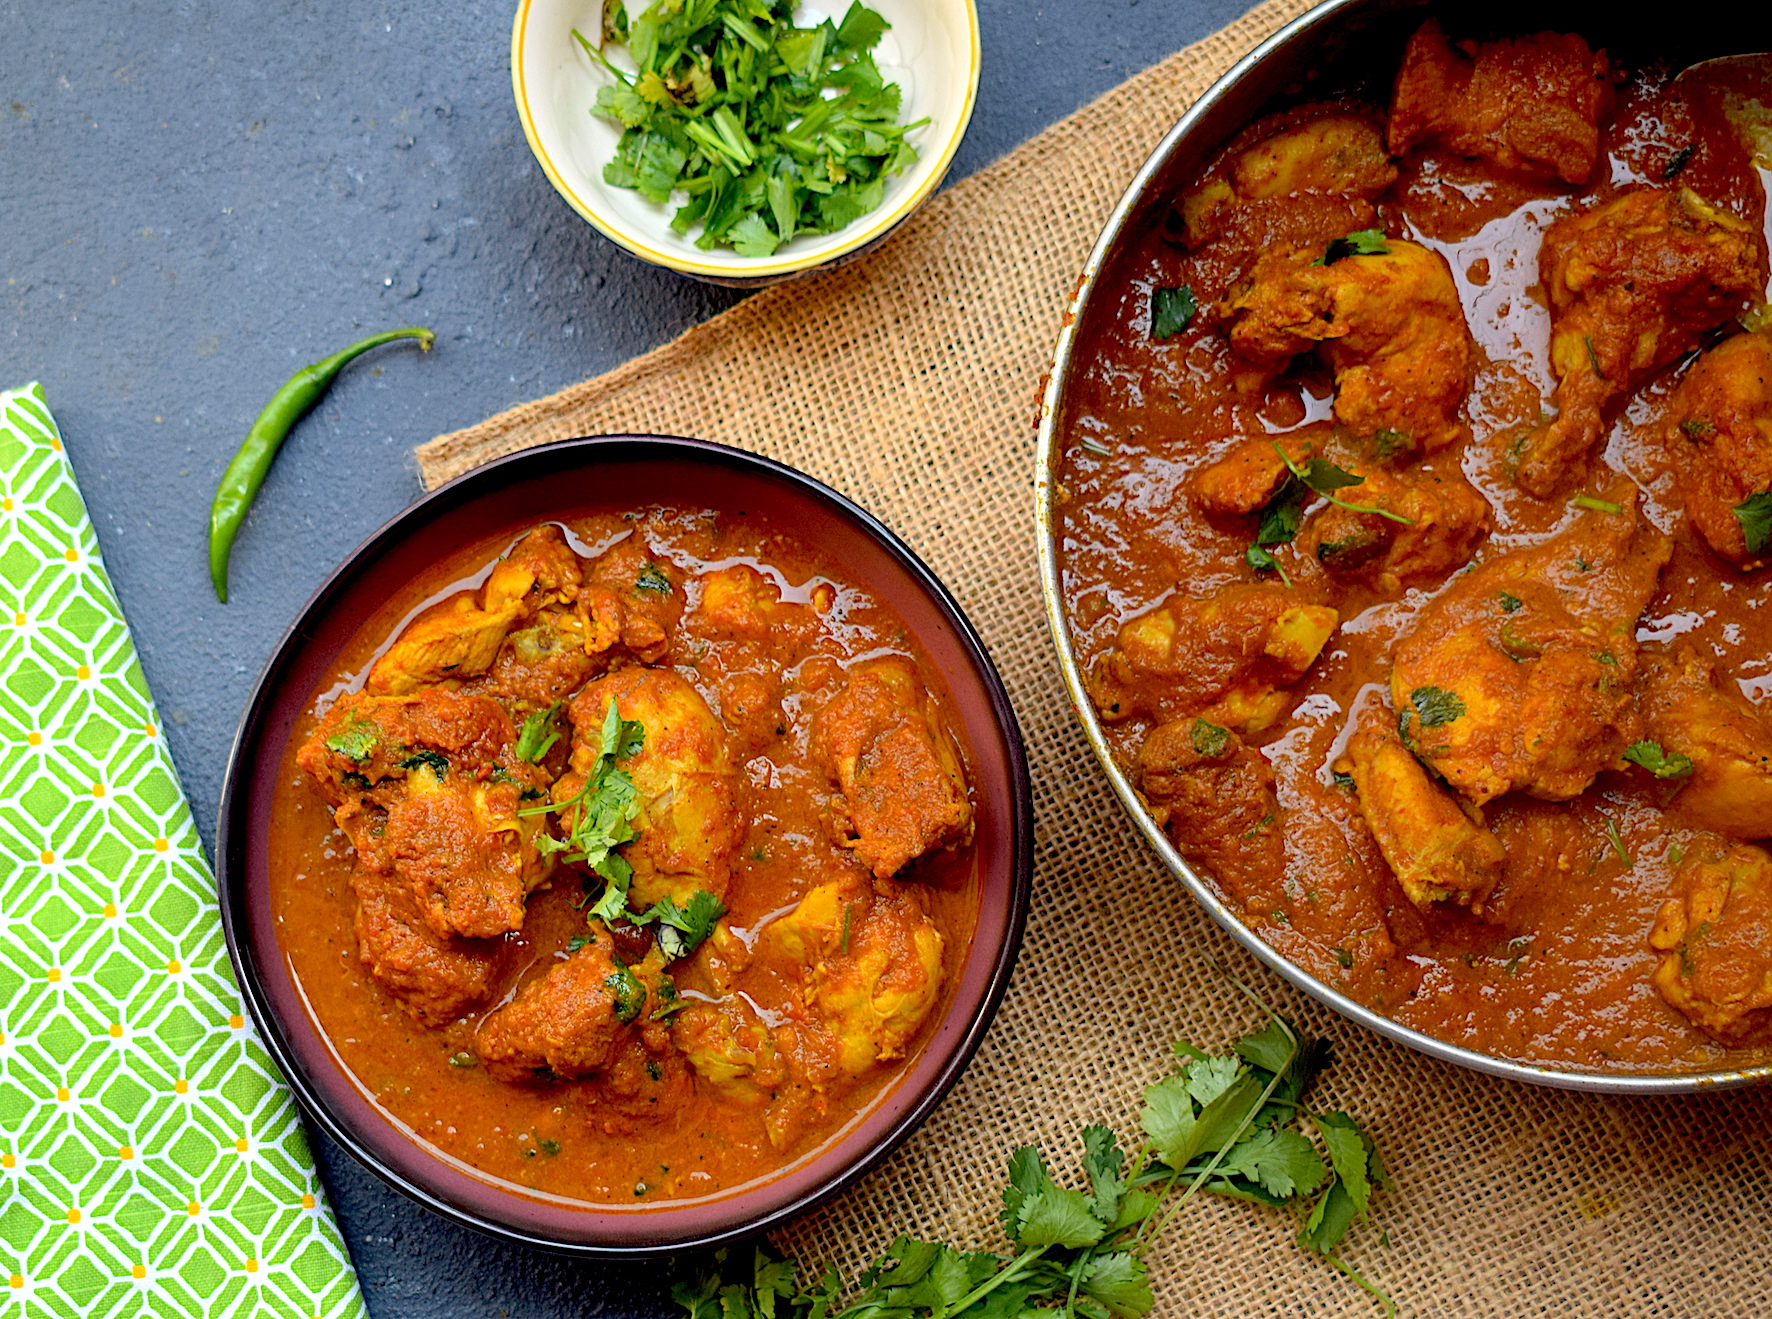
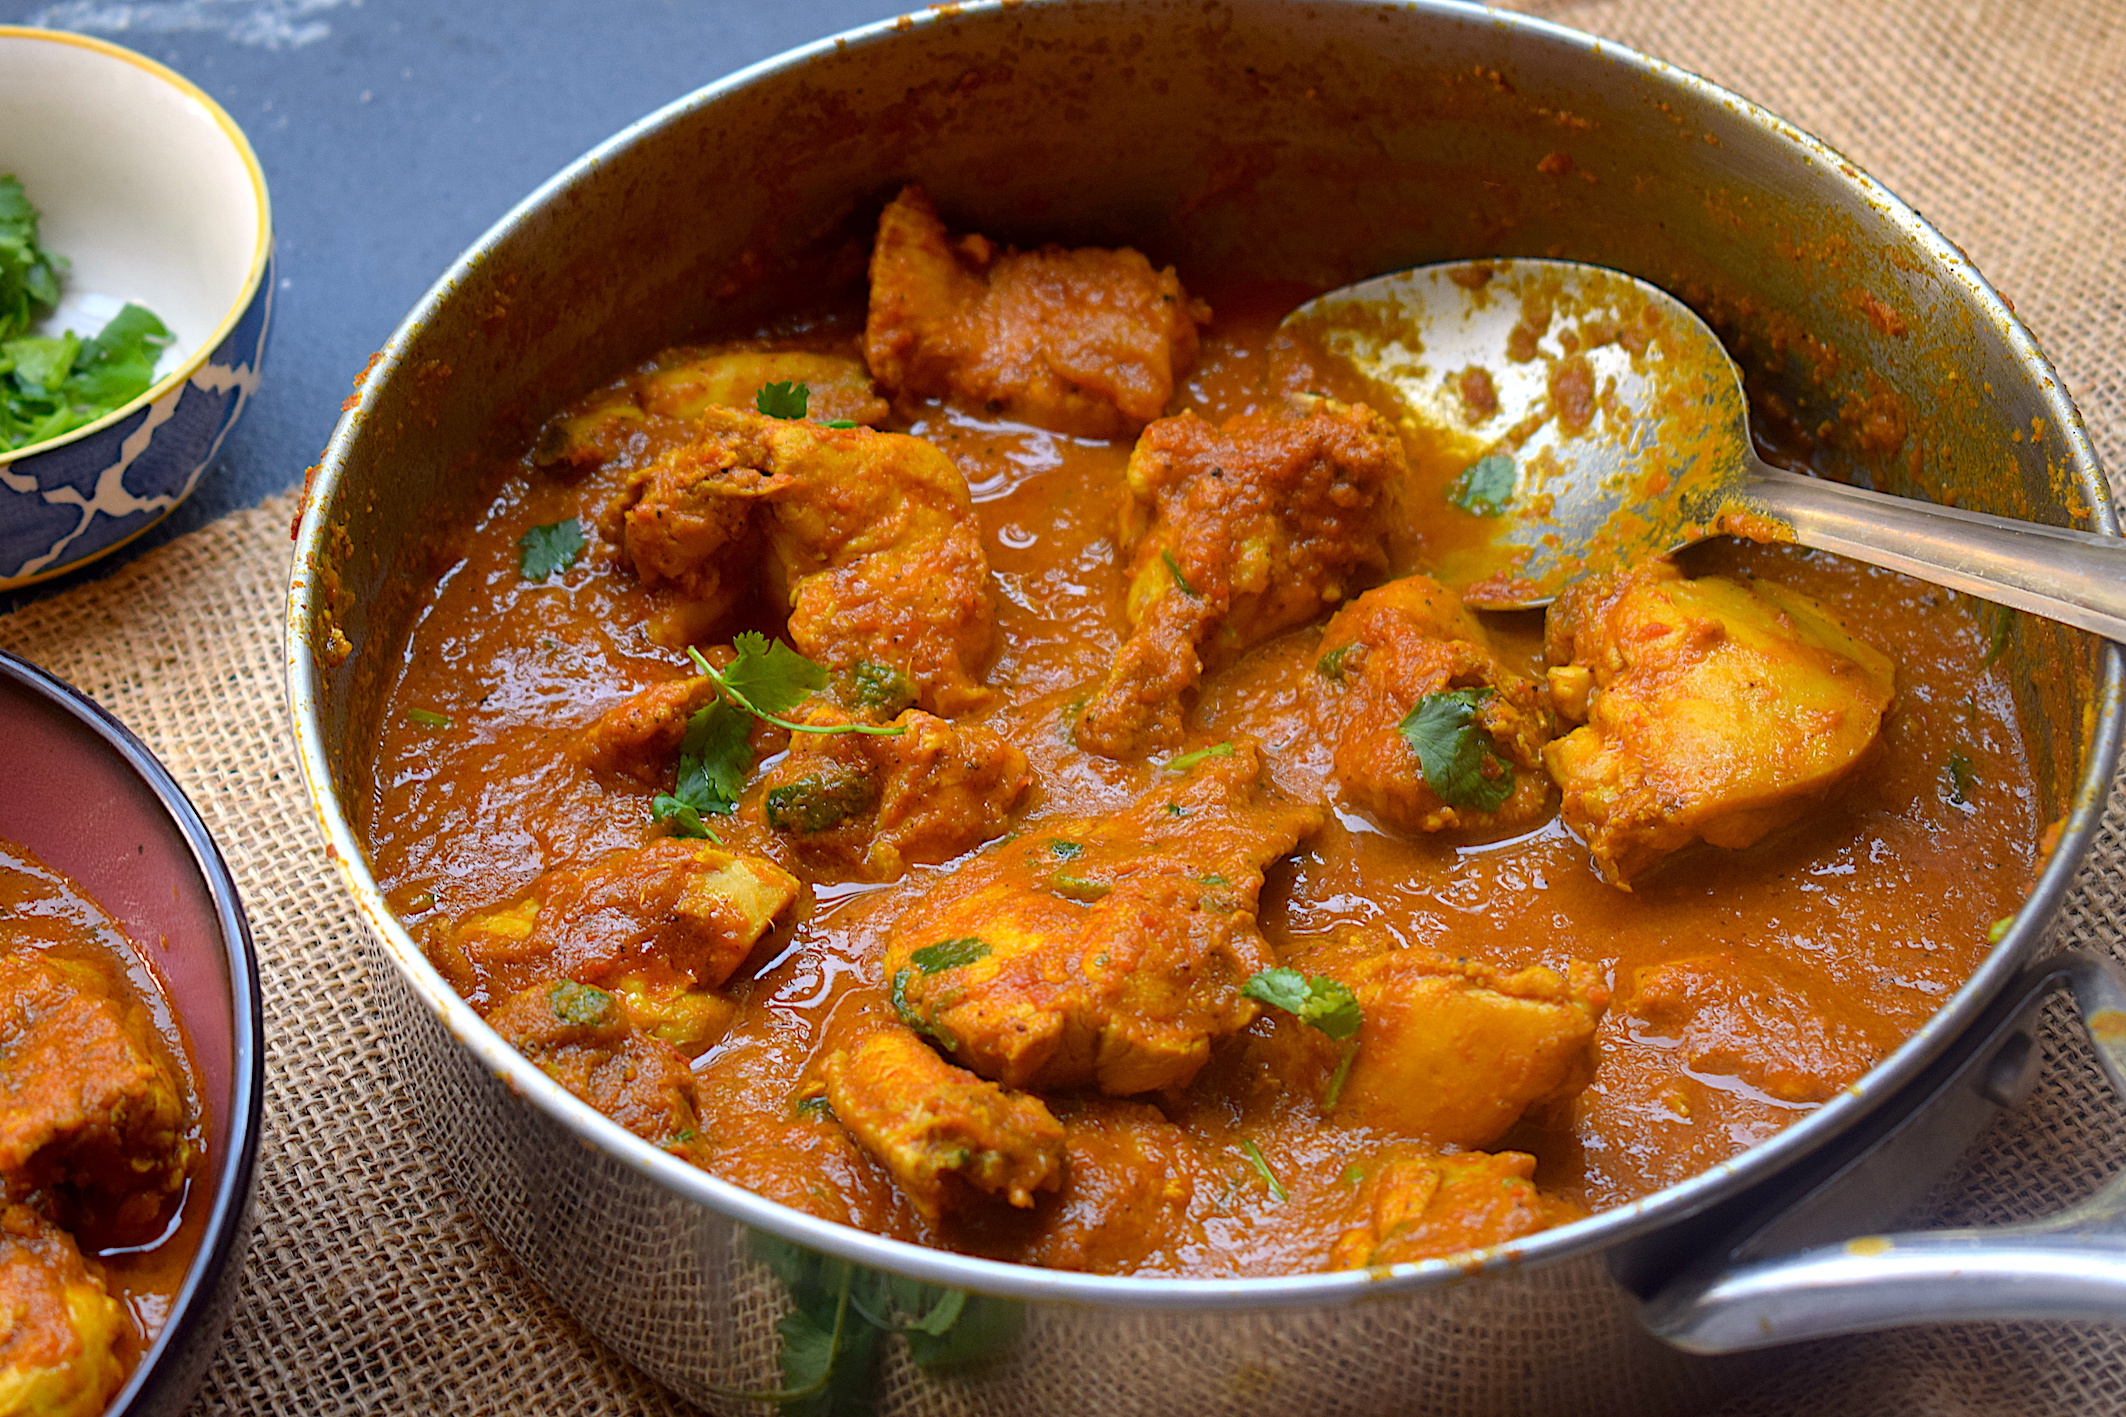
There are certain kinds of recipes that stay your favorite all life. They evoke memories, take you back to happier times and definitely make your meal special. This simple chicken curry holds that kind of significance for me.

It is one of the most comforting recipes that I love whipping up every now and then in my kitchen. This recipe is easy, takes a little bit of patience, and comes together as a gorgeous combination with rice and parathas. Just like everyone has their own version of homemade chicken curry, this one is mine. And it never disappoints!

chicken curry

chicken curry

The main difference in this chicken curry comes from everything being used in its paste form. This mainly means that you have to cook the onion and tomato paste for a tad longer than usual, making sure it is cooked through to make way for a rich gravy. And it tastes best that way. The highlight, of course, is the fresh tomatoes which add lots of flavor, texture, and color to the chicken gravy.

chicken curry

chicken curry

The curd or yogurt is also a common man’s addition to make any gravy taste and look royal. I have used curd here as well, the thickest kind you can find around you. Please do not opt for “slim” or “toned” versions of dairy, because full fat is what we need!

Preparation time – 20 minutes

Cook time – 40 minutes

Serves – 3-4 people

[ingredients title=”Ingredients”]

  • 1 kg of chicken
  • 4 tbsp mustard oil
  • 3 medium onions, ground to a paste
  • 4 medium tomatoes, ground to a paste
  • 1 tbsp fresh ginger garlic paste
  • 1 tsp cumin powder
  • 1 tsp coriander powder
  • 1 tsp turmeric powder
  • 1 tsp black pepper powder
  • 100 g thick curd
  • 1 tsp garam masala
  • 500 ml hot water
  • 2 green chilies
  • Chopped coriander for garnish
  • Salt to taste [/ingredients]

[directions title=”Directions”]

  1. Wash and pat dry the chicken pieces with a kitchen towel. Set aside.
  2. Heat mustard oil in a pan. Once it starts smoking and turns into a pale yellow color add the onion paste. Saute for about eight minutes on medium flame till the raw aroma of the onion disappears and the water from it evaporates.
  3. Add the fresh ginger garlic paste to the onions and saute for two to three minutes.
  4. Once the onions and ginger garlic cooks, add the fresh tomato paste. Saute this till all the water from the tomato reduces and a thick paste gets formed. This step is absolutely crucial otherwise you will have a curry with raw tomato smell.
  5. Season with salt, cumin powder (jeera), black pepper powder, turmeric powder, and coriander powder. Mix well till the spices completely assimilate with the rest of the ingredients in the masala.
  6. Once the tomato forms a thick paste and is completely cooked, add the chicken pieces. Saute the chicken pieces gently mixing it into the tomato and onion masala. Make sure every part of the chicken gets assimilated well with the masala. Stir for five to seven minutes till chicken starts to cook.
  7. Pour in hot water into the masala and stir well. Cover and cook this on a medium flame for twenty minutes.
  8. Take the lid off and check if the consistency of the gravy is at your desired level. Based on the consistency you want, you can let the curry simmer for more or less time.
  9. Add garam masala and fresh coriander leaves for garnish. Serve hot with rice, pulao or flaky parathas! [/directions]

chicken curry

If you want regular access to more such delightful food, you can follow me on Facebook, Instagram, Twitter, and YouTube.

Happy cooking!