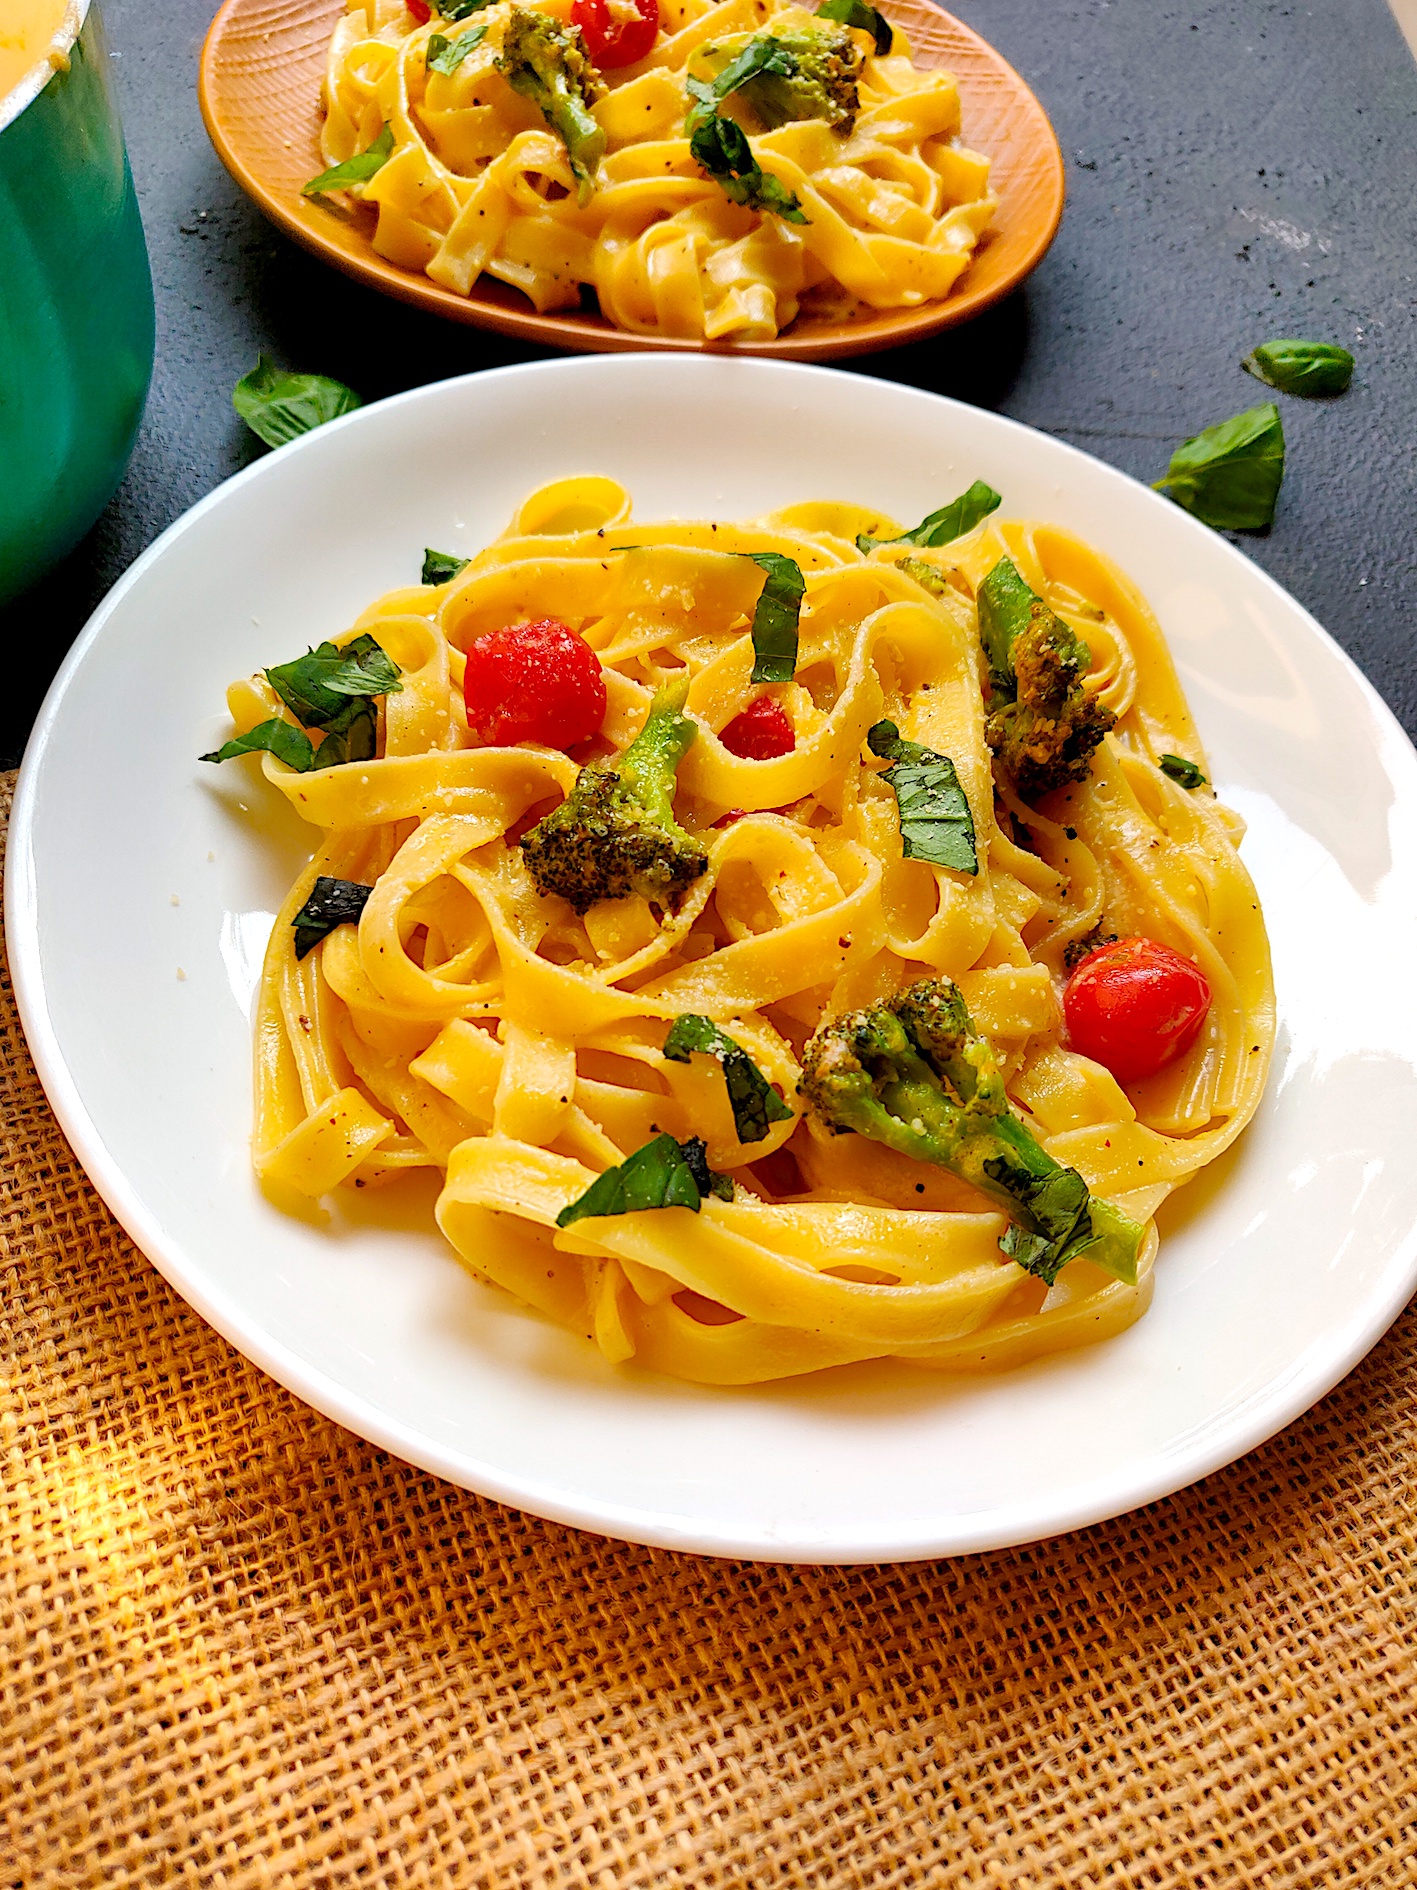
Fettuccine Alfredo With Broccoli & Cherry Tomatoes

Alfredo sauce is love! Anything with Alfredo in it makes life better. Don’t you agree?

But usually, Alfredo makes people think of a thick and heavy sauce that makes you full till your neck. Fear not! This fettuccine alfredo is light, yet creamy. Believe it or not, a major part of the sauce is the reserved pasta water.
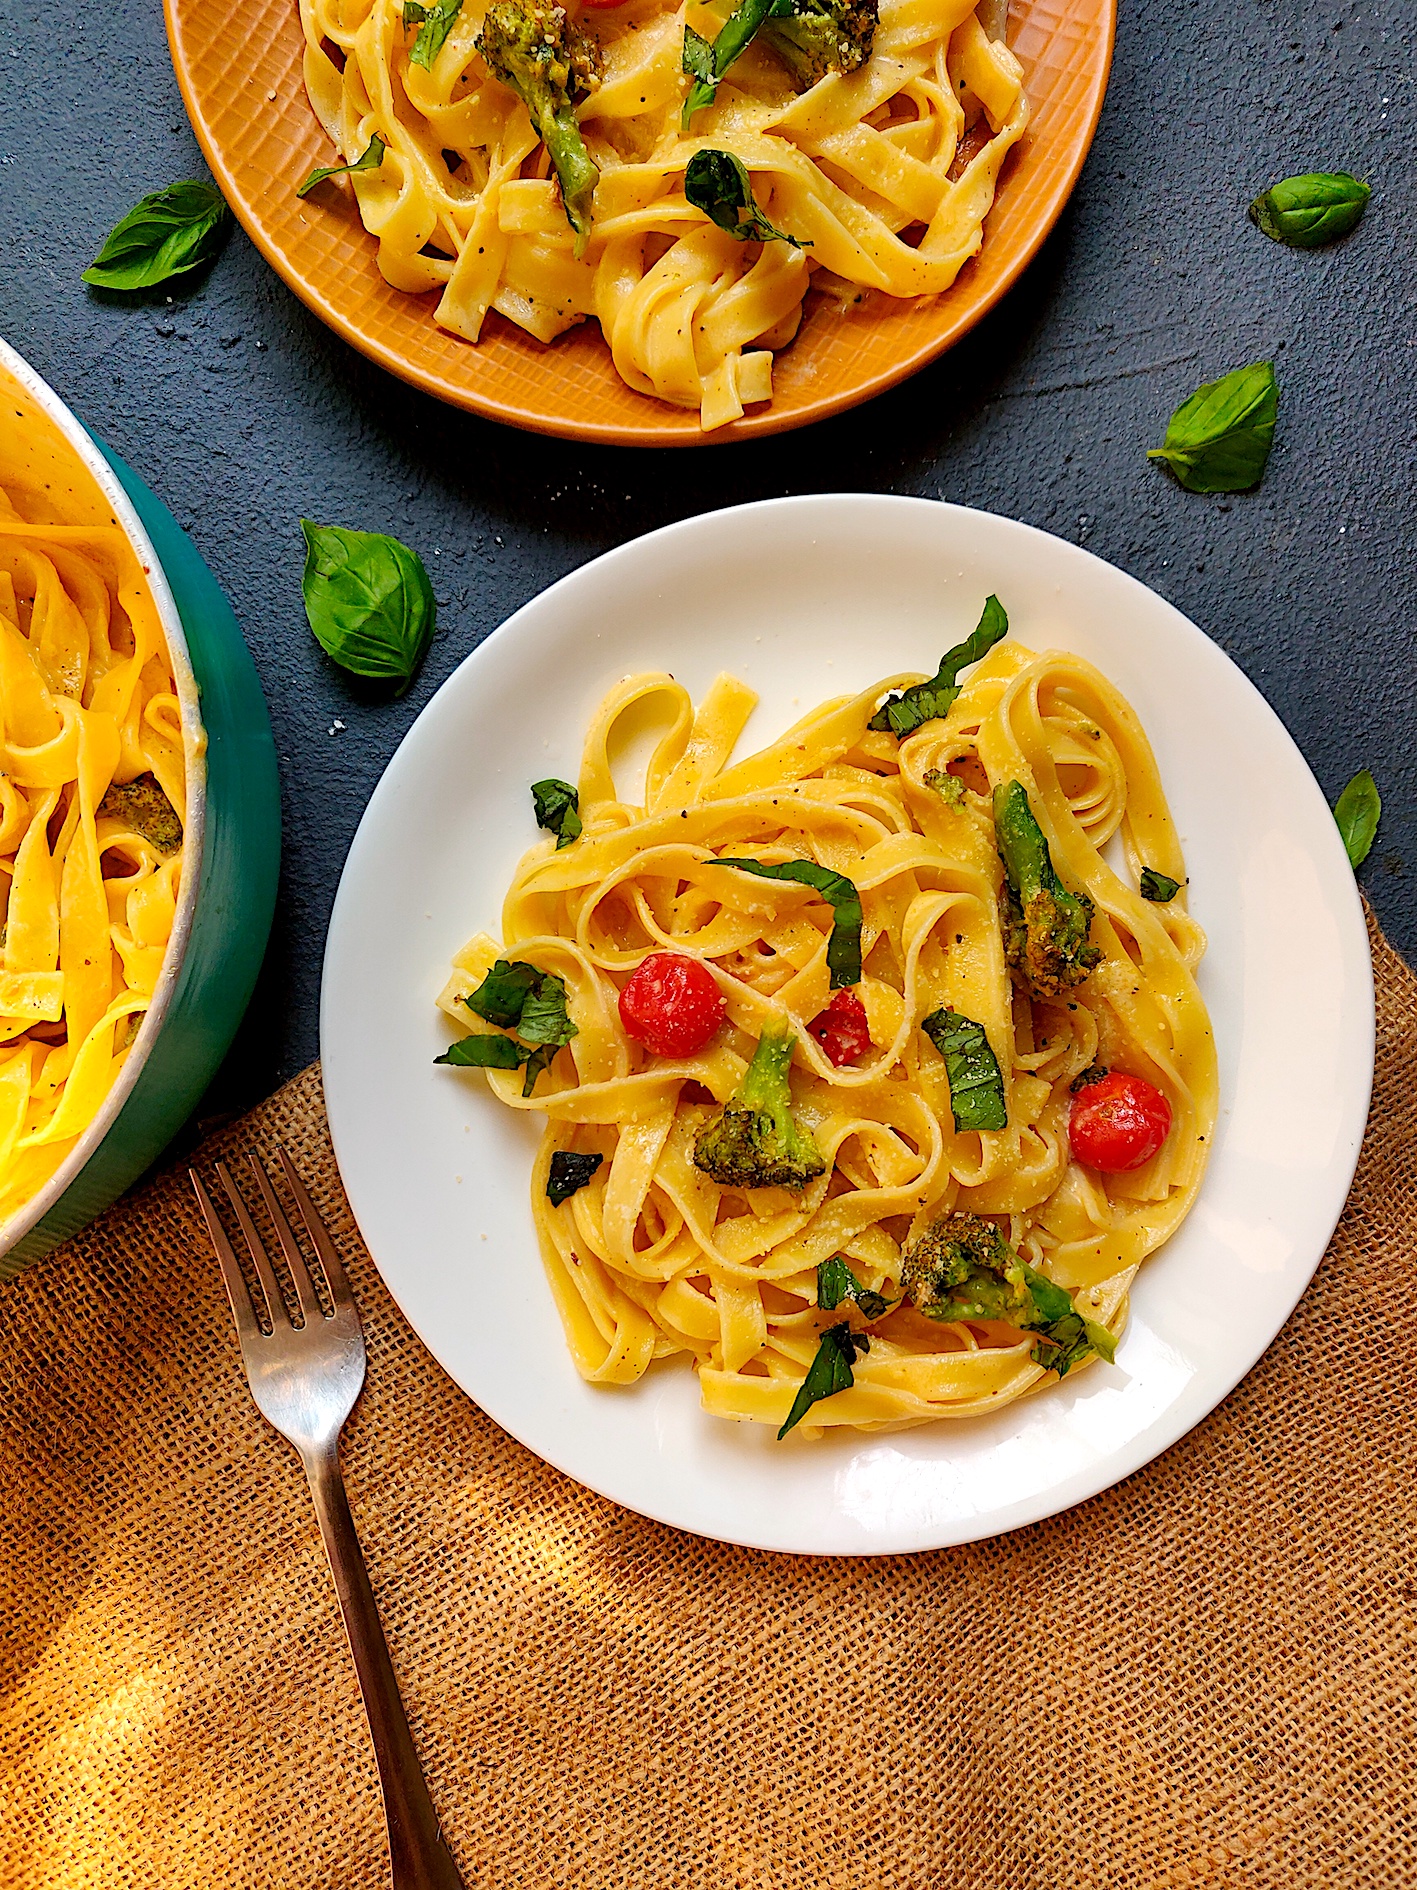
fettuccine Alfredo

fettuccine alfredo

It is one of the simplest dishes that comes together in 20 minutes tops, and it tastes heavenly even in its most basic form. Unlike most Alfredo recipes, the sauce for this one is quite thin, yet super luxurious. The secret is the pasta water and very little cream. So what you end up eating is a very light pasta that does not leave you gasping for breath. It is not overloaded with cream or cheese, but tastes just beautiful in all its simple glory. I went ahead and added some broccoli and cherry tomatoes.

You can seriously throw in whatever vegetables or protein you like. If you get the basic technique right, there is no way this is going to taste any less delicious. Or maybe you can come up with your own version and let me know about it someday!

So let’s get straight into the secret of this delightful pasta dish.

Preparation time – 20 minutes

Cook time –  30 minutes

Serves – 3 people

[ingredients title=”Ingredients”]

  • Fettuccine pasta, 300 gms
  • Steamed broccoli florets, 300 g, steamed for five minutes.
  • Cherry tomatoes, 200 g
  • Garlic, 3 cloves
  • 30 g butter
  • 3 tbsp extra virgin olive oil
  • 3 tbsp fresh cream
  • 1/2 cup Italian Basil leaves
  • 1 tbsp pepper
  • 100 g grated Parmesan cheese
  • Salt to taste [/ingredients]

[directions title=”Directions”]

  1. Boil water in a wide pot. Add two tablespoons of salt to the water and let it bubble.
  2. Add the fettuccine pasta to the water and let it cook it is al dente (80% cooked). See the package for exact instructions.
  3. While the pasta is boiling, start making the sauce simultaneously. Heat olive oil in a pan. Keep the flame at low intensity.
  4. Throw in the butter and lightly stir, allowing the butter to melt softly and assimilate with the olive oil.
  5. Finely chop the garlic and add it to the olive oil and butter. The heat has to be low at all times so that nothing is burnt. What you want is to let the garlic and its juices get infused into the fat of the oils. Let this remain for five minutes.
  6. After five minutes of letting the garlic sweat into the oil, add one cup of boiling pasta water into the pan and stir. Let it come to a boil.
  7. Add the heavy cream to the water and keep stirring in low flame till you get a thick consistency.
  8. Throw in the fresh cherry tomatoes right before you add the al dente pasta into the sauce. Stir gently.
  9. Add the boiled pasta to this sauce and cook till it is completely softened. Keep adding more boiling pasta water as and when required.
  10. Once you get your desired consistency and the fettuccine is cooked completely, turn off the heat.
  11. Season with freshly ground black pepper powder.
  12. Put the steamed broccoli florets into the pan and stir.
  13. Garnish with grated Parmesan cheese and stir.
  14. Serve immediately with fresh Italian basil leaves as garnish. Enjoy! [/directions]
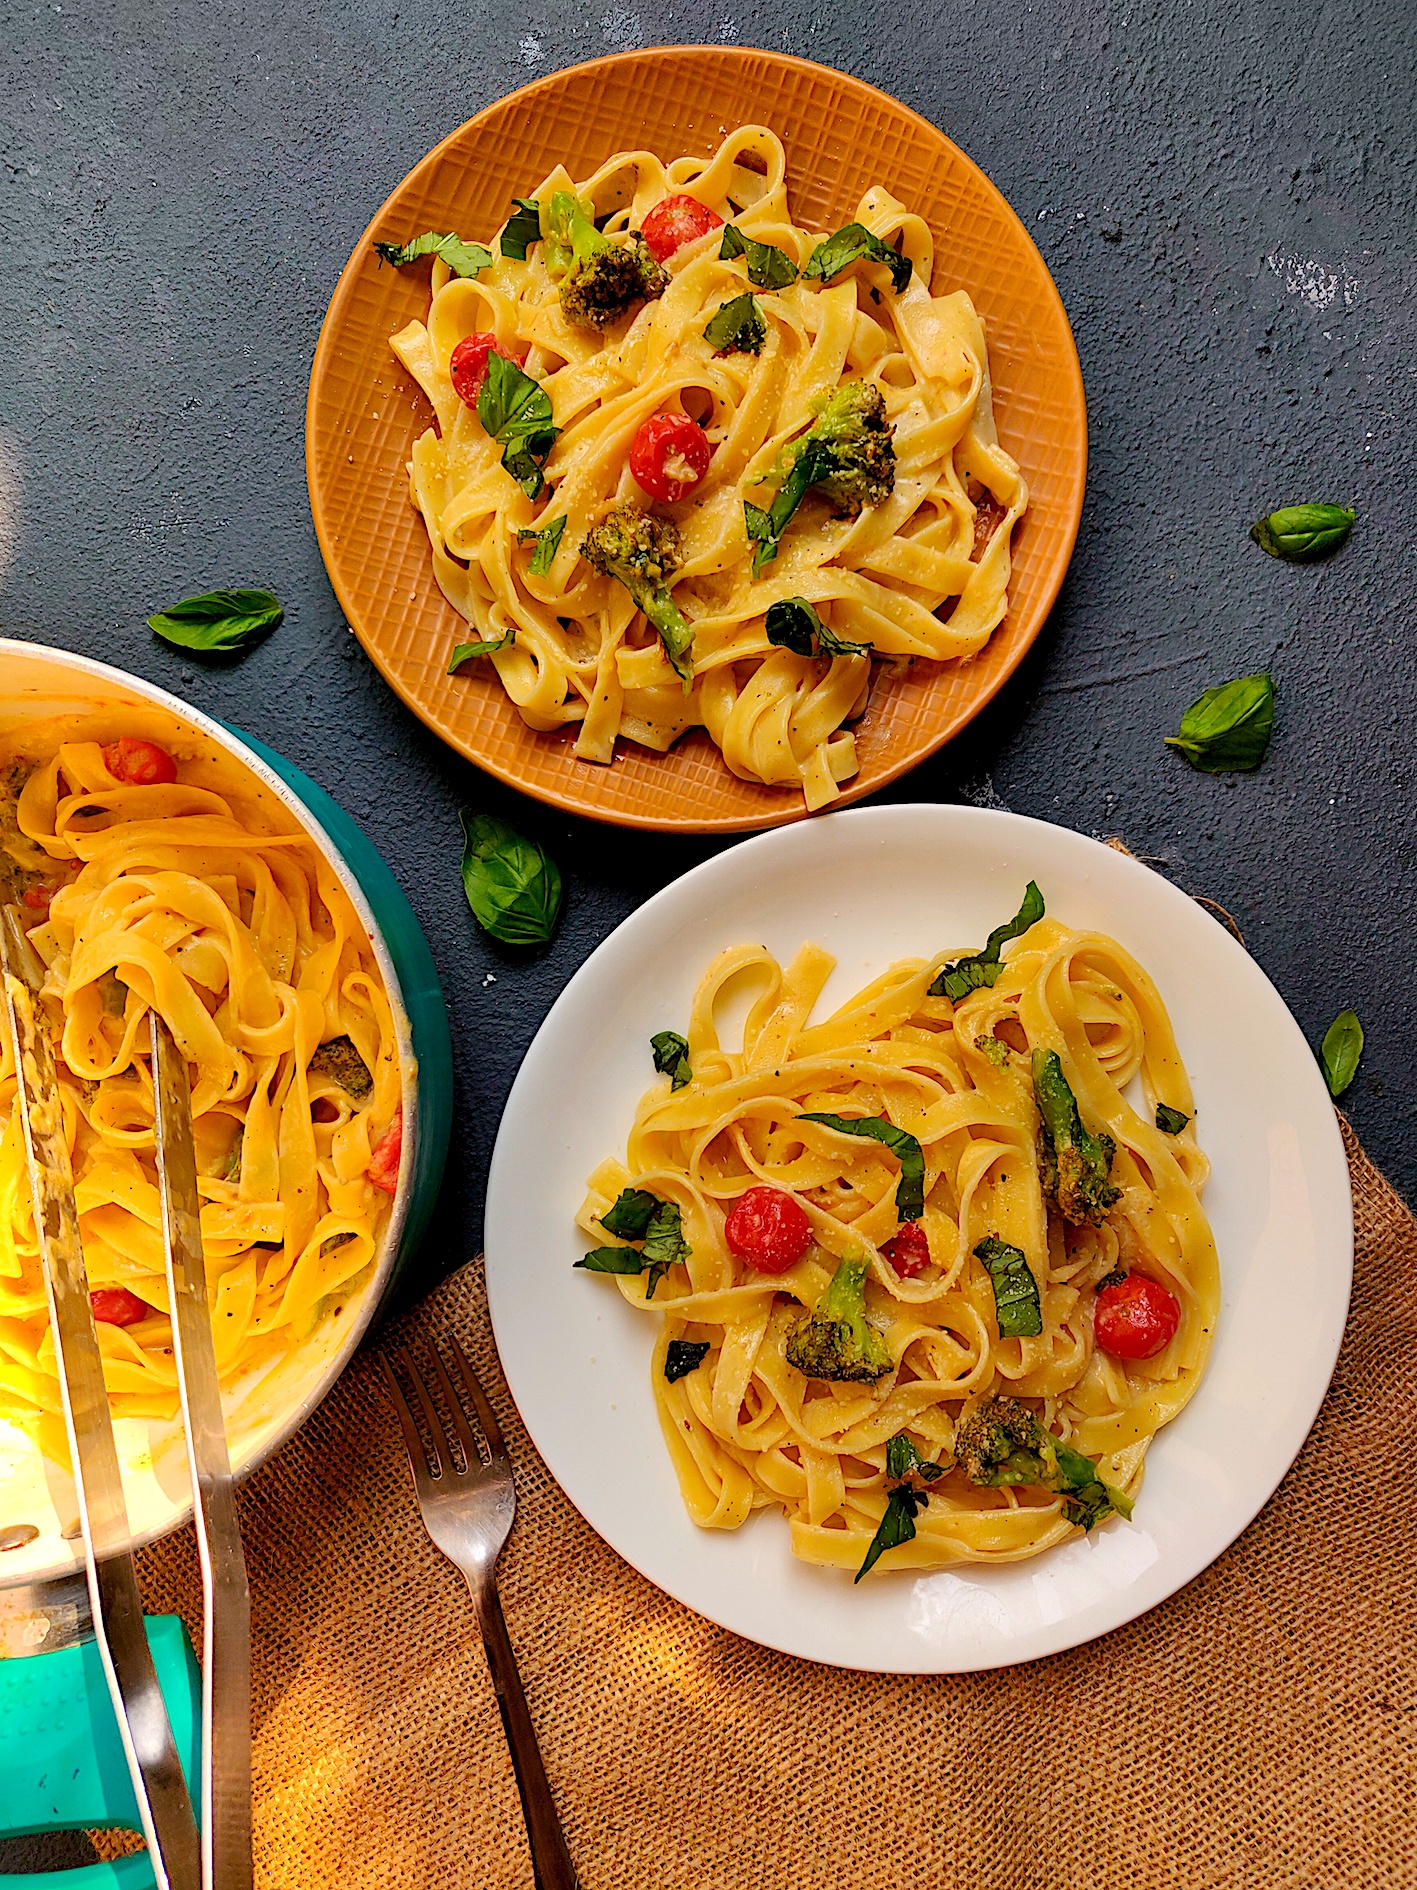
fettuccine alfredo

fettuccine alfredo

I do hope you try this pasta recipe. It will truly change the way you look at, feel about or cook Alfredo in the future. Happy cooking!

If you have any questions or suggestions, feel free to reach out to me with a comment or connect with me on Instagram or Facebook.
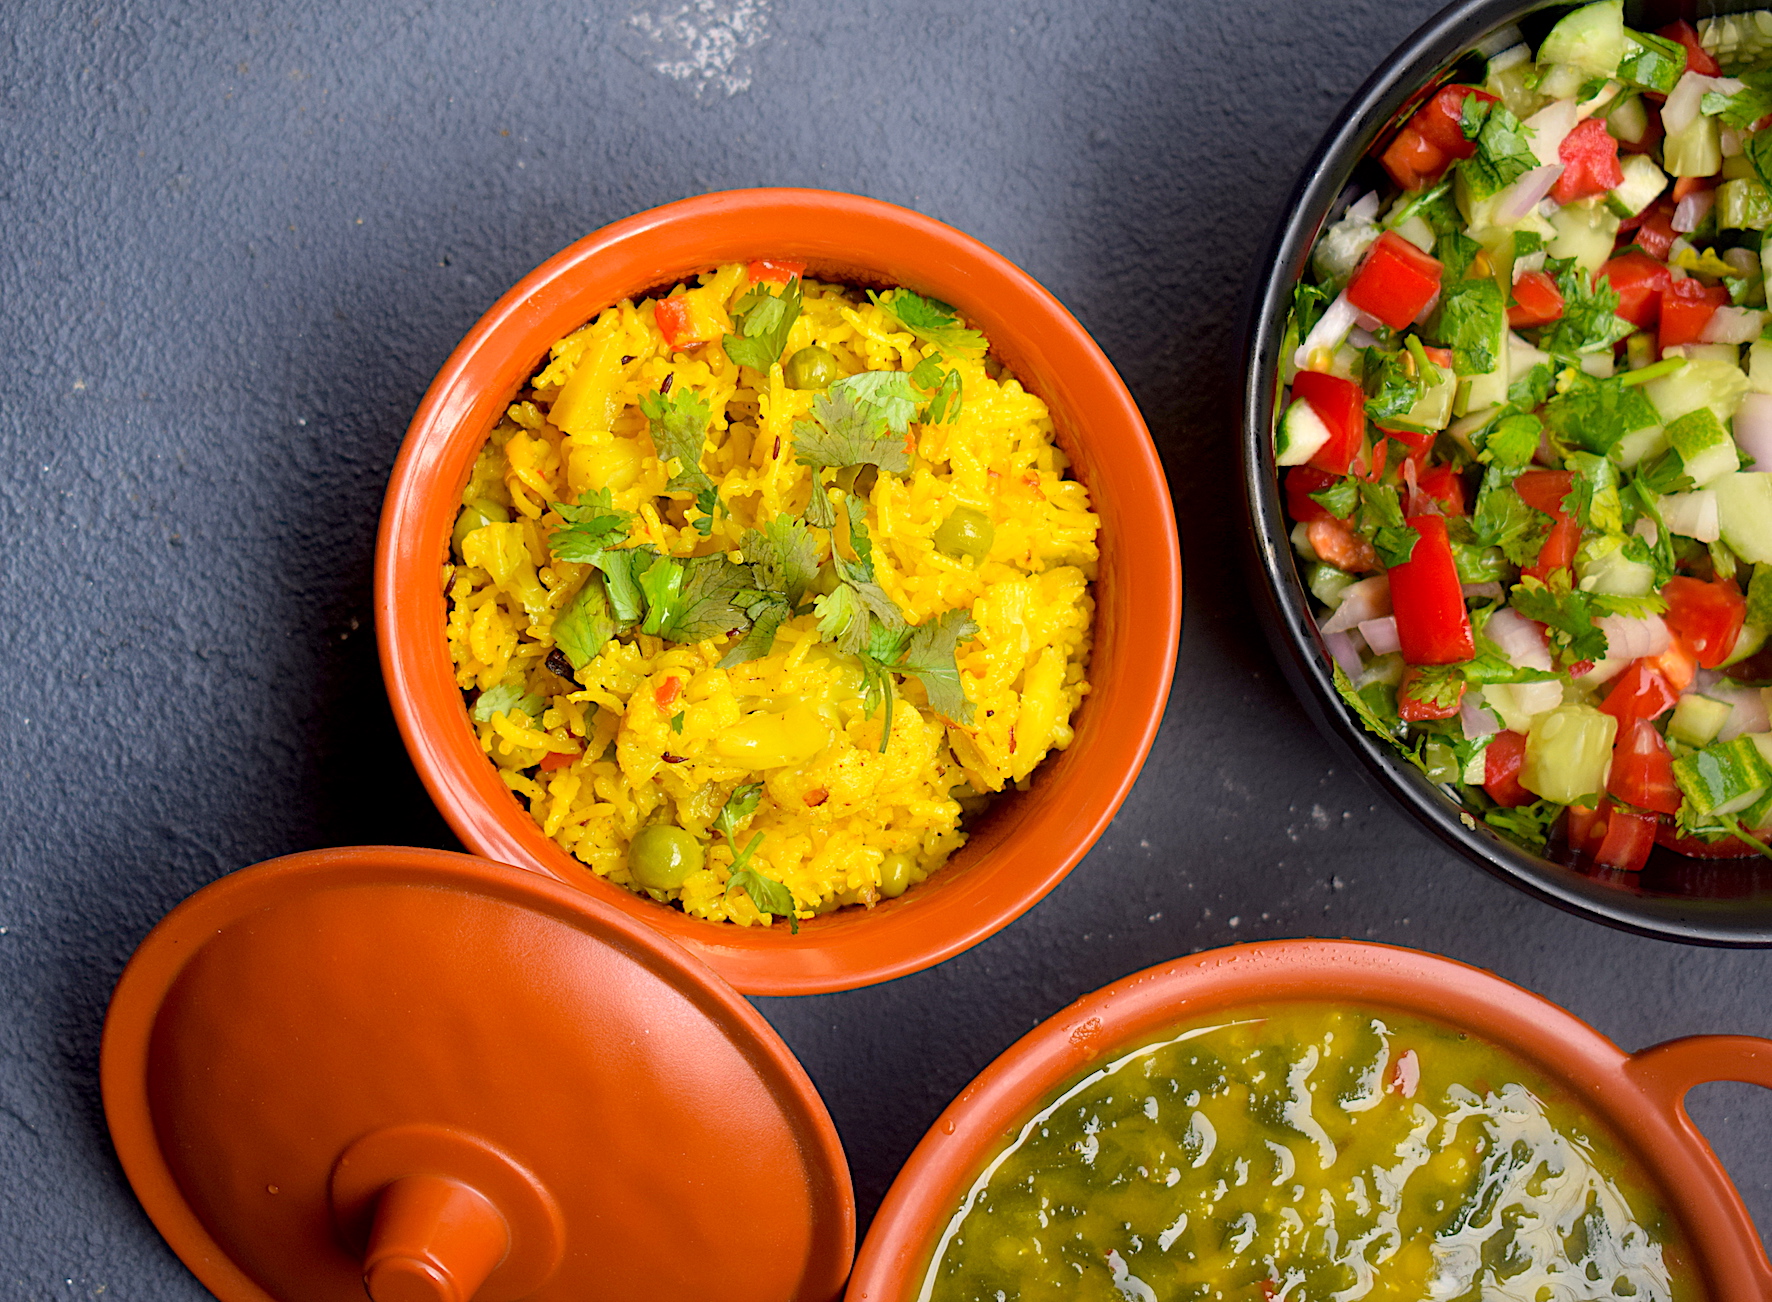
Pressure Cooker Vegetable Pulao

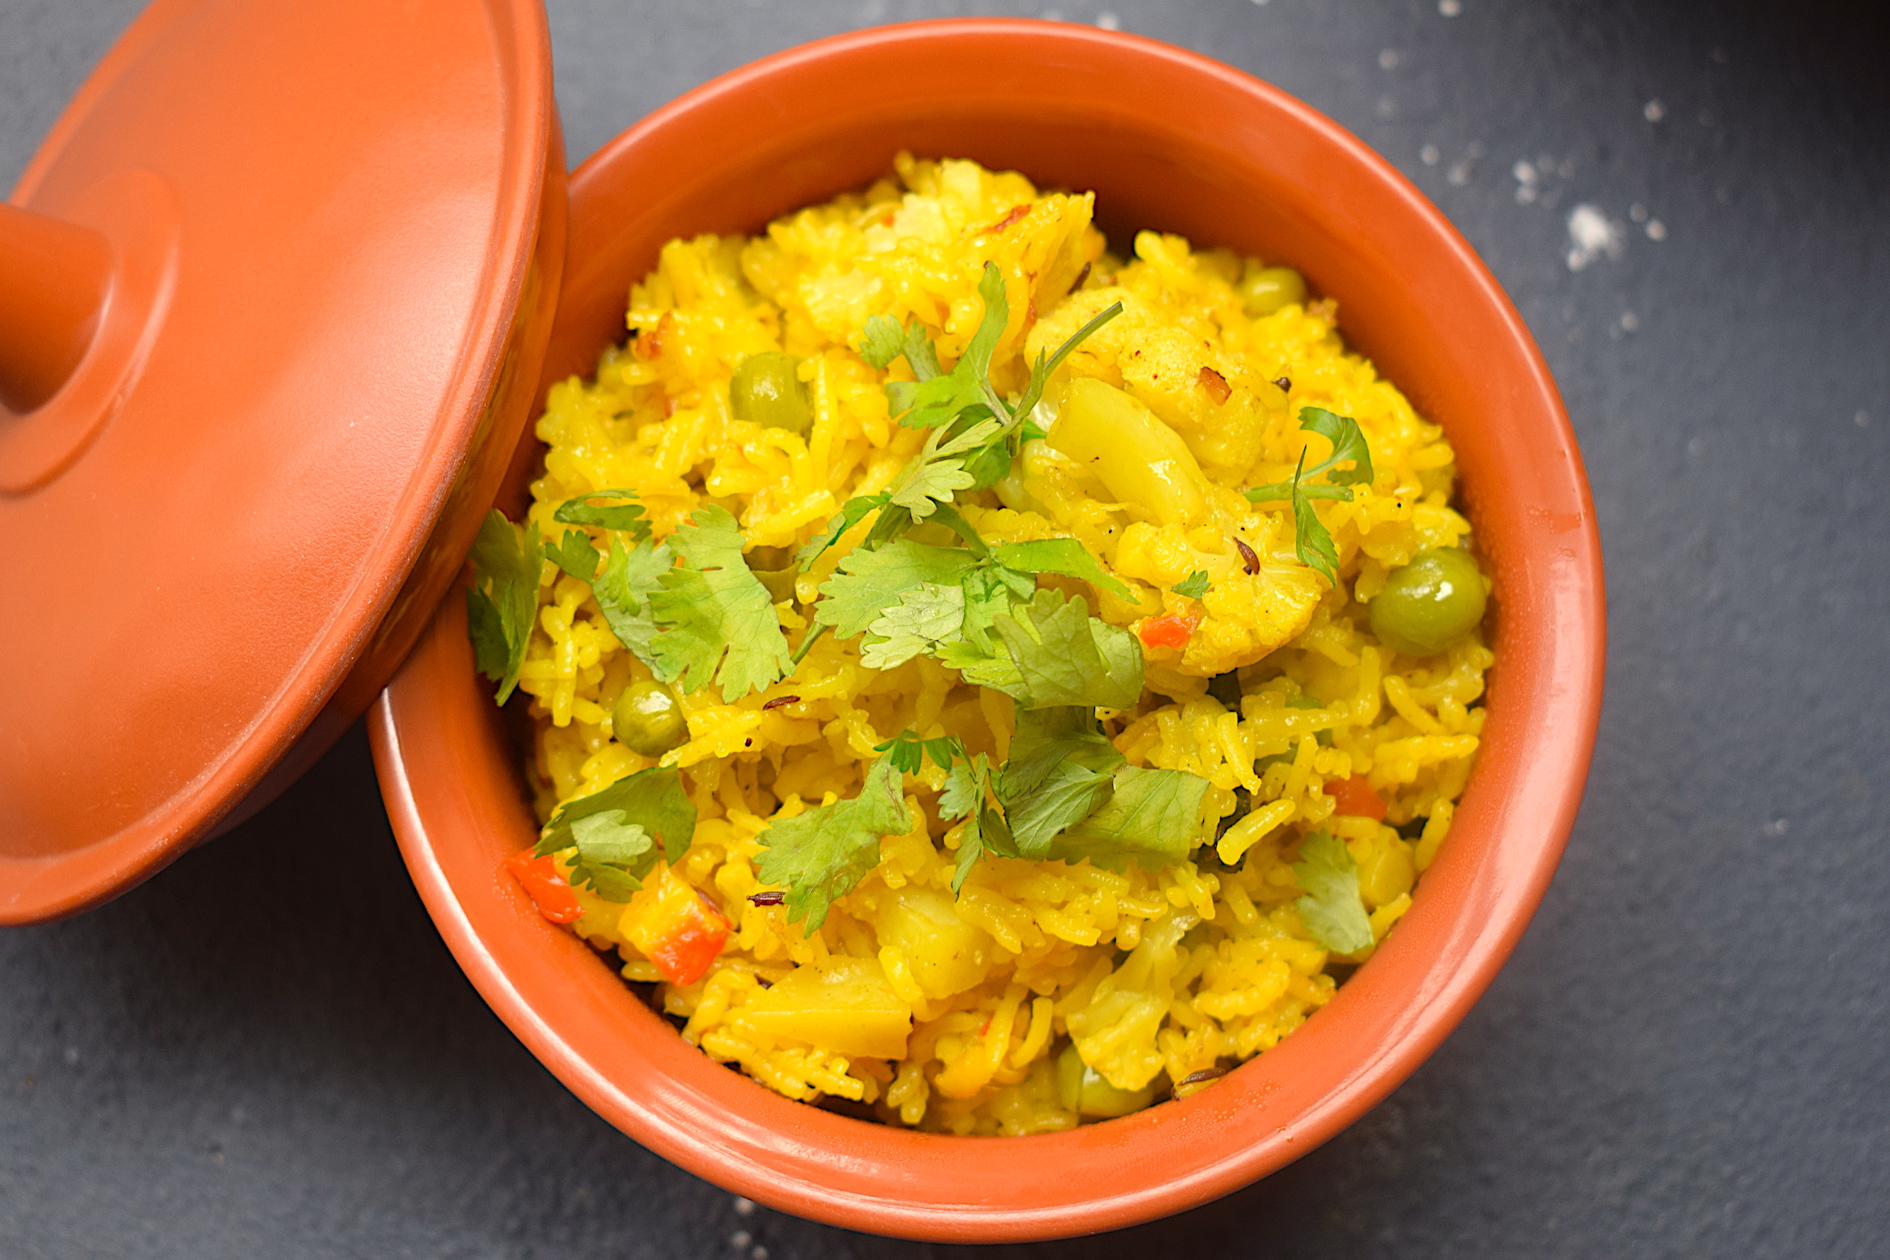
Pressure cooker recipes are everyone’s favourite. This rage in the cooking world is rightly justified as it makes our lives so much easier, especially on those rushed days when we do not have time to cook elaborate meals.

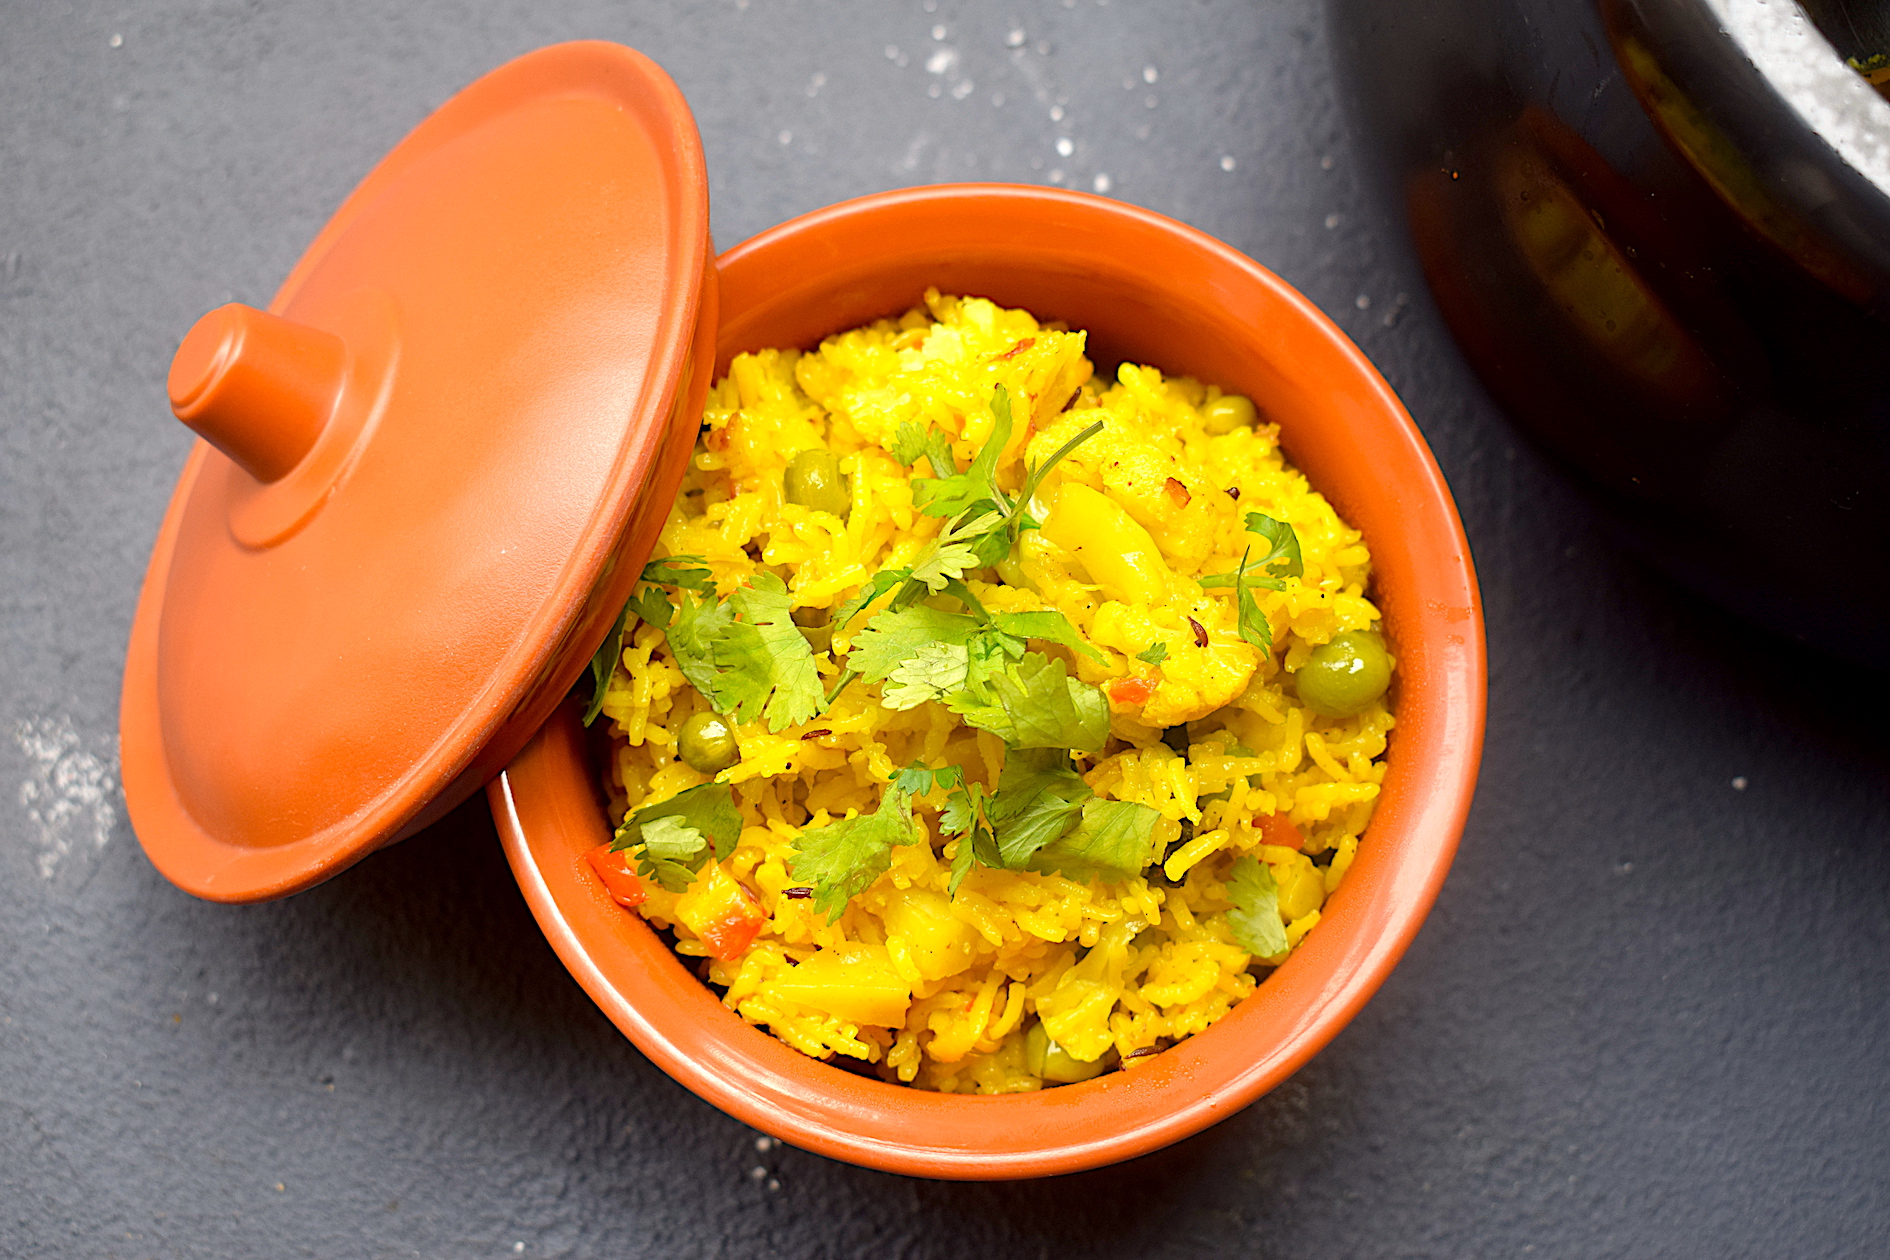
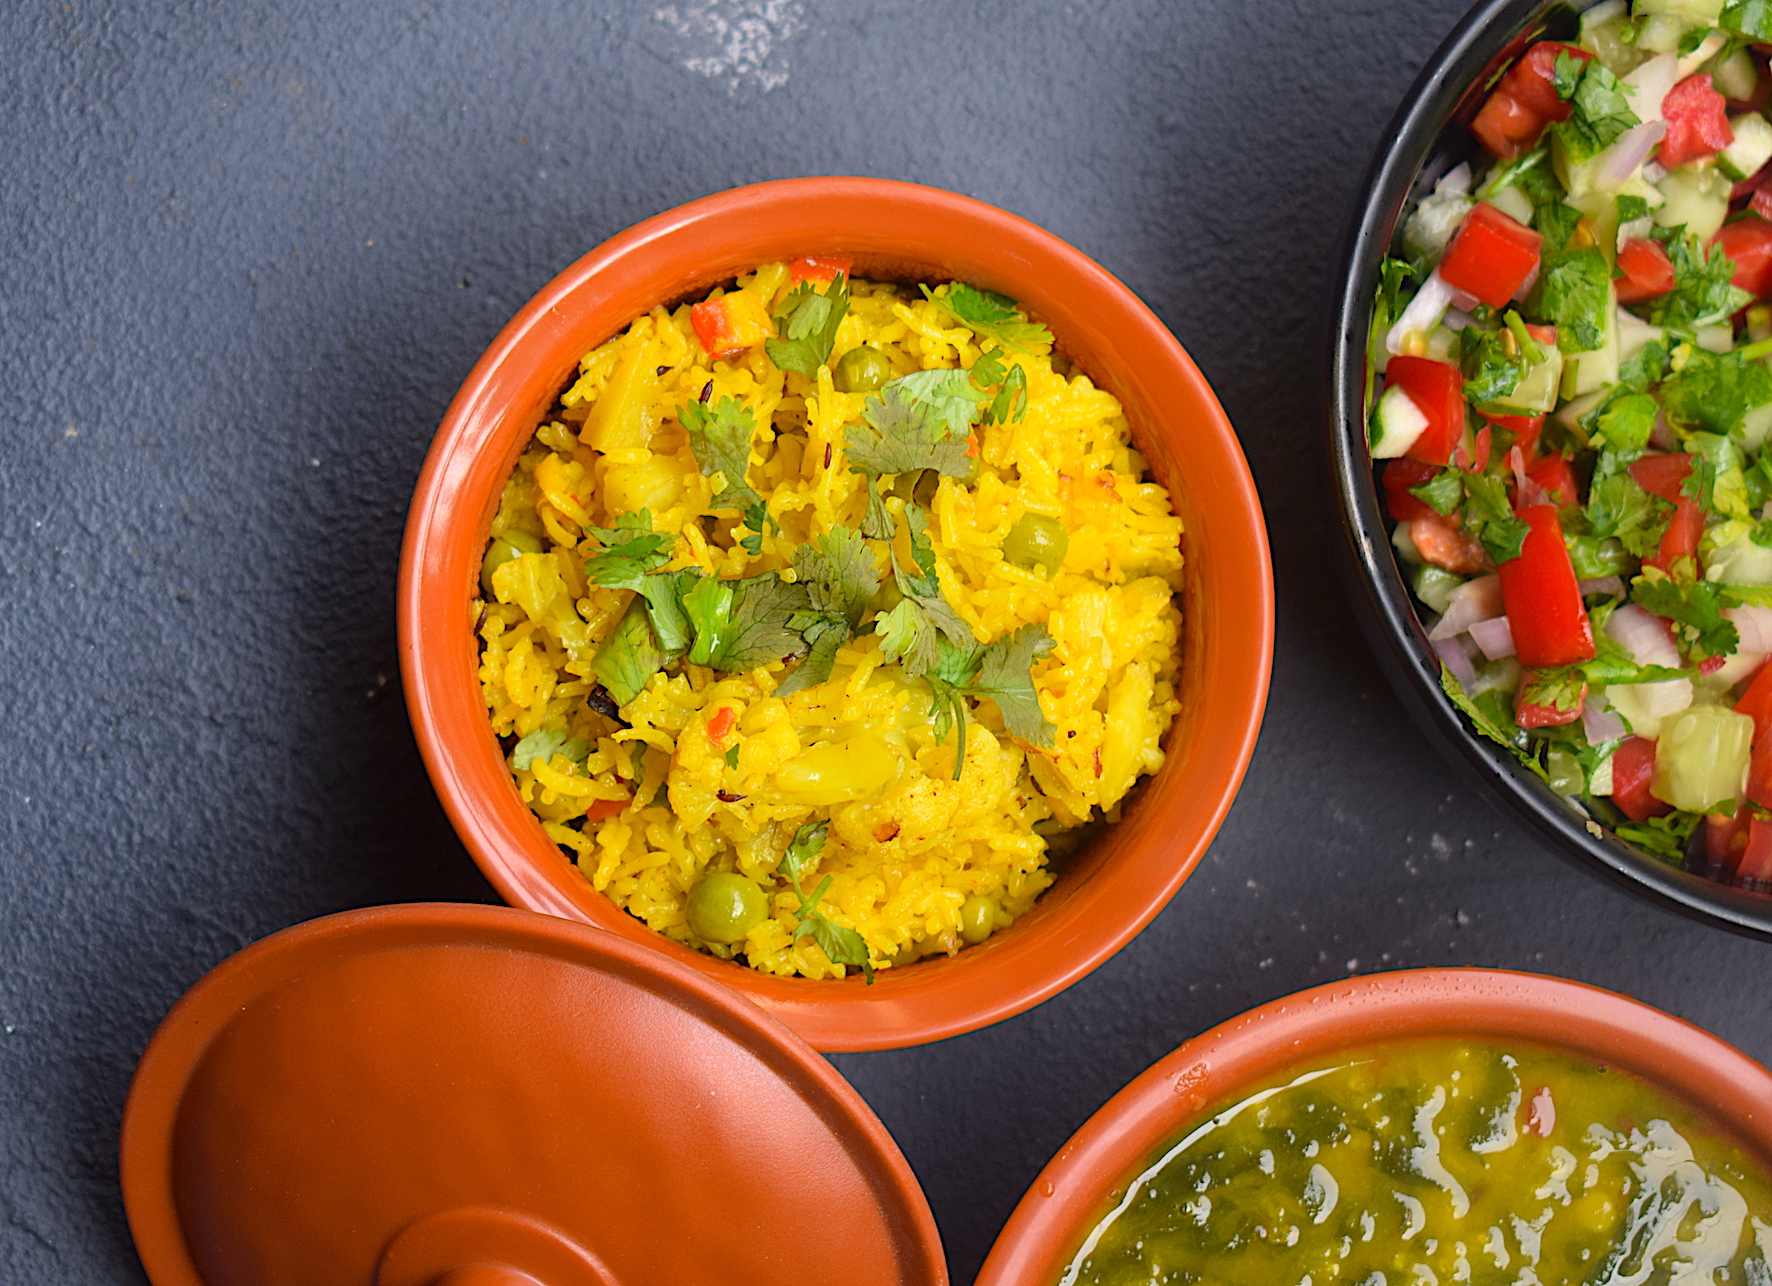
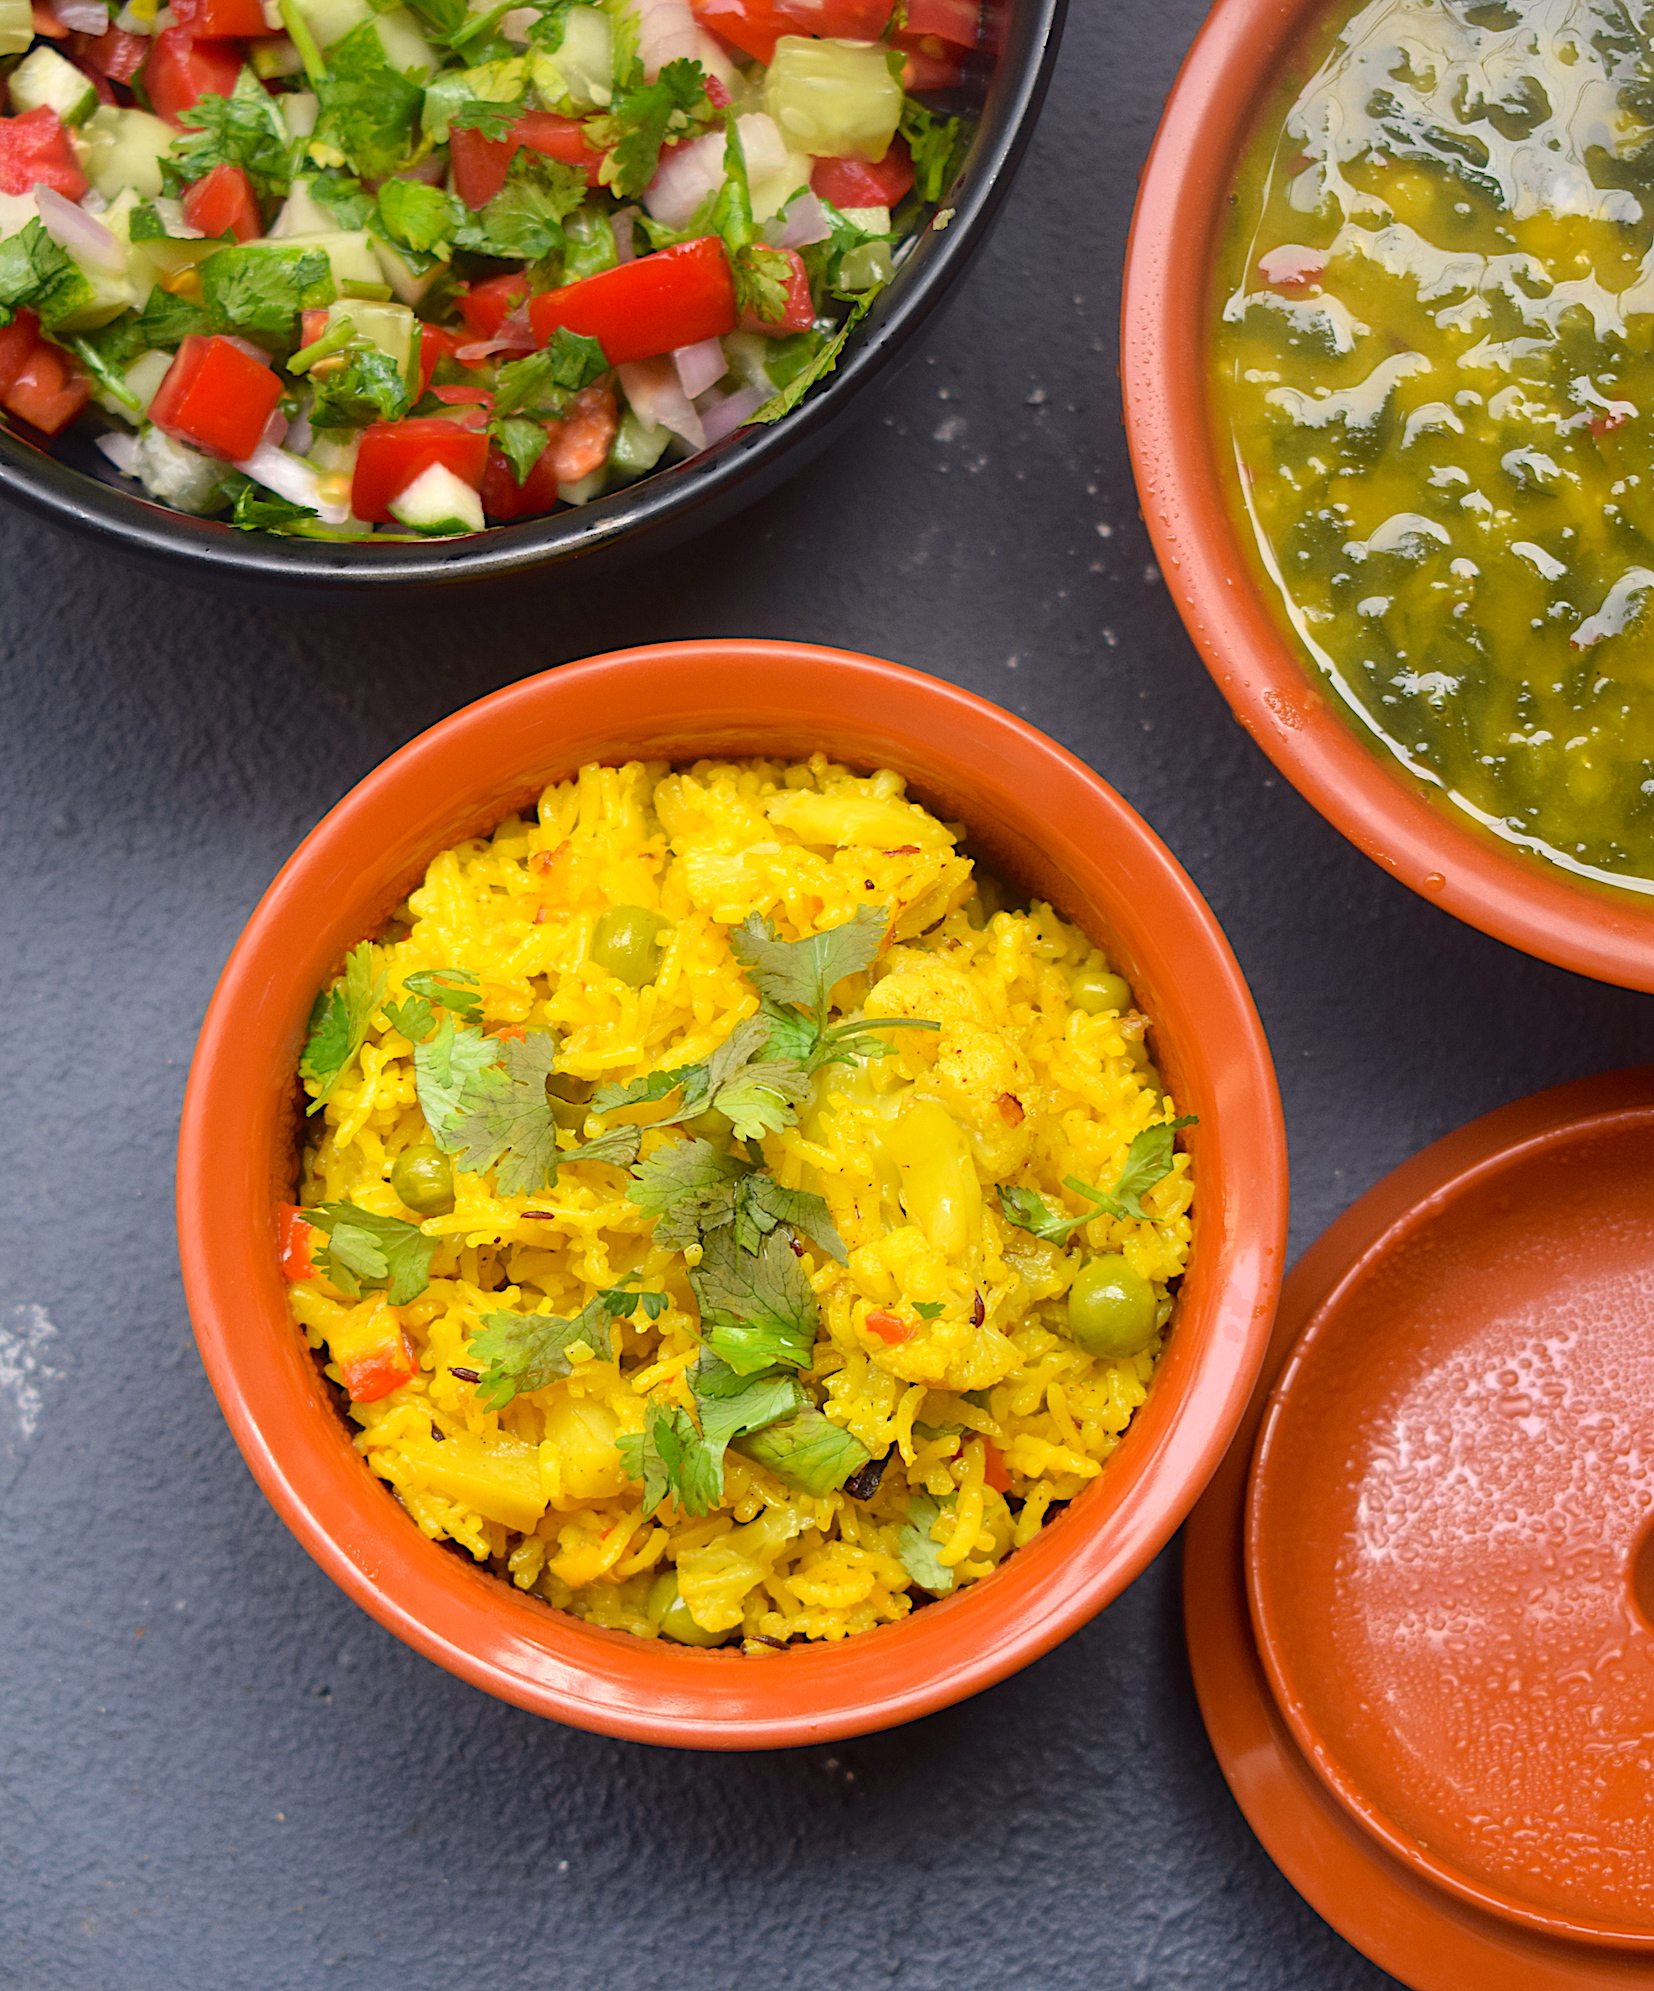
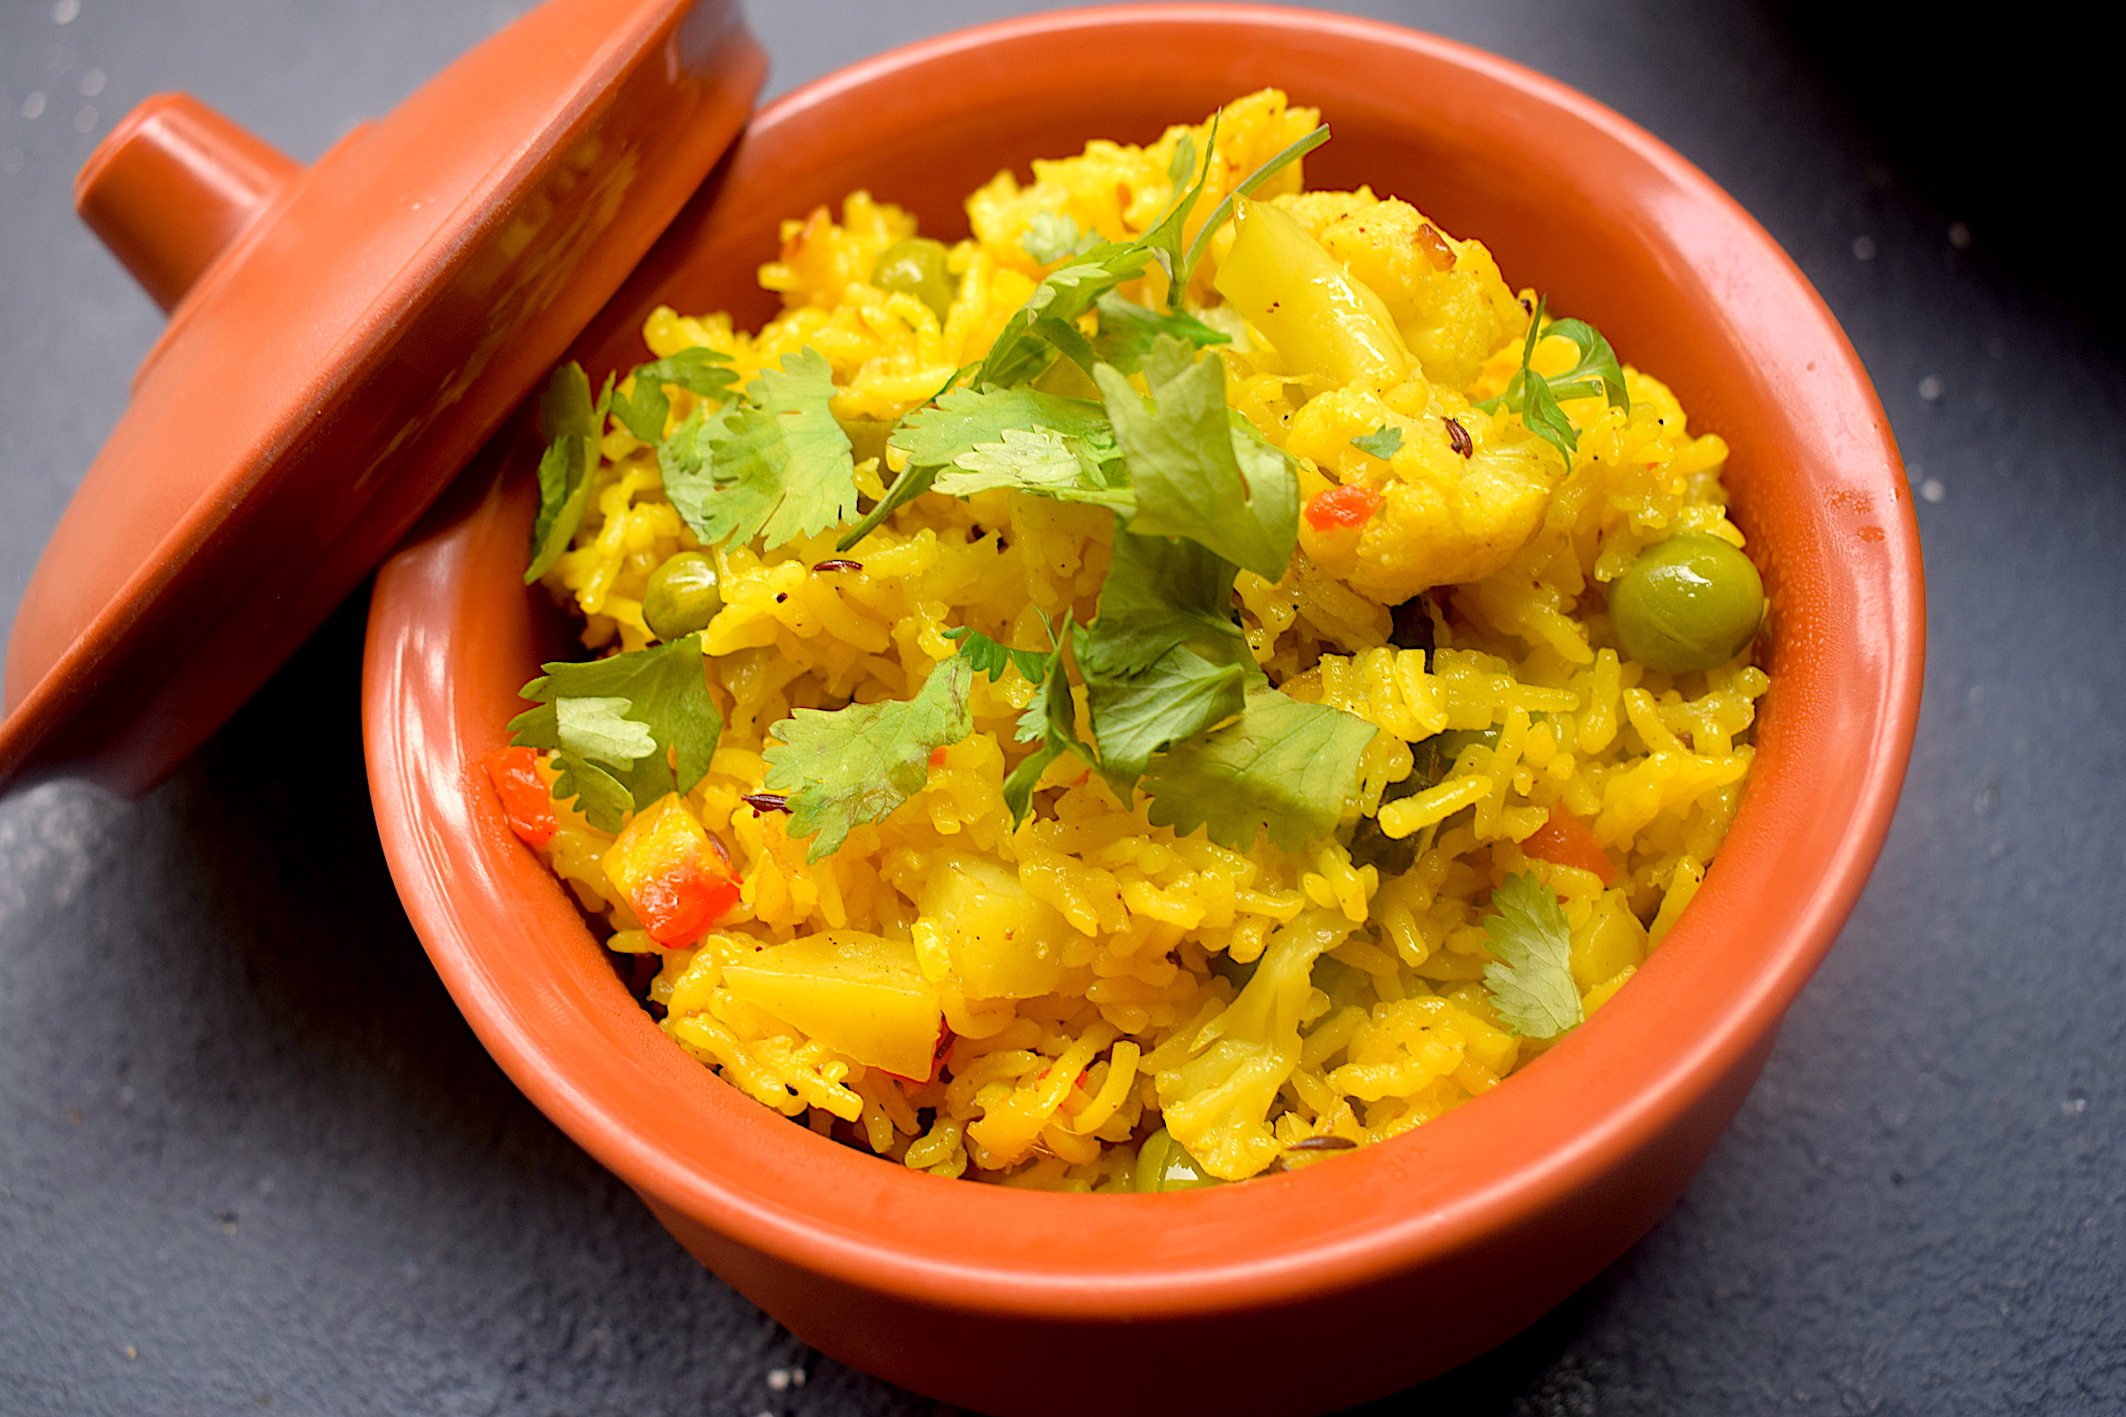
This pressure cooker vegetable pulao is one such easy hack to a tasty and healthy meal. I have made this in the pressure cooker but you can also make it in a pot. It is my go-to meal on most days and one of the best ways to eat rice. Include it in your lunch or dinner meal with some raita and you will not regret it. Honest, real and simple – just the way I prefer.

It is extremely easy to make and comes together in no time. It is loved by everyone alike. Like all my pulaos, the garam masala takes centre stage for the dominant flavour.

pressure cooker vegetable pulao

The rice in this pulao can be any fragrant one. I prefer using broken rice for pulao, as it gives the entire meal a different flavor. Here, I have used good quality broken basmati rice, but you can go ahead with any rice. Just make sure the quality of the rice is not compromised upon.

pressure cooker vegetable pulao

Also, for the perfectly fluffy and well-cooked pulao, you should soak the rice in water for at least 30 minutes before you cook it. Make sure you wash the rice thoroughly under a strainer till you get clear water from the end of the sieve. These two tips help the rice cook perfectly.

Preparation time – 20 minutes

Cook time –  30 minutes

Serves – 3-4 people

[ingredients title=”Ingredients”]

  • 250g rice
  • 1 tbsp ghee
  • 1 bay leaf
  • 2 cardamom pods
  • 2 small cinnamon sticks
  • 2 cloves
  • 2g mace
  • 1 tsp cumin seeds
  • 7 cashews
  • 1 tsp sugar
  • 1 onion, finely chopped
  • 2 green chilies, finely chopped
  • 1 tsp ginger garlic paste
  • 100 g green peas
  • 1 carrot, finely diced
  • 1 small cauliflower, broken into florets
  • 1 medium potato, finely diced
  • 1 tsp turmeric powder
  • Salt to taste
  • 500 ml of water
  • 1 tsp garam masala
  • Coriander leaves for garnish [/ingredients]

[directions title=”Directions”]

  1. Wash the rice thoroughly with cold water under a running tap till it releases clear water.
  2. Soak the rice in water for 30 minutes.
  3. Heat ghee in a pressure cooker. Add the bay leaf, cardamoms, cloves, cinnamon, and mace. Give it a light stir.
  4. Add the sugar and cashew nuts. Stir till the sugar melts and the cashews turn slightly brown on the sides.
  5. Add the onions and stir for a minute till they brown.
  6. Add the chopped chilies and ginger garlic paste and stir till their rawness evaporates.
  7. Chop all the vegetables and add them to the onions. Green peas, cauliflower florets, and potato. Mix well for another minute on medium flame.
  8. Season with salt and turmeric powder. Stir well.
  9. Pour in the water and give it one last stir.
  10. Sprinkle the garam masala on top and mix.
  11. Close the pressure cooker with a lid and allow it to let out two whistles.
  12. Once all the pressure releases, open the pressure cooker.
  13. Garnish with fresh coriander leaves.
  14. Serve the pulao hot with raita or curd. [/directions]

pressure cooker vegetable pulao

pressure cooker vegetable pulao

pressure cooker vegetable pulao

I hope you do try this simple, mouth-watering, and super healthy vegetable pulao recipe. It is a perfect option for a homely meal filled with health and happiness.

If you have any questions or suggestions, feel free to reach out to me with a comment or connect with me on Instagram or Facebook.
Happy cooking!

The Easiest & Creamiest Mushroom Stroganoff

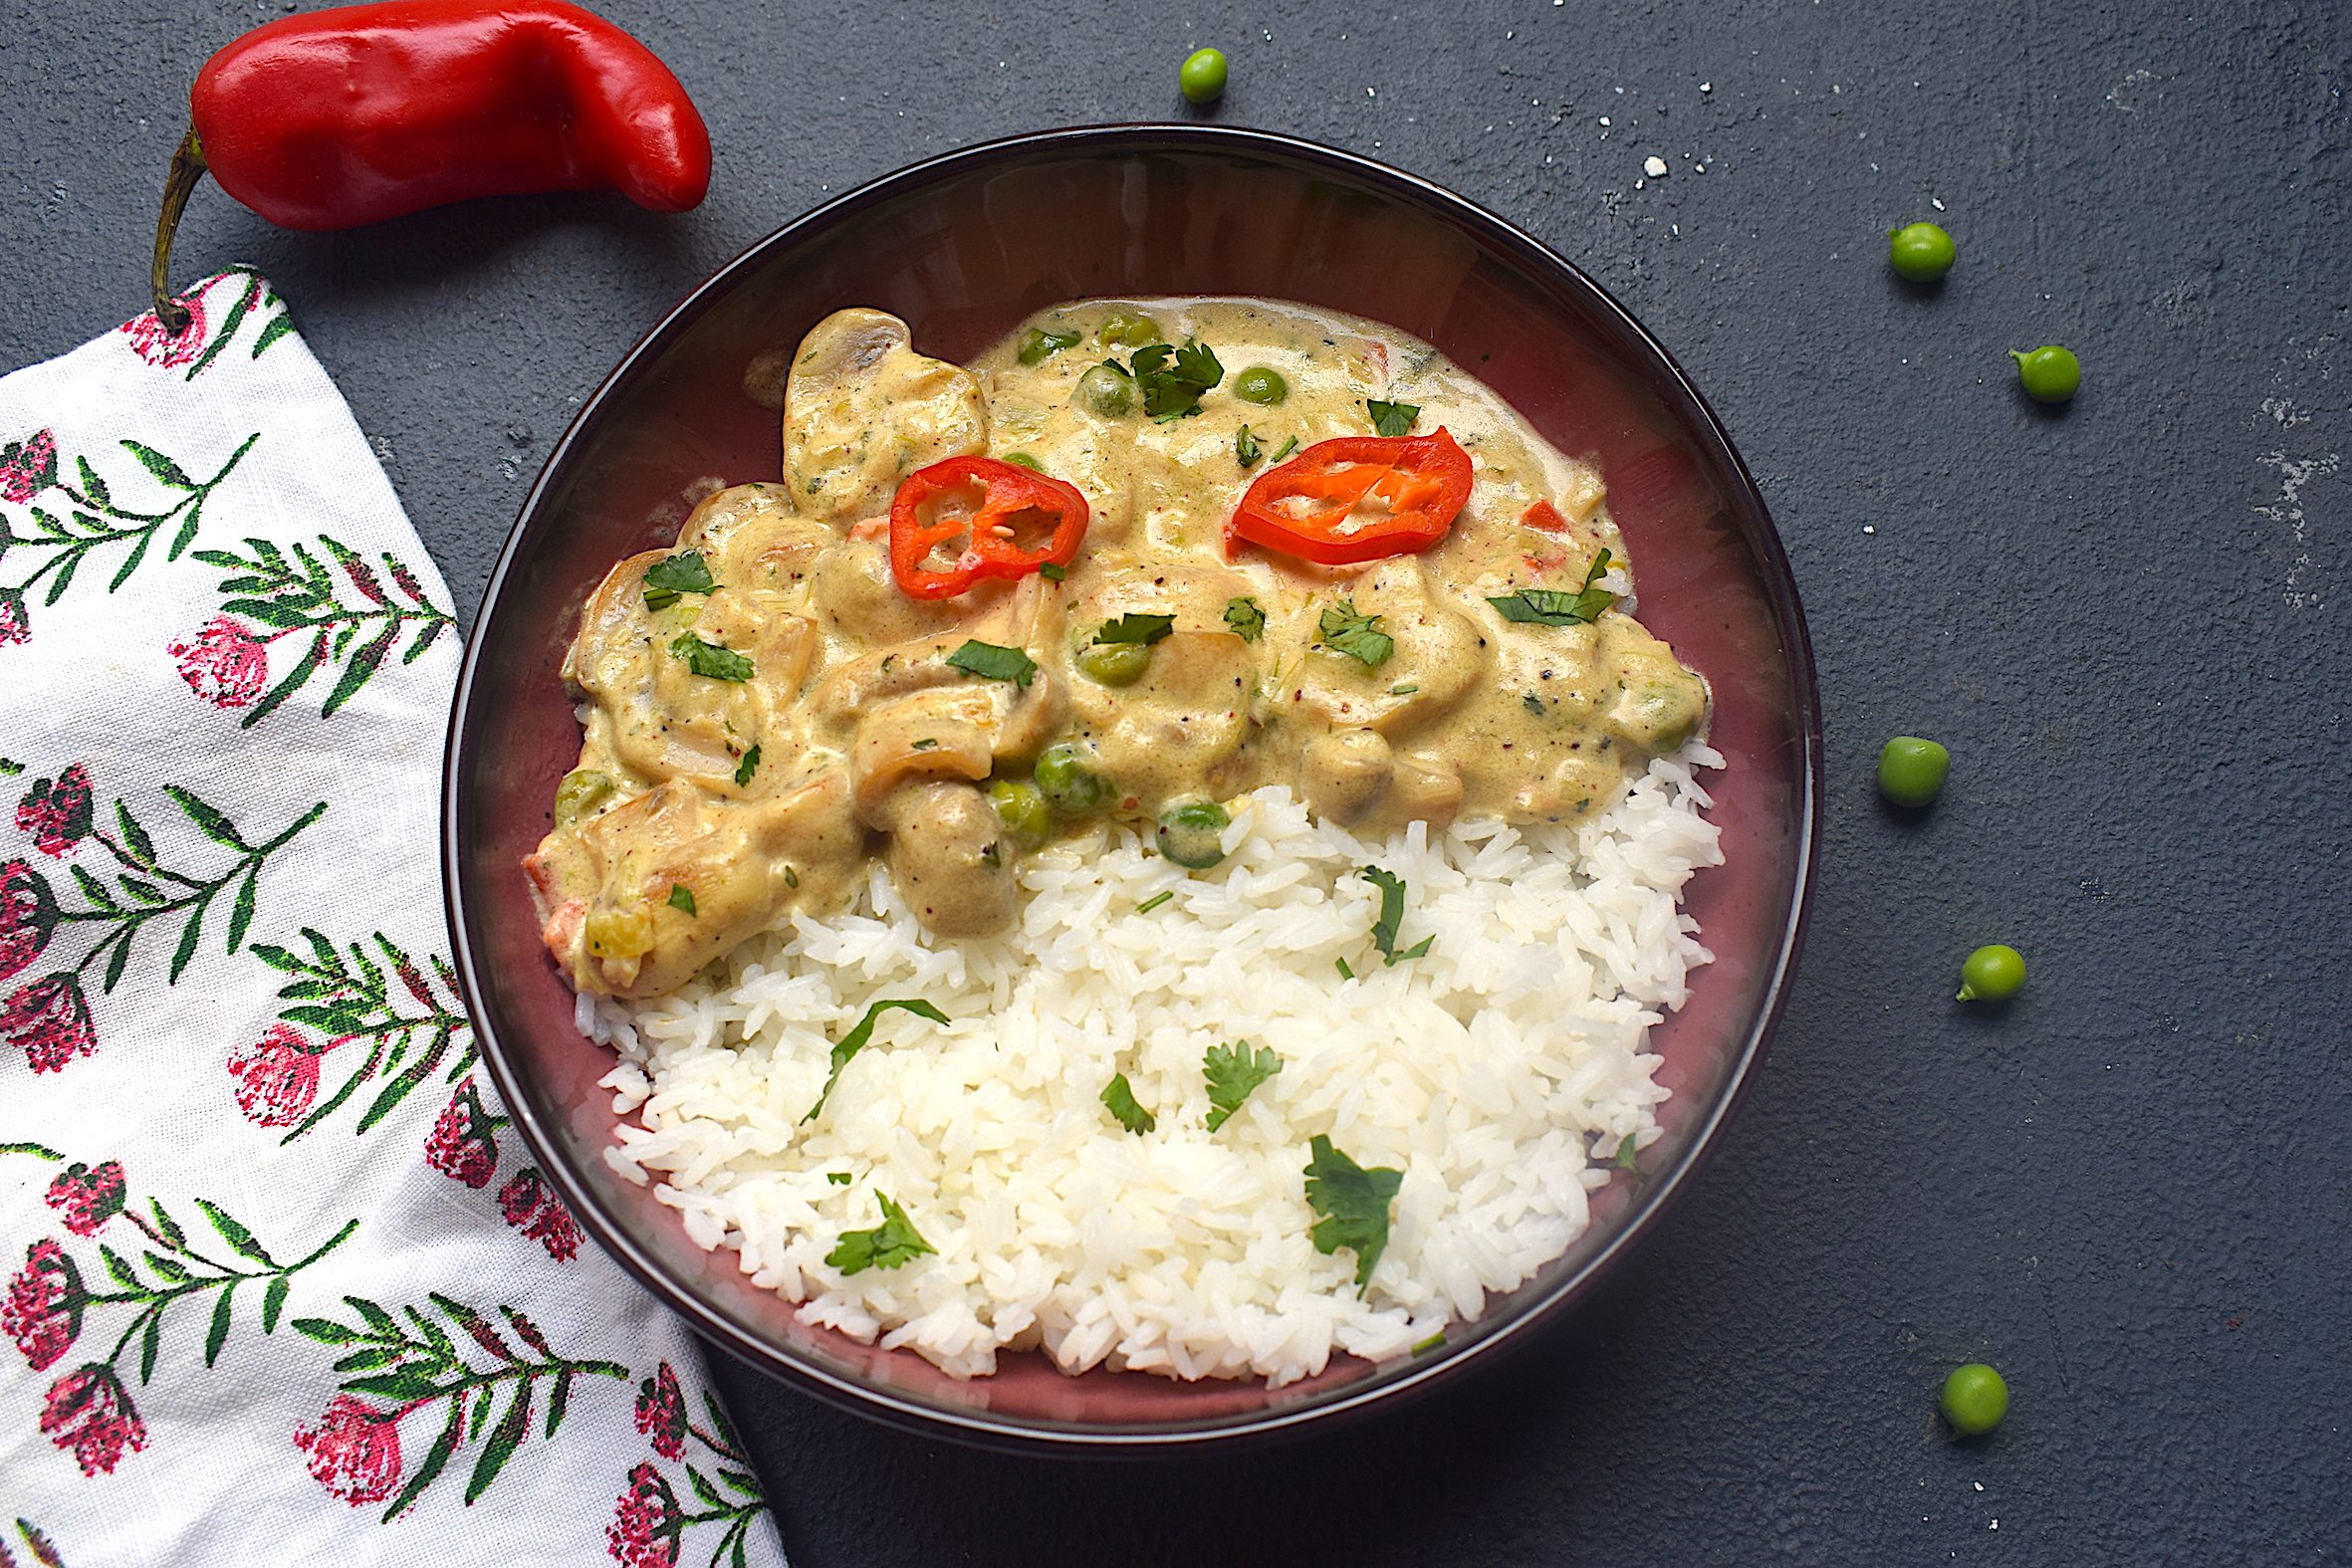
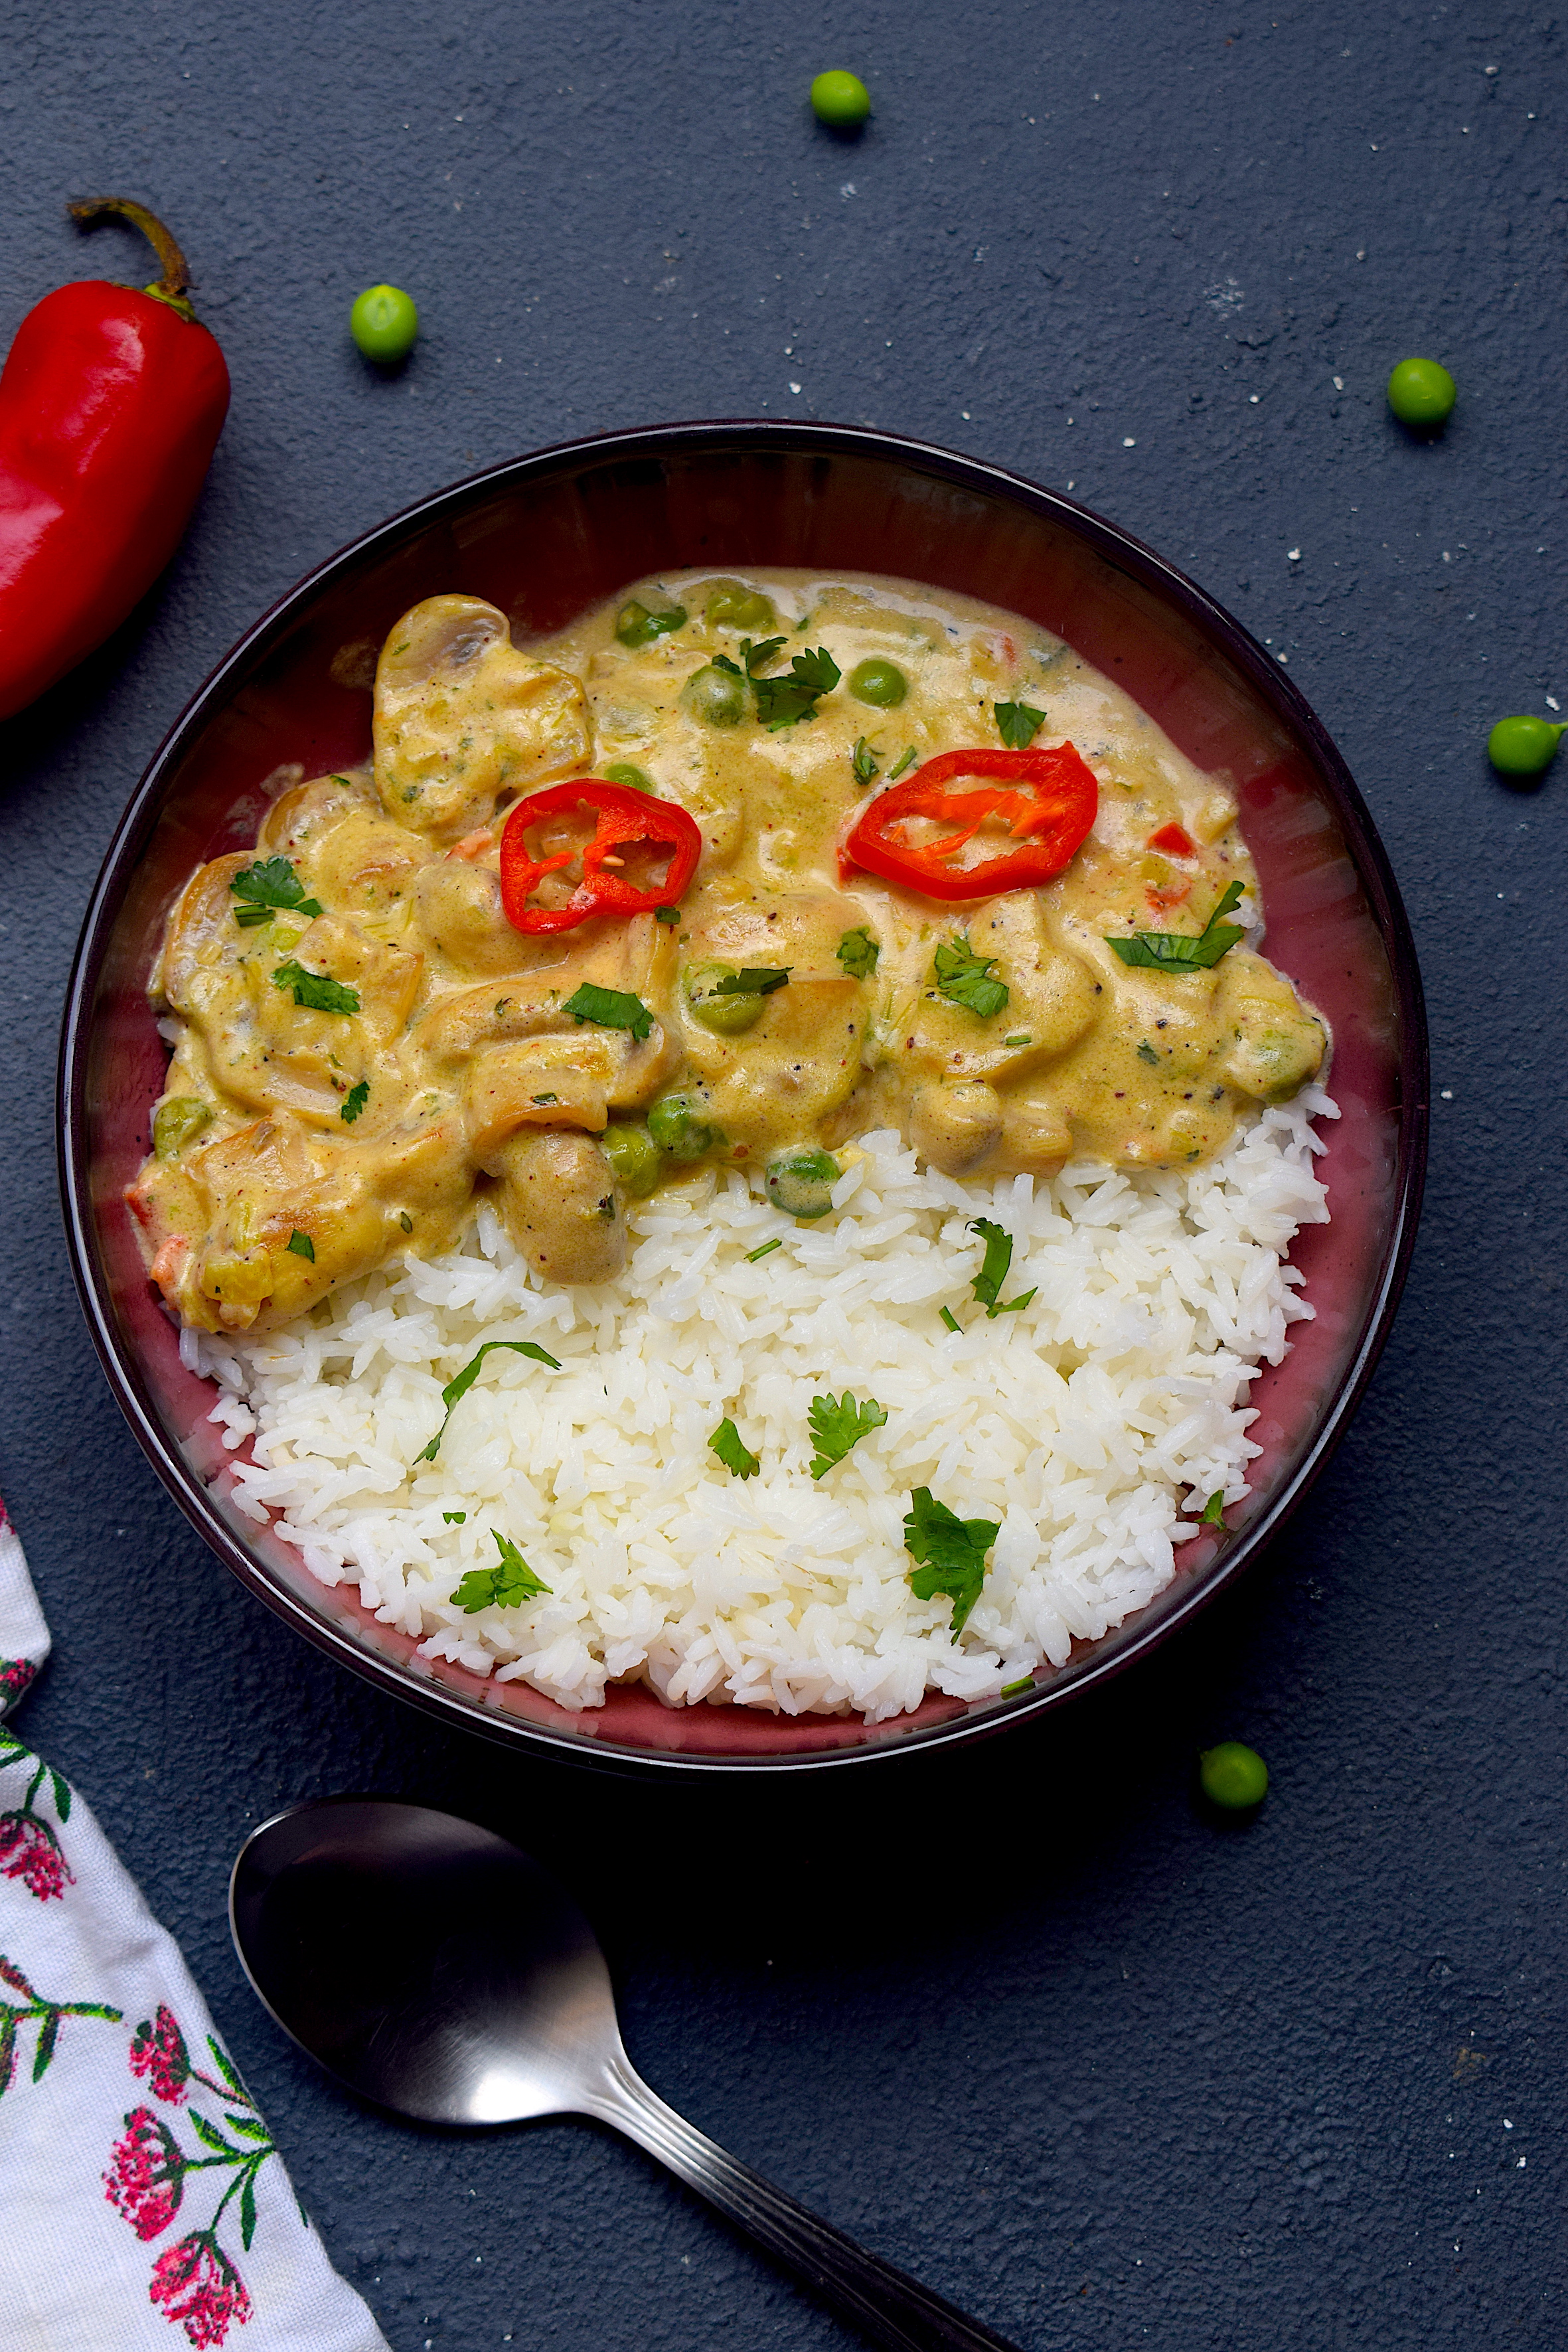
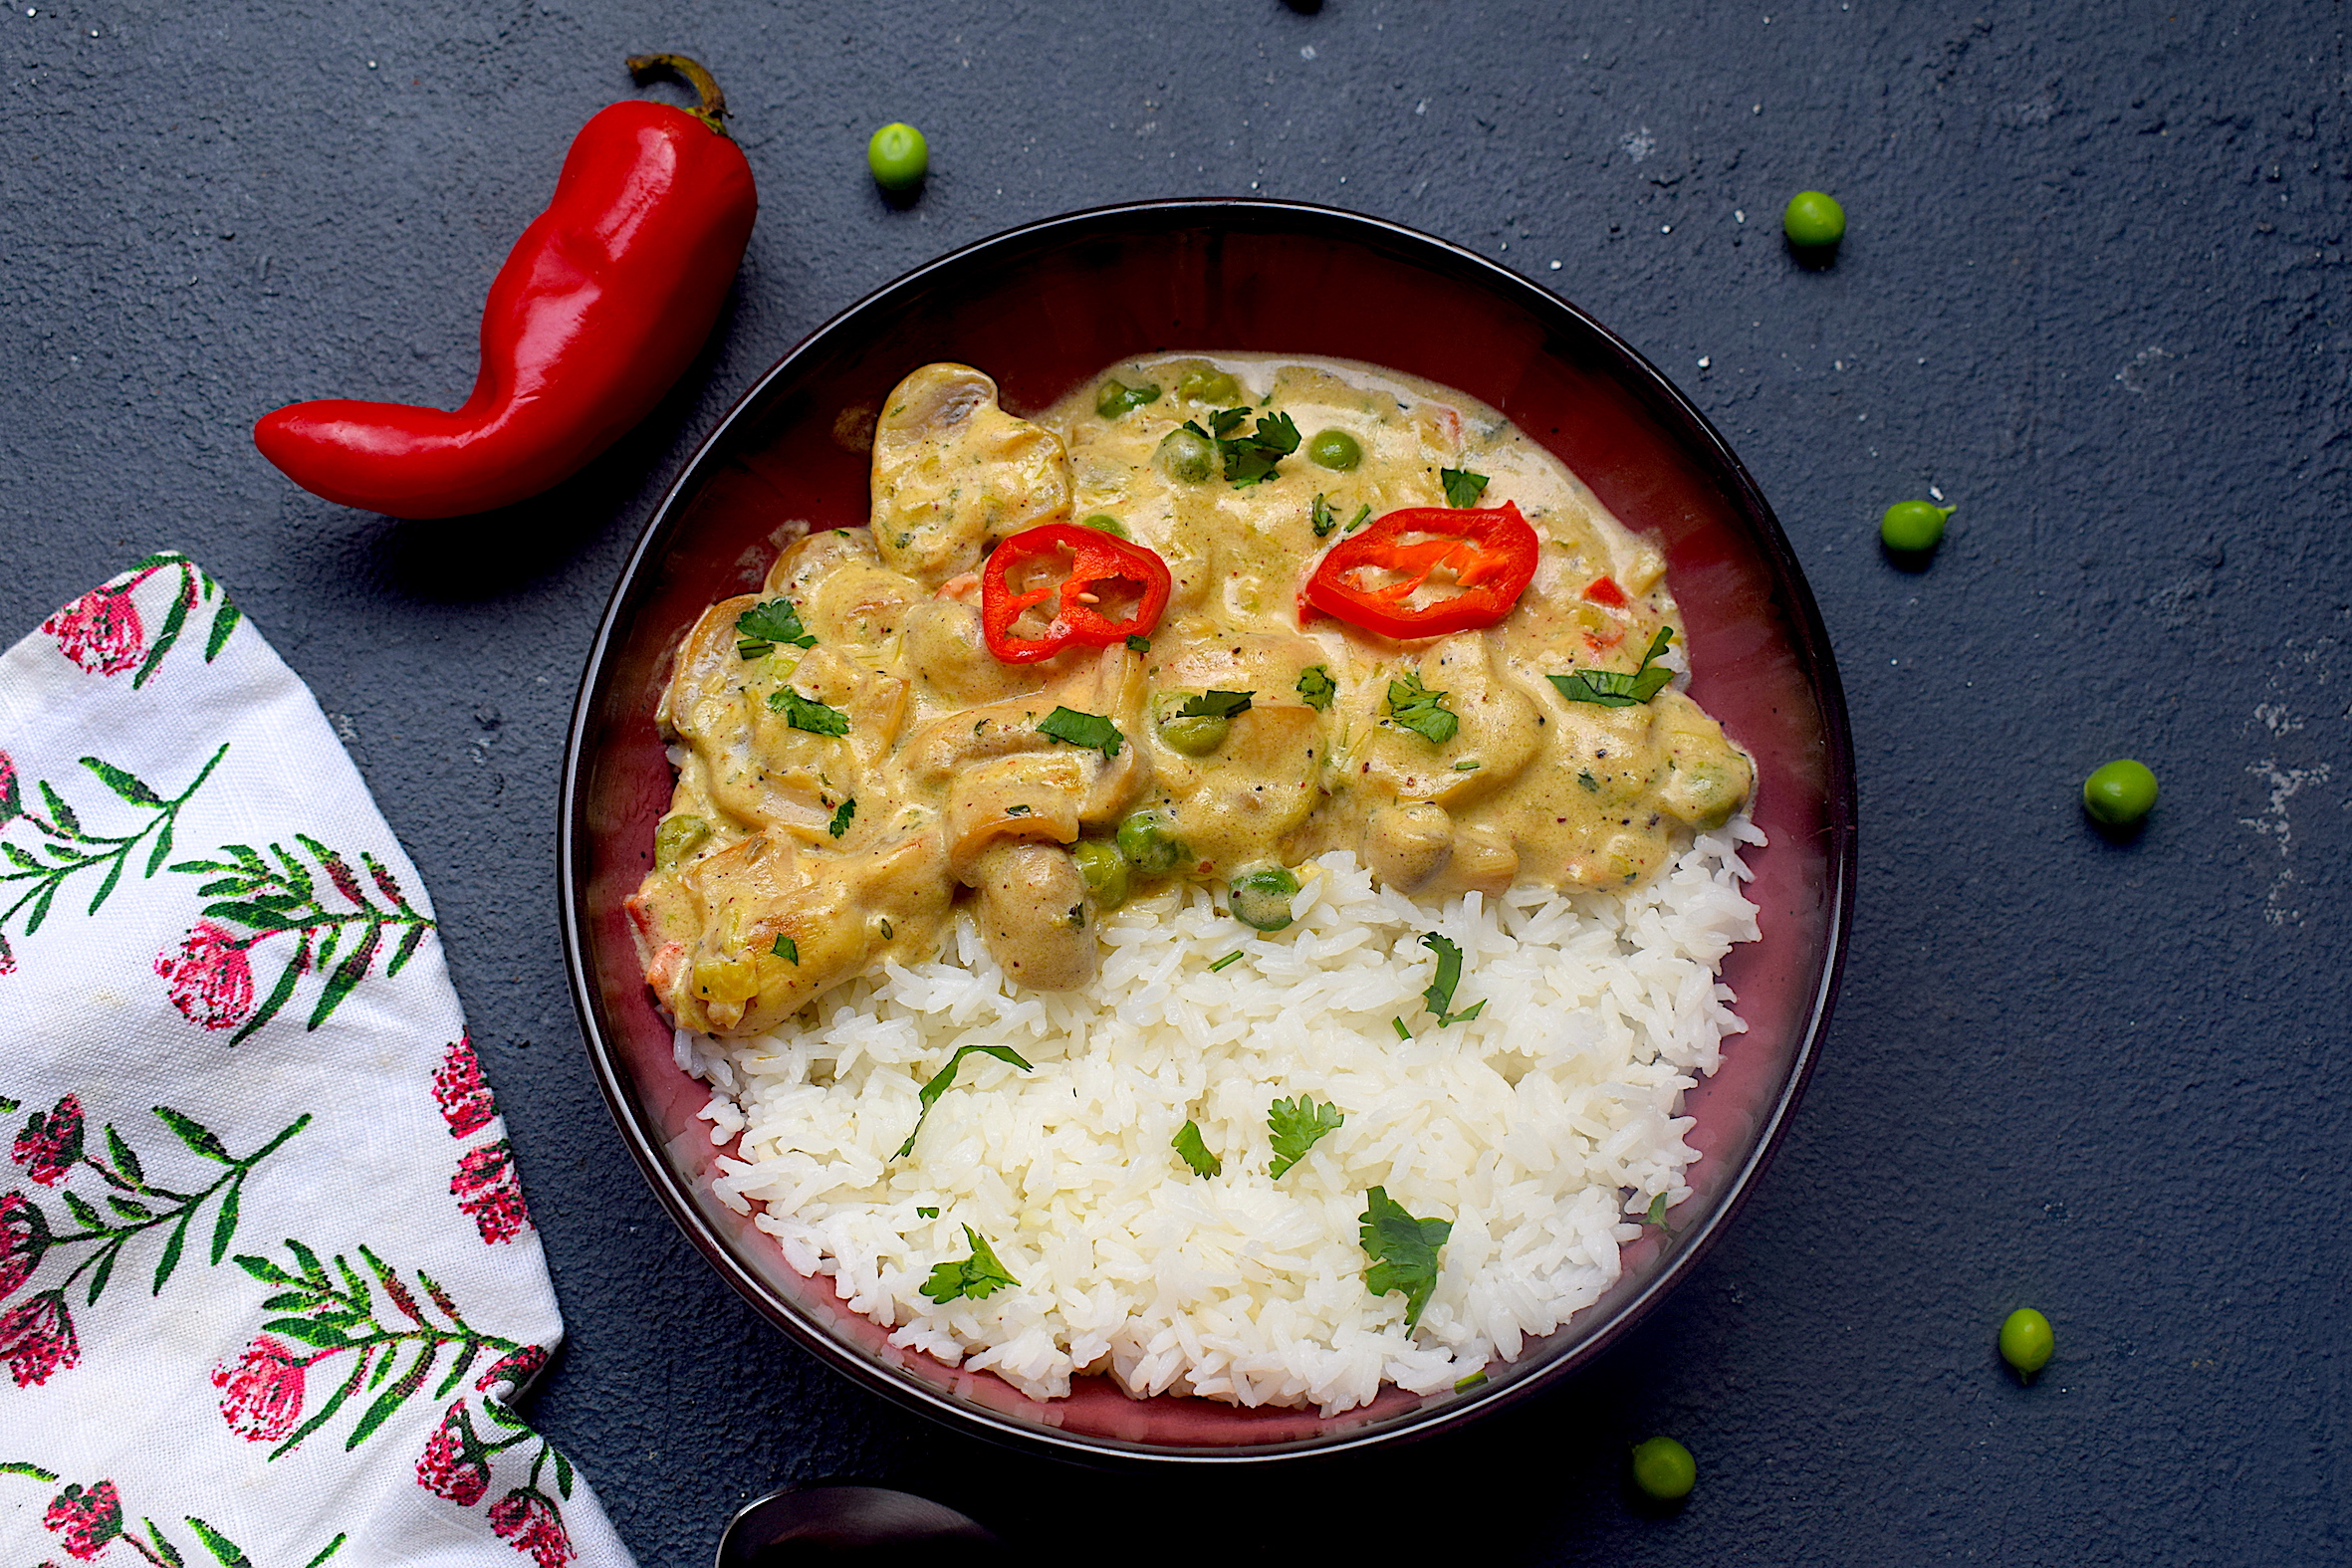
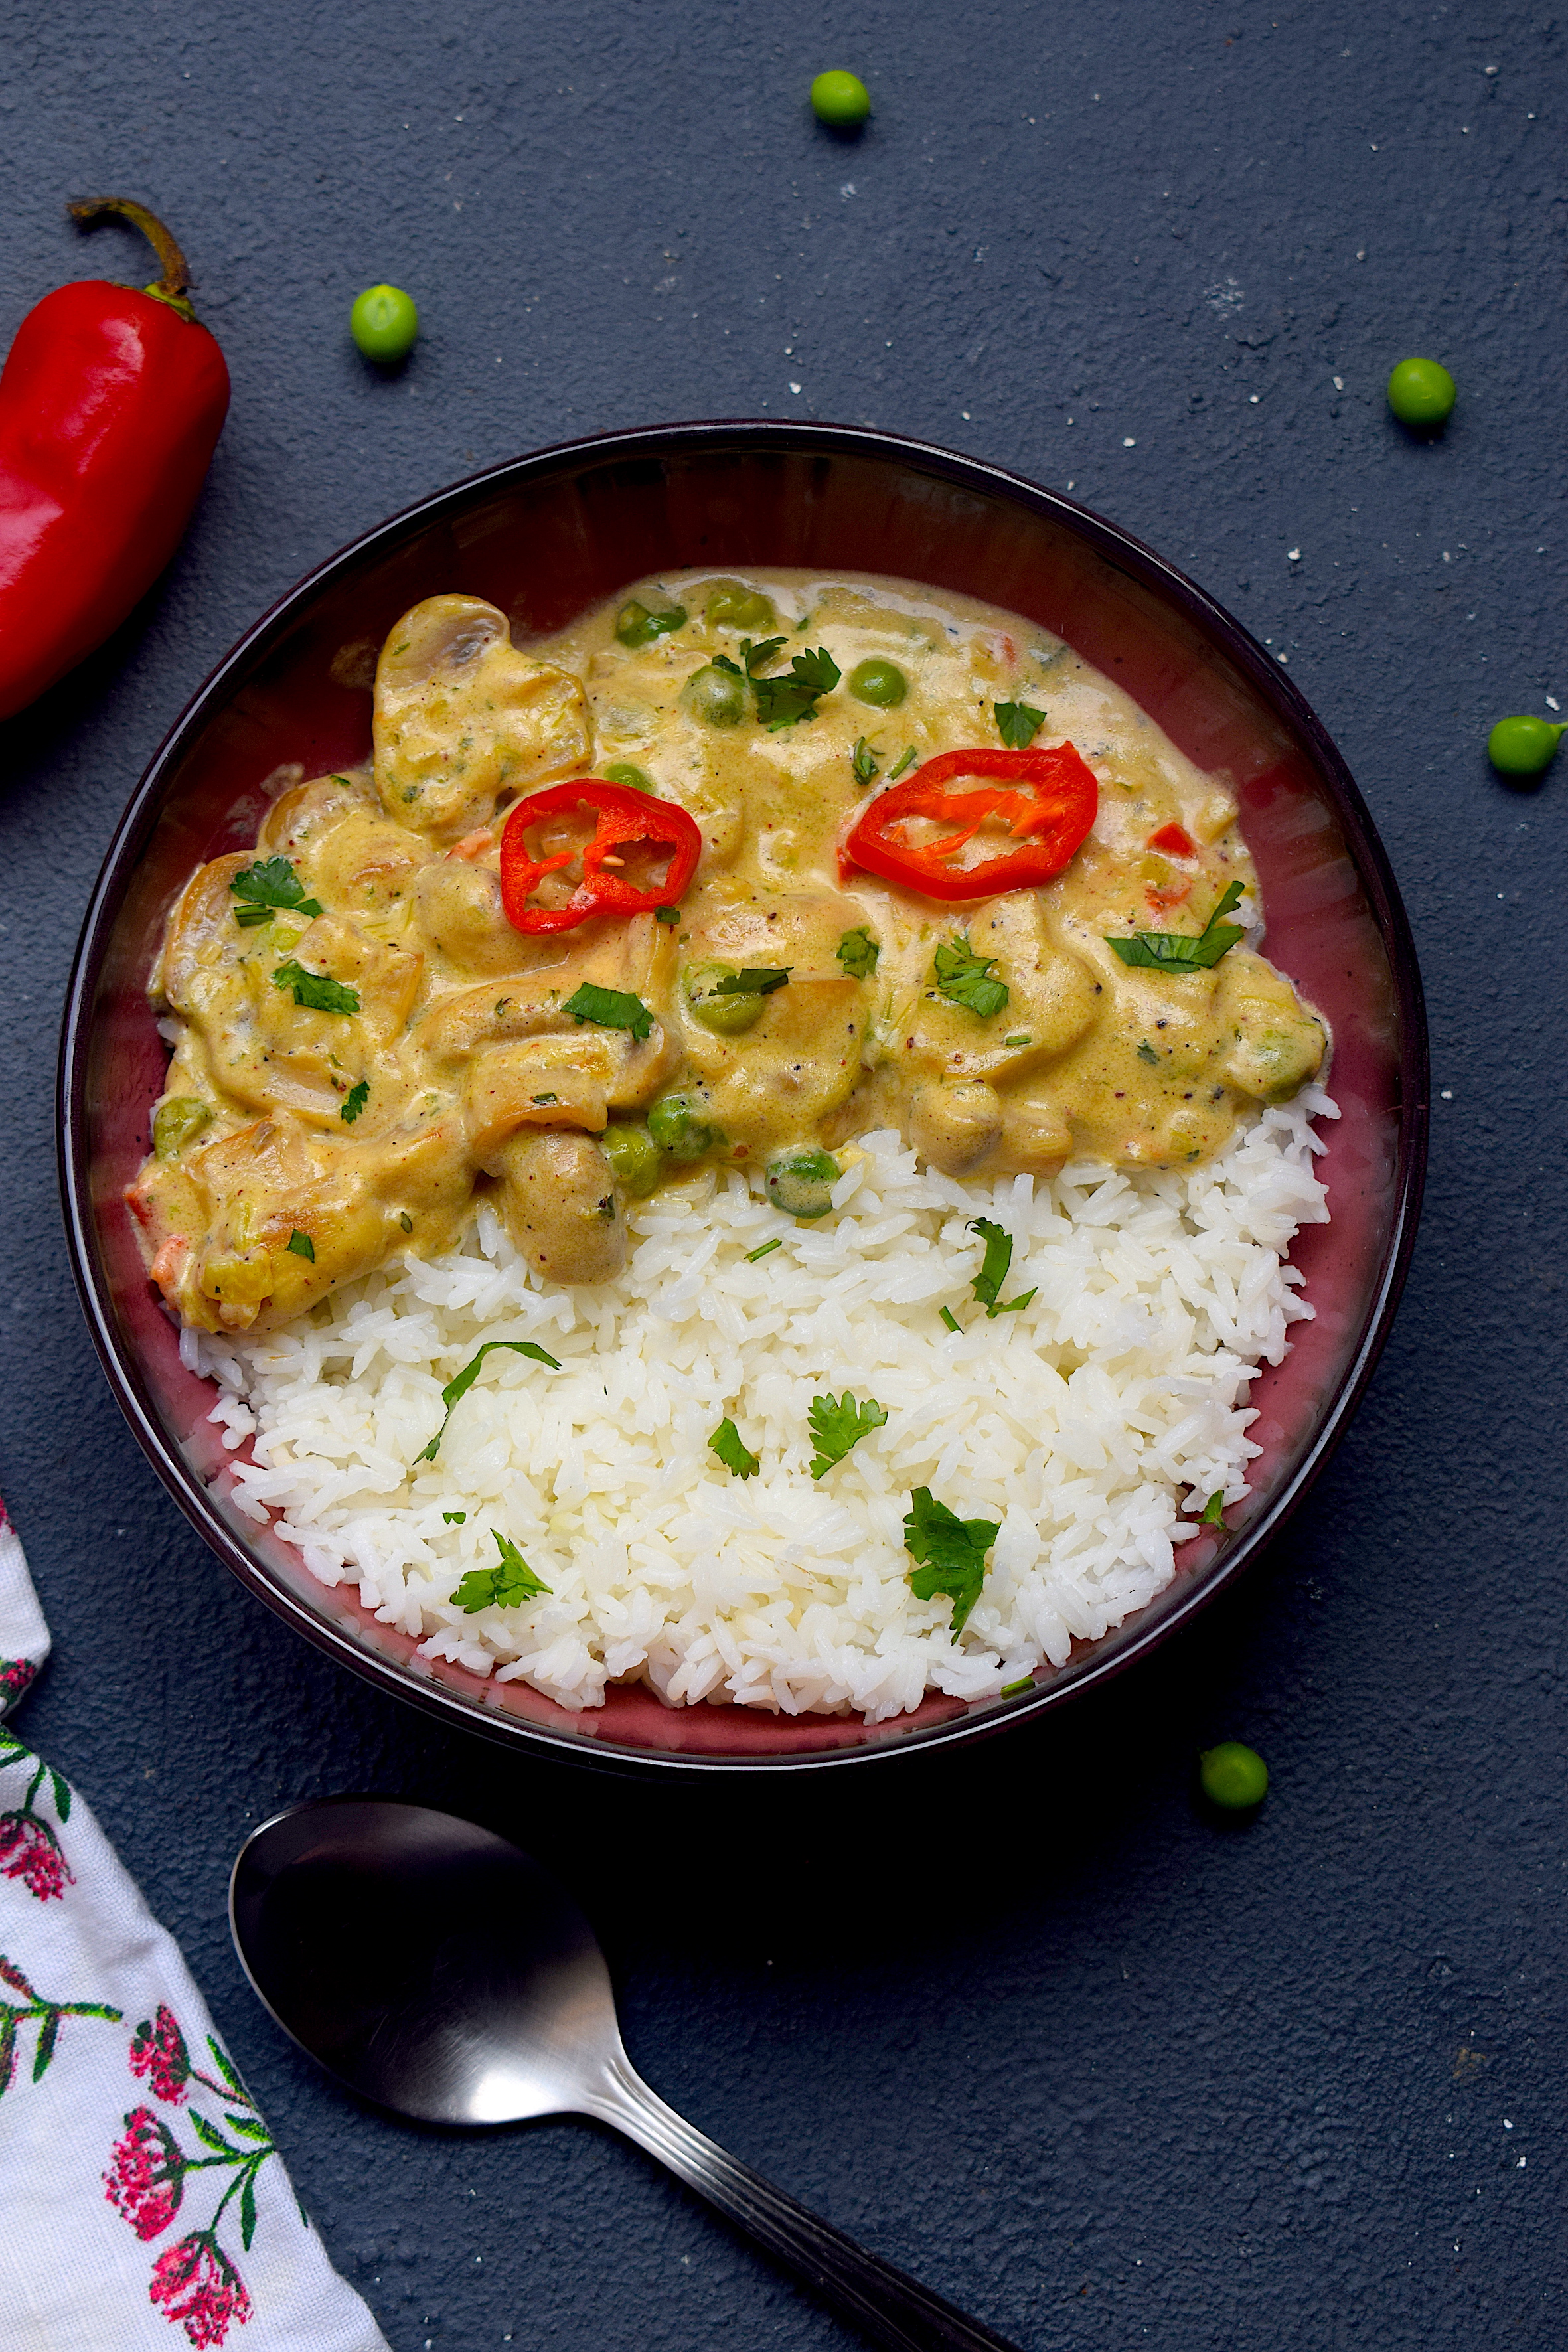
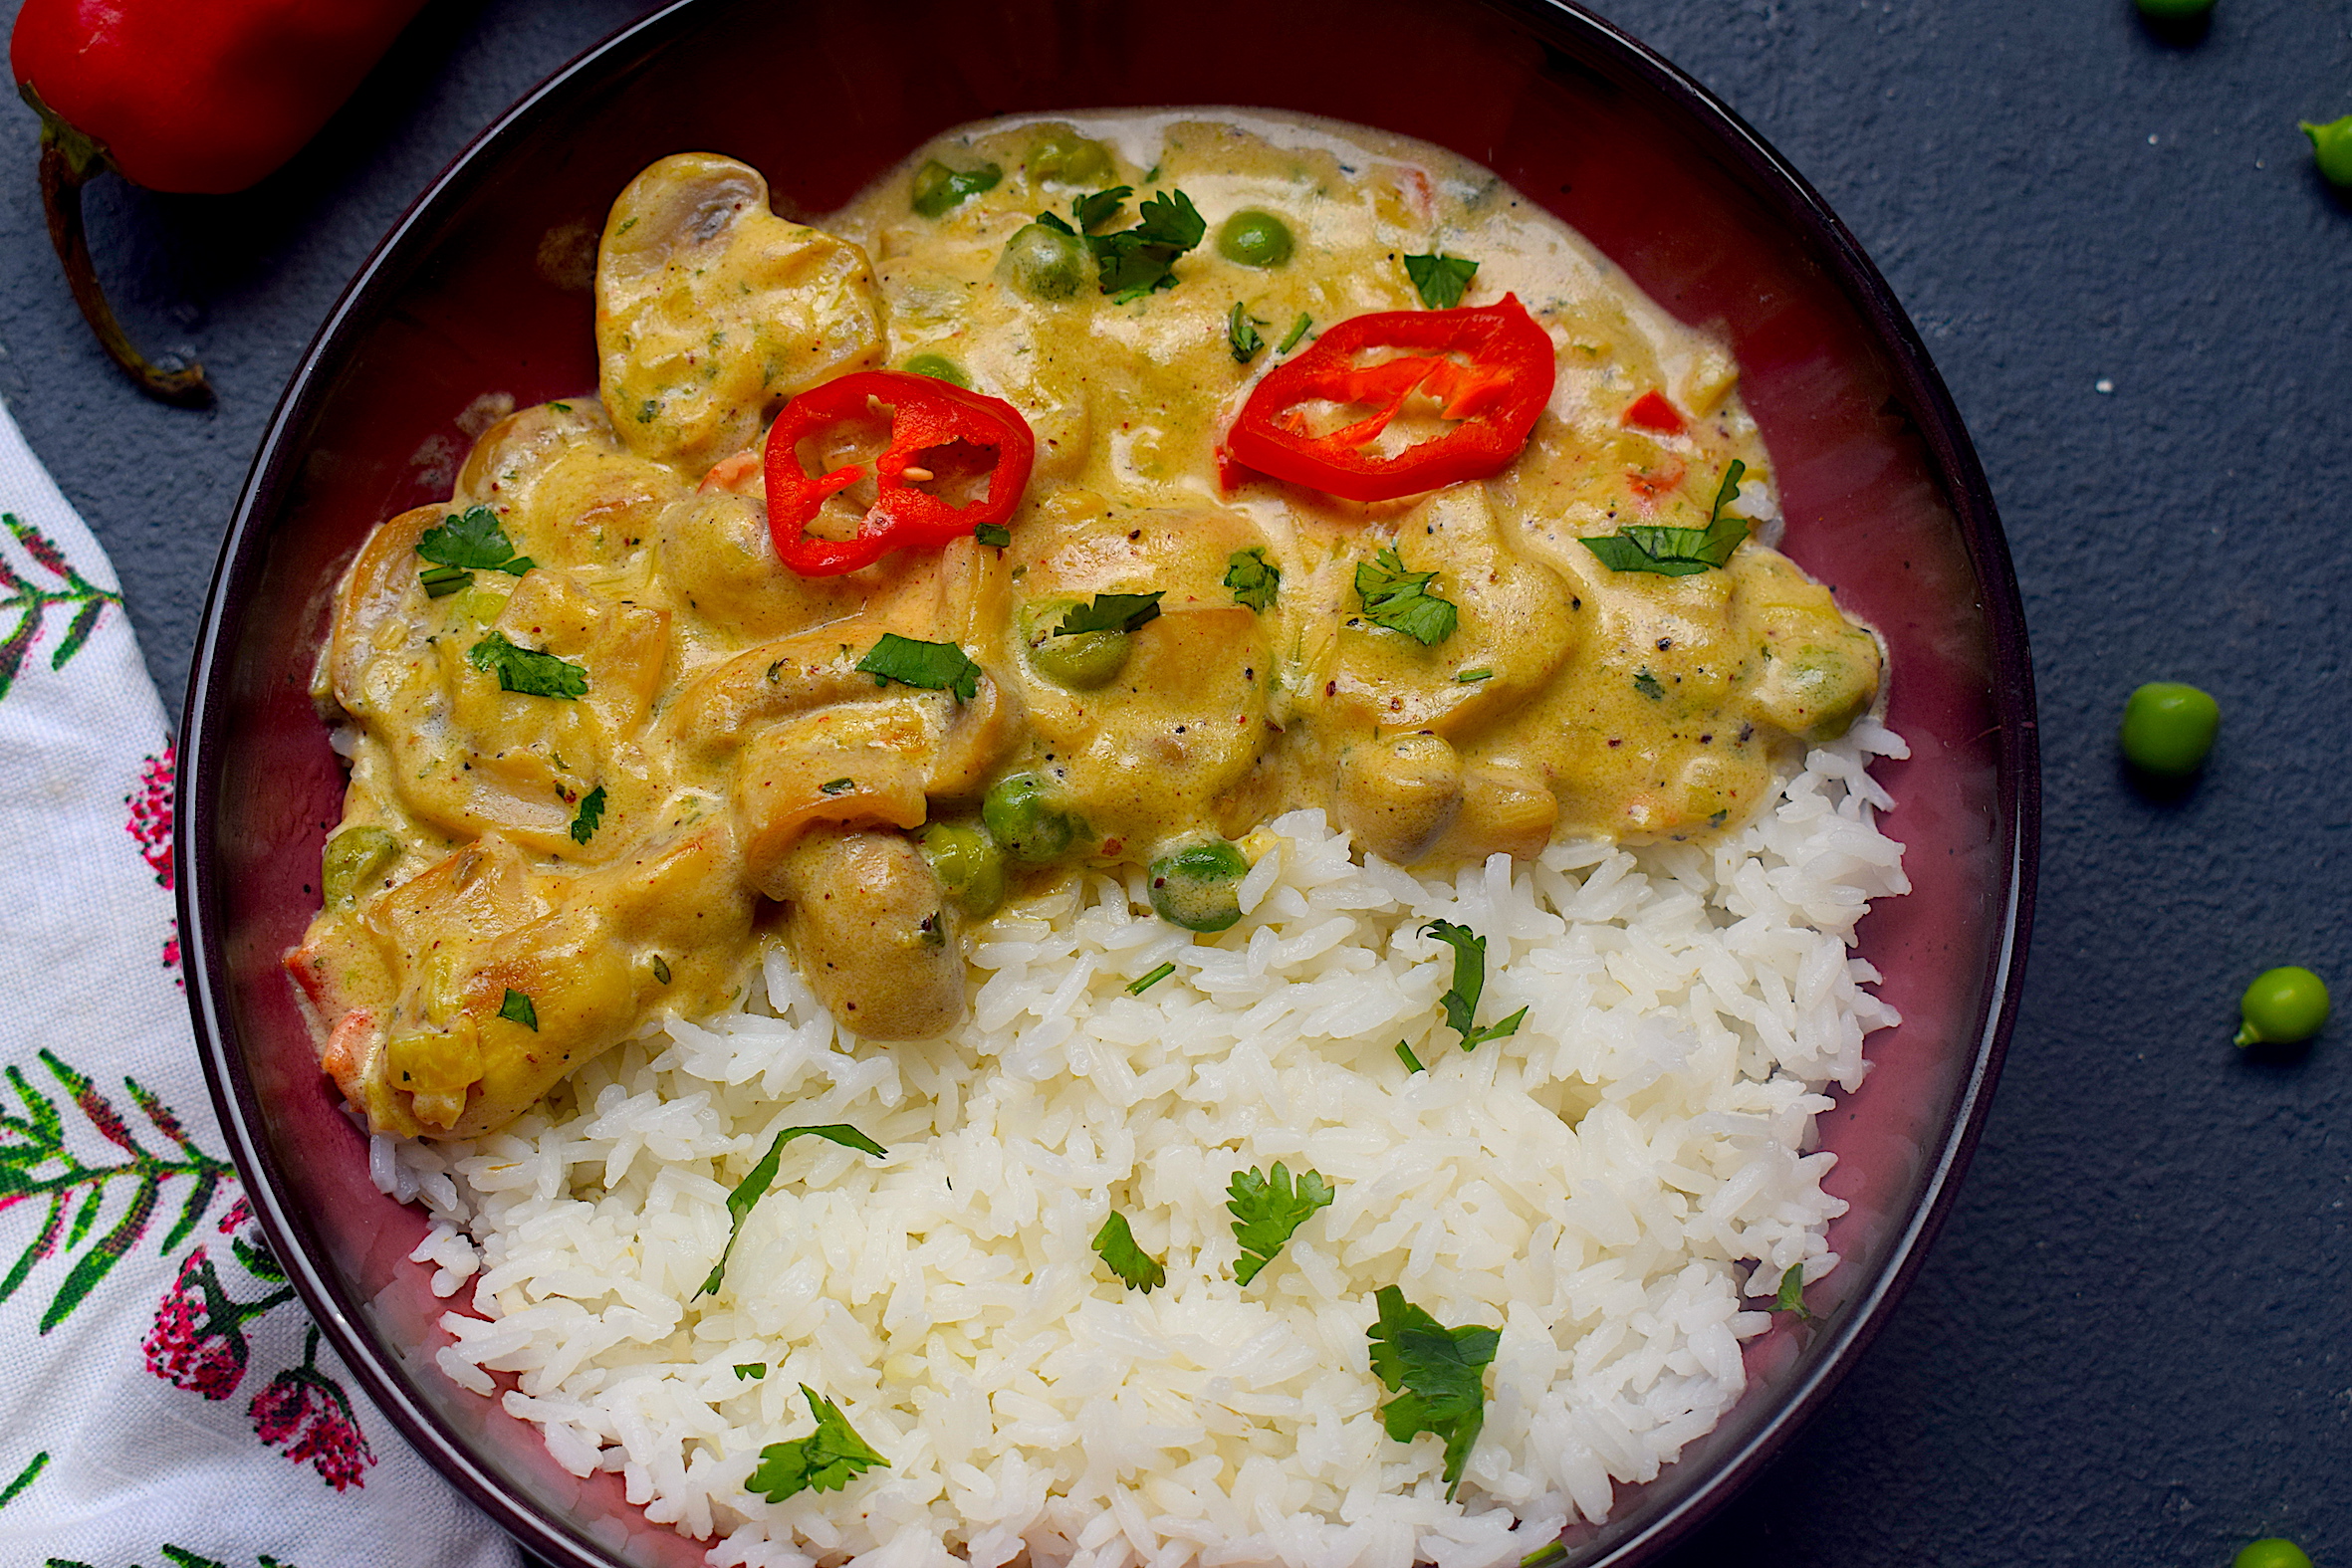
Creamy, delicious and comforting – this mushroom stroganoff is the ultimate idea for a meal in a bowl, especially in winters! It takes a handful of ingredients, and gets ready in absolutely no time! A personal favorite of mine, the mushrooms add their own unique flavor to the recipe, and the cream makes it velvety soft. Add a dash of fresh cinnamon powder and you have got yourself a winner!

mushroom stroganoff

I love recipes that accommodate and adjust with local ingredients. This mushroom stroganoff is also highly customizable in my opinion. It’s winters right now so I have used some beautiful red cayenne pepper and some lovely peas that I found at my local market. The flavors that these two simple ingredients add is extraordinary. The idea is to not really play too much with the recipe and let the natural flavors of the seasonal ingredients do their magic. And the results are stunning!

mushroom stroganoff

Traditional stroganoff recipes are usually with beef or chicken. It also does not include garlic and uses stock (chicken or beef) as a base. But this mushroom and peas stroganoff is way easier, as it does not include any stock! Just some good quality cream. The taste and texture are no less when compared to its non-vegetarian counterparts.

The addition of seasonal peas makes the gravy naturally sweet, and the green adds a dash of freshness to the otherwise nude, creamy color. Here’s my homely version of mushroom stroganoff. I hope you try it, especially on one of those extra lazy days.

Preparation time – 15 minutes

Cook time – 20 minutes

Serves – 2 people

[ingredients title=”Ingredients”]

  • 200 g button mushrooms, cut in half
  • 50 g fresh green peas
  • 1 onion, finely chopped
  • 120 ml fresh cream
  • 1 tsp cinnamon powder
  • Salt to taste
  • 4 garlic cloves, finely chopped
  • 100 ml water
  • 1 tbsp butter
  • 1 tsp vegetable oil
  • 1 small cayenne pepper, finely chopped
  • 1 tsp black pepper powder
  • 1 tsp chopped parsley [/ingredients]

[directions title=”Directions”]

  1. Heat oil in a pan. Add butter to it and give it a light stir.
  2. Add the finely chopped garlic and stir. Saute the garlic for about ten seconds in low heat so that it does not get burnt. Next, add half of the chopped cayenne pepper to the oil. Stir for a minute.
  3. Once the garlic and cayenne pepper releases its aroma, add the chopped onion. Saute till onions are translucent and soft.
  4. Dice the mushrooms by cutting them in half and add them to the onions. Add the green peas along with it. Be gentle, stir and do not break them.
  5. The mushrooms will cook in about ten minutes (make sure they are crunchy and not soggy) after which you have to add some warm water. Give it a light stir and let it come to a boil.
  6. Pour in the cream and stir well.
  7. Season with salt and black pepper powder. The reason why we are adding salt towards the end is that doing it, in the beginning, will make mushrooms release all its water and make it soggy.
  8. Let this cook on medium heat till it reduces and you get a thick and creamy consistency.
  9. Garnish with a pinch of freshly ground cinnamon powder and chopped parsley. You can also add freshly chopped coriander leaves if parsley is unavailable.
  10. Serve hot with boiled rice.[/directions]

mushroom stroganoff

mushroom stroganoff

I hope you try this really easy and delicious mushroom stroganoff for yourself and enjoy it as much as I do. If you have any questions, feel free to reach out to me with a comment or connect with me on Instagram or Facebook.
Happy cooking!

Malai Kofta Curry

The first time I ever decided to malai kofta curry was while flipping through pages from a vegetarian cookbook that my mother had. I was about twelve at that time. I do not remember the name of the book but a lot of my early childhood memories are around that book. That book taught me how to cook delicious Indian vegetarian food. It makes me think how long lasting and impactful childhood memories can be!

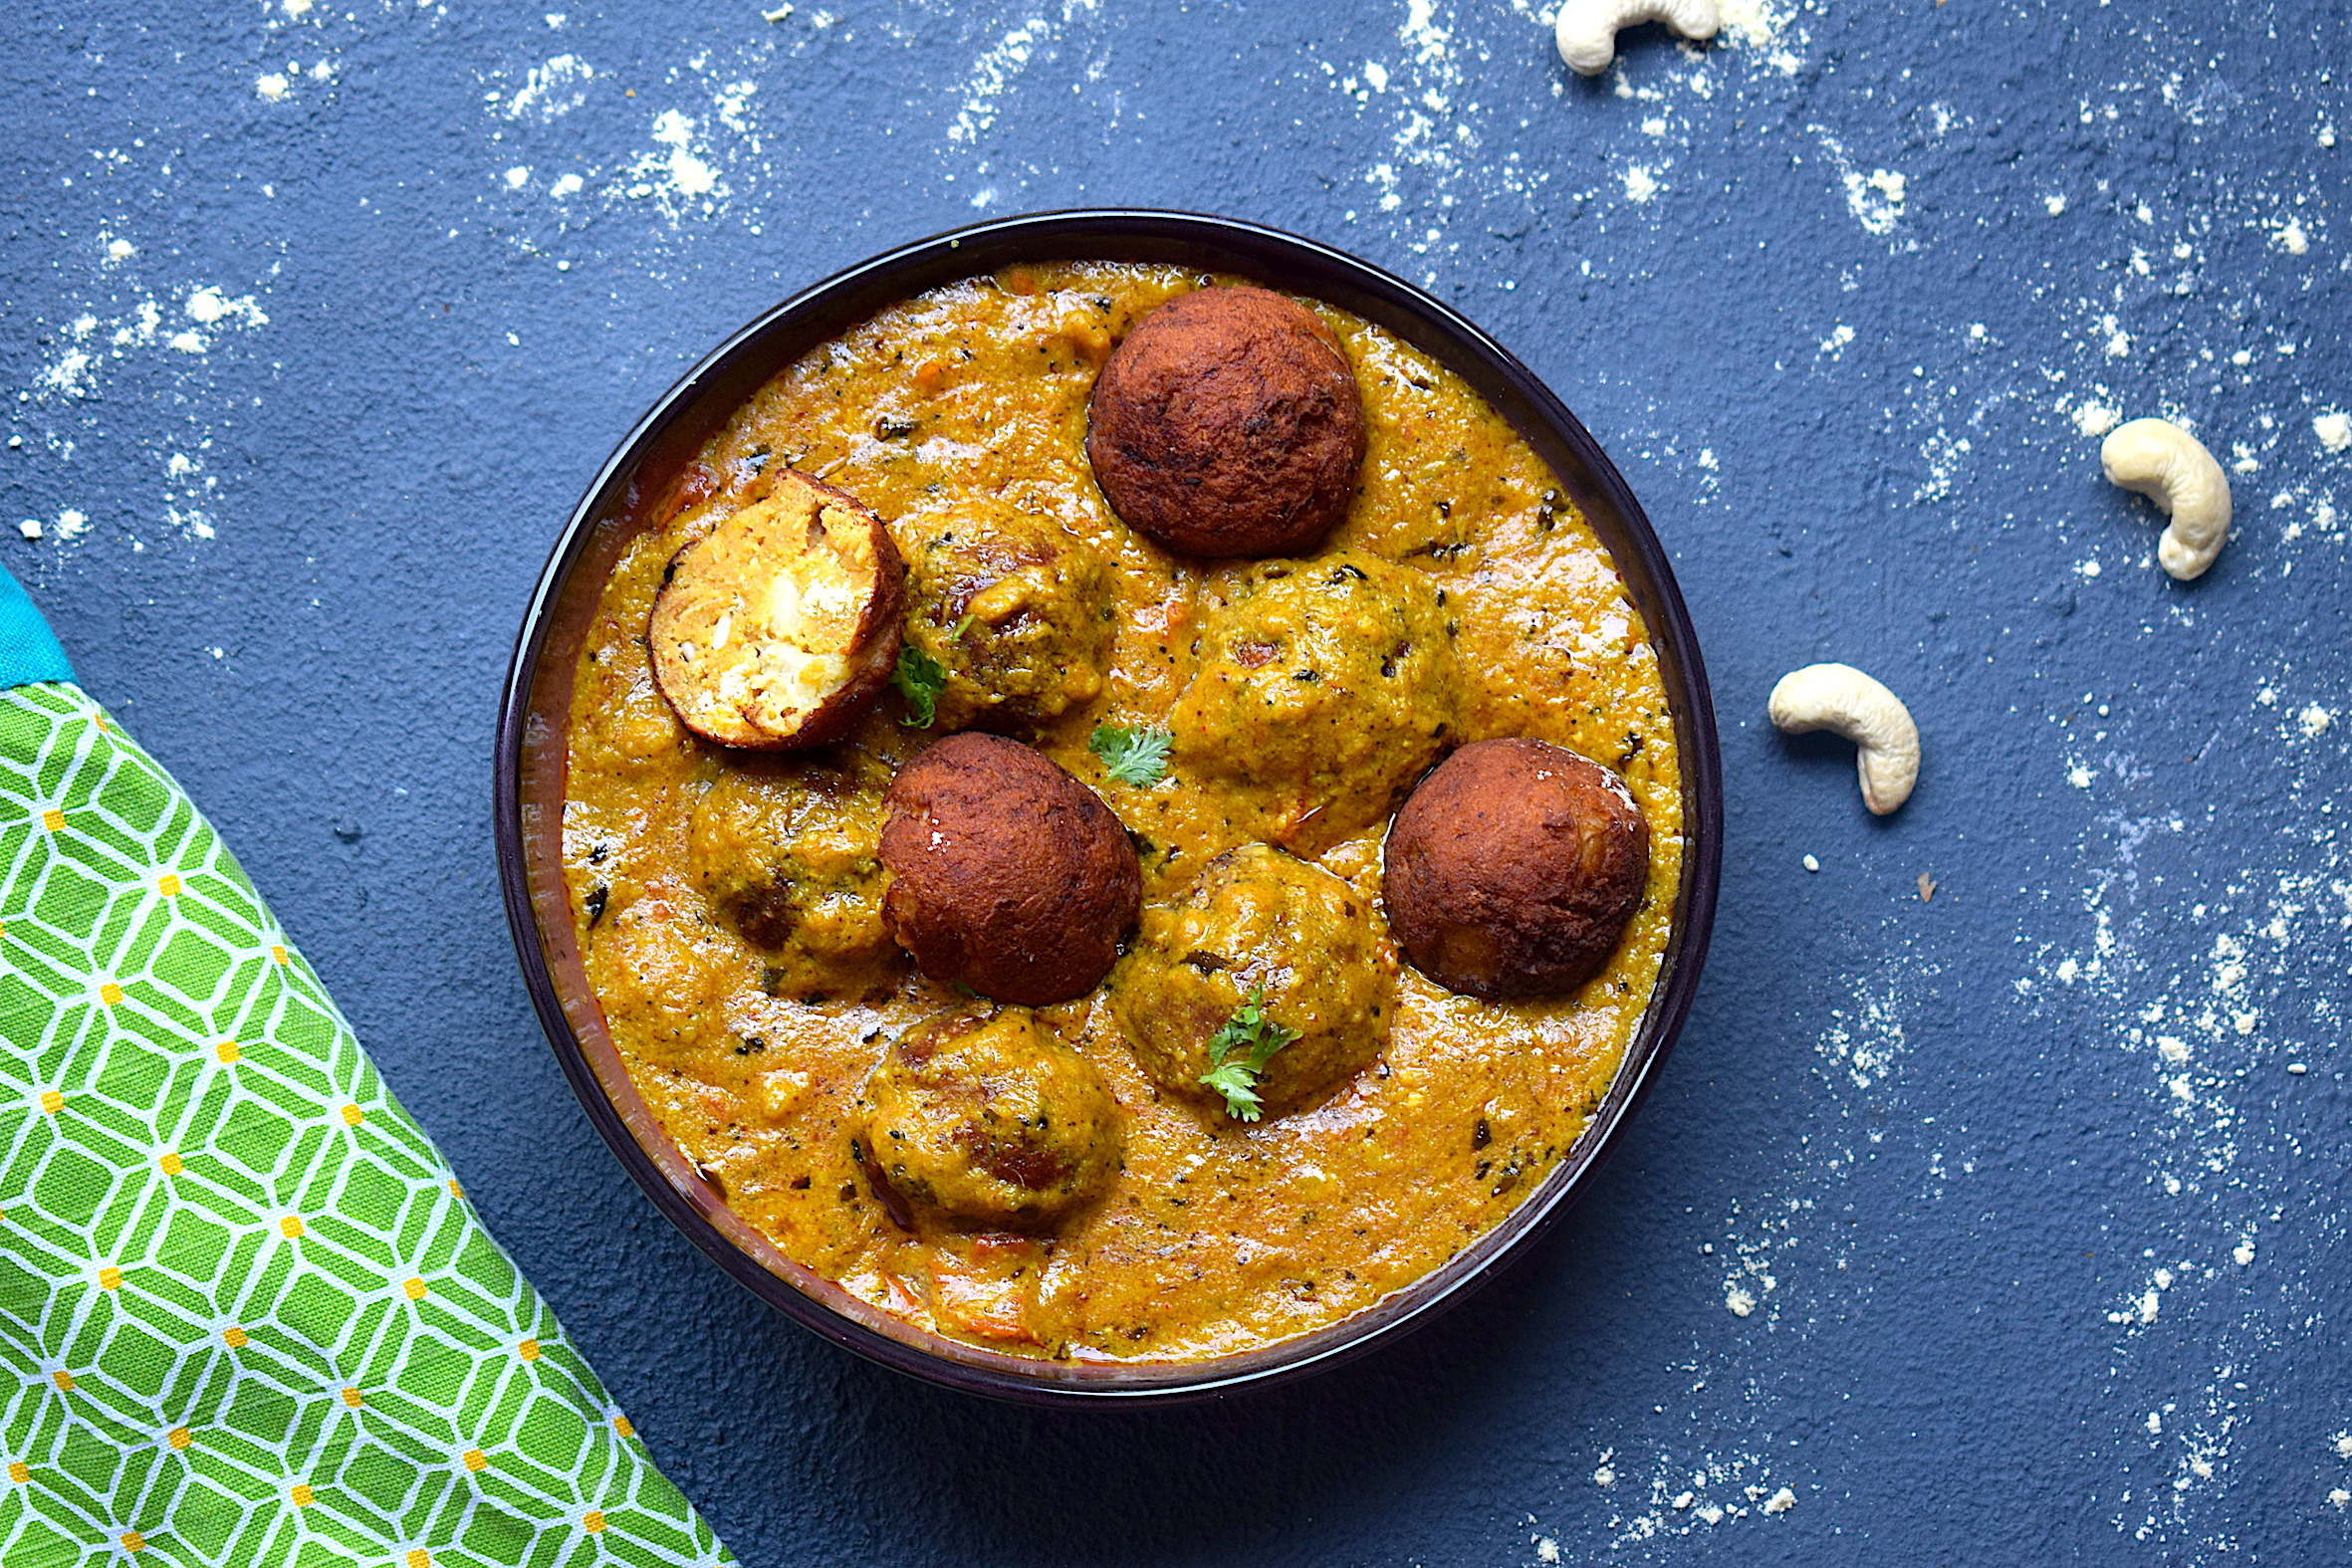
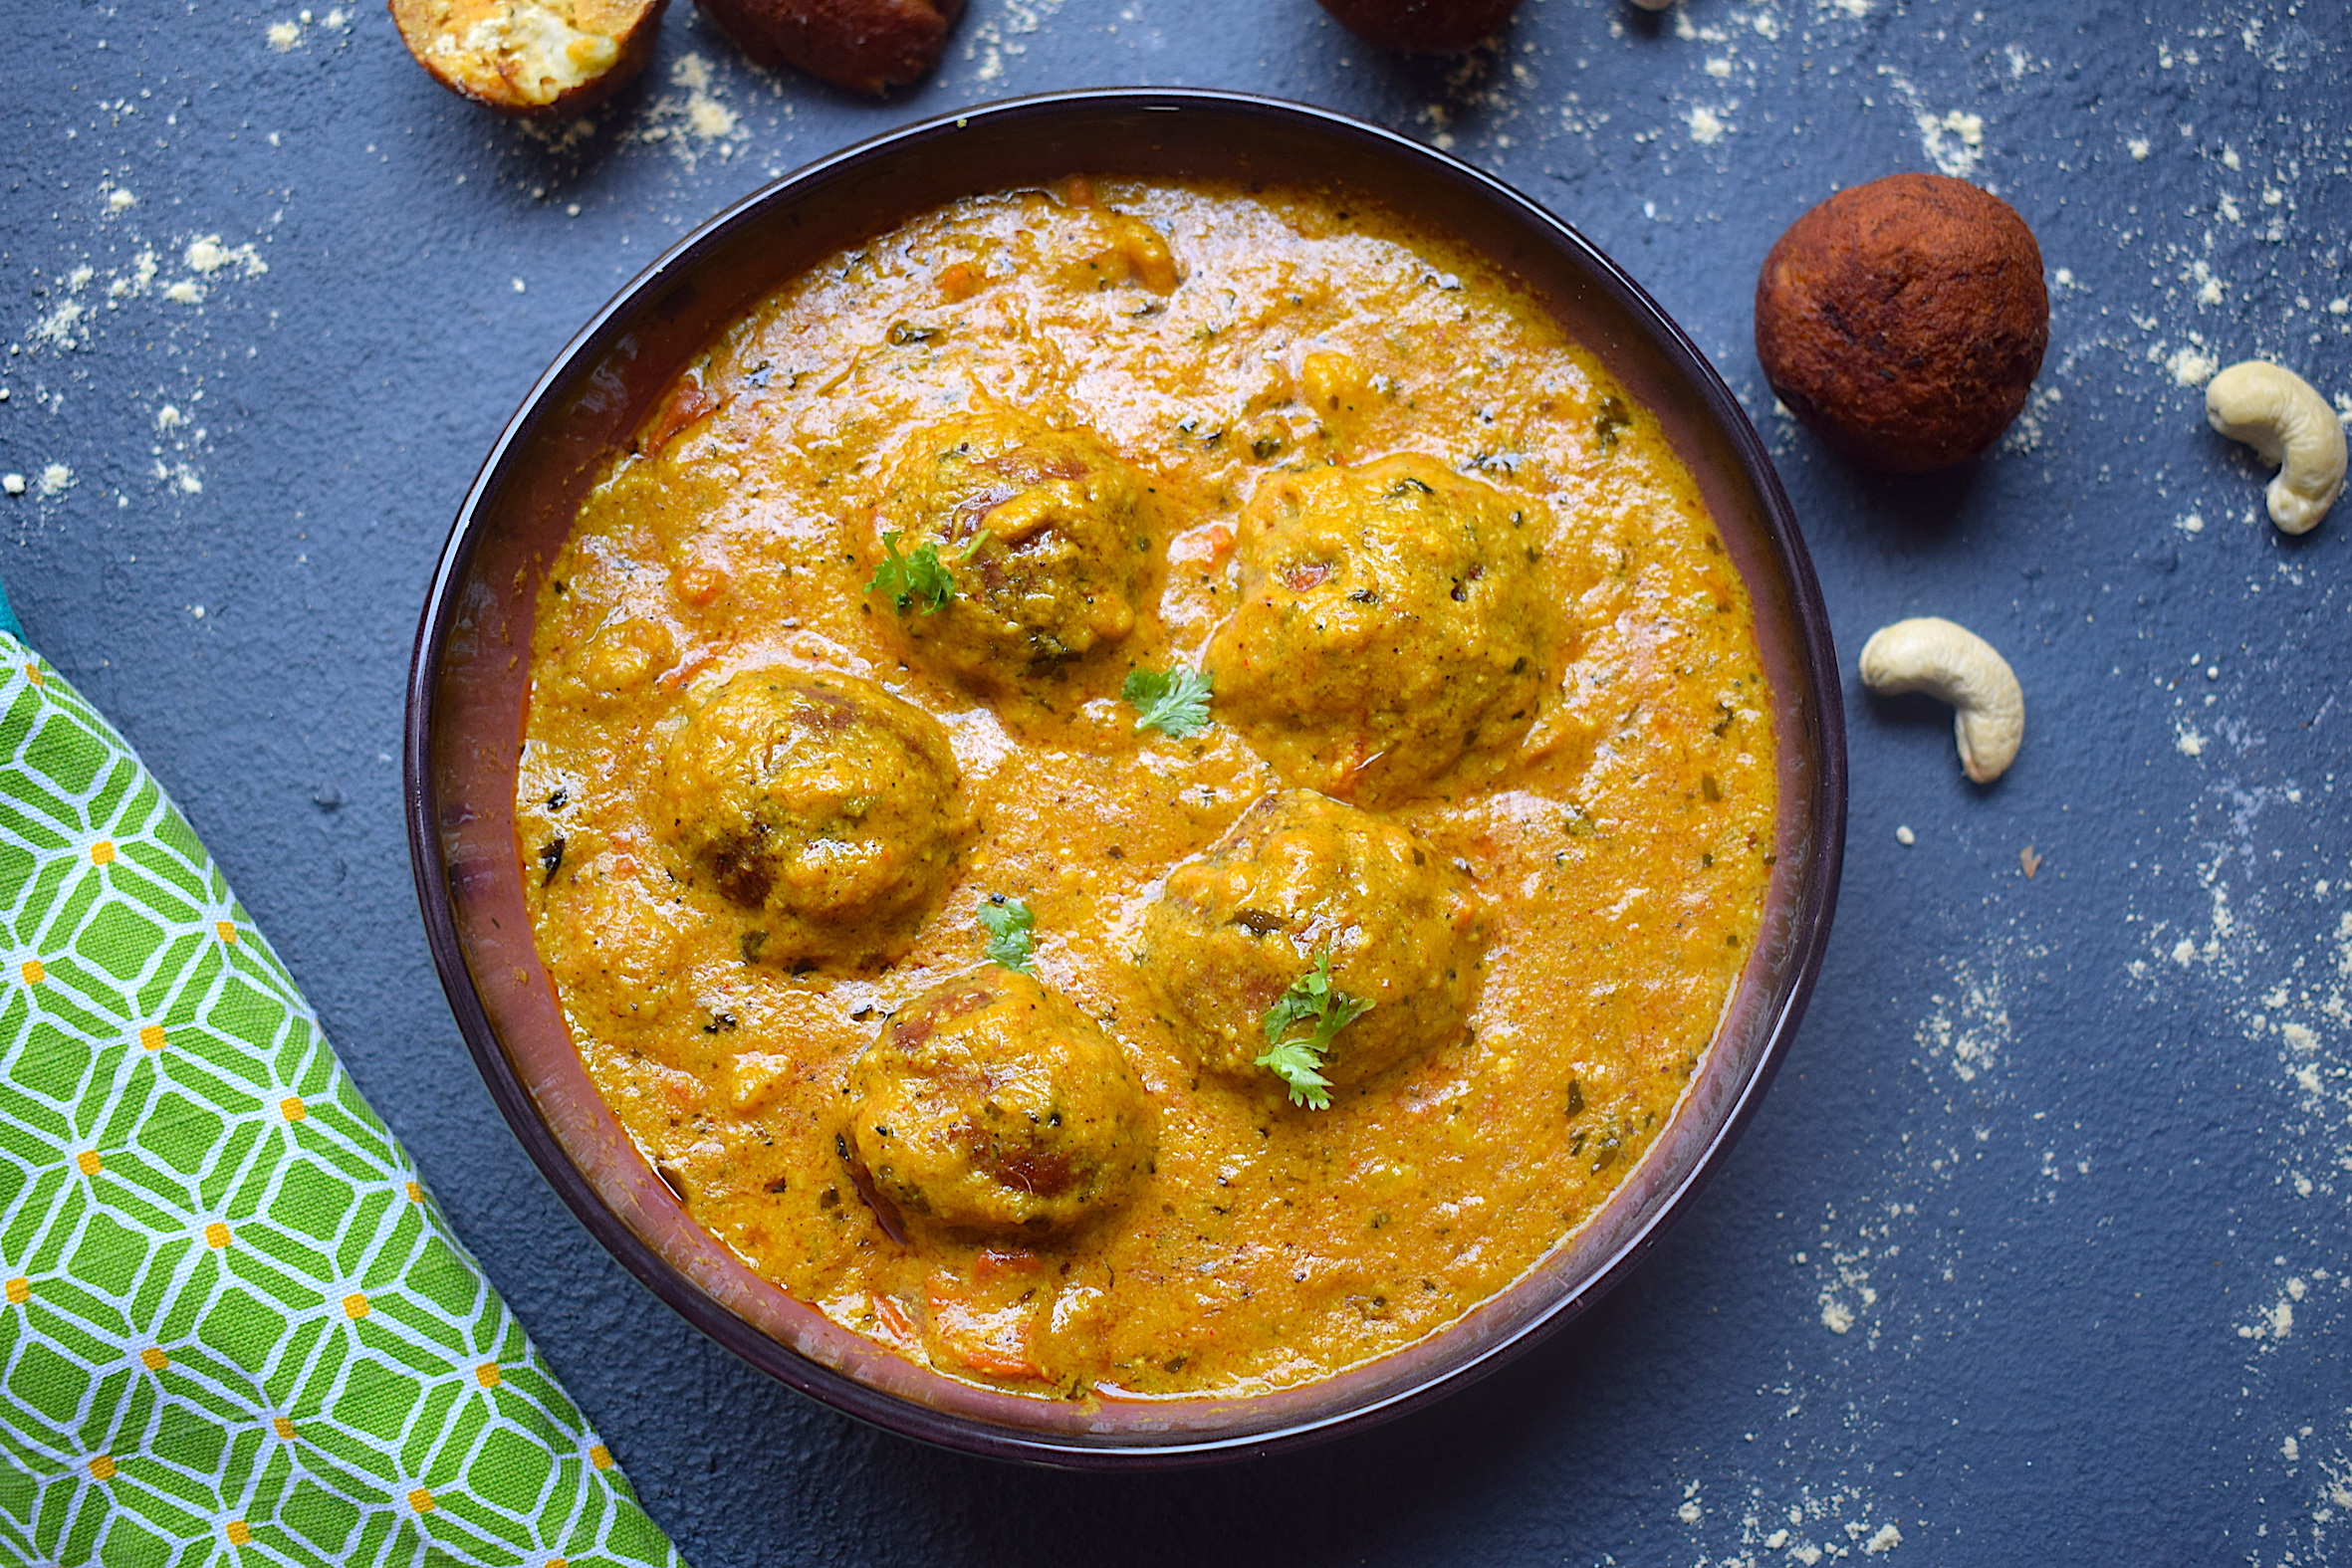
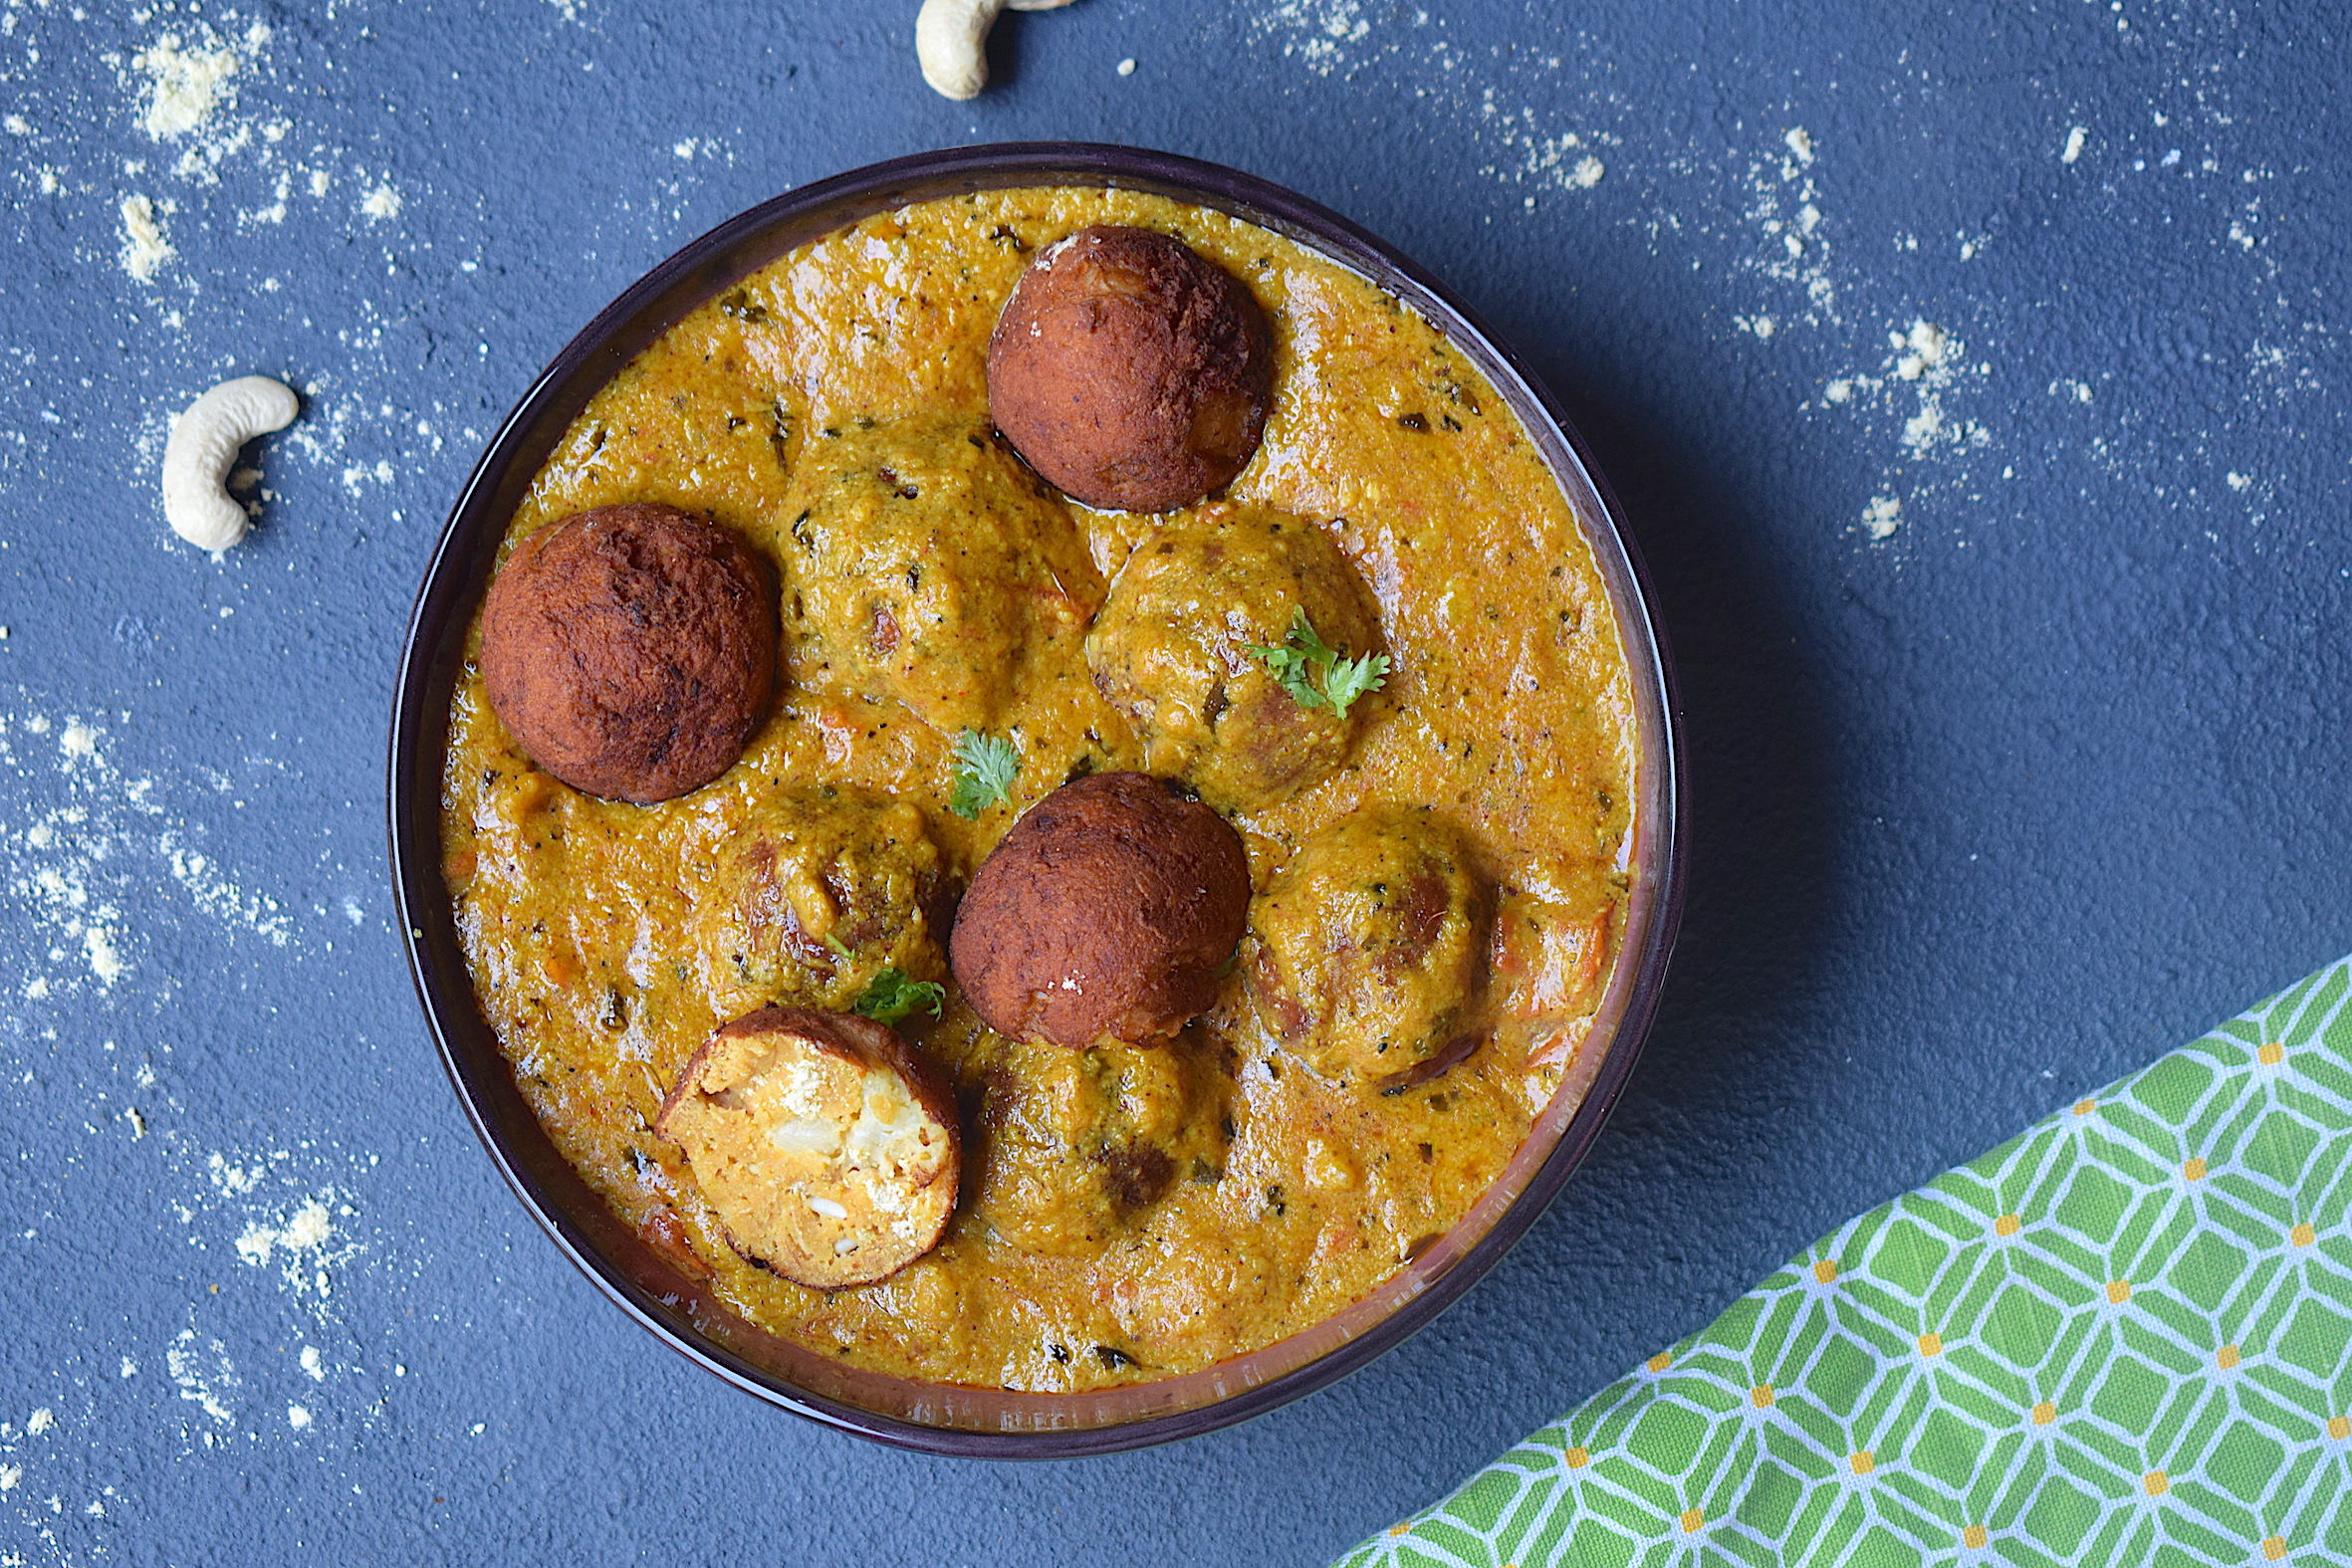
malai kofta curry

Fast forward years later, I have come up with my own version. I absolutely love this recipe and make it a lot! A lot of my hardcore non-vegetarian friends also love it!

The gravy of this malai kofta curry is a luxurious mix of cashew cream and curd, and the koftas are soft and melting in the mouth. Both of them combined along with some ghee laden rotis are a match made in heaven!

malai kofta curry

The curry is creamy, slightly sweet, luxurious and dreamy. It is thick as it is a smooth paste of a variety of elements.

Preparation time – 30 minutes

Cook time – 30 minutes

Serves – 2-3 people

[ingredients title=”Ingredients”]

For the koftas:

  • 150 grams grated paneer
  • 1/2 tsp garam masala
  • Salt to taste
  • 1 tsp cumin powder (jeera)
  • Chopped coriander leaves
  • 3 tbsp gram flour (Besan)
  • 1 tsp red chili powder
  • Water, as required
  • Oil (for deep frying the koftas)

For the malai kofta curry:

  • 2 onions, ground to a paste
  • 2 medium tomatoes, roughly diced
  • 1 green chili
  • 10 g ginger
  • 4 garlic cloves
  • 100 g cashews, ground to a paste
  • 1 tsp cumin
  • 2 tbsp curd, beaten well
  • 1 tsp black pepper powder
  • 1 tsp sugar
  • 1 tsp Kashmiri red chili powder
  • 1 tsp turmeric powder
  • 1 tbsp desi ghee
  • 1 tsp coriander powder
  • 1 tsp garam masala
  • 200 ml warm water
  • 1 tbsp Kasuri methi for garnish
  • Salt to taste [/ingredients]

[directions title=”Directions”]

  1. Thoroughly grate the paneer ensuring there are no large chunks. Add salt, garam masala, gram flour, chopped coriander leaves, red chili powder and water to form a thick batter.
  2. Make round koftas and freeze them for at least an hour.
  3. Deep fry these koftas in hot oil until they are crispy from all sides and cooked from within. Set aside.
  4. In a blender, make a fine paste of one green chili, tomatoes, ginger and garlic with a little water.
  5. Heat oil in a  kadhai. Add the onion paste. Saute the onions till the raw aroma disappears, they turn brown and the oil starts to separate from it.
  6. Add some sugar into the onions. This will help to give it a beautiful brown color and also enable the onions to cook faster. It will also add some sweetness to your final recipe.
  7. Once the raw aroma of the onions disappears, add the blended tomato puree. Cook this till oil starts to separate from the onion and tomato paste.
  8. Once the tomato is cooked, season with salt, turmeric powder, cumin powder, black pepper powder, coriander powder, and Kashmiri red chili powder. If you do not want too much chili flavor, skip adding the green chilies in the beginning.
  9. Add beaten curd and cashew paste to the mixture and stir well.
  10. Add in some warm to avoid the paste from sticking to the pan.
  11. Once everything is cooked, add some more warm water depending on the consistency you want.
  12. Season with garam masala and Kasuri methi just before turning off the gas. Give it one last stir.
  13. Add the koftas to the gravy just before serving.
  14. Enjoy with hot rotis, naan or jeera rice.[/directions]

malai kofta curry

malai kofta curry

malai kofta curry

I hope you try this really easy and delicious malai kofta curry for yourself and enjoy it as much as I do. If you have any questions, feel free to reach out to me with a comment or connect with me on Instagram or Facebook.
Happy cooking!

Related recipe – Lauki Kofta Curry

Schezwan Noodles With Homemade Schezwan Sauce

It’s time to raise your threshold for all things Schezwan! This Schezwan noodles with crunchy vegetables are going to fall in love with spicy food all over again.

What makes it special you ask?

The main ingredient of the recipe aka the Schezwan sauce isn’t store bought. It is as fresh and lively as a recipe can get.

I absolutely love these noodles. They are super simple to make, a great way to eat those vegetables and also not compromising on taste. Because we never want to do that, right? You can also go ahead and add your favorite protein to this. Chicken and scrambled eggs would be delightful in these noodles.

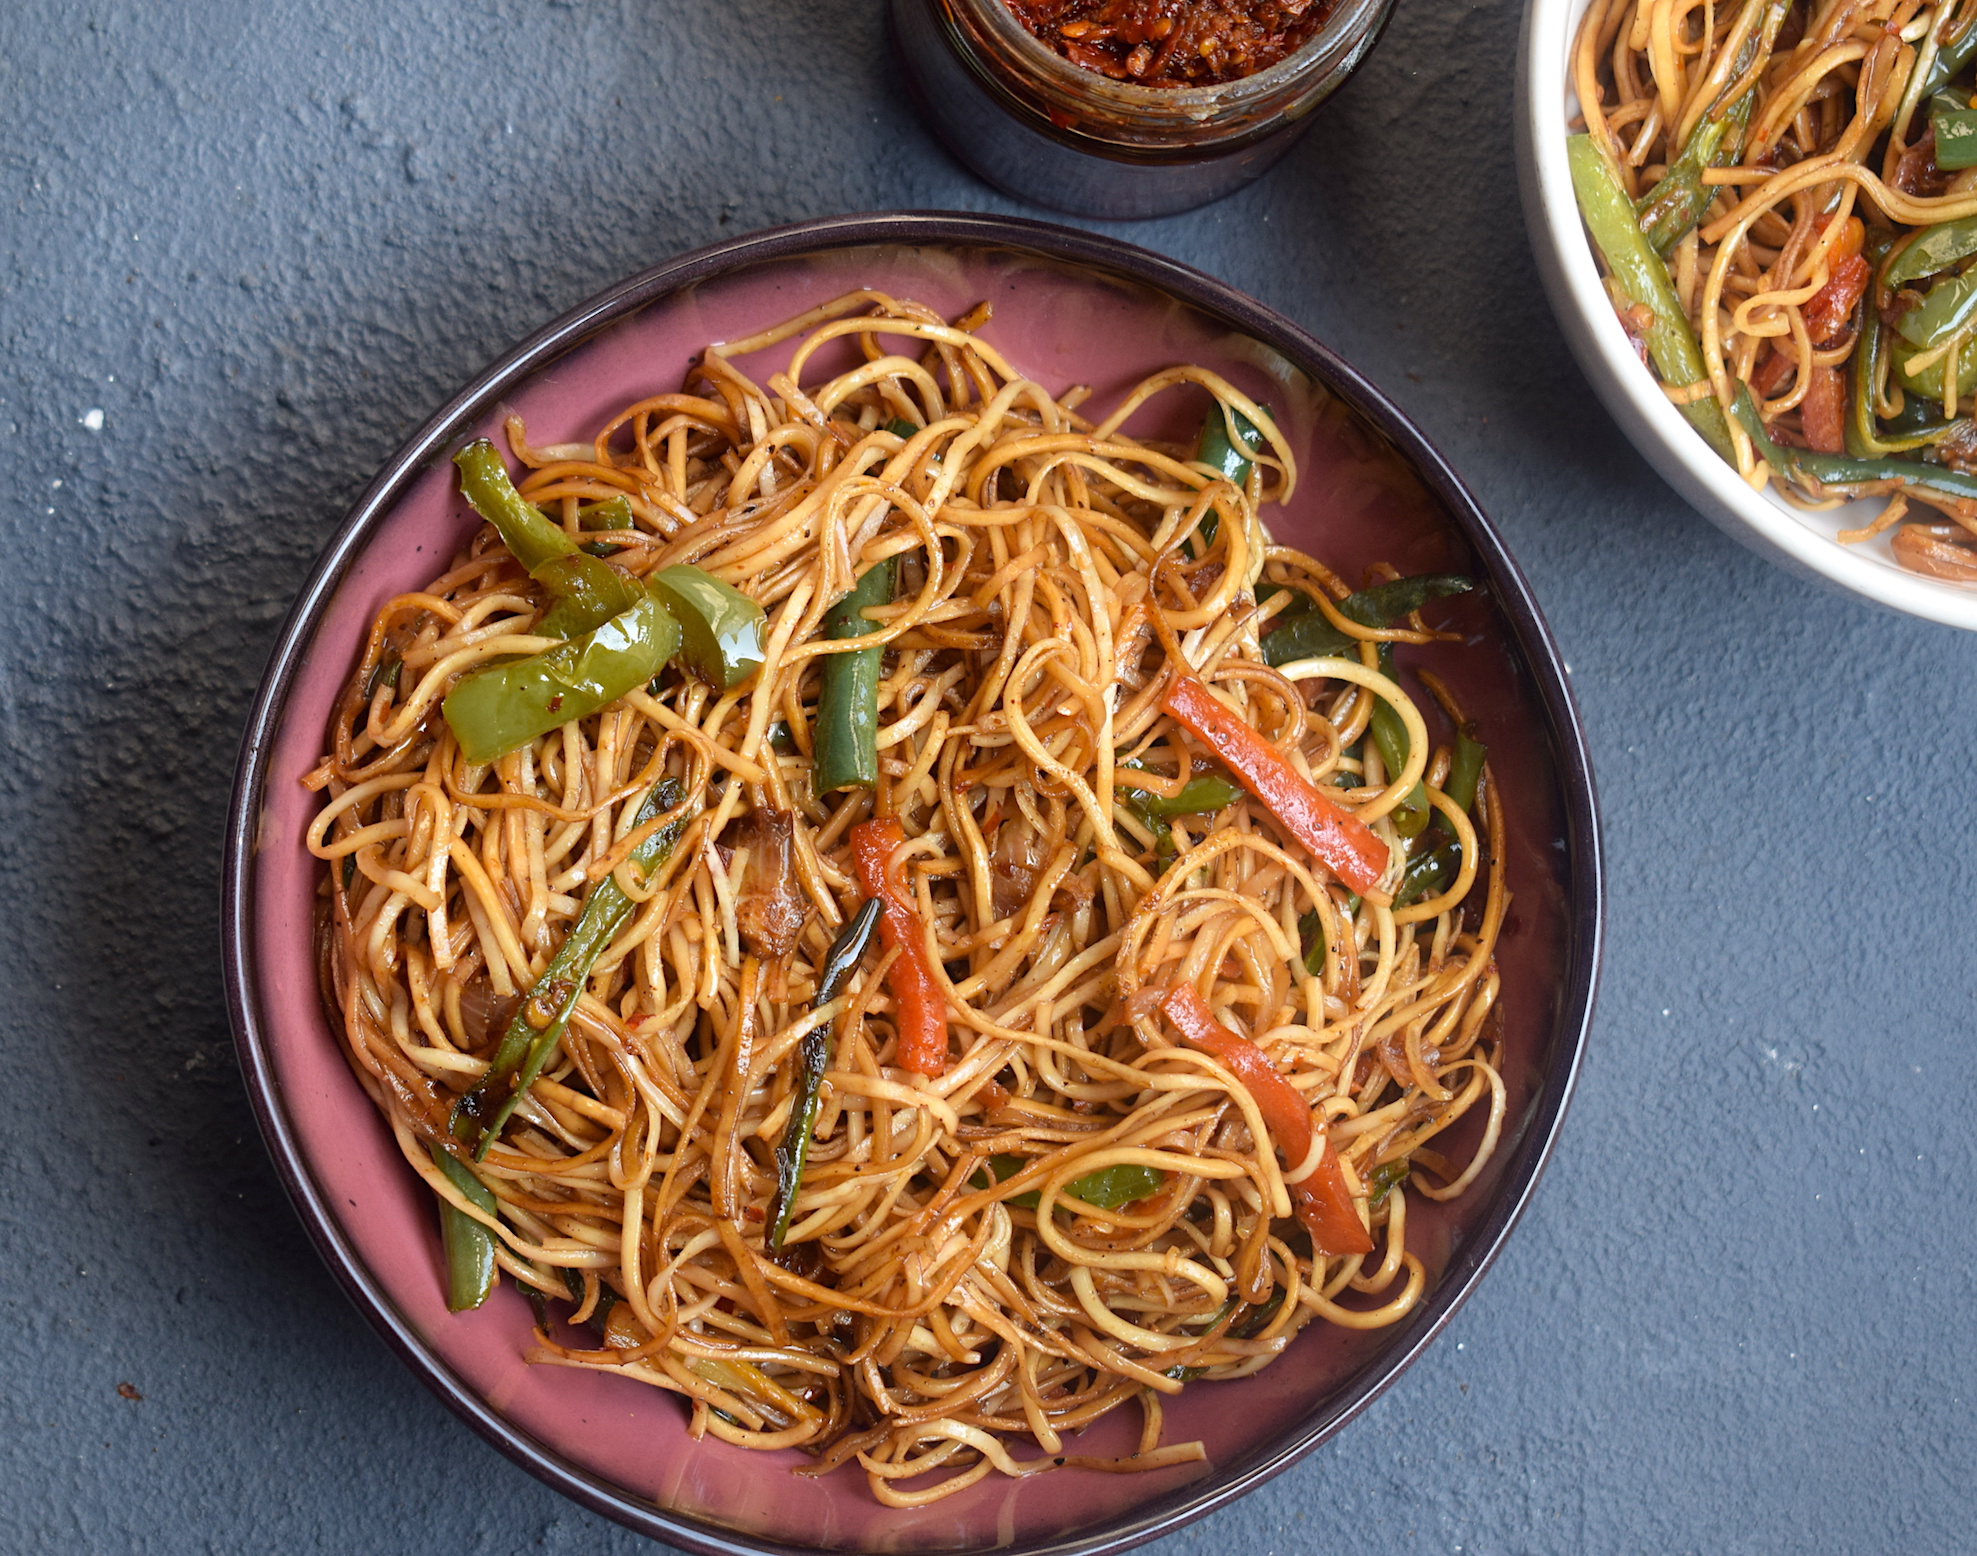
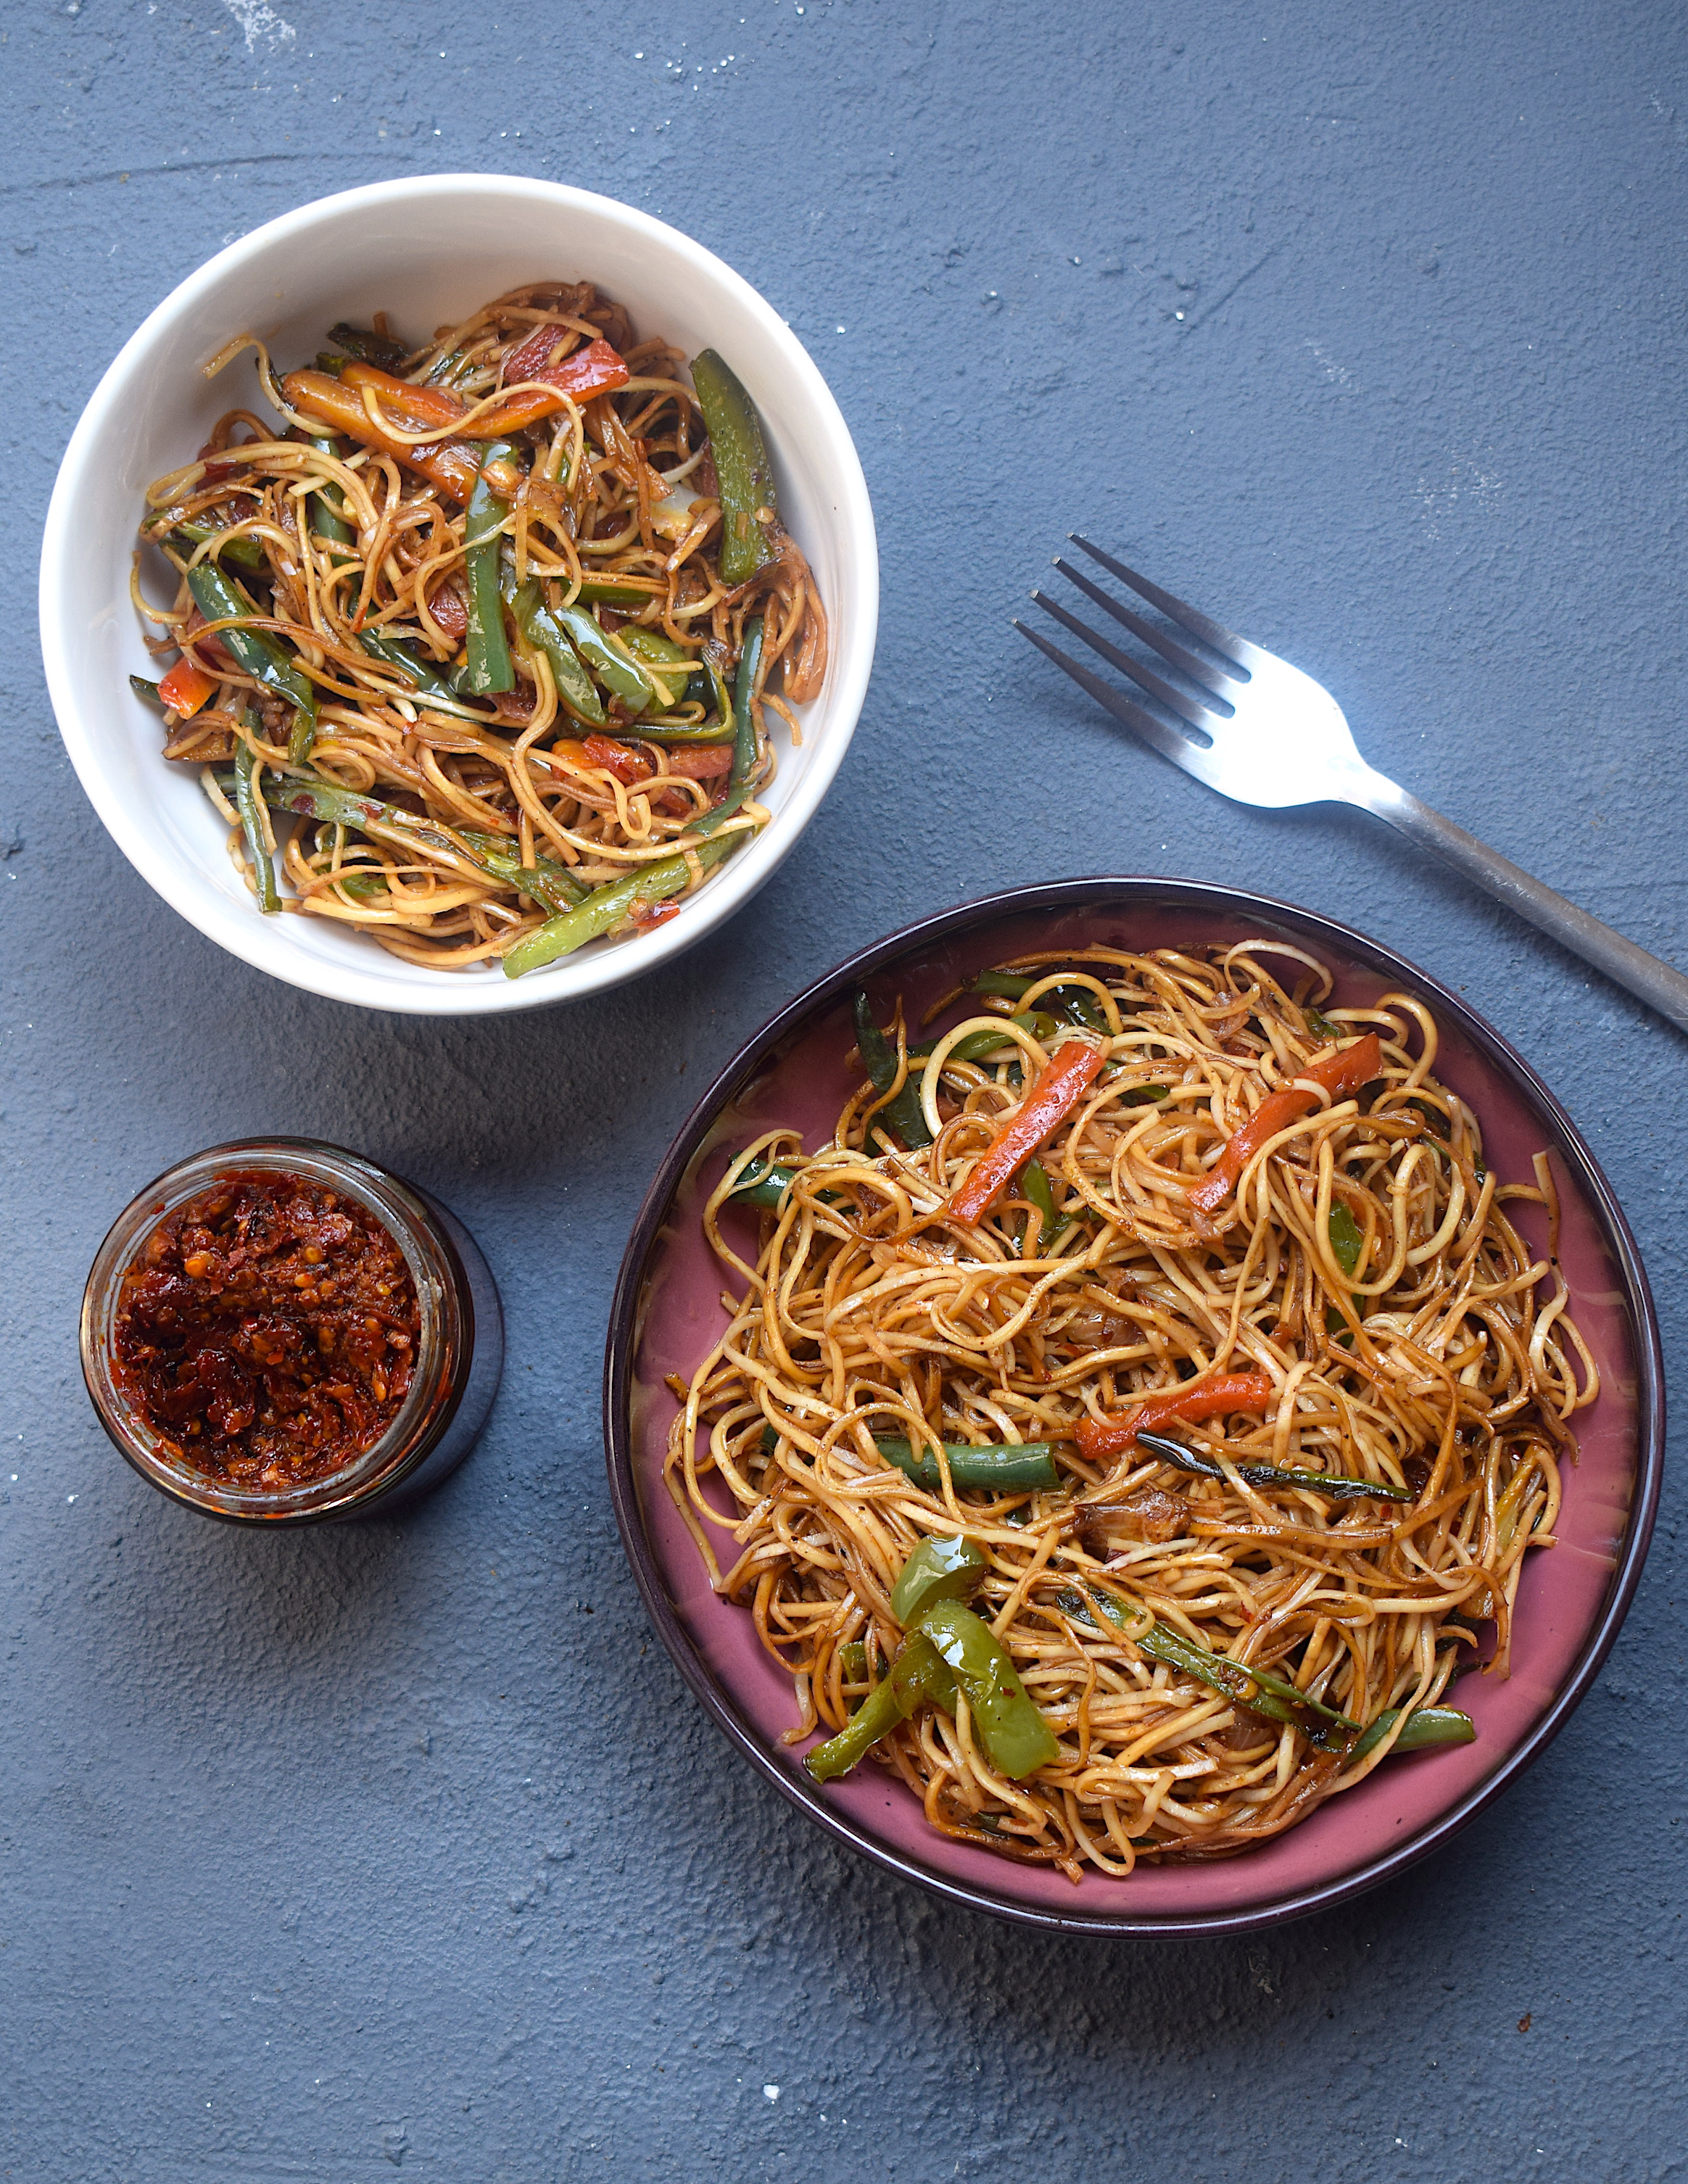
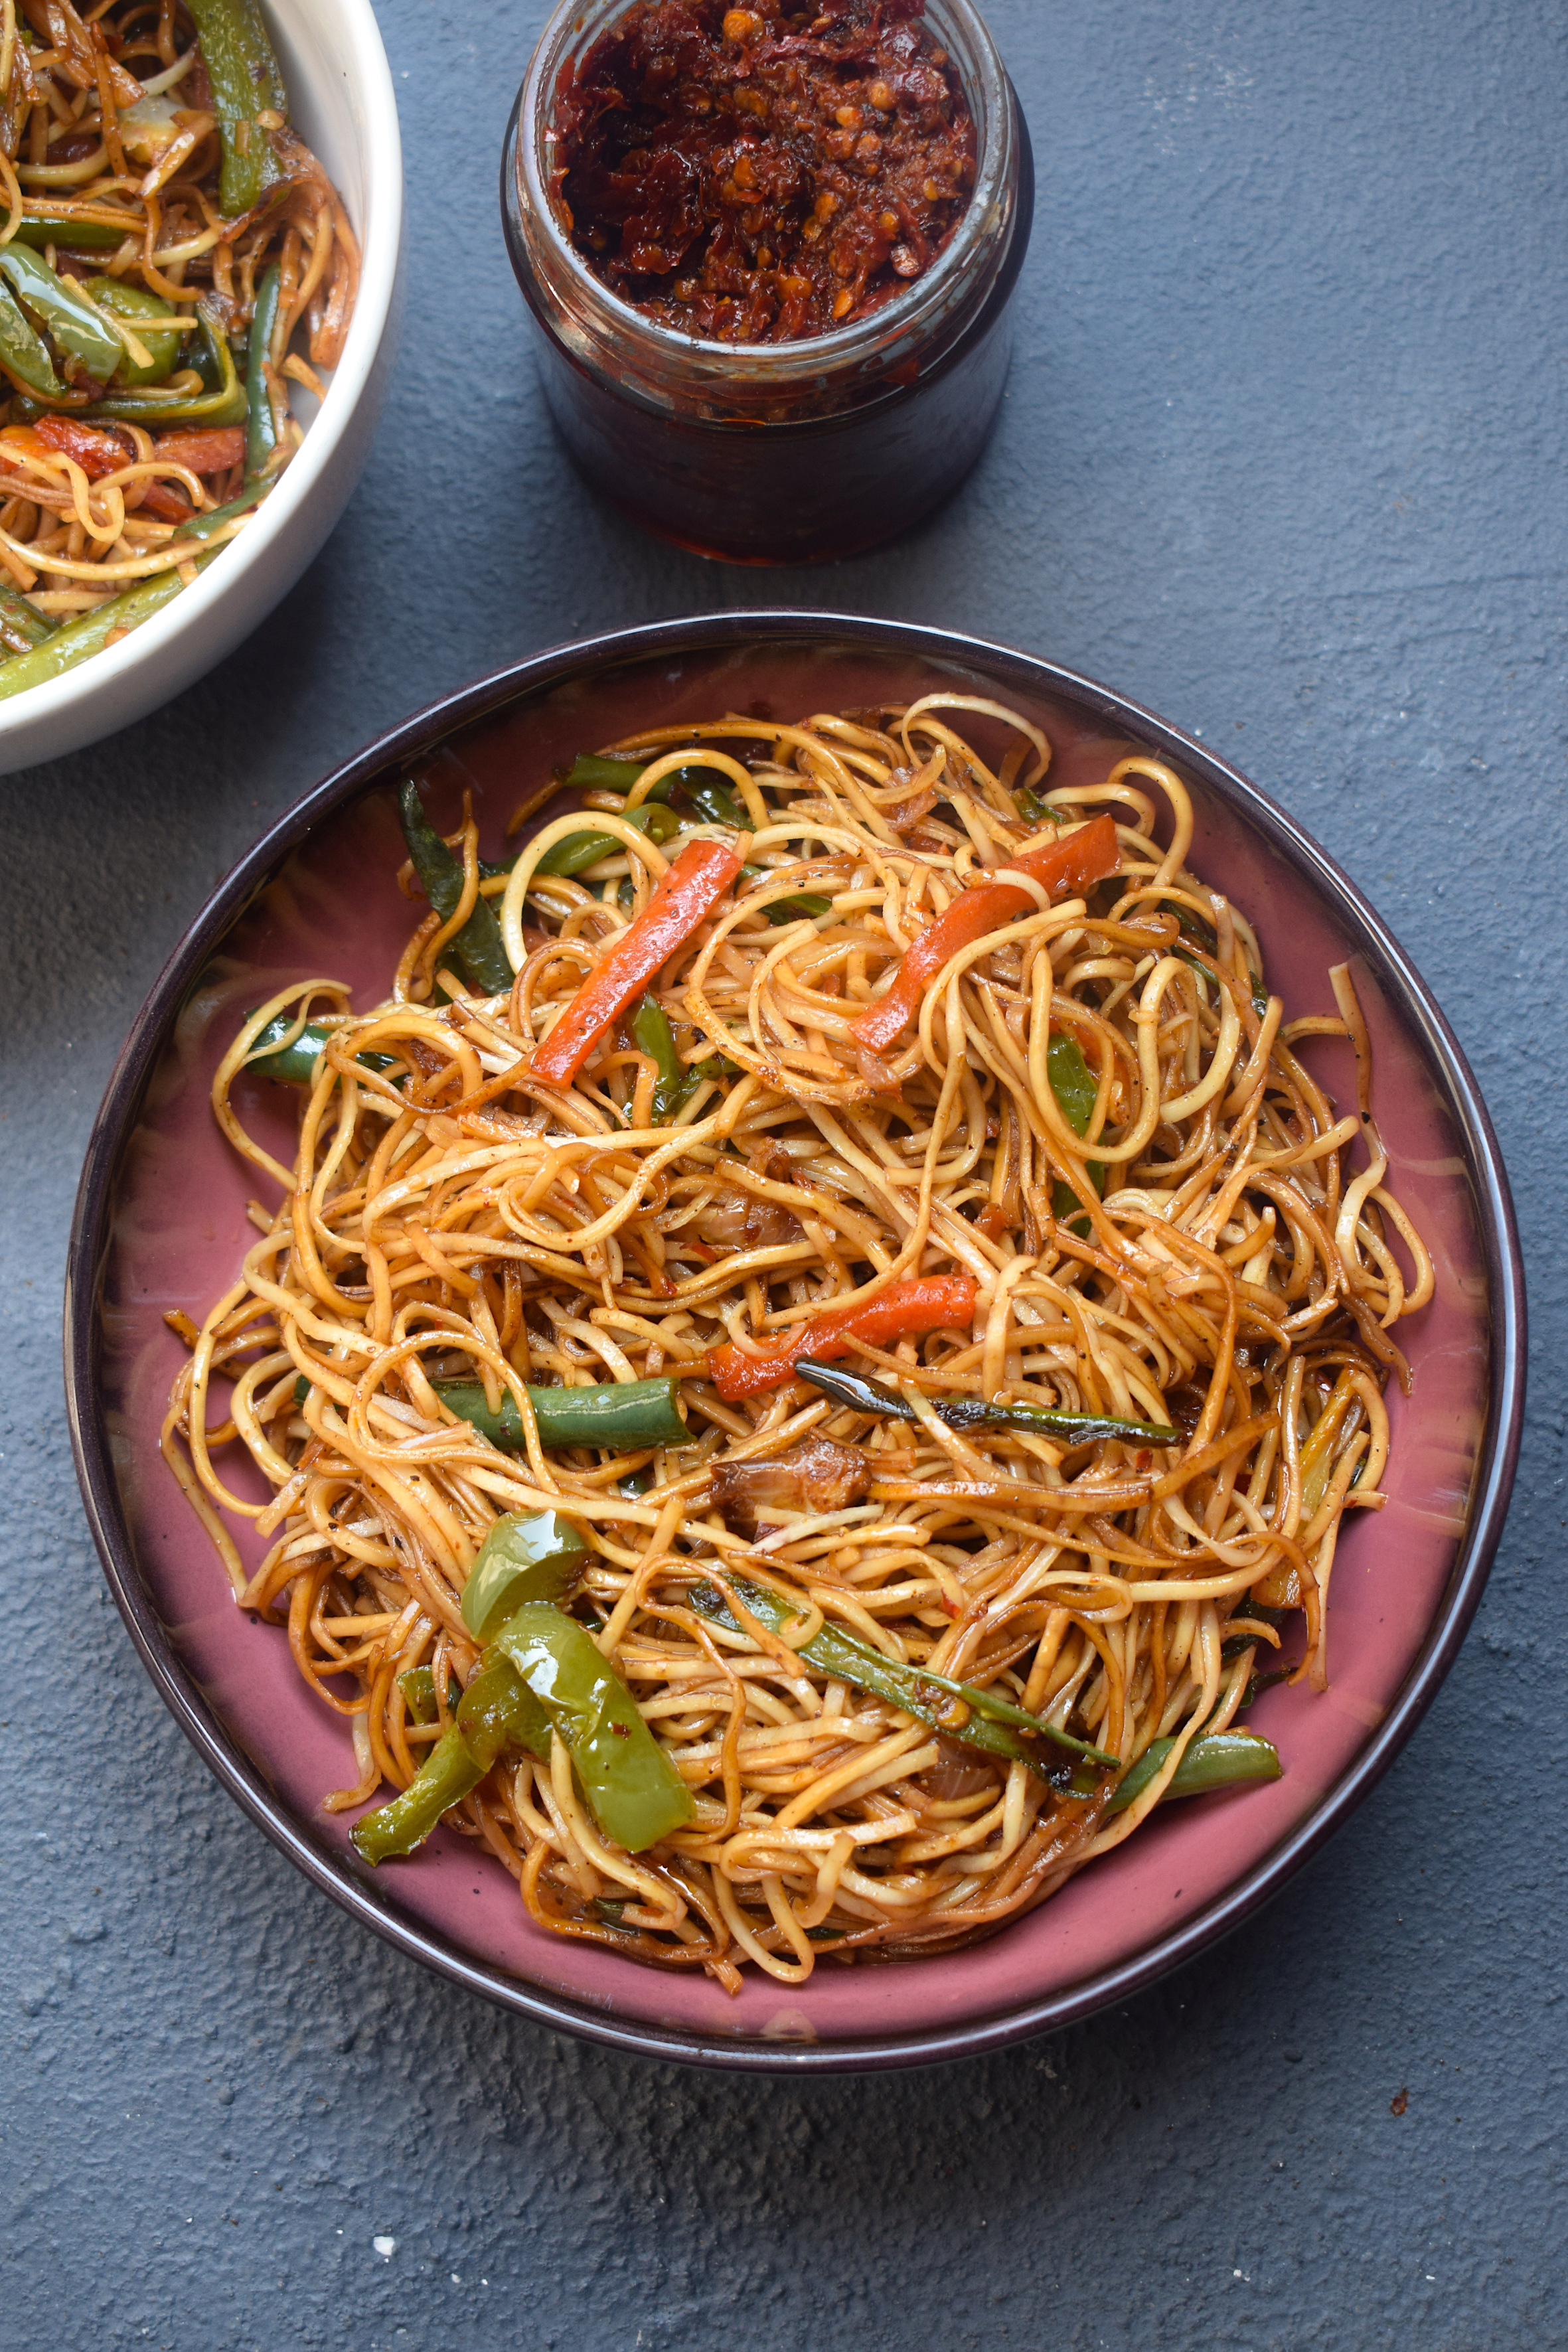
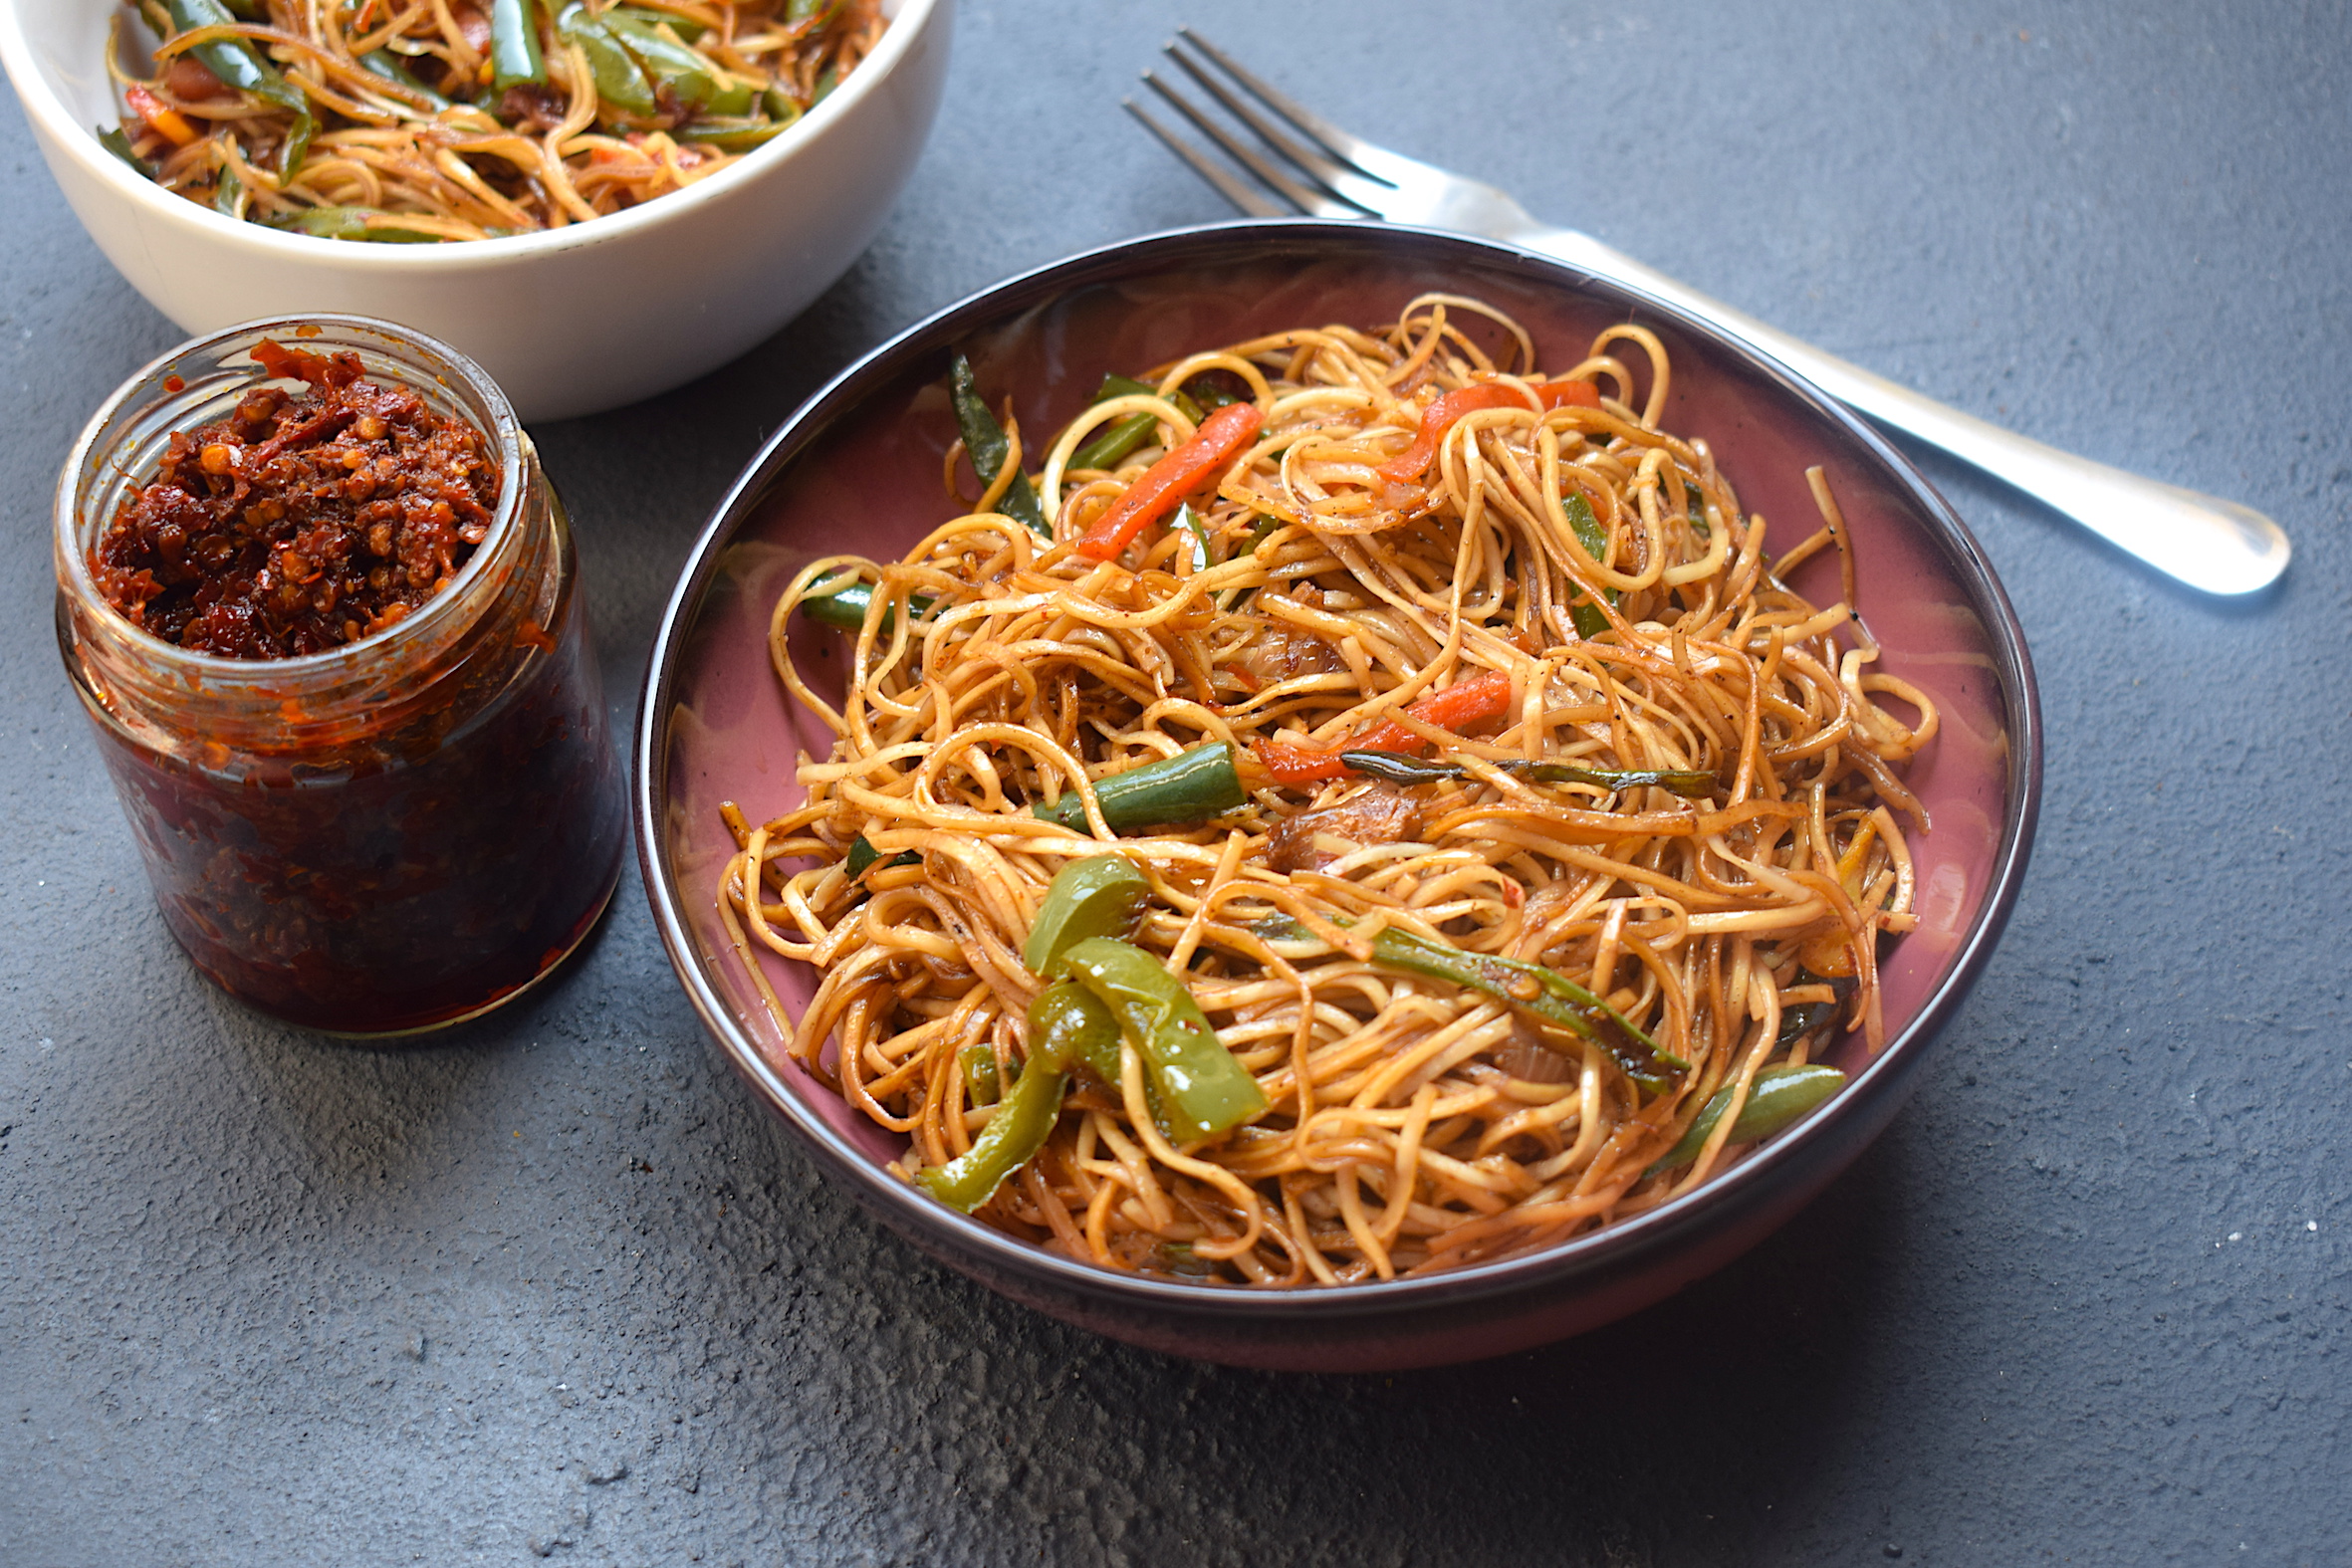
schezwan noodles

For these noodles, I have used my go-to Schezwan chutney which works like magic. It is way better than store bought sauce and will give your noodles that extra oomph and color.

schezwan noodles

So here is the recipe.

Preparation time – 30 minutes

Cook time – 40 minutes

Serves – 1-2 people

[ingredients title=”Ingredients”]

  • 150 g Chinese noodles
  • 3 tbsp vegetable oil
  • 7 garlic cloves, finely chopped
  • 1 medium onion, finely sliced
  • 80 g green beans, thinly sliced
  • 1 medium carrot, thinly sliced
  • 1/2 green bell pepper, thinly sliced
  • 1 tsp freshly ground black pepper powder
  • 1 tbsp Schezwan chutney/sauce
  • 1 tsp brown sugar
  • 2 tsp dark soy sauce
  • 1 tsp sesame oil
  • Salt to taste [/ingredients]

[directions title=”Directions”]

  1. Cook the noodles as per package instructions with some salt in boiling water. Set aside.
  2. Heat oil in a wok. Add the sliced onions, followed by the finely chopped garlic. Saute for a minute.
  3. Add the vegetables – carrot, green bell pepper, and green beans. Feel free to add any crunchy vegetable of your choice here. Cook for about two minutes till they are semi-cooked and still crunchy.
  4. Add some brown sugar and mix well.
  5. Add the Schezwan chutney to the vegetables and mix well for another minute. Do not add salt at this point since the Schezwan chutney will already have some salt and spices.
  6. Once the vegetables are coated in the Schezwan paste, add the cooked noodles to the wok. Use a pair of tongs to mix this well.
  7. Season with salt and pepper as required. Taste it beforehand to get an idea of how much seasoning is required.
  8. Add dark soy sauce to the noodles and bring it all together slowly.
  9. Drizzle a bit of sesame oil on the noodles for some extra glaze and flavor.
  10. Take off the heat and serve hot. [/directions]

Slurrp tip: Top it off with some scrambled eggs or a fried egg for more flavor.

schezwan noodles

schezwan noodles

For more such delightful food, follow me on Facebook, Instagram, Twitter, and YouTube.

Related recipe – Better-Than-Takeout Shrimp Fried Rice

If you are new to the kitchen or are confused about what to buy for my recipes/kitchen tools, I can help. I have curated a special list that you can order right from Amazon and get the best products for your kitchen. Click here to explore.

And as always, happy cooking! <3

Lauki Kofta Curry | Slurrp

I know most people would cringe even on the idea of lauki or bottle gourd. Though I do like lauki in all its forms, I will never argue with someone whether lauki kofta curry is one of the best ways to eat it. Because it is! And this particular recipe is simply stunning.

This is my own version of lauki kofta curry after many experimentations in the kitchen. I have done it all – from making soggy lauki koftas, to ones that break even before I add them to the curry and also thise that are harder than stone. But after multiple experiments, I finally have a full proof recipe of my favorite way to make (and eat) lauki kofta curry. I hope you try it.

lauki kofta

The curry is creamy, slightly sweet, luxurious and dreamy. It is thick as it is a smooth paste of a variety of elements.

Preparation time – 30 minutes

Cook time – 45 minutes

Serves – 3-4 people

[ingredients title=”Ingredients”]

For the koftas:

  • 1 medium bottle gourd
  • 1 tsp garam masala
  • Salt to taste
  • 1 tsp cumin powder (jeera)
  • Chopped coriander leaves
  • 4-4.5 tbsp gram flour (Besan)
  • 1 tsp red chili powder
  • 1 tbsp bread crumbs
  • Lukewarm water, as required
  • Oil (for deep frying the koftas)

For the lauki kofta curry:

  • 2 onions, ground to a paste
  • 2 tomatoes, ground to a paste
  • 2 green chilies, finely chopped
  • 20 g ginger paste
  • 20 g garlic paste
  • 1 bay leaf
  • 100 g cashews, ground to a paste
  • 1 tsp cumin
  • 1 tsp black pepper powder
  • 1 tbsp sugar
  • 1 tsp Kashmiri red chili powder
  • 1 tsp turmeric powder
  • 1 tbsp desi ghee
  • 1 tsp coriander powder
  • 1 tsp garam masala
  • 200 ml warm water
  • 1 tbsp Kasuri methi for garnish
  • Salt to taste [/ingredients]

[directions title=”Directions”]

  1. Rinse and peel the lauki. Finely grate it with a grater. Squeeze the excess water out. Save the water for later.
  2. Make the koftas by mixing the ingredients together. The breadcrumbs help to make the koftas firmer. Do not add too much water as you do not want a watery batter.
  3. Make small round shapes or patties.
  4. Heat oil in a kadhai or wok. Deep fry the koftas until golden brown and crispy from all sides. Set them aside.
  5. Keep the koftas on a tissue to drain the excess oil.
  6. In another kadhai, heat ghee. Add the bay leaf, followed by the onion paste. Saute the onions till the raw aroma disappears, they turn brown and the oil starts to separate from it.
  7. Add some sugar into the onions. This will help to give it a beautiful brown color and also enable the onions to cook faster. It will also add some sweetness to your final recipe.
  8. Add the chilies, ginger paste and garlic paste at this point and saute till its raw aroma disappears.
  9. Add the fresh tomato paste. It is important that you cook this tomato mixture with some patience as all the ingredients in it are raw at this point. Keep stirring till the tomatoes are thoroughly cooked and the oil starts to separate from the paste.
  10. Once the tomato is cooked, season with salt, turmeric powder, cumin powder, black pepper powder, coriander powder, and Kashmiri red chili powder. If you do not want too much chili flavor, skip adding the green chilies in the beginning.
  11. Add in some warm to avoid the paste from sticking to the pan.
  12. Time to add in the cashew paste. Stir well and make sure everything comes together well.
  13. Once everything is cooked, add some more warm water depending on the consistency you want.
  14. Season with garam masala and Kasuri methi just before turning off the gas. Give it one last stir.
  15. Add the koftas to the gravy just before serving.
  16. Enjoy with hot rotis, naan or jeera rice.[/directions]

lauki kofta

lauki kofta

I hope you try this really easy and delicious lauki kofta curry for yourself and enjoy it as much as I do. If you have any questions, feel free to reach out to me with a comment or connect with me on Instagram or Facebook.
Happy cooking!

Related recipe – Restaurant style alu matar


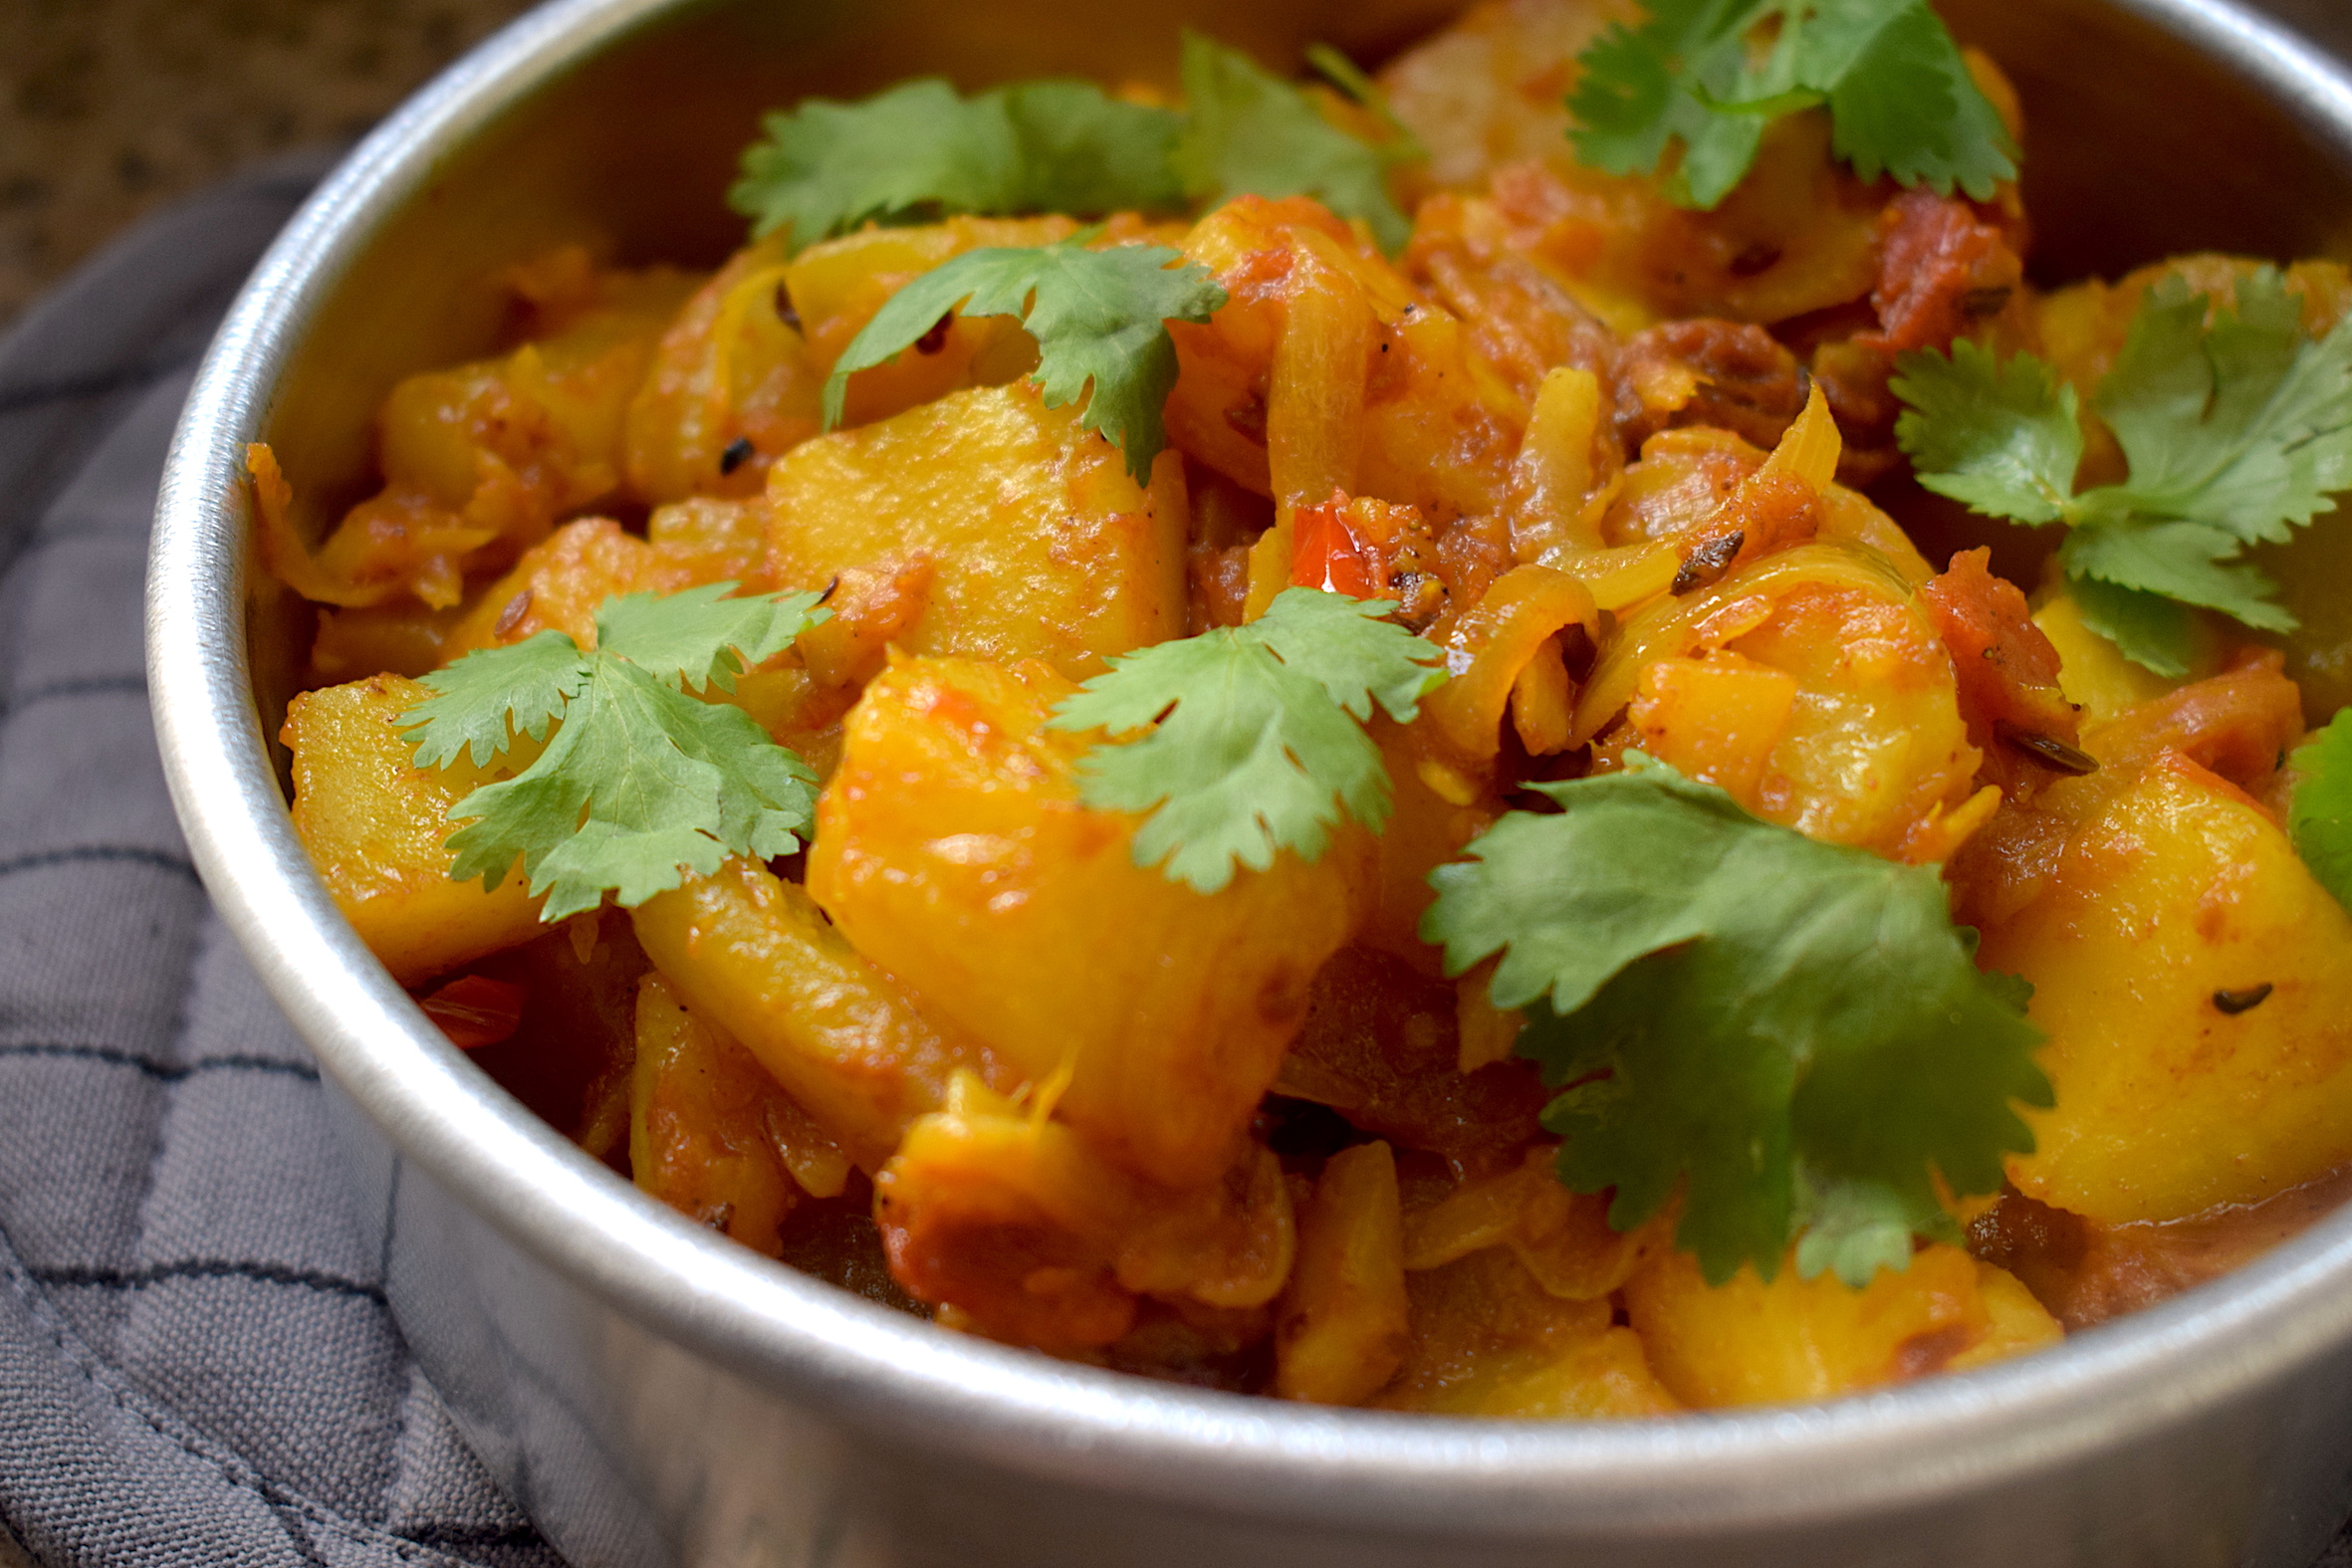
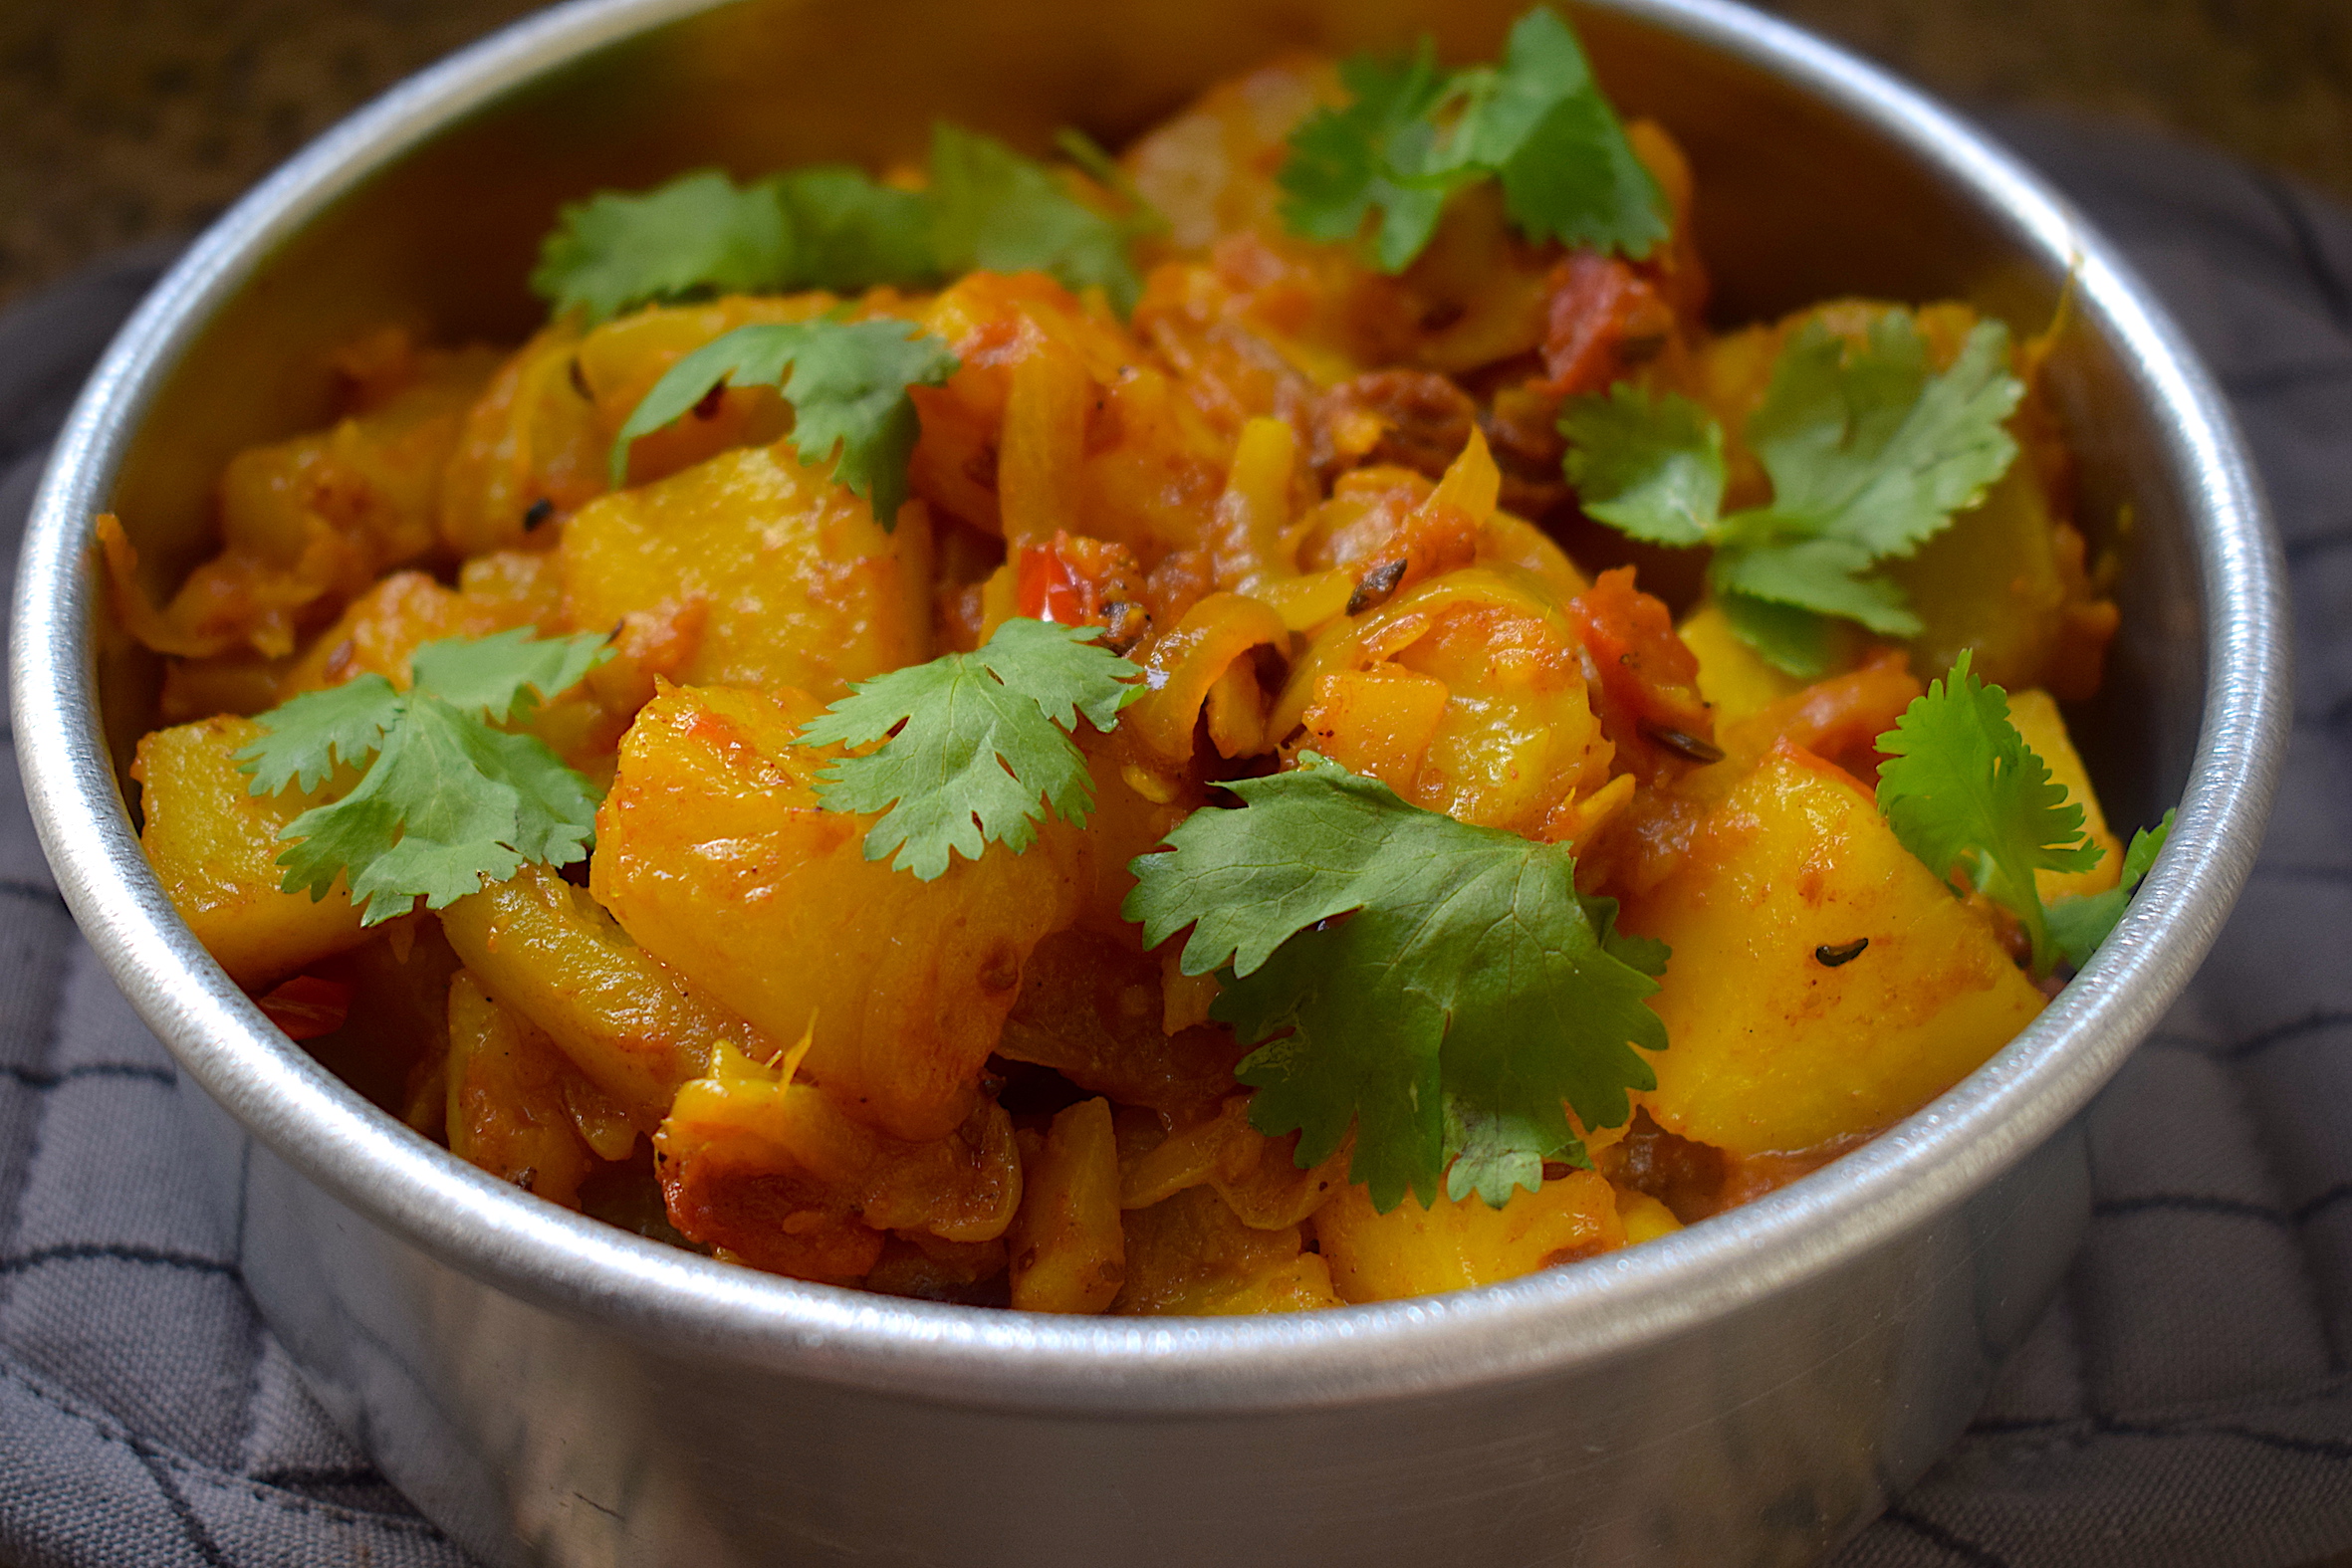
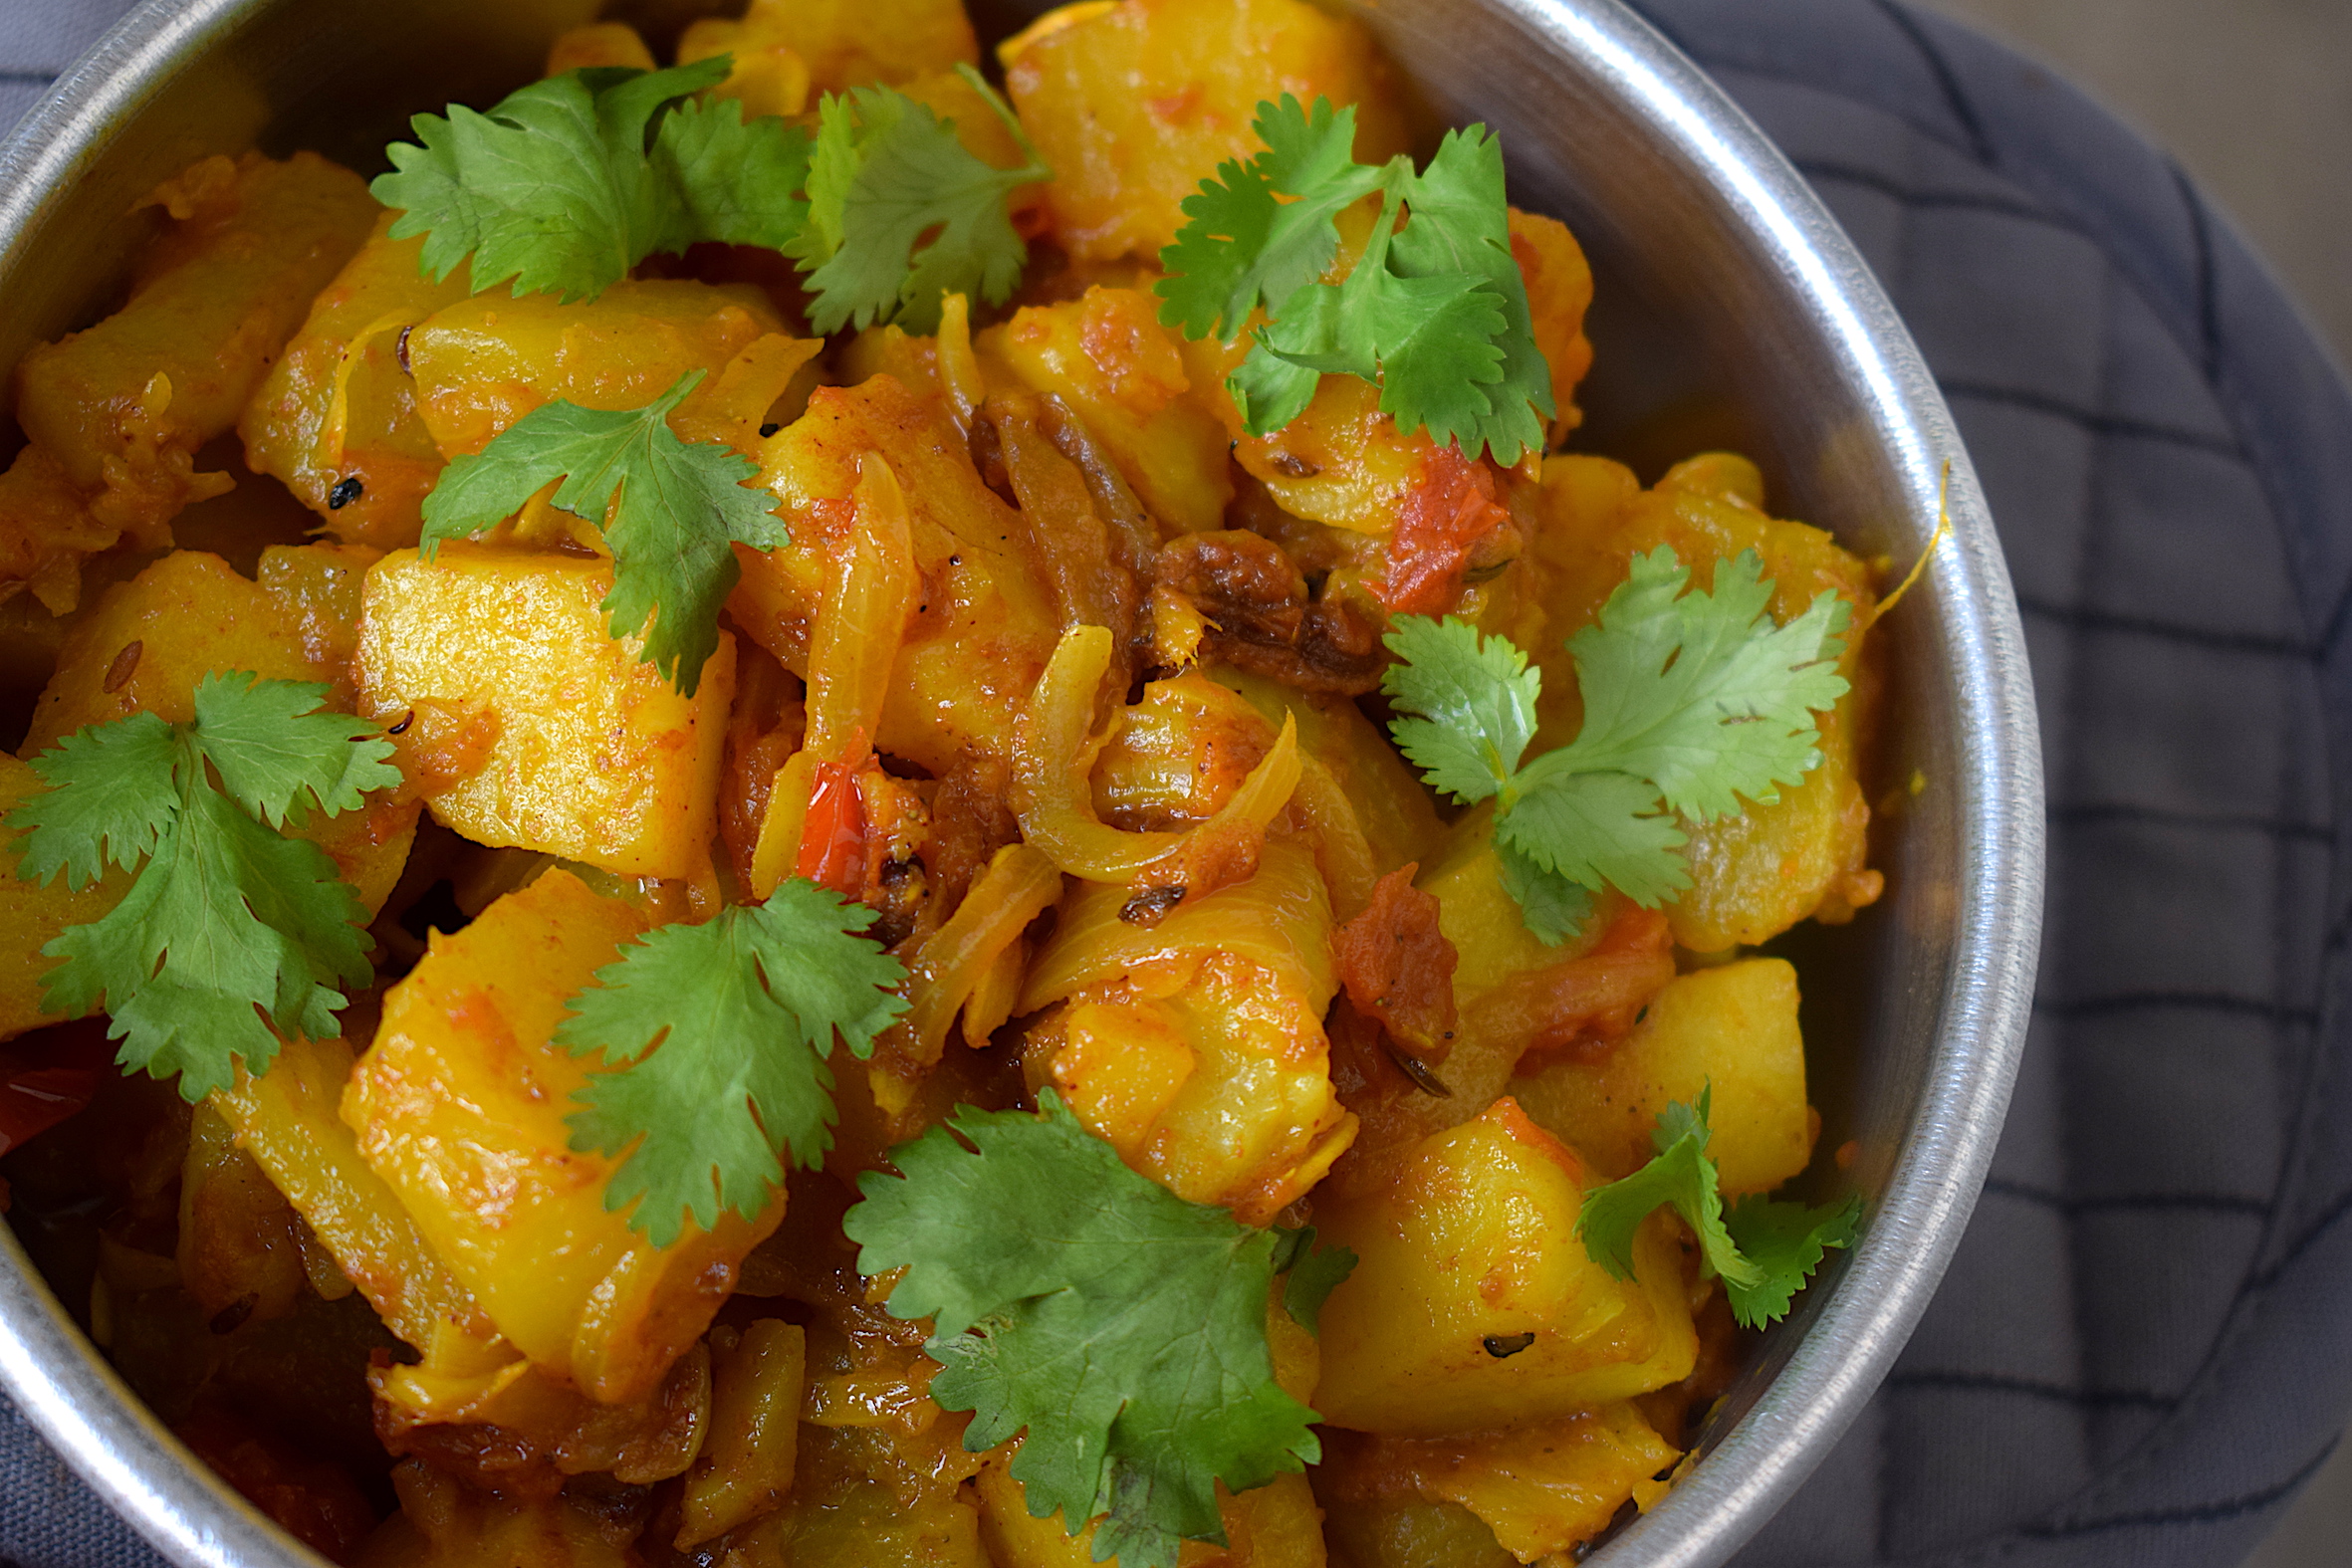
Pumpkin fry with potatoes | Veg recipes

I remember being a fussy child when it came to food. I didn’t like most vegetables and gave my parents a hard time when it came to eating healthy food. I would say no to most veg recipes.

My father used to be very worried about me. He would always come up with creative ways to make veg recipes to make me gulp down some greens. Who would’ve thought that same kid would one day become an advocate of eating healthy and homemade food😁

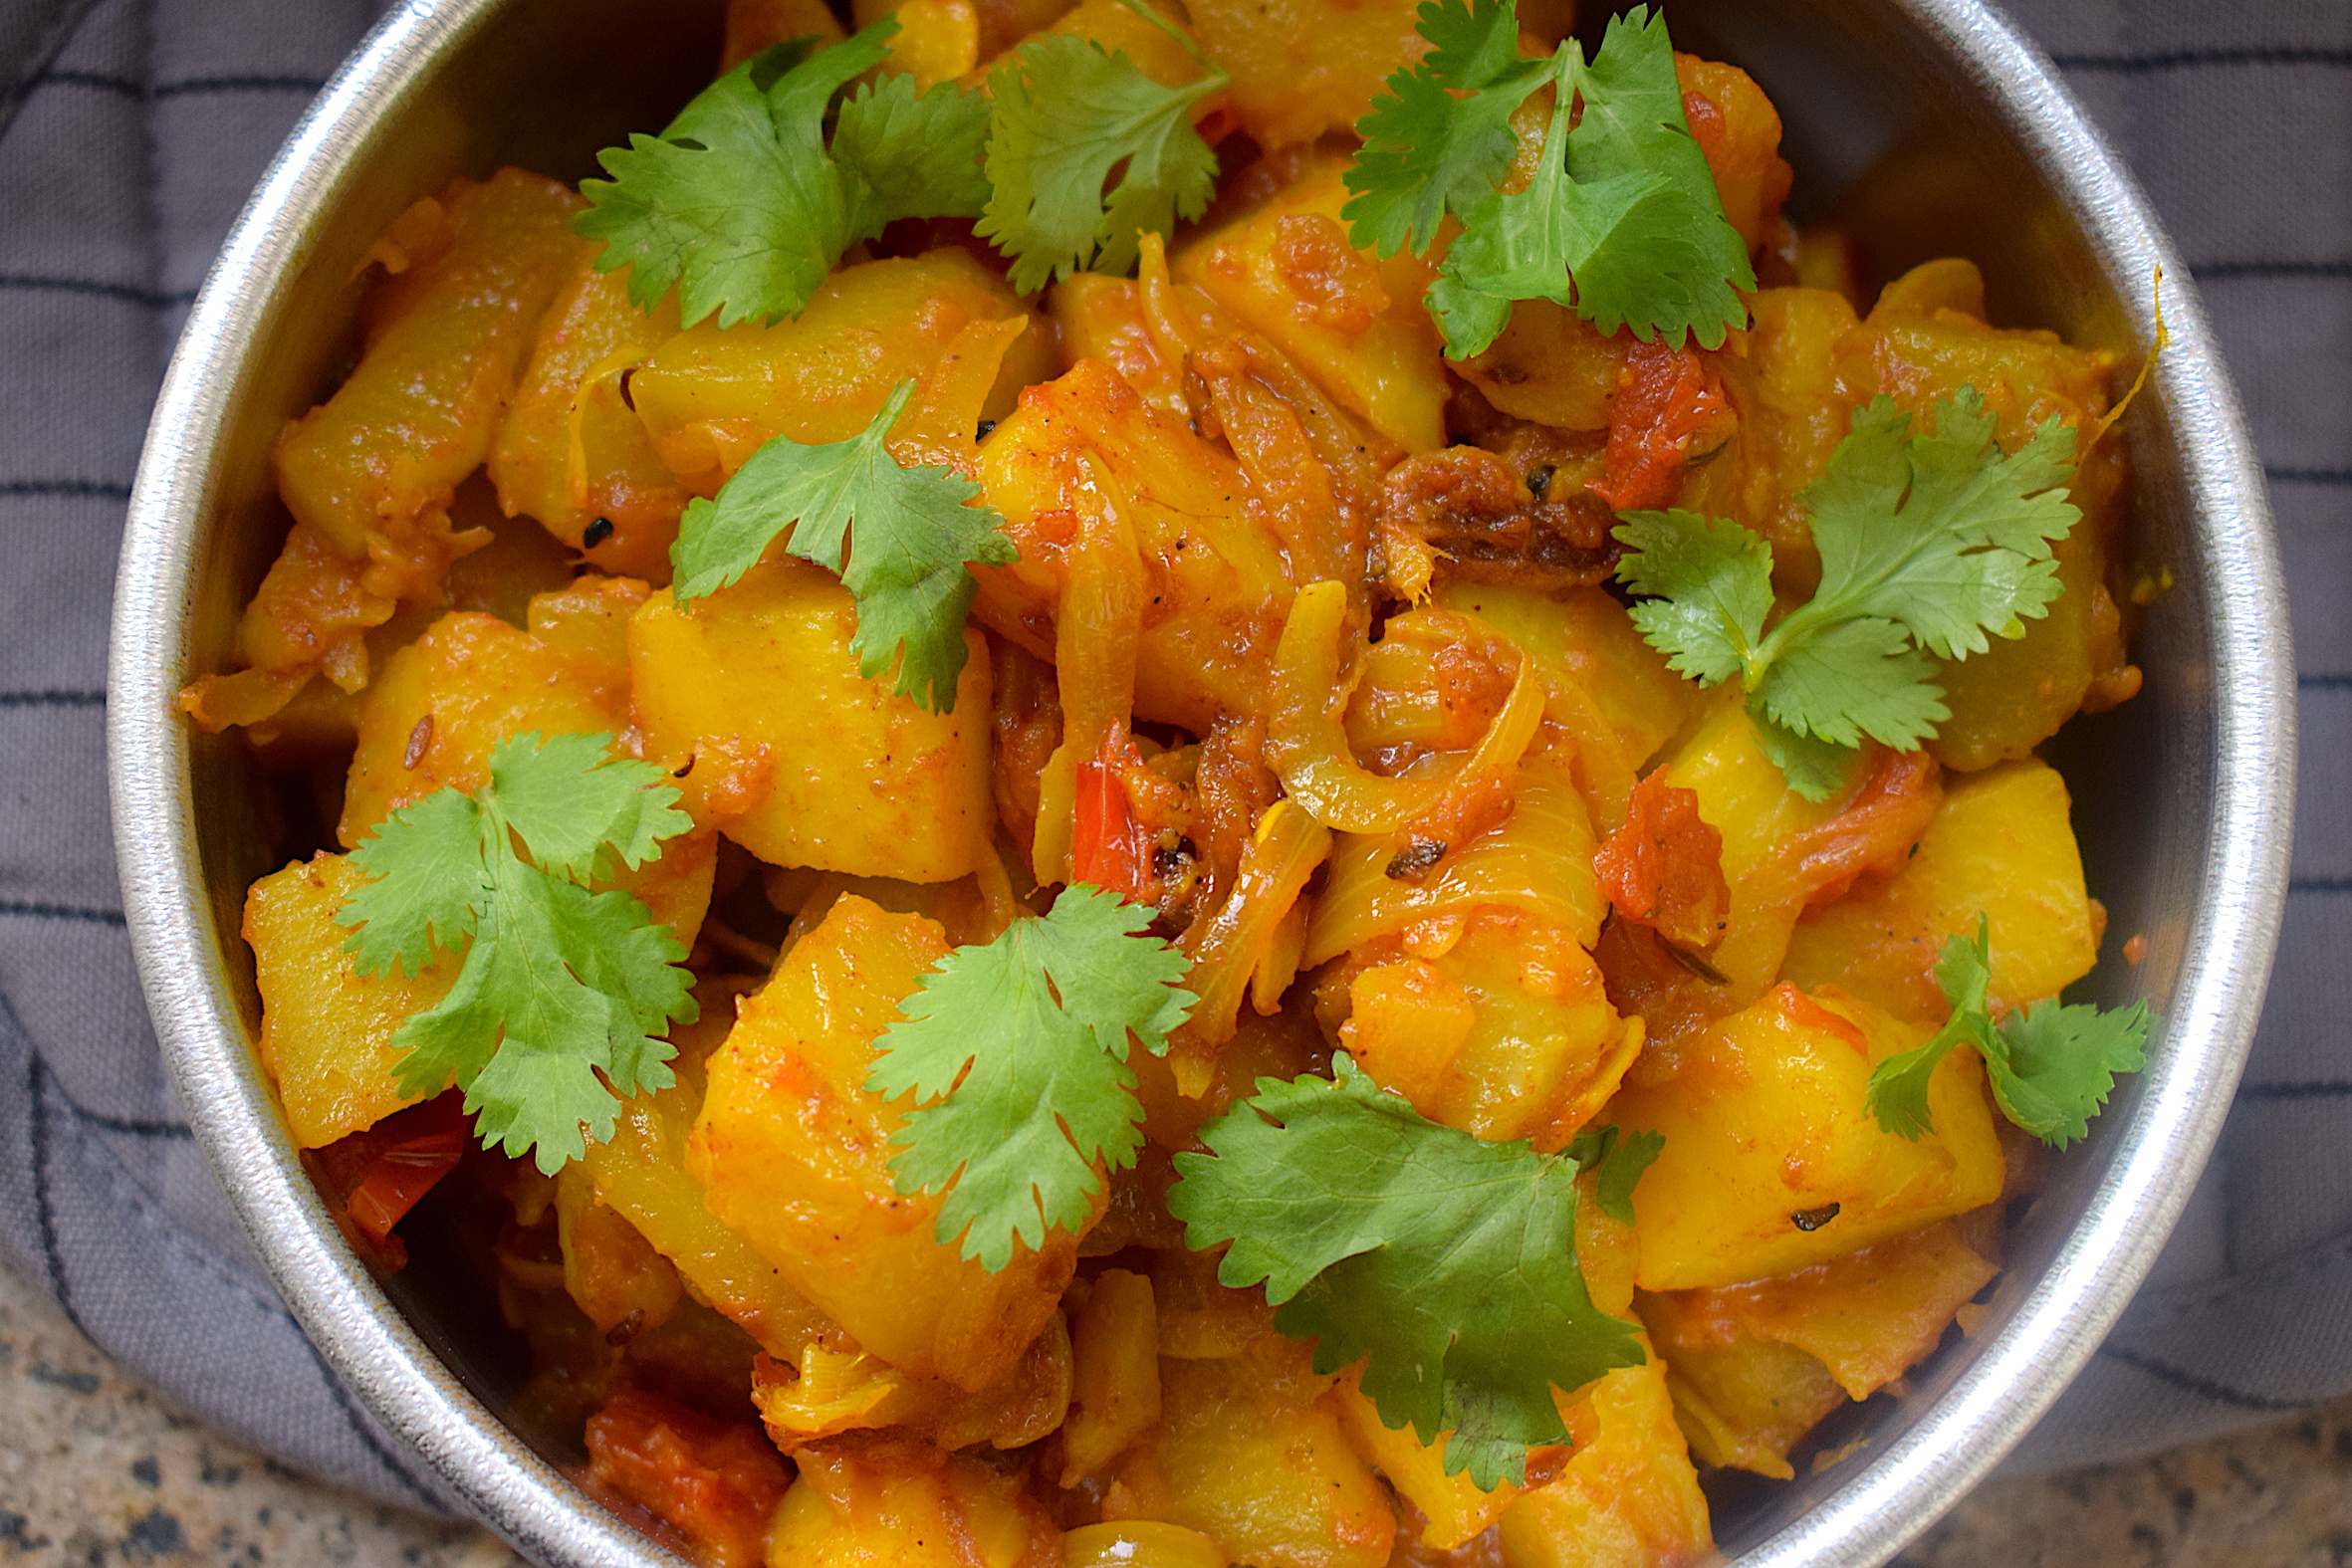
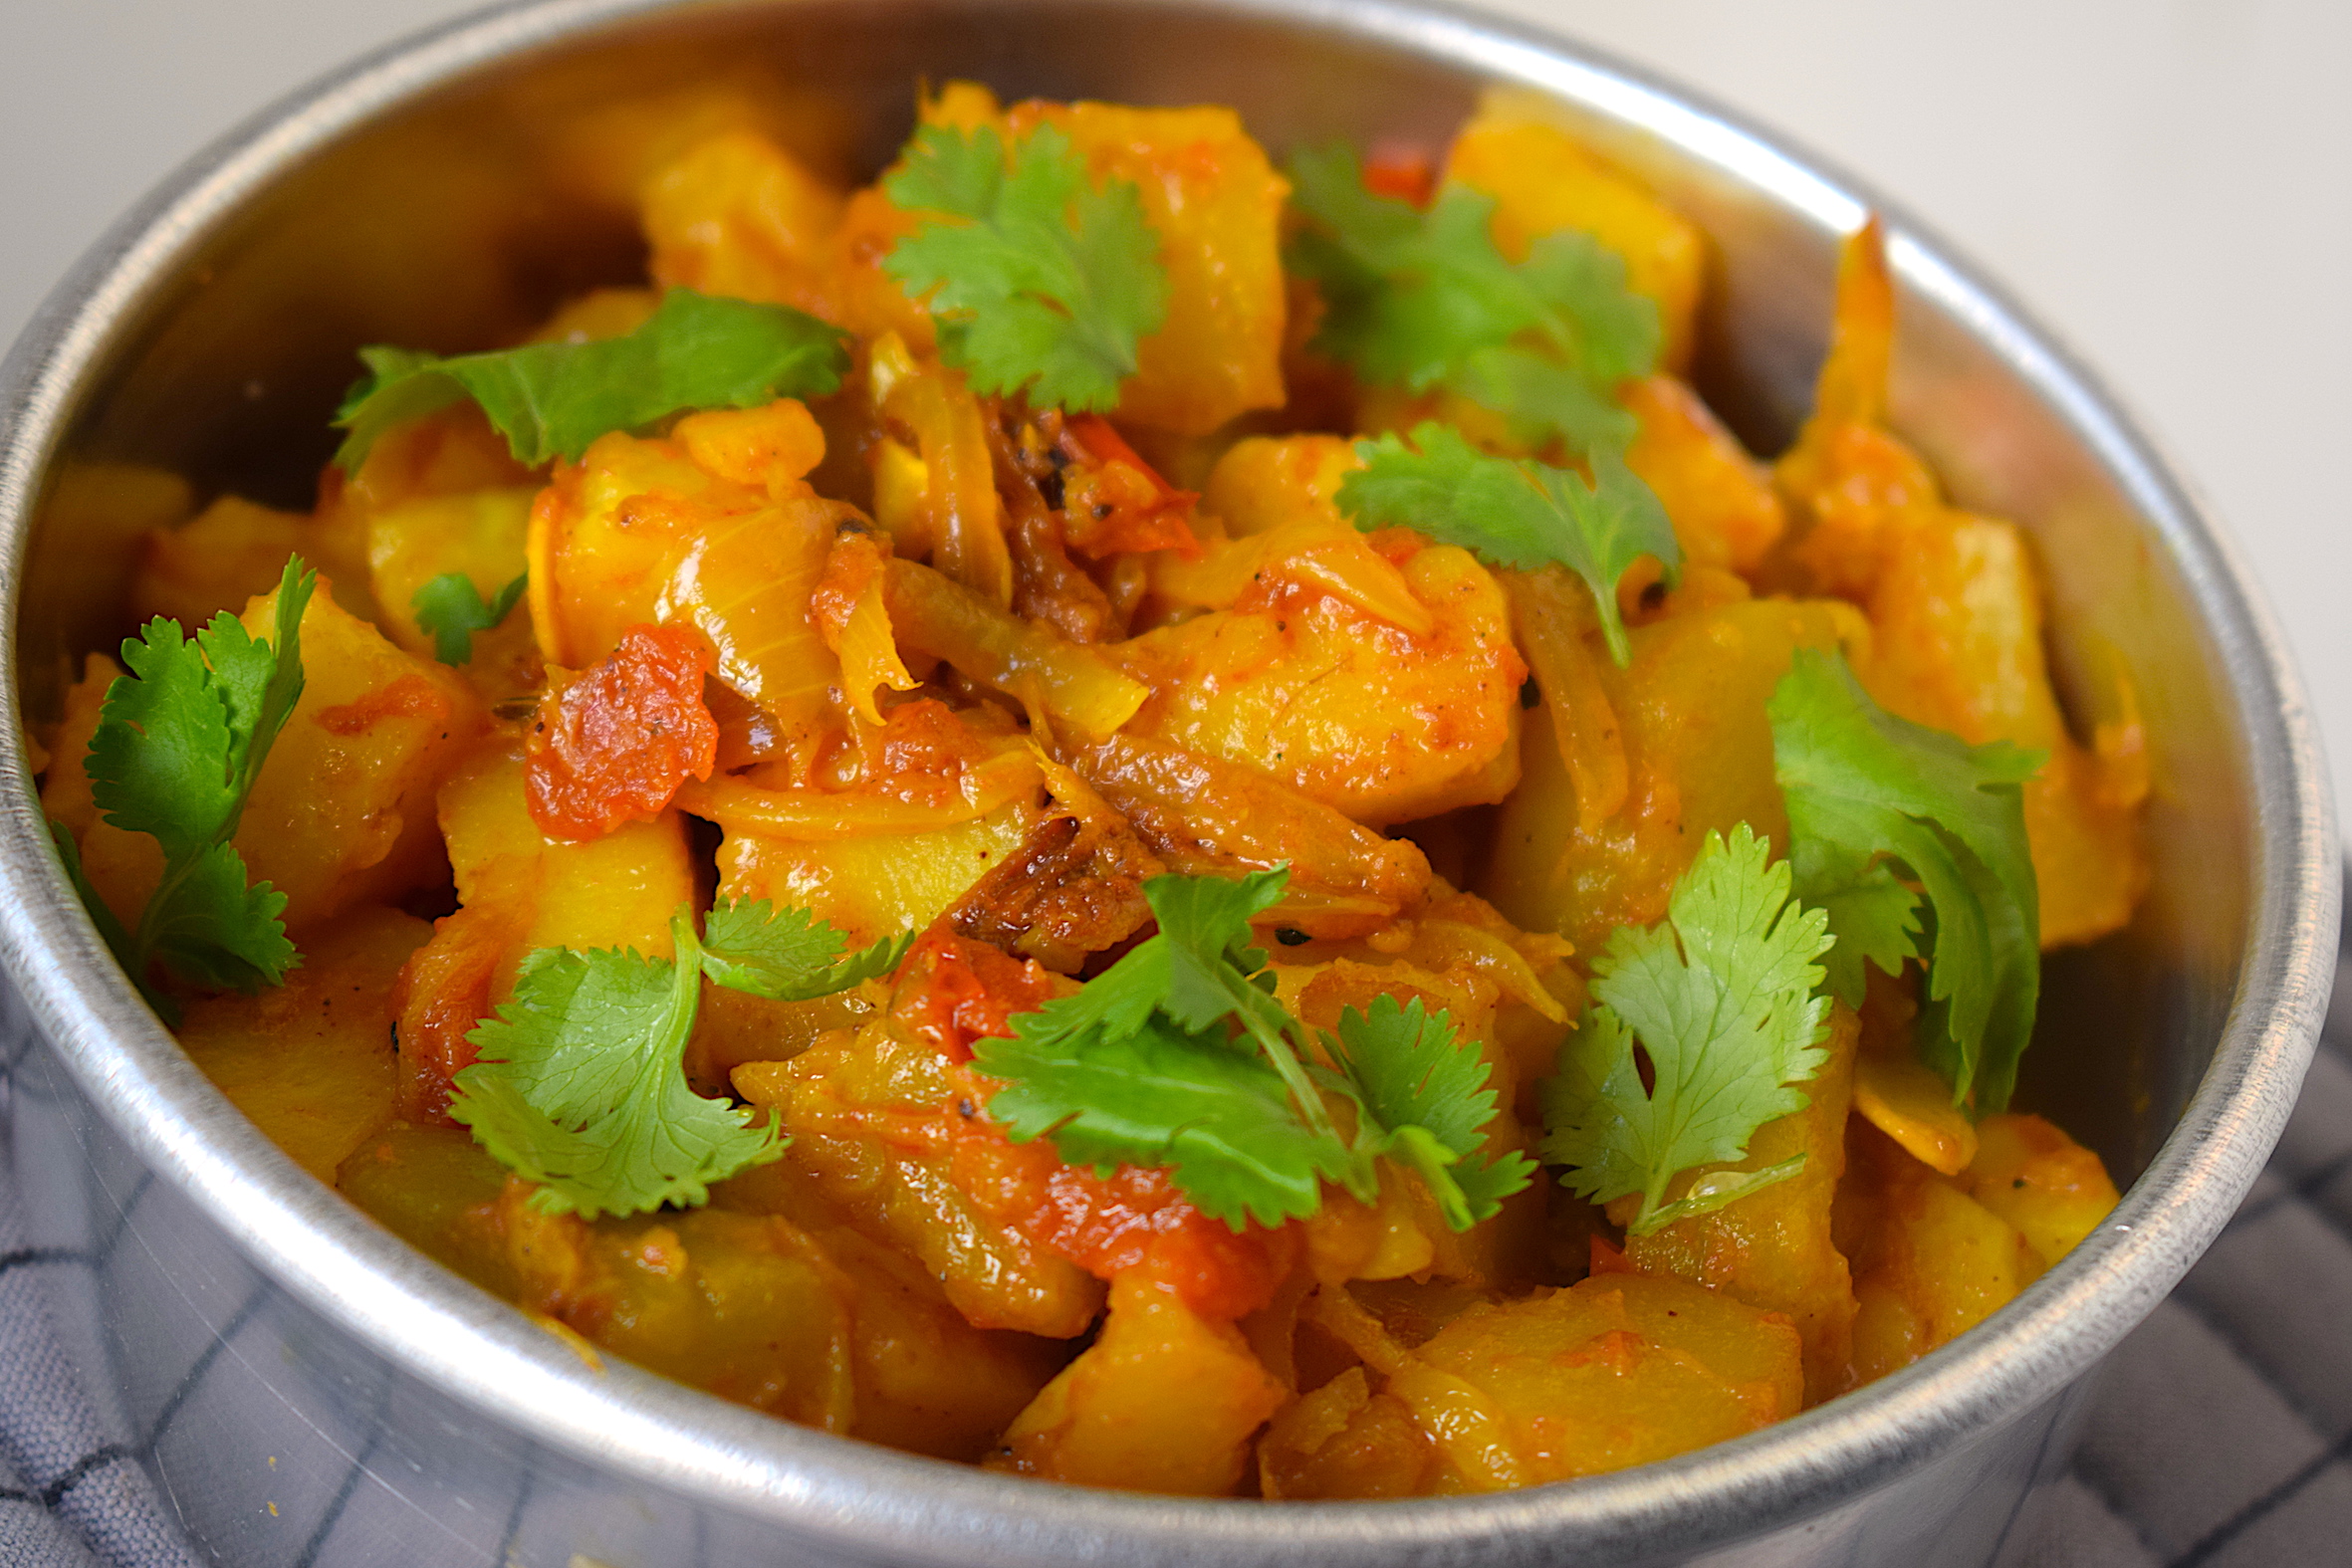
veg recipes

veg recipes

But for some strange reason, I always loved pumpkin. I think the idea of a sweet vegetable was intriguing to my childlike brain. But again, the fussy me only liked when my mom made it a particular way.

veg recipes
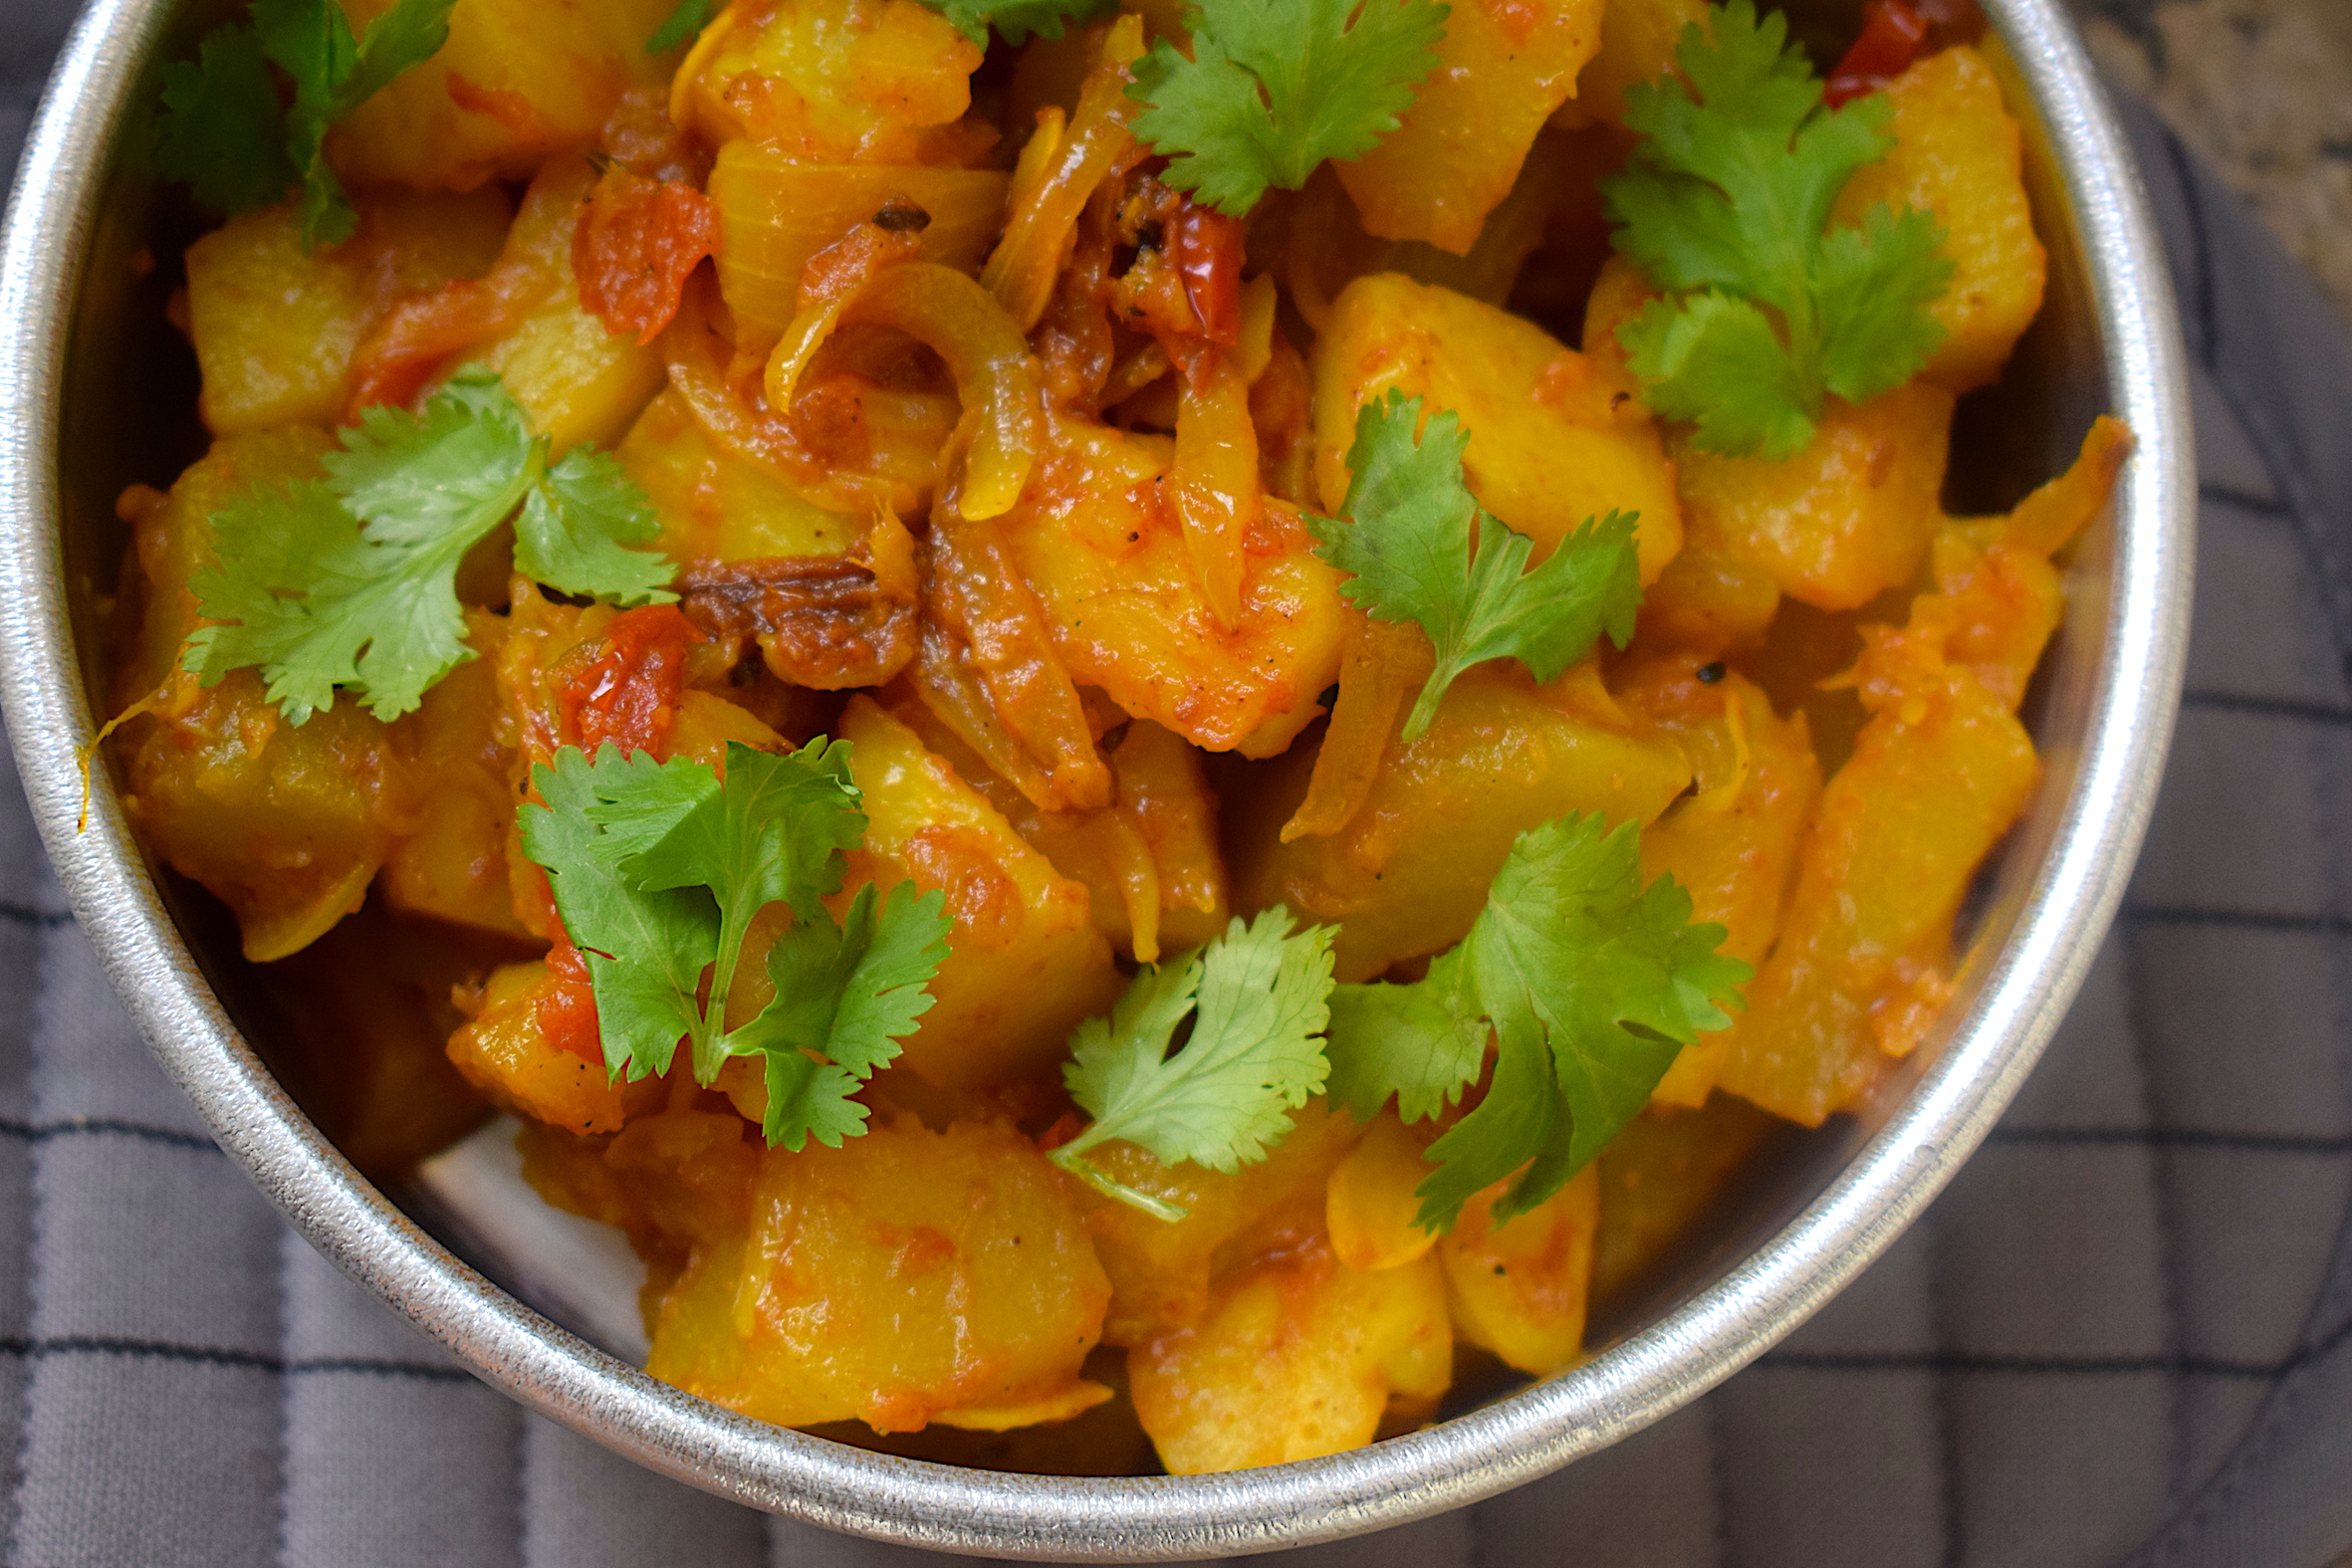
So here is an attempt at recreating that wonderful and sweet pumpkin with potatoes. I have used nigella seeds, raw mango powder, ginger, chili, and some basic spices. It is my mother’s recipe. Didn’t turn out as good as hers but still was quite tasty. A perfect accompaniment to some fluffy luchis. Make sure you eat those seasonal pumpkins before they run out of stock.

Preparation time – 20 minutes

Cook time – 30 minutes

Serves – 4

[ingredients title=”Ingredients”]

  • 1/2 kg seasonal pumpkin, cut in chunks
  • 1 big potato, cut in chunks
  • 1 large tomato, finely chopped
  • 2 tbsp mustard oil
  • 1 bay leaf
  • 1 large onion, finely chopped
  • 2 green chilies
  • 1 tsp panchphoran
  • 1 tsp turmeric powder
  • 1 tsp raw mango powder (amchur)
  • 10 g grated ginger
  • 20 g ginger garlic paste
  • 1 tbsp sugar
  • 1 tsp cumin powder
  • 1 tsp black pepper powder
  • 100 ml water
  • 1/2 tsp garam masala
  • Coriander leaves for garnish
  • Salt to taste [/ingredients]

[directions title=”Directions”]

  • Heat mustard oil in a kadhai. Allow it to come to a smoking point. Add a bay leaf and the panchphoran (The Indian five spice mix).
  • Add the chopped onions and add it to the mustard oil at this time. Stir for two to three minutes till onions start to get translucent.
  • Time to add the ginger paste. Stir all the ingredients together in the kadhai till the raw aroma of it dissipates.
  • Once the onions are cooked, add the tomatoes and stir till tomato starts releasing its own water to form a thick gravy. This would take about ten more minutes.
  • If the mixture gets stuck to the kadhai, add just a dash of water to prevent it from happening.
  • Season with salt, turmeric, cumin, and raw mango powder. Mix well for another minute.
  • Once the tomatoes are cooked, add the pumpkin and the potatoes. Stir this for about two to three minutes. Add some water if it gets stuck to the kadhai.
  • Cover and cook on low flame for ten minutes. If you want a gravy version, you can add some more water.
  • Remove the lid, sprinkle the garam masala and give it one last stir.
  • Garnish with fresh coriander leaves.
  • Garnish with some freshly chopped coriander leaves and green chili.
  • Serve hot with parathas or roti. [/directions]

veg recipes

veg recipes

If you want regular access to more such delightful food, you can follow me on Facebook, Instagram, Twitter, and YouTube.

Happy cooking!

Dahi Kala Chana Curry | Veg Recipes

Time is such a thing. Things which you thought would never change or you could alter about yourself end up being history. If I have to substantiate this with an example, I would use one which is food related. As a child or even during my teenage years, I had always detested certain kinds of food. But the passage of time and experience has made me value those very same things, which I enjoy now.

dahi kala chana

Kala chana (black chickpeas) is such an example. I have never really enjoyed Kala chana in a curry. The maximum I have gone is eaten it raw in a salad or a prasad. But now, I cannot get enough of it. It is one of my favorite kind of sprouts. Also because with time I have become wiser in terms of understanding what food is good for me, and how it can be made tasty.

dahi kala chana

You probably have seen a lot of Kala chana recipes on the internet. But trust me this one is different. The game changer is the use of curd. And oh, the results are absolutely stunning.

I invented this recipe a few years ago when I didn’t have anything else but some Kala chana at home. I was perhaps too broke to order in. As they rightly say, necessity is the mother of invention. And this splendid recipe emerged out of experimentation in the kitchen.

dahi kala chana

I usually enjoy Kala chana in its raw form. Assamese people have soaked Kala chana along with soaked moong dal as prasad. So I’ve been used to eating in that form since my childhood. I also enjoy it in my salads in its uncooked form.

But this dahi Kala chana curry makes me go weak in my knees. Made with ginger, garlic, garam masala, curd, tomatoes and lots of onions, I have been loving this sweet, spicy and tangy curry for a few years now. Adding that pinch of salt while boiling the chana in the pressure cooker makes a lot of difference.

The spices and condiments used in this are very basic and mostly lying around at home. The one big difference that makes this curry truly tasty is fresh garam masala. I make my own by dry roasting equal amounts of cardamom, cinnamon, and clove together. And the biggest secret to any good pulse curry is to add salt while boiling. The salt gets infused into every grain and makes a huge difference.

dahi kala chana

dahi kala chana

Before boiling the Kala chana, I soaked it in water overnight. Kala chana takes some time to soften so make sure you leave it in water for eight to twelve hours.

Preparation time – 20 minutes

Cook time – 60 minutes

Serves – 2-3 people

[ingredients title=”Ingredients”]

  • 100 g Kala Chana
  • 2 tbsp mustard oil
  • 2 medium onions, ground to a paste
  • 3 medium tomatoes, ground to a paste
  • 1 tsp sugar
  • 20 g fresh ginger garlic paste
  • 1 tsp cumin powder
  • 1 tsp coriander powder
  • 1 tsp turmeric powder
  • 1 tsp black pepper powder
  • 50 g thick curd
  • 1 tsp garam masala
  • Salt to taste [/ingredients]

[directions title=”Directions”]

  • Soak the Kala chana in water overnight. Boil it with 1 tsp salt in a pressure cooker with about 500 ml water.
  • In a kadhai, heat some mustard oil. Once it starts smoking and acquires a pale yellow color add the onion paste.
  • Cook the onions gently till its raw aroma disappears. Add the ginger garlic paste to it.
  • For a sweet flavor, add some sugar. This will also give a beautiful caramelized color to the gravy.
  • Once the raw aroma of the onions and ginger and garlic disappears, add the tomato paste. Saute this till all the water from the tomato reduces and a thick paste gets formed. This step is absolutely crucial otherwise you will have a curry with raw tomato smell.
  • Season with salt, cumin powder (jeera), black pepper powder, turmeric powder, and coriander powder. Mix well till the spices completely assimilate with the rest of the ingredients in the masala.
  • Now add the boiled Kala chana and water to this cooked masala paste. Stir well and boil it in high heat till you get your desired consistency.
  • Beat the curd well in a bowl and add it to the gravy. Give it a good stir. Make sure you use good quality, thick and fresh curd for this.
  • Just before you take it off the stove, add the garam masala and give it one last stir.
  • Serve with roti, rice or pulao with onions and pickle. [/directions]

veg recipes

Related recipe – Dhaba Style Chana Dal

If you want regular access to more such delightful food, you can follow me on Facebook, Instagram, Twitter, and YouTube.

Happy cooking!

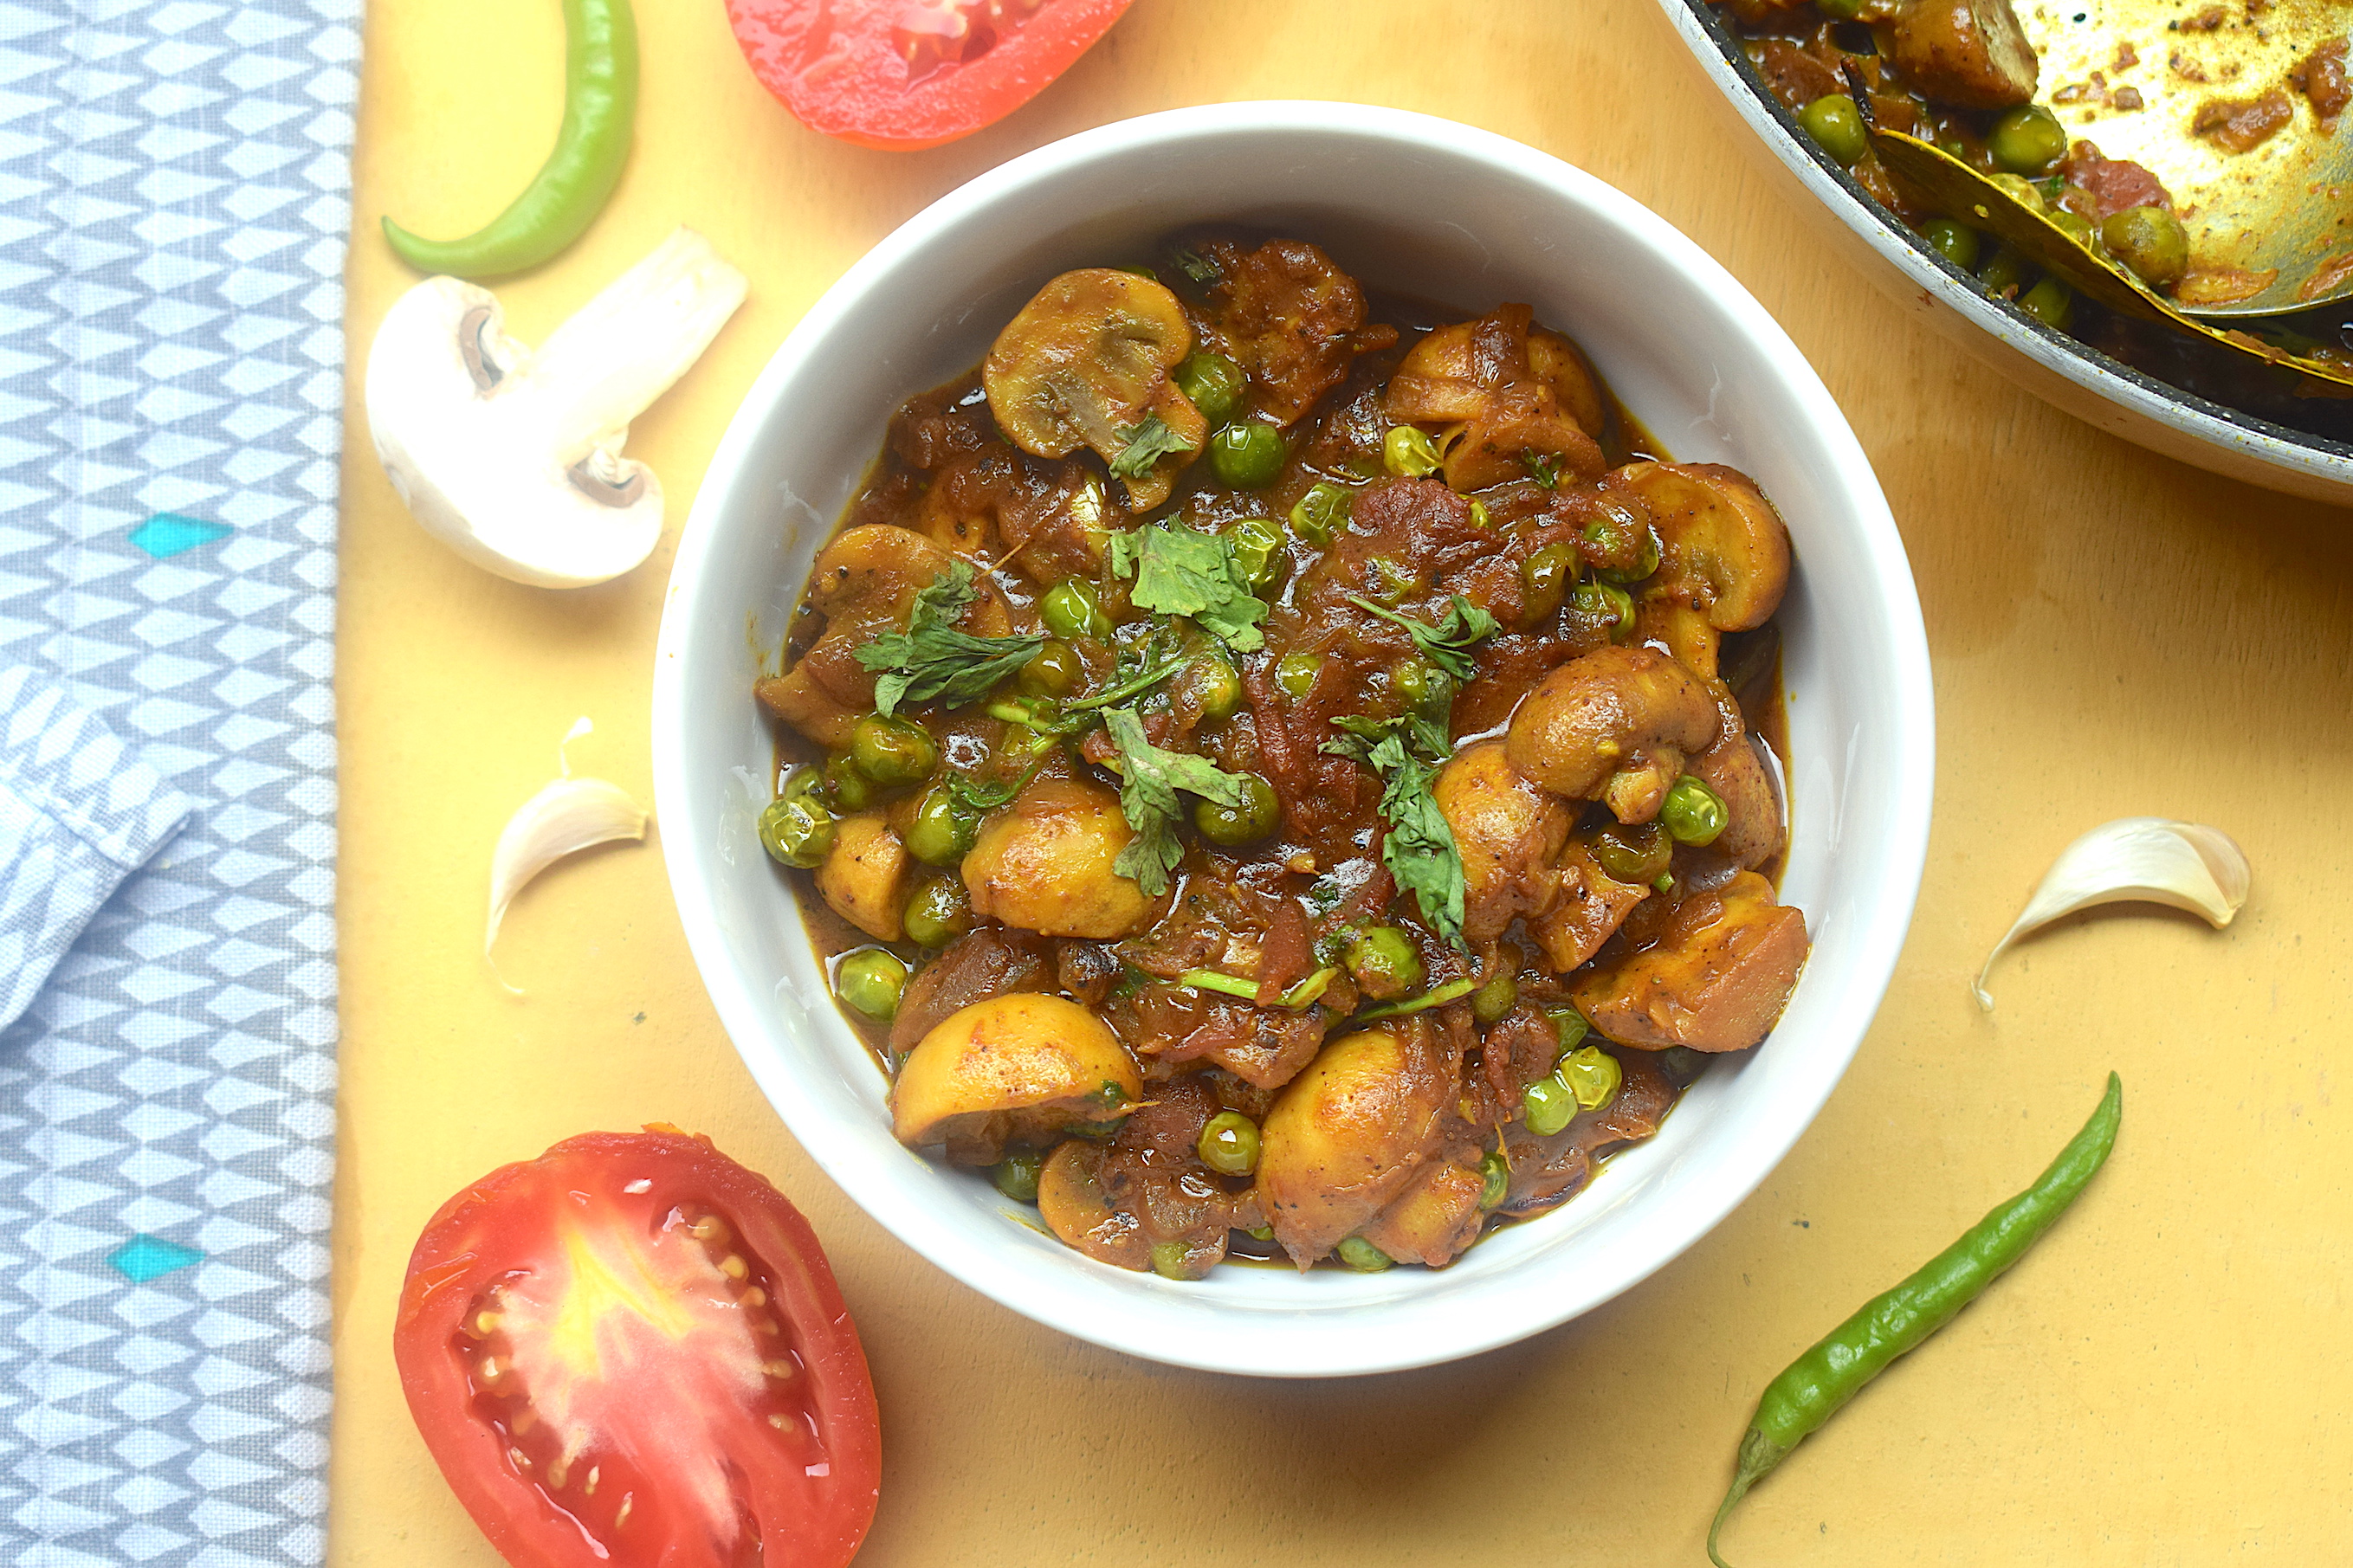
Malai Matar Mushroom

Mushrooms are something I somehow always manage to have in my refrigerator. What’s not to like about them? They are worth devouring, cook in minutes, are low in calories and high in nutrition! And let’s not forget how versatile they are. Mushrooms go with pasta, eggs, pizza toppings, lasagnas,…the list is endless. Perhaps this is why most of my veg recipes, irrespective of cuisine has mushrooms in it.

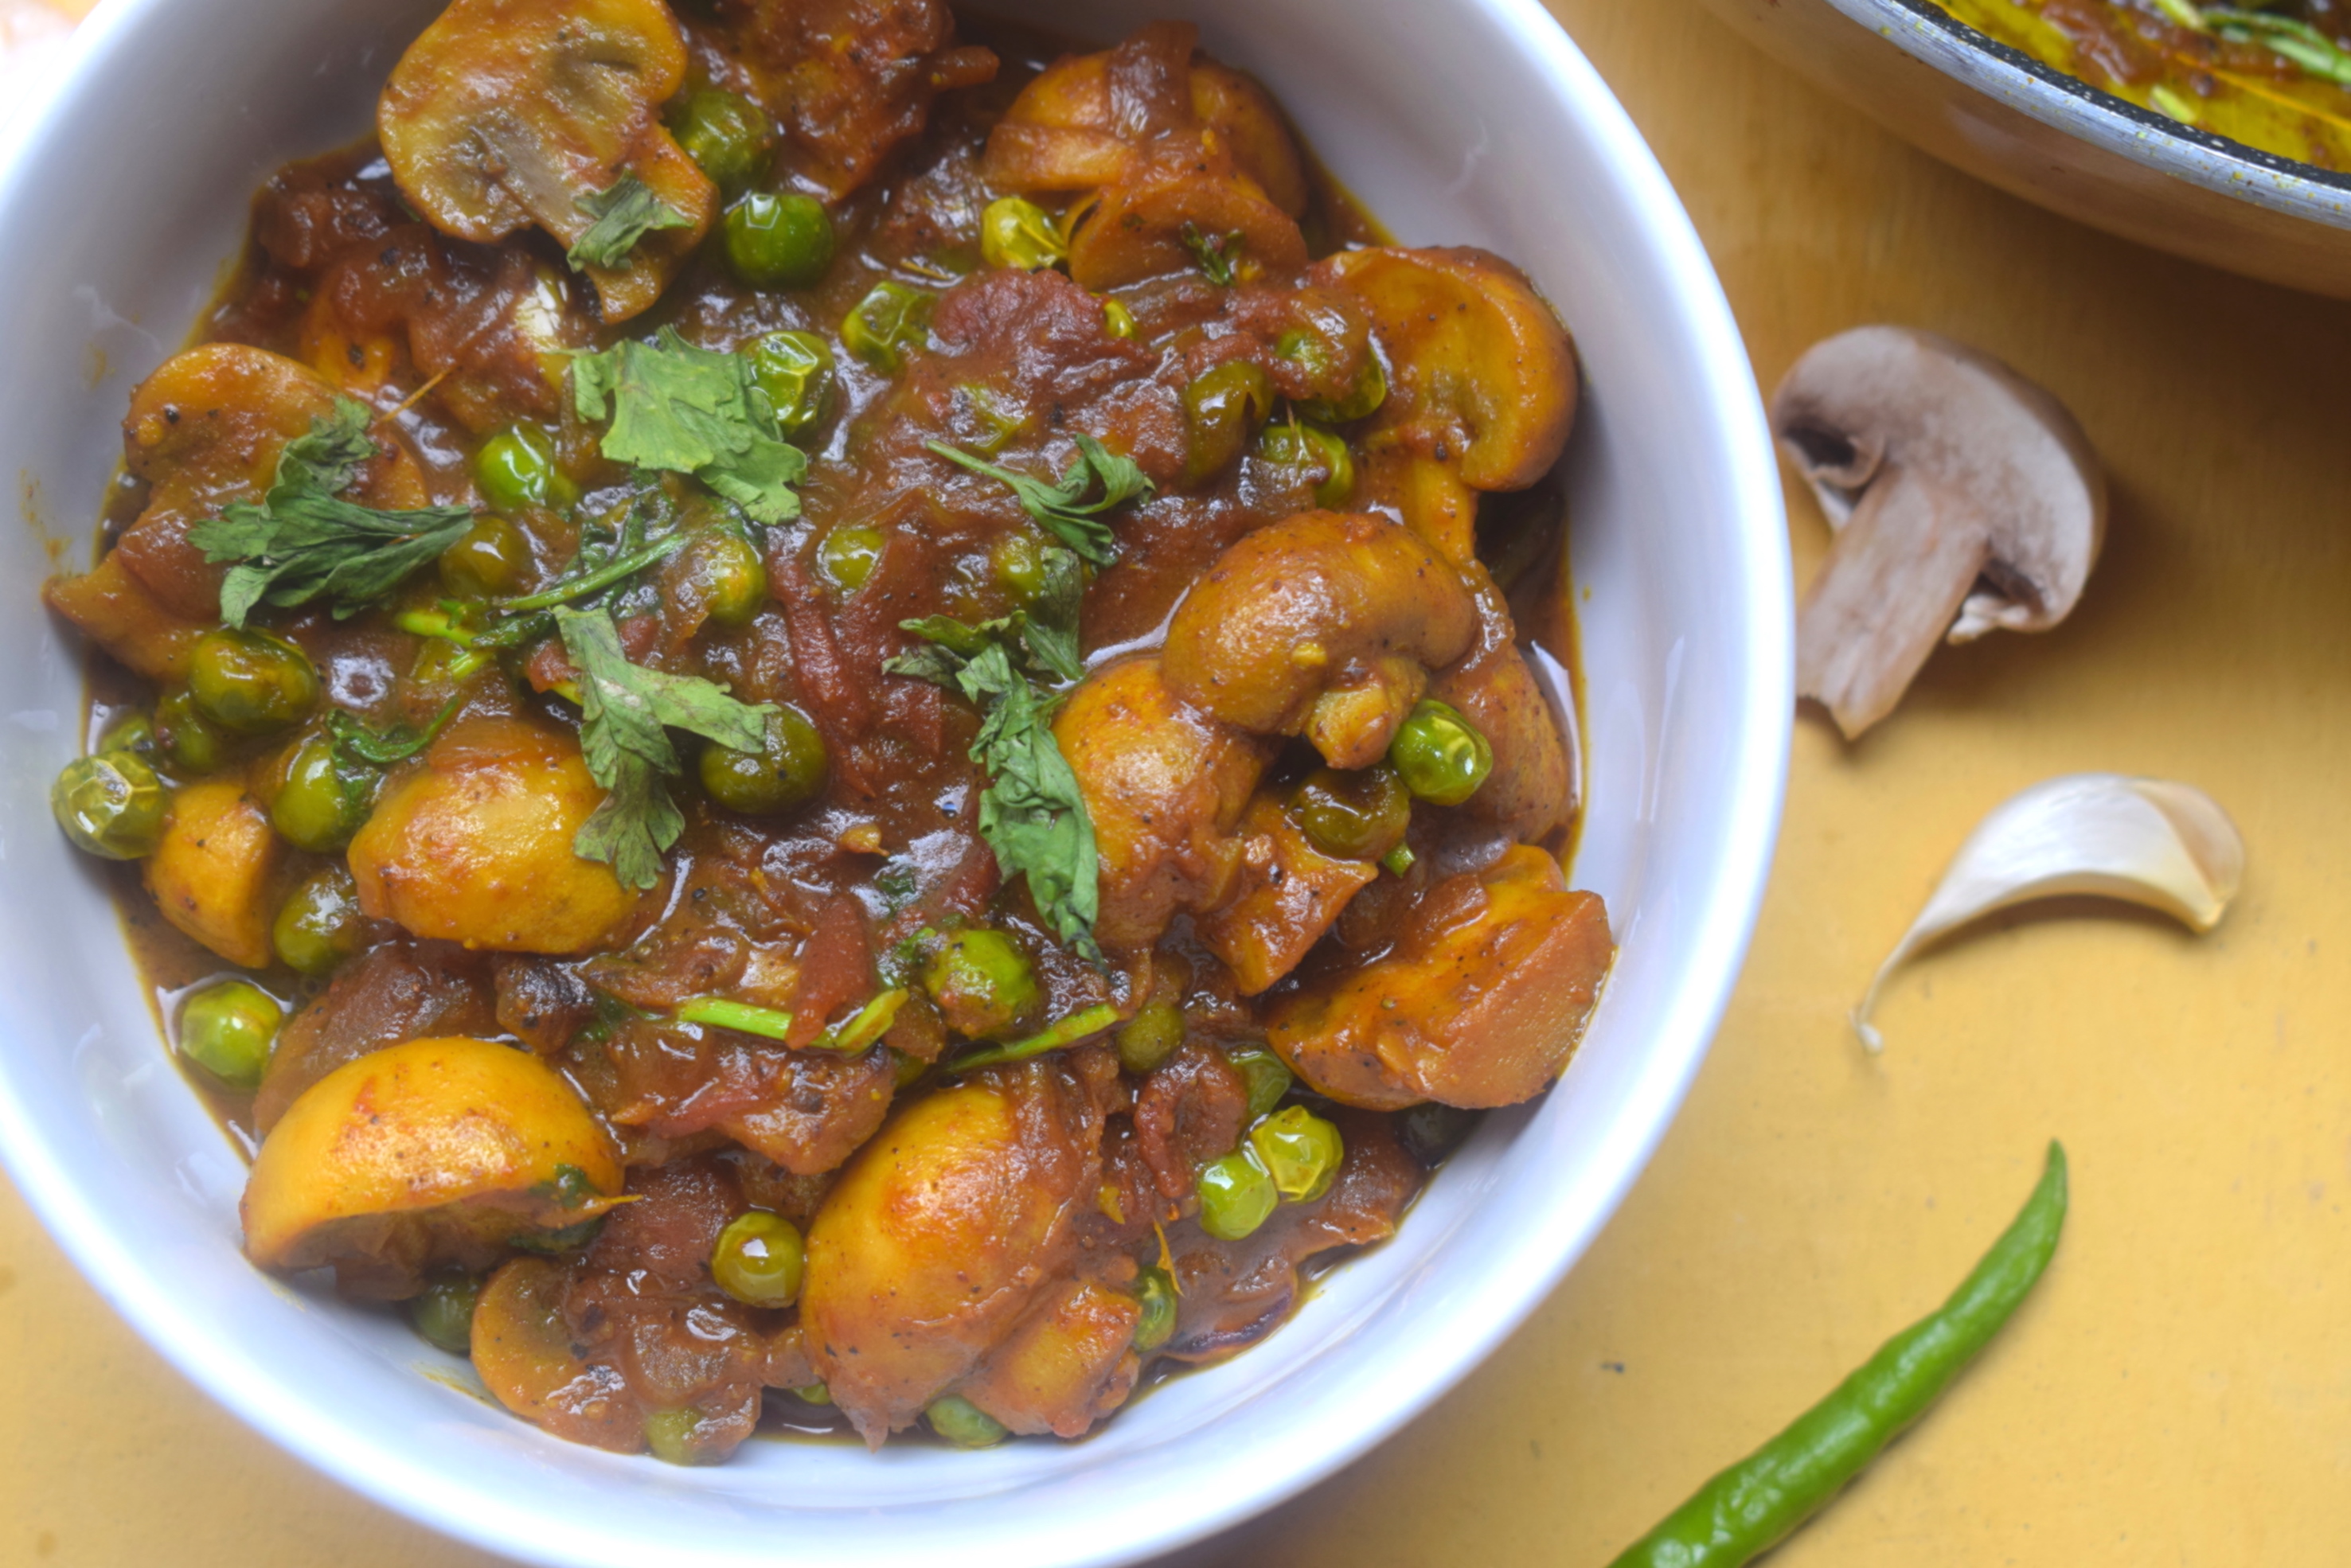
veg recipes

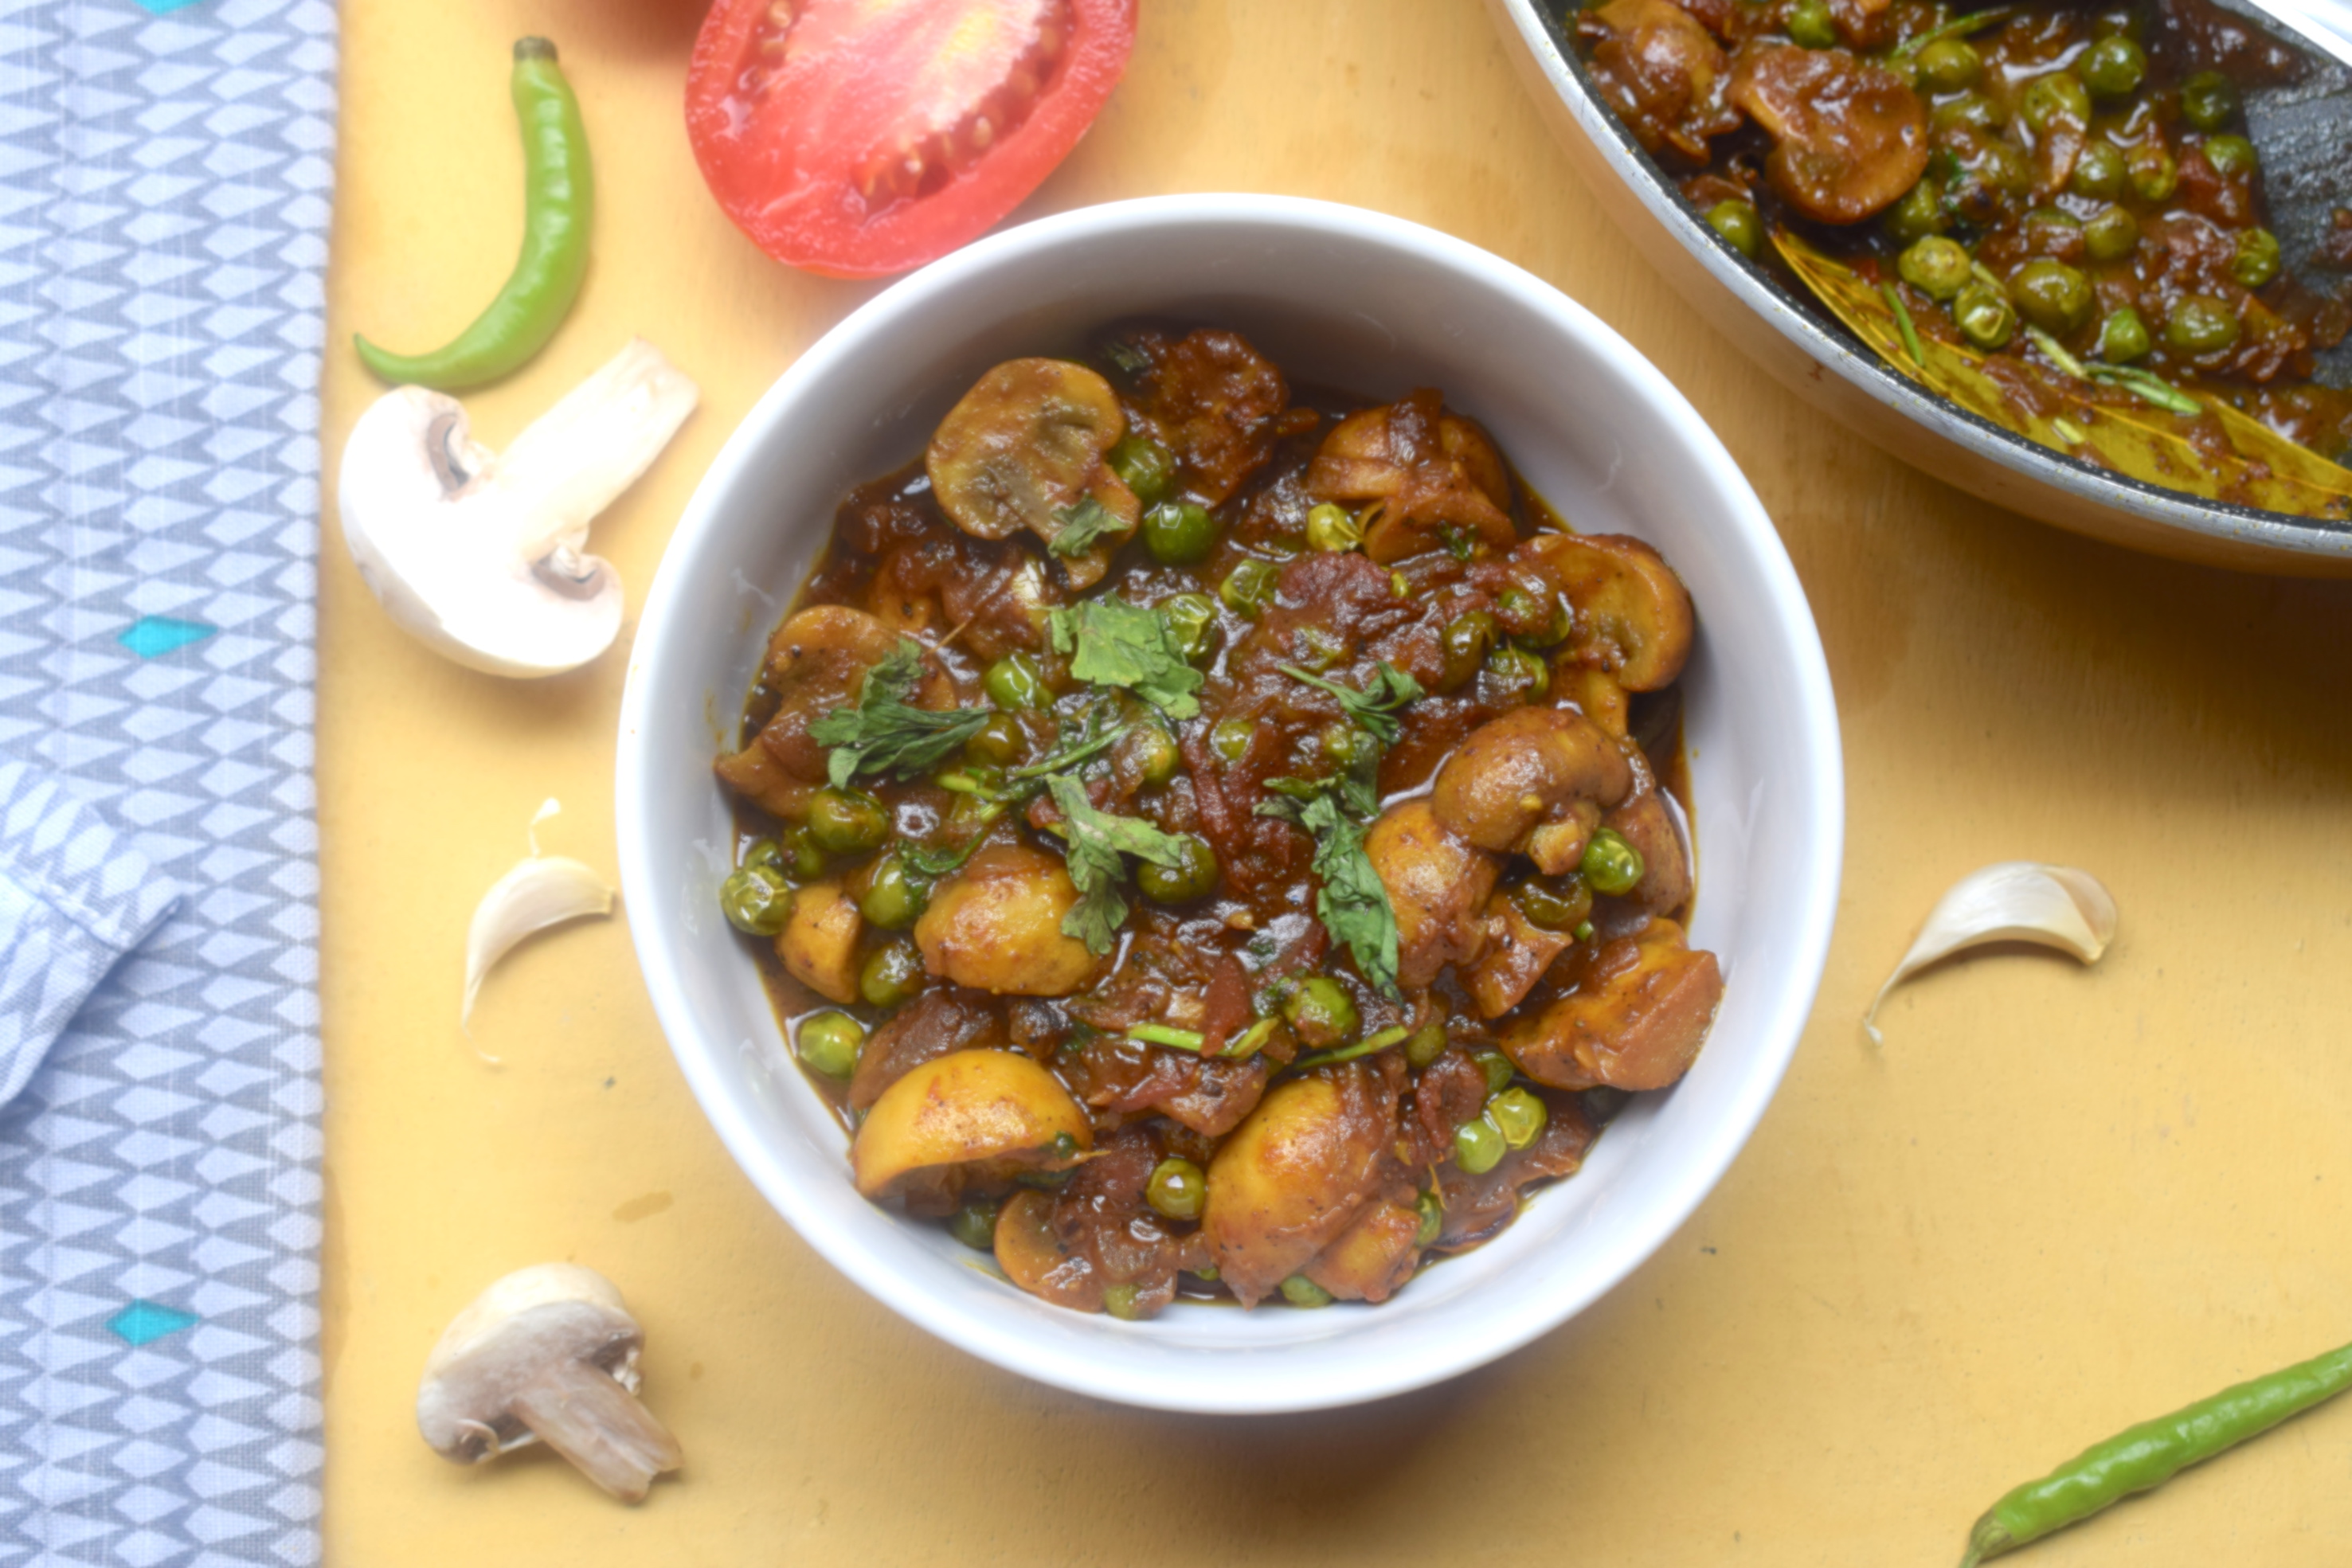
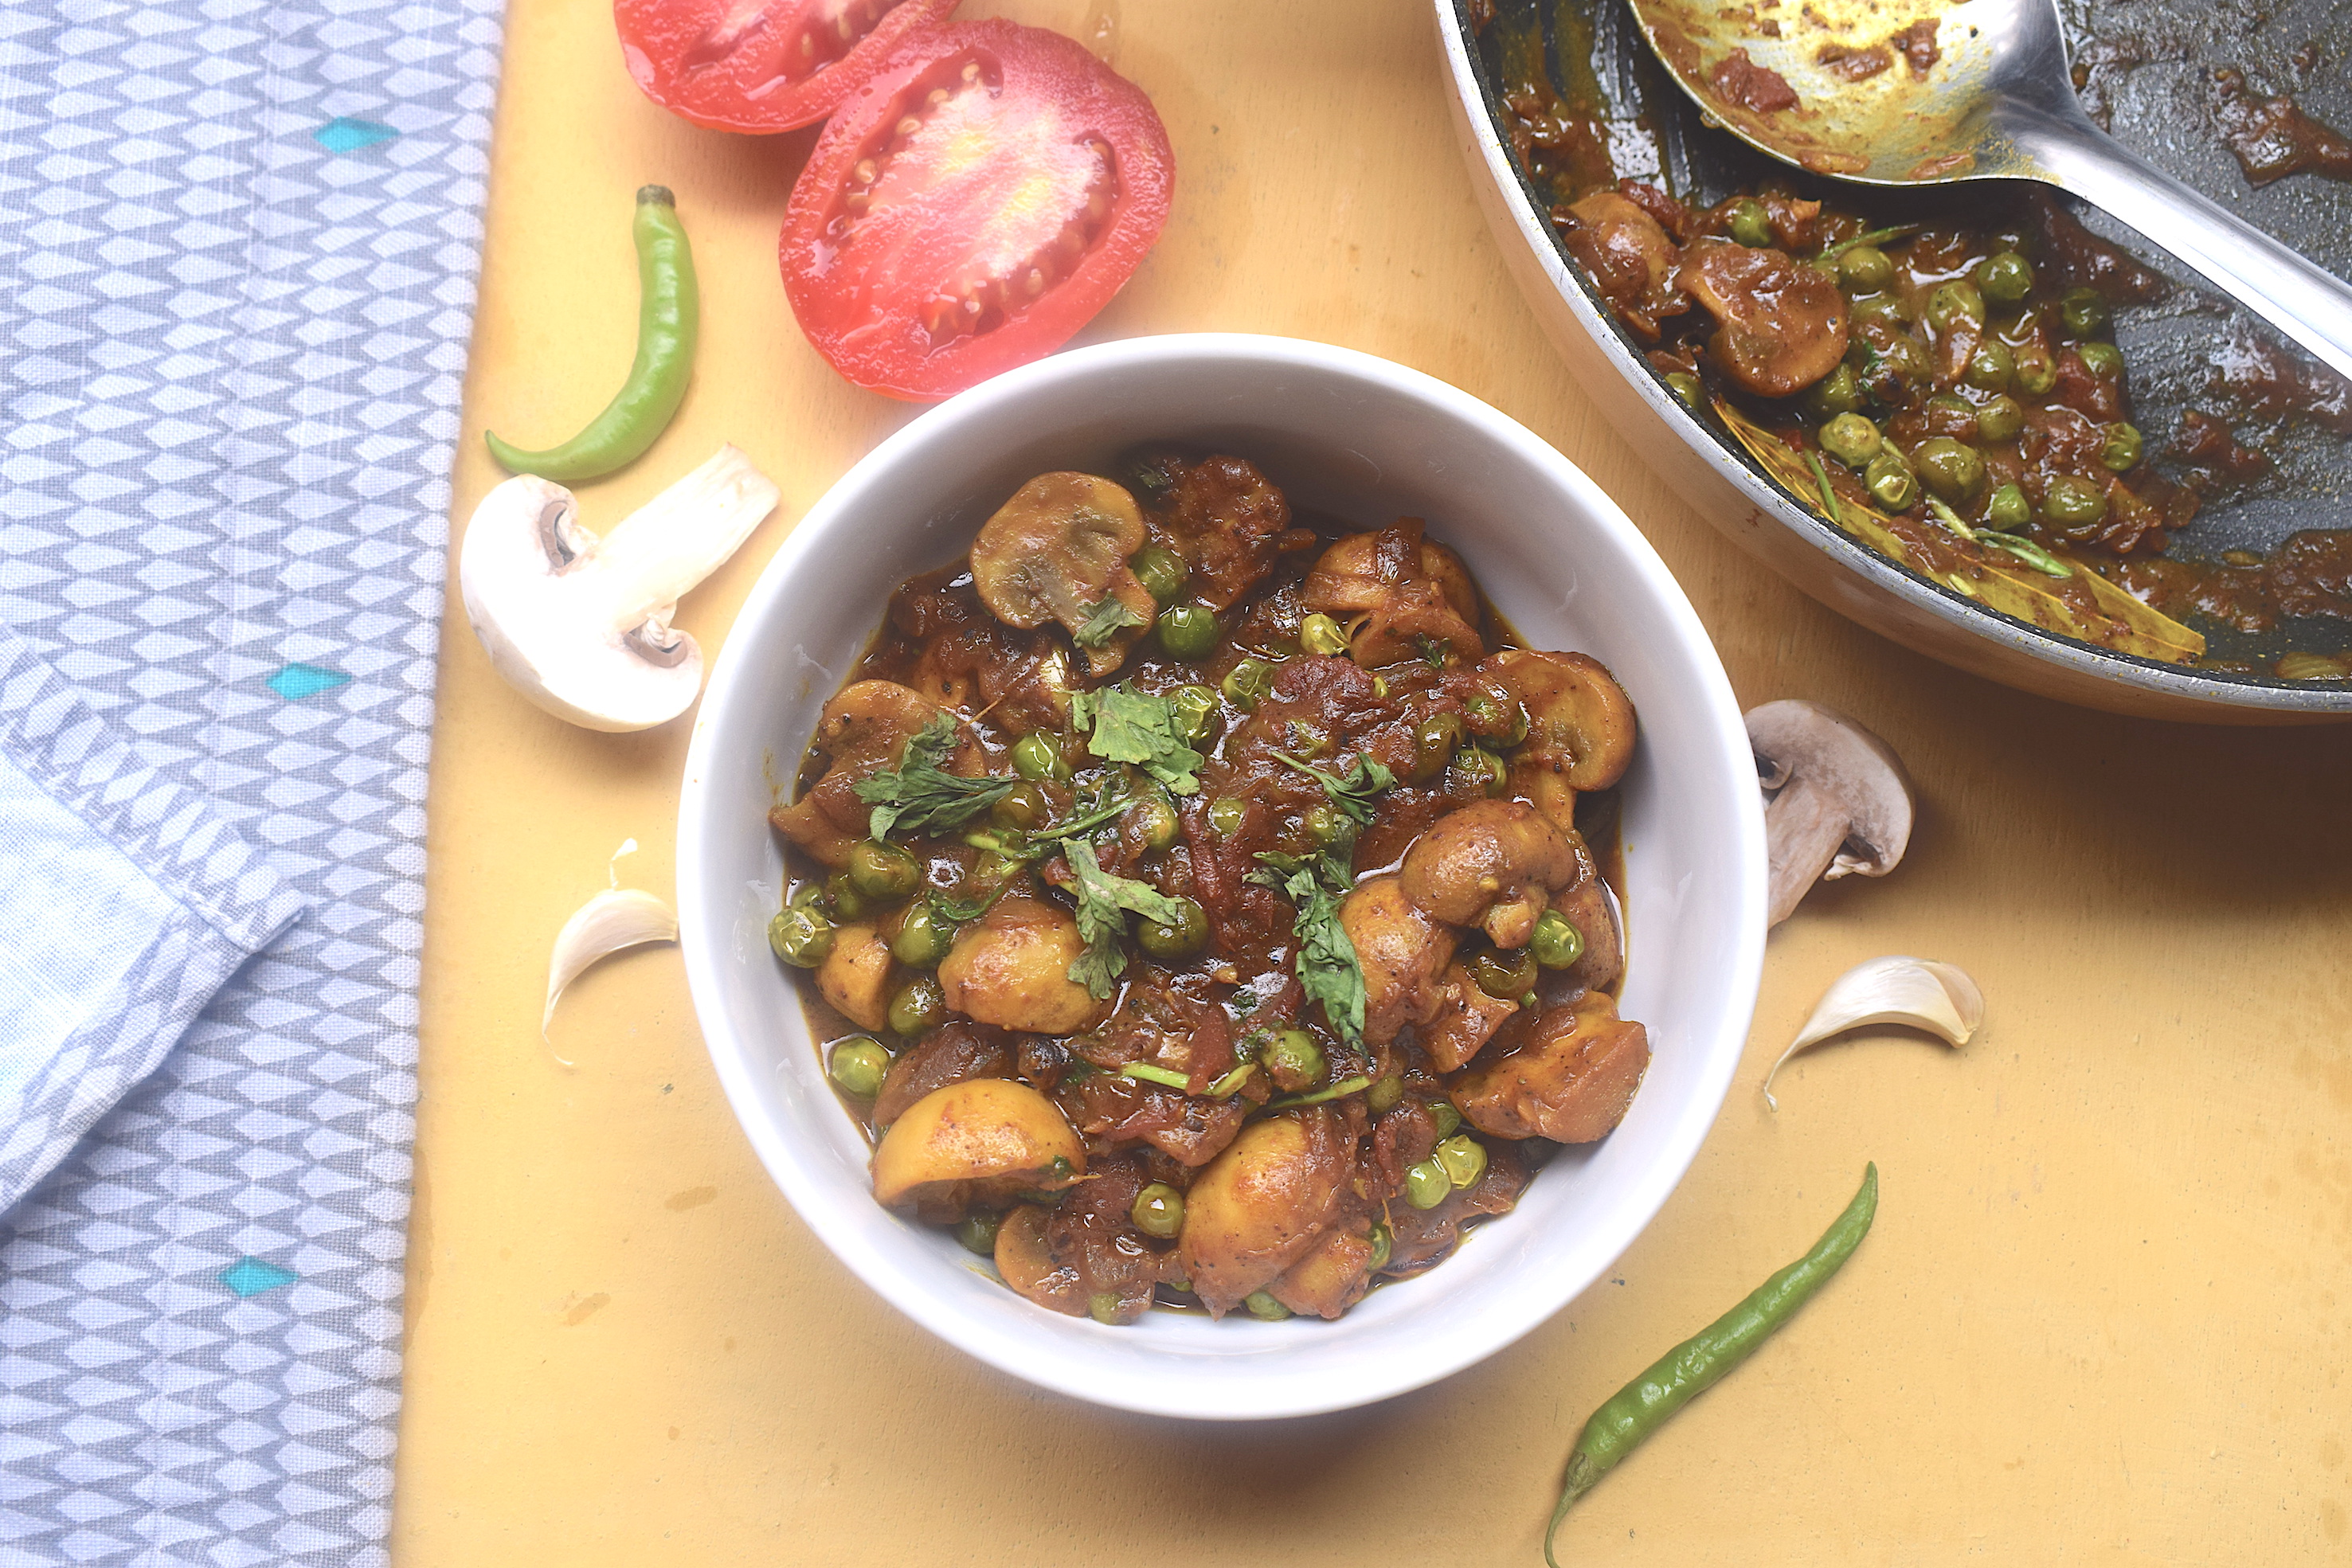
But using mushroom might get tricky when it comes to Indian food. The options most of us are open to are also very limited, with the usual masala mushroom, mushroom do-piaza etc. Honestly, I am not a very big fan of mushroom in Indian gravies. Except for this semi gravy of malai matar mushroom which I am about to share here.

The secret to this veg recipe is that it is not as heavy as one might imagine it to be. This version is in fact very light, as it involves the addition of coconut milk which gives it a creamy texture. The other masalas are the usual onions, ginger, garlic, chilies, lots of tomatoes and the standard spices that go into Indian gravies. The prep time is also very less, and it makes for a great and quick dinner recipe, served hot with some flaky parathas.

veg recipes

The peas I have used here are fresh. I do not champion using frozen peas (or anything frozen for that matter). Because the peas are fresh and raw, I add them first and cook them through before adding the mushroom. This is because if you add the peas and mushrooms together, the latter will actually start melting since it takes just about ten minutes to cook. It is also important to use big chunks of mushroom into the gravy as it will anyways shrink down to half its size after cooking. I always use button mushrooms in Indian cooking. It is easily available and it has its own crunch that I feel goes well in Indian cooking.

Preparation time – 15 minutes

Cooking time – 30 minutes

Serves – 3

[ingredients title=”Ingredients”]

  • 250 g button mushrooms, each cut in half
  • 200 g fresh peas
  • 2 large onions, finely chopped
  • 2 green chilies, slit in half
  • 1 tbsp ginger garlic paste
  • 1 tsp sugar
  • 2 tbsp cooking oil
  • 2 bay leaves
  • 1 tsp turmeric powder
  • 1 tsp black pepper powder
  • 1 tsp cumin powder
  • 2 medium tomatoes, finely chopped
  • 100 ml thick coconut milk
  • 1 tsp fresh garam masala
  • Freshly chopped coriander leaves for garnish
  • Salt to taste [/ingredients]

[directions title=”Directions”]

  1. Heat oil in a kadhai. Add the bay leaves, followed by the finely chopped onions. Saute the onions till they turn brown.
  2. Add the sugar to the onions. The sugar will help the onions cook faster, add a caramelized taste and also give a dazzling brown color to the recipe. Add the slit green chilies into this and saute for another two to three minutes in medium flame.
  3. Next, add 1 tsp of fresh ginger garlic paste. Fry this till the raw aroma of the ginger and garlic disappears.
  4. Season with salt, turmeric powder, black pepper powder and cumin powder. Cook the mixture thoroughly till all the spices and condiments come together and there is no rawness left.
  5. Finely chop two medium tomatoes and add them once the onions are cooked and assimilated well with the spices. Cook the tomatoes for another five minutes till they merge into perfect harmony with the onions. Add a splash of water if required.
  6. Wash the peas thoroughly and add it to this onion and tomato mixture. Since the peas are raw, we need to cook them through before adding the rest of the ingredients. Saute the peas for a few minutes with the onions and tomatoes.  The tomatoes will release more water of its own, which can be a base for the peas to cook in.
  7. Once the peas are 70 percent cooked, add the button mushrooms. Gently saute the mushrooms into the rest of the mixture. Make sure each mushroom gets coated in the masalas in the kadhai.
  8. After a while, the oil will start to separate from the mixture in the kadhai. This is when you need to add the coconut milk. Give it a gentle stir. Cover and cook this on low heat for ten minutes.
  9. Remove lid after ten minutes, and give it a light stir. Season with some fresh garam masala and coriander before taking it off the heat. Enjoy with some hot parathas or rotis.

[/directions]

This is a semi gravy version. Based on the consistency you’d like, you can add some water to get a gravy version as well. But in my experience, this subzi tastes best when slightly dry.

veg recipes

veg recipes

I hope you like this preparation and add it to your collection of Indian veg recipes. Do let me know how it turns out for you. I will be happy to answer any questions you might have about this or any other recipe. Just drop in a comment or write to me at slurrpilicious@gmail.com

I hope you try out this malai matar mushroom recipe soon.If you do, let me know how it turned out for you.

If you have any questions, suggestions or feedback, please leave me a comment here. Or connect with me Instagram, Facebook or YouTube.

Happy cooking!