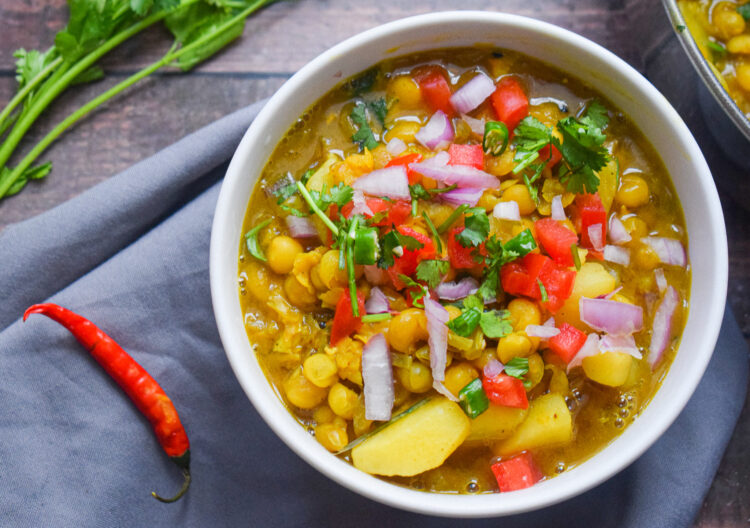
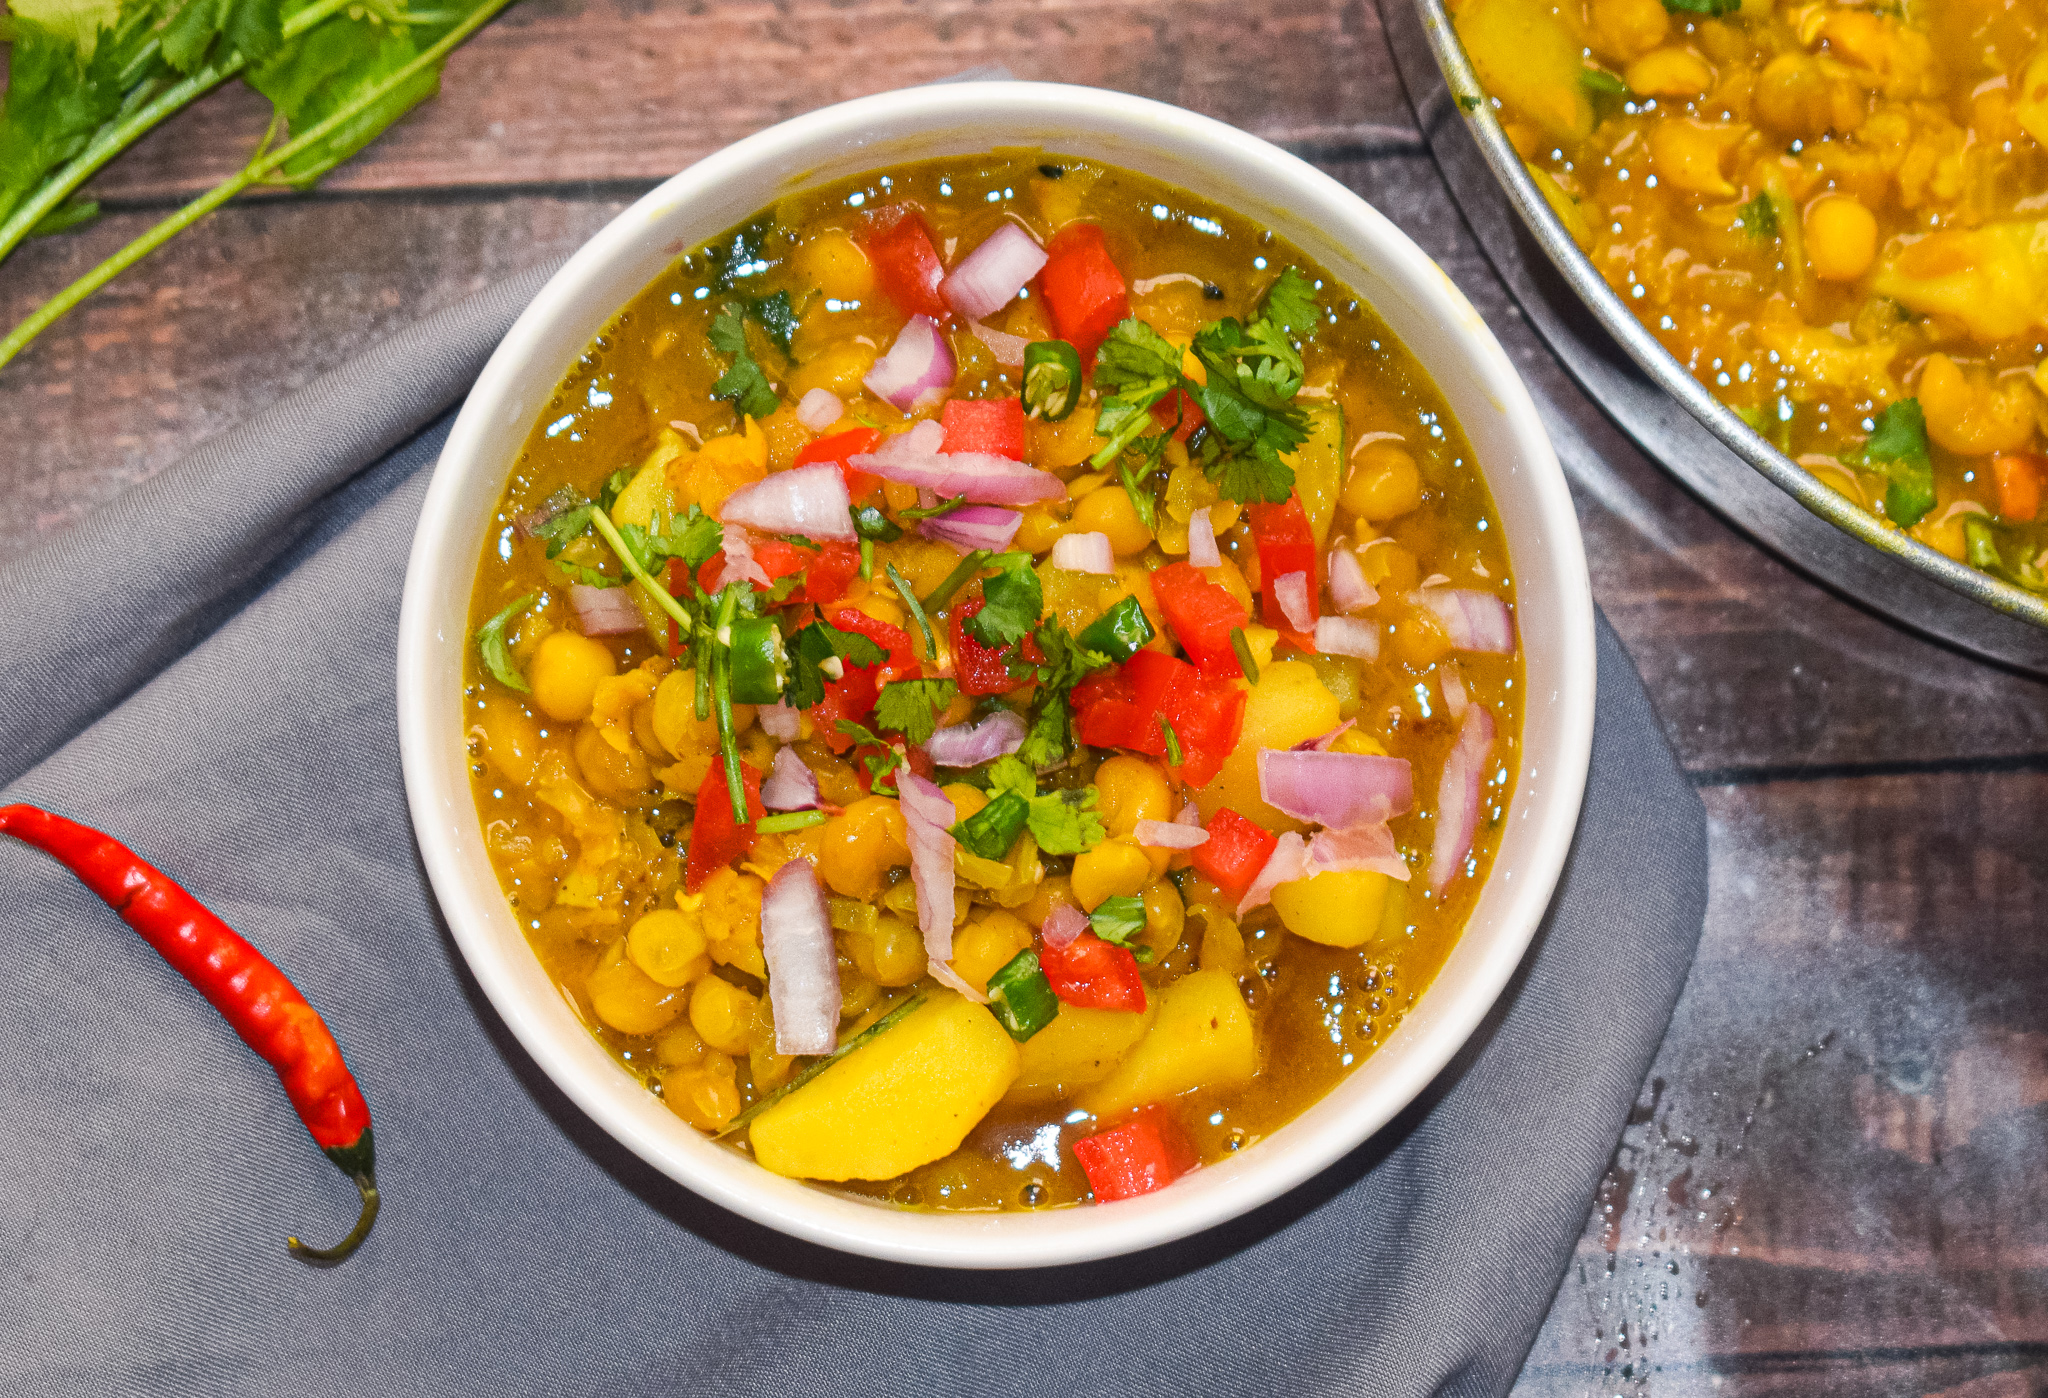
Some recipes have a special place in all our hearts. One look at it takes us home. And ghugni definitely makes it to the top of that list for me. For those who are not familiar, ghugni is a light curry made with yellow peas. It is wildly popular as a street food in Assam and West Bengal. It can be made as a dry snack or a curry, depending on what you are serving it with. My earliest memories of ghugni take me to Sundays when breakfast would be ghugni with lusi (Assamese deep fried flatbread). Or during Durga Puja pandal hopping when street vendors would be selling steaming types of ghugni topped with onions, chillies and coriander.
This ghugni recipe is my version with some potatoes that goes really well with rotis, parathas or luchi/lusi. You can also eat it as a snack with toppings of your choice. You can even make a ghugni chat out of it with by sprinkling some chat masala on top, along with onions, green chillies, mint and coriander.
Steps to Make the Perfect Ghugni
Here are some steps to make sure you are well prepared to make the perfect tasting ghugni. This recipe is very simple and easy, but taking care of these few things are essential.
-
Soak the peas overnight
Yellow peas are hardy and need a lot of soaking to cook uniformly. It is absolutely essential to soak them for a minimum of 12 hours before you decide to make them. I usually soak them overnight so that I can prepare this ghugni recipe for breakfast or lunch.
-
Add salt while pressure-cooking
Adding salt while pressure-cooking yelow peas (or any legumes for that matter) is very important as it helps ensure that the legumes also get seasoned uniformly (and not just the stock). Do not skip this step.
-
Use fresh spices
A few spices go into the making of this ghugni recipe that lends it a distinct set of flavours, aroma, and taste. To get the best out of this recipe, I recommend you keep your spices as fresh as possible. By fresh I mean get the whole spices and grind them at home instead of using store-bought masalas. Trust me, there is nothing simpler you can do to make your food taste stunning every single time. This is the best tip for making any recipe taste gorgeous! I make a big batch of spices every month at my home – be it cumin, coriander, or garam masala! The fresh spices elevate the taste and quality of recipes to a whole new level.
-
Cook the masala well
This base of this ghugni recipe is a mixture of onions, ginger, garlic, and some wonderful spices. It’s important to be a little patient and cook the masala through. This requires a few minutes of slow cooking until you see the oil release from the sides. The last thing you want in your ghugni is the smell of raw onions, ginger or garlic. A little investment in terms of time, but the results are absolutely worth it.

Now that you know all the secrets to making the perfect ghugni, let’s take a look at the recipe.
Preparation time – 30 minutes
Cook time – 40 minutes
Serves – 4
Ingredients
- 200 yellow peas/white peas, soaked in water overnight
- 1 tbsp salt
- 900 ml water
- 200 g potatoes, cut into cubes
- 30 ml mustard oil
- 2 bay leaves
- 2 dried red chillies
- 2g nigella seeds (kalonji)
- 200 g onions, finely chopped
- 4 g sugar
- 2 chillies, cut into four parts
- 15g ginger-garlic paste
- Salt to taste, for the masala
- 4g turmeric powder
- 4g cumin powder
- 4g black pepper powder
- 4g coriander powder
- 80ml hot water
- Fresh coriander, 2 tbsp
- 2g garam masala
- More fresh coriander, for garnish
- Finely chopped tomatoes, for topping
- Finely chopped onions, for topping
- Finely chopped green chillies, for topping
- Finely chopped coriander, for topping
Directions
- Soak the peas in room temperature water overnight. Wash and keep ready before cooking.
- Add the peas to a pressure cooker. Add the potatoes, salt and water. Give it a light mix with a spoon. Pressure cook for 7-8 whistles (or till peas are cooked).
- Heat mustard oil in a skillet or kadhai. Once it heats up, it will smoke and acquire a pale colour. Lower the flame and temper the oil with bay leaves, dried red chillies and nigella seeds or kalonji. Stir for three seconds.
- Add the finely chopped onions. Increase the flame to medium. Stir for 3-4 minutes till the onions start to turn brown. Do not burn.
- Add some sugar. The sugar will help the onions caramelise faster also add a little bit of sweetness to the curry.
- Add the ginger-garlic paste and stir till its raw aroma fades completely.
- Season with salt, turmeric powder, cumin powder, coriander powder and black pepper powder. Stir for a minute or two on low flame. Add a little but of water from the stock to prevent the masala from sticking to the pan.
- Add some fresh coriander leaves and mix it into the masala.
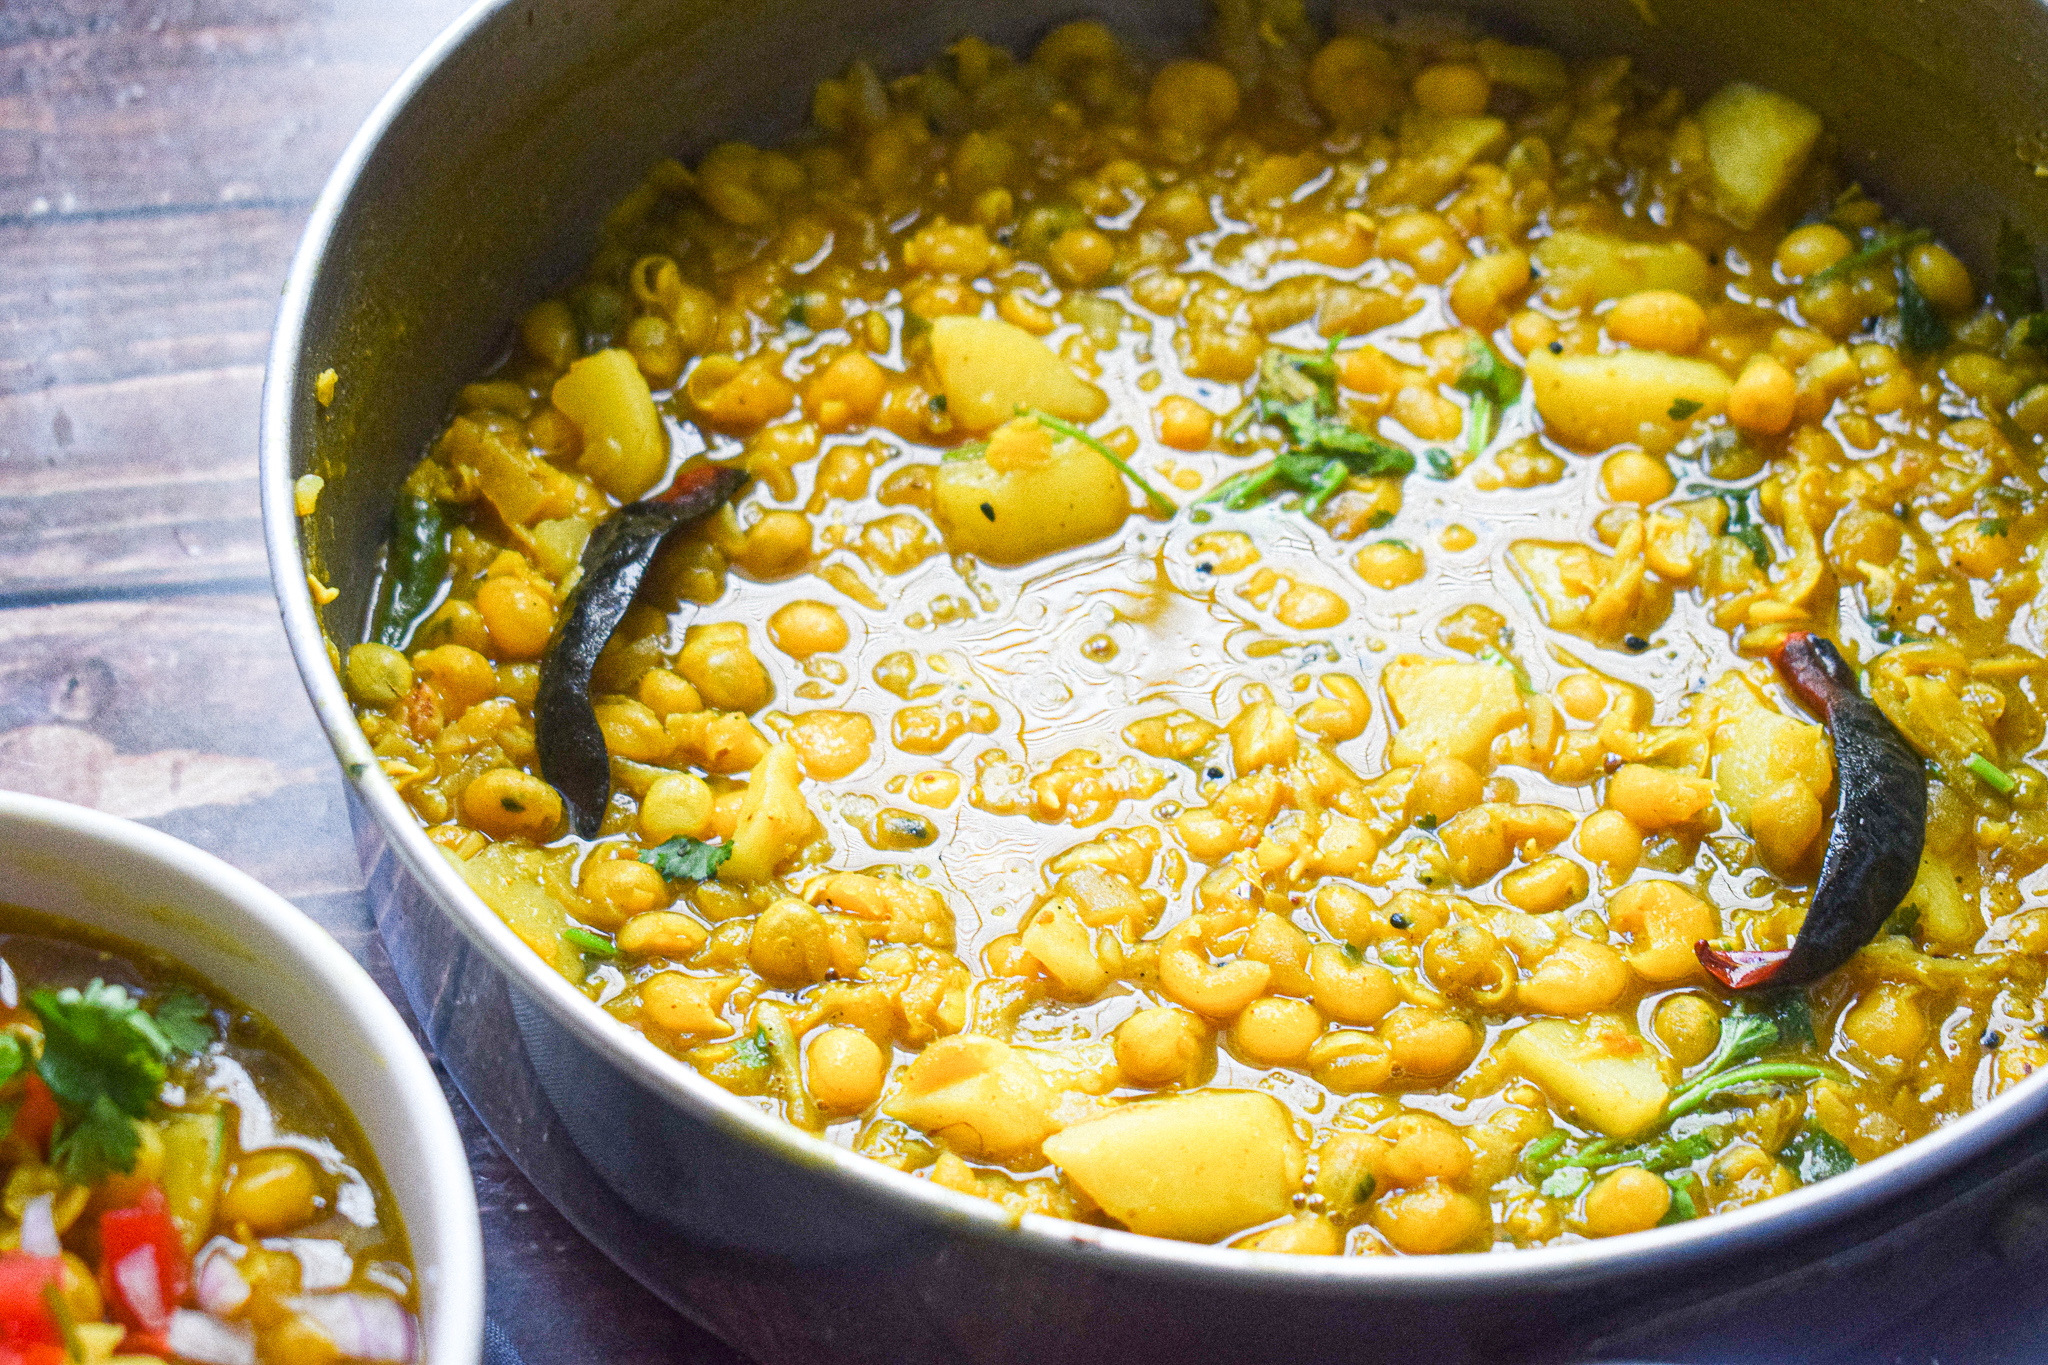
- Pour the boiled chickpeas along with the stock and mix well. Let the curry come to an aggressive boil.
- Once you have achieved your desired consistency, add some garam masala and mix.
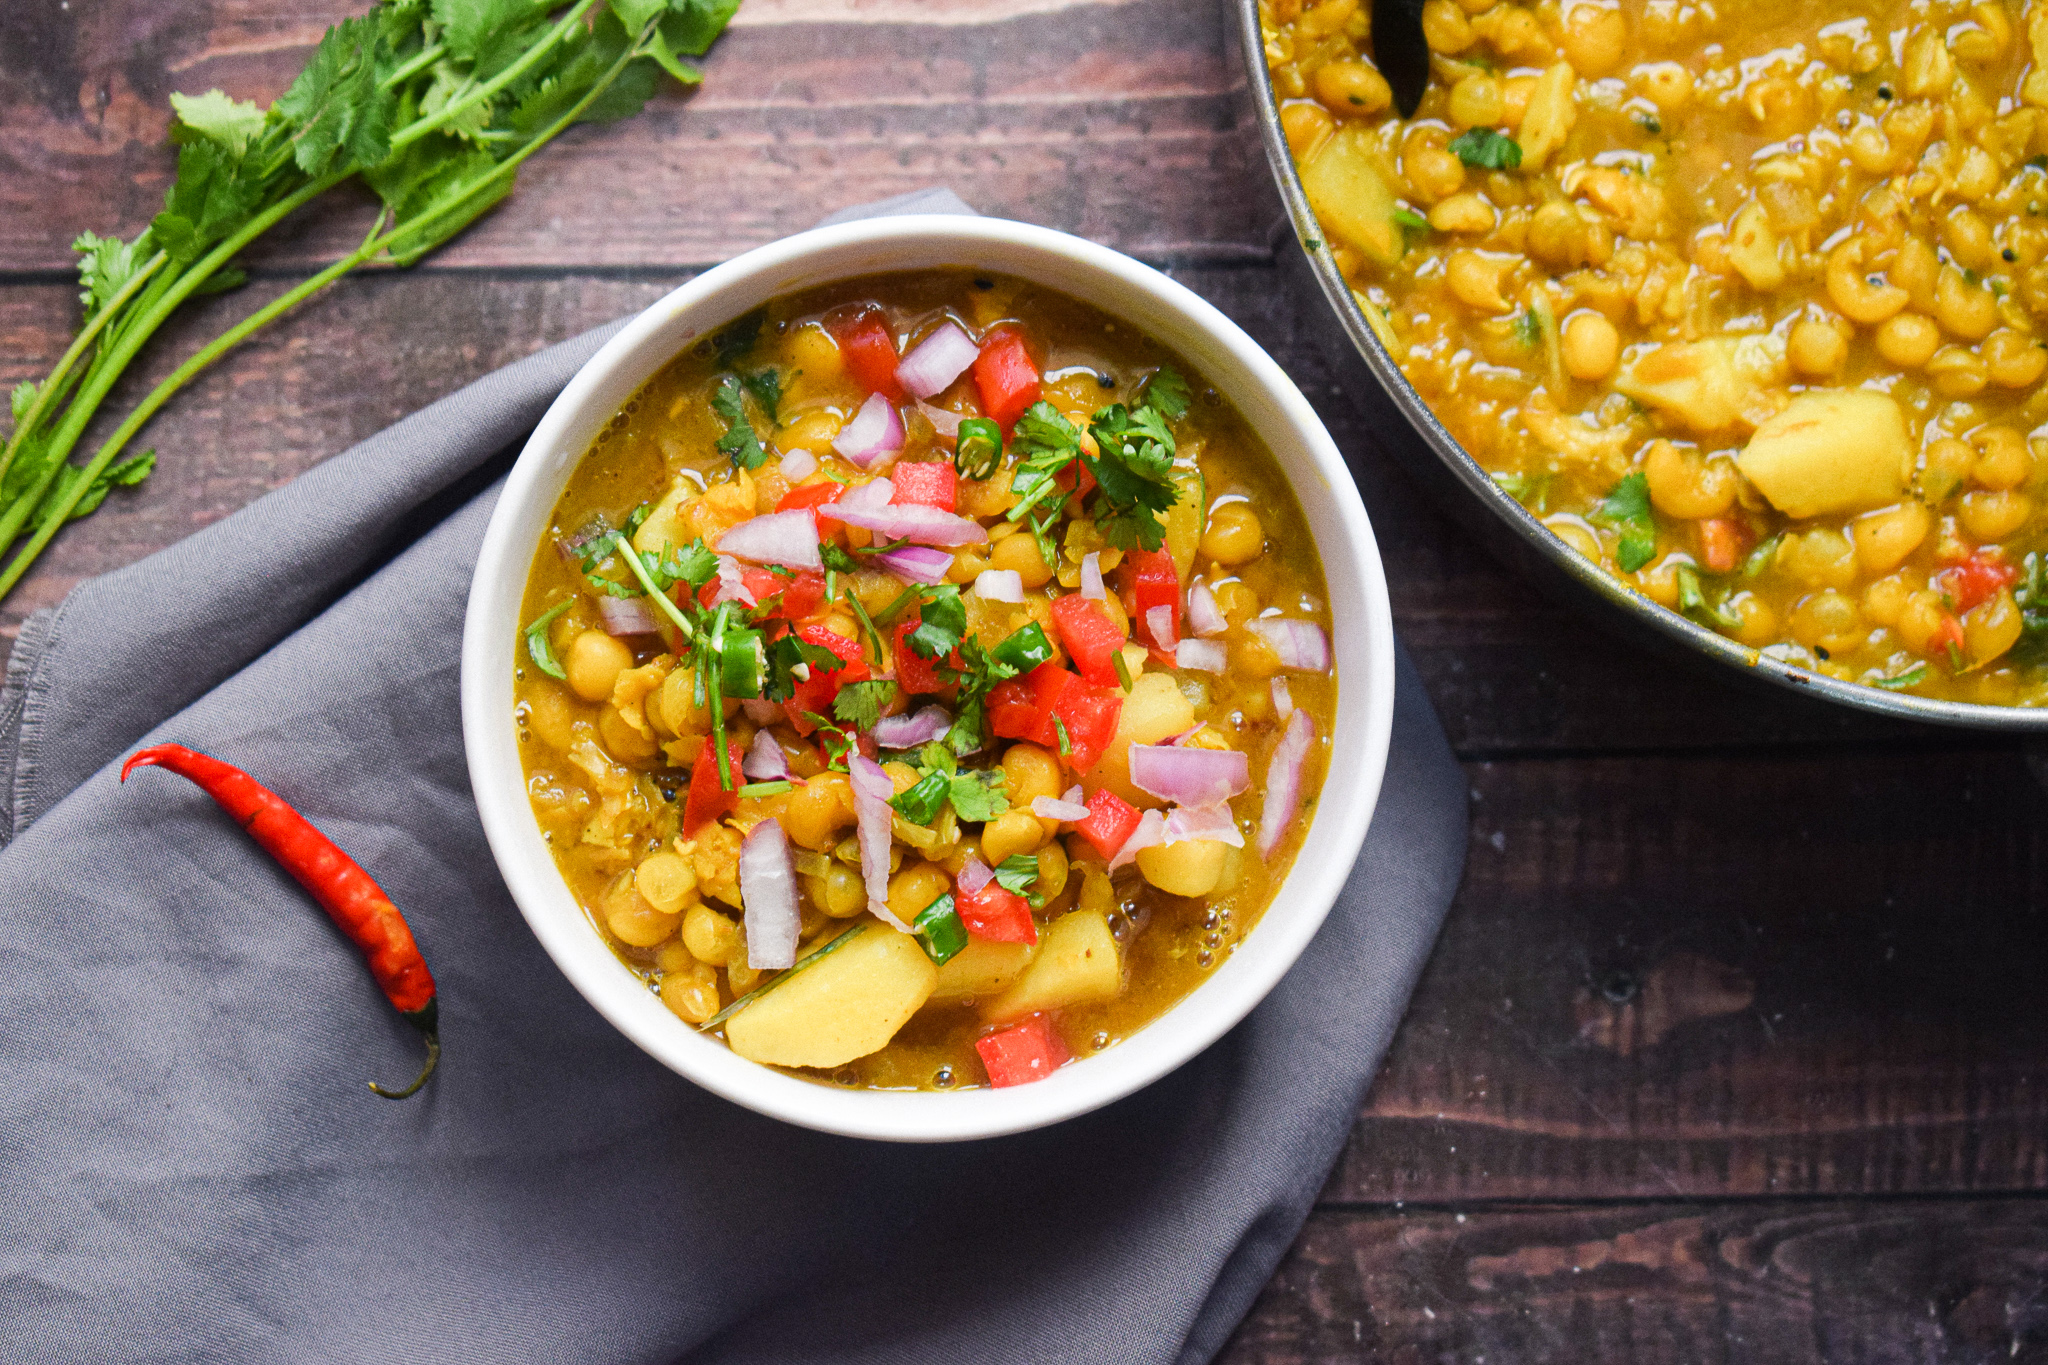
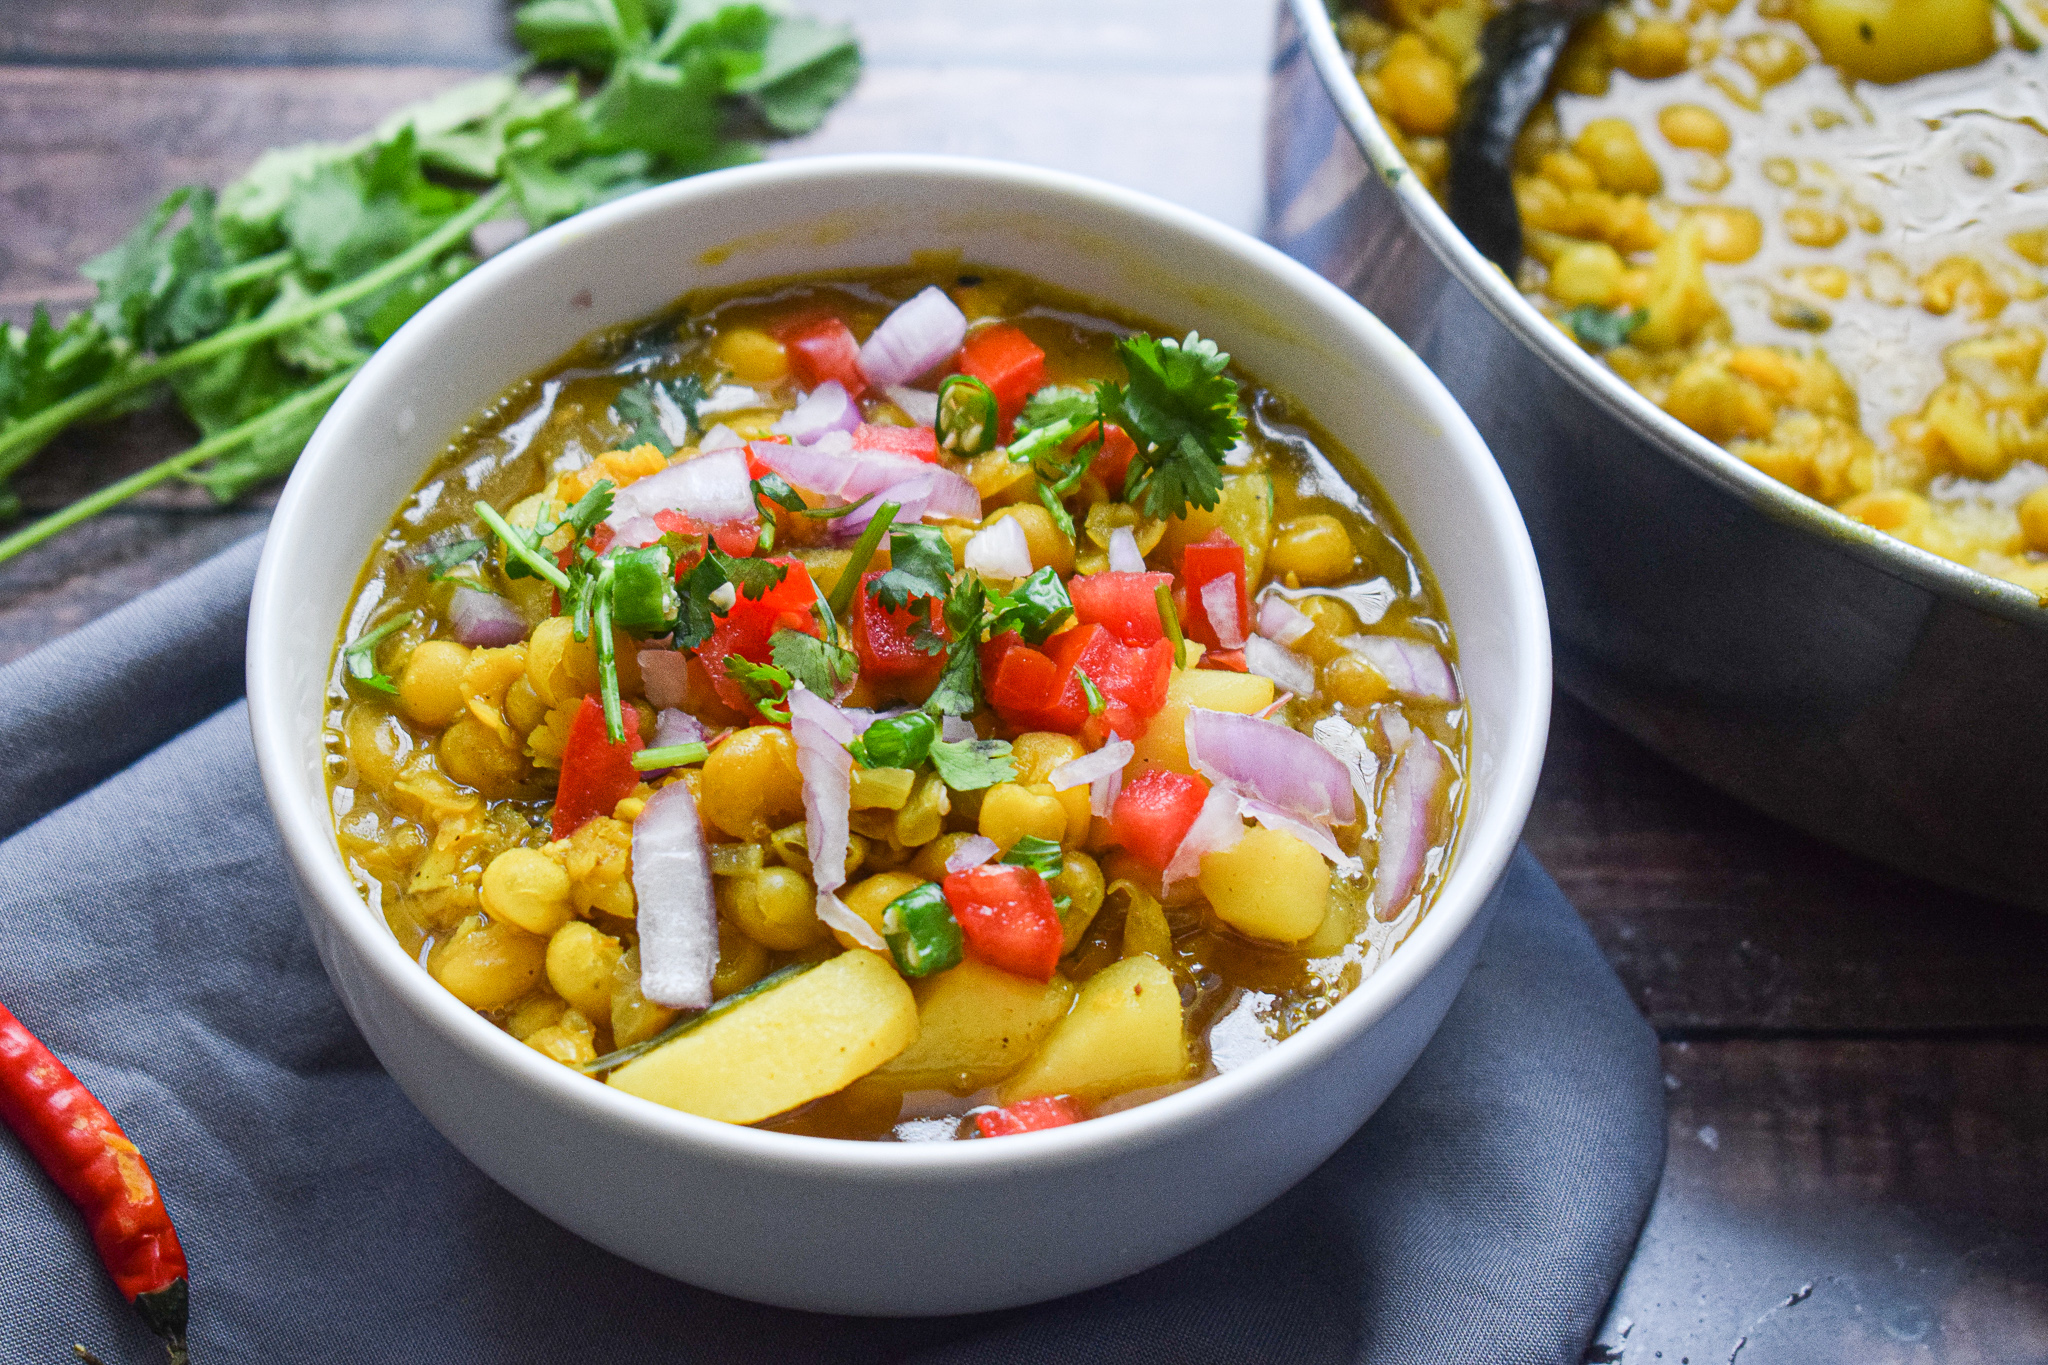
- Your ghugni is ready. Pour onto a bowl and garnish with finely chopped tomatoes, onions, green chillies and coriander. Serve hot as it is or pair it with parathas or luchi/poori.
I hope you try this delicious and super easy ghugni recipe soon. It is entirely vegan and a healthy option for breakfast, lunch or dinner!
If you have any doubts, comments, or feedback, please reach out to me in comments or my social media handles.
Find me on Instagram – www.instagram.com/slurrpilicious
Find me on Facebook – www.facebook.com/slurrpilicious
Find me on Youtube – https://www.youtube.com/channel/UCA-cJoo27OLSCswI4sy6lzA?
Happy cooking!

