
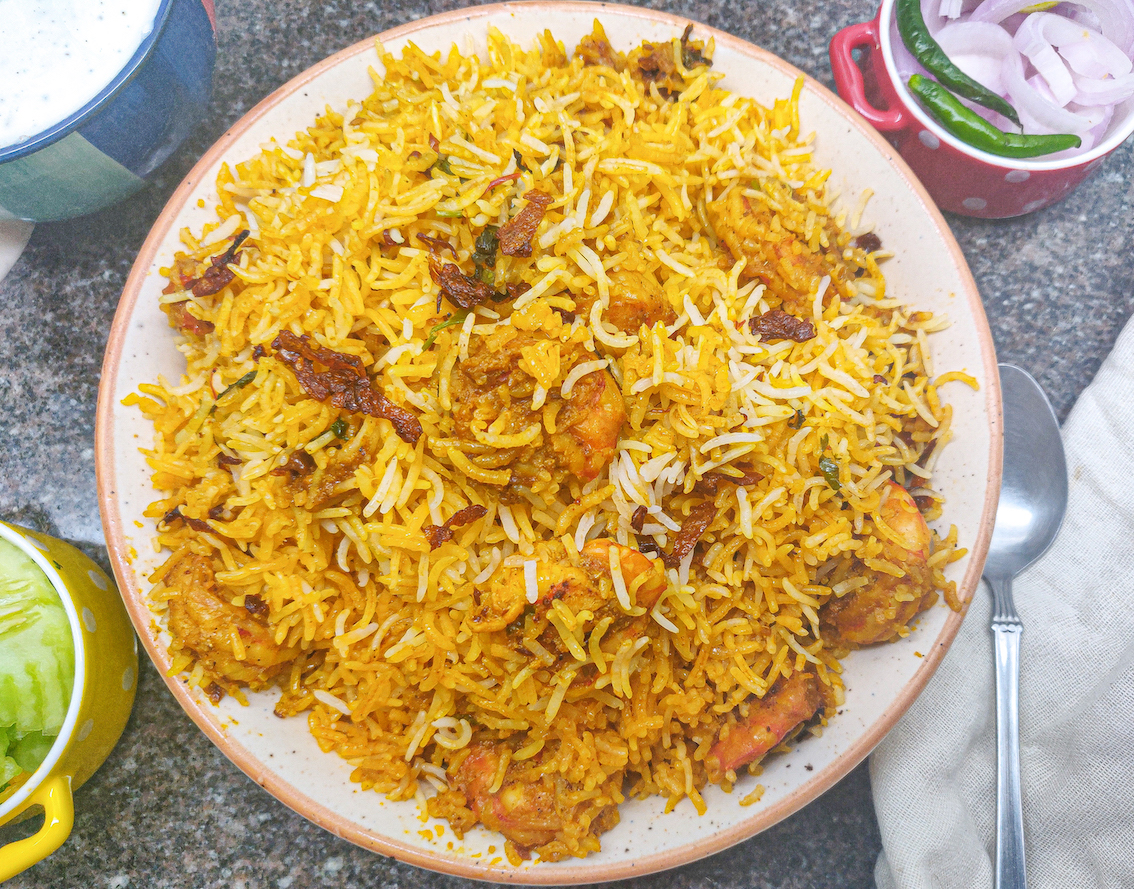
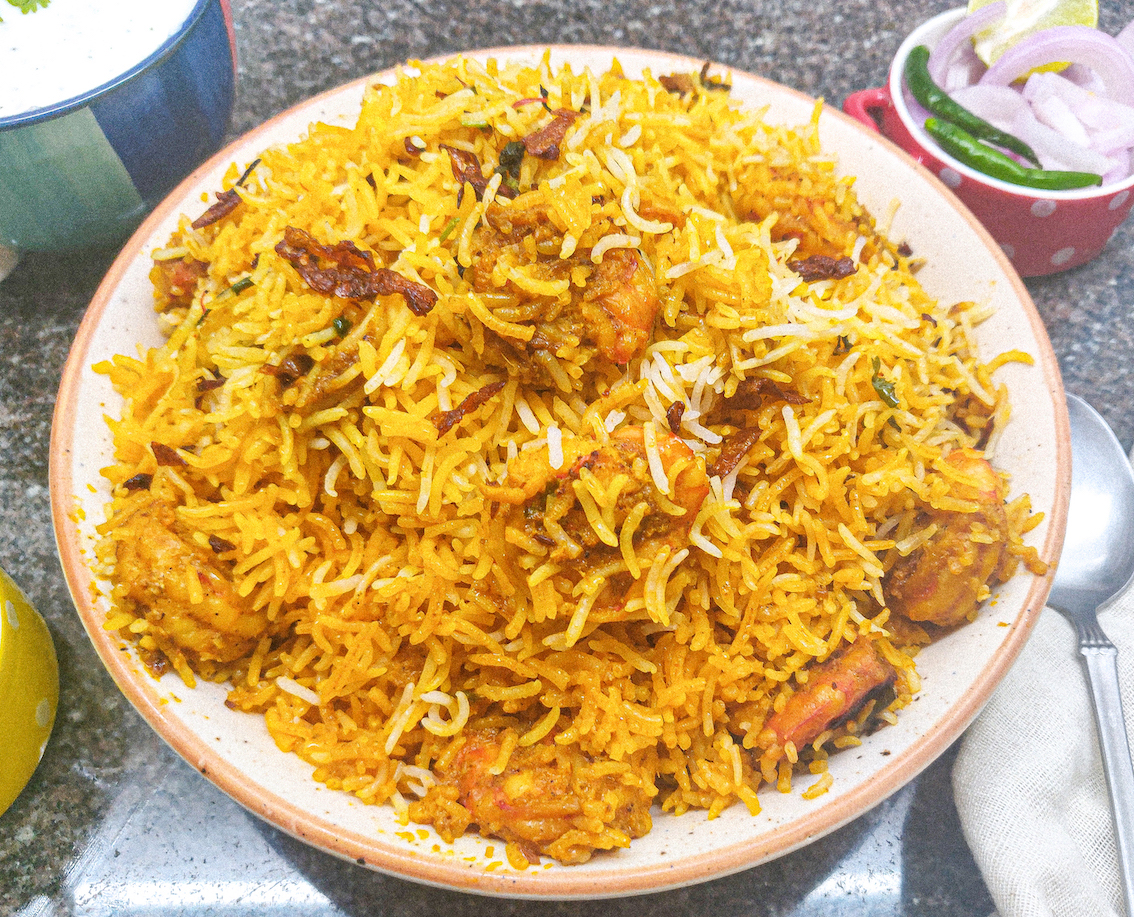
Finally added a prawn biryani recipe to my stock of biryani recipes! 😀
I know it’s preposterously delayed, but better late than never, right? This prawn biryani can be your go-to recipe when you crave some aromatic rice with perfectly cooked prawns. I have realized this method of cooking makes the prawns super soft, as it slowly cooks with the moisture intact.
I make this prawn in a kadhai which has a solid stainless steel base and a lid without a hole. This evenly cooks the prawn biryani just like a handi. You can also use a cast iron kadhai with a lid that does not have a hole for the steam to release. Or else, a traditional handi arrangement also works.
Like every good biryani, this prawn biryani too has some steps that need to be followed to the T to get the best results. Let’s dive straight into them.
Steps To Making This Prawn Biryani
There are mainly seven parts in this chicken biryani making process. Let’s go through each of them one by one.
Step 1 – Making the birista or fried onions
The birista or fried onions play a crucial role in any biryani recipe. The fried onions and its oil adds a unique earthy flavour to the biryani and also some delicious crunch in every bite. There are stores that sell fried onions, but I prefer to make them on my own. I also use the left over oil in the biryani layering, and it creates a world of a difference.
Making birista is a long process that requires patience and good handling of the temperature you fry your onions in. The good part is you can make a big batch and store it for weeks in an air tight jar. Fried onions lend their own taste and colour to recipes, especially to rich ones like biryani and kormas.
To make the fried onions, chop the onions finely and separate them from each other. Make sure you pat the onions completely dry with a paper towel. There should be no moisture in them. Once the onions are chopped and dried, heat oil in a heavy bottomed pan (to prevent burning). The oil needs to get really hot before you add the onions. Add the onions and fry for a minute. Add some salt (the secret) after a minute. The salt helps with the caramelisation.
Once the onions start to brown, turn the flame to medium and keep an eye on the onions till you get the desired texture. One look away and the onions can burn. Once they have shrunk and turn crispy, take them out and spread them out on a paper towel. Let the onions cool completely before using them. Do not throw away the oil as it is packed with flavour. The entire process can take you anywhere between 45 minutes to one hour.
Keep aside one cup of the birista for the chicken gravy and keep the rest for layering the biryani.
Step 2 – Marinating the prawns
This prawn biryani requires a simple marination for the prawns – just some salt and turmeric powder. This step ensures that the prawns do not remain bland in the final recipe. Marinating this for even 30 minutes will do the job.
Step 3 – Making the saffron milk
Saffron milk is what lends a beautiful colour to the rice strands in this recipe. Food colour can also be used but they might have synthetic flavours in them. Using saffron milk is a natural and delicious way to add colour as well as flavour to the chicken biryani.
To make the saffron milk, add a few saffron strands to about 1/4 cup of warm milk and give it a stir. Over time, it will acquire a beautiful orange hue that we can use in the layering phase.
Step 4 – Soaking the rice
The sign of a good biryani is perfectly cooked and separate grains of rice. The rice needs to be soft, aromatic, fluffy and a single entity not sticking to anything else.
To achieve this, you have to follow certain steps without fail.
- Thoroughly wash your rice. Once you get your raw rice, wash it thoroughly under running water at least 5-6 times till the water that drains out is crystal clear. This step is very important as it helps to ensure that all the excess starch is removed so that you get rice that is fluffy and also not too heavy. Pro tip – Do not waste the starchy water. It is full of nutrients. Use it to water your plants.
- Soak the rice for at least 30 minutes. Once your rice is washed, soak the rice in clean water for 30 minutes to one hour. Till step will ensure that the rice fluff up to its maximum potential.
- Buy biryani rice, not long-grained basmati rice. To make restaurant-style biryani, make sure you purchase rice which is known as biryani rice. This rice is actually perfect for making biryani and is really thin, light, and long-grained. Buying basmati rice might not give you the same results as this rice would. There are many brands in the market that offer “biryani rice” in particular. Choose one of those.
- Make room for a lot of water. Your rice will cook perfectly when it gets a lot of water to swim in. So make sure you fill up a pot with lots of water so that the rice gets submerged in it. In this recipe, I have used 500 grams of rice and 3 litres of water.
- Salt your water well. This is crucial to make sure every grain of rice is well seasoned. Add enough salt in the pot of water as much as you would want in your soup. Mix it well and taste it before you add the rice.
- Add some slit green chillies for added flavour.
- Cook the rice before layering it only till it’s 80 percent done. This step can honestly make or break your biryani. When we cook the rice before layering it, make sure it’s cooked just enough that it still has a bit of a bite to it.
- Strain the par boiled rice well. When you take the rice out of the water to save it for the layering, make sure you strain every bit of that excess water in which it was cooking. Leaving the rice in water will make it lumpy and stick to one another and that’s no good!
- Be gentle when using the spoon. At all points of handling the rice, be it raw or semi-cooked, be gentle so that you don’t break the grains.
- Use a cast iron pot or a good quality stainless steel pot/handi to cook the biryani. The last thing you would want is burnt rice at the bottom.
- To prevent rice from sticking to the bottom, place an iron tawa below the pot you’re cooking the biryani in.
Step 5 – Cooking the prawns
Once your rice is 80 percent ready and set aside to cool, the next step is to make the prawn gravy for the biryani. This step includes frying the marinated prawns in a mix of spices, curd and crispy fried onions. This gravy is rich and forms the base of our biryani.
Step 6 – Layering the biryani
Now comes the best and my most favourite part of making this prawn biryani – the layering. It is a highly rewarding technique that gives that ultimate respect to your chicken biryani by making it all come together. The layering involves many ingredients so make sure you do not miss out on any of the following ingredients as each one of them plays a very crucial role in making the biryani what it is.
- Fresh coriander leaves
- Fresh mint leaves
- Birista oil
- Ghee
- Kewra water
- Saffron infused milk
There are two layers in this prawn biryani recipe. This layering works for the quantity here. But if you are making for a large gathering, you might want to layer the prawn gravy and rice alternately.
Step 7 – Slow cooking the prawn biryani on “dum”
The last and final step of this prawn biryani is slow cooking it towards perfection. While traditional biryanis are dum cooked in handis, we will use our own hacks to make it at home. You can either make a dough with whole wheat and spread it around your pot to make sure the air does not escape, or you can put something heavy on top of your lid like I did. It is important to keep a strong base like an iron tawa at the bottom to prevent your chicken biryani from burning. Keep the flame at low and let time do its own magic.
Like I mentioned, I love making this prawn biryani in my stainless steel kadhai that has a strong base and a strong glass lid without holes.
The time for cooking the biryani on low heat is about 30 minutes for this quantity. Once it’s done, let it rest without the flame for another 10 minutes before you serve it.
Let’s take a look at the recipe:
Preparation time – 2 hours (with fried onions)
Cook time – 1 hour
Serves – 4
Ingredients
- 500 g prawns, cleaned and deveined
- 500 g biryani rice
For cooking the rice:
- 2 cardamoms
- 1 inch cinnamon stick
- 2 cloves 1 tsp caraway seeds (shah jeera)
- 2 green chillies, slit in half
- 1 bay leaf
- 8 black peppercorns
- Salt (enough salt to make it as salty as you’d like your soup to be)
For the prawn gravy:
- 4 tbsp oil
- 4 tbsp fried onion oil (birista oil)
- 1/2 cup fried onions
- 2 cardamoms
- 2 cloves
- 1 inch cinnamon stick
- 1 tsp caraway seeds (shah jeera)
- 1 bay leaf
- 1/2 cup crispy fried onions
- 1 tbsp ginger-garlic paste
- 1 tsp cumin powder
- 1 tbsp red chilli powder
- 1 tbsp coriander powder
- 1 tbsp biryani masala
- Salt to taste
- 1/2 cup whisked curd
For layering the biryani:
- Ghee – 2 tbsp
- Starchy rice water
- 1/2 cup Kewra water
- Saffron milk – 1/4 cup
- Chopped mint and coriander leaves
- Crispy fried onions
Directions
- Clean the prawns and pat them dry with a paper towel.
- Marinate the prawns with salt and turmeric powder. And set it aside for atleast 30 minutes.
- Heat water in a wide pot. Add shah jeera, salt, mace, star anise, green and black cardamom, cloves, and cinnamon. Stir well till it boils. Check the salt, add more if required. The water should be as salty as soup.
- Add the soaked rice to the boiling pot of water. Cook it till it’s about 80 percent done. The grains should be cooked, but still have a bite to them.
- Drain the rice well and set it aside.
- Add a few saffron strands to about 1/4 cup of warm milk and give it a stir. Over time, it will acquire a beautiful orange hue that we can use in the layering phase.
- Heat oil in a pot or handi. Add some leftover fried onion oil too. Temper with cardamom, bay leaf, caraway seeds, clove and cinnamon.
- Add ginger-garlic paste and cook till raw aroma disappears. Keep the flame at low to prevent burning.
- Add the crispy fried onions to this and stir well.
- Spice it up with coriander powder, cumin powder, biryani masala, red chilli powder. Saute it well. Do not burn the spices.
- Turn off the flame and add in some whisked curd. Mix it well into the spices and oil and turn the flame back on to low.
- Once oil starts to release from the sides, add the marinated prawns. Cook this for 5-7 minutes.
- Add some fresh coriander and mint leaves. Mix well.
- To the same pot/kadhai, add the parboiled rice and layer it well.
- Drizzle ghee, saffron-infused milk, starchy rice water, and kewra water over the rice.
- Garnish with chopped mint and coriander leaves.
- Cover & cook on low flame for 20 minutes.
- Once done, let it rest for ten more minutes.
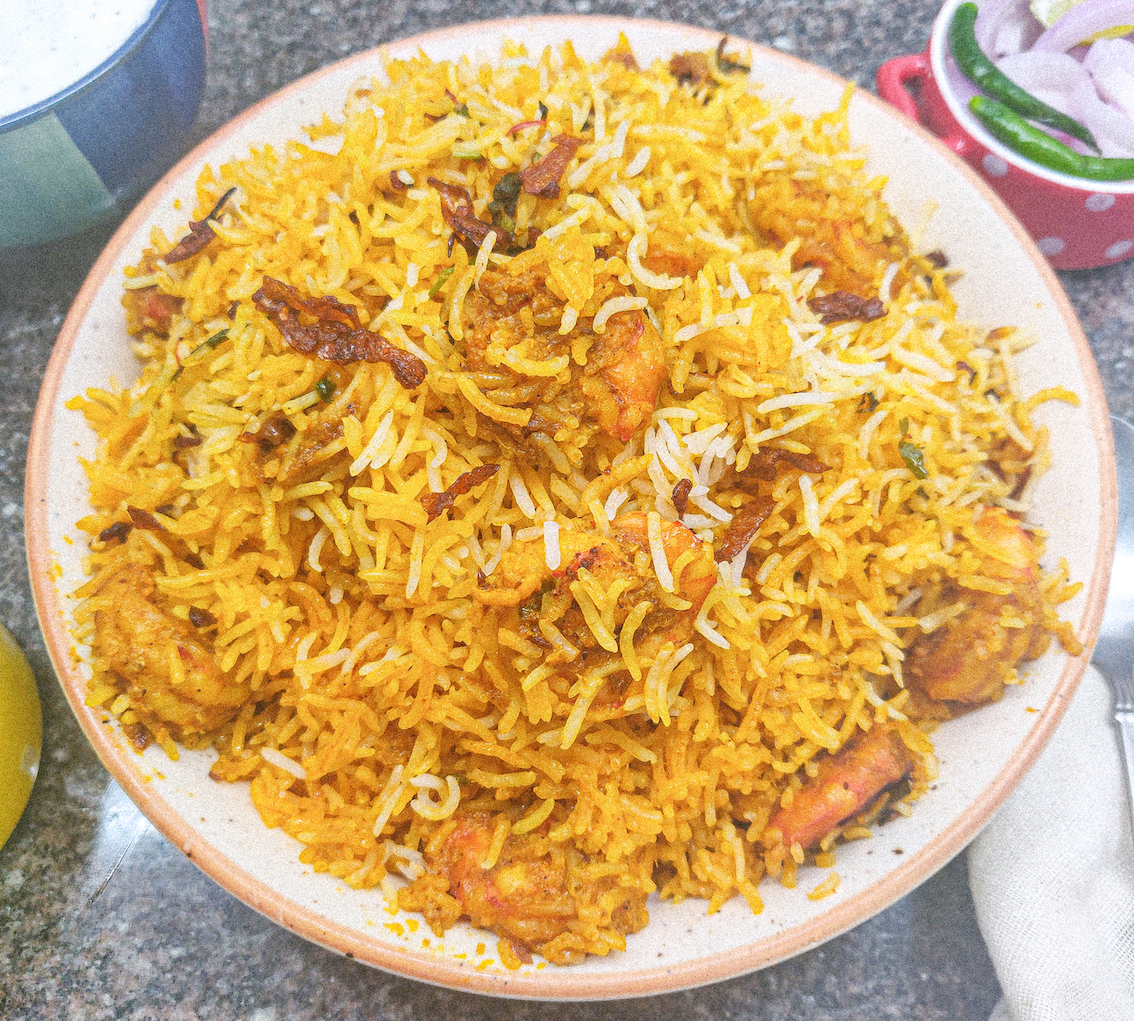
- Gently take the lid off and mix all the layers of the prawn biryani. Be gentle as the rice and prawns would be tender.
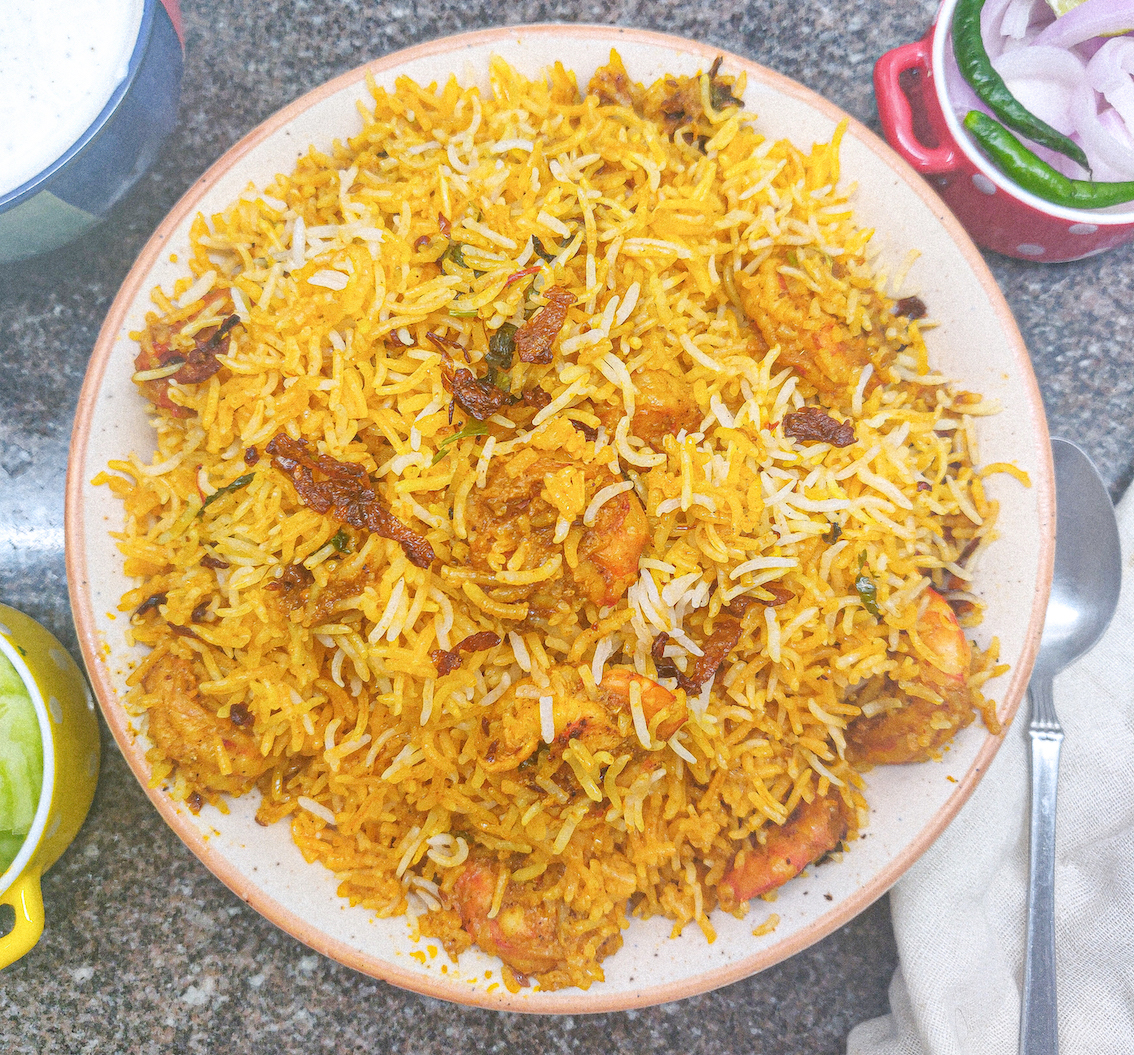
- Garnish with crispy fried onions on top.
- Serve hot with raita, salan, and salad on the side. Enjoy!
I hope you try this prawn biryani recipe super soon. If you have any doubts, comments, or feedback, please reach out to me in comments or my social media handles.
Find me on Instagram – www.instagram.com/slurrpilicious
For more such delightful food, follow me on Facebook, Instagram, Twitter, and YouTube.
Happy cooking!
MORE LIKE THIS

