Strawberry Bread Pudding

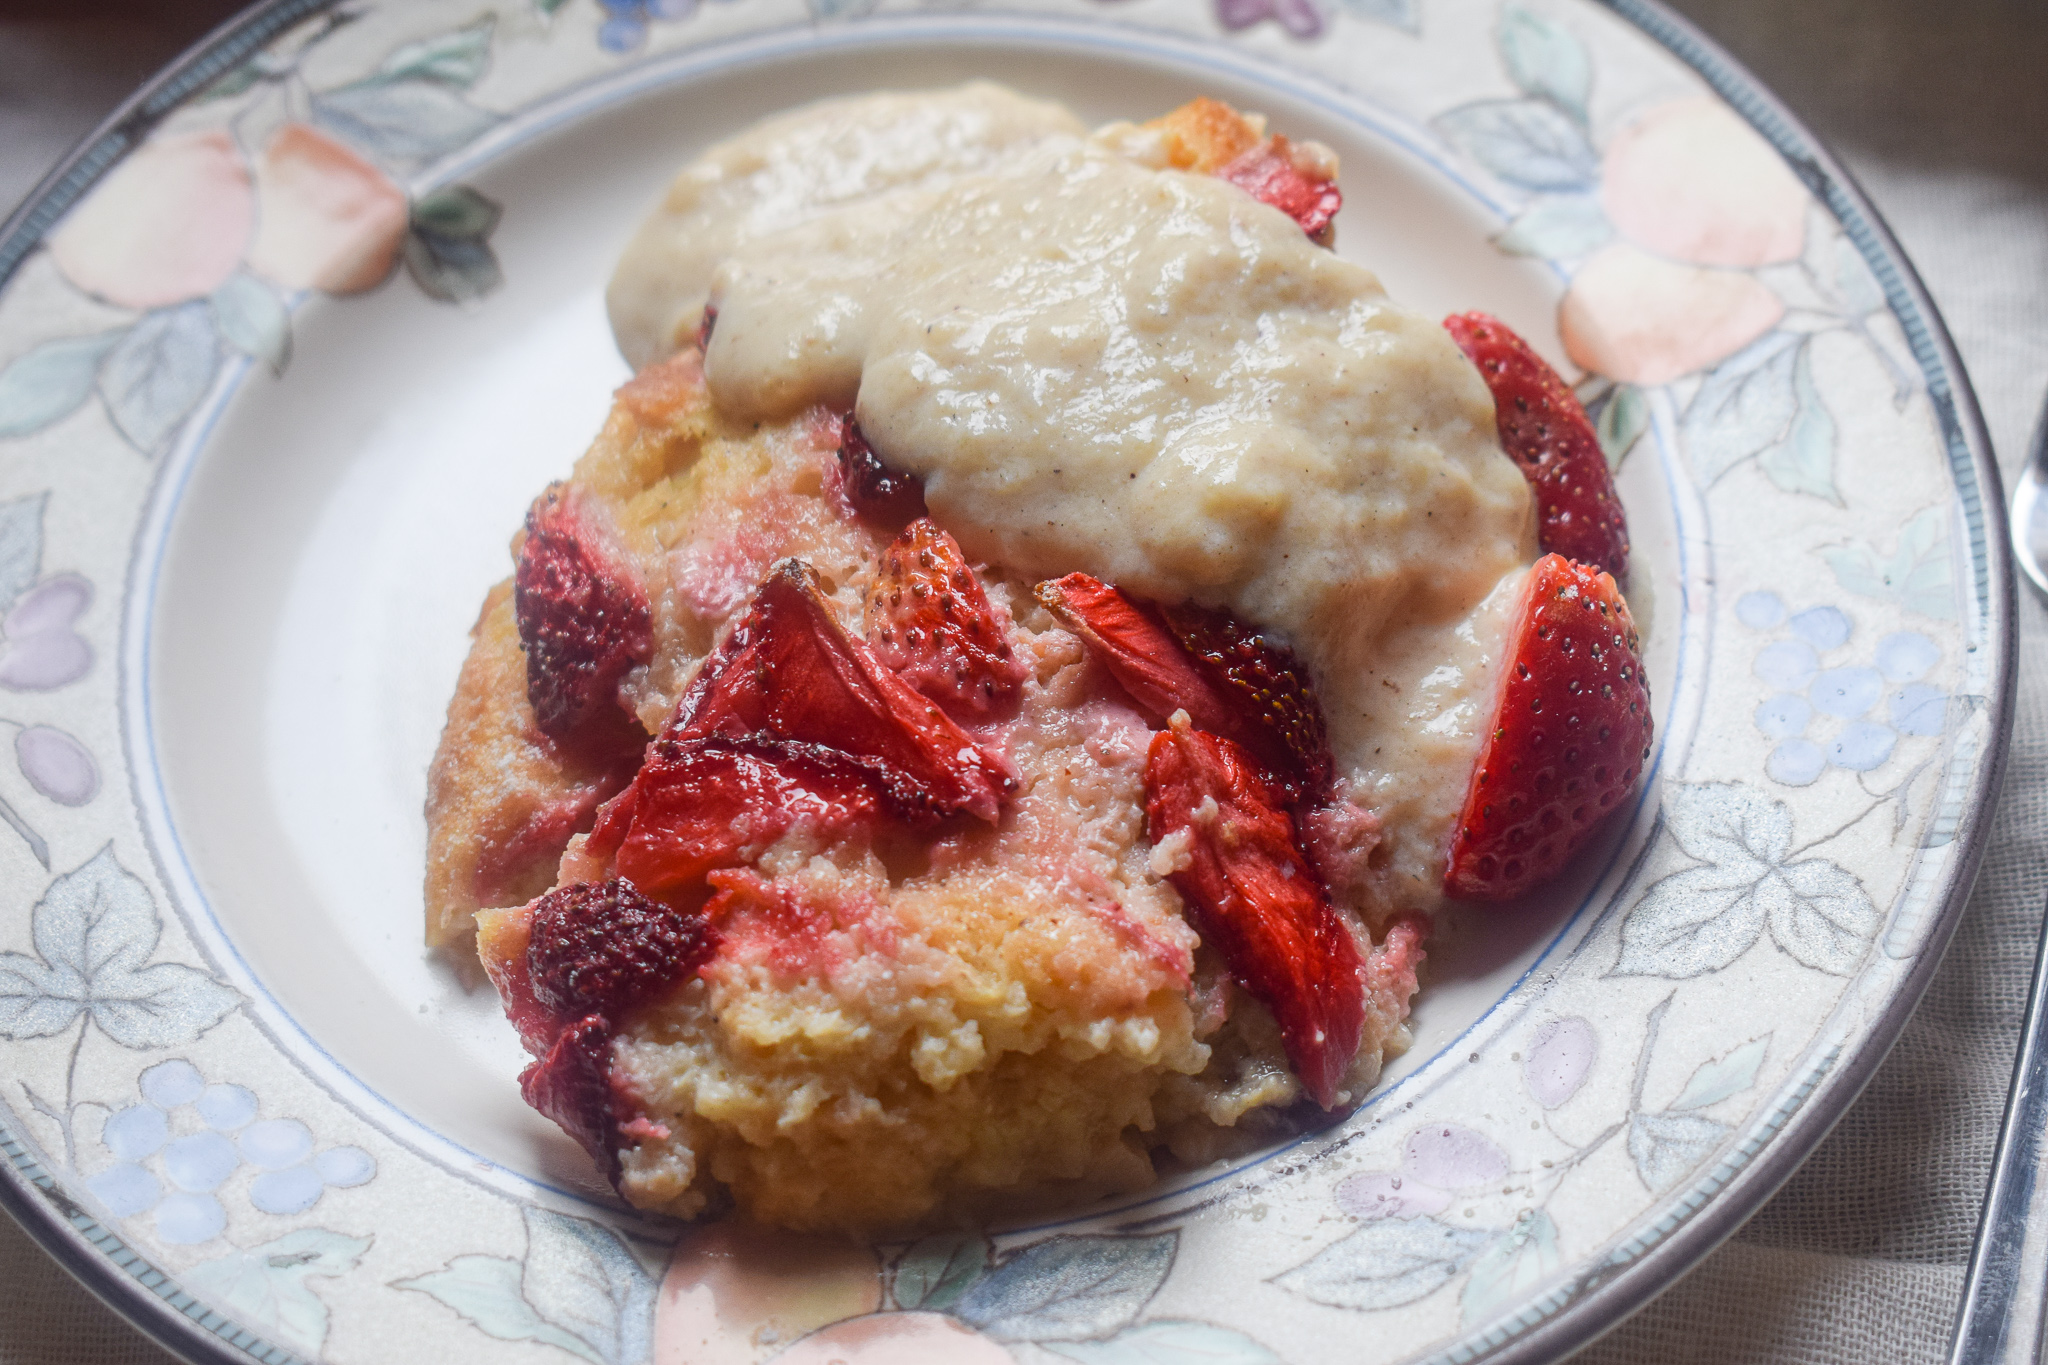
I have the perfect dessert recipe for you if you’re planning to host or be in charge of dessert for your next social gathering at home. This strawberry bread pudding is so delicious, comforting and easy! You can make it with just a few ingredients and your kitchen will smell like a beautiful little bakery in no time. Every bite into this strawberry pudding feels like a warm hug. It’s soft, flavourful and has all the holiday flavours – vanilla, cinnamon and of course, strawberries.

This strawberry bread pudding is a perfect recipe to make in bulk if you are hosting or cooking for a large family. It really does not require any effort, and it comes together in no time. If you do not have strawberries, you can make it plain or add blueberries. You can also mix and match and customise it as per what fruit you have available.

How to Get The Perfect Pudding Texture

Bread puddings are very special to me and they remind of my childhood when my mom would make them for us kids when we wanted something special and sweet. I was such a huge fan of her bread pudding recipe, and every time I bite into a good pudding, it instantly reminds of those wonderful times. Even though a bread pudding might be the simplest dessert to pop in the oven, but it does require some crucial ticks to be checked.
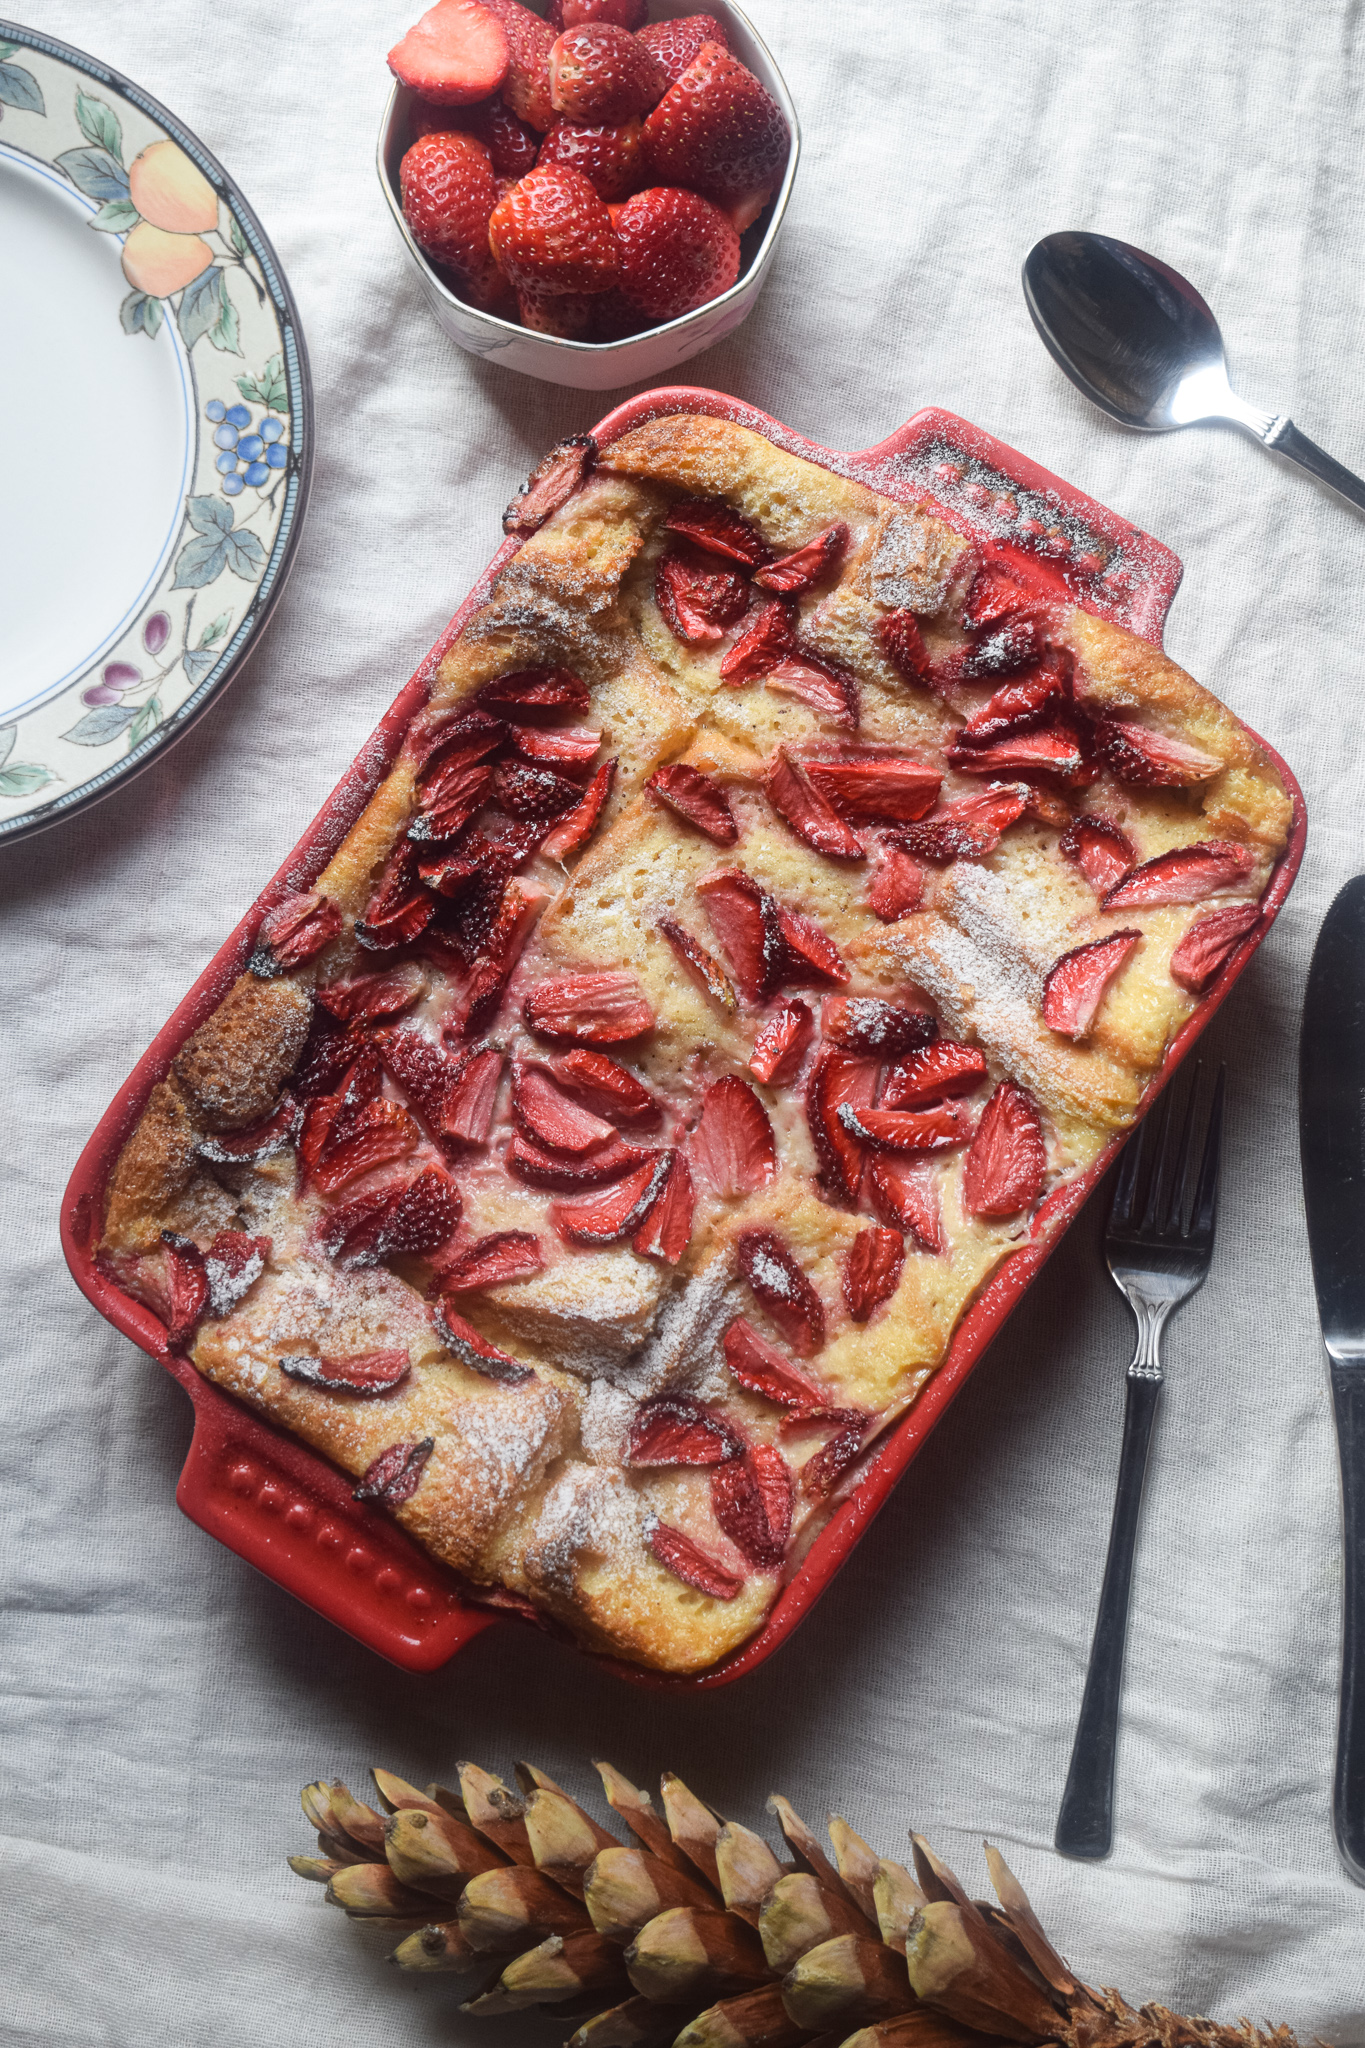
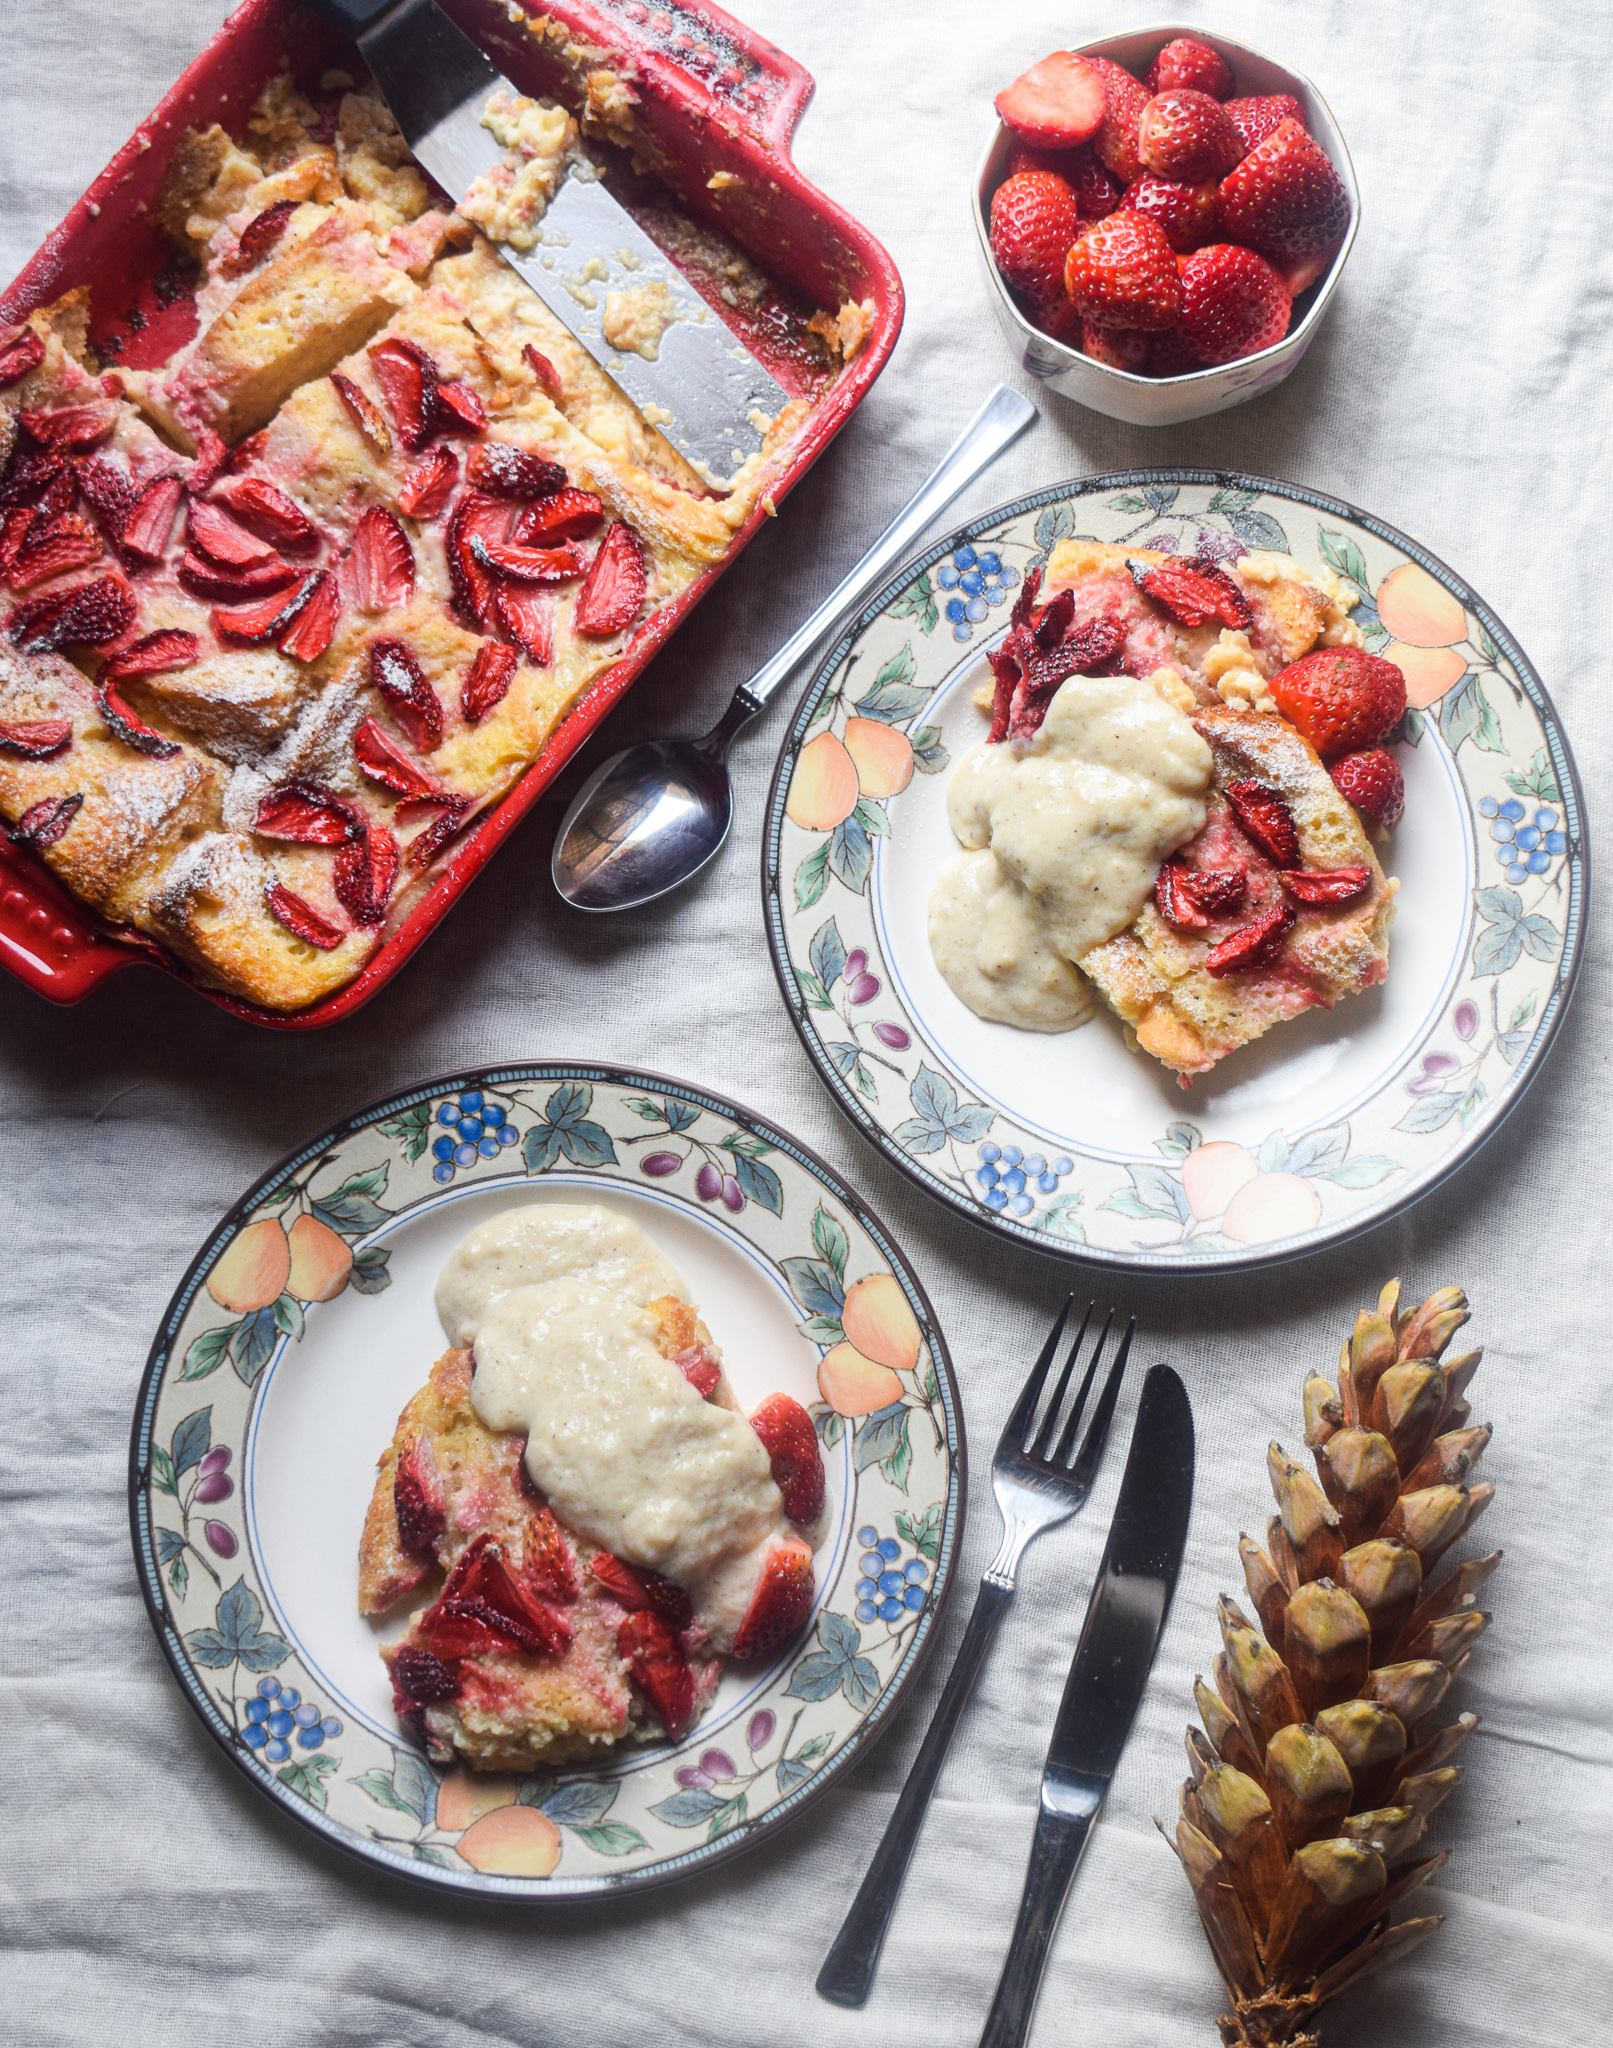
strawberry bread pudding

strawberry bread pudding

Here are the tips I follow to make my pudding a little slice of heaven.

-Use the best quality of white bread possible

If you are making bread pudding, the #1 rule is to use the best kind of white bread possible. Do not try to substitute a good quality white bread with a brown or any other variant. The texture of the white bread will define how good your pudding it. So go for brioche, or any kind of superior, soft and fresh milk bread.

-Continuous whisking

This pudding is a delicious jelly filled sandwiches soaking in a pudding mix of eggs and milk. Because we add the eggs directly to the milk, it is important that the milk is stirred continuously while doing so. Doing this ensures that the egg disintegrates completely into the milk and mixes with the sugar, vanilla and cinnamon, making way for the perfect custard base for the pudding to cook in. Continuous whisking also ensures that the egg does not get a chance to cook in the warm milk.

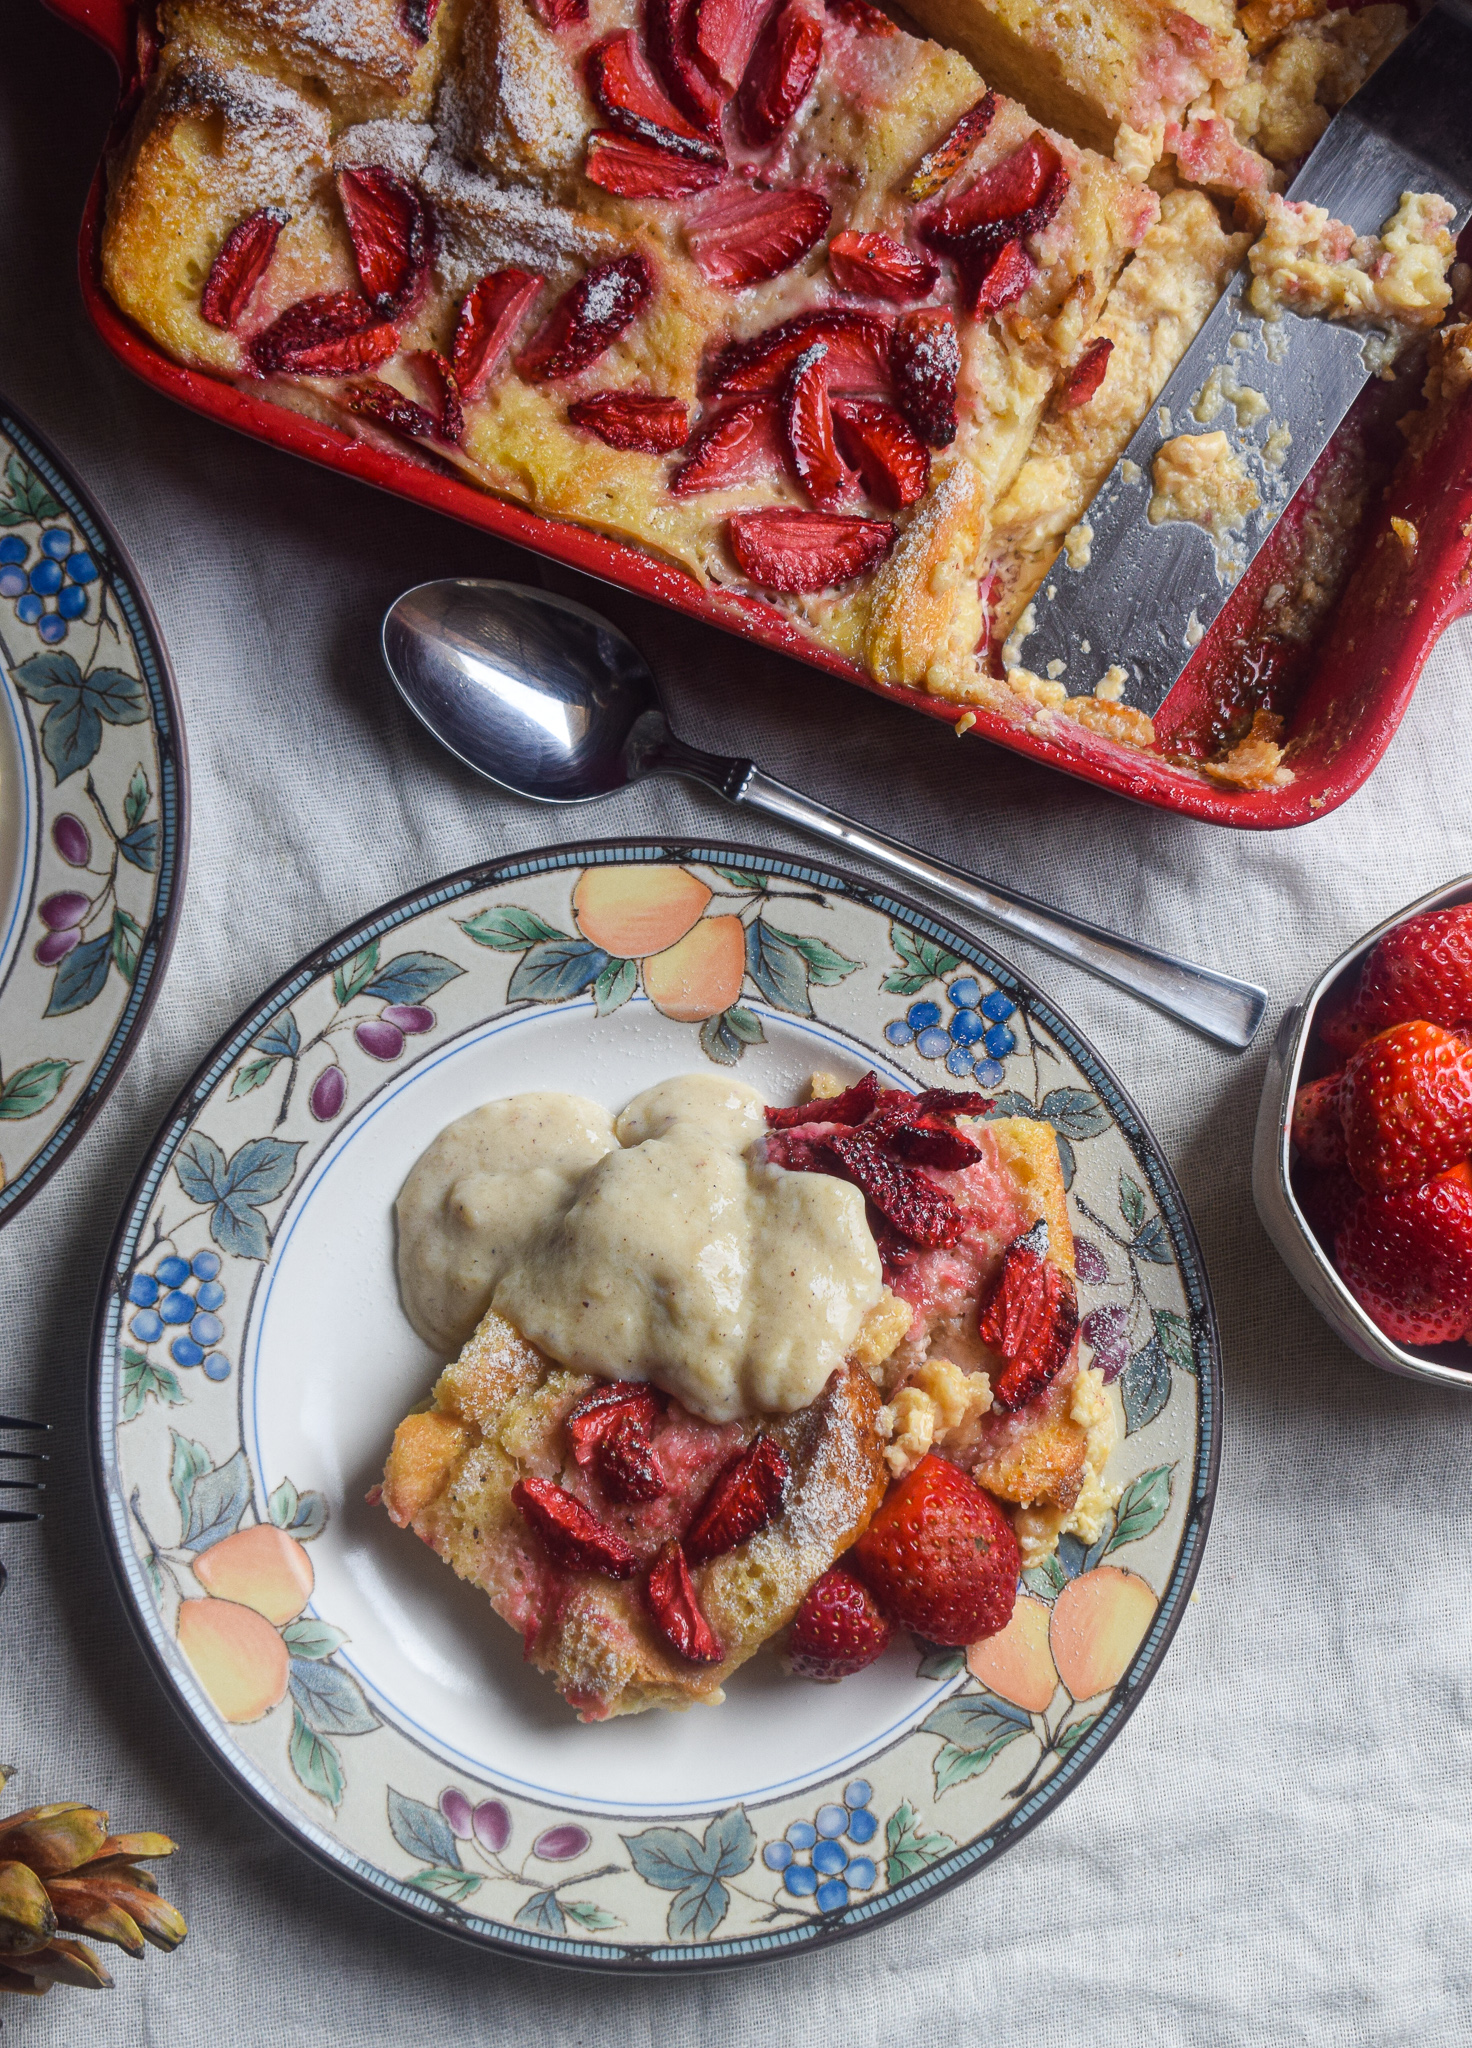
strawberry bread pudding

strawberry bread pudding

-Temperature of ingredients

The perfect pudding is all about using ingredients in their right quantities and temperatures. The milk must be warm and not too hot. The eggs should be at room temperature. If the milk is too hot, the egg will not disintegrate, and instead start cooking as a result of the heat. This will result in an inconsistent batter for the bread to cook in, and might also lead to an overpowering “eggy” smell.

-Let it cool

Once you take the pudding out of the oven, let it sit on the rack and cool down for ten minutes before you serve it. It will help the pudding to cool, settle down and harden, making for the perfect consistency. This pudding can also be chilled and served just before dessert time. It makes for a delicious, cold dessert.
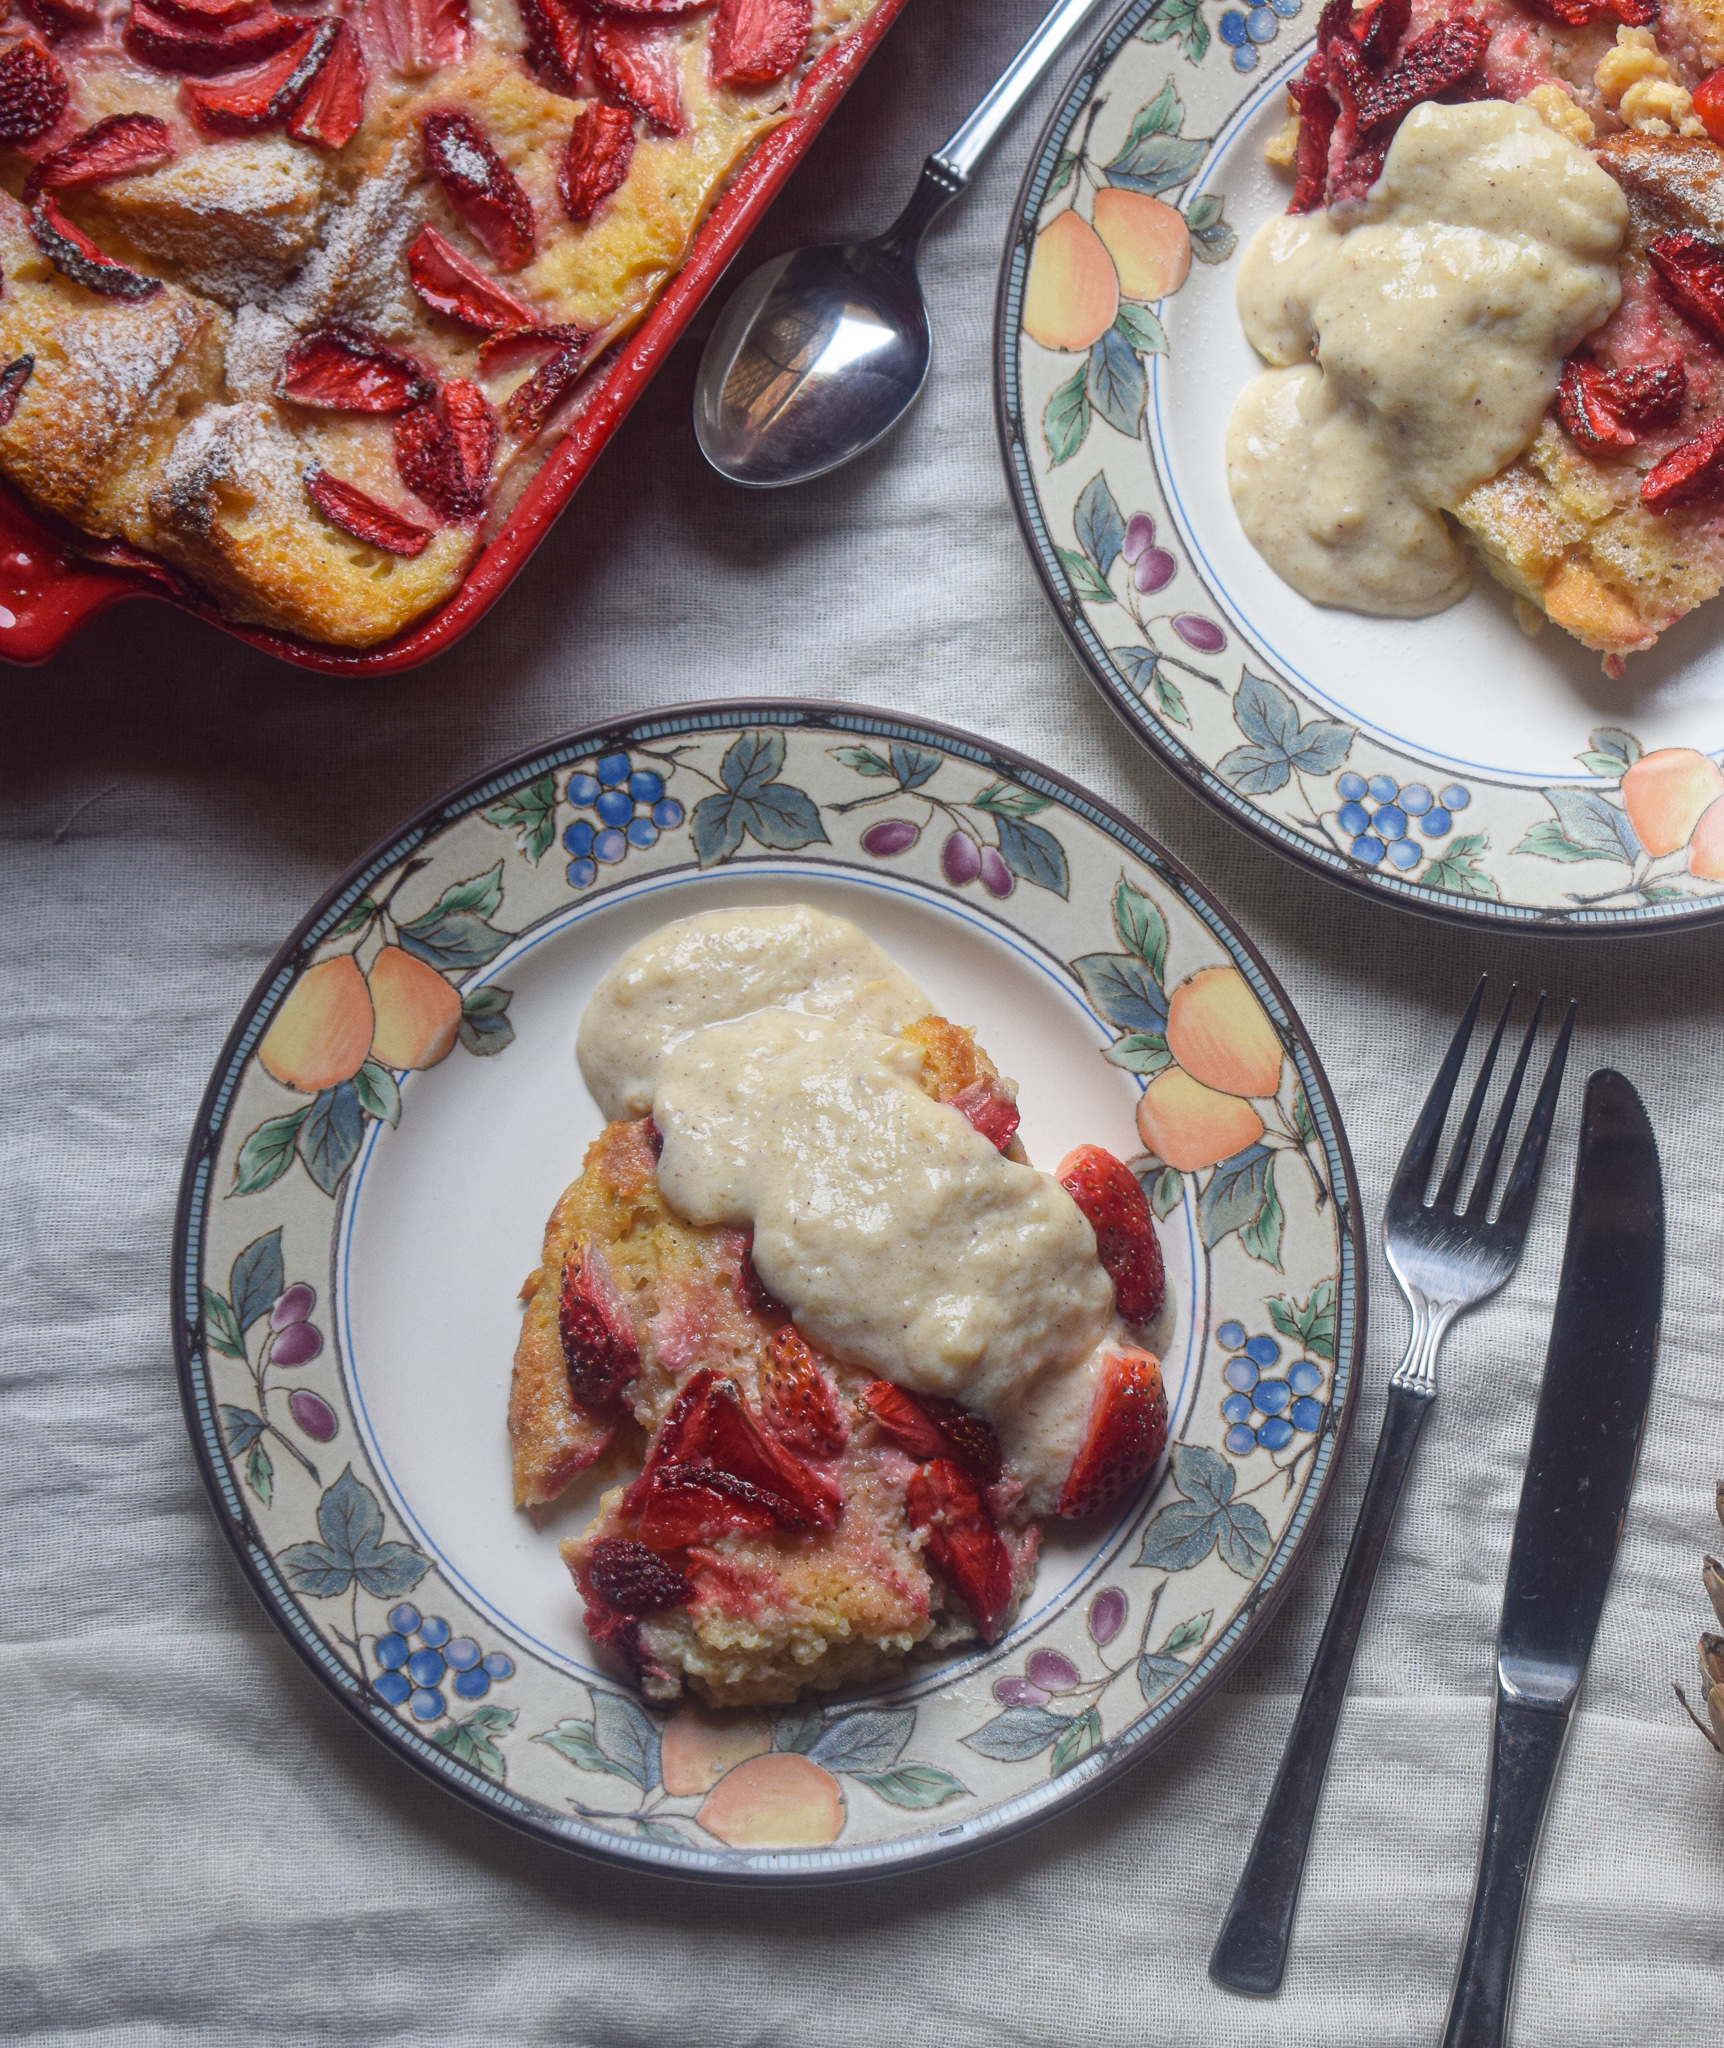
strawberry bread pudding

Now that you know all the secrets to making the perfect strawberry bread pudding, let’s take a look at the recipe.

Preparation time – 30 minutes

Cook time – 40-50 minutes

Serves – 4

[ingredients title=”Ingredients”]

  • 1 litre full fat milk
  • 100g fresh strawberries, sliced into medium chunks
  • 8 slices of white bread
  • 1 cup sugar
  • Apple cinnamon jelly for the bread sandwiches (or use any jam/jelly of your choice)
  • 4 eggs
  • 1 tsp vanilla essence
  • 1/4 tsp cinnamon powder [/ingredients]

[directions title=”Directions”]

  1. Apply the jelly in between two slices of bread and make sandwiches. You will need four to five jelly filled sandwiches.
  2. Cut each sandwich into four equal parts and set aside.
  3. Heat the milk and let it cool down for 5 minutes.
  4. Add the sugar to the milk, along with the vanilla essence and cinnamon powder. Whisk continuously.
  5. Add the eggs one by one. Keep stirring the milk continuously while you add the eggs. Whisk for around ten minutes till you get a smooth texture of the milk and everything is assimilated well into it.
  6. Thoroughly layer your baking tray with butter or oil.
  7. Place the jelly sandwiches on the tray as shown in the video. Make sure they are well packed and have filled the entire space.
  8. Gently pour the milk over bread, making sure each slice gets submerged in the milk.
  9. Garnish the top with some fresh strawberries, sliced into chunks. Pour some more milk on top of the strawberries.
  10. Bake at 180 degrees for 40-45 minutes. The time can vary in your oven, so keep a watch.
  11. Once done, carefully take out the tray and let it rest for ten minutes.
  12. Sprinkle powdered sugar on top.
  13. Cut and serve with more fresh strawberries on the side. You can also serve it with some whipped cream or custard. Enjoy! [/directions]
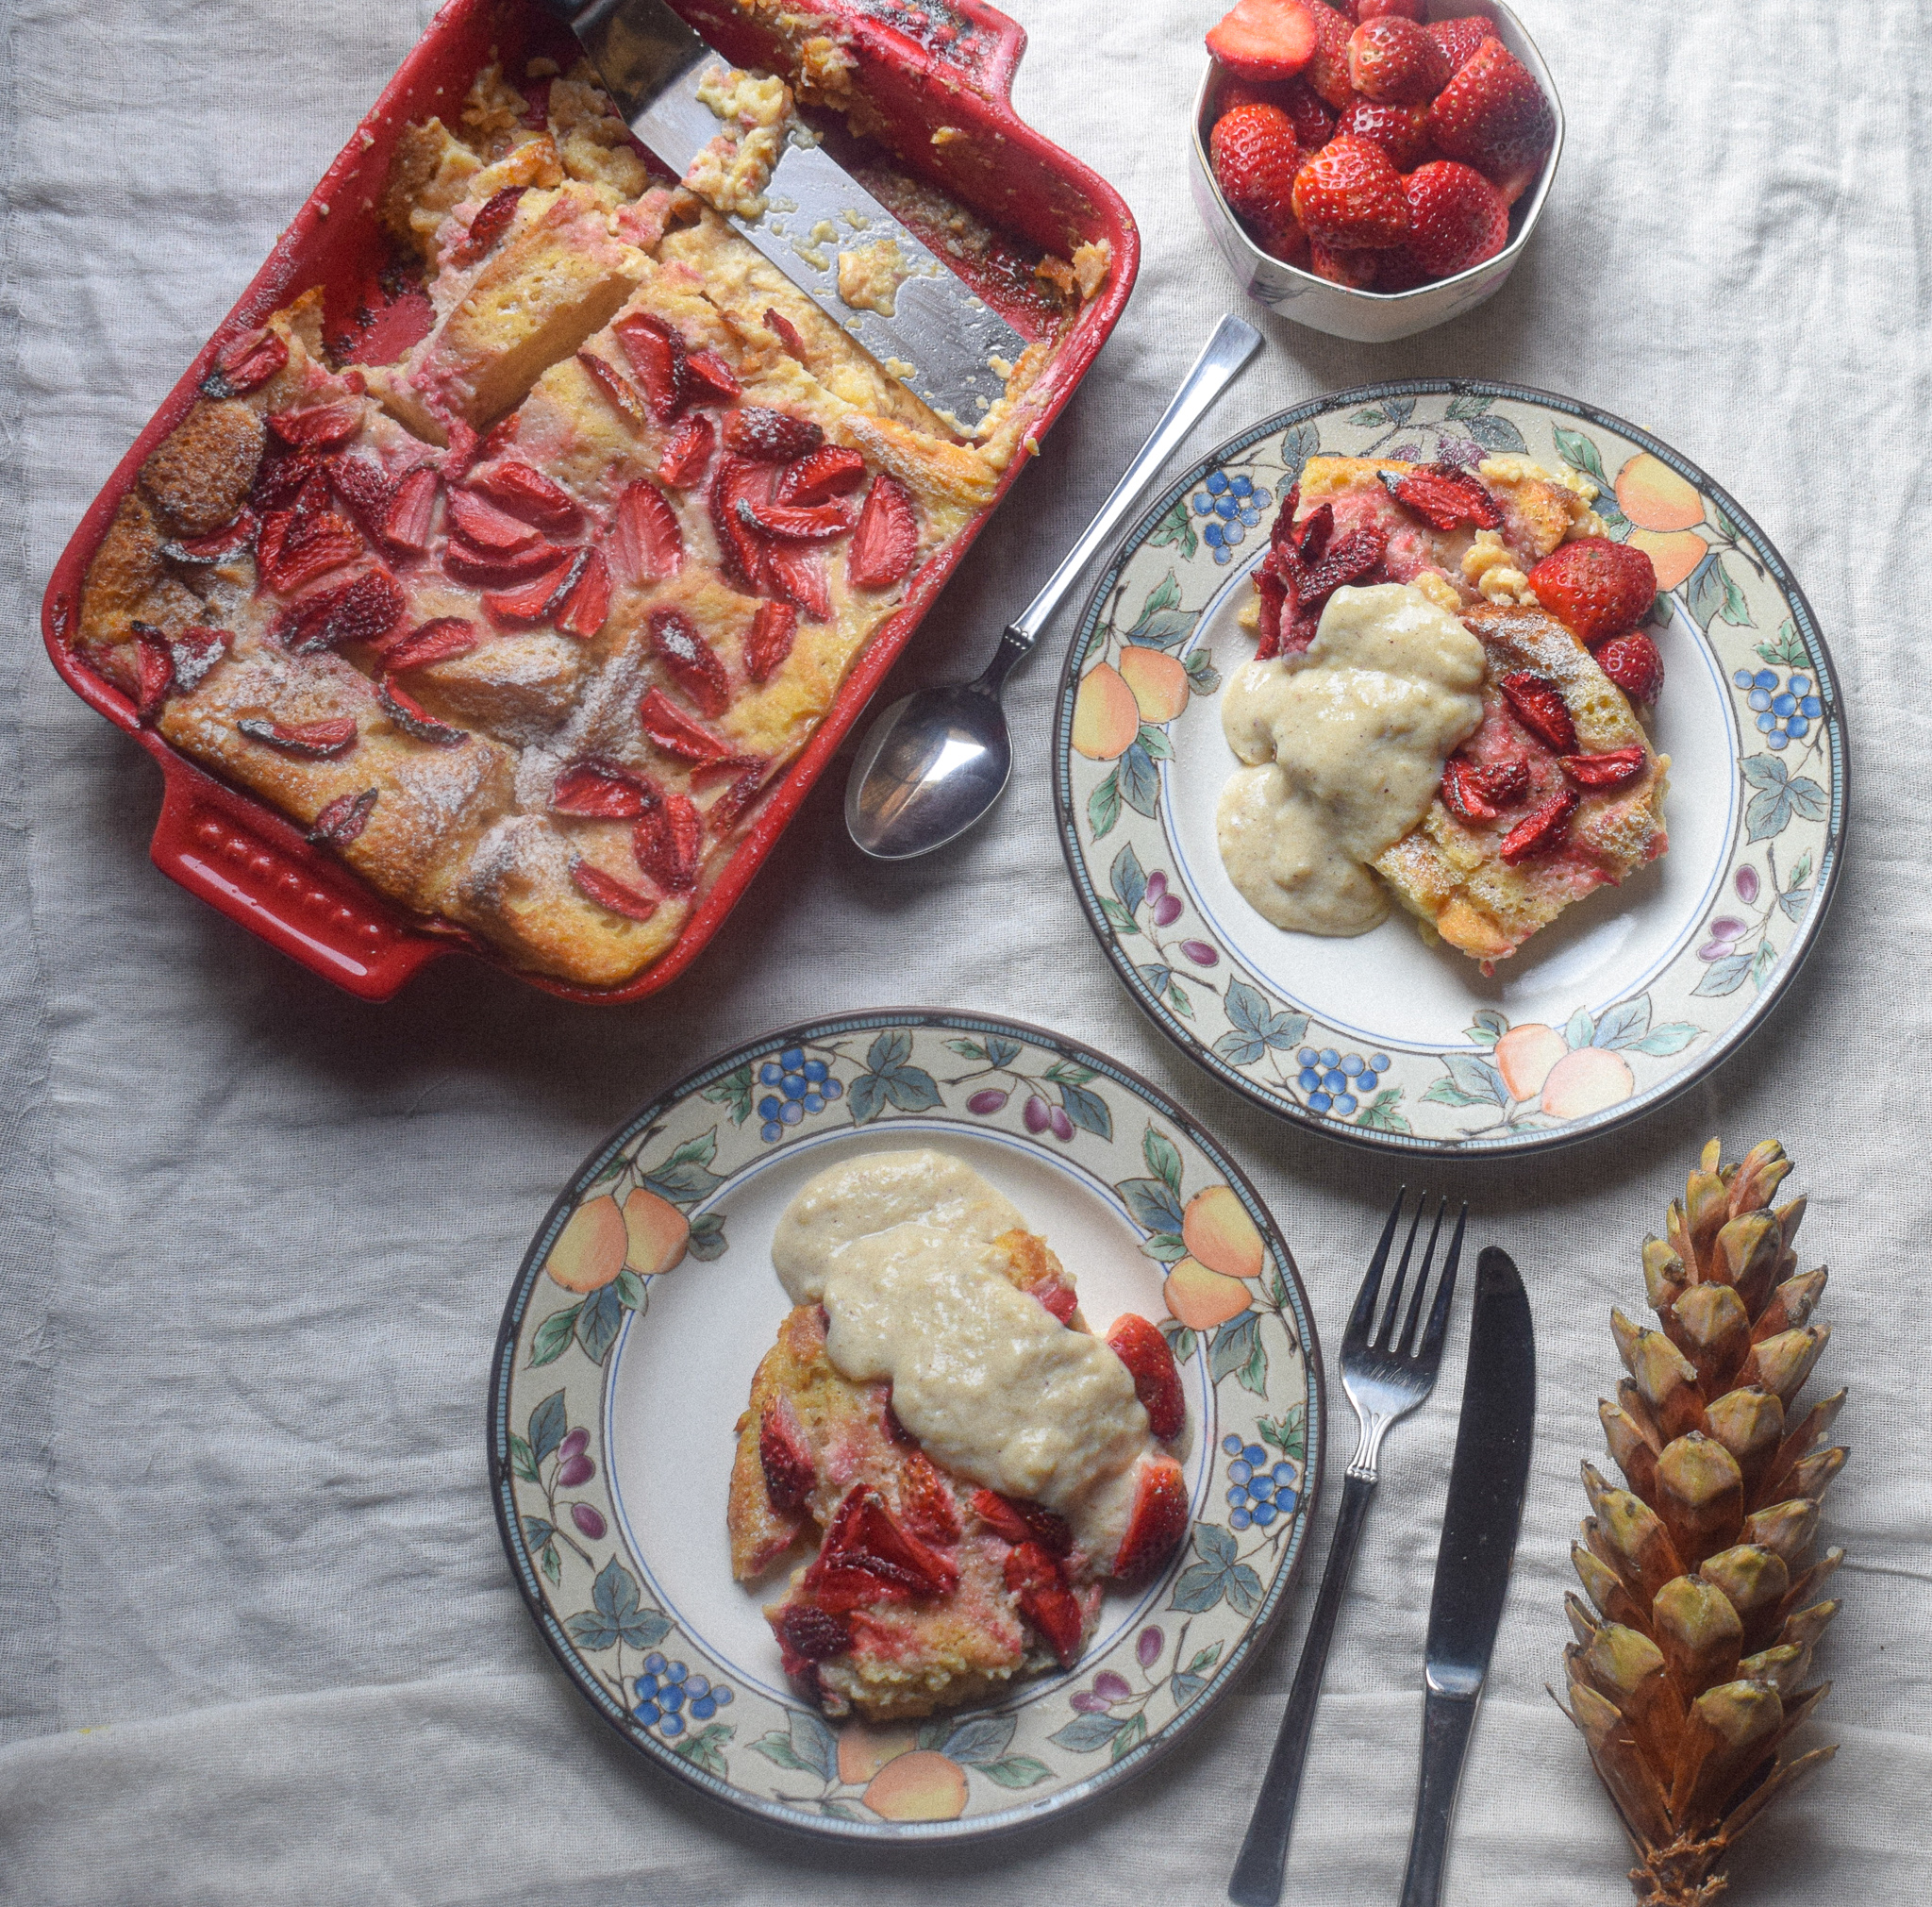
strawberry bread pudding

strawberry bread pudding

I hope you try this delicious strawberry bread pudding recipe soon. It is a great way to celebrate at home, something we all need this year.

If you have any doubts, comments, or feedback, please reach out to me in comments or my social media handles.

Find me on Instagram – www.instagram.com/slurrpilicious

Join me on Facebook – www.facebook.com/slurrpilicious

Watch me on Youtube – https://www.youtube.com/channel/UCA-cJoo27OLSCswI4sy6lzA?

Happy baking!
 

Eggless Double Chocolate Banana Bread Recipe | Slurrp

Have you ever discovered something beautiful when you were not even looking for it in particular? Feels good, right?

This eggless double chocolate chip banana bread was such a discovery for me. It all happened a few years ago when I had some really ripe bananas withering away in my pantry. And the best way to use those super ripe bananas is of course to mash them up with some flour and bake some comforting banana bread! That was exactly the intention.

eggless chocolate chip banana bread

But the curious cat in me did not want to gobble down a plain banana bread. Too boring! Especially so because I also found cocoa, chocolate chips, brown sugar, and some dark chocolate in my pantry. The advantages of having a stocked pantry and having an open mind? But the spoiler? I didn’t have any eggs. Which is the only reason why this is an eggless version.

It is almost unbelievable that this banana bread tastes as good without eggs as well. But it does!

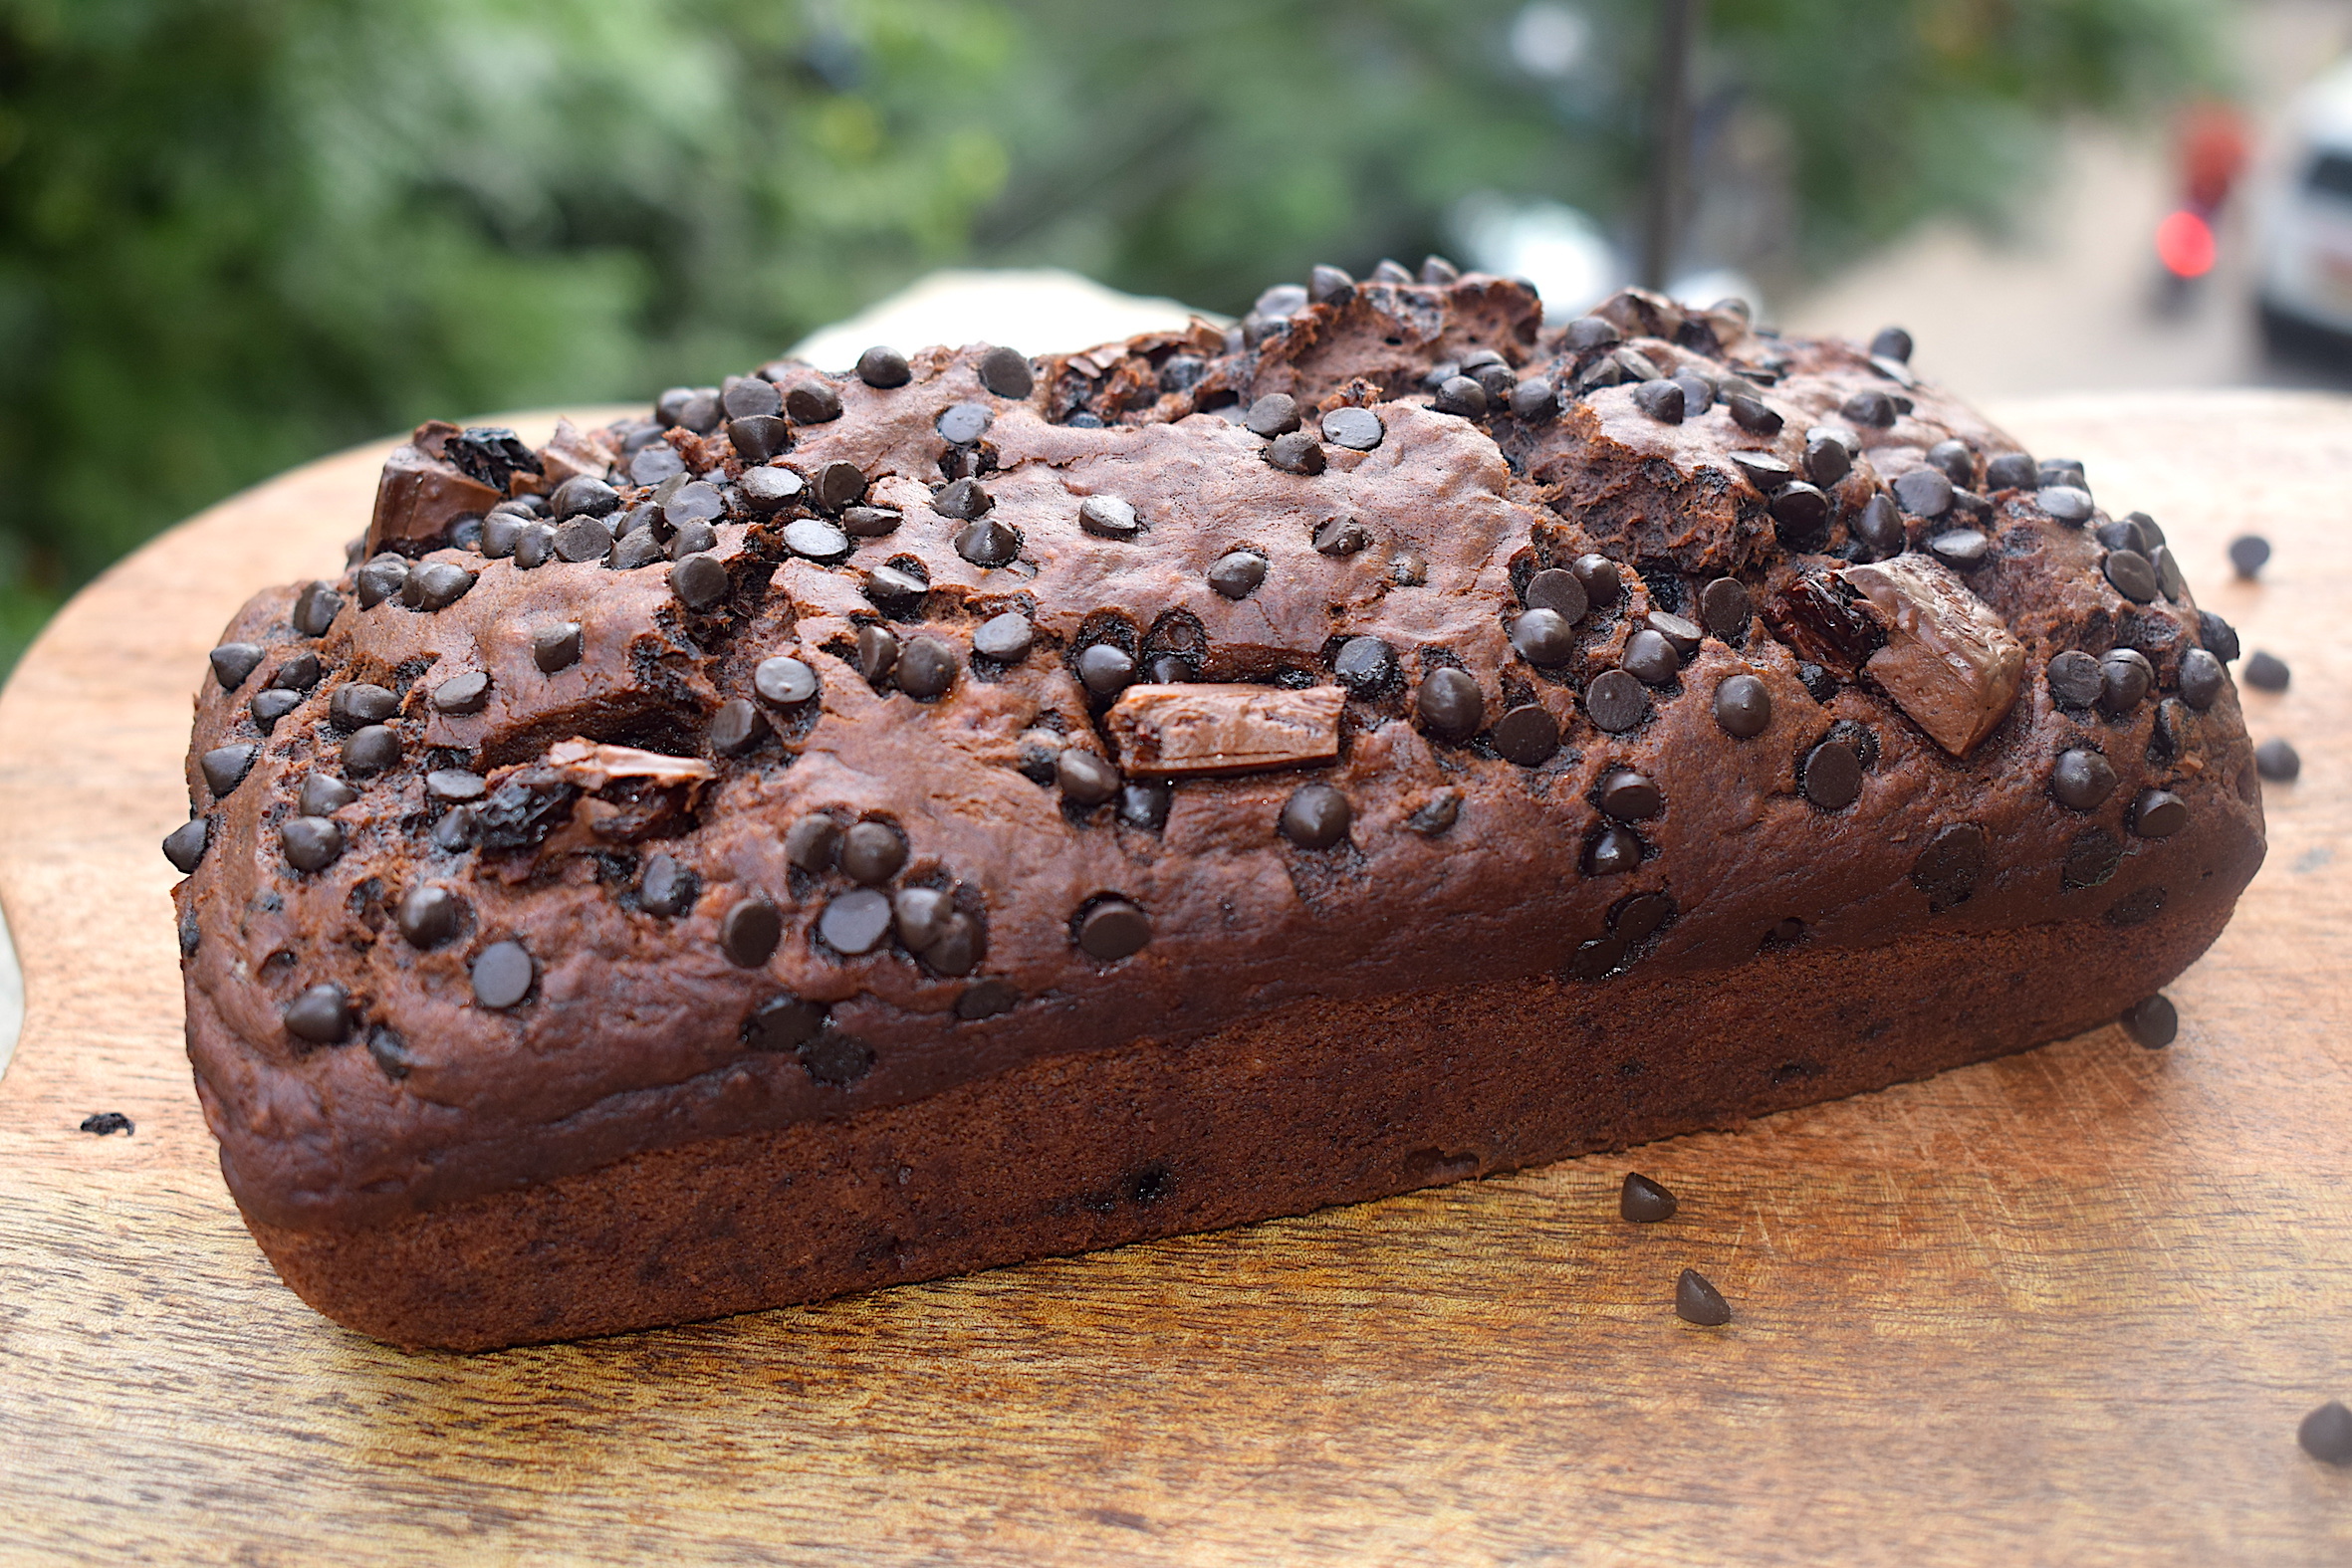
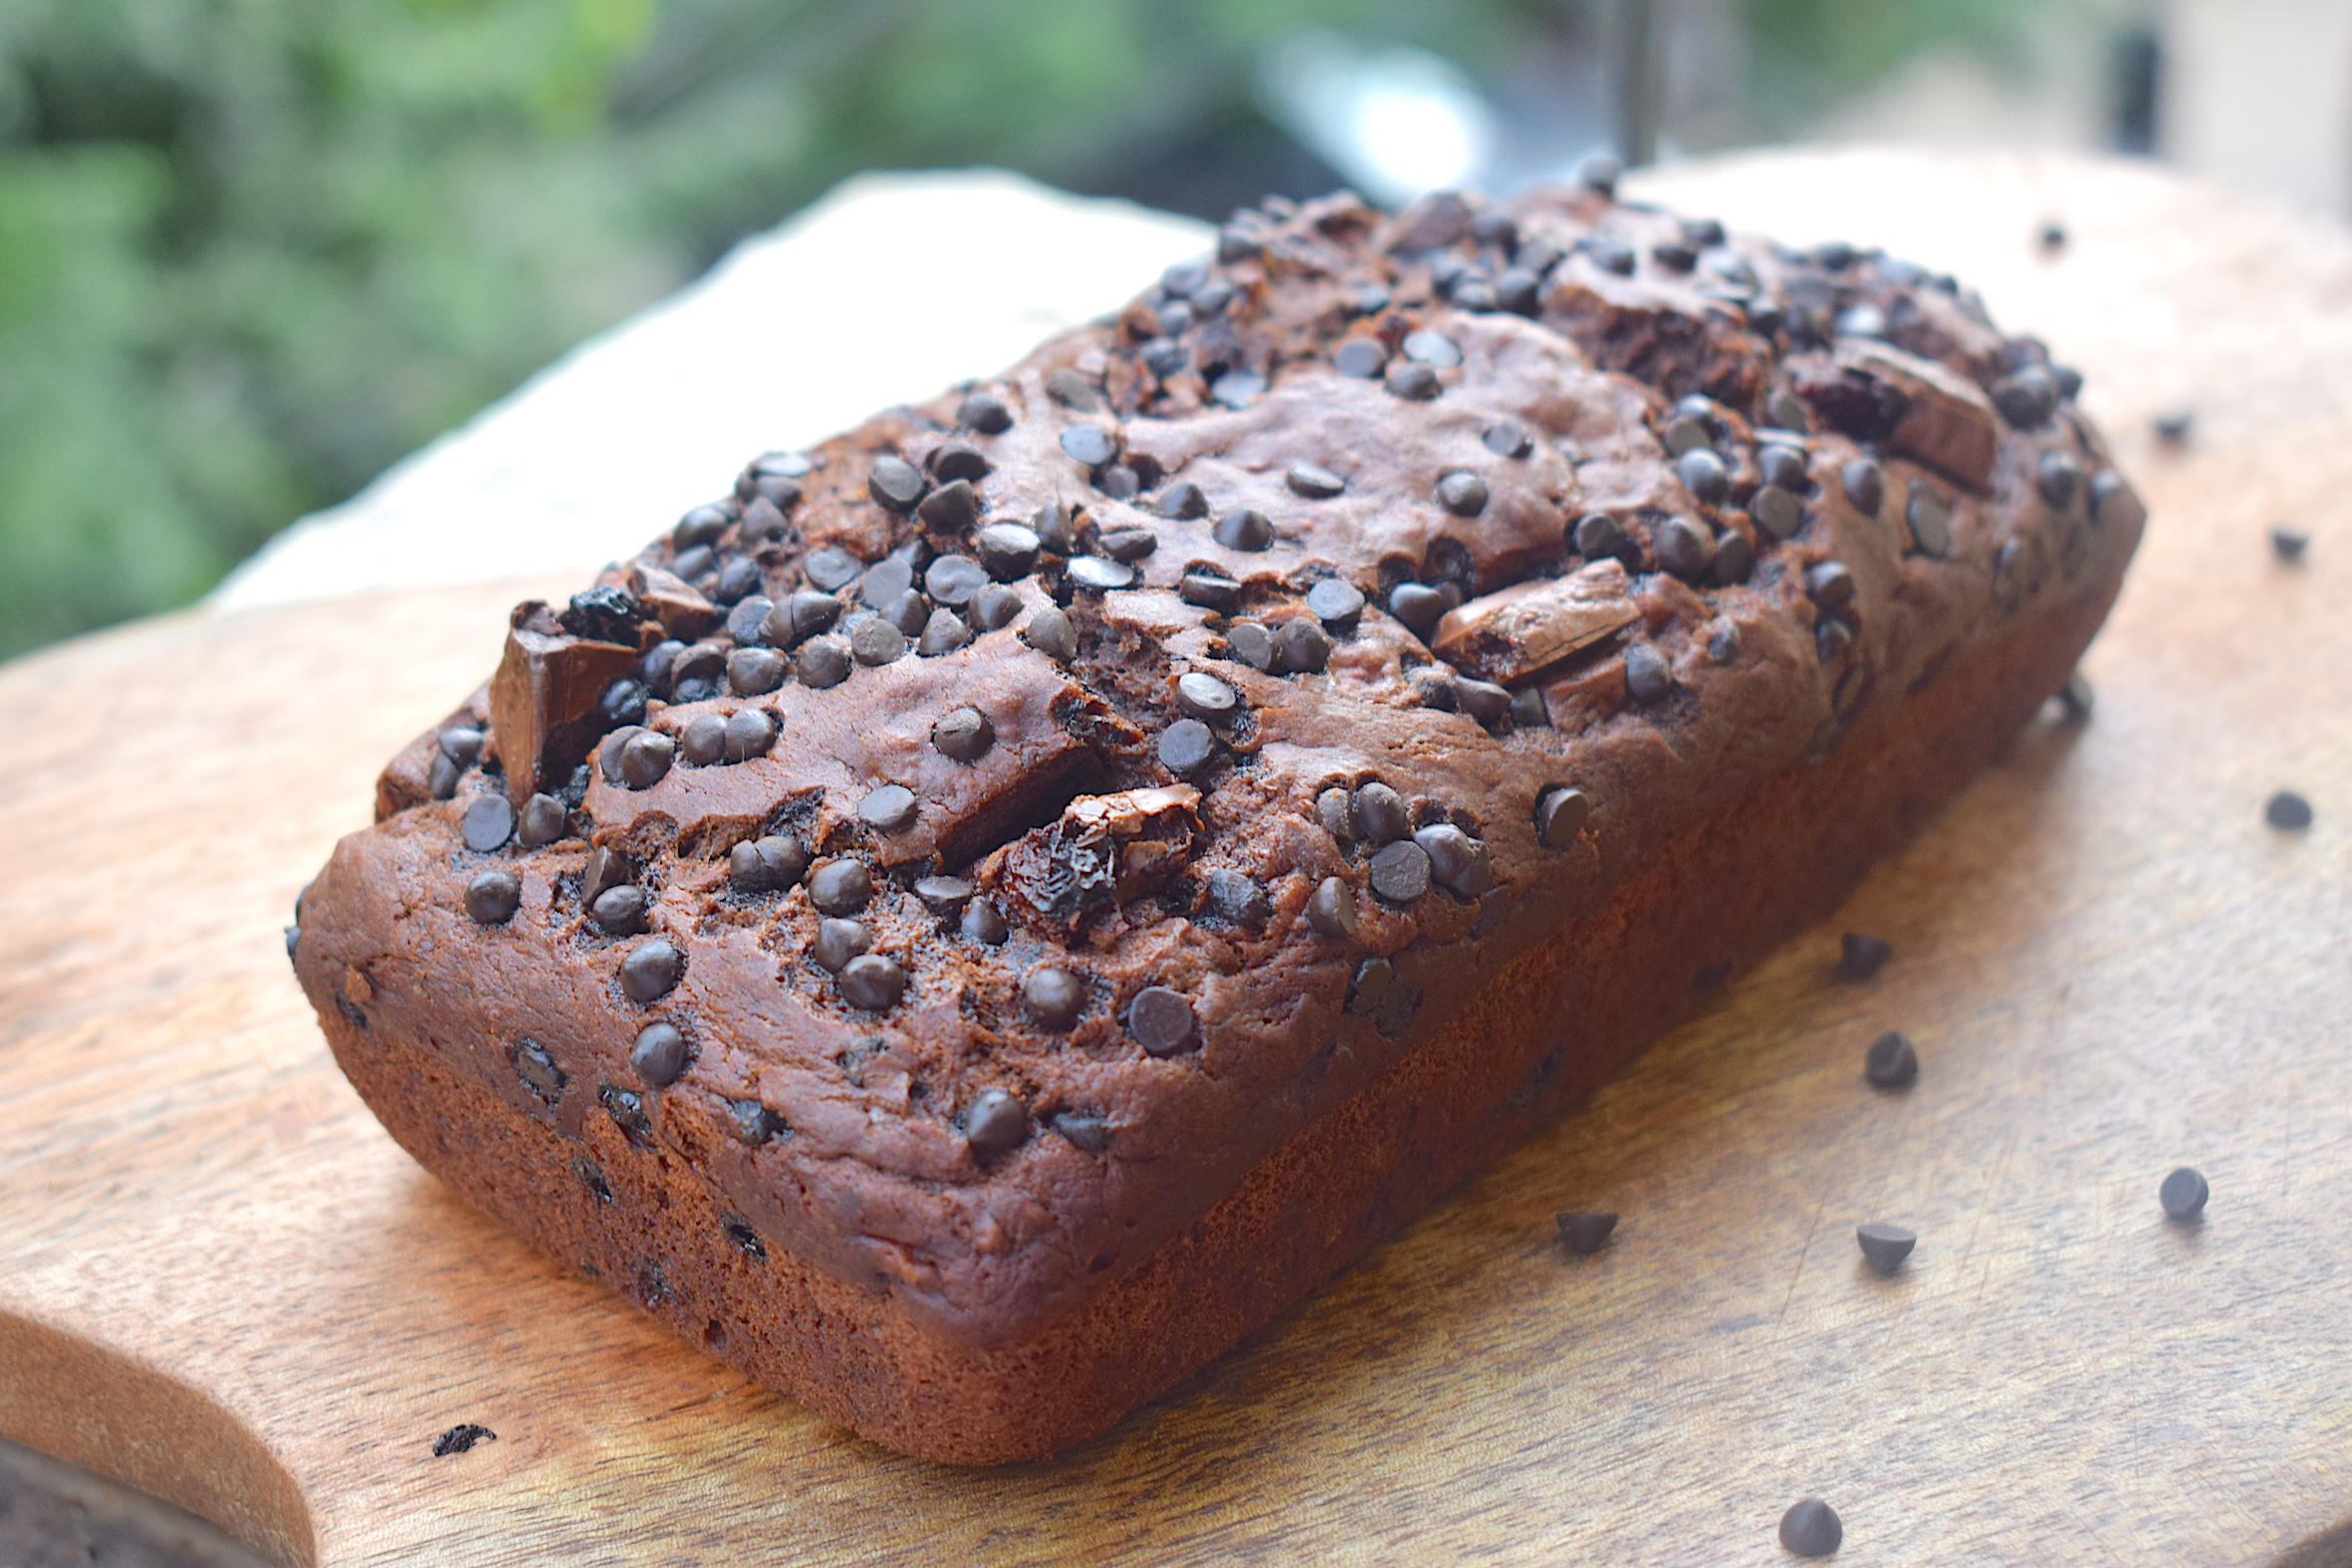
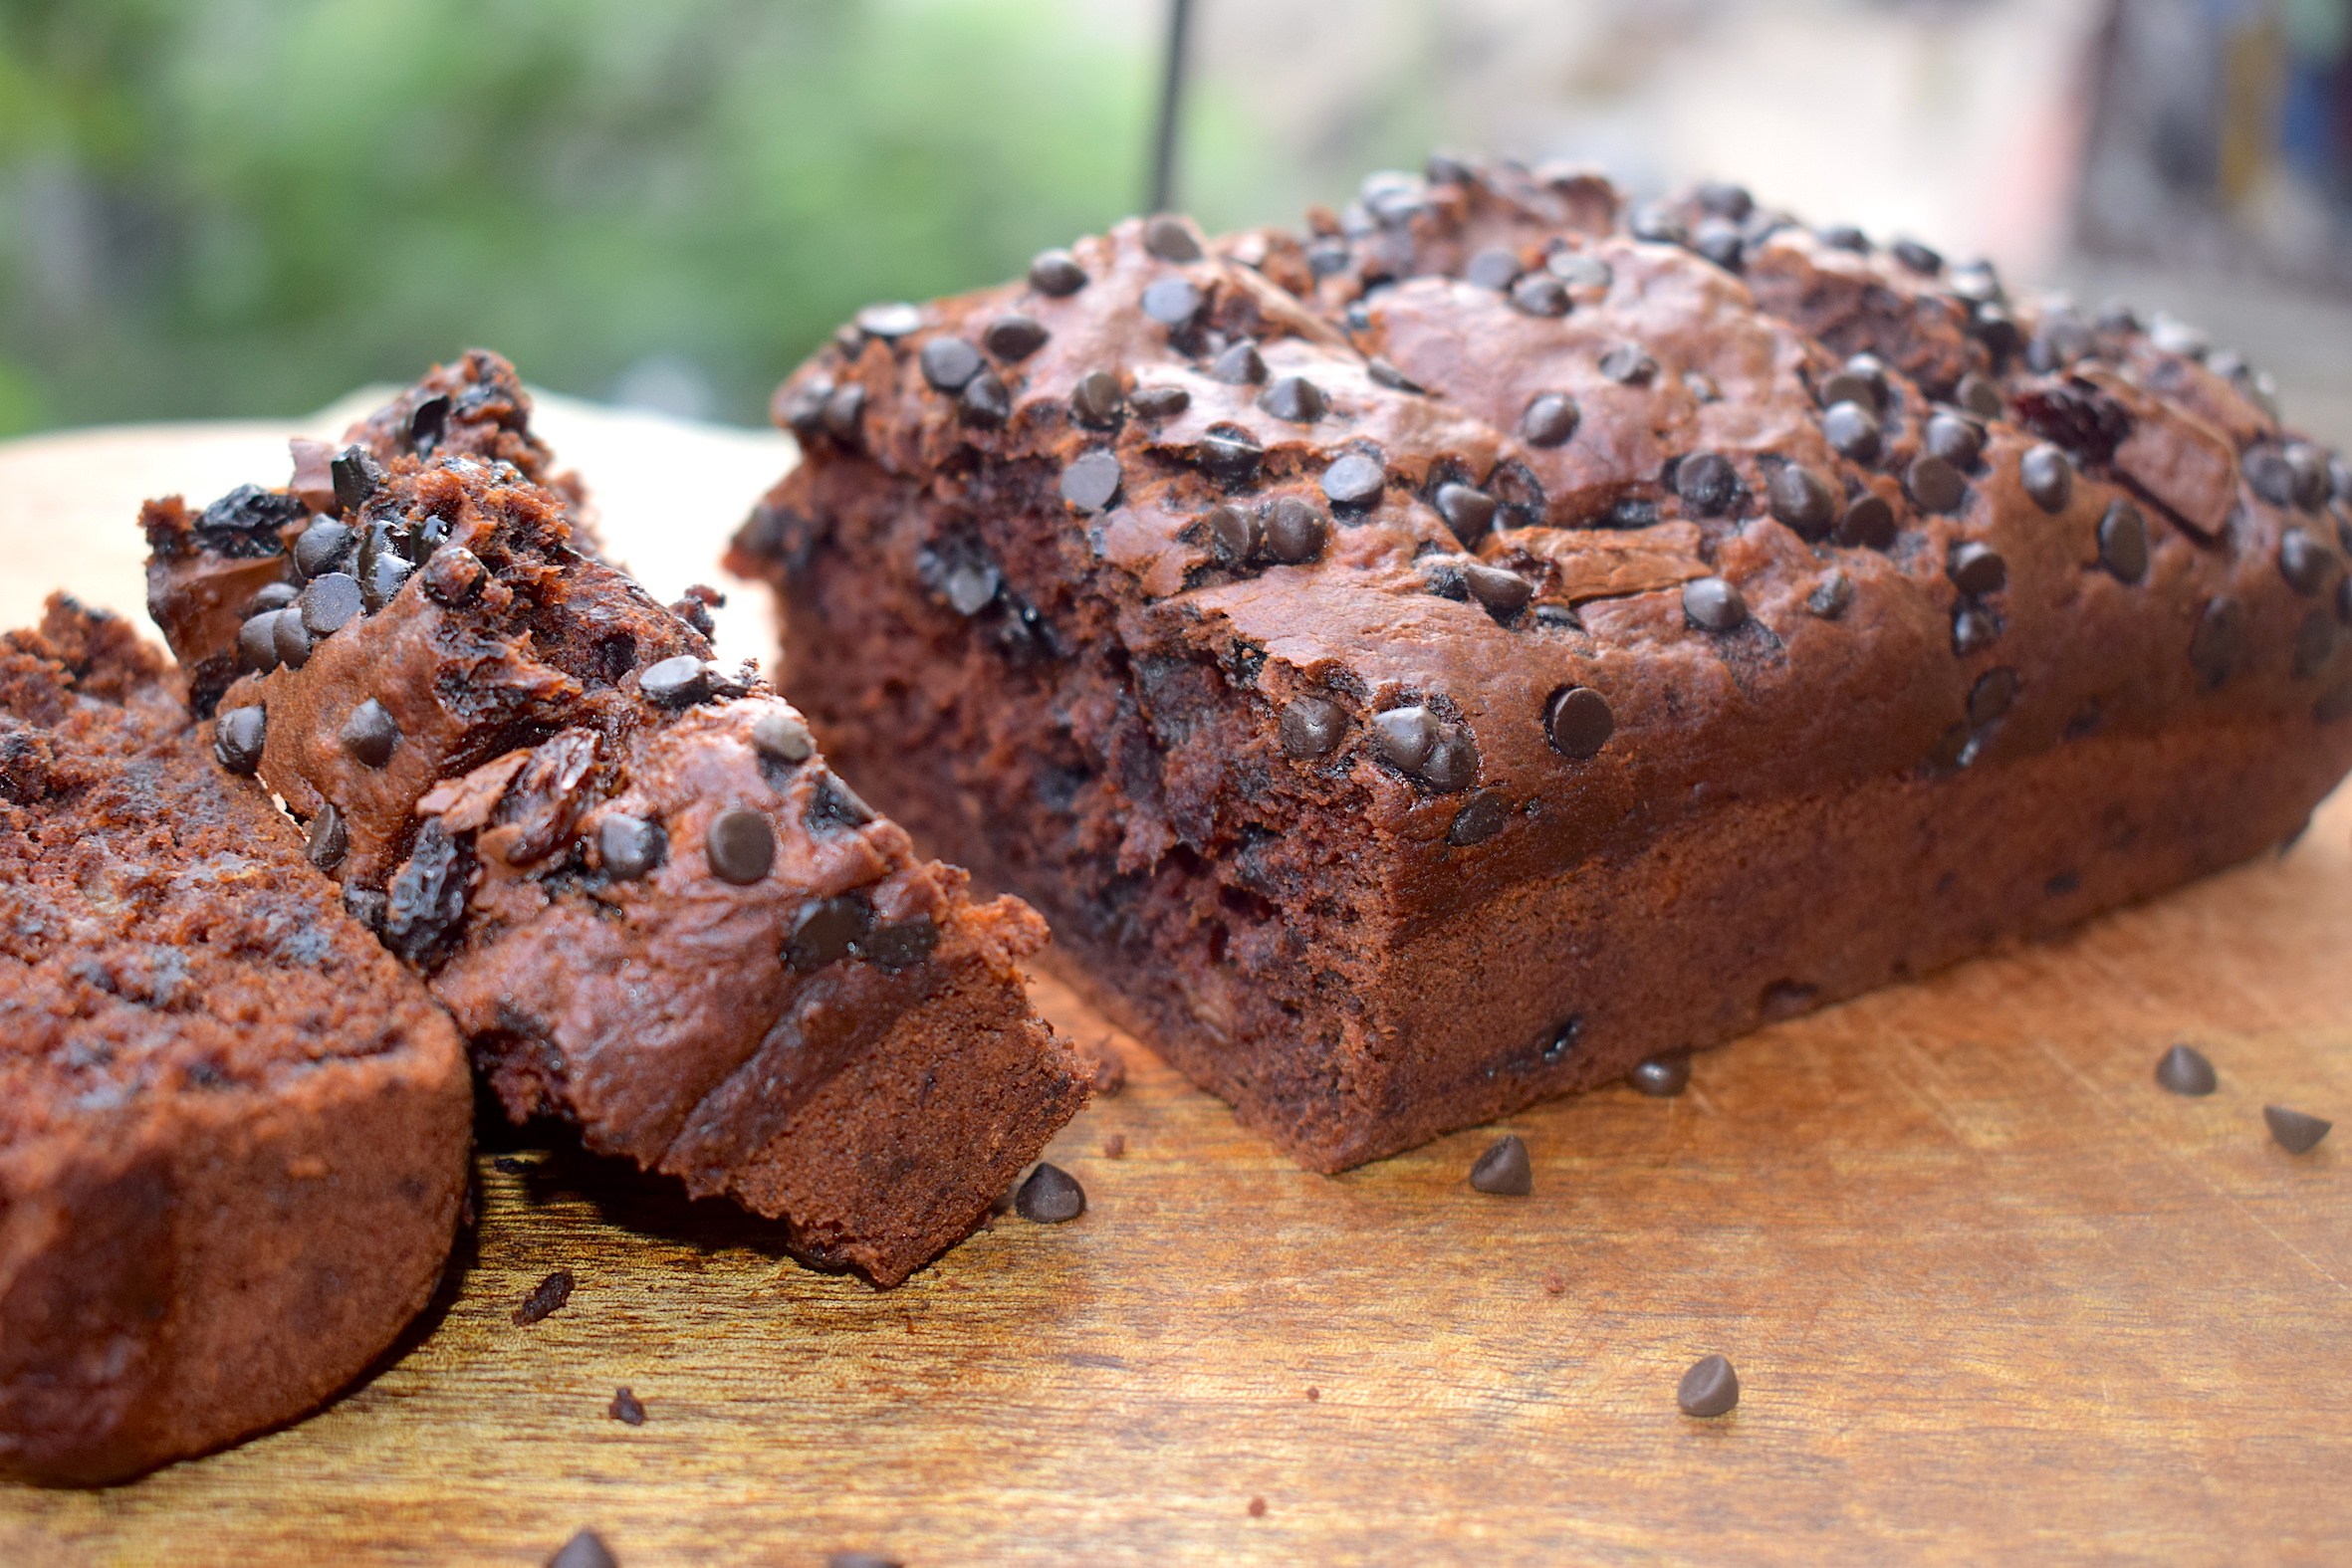
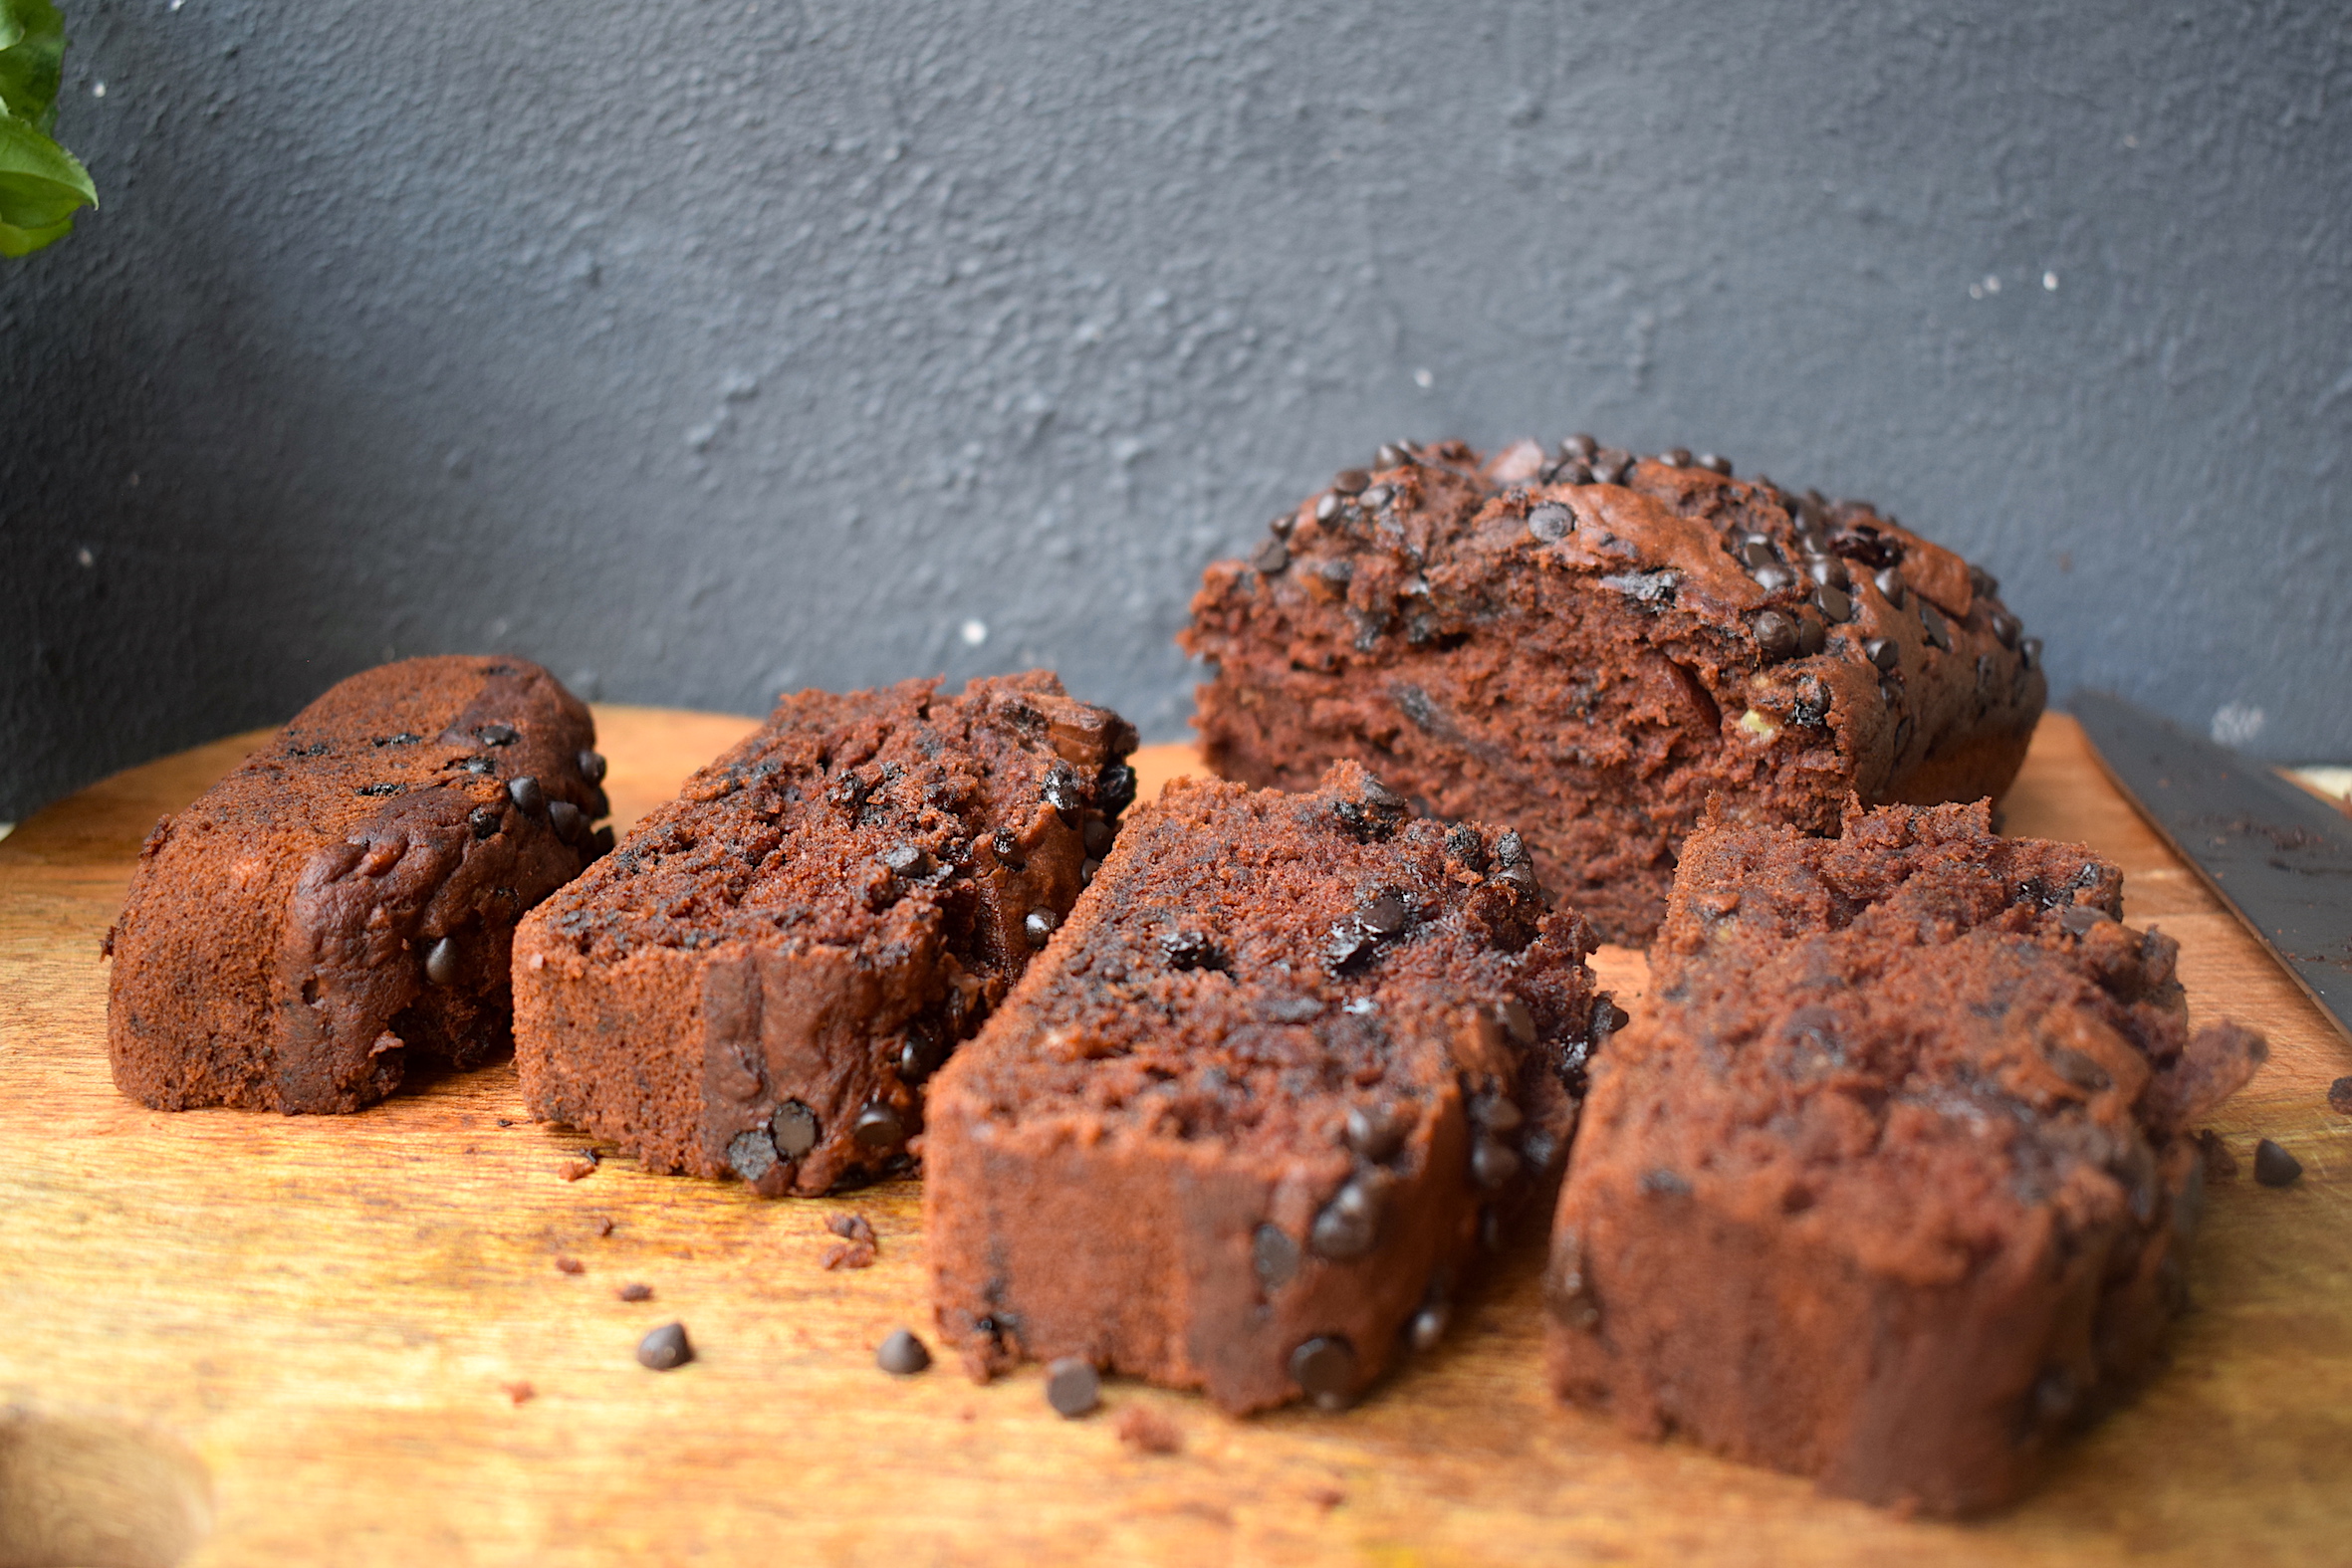
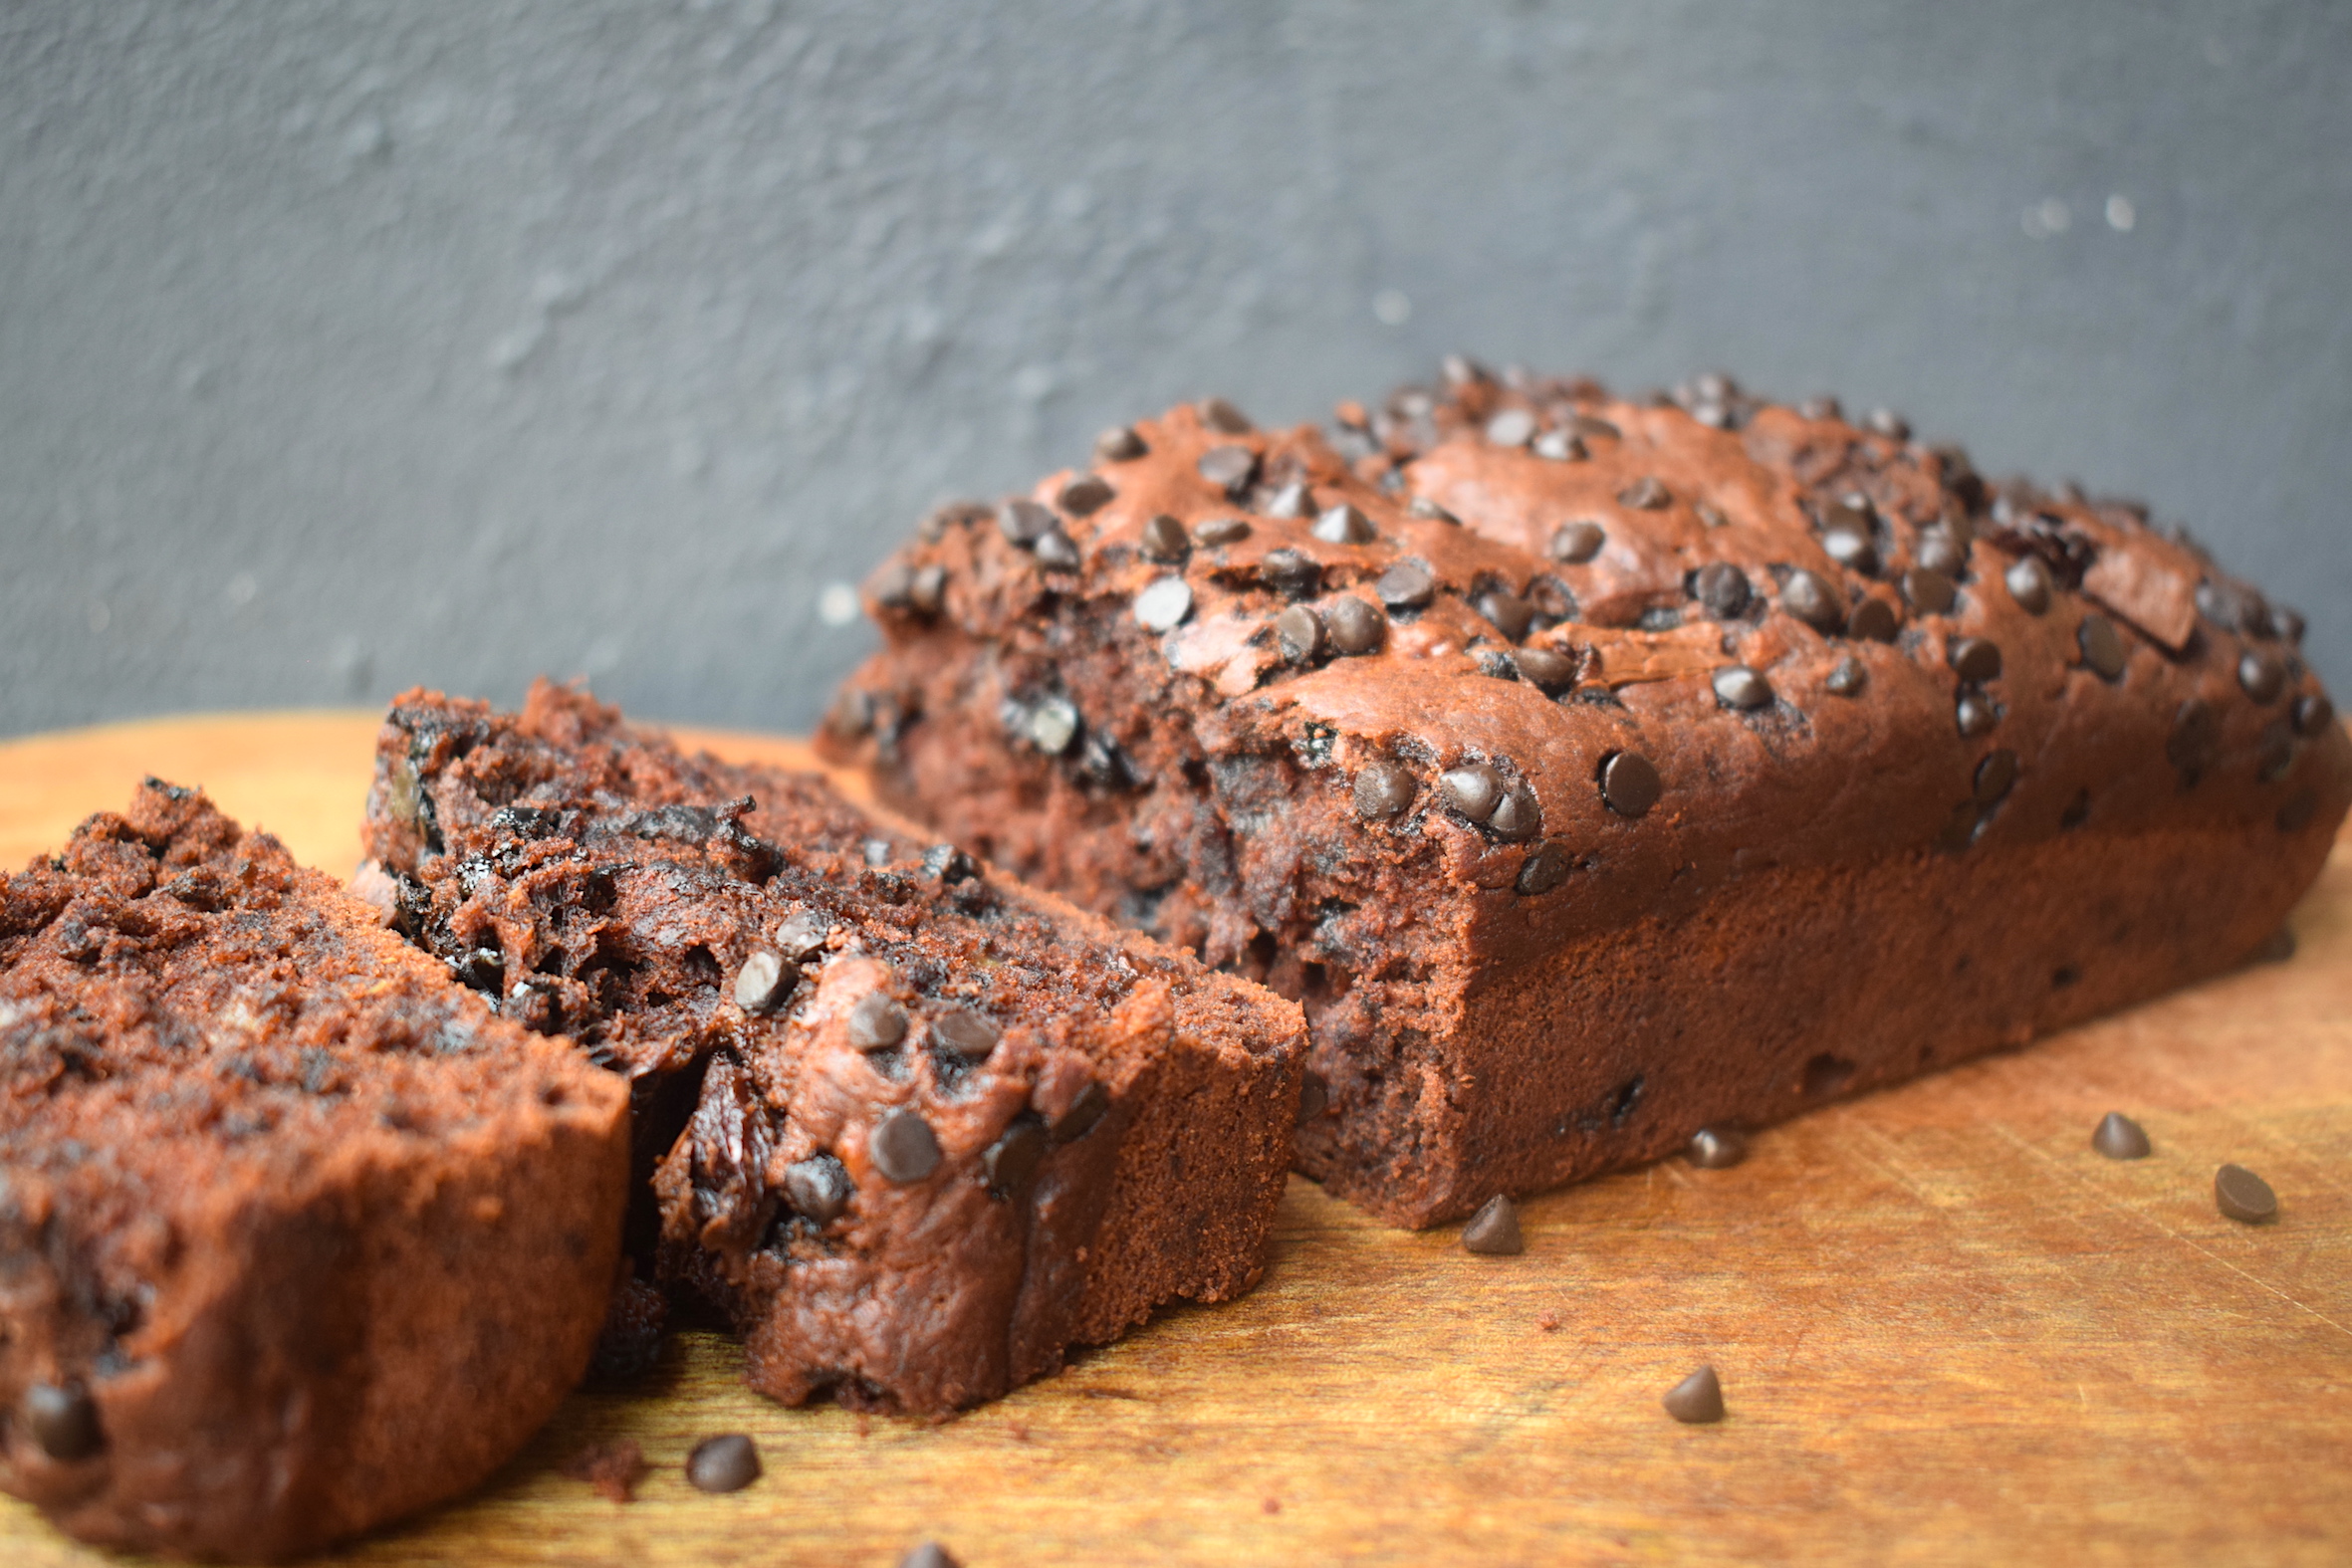
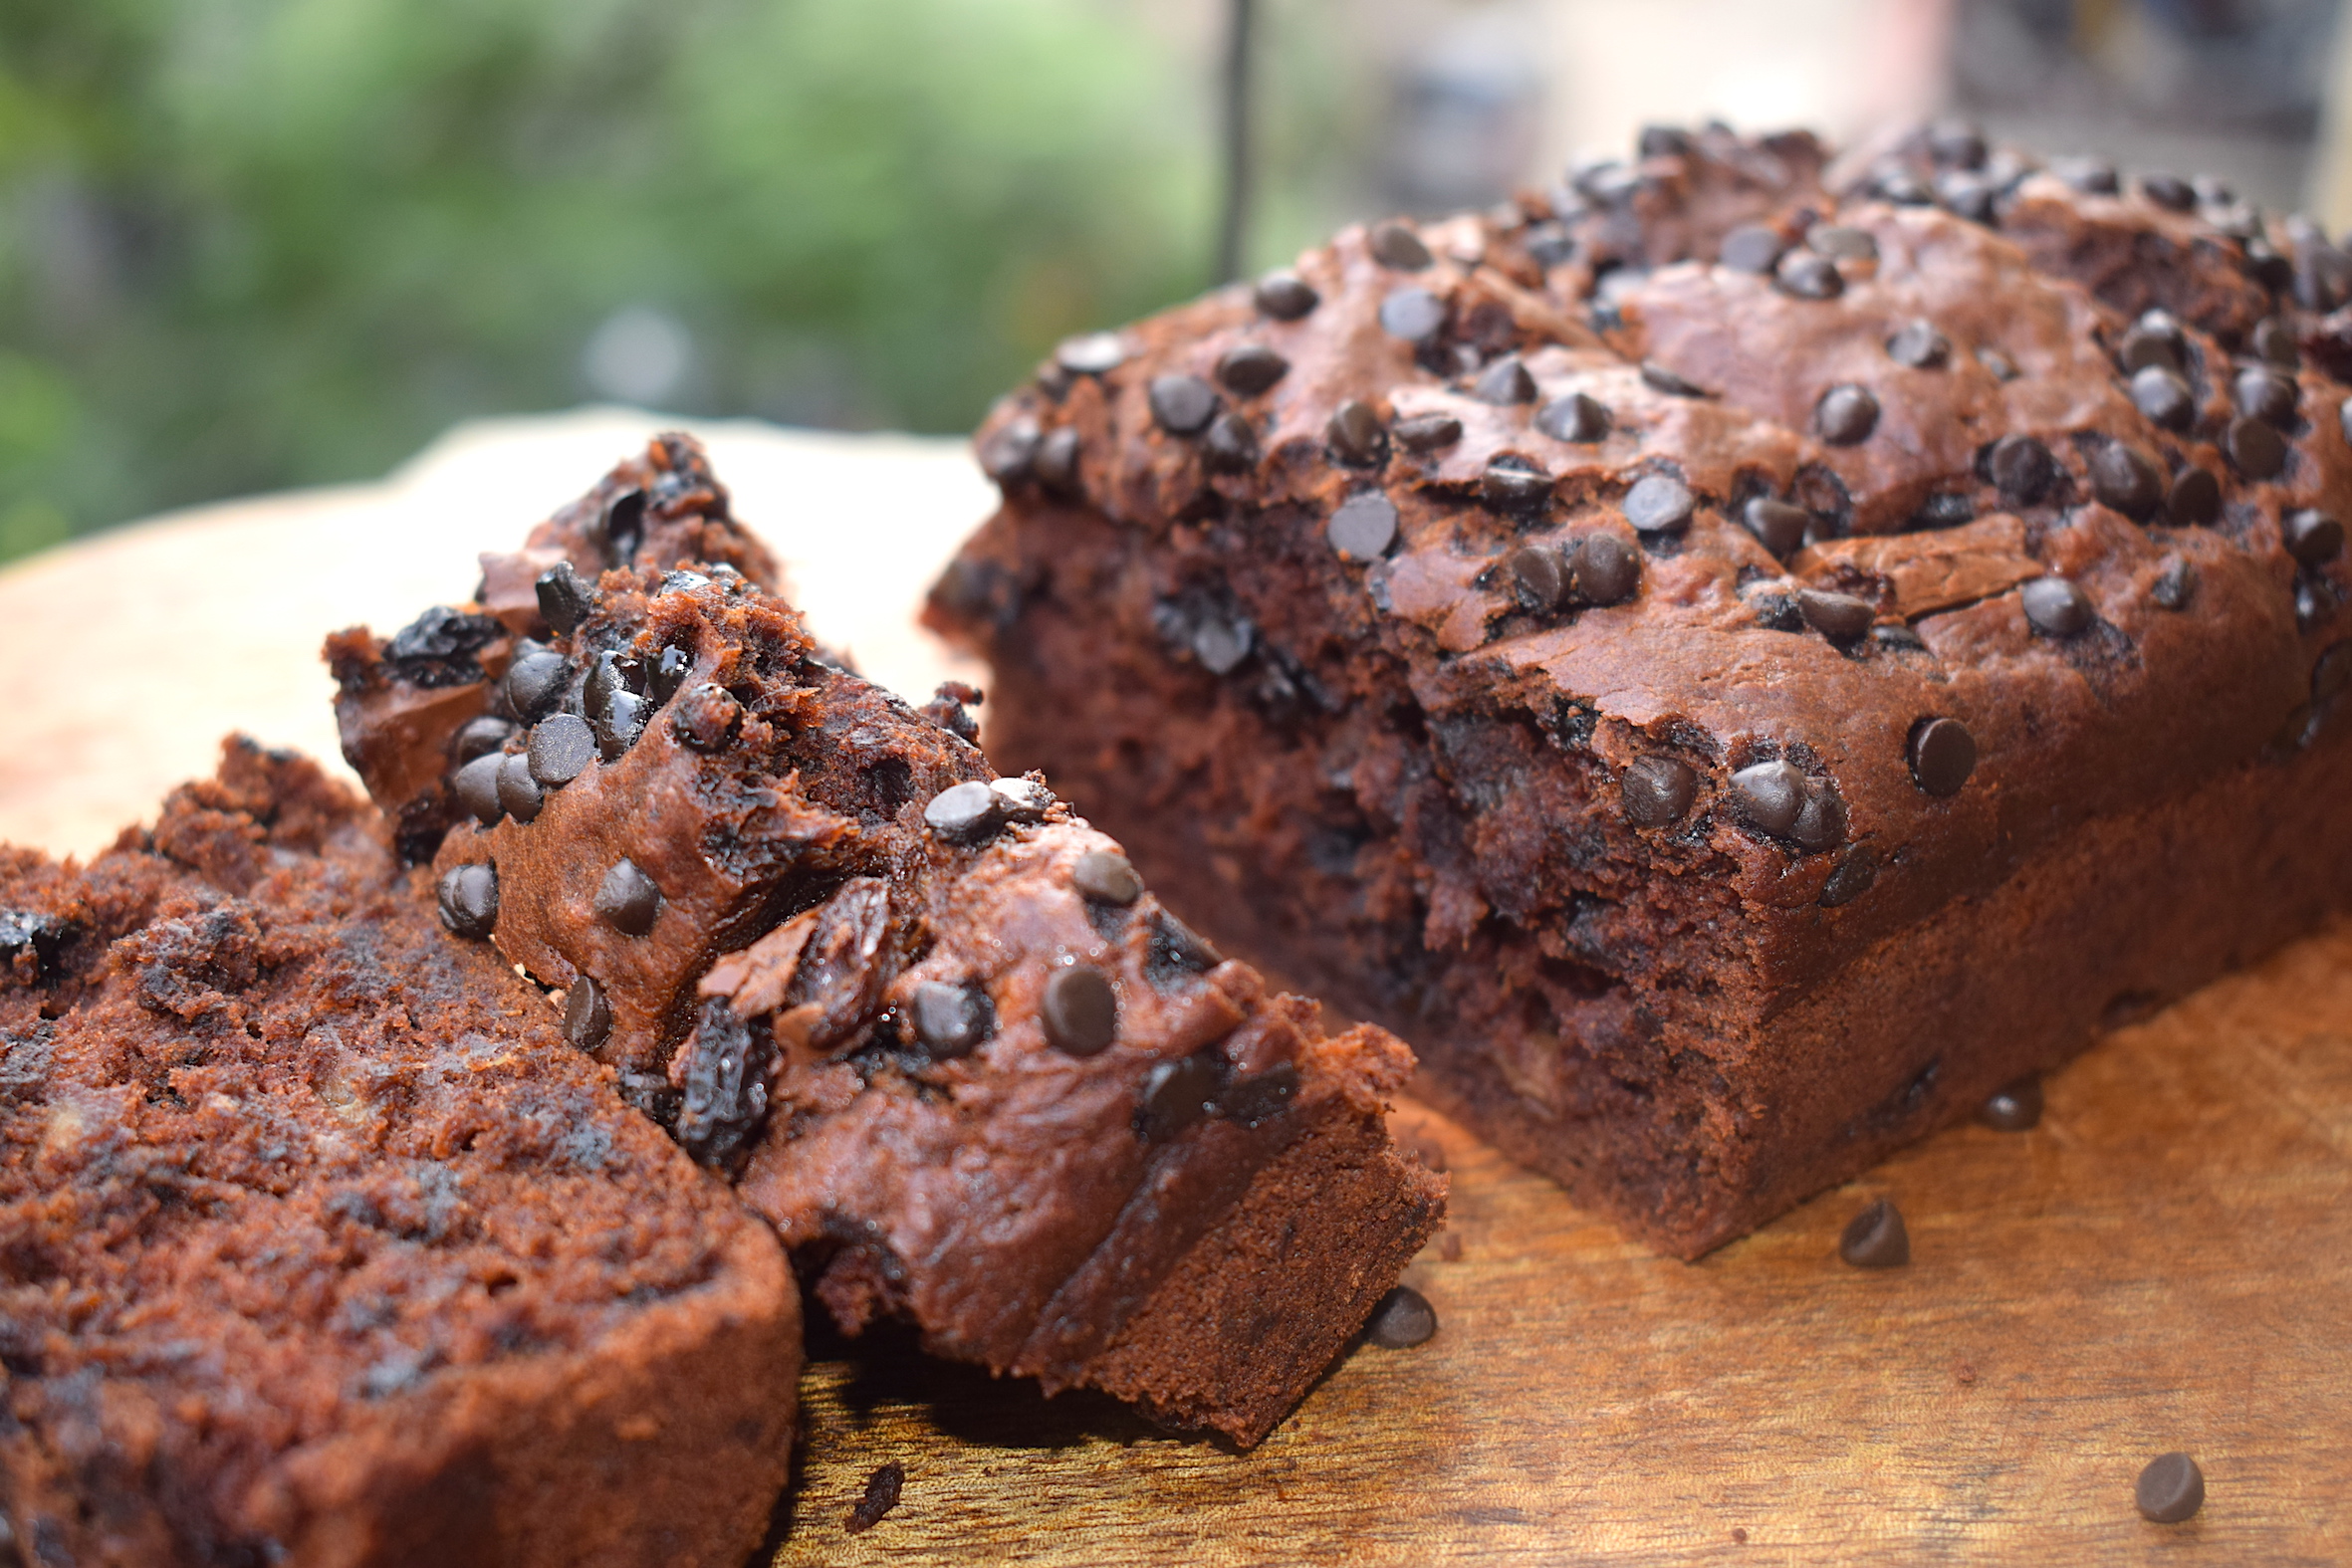
The excitement started racing in my mind and I just HAD TO experiment with all these ingredients. And I am so glad I did. Just look at this beauty!chocolate chip banana bread

chocolate chip banana bread

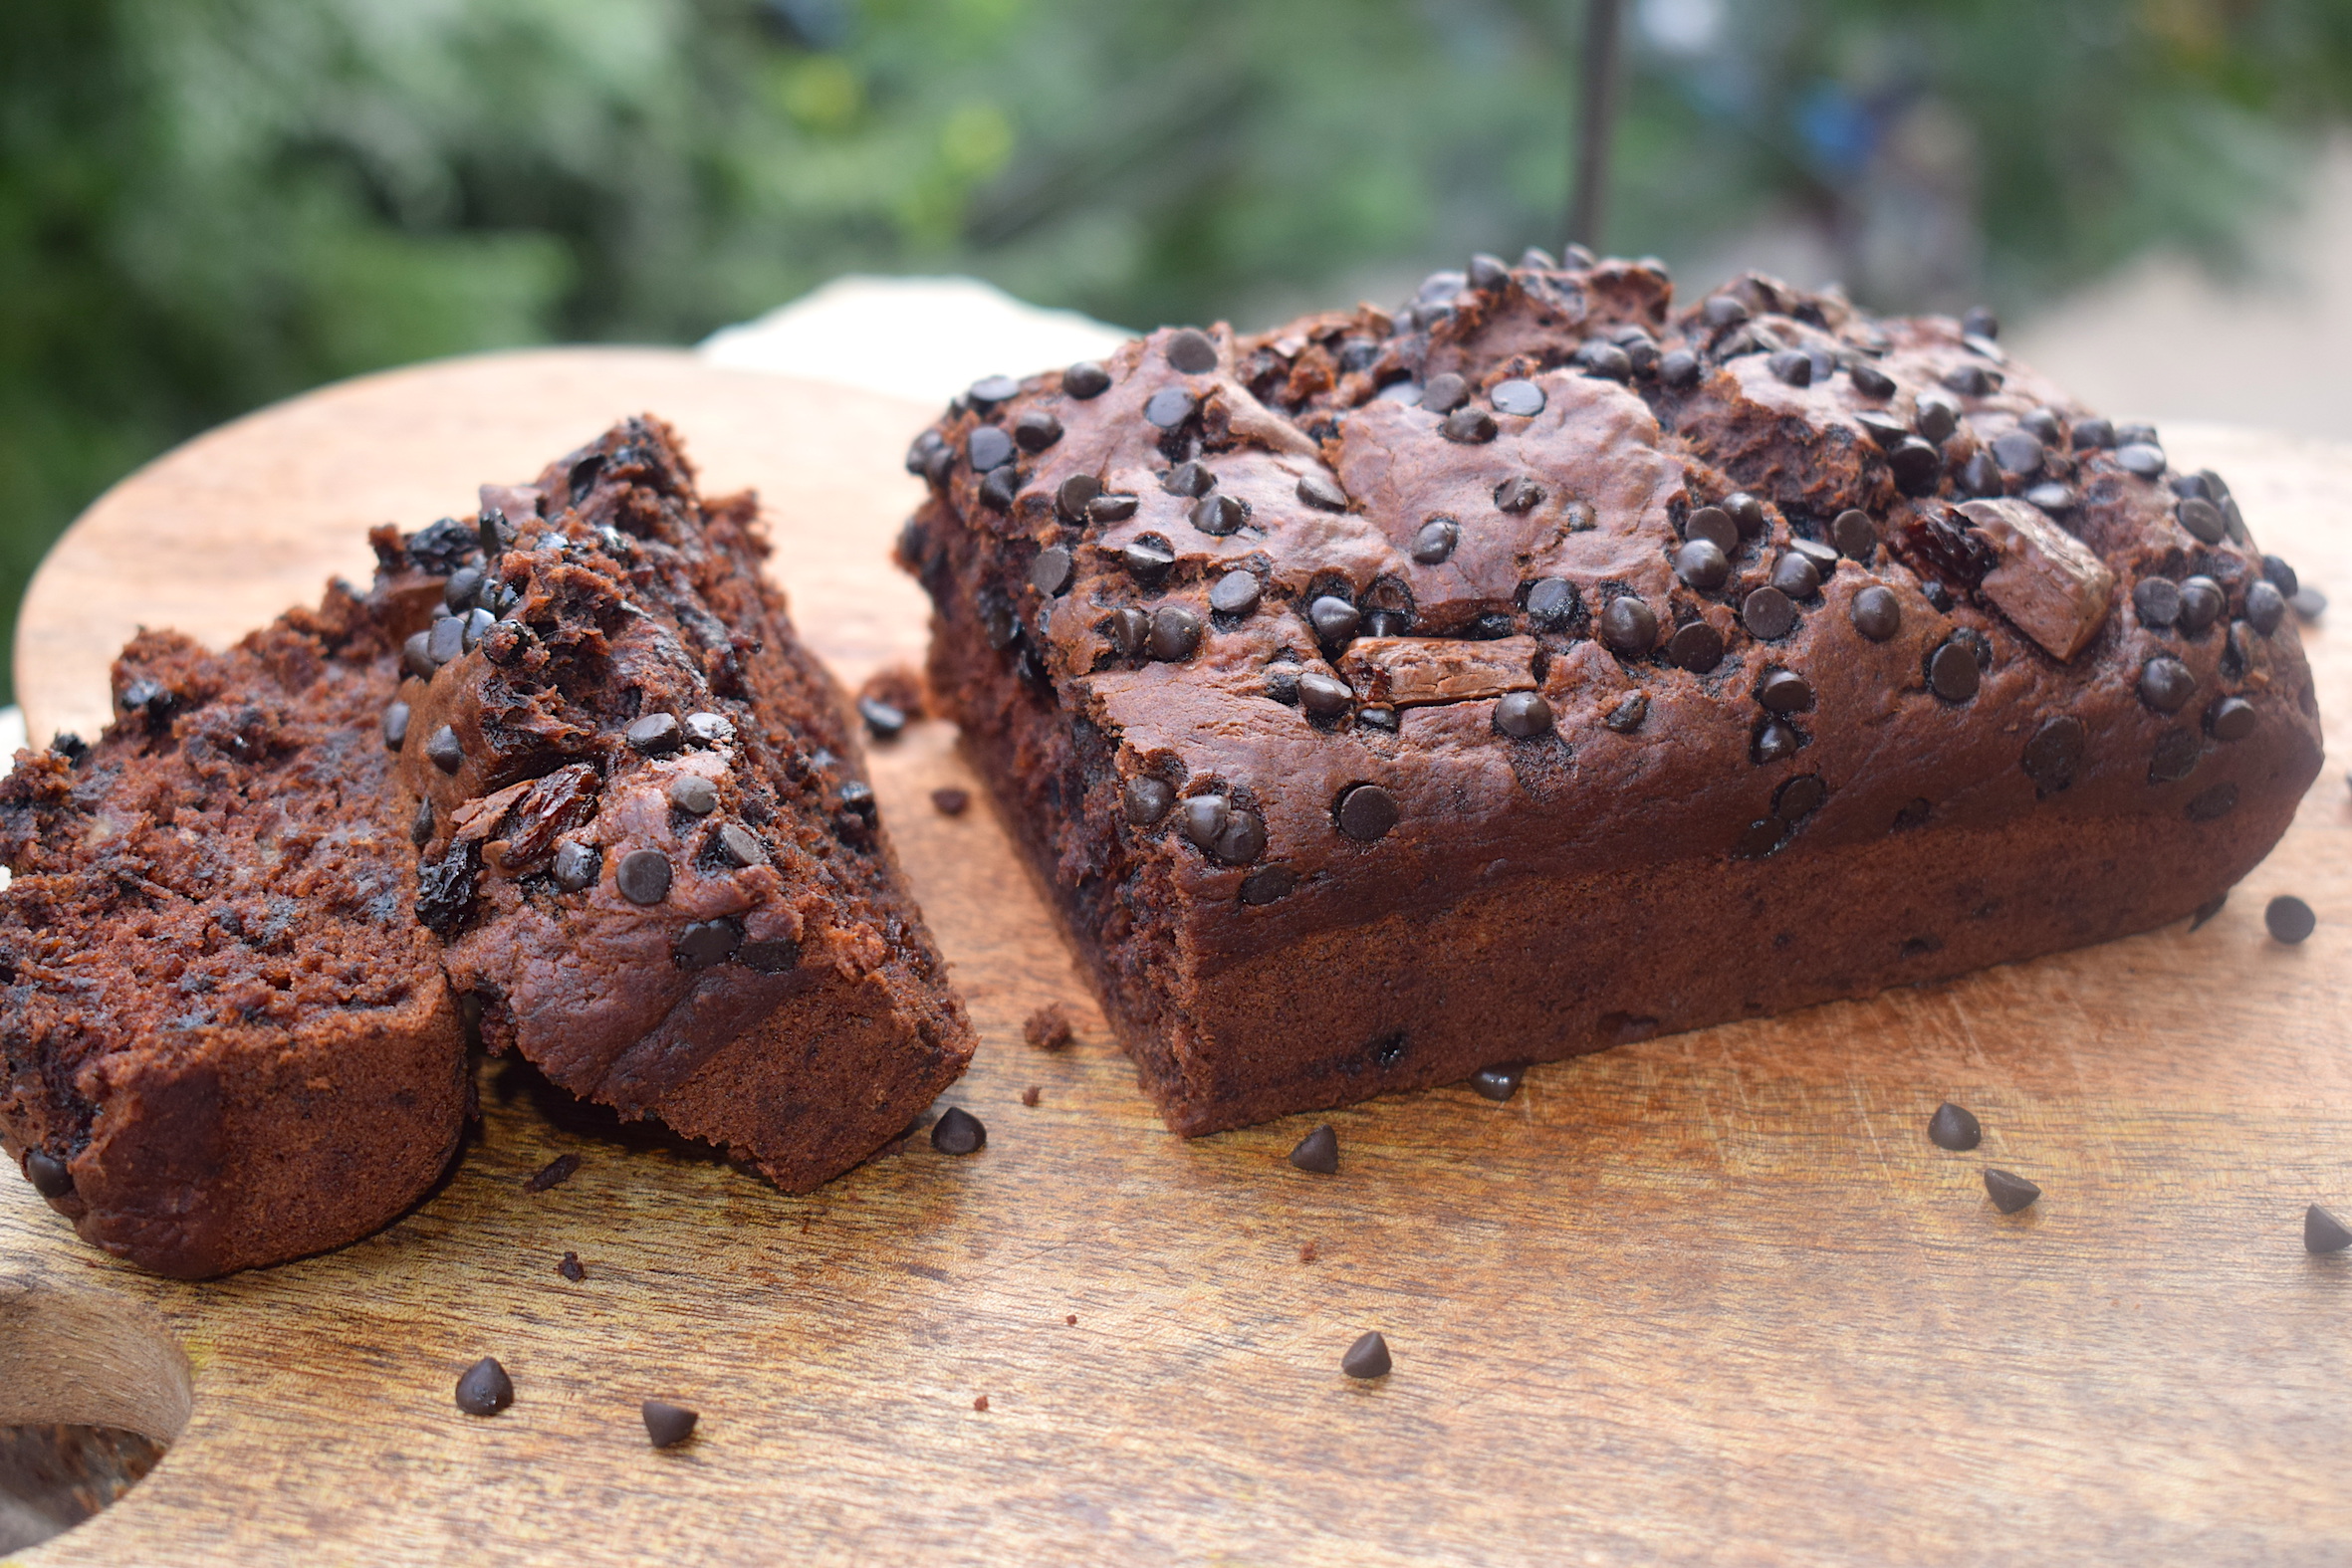
I love this eggless chocolate chip banana bread so much that I end up baking it at least twice a month. It is moist, spongy and every chocolate lover’s dream come true. I love to grab a bite with my cup of chai in the mornings, or randomly stealing a bite at various times of the day. My friends love it and I have baked it a zillion times for so many people so far. So I can tell you that this recipe is absolutely full proof.

I hope you try this version of chocolate chip banana bread! Super simple and easy.

Preparation time – 15 minutes

Bake time – 40 minutes

Serves – 3-4 people

[ingredients title=”Ingredients”]

  • 150 g all purpose flour
  • 150 g butter, at room temperature
  • 80 g unsweetened cocoa powder
  • 80 g dark chocolate chips
  • 1 tsp baking soda
  • 1 tsp baking powder
  • 50 g brown sugar, crushed
  • 1.5 tsp vanilla essence
  • 50 ml milk
  • 3 very ripe bananas, mashed well
  • 1/2 tsp salt [/ingredients]

[directions title=”Directions”]

  1. Preheat the oven to 250 degrees.
  2. Add butter in a mixing bowl along with the crushed brown sugar. Mix well with a spatula till you get a creamy consistency.
  3. Pour in the vanilla essence into this and mix well.
  4. Add the mashed bananas to this and mix till everything comes together and there are no lumps.
  5. In another bowl, sieve the flour, baking powder, baking soda, and cocoa powder. Mix well.
  6. Gently add the flour to the butter and banana mixture, little by little. Take 4-5 rounds to complete this step.
  7. The final mixture might be too thick, so add some milk (room temperature) to get a thick batter.
  8. Take the chocolate chips and add to the batter, giving it one last mix with a spatula.
  9. Grease your loaf pan with butter or oil and add parchment paper on top.
  10. Pour in the banana bread batter into the loaf pan. Make sure it settles down completely.
  11. Garnish with lots of dark chocolate chips. I have also added a few chunks of my favorite dark chocolate on top. You can top it off with a few blocks of your favorite chocolate.
  12. Bake at 250 degrees for 40-45 minutes.
  13. Once done, allow the bread to cool completely before you cut it into pieces.
  14. Store in an airtight container once cut or finish it then and there! [/directions]

chocolate chip banana bread

chocolate chip banana bread

chocolate chip banana bread

This bread can be stored for up to a week. Once you cut the pieces, immediately transfer to an airtight container and store it in the fridge. But a bread this size will never last a week! 😉

chocolate chip banana bread

chocolate chip banana bread

chocolate chip banana bread

Slurrp pro tip: Whenever you bake bread or cake, always remember to mix the dry ingredients and the wet ingredients separately, and then slowly assimilate the dry into the wet ingredients in a number of rounds. And sieving the flour is extremely crucial, as it is to preheat the oven.

If you want regular access to more such delightful food, you can follow me on Facebook, Instagram, Twitter, and YouTube.

Happy baking!

Chunky Strawberry Jam Recipe

To me, there is nothing more satisfying than being able to make everything at home. The sense of making your own fresh food and not buying every single thing from the market is oddly gratifying. And of course, it is way more healthy, cooked without preservatives and filled with love!

strawberry jam

As a kid, I used to be so fascinated with jams and jellies. My mother used to make jam every once in a while and I used to think of it as something magical. This continued for a while. In college, I had visited a jam factory as a part of an excursion. This jam factory is a big name now and they make all kinds of jams possible – blueberries, strawberries, guava, apple, gooseberry…you name it and they make it. Even that fascinated me a lot! But I still did not start it on my own until recently.

strawberry jam

strawberry jam

It all started when I began baking my own bread. Once that happened, I asked myself why shouldn’t the complements to bread also be made at home! So my journey of making homemade jams, jellies and marmalades started. And the journey is still on.

strawberry jam

So here I am sharing all of them with you one by one. The first one this is chunky strawberry jam. I call it chunky because it has the crunch in each bite because of the seeds. Another way to make this is by grinding the strawberries in a mixer with some water and then cooking it. I have kept it a little more rustic by just cutting the strawberries into chunky pieces and then cooking it.

All you need is four key ingredients and then magic! I wish I knew how easy this is earlier in life. Better late than never!

Here’s a look at the recipe.

Preparation time – 10 minutes

Cook time – 10-12 minutes

[ingredients title=”Ingredients”]

  • 250 g fresh strawberries, cut into thin slices
  • 1/4 cup sugar
  • 1 tsp lime/lemon juice
  • 1/4 tsp cinnamon powder [/ingredients]

[directions title=”Directions”]

  1. Place a pan on the stove on medium flame and add the chopped strawberries and sugar.
  2. Let it simmer on low heat and allow the ingredients to slowly combine and start to melt.
  3. Once the strawberries start to melt and the sugar starts to caramelise, add the lime juice.
  4. Wait for the jam to turn sticky. Keep stirring continuously on low heat.
  5. Once the jam is thick, garnish with cinnamon powder and turn off the heat.
  6. The jam will be done when it sticks to your spoon and does not drip off.
  7. Transfer jam immediately to a glass jar or it will stick to the pan. [/directions]

Make sure once your jam is cooked, you test it out with a spoon. If the jam sticks to the spoon and does not drip off, it means it is ready. Do not overcook it.

Transfer the jam immediately to a jar while hot or else it will stick to the pan. Save up for up to a week! Enjoy and let me know how it turned out for you.

For more such delightful food, follow me on Facebook, Instagram, Twitter, and YouTube.